
“All that bread wants is time and warmth.”
After writing a post on bread a while ago, I thought I should follow it up with some bread recipes. I was going to go in a chronological order and find the earliest recipe for bread I could, but then I thought against that idea; a recipe for a delicious, but basic loaf is what we need to start with.
I try to bake all my own bread these days, but admittedly, I don’t eat a large amount of it, making a loaf every couple of weeks. However, I do believe that baking your own bread several times a week is possible and not the huge pain the arse you might expect. For many years, I tried to bake bread and it always had good flavour, but it was always a little tough or stodgy. I was rather disappointed thinking one had to practise, ptractise, practise to get the knack. It turns out that I was doing everything correctly, the only ingredient I was missing out was time…
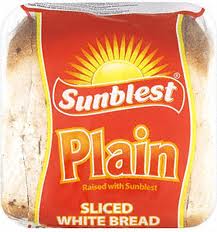
…and this is the problem with today’s factory-made bread; it is mass produced to the extreme, hurredly leavened, containing additives that preserve, emulsify and rise. The slices are always far too light and fluffy – “flabby” is the word I think Jane Grigson used. Of course, these days there are bakery sections in our supermarkets, but Elizabeth David was very suspect of them even in 1977.
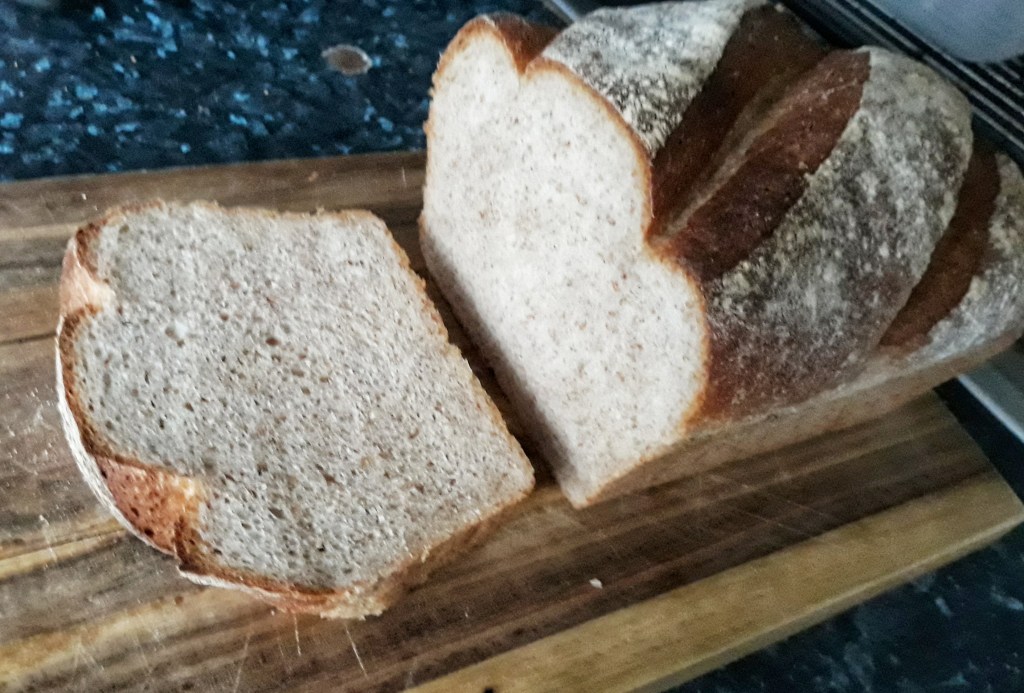
Now don’t be thinking me a big old snob: I actually like some factory bread, and much instore bakery bread is very nice and crusty, but having realised I can make bread that is better tasting and so much cheaper, I can’t go back. Admittedly, it doesn’t last as long in the bread bin, but then bread shouldn’t!
Here is the recipe I use for a basic loaf – it requires little elbow grease, unless you have a food mixer with a dough hook. The best thing is that it should be made the evening before you actually want to eat it, so there’s no getting up at the crack of dawn. It contains only four ingredients too: flour, water, salt and yeast. There is the option of adding a little fat to keep it fresh and soft an extra day. You can enrich the bread by swapping some or all of the water for milk, but I think there’s no need. There are so many variations on the theme and as I discover them and try to perfect them, I shall add them to the blog.
It is very important to use the appropriate amount of water. A cob loaf which just sits on a baking tray needs 60% water per volume, in other words 600 g of water for every 1000 g of flour, any more and you risk it spreading out as it proves and bakes. This loaf is going to be baked in a tin, so we can add a little more water – 62.5% for white bread flour. If you are using a mixture of wholegrain strong and white strong, you will need a little more water, around 65% water.
If you like the blogs and podcast I produce, please consider treating me to a virtual coffee or pint, or even a £3 monthly subscription: follow this link for more information.
You will also need a 2 pound, or 900 g loaf tin.
Ingredients:
400 g strong white bread flour, or a mixture of at least half white, and a wholegrain bread flour
8 g salt
4 to 5 g grams of dried instant yeast
250 – 260 g warm water
25 g oil or very soft butter
Mix the flour(s), salt and yeast in a bowl, make a well and add the oil or fat if using, then pour on the water. Mix together using your hand or a wooden spoon. If you have a mixer with a dough hook, just mix on a slow speed until it comes together to form a dough.
Important note no. 1: try to make the dough more on the wet side, rather than the dry; just keep your hands well-floured so you can handle the dough. Work it for a few minutes whilst in the bowl. Of course, if you have a mixer with a dough hook, you can simply use that on a slow to moderate speed to mix and briefly knead it.
You’ll have a sticky dough that is hard to work with, but don’t worry. It is now time to knead the bread. You can sprinkle a little flour or spread a little oil on the work surface to help if you like, but really you don’t need anything. Use whichever you might prefer. I tend to go for a light sprinkle at the beginning of the kneading process.
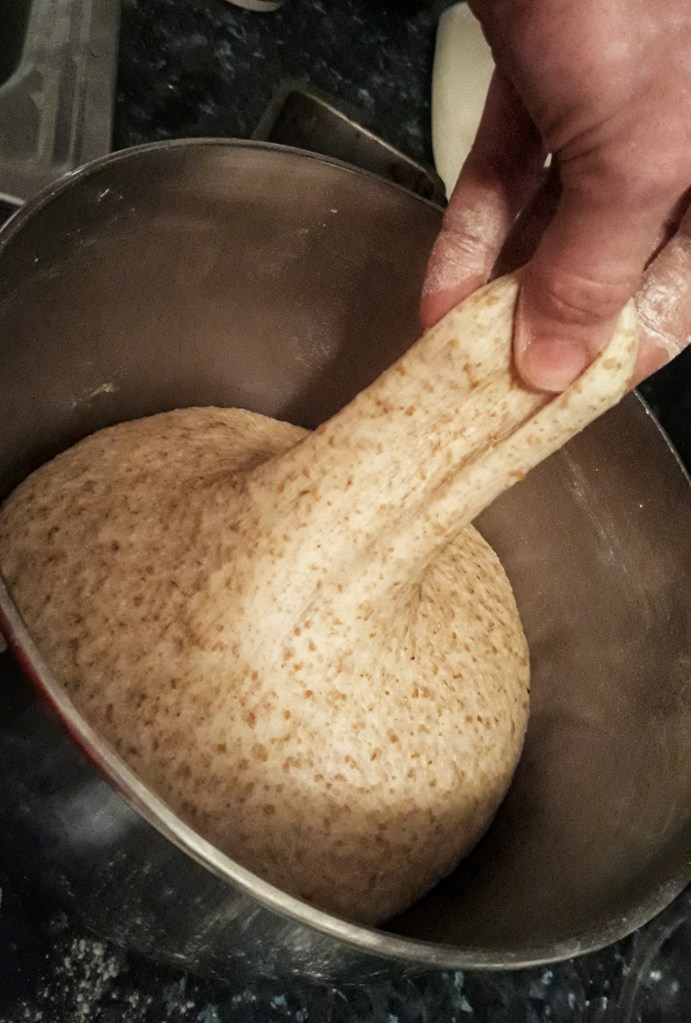
To knead by hand, push out the dough with the heel of your hand, and then roll it up, give it a quarter turn and repeat. The dough will quickly start to become more stretchy and smooth, and soon you’ll find you don’t need any oil or flour to knead it.
After around 10 minutes, you’ll feel the dough suddenly get more difficult to knead; it’s a bit like when you chew gum too long and it suddenly becomes more effort to chew it.
Using a dough hook, turn up the speed a couple of notches and mix around 6 minutes. Keep guard though, your mixer may tend to go for a dance or walk over your worktop and off the edge!
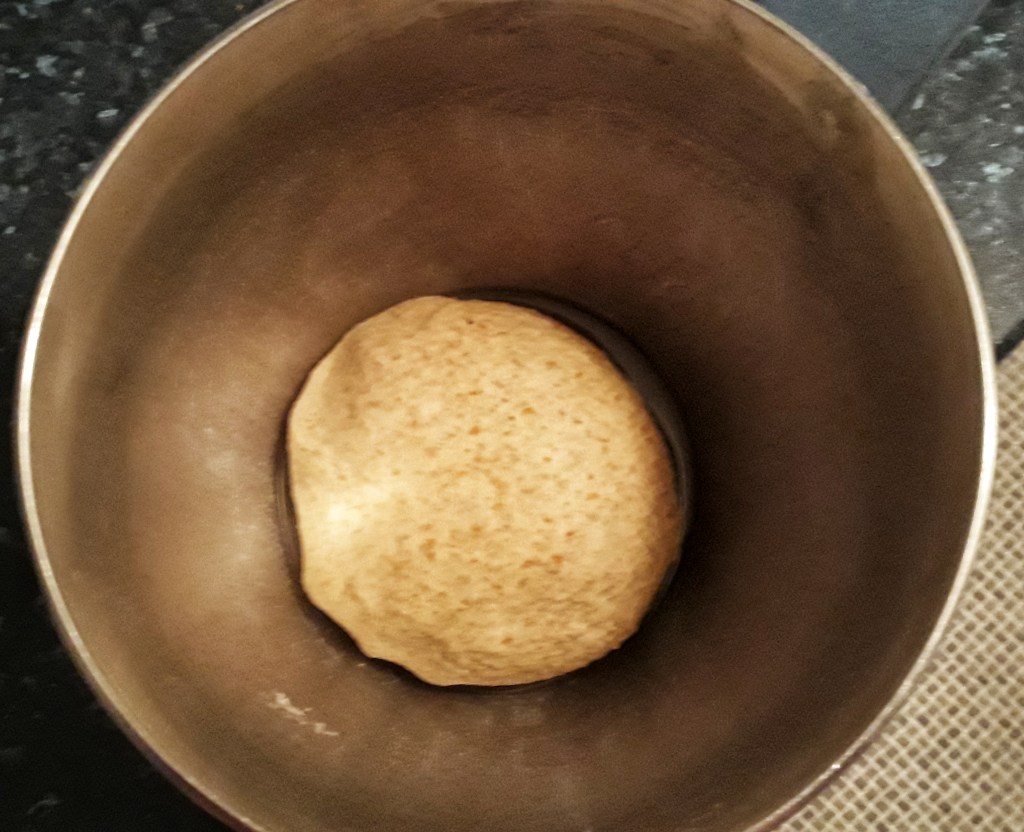
Form the dough into a tight ball by tucking it under itself. Pop it into a grease bowl, cover with a plastic bag or damp tea towel and leave it to rise in a warm place.
Important note no. 2: Do not leave it near a radiator or anything like that – unequal heat will not do the job – you need ambient warmth. I let my dough rise in my airing cupboard. If you don’t have a warm place, do not worry for the quickly-metabolising yeast will begin to generate its own heat.
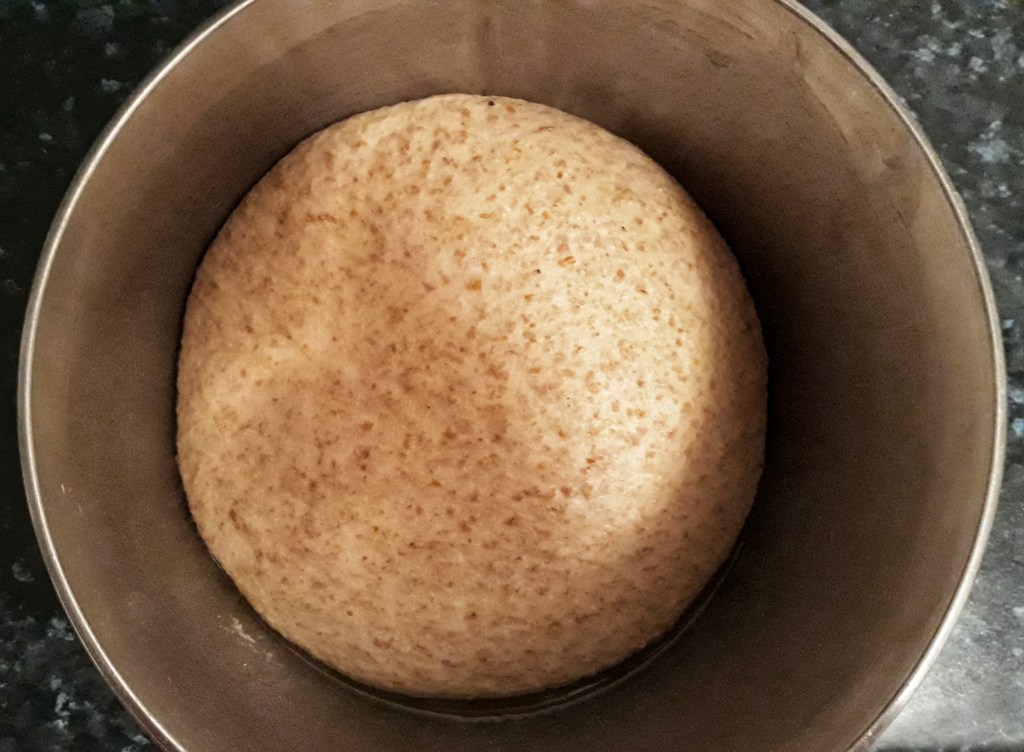
When it has doubled in size, knock it back, i.e. press the air out with your fingertips – a very satisfying thing to do. It should be squidgy and much more elastic. Make a ball with the dough by pushing the edges into the centre. Once it is round, stretch the circle into an oval shape, long side toward you.
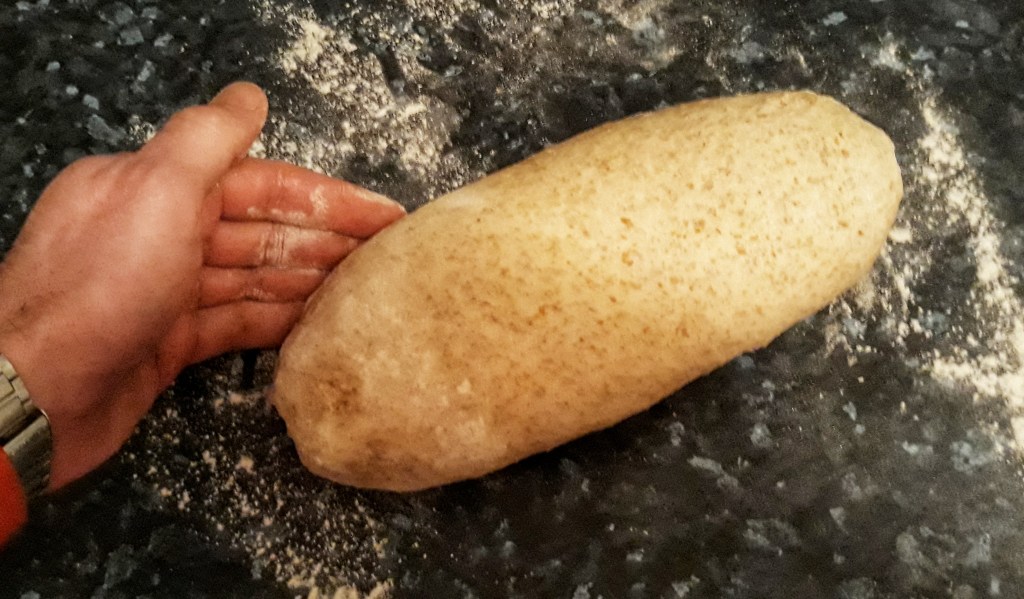
Now roll the dough towards you from the far end, tucking in everything tight all around, like tucking in your bed. This ensures that the seam is at the bottom of the bread and so that the top is nice and tight.

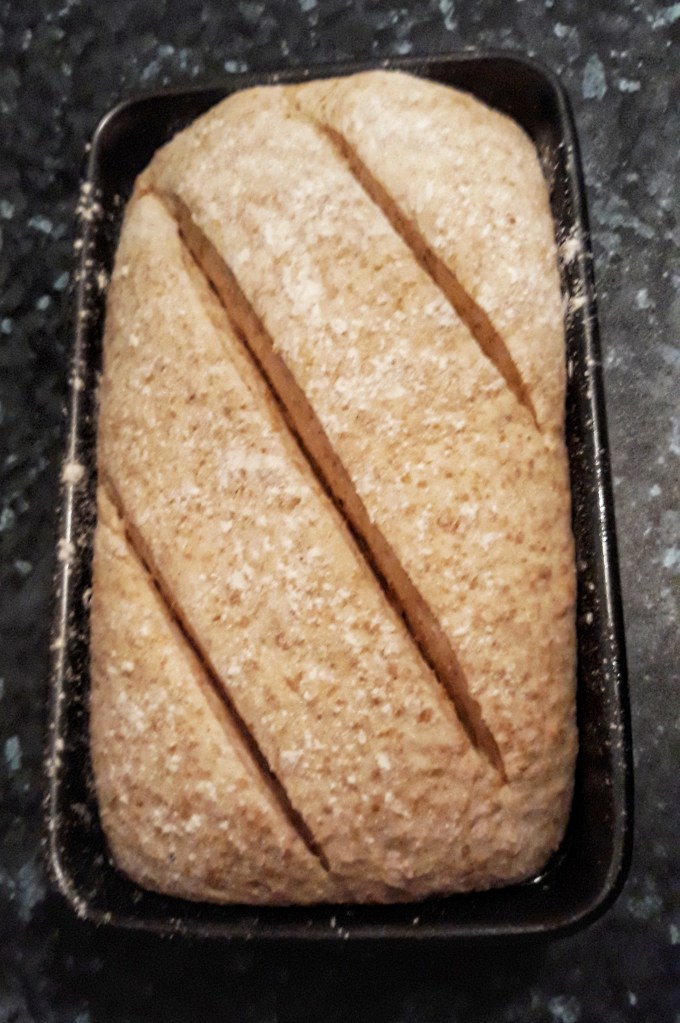
Cover with a plastic bag and allow to prove again, until doubled in size – it should have risen above the rim of the tin and should spring back when pushed by your finger.
Sprinkle with flour and make some cuts on the crust so that it can unfurl as it bakes – I go for diagonal slashes. It’s important to do it quite quickly and in one direction. A sharp serrated knife like a bread knife is best for this.
There are many methods for baking your bread, and some require a lot of messing around with trays of hot water and crazily-high temperatures. I do something much less dramatic: I put the bread in a cold oven and then turn it on – you get some extra rise without faffing about altering temperatures and giving yourself steam burns. If you have to use a hot oven, spray the dough with water to stop it forming a crust too early.

Set the oven to 220-230⁰C and bake for 40 minutes. When ready, the loaf will sound hollow when knocked with a knuckle.
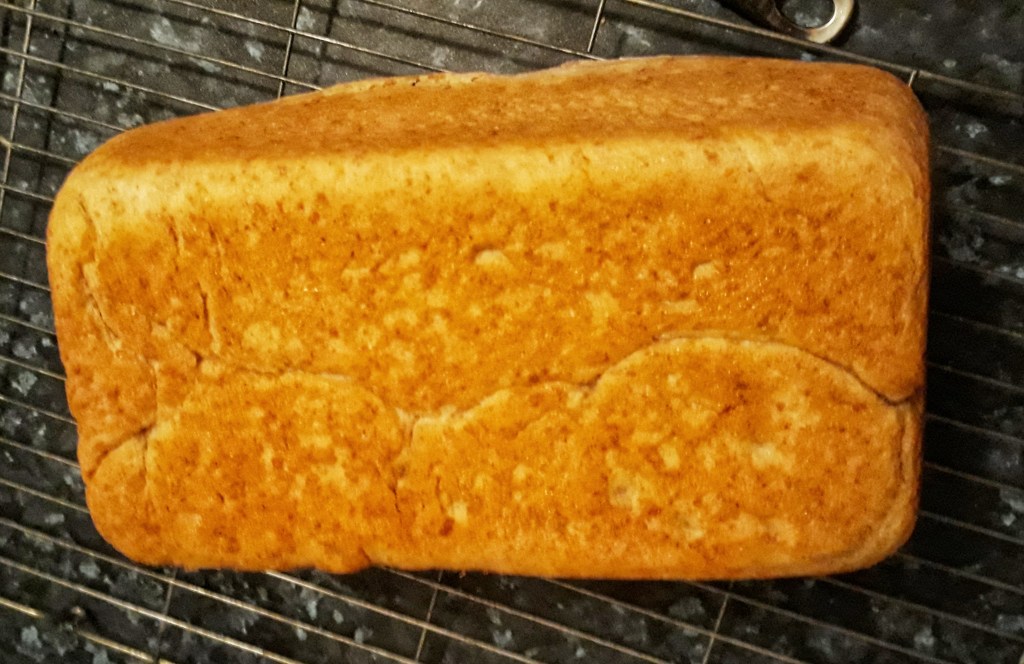
Important note no. 3: do not eat the bread when hot – try to resist! The still-hot steam can make it stodgy.
There it is – sorry it’s rather long, but hopefully it is a good guide to baking proper bread. If anyone has any extra tips, let me know…

Personally I suspect that many of the food intolerances that people develop could well be due to many years of consuming food that’s processed in bulk. When we know exactly what we put in our daily bread there’s no need to wonder is there? I agree that good bread is one of the more satisfying things to make oneself and it can also be one of the simplest. I make bread two or three times a week and it involves ten minutes work by hand, 8 hours sleep and 40 minutes baking. I buy flour and yeast from the local baker and prepare the dough just before I retire to bed for the night. ‘Kneading’ involves only three minutes stretching the dough across the work surface (like we used to stretch our chewing gum when we were street kids). The work surface and my hands are oiled, in my case with olive oil. I put the resulting ball of dough into a round caketin roughly lined with baking paper, sprinkle flour over the top and put it in the oven where it stays overnight. In the morning (I rise with the sun) I simply turn the oven on (temp set to 200°C) and attend to my ablutions.
40 minutes later I turn out the loaf and let it cool. I vary the flours I use (white, wholemeal, cornmeal, and sometimes add bran, oats and/or sesame seeds) and I add a little sugar when I remember. I never add any fat because the olive oil provides sufficient lubricant and keeping quality. Sometimes when I’m in the mood for some real artisan bread (like yours) I’ll knock back the first proving and do a second rising – also in the cool oven. If I buy bread ready-made it’s always from a local baker, never from a supermarket, though when I was in the UK I remember Sainsbury’s ‘granary’ loaf as being very nice indeed, and would still like to know what went in it.
I see the latest news from Sainsburys is that they’ve changed the name of Tiger Bread to Giraffe Bread (will it ever catch on . . . . .?)
Cheers . . .
LikeLike
Wowzas Eric! Thanks for the comment. I shall give your recipe a go and get back to you on it. I’m looking for as many ways a basic loaf can be made so yours is certainly added to the list….
There are no good bakers near me, unfortunately and so if I am to buy bread I have to get it from a supermarket – luckily there are some very good ones here in St Louis that really bake good bread in relatively moderate amounts.
Granary meal is made with a blend of wheatmeal, rye flour and pieces of malted grain, though I don’t know the actual proportions. I exoect they varied from bakery to bakery. I do love a nice granary loaf, but can’t get hold of any over here in the US. hey-hum.
Thanks again for the great comment!
LikeLike
I forgot to mention that I line the tin only because it’s a bit rusty. If i had a better one I’d just oil it.
LikeLike
Pingback: Our Daily Bread… | British Food: A History
Pingback: Basic Loaf « While He Was Out
Pingback: To Make a Coburg Loaf | British Food: A History
What do you mean with prove twice?
LikeLike
hello there. I mean to do the first rise, knock back, then rise again, knock back again and then shape into the loaf for the final rising. I hope that’s clearer….
LikeLike
That’s what I assumed, wasn’t 100% sure though, so had to ask. Thanks for the quick reply! I’m sorry I double posted, I screwed up somehow there..
LikeLike
haha. That’s ok. I often double-post. Hope your loaf turned out okay. I will actually be doing a new version of that post as I have got better at bread making…
LikeLike
What do you mean by proving the dough twice?
LikeLike
That just means that you leave it to rise twice, you leave it to rise or prove once then kneed it again and leave it to rise a second time.
LikeLike
whoops! just seen that you question has already been answered 🙂
LikeLike
A hah! It has. I keep meaning to update this post as I have gotten much better at bread-making since then…
LikeLike
Pingback: Hot Cross Buns | British Food: A History
Pingback: Cornish Splits (& More on Cream Teas) | British Food: A History