

Here’s another recipe to add to the series of posts on bread and bread-making (see main post here).
Coburg loaves are a common sight in traditional bakeries, but are rarely spotted outside of them these days. A Coburg is a round loaf that is not baked in a tin like your basic loaf (see recipe here), but as a round plump crusty loaf on a tray. On the top there are cuts in a cross shape that open up when it bakes. It can be made with pretty much any flour you like – white, whole-wheat, rye, oat, or whatever takes your fancy. I class it as one of the basic loaves because it contains just flour, yeast, salt and water.
Technically, a Coburg is a kind of cob, the only difference being that a cob does not get cut before going in the oven, though these days, there is no real distinction really. There are variations on the Coburg cuts though; sometimes several cuts are made in a chess board fashion which expands to make a porcupine loaf, which is also known as a college loaf or a Manchester loaf. Alternatively, the top of the dough gets quickly stabbed with a piece of wood spiked with lots of nails. A bit hardcore that one.

The Coburg loaf became popular in the Victorian era, and I assumed the loaf was named after Queen Victoria’s hubby Prince Albert Saxe-Coburg-Gotha, as many things were in those days. The British public were fascinated by the royal couple, and really took to many German traditions (especially a Christmastime). However, it may not be the case. There was such a thing as Coburg material; cheap and coarse and used for making mourning clothes that predated Albert so the word is older. The most likely explanation is that a German baker living in London, as many did, gave it his family name, though no baker actually knows who this was. The loaves themselves were certainly around before the Victorian era, centuries earlier in fact. They were made from courser grains than today and went by the name of a Brunswick loaf. So it seems all that occurred was a name change.
The good thing about baking these loaves is that you need no tin and consequently you achieve a good crust all over the surface. The recipe below is based on one from Elizabeth David and I haven’t provided massive detail on the making of the dough as I have already done that in the recipe for baking a basic loaf, so if you are new to bread-making, it might be worth having a little of that post first (you’ll find it here).
Also, this method asks you to put the loaf in a cold oven and then timing the bake from the time it gets to temperature, this way you get an extra-fluffy loaf. There is a little oil or butter to add if you like too; fat helps the bread keep fresh an extra day.
If you like the blogs and podcast I produce, please consider treating me to a virtual coffee or pint, or even a £3 monthly subscription: follow this post for more information.
Ingredients
up to 15 g fresh yeast or 8 g easy-bake yeast (see method)
400 g strong white flour (or a mix of up to 50% other flour(s) if you like)
10 g salt
25 g softened butter or olive oil (optional)
250 g blood-heat water
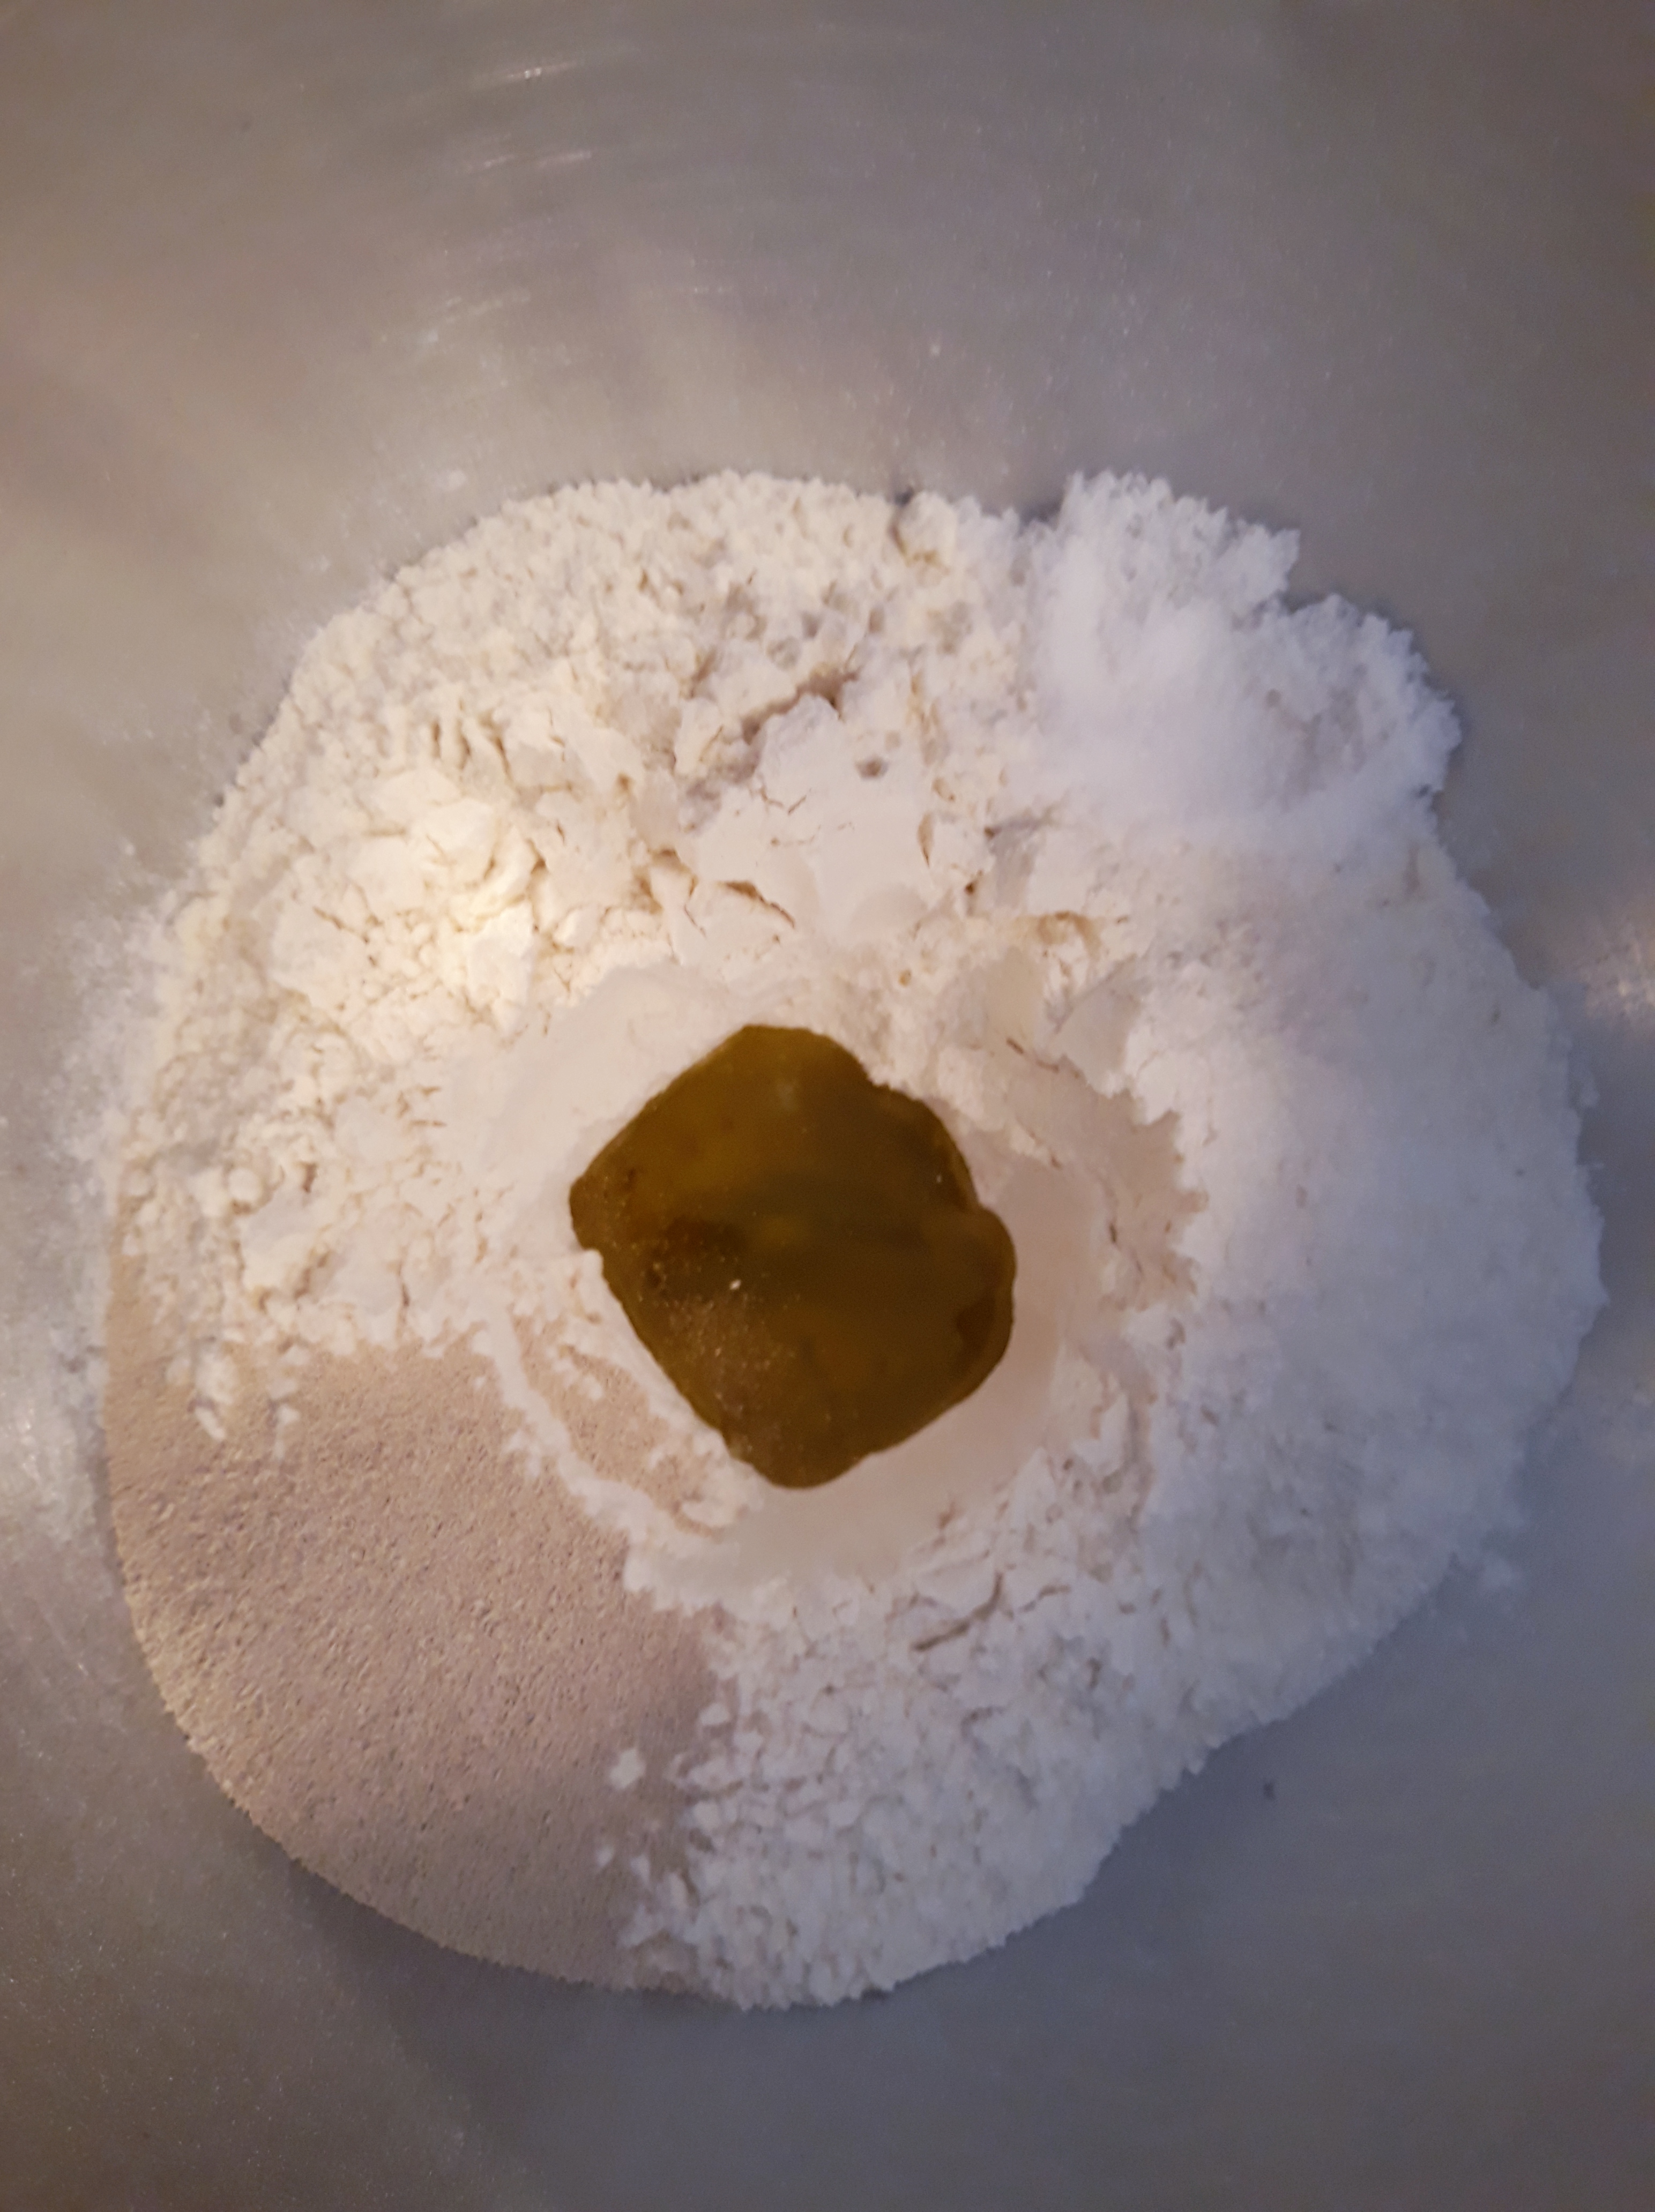
If using fresh yeast, cream it in a little of the warm water, adding a pinch of sugar and leave about 10 or 15 minutes until it is alive and foaming. Put the flour in a bowl, make a well in the centre and tip the yeast in along with the remainder of the water and the oil or butter.
If using dried yeast, make a well in the flour adding the salt to one side of the bowl and the yeast on the other side. Pour the warm water into the well along with the butter or oil.
Mix together with a wooden spoon and then bring the dough together with your hands. Alternatively, you can use the dough hook on a mixer to bring it together. Knead well until the dough becomes tight and springy, around 5 minutes in a mixer, or 10 or so minutes if kneading by hand. It will be sticky, but persevere, sprinkle a little flour or a smear a little olive oil on your work surface if you like. Bundle the dough into a tight ball and place in an oiled bowl and cover to allow it to double in volume in a warm place.
Knock the dough back lightly and give it a brief knead. If you want, give it another rising.
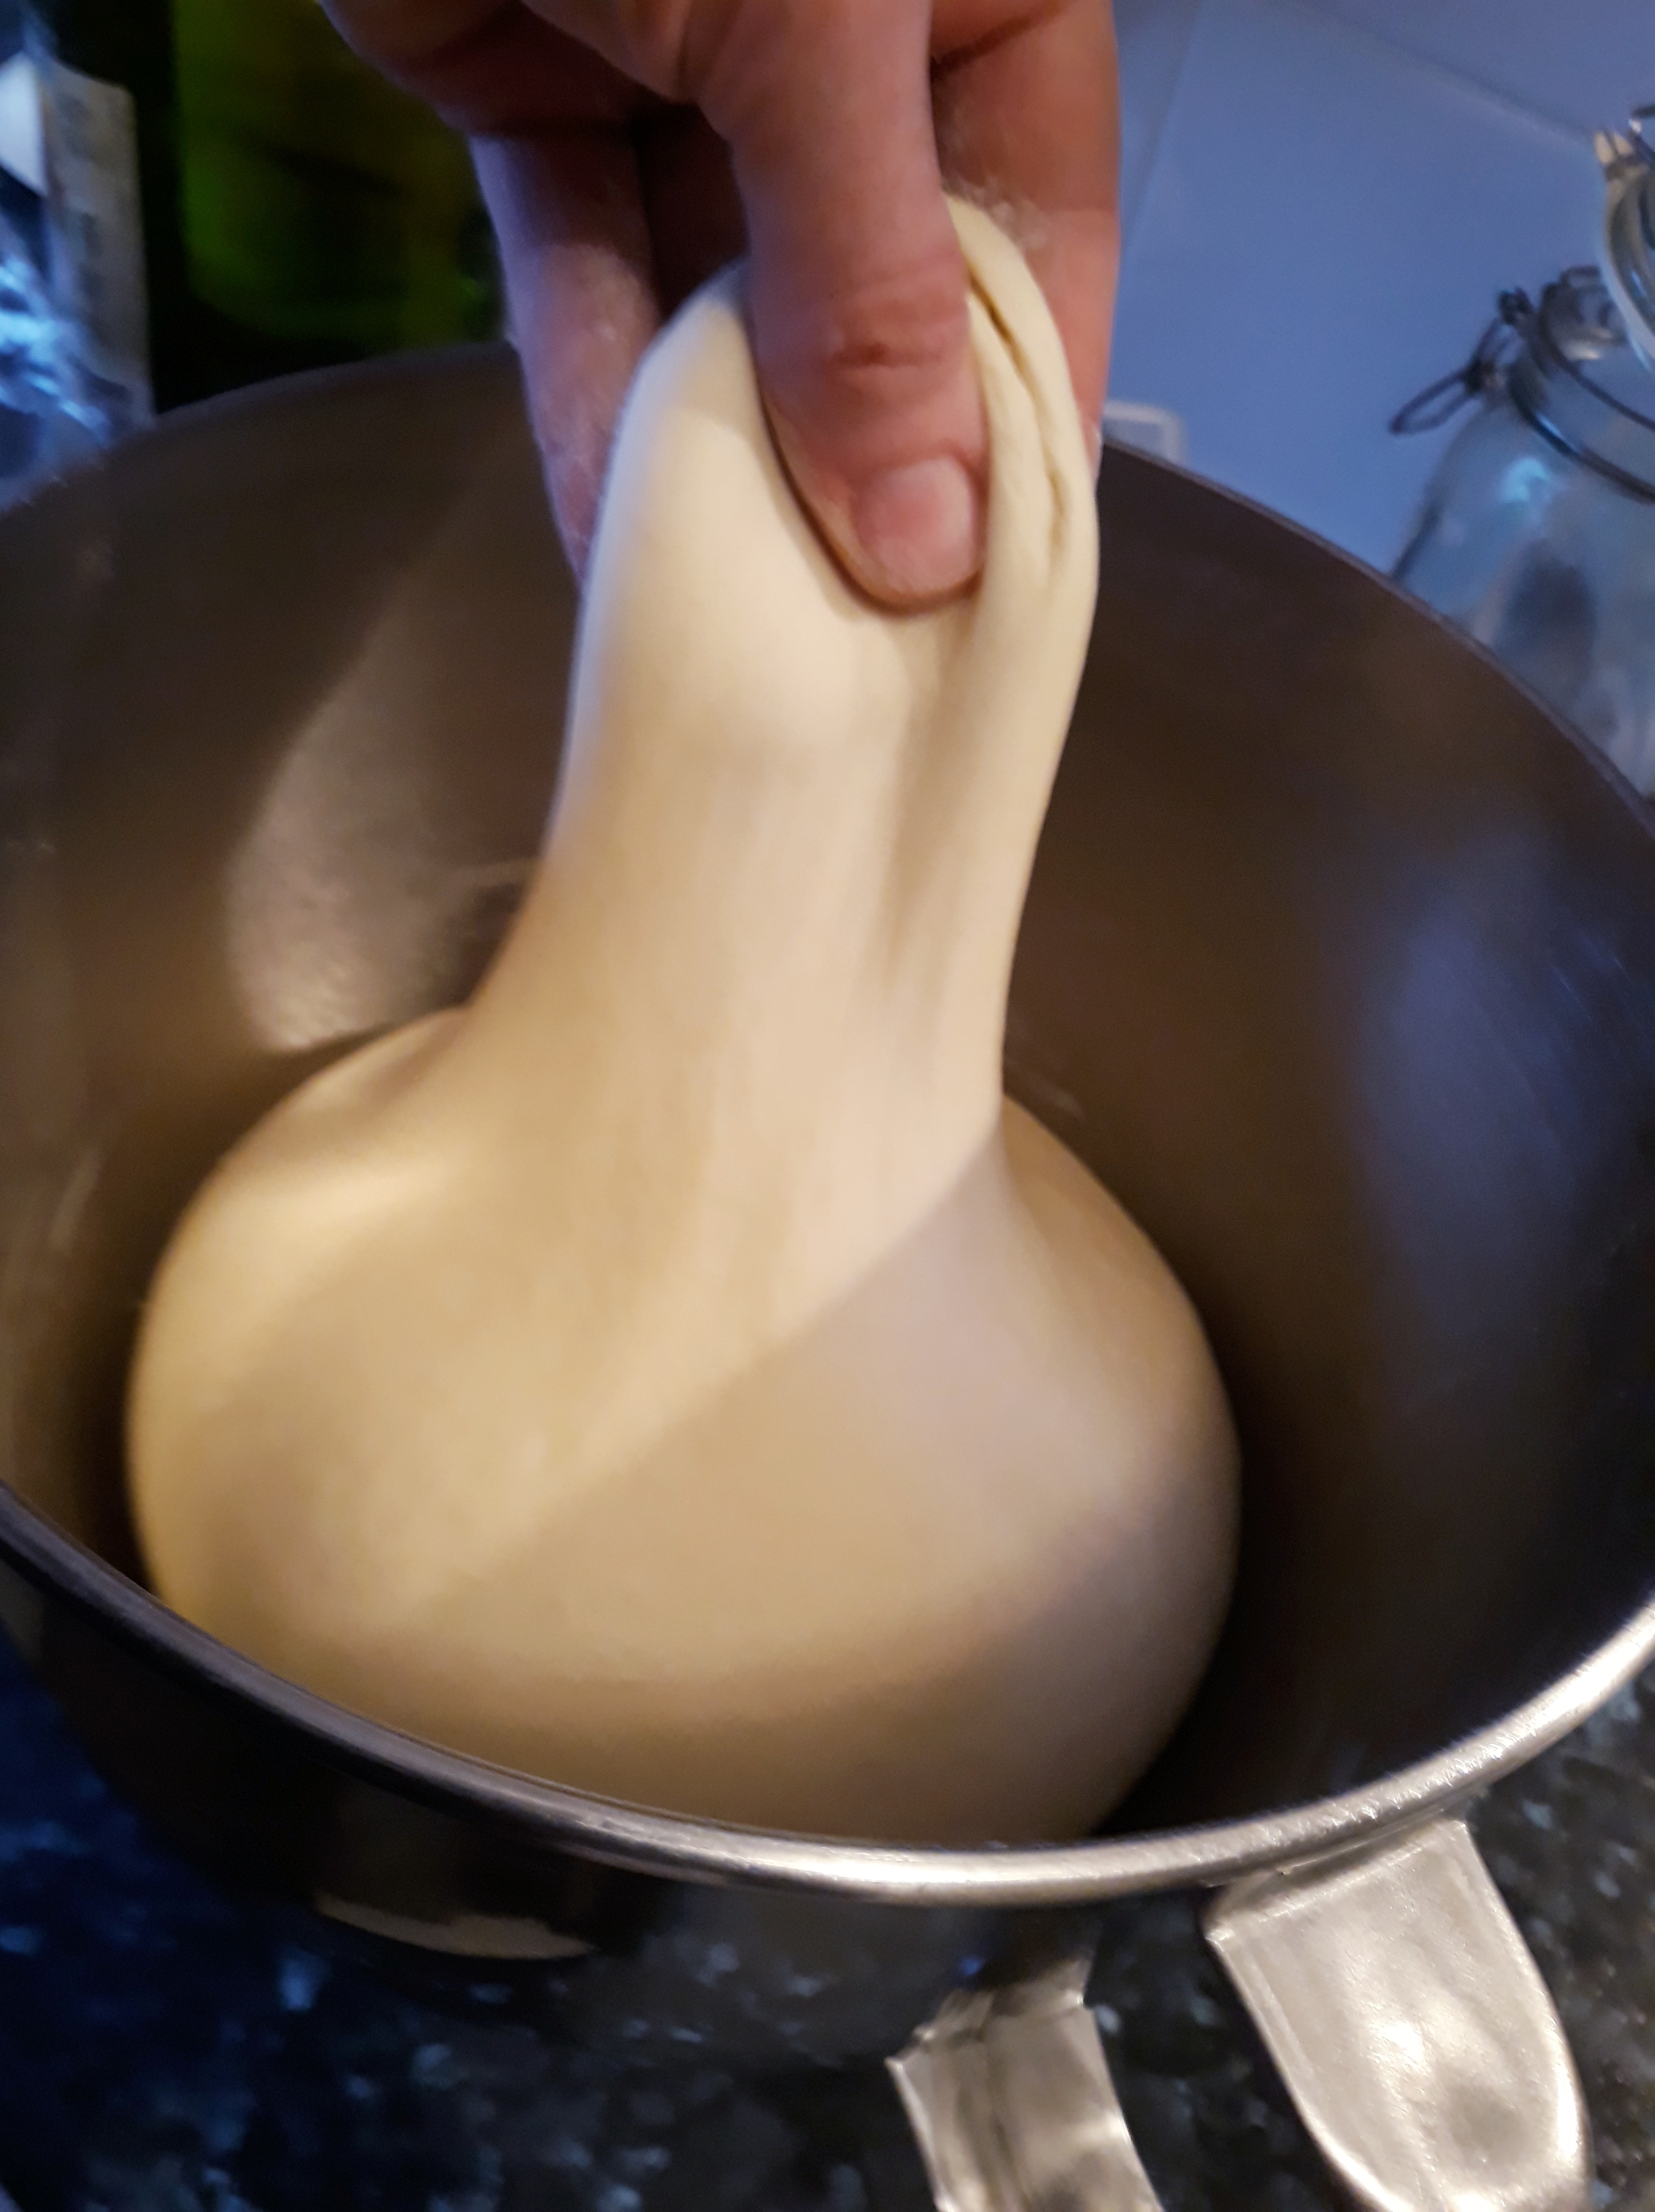
The super-stretchy dough after its first proof
On a lightly-floured work surface, make the cob shape by forming a ball with the dough by tucking your hands under it, tightening the dough. If you twist the ball of dough slightly as you do this, it will be extra tight.
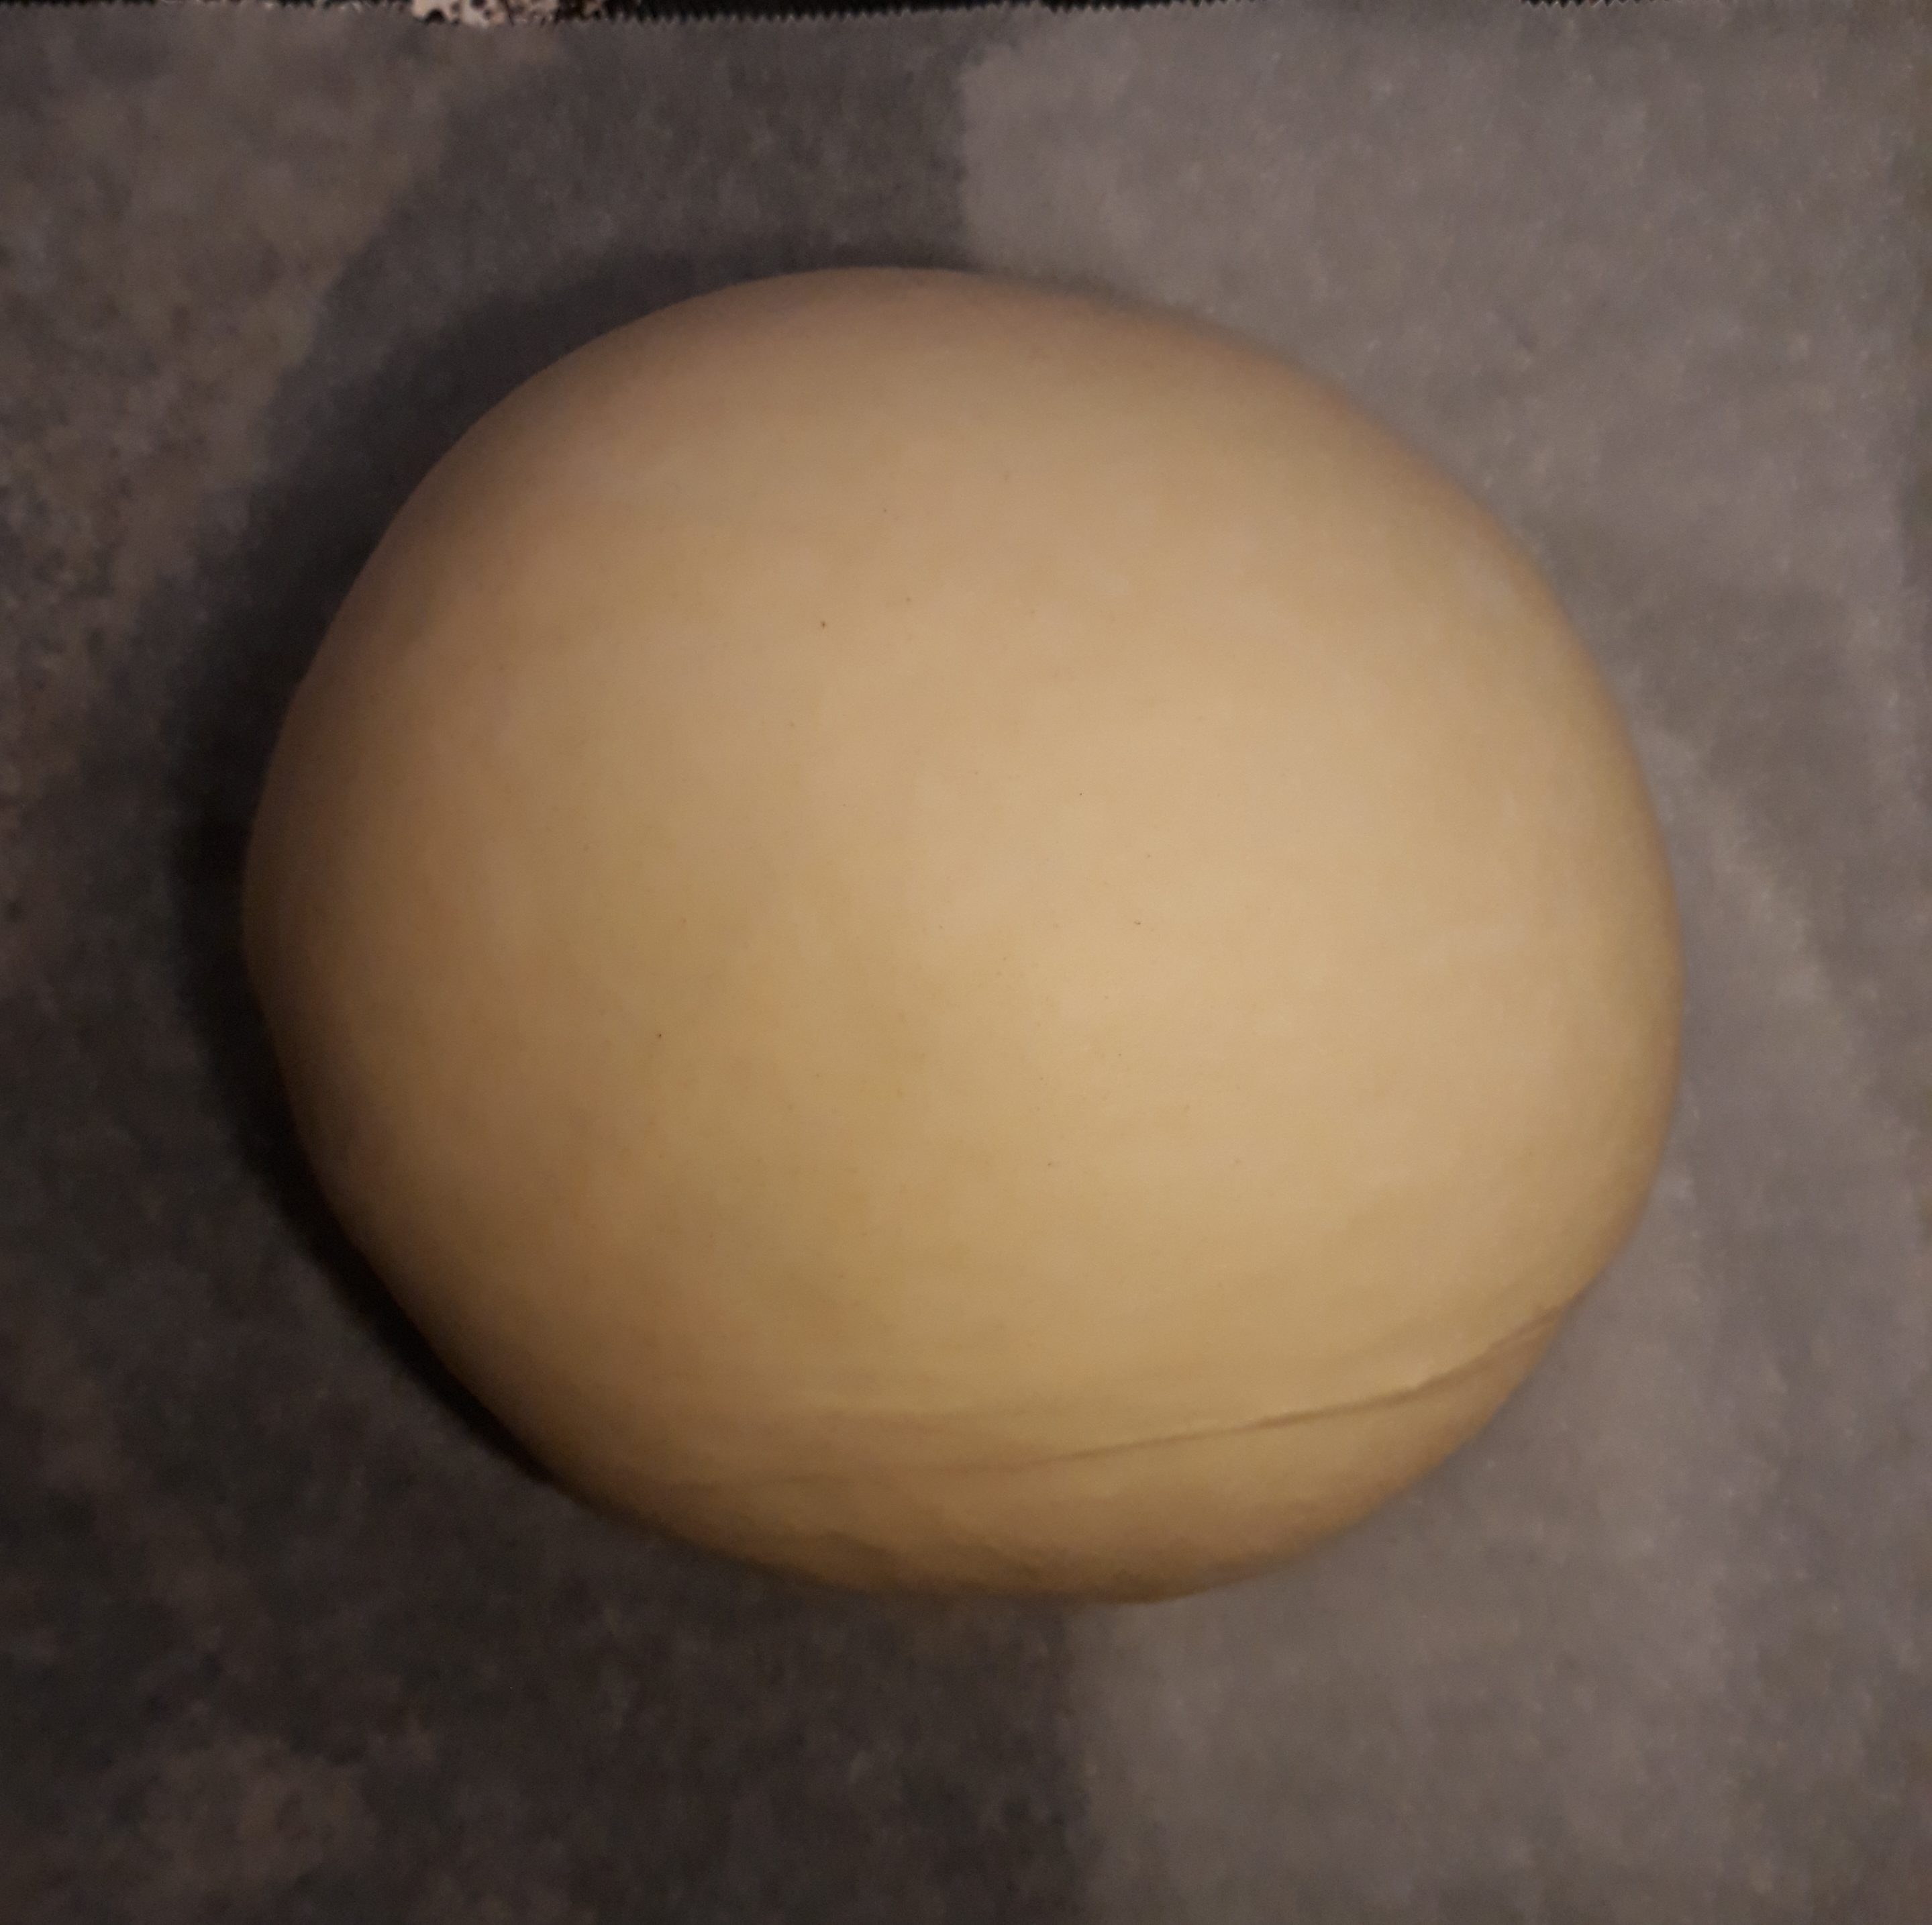
Place the dough on a floured baking tray and cover with a large plastic bag or large bowl or pot.

Slash the top of the loaf with a sharp serrated knife to make a cross shape and place in a cold oven. Set the oven to 220°C and once the oven has got up to temperature, bake for 15 minutes. Turn the temperature down to 200°C and bake for a further 15 – 20 minutes, until brown and crusty. Check the loaf is cooked by knocking its underside and listening for a hollow sound. Cool on a rack and listen carefully for the sound of the crusts cracking!
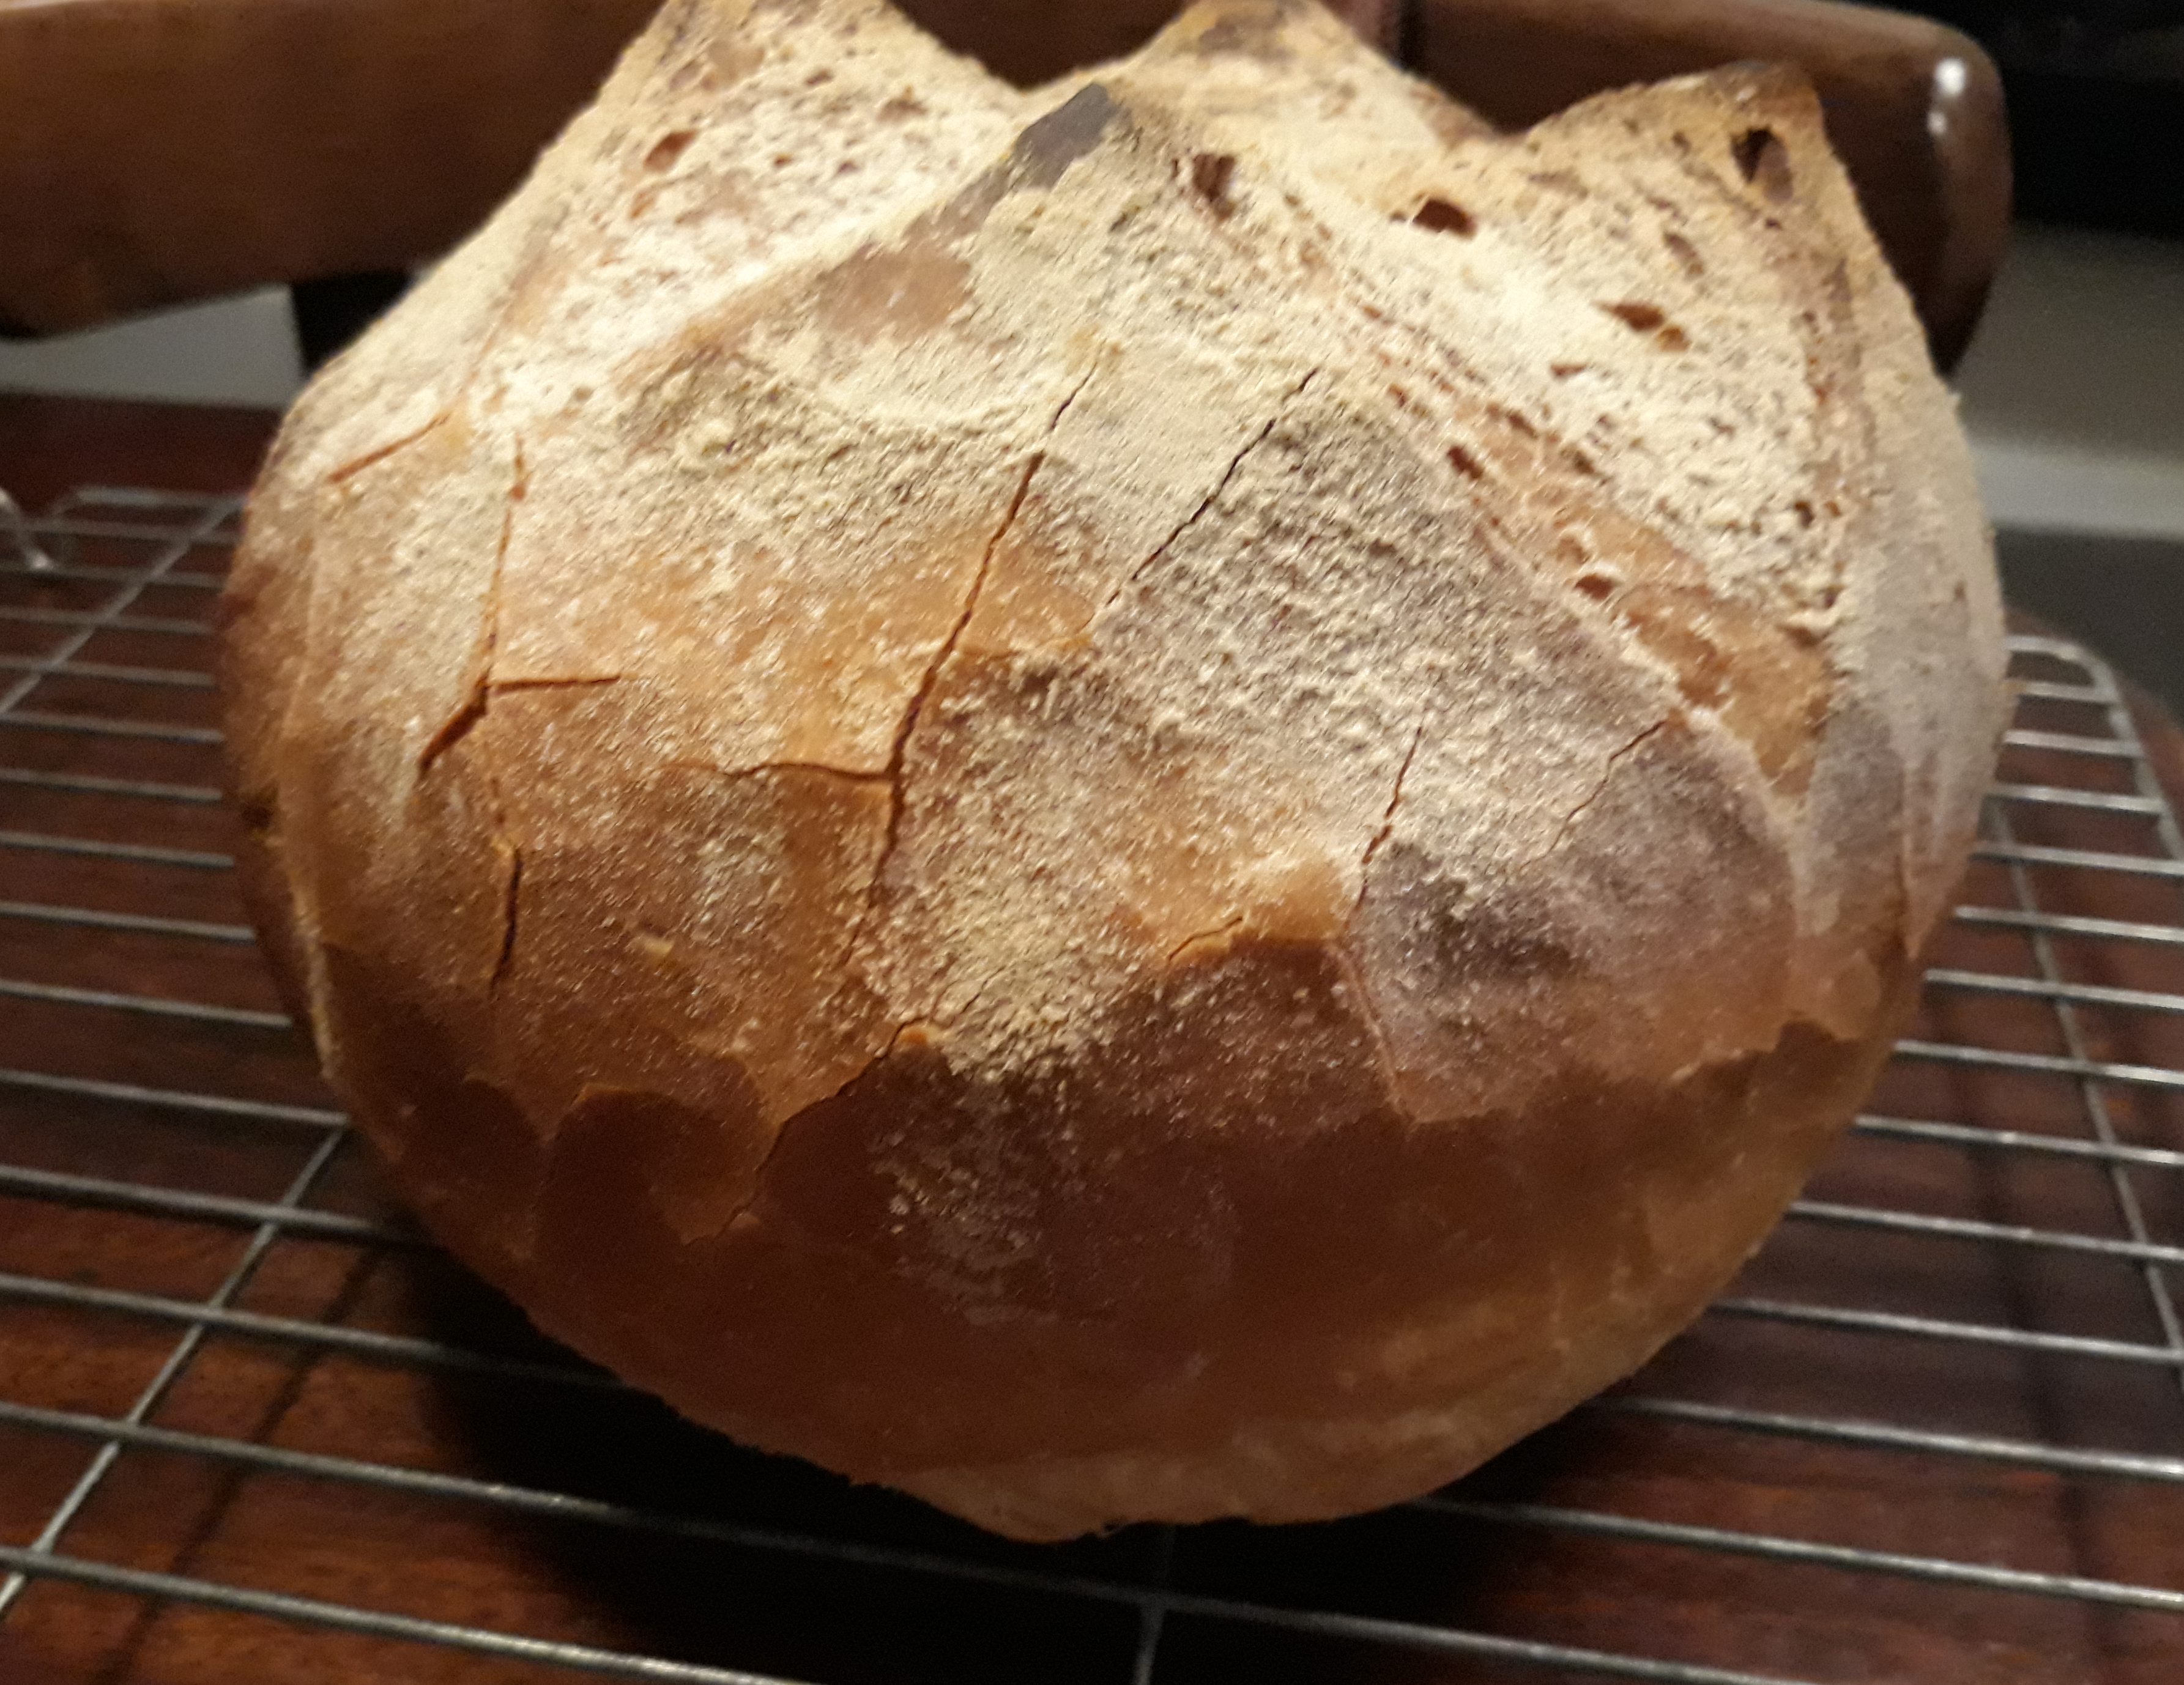
A close-up of the cracking crust

Loathe as I am to disagree with the great Elizabeth David, normally my idol and inspiration, I was taught, at both the bakery behind my grandparents’ house and at Kelly’s bakery, which used to be on Harehills parade, that to make a Coburg loaf you must use a sponge – it is not only the shape that is characteristic but the extra development of the gluten and the extra flavour. Of course things may have deteriorated in these modern times when standards are not what they used to be……………
Kelly’s made the best ever oven bottom cake in the days of my youth – I must have spent a billion hours trying to reproduce it. Even better than my York grandmother’s or my own mother’s. It was a must for us if we were heading for a day on the moors – just the right size for two hungry teenagers with about half a pound each of butter and wensleydale
LikeLike
Hello Kathryn. How do you mean ‘use a sponge’? Do you wipe the top with a wet sponge or something to help the dough rise more in the oven?
LikeLike
In baking setting a sponge is making a batter with the water, yeast and about a quarter of the flour – less if you are making the bread in commercial quantities and leaving it in a warm place overnight. Then you add the rest of the flour, the salt, and any extra yeast food such as sugar or honey the following morning and proceed in the usual way. We still have one bakery not too far away with an old fashioned plate oven and a couple of times I’ve been up there in the early morning when it is still gently warm from the previous day’s baking and when the canvas is taken off the trough with the rising sponge you could get happily drunk on the scent.
LikeLike
Everyday’s a school day! Thanks for that Kathryn. I shall add it to the long, long list of bread posts I intend to do….
LikeLike
I wouldn’t put all the yeast in the sponge mixture if I were leaving it overnight – it would over-ferment, especially if it was in a warm place. The point of a sponge is to use slow fermentation to bring the flavours out from the flour: the longer you can leave it the less yeast you need and the better the flavour will be. If I were in a hurry I would use all the yeast for the sponge but use it not much more than a hour after mixing. For overnight I would use only about 1/4 of the recipe’s yeast and then probably not add all of the rest when doing the final mix – how much I’d use would depend on how active the sponge is.
LikeLike
Thanks for the message – I agree with you. I’ve made quite a few loaves since those comments and I always use a tiny amount of yeast if I have the time. Been enjoying some sourdough recently and it is in the queue of posts for me to write!
LikeLike
ps – I prefer the porcupine cuts – more crust
LikeLike
yes – i am going to make a porcupine crust next time I do a Coburg…
LikeLike
Pingback: Our Daily Bread… | British Food: A History
I’m making this today using the sponge method. I also did half my bread flour and substitute it with wholemeal. Will let you know how it turns out!
LikeLike
Oh yes do try it and let me know how it turns out…. I haven’t gotten round toit yet
LikeLike
If i knock it back more times and let it rise, does this make the bread softer?
LikeLike
Yes it does – you get more, but smaller bubbles as the gluten develops from the multiple risings. the more you do ,the better the bread…
LikeLike
oh bugger, i only did it twice this time. Will try more knock and rise next time. I’m trying to make my own sourdough culture. if it turns out well, i shall give you some!
LikeLike
My bread book has instructions to make your own sourdough. I shall root them out for you if it’ll be any help..?
LikeLike
Coburg Cob
Two weeks ago I bought a loaf of bread from a supermarket, it was labelled as a Coburg Cob. I did a little research online and found a recipe. I decided today to try and make a Coburg Cob.
Two things I need to address when I make it again
1. Roll the ball of dough tighter
2. Cut the cross deeper
LikeLiked by 1 person
Getting the dough tight is the most important thing and does take a little practise. It’s easier with dought made from strong white flour.
For cuts, i prefer a sharp serrated knife over a razor. You have do do it one long slice with the knife too, you have to do it with confidence!
Good luck with the next one!
LikeLike
Thank you, I will remember that next time
LikeLiked by 1 person
Made two more Coburg Cob today, still can’t get the cuts right but I’ll be working on it.
Loving the bread recipe it’s definitely now my go to recipe for bread
LikeLiked by 1 person
That’s great! Glad the recipe is working for you
LikeLike
Pingback: A Cottage Loaf | British Food: A History
I see I’m way late on the comments here, came here from your post today on the Cottage loaf. Anyway, I have a 10″ chef’s knife that I keep really sharp for cutting vegetables, etc., and I use that when cutting the cross on a Coburg loaf, or even an Irish soda bread. Woks really well!
LikeLiked by 1 person
Thanks for the comment!I find big knives are better in general. I can’t do the cuts properly with a razor blade…obviously requires a knack!
LikeLike
Hi, I haven’t made this yet but I was wondering if there is a reason why this recipe calls for putting it in s cold oven. I’ve always put my bread into hot ovens.
LikeLiked by 1 person
Yes, it gives the yeast in the bread a boost so you get a better rise. Alternatively you could put some hot water in a tray to create steam. The latter works well but is a bit of a faff
LikeLiked by 1 person
Also a very handy way to get the extra lift if your oven happens to be a cast iron range like mine – putting in pans of hot water leads very rapidly to rust. And in these days of controlling our carbon emissions you aren’t wasting all the carbon you’ve released to heat the oven
LikeLiked by 1 person
Hi can someone explain why this recipe calls for the loaf to be put into a cold oven plz?
LikeLiked by 1 person
See my reply to the comment above…( you give the bread a boost!)
LikeLiked by 1 person
Pingback: Bread & Bakers with David Wright | British Food: A History