Tag Archives: preserves

Gooseberry Jam


If you like the blogs and podcast I produce, please consider treating me to a virtual coffee or pint, or even a £3 monthly subscription: follow this link for more information.


I was kindly given part of a large crop of gooseberries by my friends Kit and Ellie, their two bushes have been prolific this year. Earlier in the summer, I used some of their underripe berries to make a sauce to accompany mackerel, but now they were large and quite sweet.

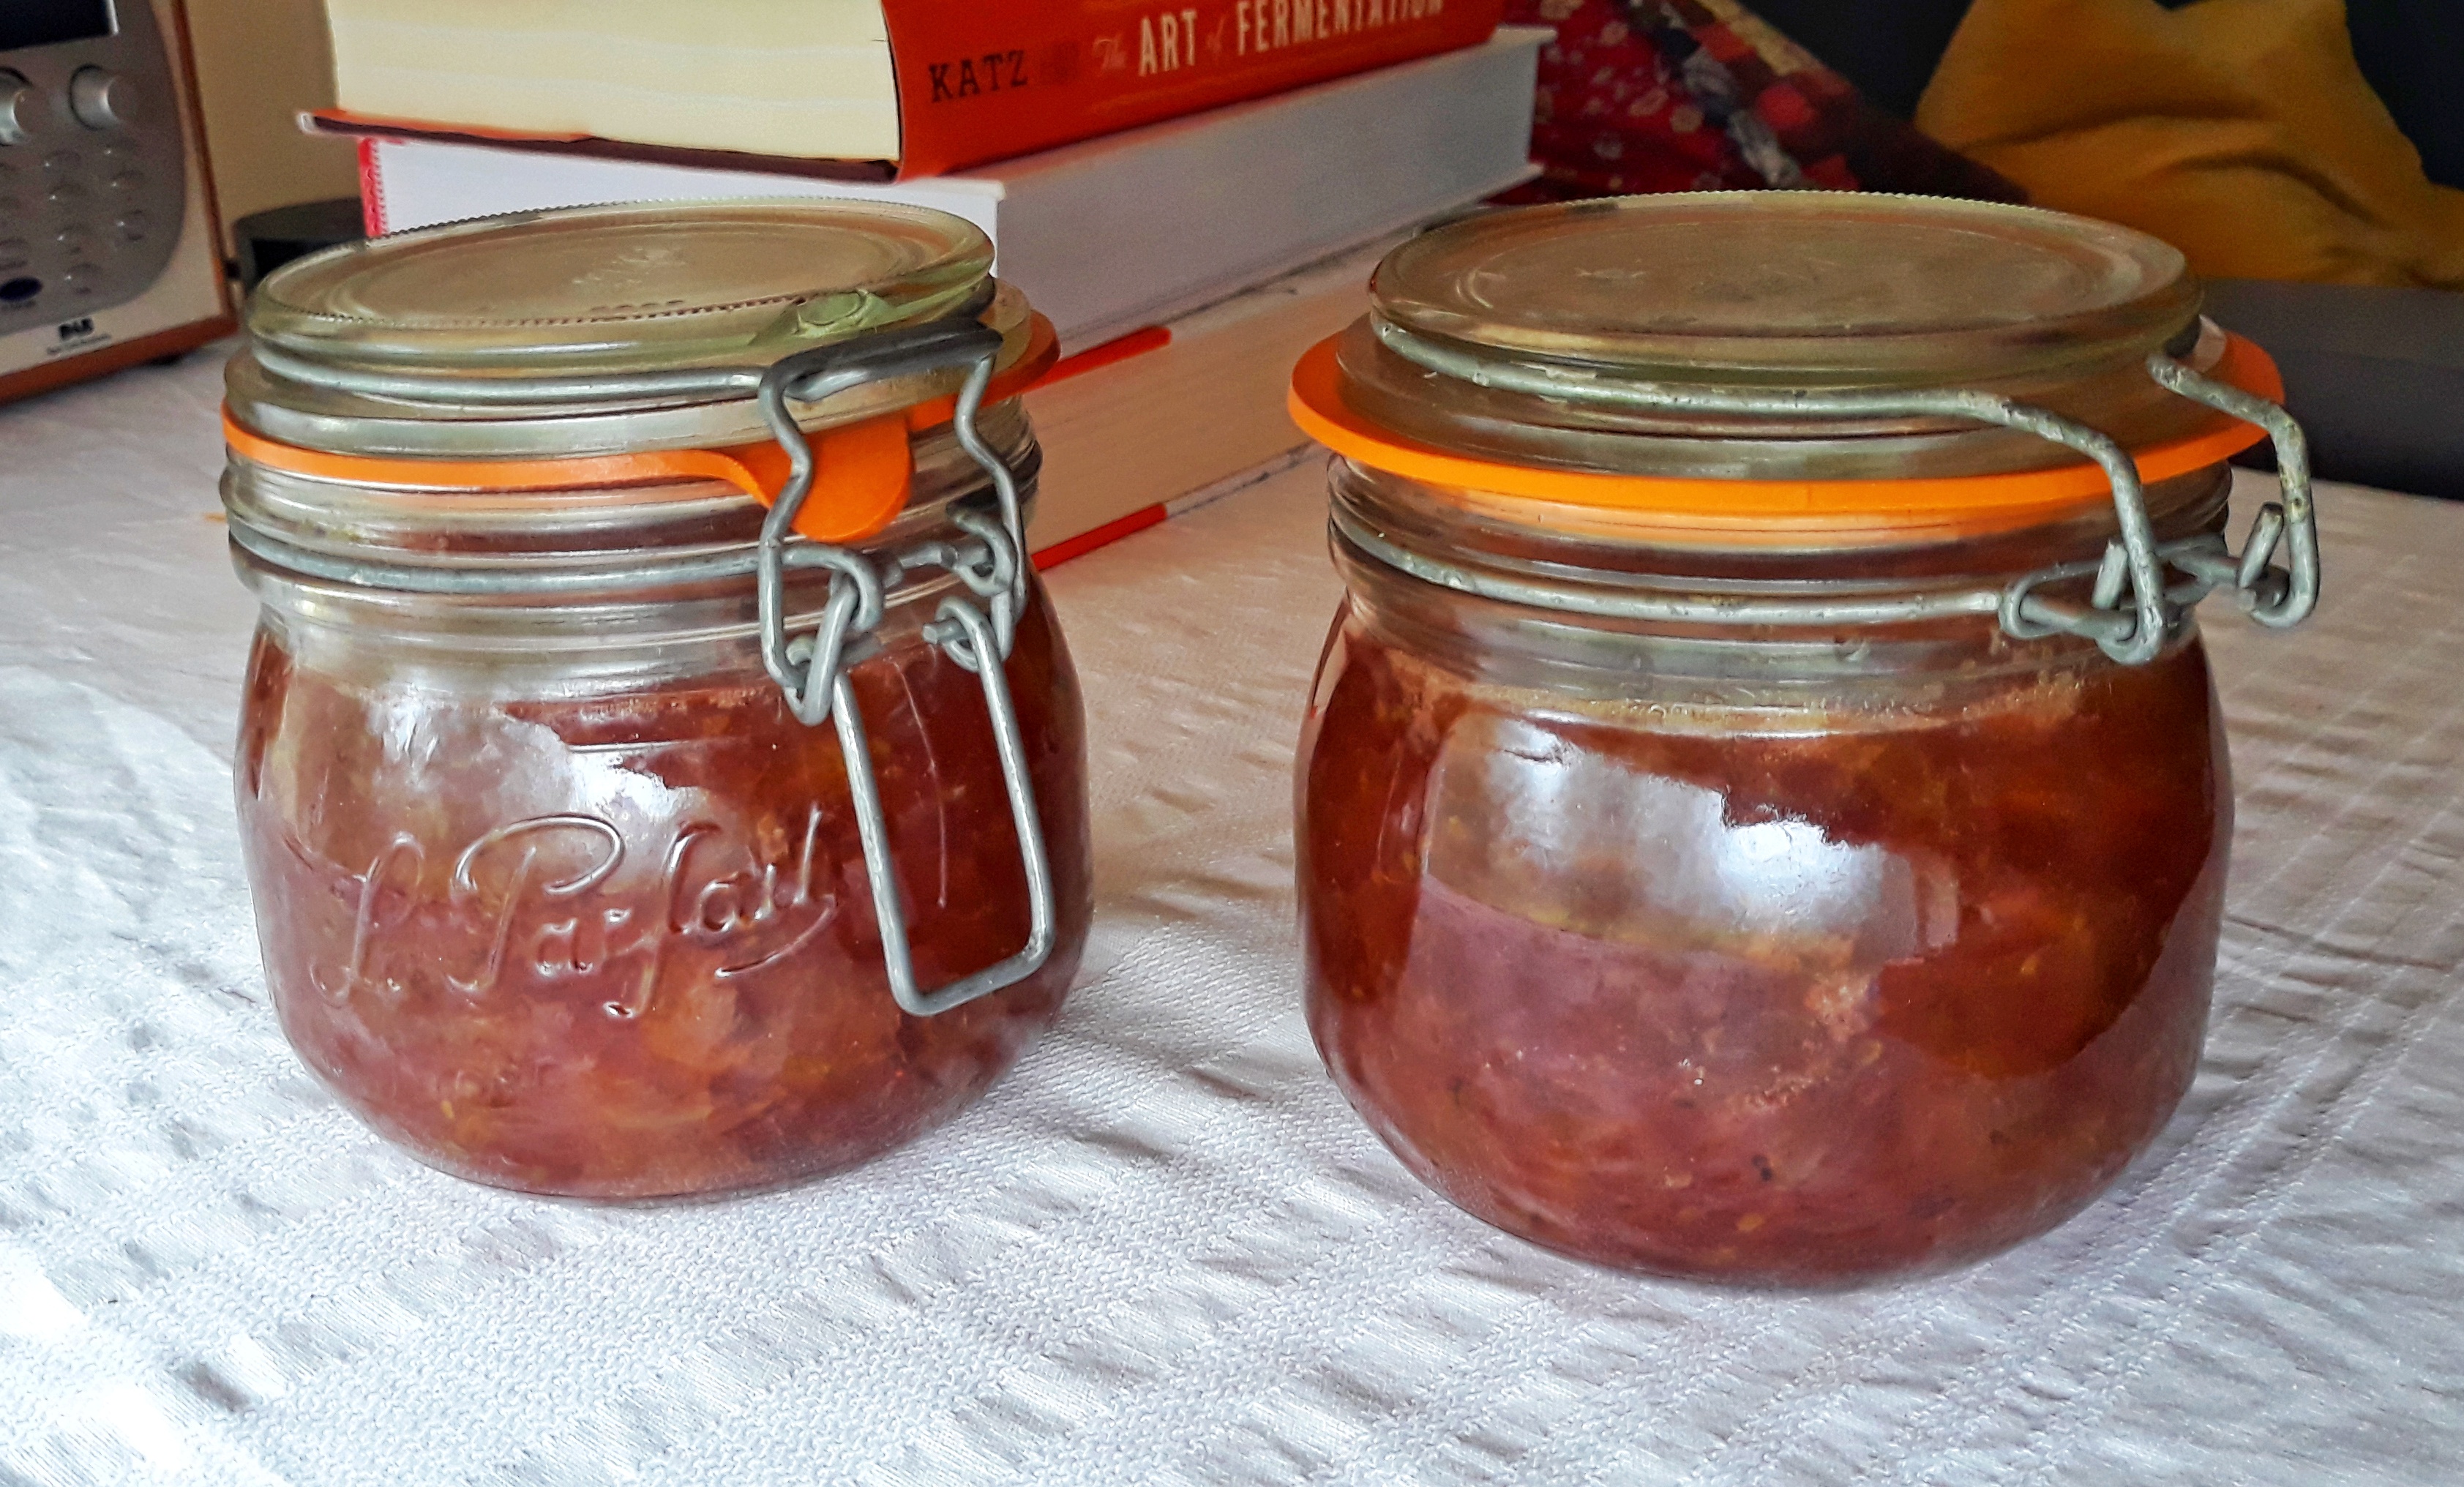
I made the lion’s share of them into gooseberry jam and thought I would give you a recipe, as it is so easy to make, and you are unlikely to find it in the shops. If you don’t know of any gooseberry bushes, try a greengrocer – I have spotted them in quite a few shops this year.

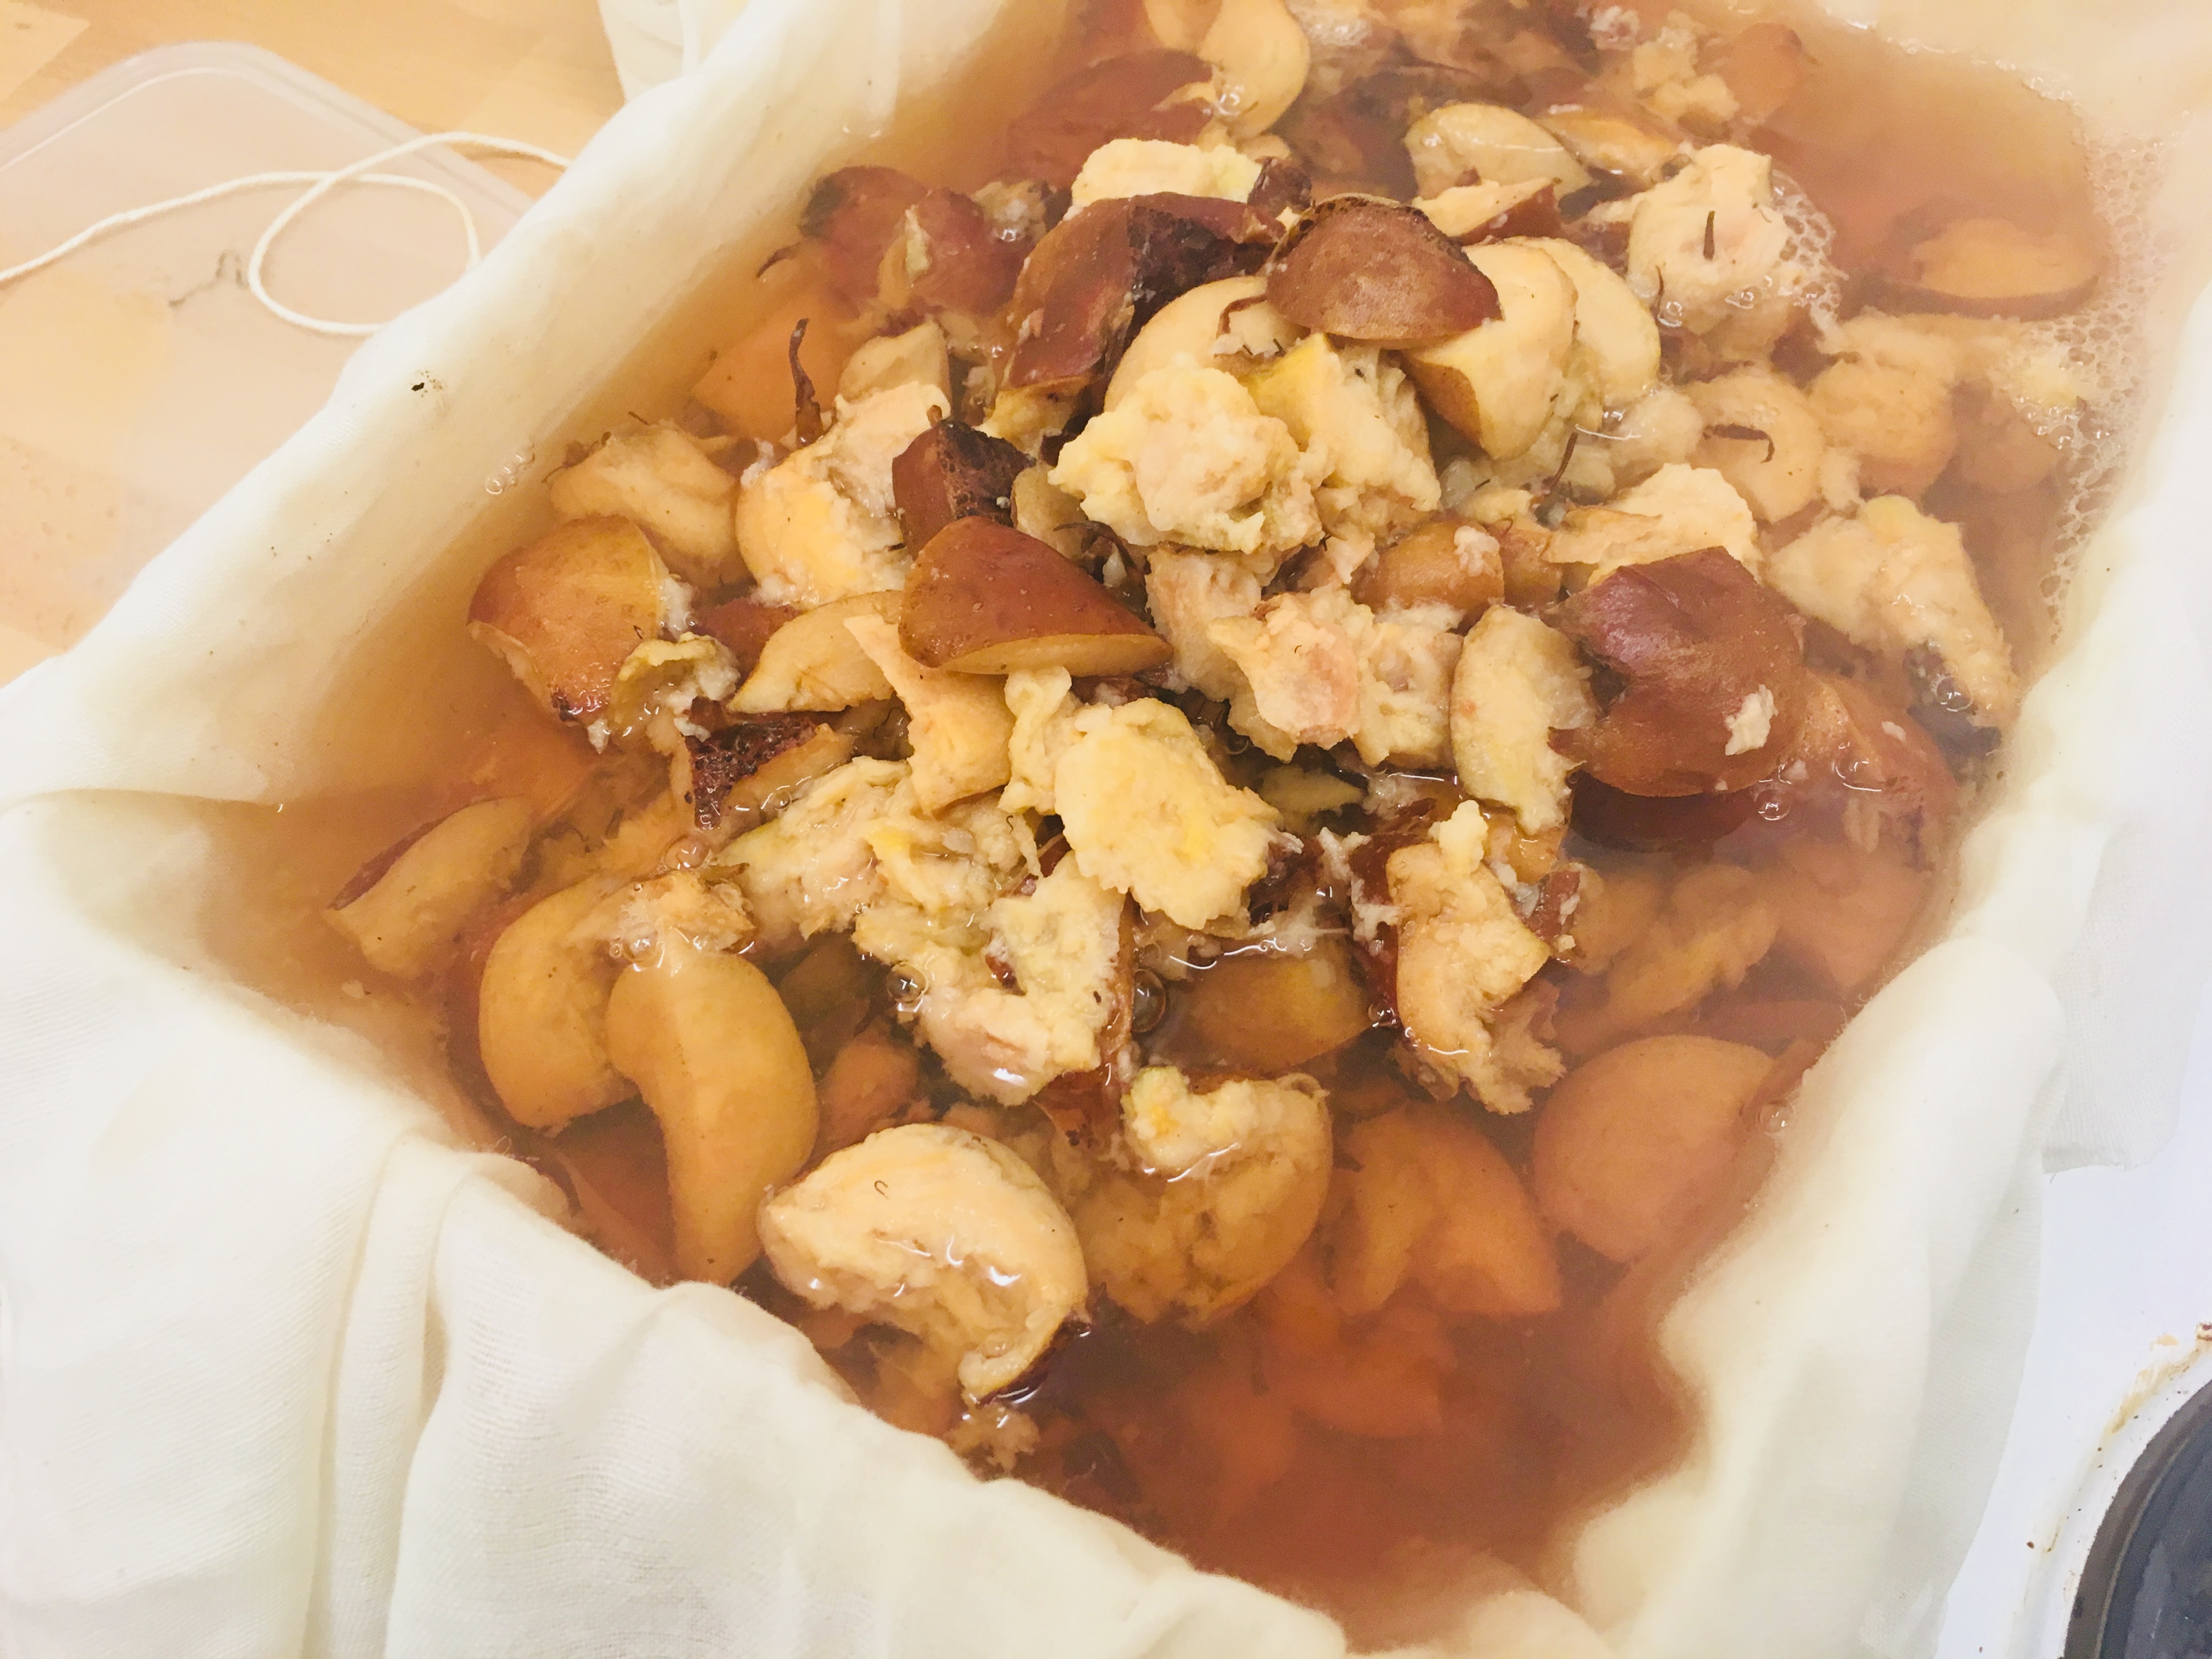
The great thing about gooseberry jam is that the gooseberries change in colour, adopting an appetising warm pinkish hue with the intense heat of jam-making. This change is apparently due to the anthocyanins in the gooseberries interacting with metal ions leached from the cooking vessel itself.

Gooseberries are not as juicy as their red, white and blackcurrant relatives so they need a bit of extra added water to help dissolve the sugar. Gooseberries are high in pectin, especially when young, so there should be enough to set the jam. However, if they are late season and ripe, you might want to replace a small proportion of the sugar with jam sugar, which contains pectin, to give them a helping hand.

The jam I made is simple: gooseberries, sugar and water, but if you have any of the extras in the ingredients list below, feel free to add them if you like.

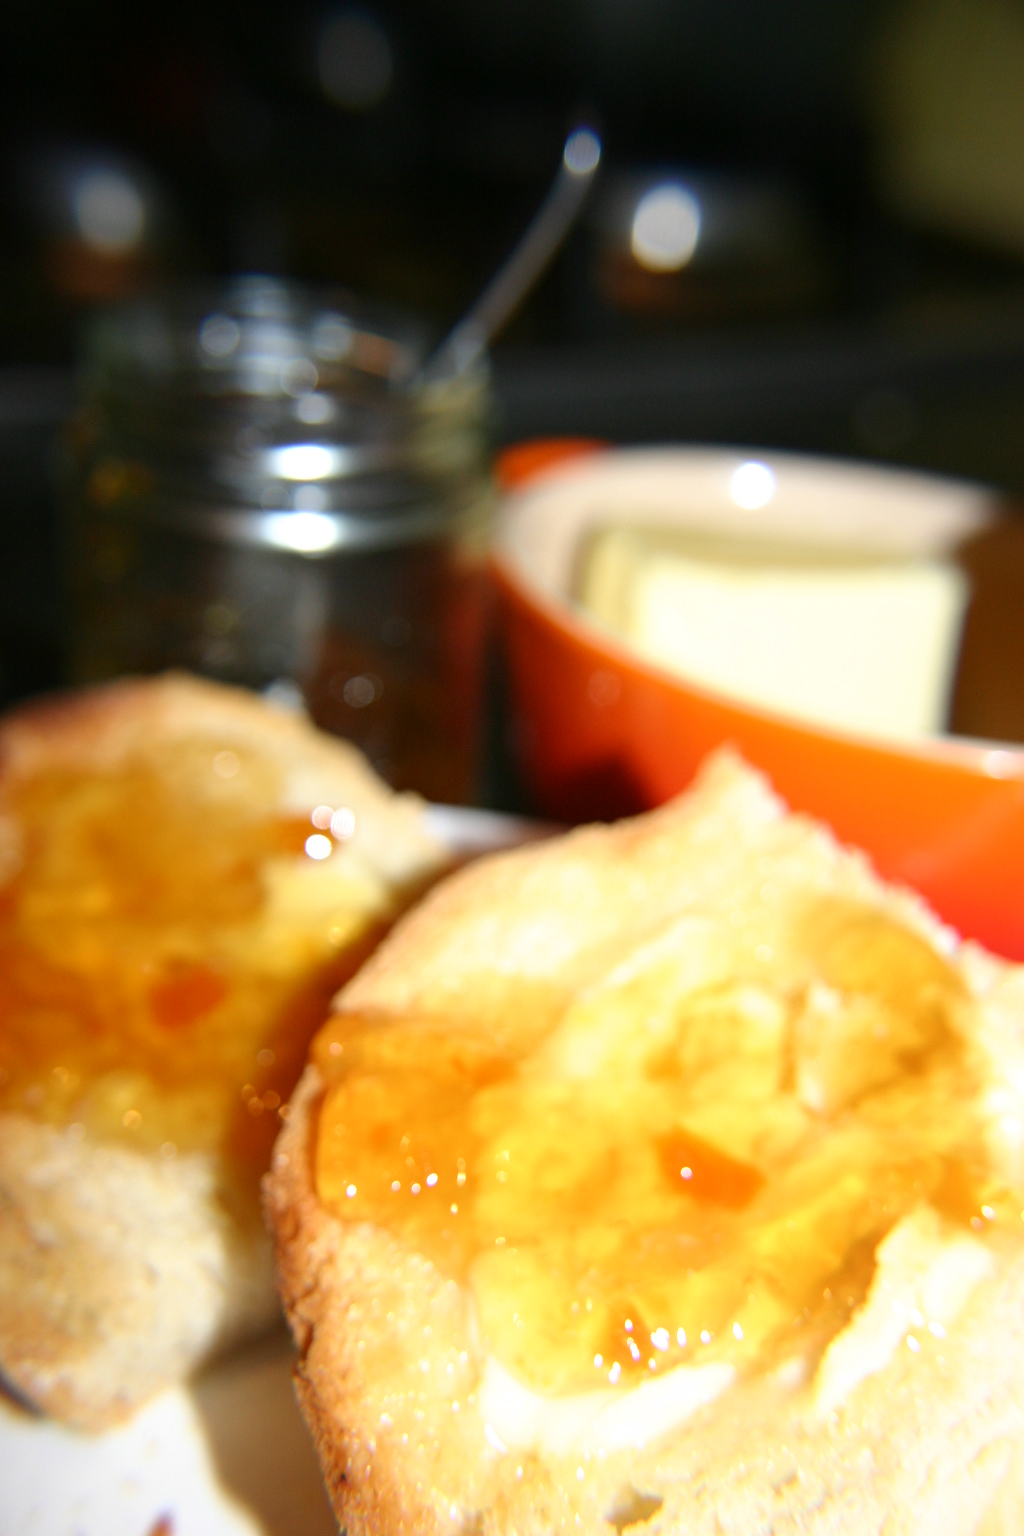
The jam makes a great roly-poly or Victoria sponge filling.

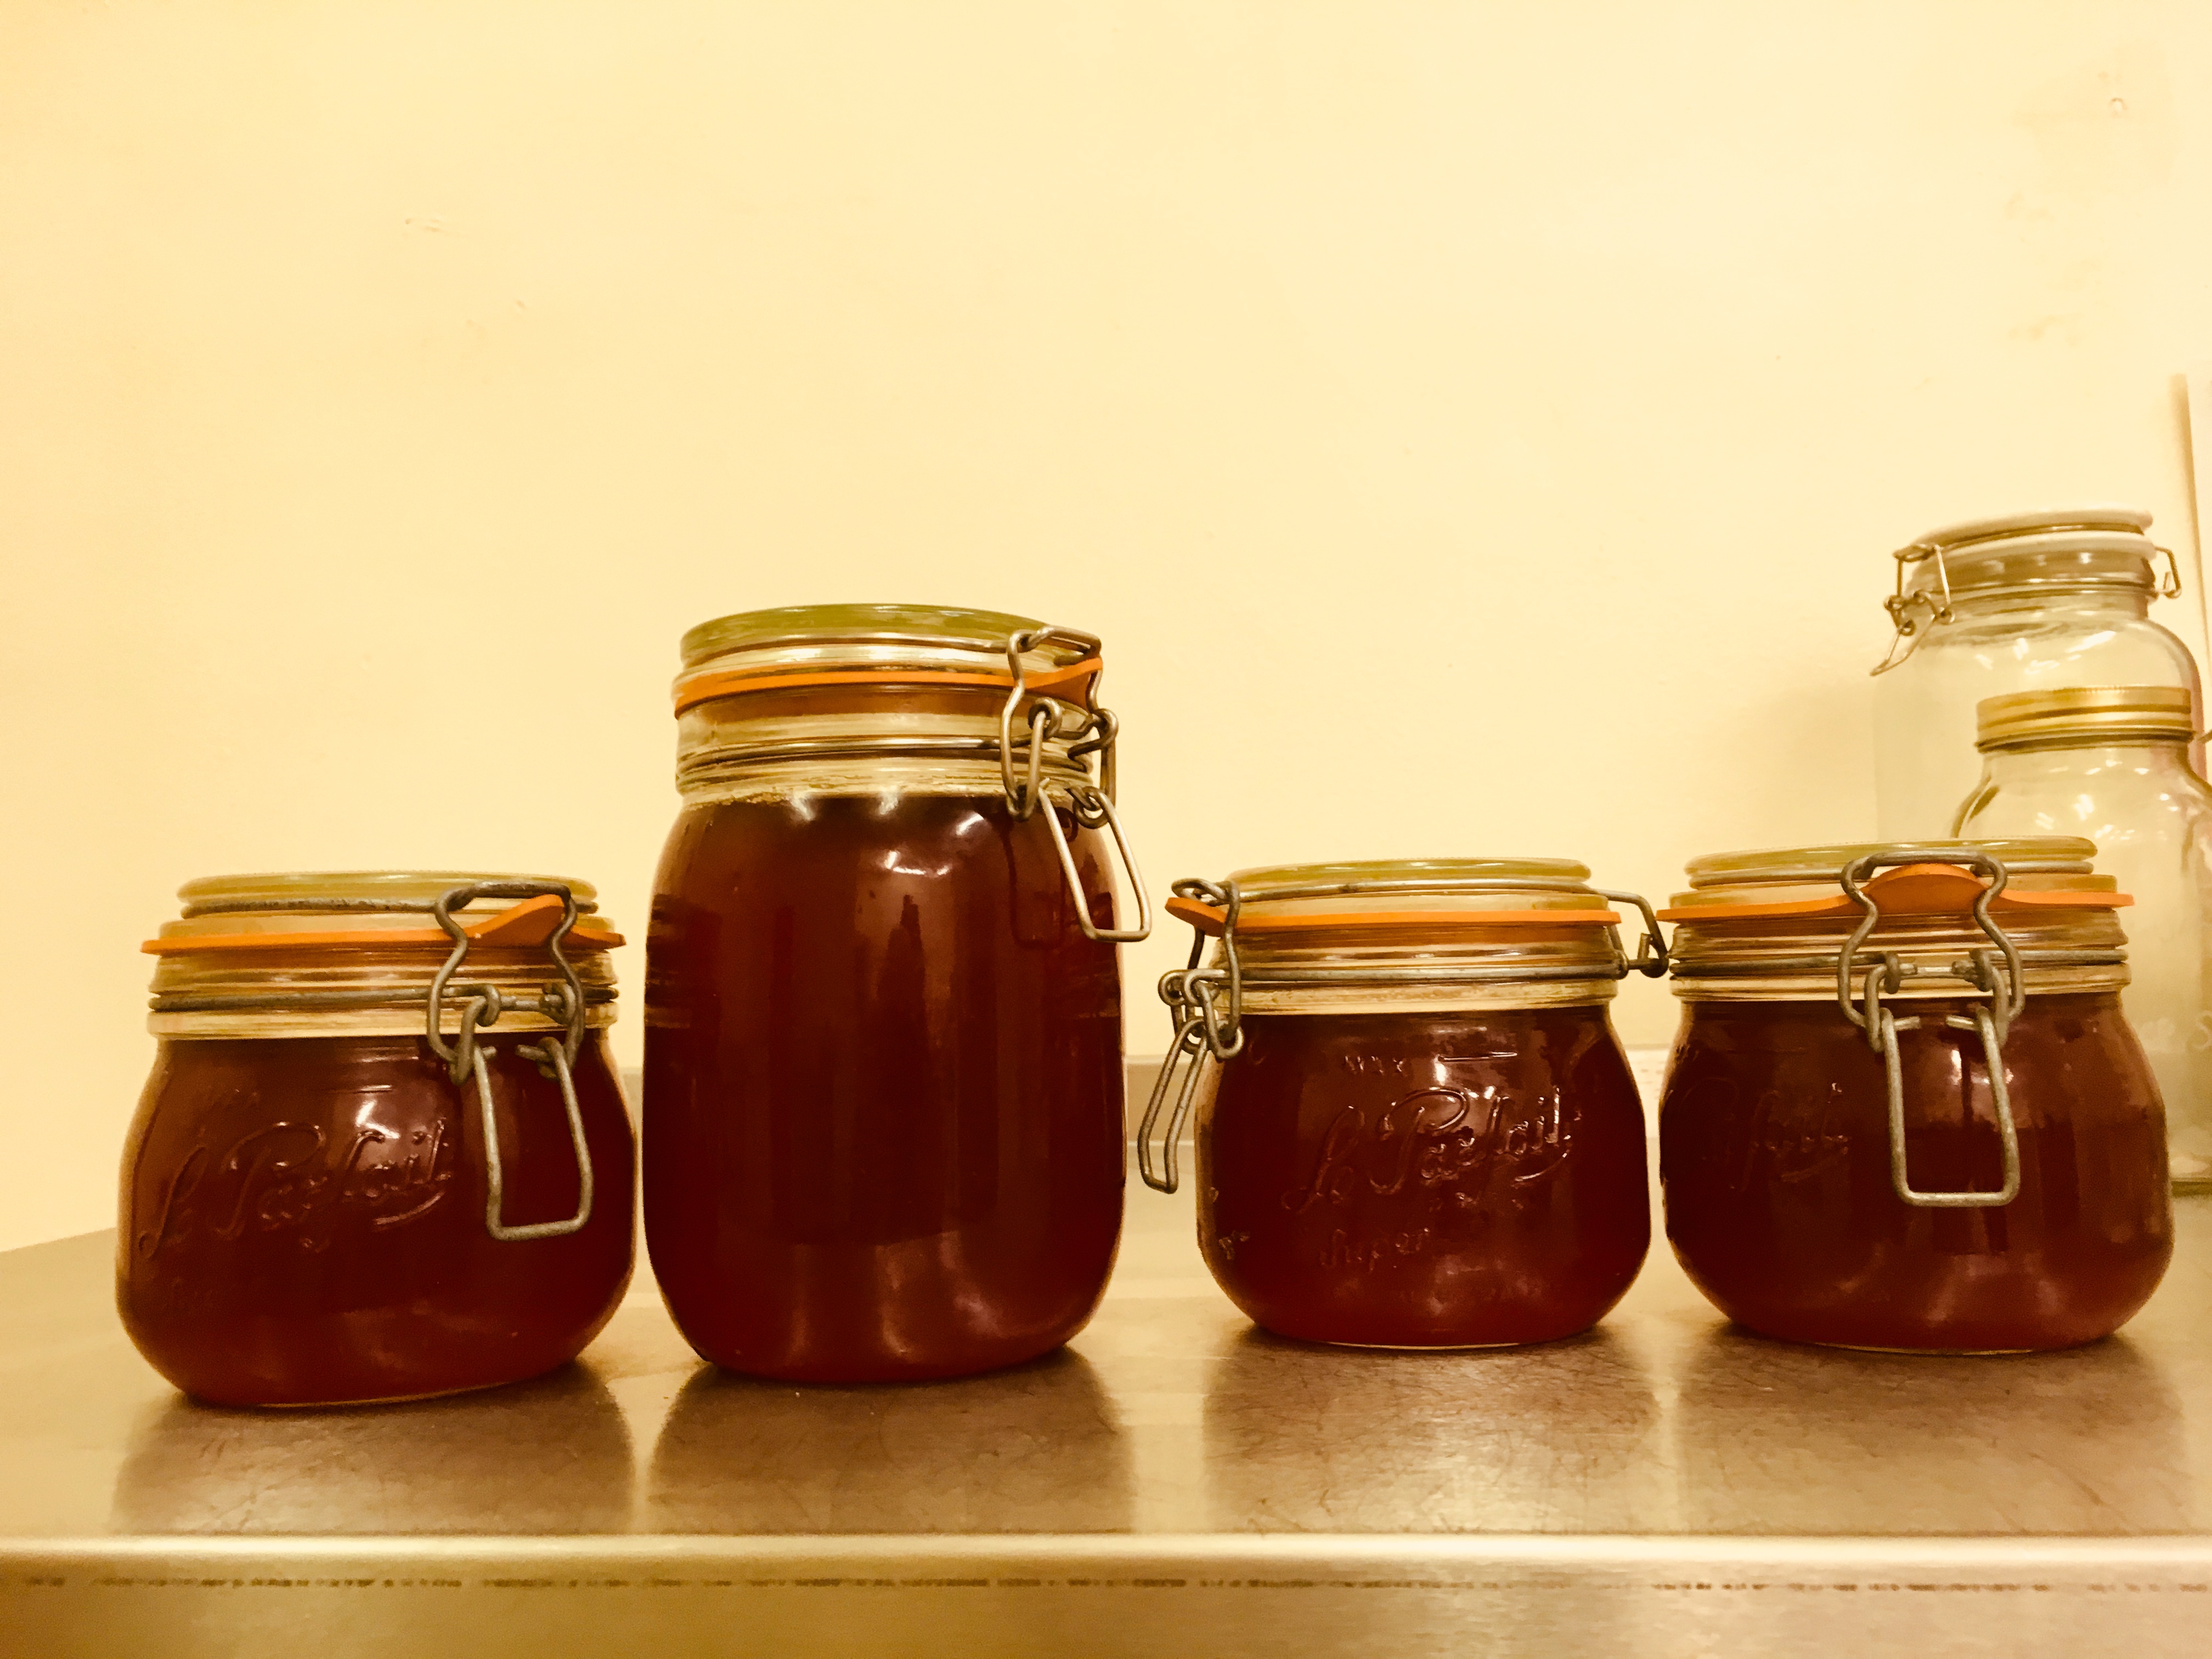
The quantities below makes around 1 litre of jam, and it is easy to scale up or down depending upon the amount of gooseberries you have to hand.

1 kg gooseberries, washed, topped and tailed

1 kg granulated sugar (or 800 g granulated and 200 g jam sugar, if the gooseberries are ripe

500 ml water

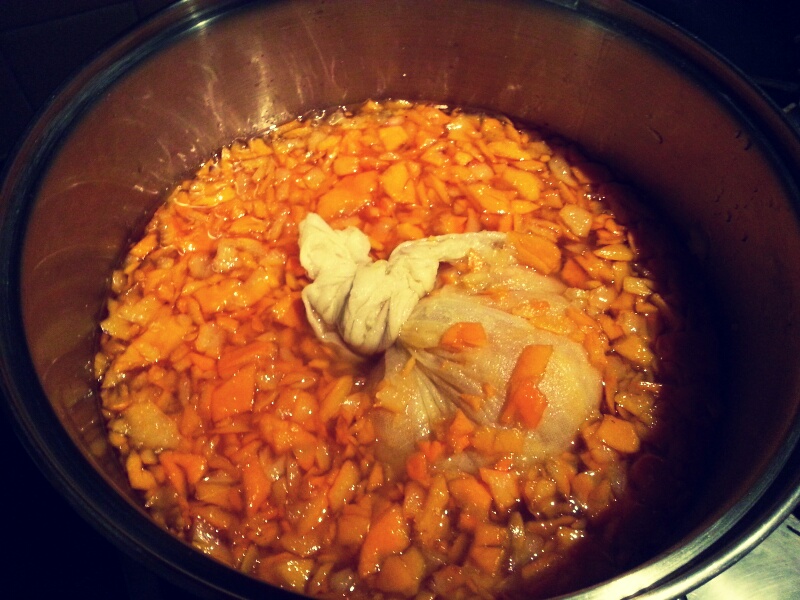
Optional extras: A dozen elderflower heads wrapped in muslin, a good bunch of sweet cicely tied with twine or replace 250 ml of the water with Muscat wine.

Before you start, place a saucer in the freezer.

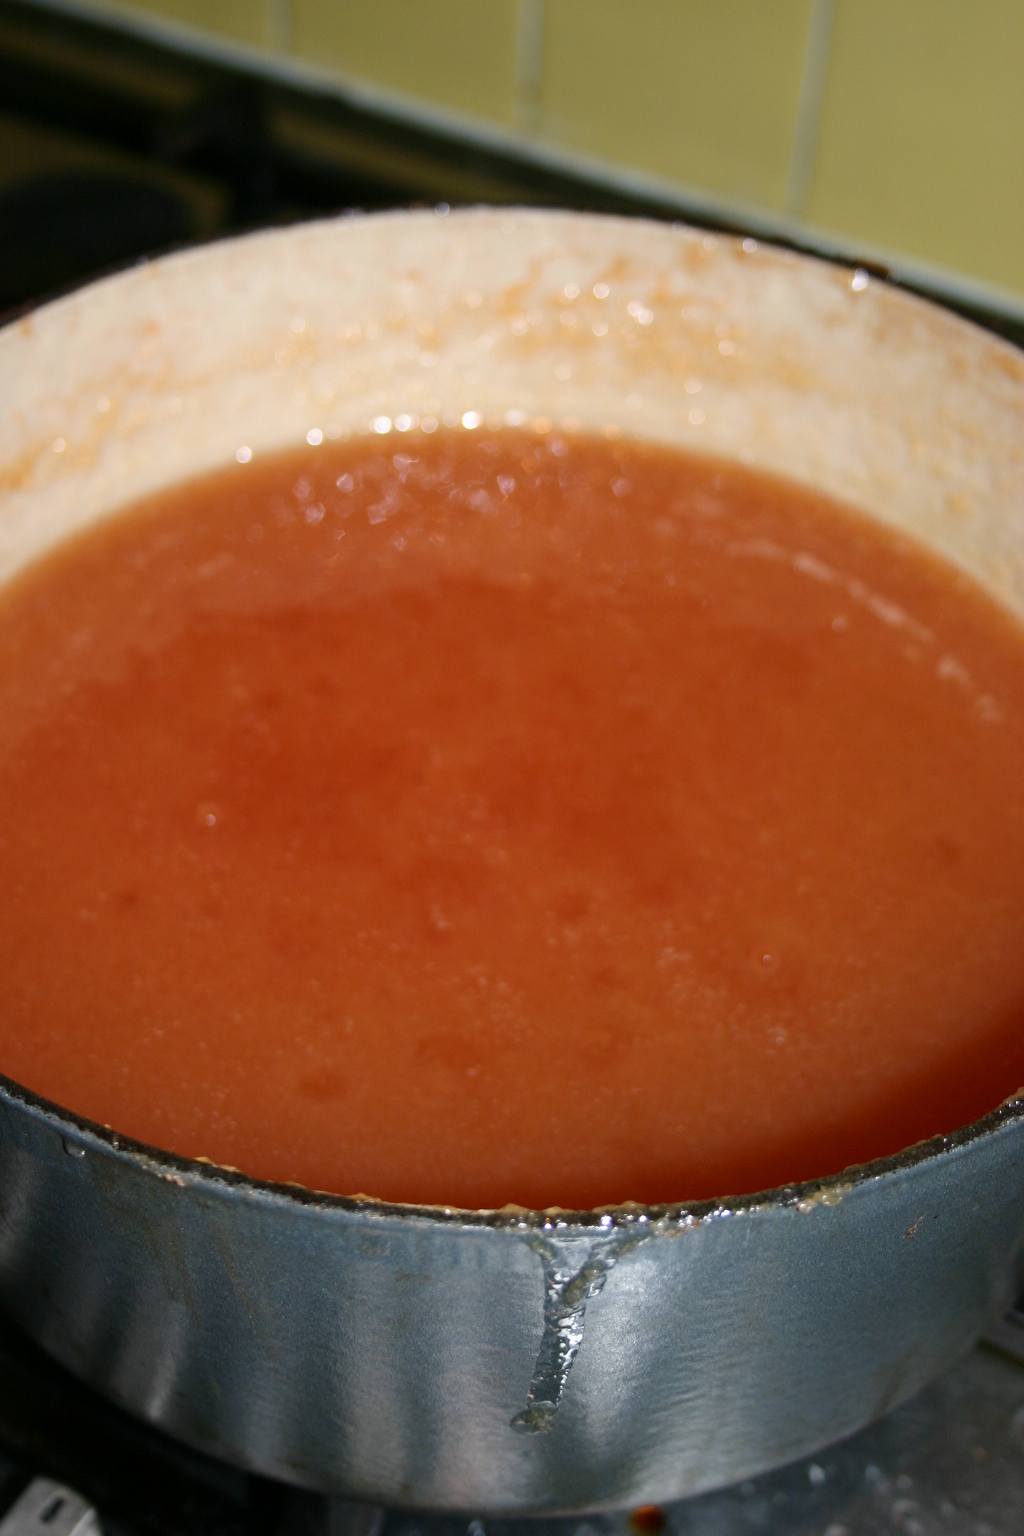
Place all the ingredients in a large, heavy based saucepan on a medium heat.

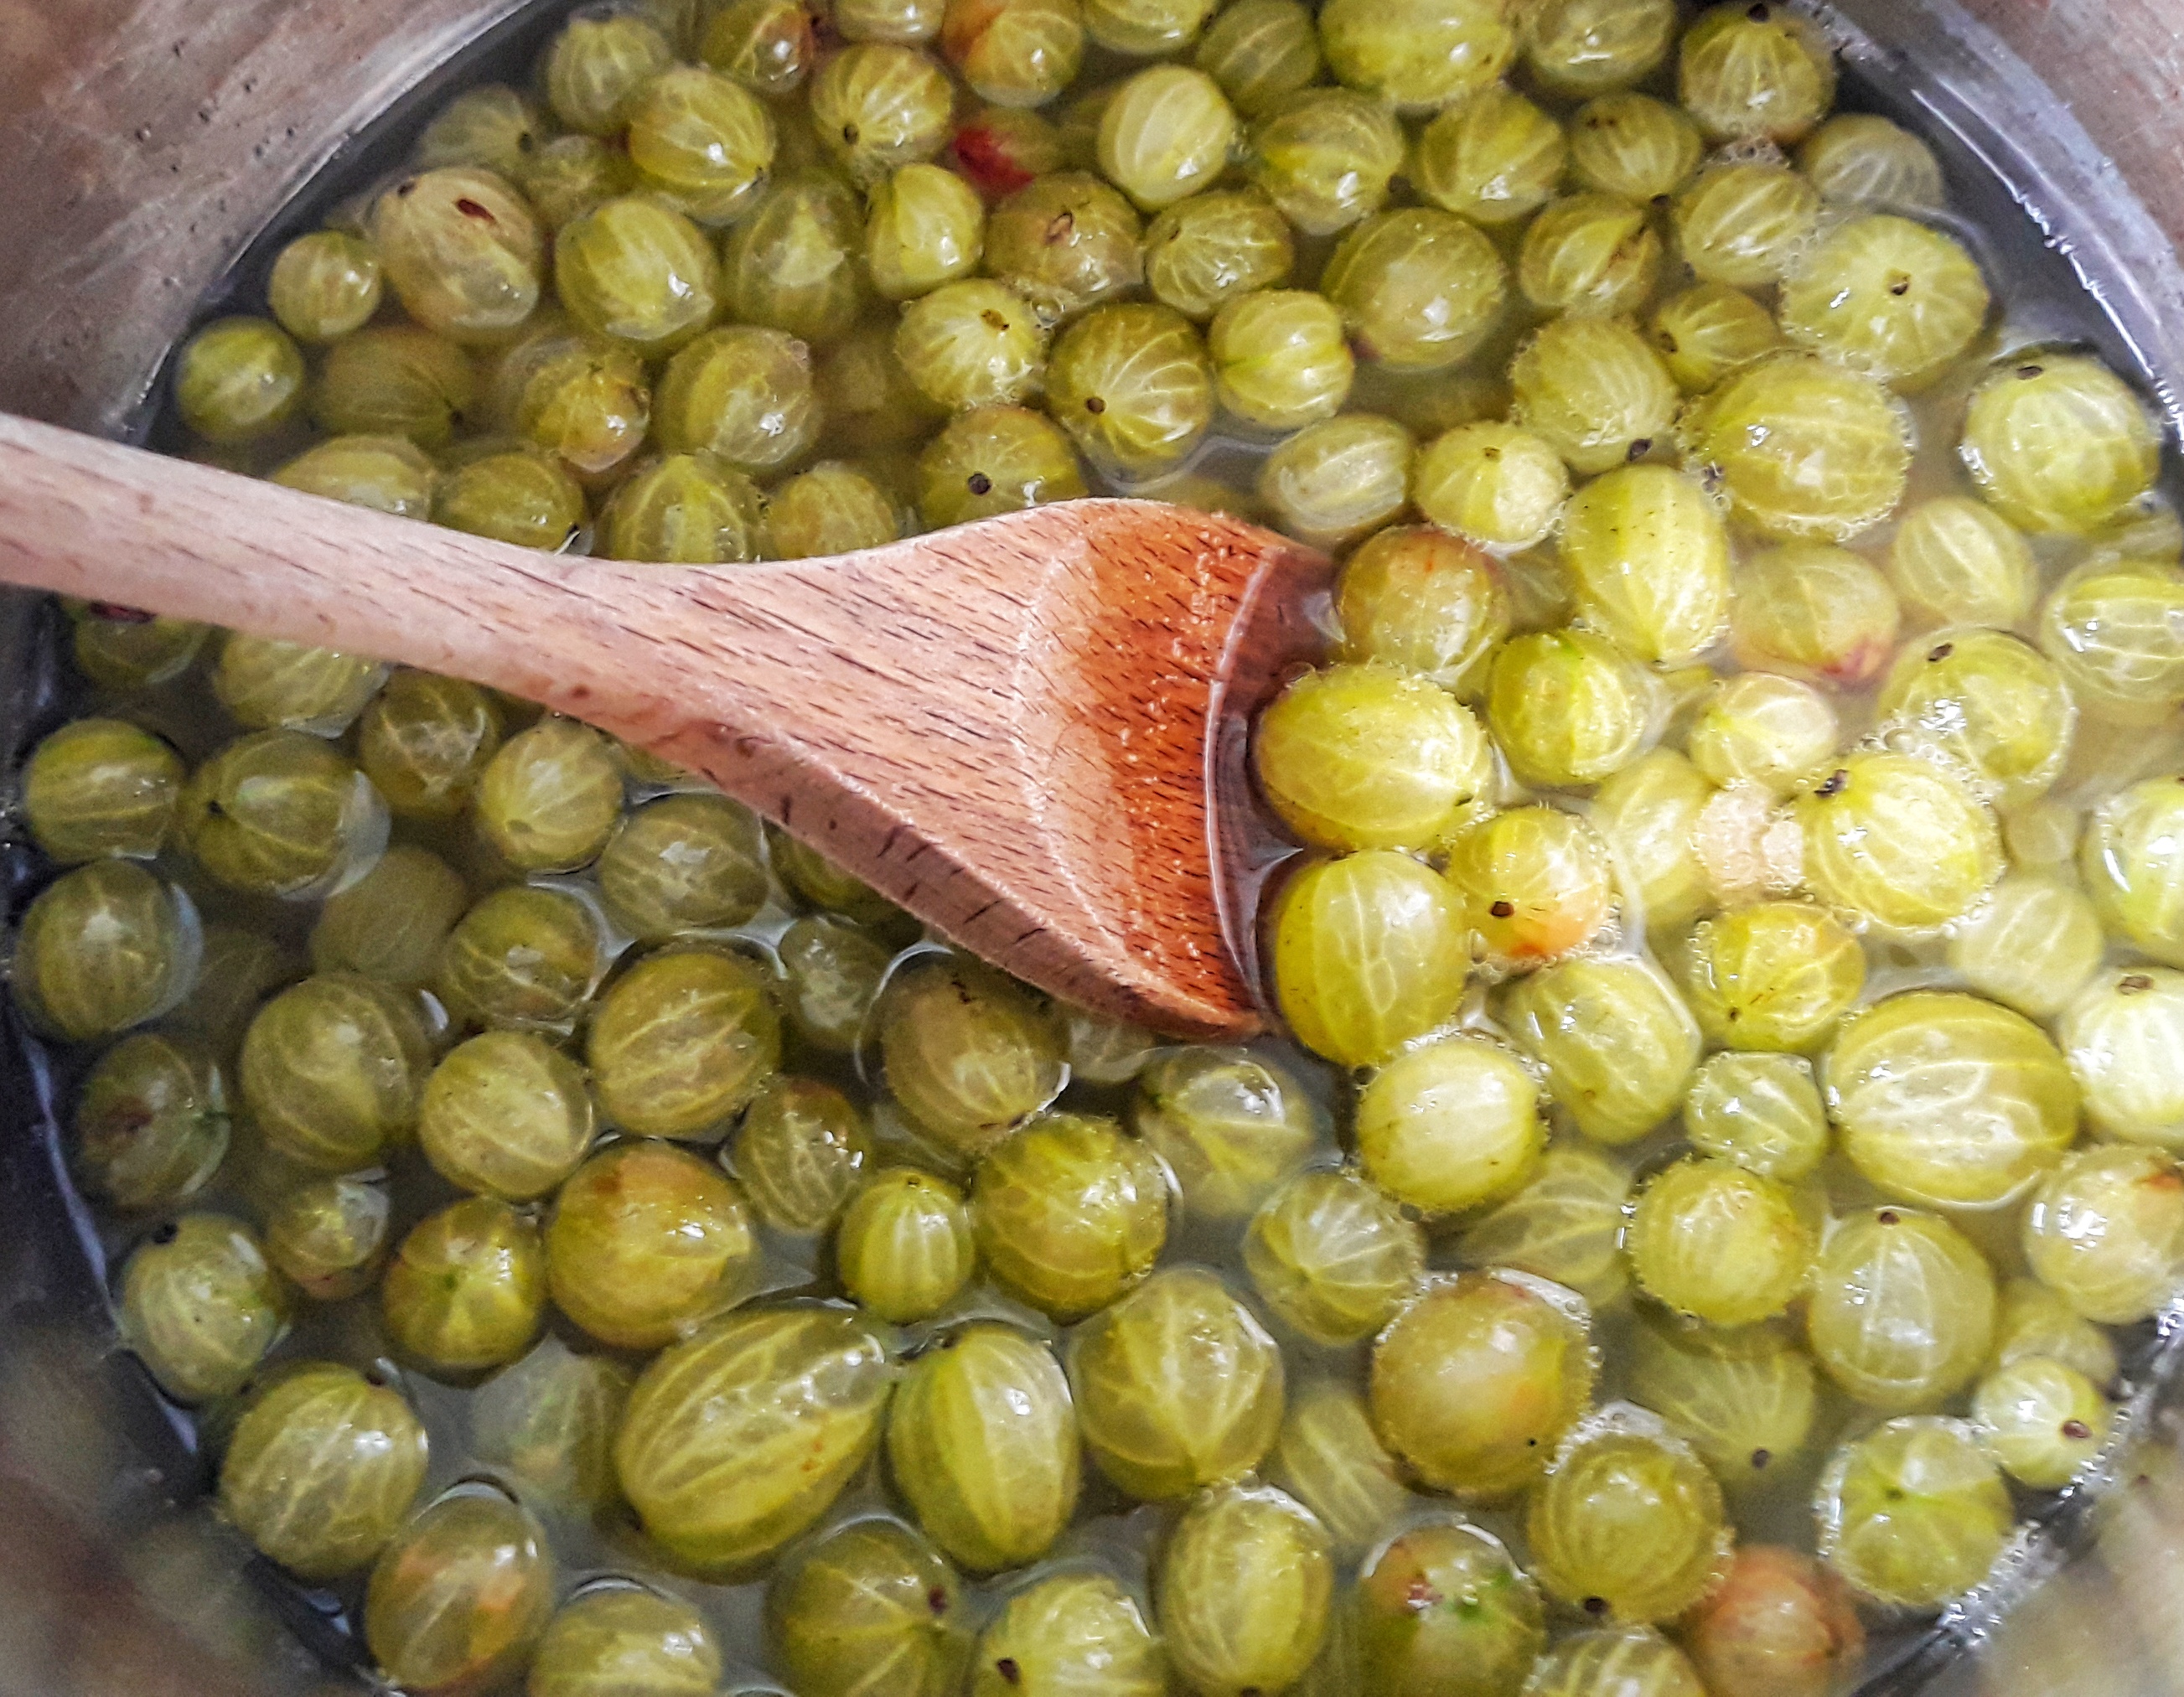
Stir occasionally and when all of the sugar has dissolved, turn the heat up to bring the gooseberries to a really good boil. After around 15 minutes – by now they should have a pinkish tinge about them – test to see if you have got a set. Either take the jam’s temperature with a temperature probe and see if it is 105°C, or take a teaspoon of the mixture and place a few drops on your very cold saucer you had stored in the fridge, let it cool for a minute and see if the drops wrinkle when you push them with a finger.

You can use a candy thermometer instead of a probe, but I find them imprecise. However, if you have a trusty one, by all means slot it down the inside of jam before you start to boil it.

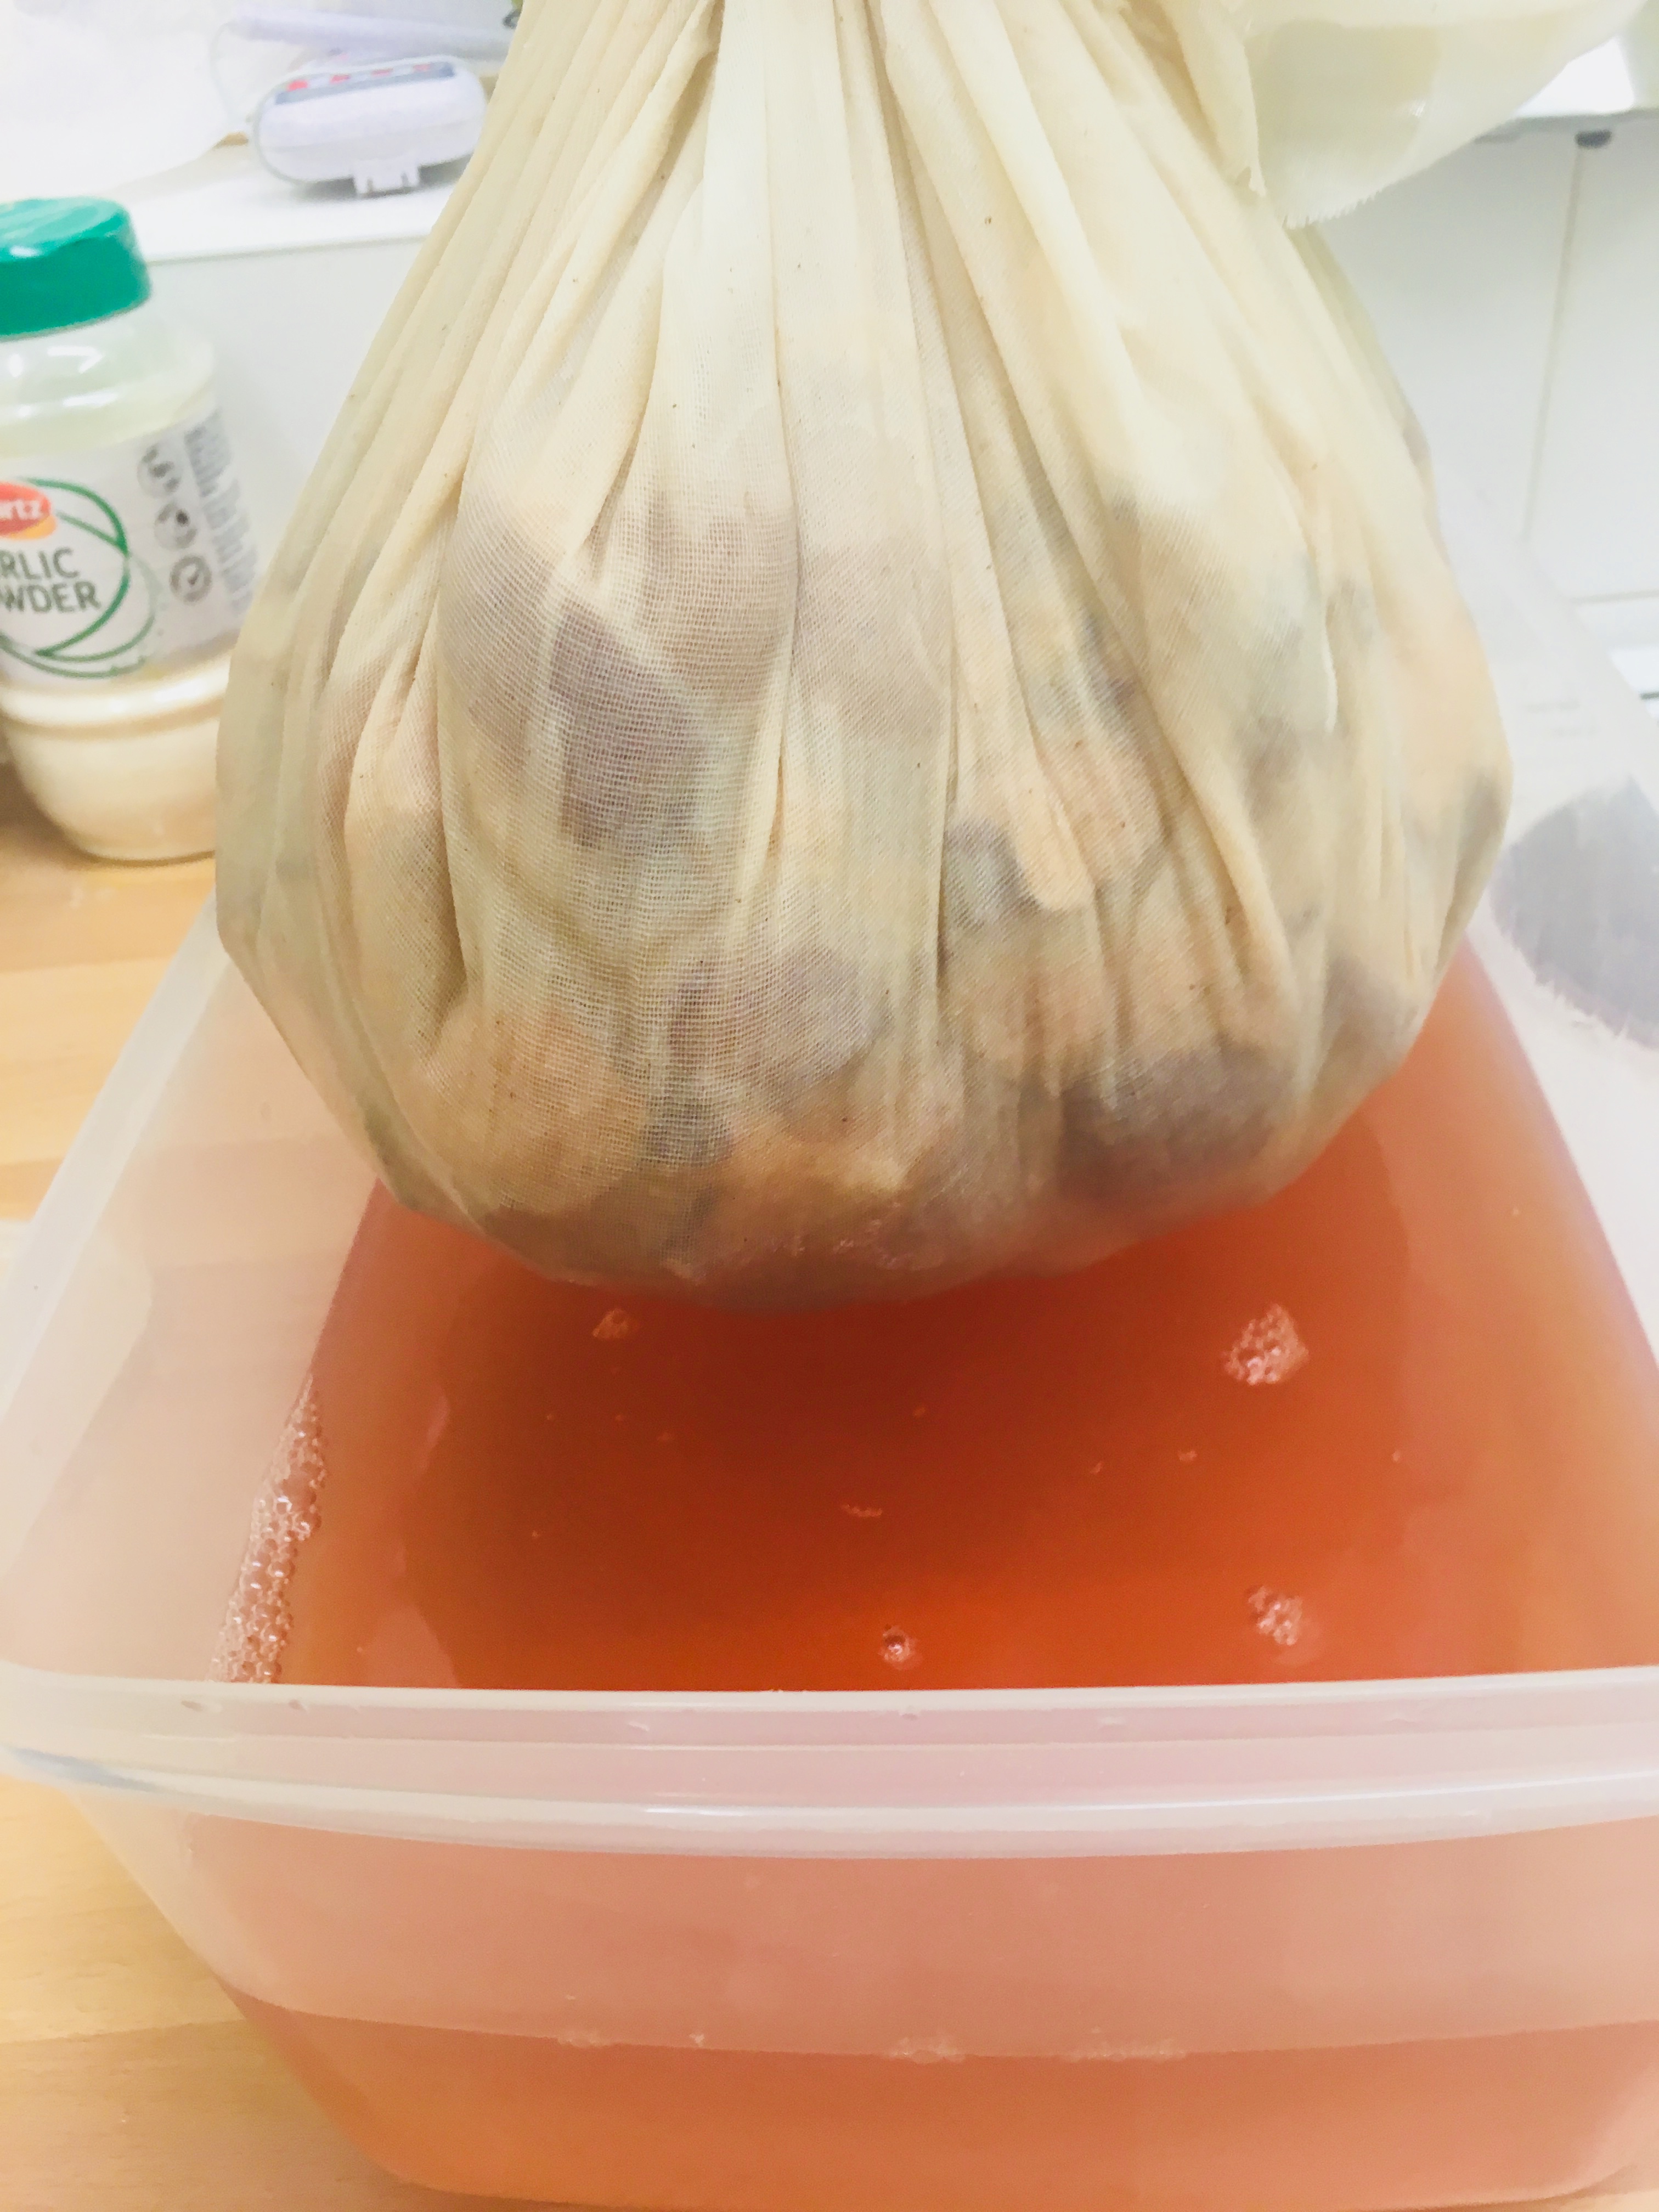
Leave the jam to cool for 15 minutes and skim any scum with a large spoon or ladle.

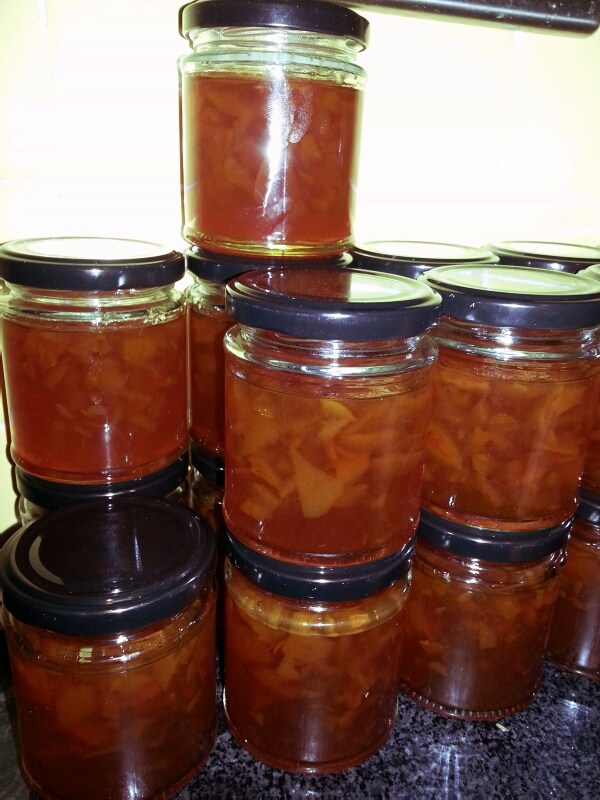
Have some sterilised jars ready and ladle in the jam. A jam funnel is helpful here. Alternatively, pour the jam into a Pyrex or stainless-steel jug rinsed out with scalding water and carefully fill your jars. Seal when still very hot.

I have written at length about setting points and sterilisation, so if you are unsure, have a look at this post here for a walk-through.

7 Comments

Filed under Blogs, cooking, food, Fruit, Preserving, Recipes

Two Easy Pickle Recipes

My previous post on pickling went on a bit, so I’ve added these two simple recipes as a separate one. The methods are not particularly comprehensive, so if you haven’t pickled before read the previous post for hints and tips.

Pickled Red Cabbage

As with many recipes for preserving, it’s difficult to come up with precise amounts. It all depends upon how much produce you have and the size and shape of your jars . A certain amount of guesswork is required. If you don’t make enough pickling liquor, you can quickly make more, and if you make too much, keep it in a sterilised jar; you can always use it pickle something else, or use it in salad dressings.

It is a good example of a system rather than of a recipe, but I reckon a good-sized red cabbage will need a litre of liquor. Oh and it’s a two-day affair, so don’t start this the day before a fortnight’s holiday or something:

Day 1:

1 red cabbage, sliced thinly, centre removed

Sea or rock salt

Scatter your sliced cabbage into a colander placed on a deep plate or large bowl and strew with plenty of salt. Cover with a tea towel and leave overnight for the water to drain.

Day 2:

1 litre of cider, wine or distilled vinegar

1 tsp peppercorns

1 chilli

1 tsp Allspice berries

50 g sugar

1 star anise

1 tsp Mustard seeds

Boil the vinegar with the spices and sugar, simmering for 5 minutes. Rinse the salt from the cabbage and pack into sterilised jars. Strain the hot vinegar and fill the jars with the piping hot liquor. Pop the chilli and star anise into the jars and a few of the seeds and berries (for prettiness). Put on lids and leave to mature for four weeks.

  1. Cover cabbage with salt for 24 hours.
  2. Next day, rinse away the salt and pack into sterilised jars.
  3. Boil up the remaining ingredients. Simmer 5 minutes and pour over the cabbage.

If you like the blogs and podcast I produce, please consider treating me to a virtual coffee or pint, or even a £3 monthly subscription: follow this link for more information.


Delia Smith’s Quick Pickled Onions

from her Complete Cookery Course, 1982

“I’m afraid I have neither the strength nor the patience of endure long pickling sessions…so I always use the method below” says Delia.

No faffing about with this one: onions usually need brining or dry-salting. Delia skips this stage, but be warned: they don’t keep as long as regular pickled onions as the excess water isn’t drawn out by the salting process. They’ll keep 4 months maximum.

In her recipe, Delia asks for pickling spice, which you can buy already blended, but have a go at making your own; a keen cook will probably have most of the spices needed anyway! See the previous post for an example.

2 kg pickling onions [or shallots]

1.75 l of malt vinegar (Sarson’s is best)

25 g pickling spice

The first task is to peel the onions. Put them in a bowl and cover with boiling water straight from the kettle, drain and get peeling. The skins should now be relatively loose from their hot water treatment.

Half-fill your jars with onions – 4 1-litre jars will be enough – and share out half of the pickling spices between them, scattering nicely. Top up with the remainder of the onions, and then the rest of the spices. Pour the vinegar in (no need to heat it) and screw the lids on tightly. Leave the onions 8 weeks before eating them.

6 Comments

Filed under Blogs, food, General, Preserving, Uncategorized

A Trip to the Sarson’s Vinegar Factory

SARSONS-LOGO

A couple weeks ago I was invited by the iconic British condiment company, Sarson’s, to have a look around their factory and see the process of vinegar-making. They contacted me as they had noticed my little blog and thought I might be interested in seeing what they do because they make vinegar in the traditional way; and we’re all about tradition here at British Food: A History.

The word vinegar comes from the French words vin meaning wine of course, and aigre meaning sour or sharp, so when we talk about British malt vinegar, it’s actually a bit of a misnomer. What is in your bottle of Sarson’s used to be called alegar: sour ale! I think the word should be brought back (I’ll pop a note through to Mr and Mr Sarson).

Vinegar – aka ethanoic or acetic acid – is produced when specialist bacteria called acetobacteria metabolise normally deadly alcohol (ethanol) and harness energy from it. It takes a real specialist to use this killer chemical as a food source. Vinegar is, of course, an excellent preservative itself.

It is thought that vinegar and alcohol fermentation were discovered and refined in tandem, and the earliest example of vinegar-making goes right back to the ancient Babylonians who were brewing it from their beer and wine in 4000 BC! The ancient Romans refined methods somewhat, using wooden barrels to age and develop flavour.

The rear of the original London factory (Southwark Local Studies Library)

There are there are many types of vinegar, but malt vinegar, which is made from barley, is uniquely British, although these days it does travel a bit. Barley was a very important crop in Britain as it was grown to eat, but also to make ale. The average person in mediaeval England would drink around a litre of ale a day and it was the main source of calories for many (and much safer to drink than the water). Our love of ale meant there was plenty spare knocking about to transform into alegar. Sarson’s are the only company still making it in the traditional way and they have been producing it since 1794.

Before I had even arrived, I was greeted a delicious sweet and sour malt smell, and when the taxi pulled up outside the Manchester factory I was greeted again by the lovely folk who run the place. I donned my lab coat, safety glasses, hard hat and beard snood, and looking altogether pretty damn sexy I headed over the see the initial steps in the process.

I had always assumed that when malt vinegar was made, ale would be bought in and then fermented, but this is not the case! Sarson’s do the whole process from start to finish, including making the ale itself. It is truly made from scratch.

Barley grains

The first step is to lightly mill the barley so that the grains can crack open. It is then soaked in spring water and heated up in mash tuns: huge metal vats that constantly stir the barley and the water is collected. This process of mashing extracts the sugars.

Swishing away the sweetwort

I was allowed a little taste of the sugary liquid – or sweetwort – and couldn’t believe how sweet and delicious it was (when I got home, I looked in a few old books and found that home-made barley water was produced in essentially the same way).

The cooled sweetwort now enters the first round of fermentation: yeast is added so it can get to work anaerobically turning sugar into alcohol. This six-day process produces a barley ale that is a whopping 9.5% alcohol.

Now the alcohol can be converted into vinegar in the second round of fermentation. It was this part of the process that I found to be truly amazing: I assumed that to make a product and attain perfect consistency between batches, Sarson’s would have to seed the ale with a mother (or mother-of-vinegar to give her full title, a of plug acetobacteria) that had been carefully selected over years or even decades, to produce a unique strain (wine and beer makers do this with their yeasts). What Sarson’s actually do is simply add the shavings of the bark from the larch tree, which naturally harbours a community of acetobacteria species. This all happens in wooden tubs called acetifiers and it takes seven days for the larch bacteria to do their magic.

The huge physics-defying oak barrels!

For the last stage, the vinegar is stored in huge 40 000 litre barrels – some 100 years old – to be standardised to the correct strength (5% ethanoic acid).

Standardising the final product

The vinegar is heated up to kill the bacteria and it is piped through to the very noisy and exciting bottling room. I loved watching the bottles rattling around on the conveyor belts. It was as though I had literally stepped through the arch window on Playschool!

Then, to top it all off, they handed me my very own personalised bottle of malt vinegar!

Many thanks to Sarson’s for asking me to come to their place and let me be a nosey parker for an afternoon – I will certainly be paying the malt vinegar I put on my fish and chips in even higher regard from now on!

Next post, I’ll write a little bit about how we use – and used vinegar in the home.


If you like the blogs and podcast I produce, please consider treating me to a virtual coffee or pint, or even a £3 monthly subscription: follow this link for more information.


13 Comments

Filed under Brewing, Britain, business, food, General, history, Preserving

How to Make Medlar (or Quince or Crab Apple) Jelly

Last post I told you all about the overlooked fruit the medlar (or openarse). It’s a tricky one as it can’t just be picked and eaten like most dessert fruits. The way to get the most of any medlars you do get your hands on is to make a jelly, a beautiful deep vermillion preserve which makes an excellent accompaniment to game, roast or cured meats and cheese.

I thought it would also be a good opportunity to go through the process of making a jelly preserve; something I have been threatening to do for a while. This recipe works well with the close relations of the medlar: the quince and the crab apple.


If you like the blogs and podcast I produce, please consider treating me to a virtual coffee or pint, or even a £3 monthly subscription: follow this link for more information.


Choosing the fruit:

There is a bit of disagreement as to how ripe your medlars should be; some say only unripe medlars should be used, others that ¼ to ½ of them should be bletted (soft and brown). I have only ever used unripe ones – these produce a clear, bright jelly with an astringency comparable to strong tea. Next time, I’ll be patient and wait for a good proportion of them to blet.

Medlars are high in pectin, a chemical glue that sticks plant cells together. As fruit ripens, the pectin is broken down by enzymes making the fruit soft. When making a jelly, one needs to release the pectin by boiling the fruit until pulpy so that it can set the jelly. If using a lot of ripe fruit, I would suggest adding some crab apples or tart eating apples such as Cox’s orange pippins or russets. Alternatively, a proportion of the sugar can be replaced with jam sugar, ensuring a decent set.

Quince and crab apples do not have this problem and you should be okay.

It’s worth mentioning that if you only have a few medlars, quinces or crab apples, you can supplement with some regular apples and the resulting jelly will be still be great. I’ve made quince jelly with 50% apples before and it was delicious!

Ingredients and equipment:

Aside from the fruit, all you need is water, granulated sugar and some optional cider vinegar. I think a little vinegar cuts through the sweetness very well, but you can leave it out if you prefer.

I don’t add herbs and spices to medlar or quince jelly, but crab apple jelly can benefit from some subtle flavouring: things like rosemary and thyme work well as do cinnamon, cloves and black pepper.

Specialist equipment is easy to get hold of and inexpensive: you’ll need a good-sized sheet of muslin or a jelly bag (though a tea towel or pillowcase will also do the job), a sugar thermometer or temperature probe, and some jars with lids.

Method:

Day One

Scrub the fruit(s), chop roughly – there’s no need to peel or core the fruit – and place in a large pot along with any herbs and spices if using. Just cover the fruit with water and bring to a good simmer and add some cider vinegar, around 50 ml per litre of water.

Turn on the heat, cover and simmer until very soft. Very hard fruit can take an hour, though I do give things a helping hand by squishing the fruit against the side of the pan with a wooden spoon.

When the fruit is ready, scald your muslin or jelly bag iwith hot water. If using a jelly bag, place it on its stand with a bowl beneath it, if using muslin, use it to line a bowl. Carefully, ladle the fruit and cooking liquor into the bag/lined bowl – be careful.

The jelly bag can be left to do its thing, but if just using muslin, a little extra work is required: collect up the edges and tie them well with string. You now need to hang this hot haversack of pulp over the bowl to drip overnight. I hook it over a cupboard handle and then in the fridge to keep the fruit flies off. However you do it, make sure things are securely tied – those bags can be pretty weighty.

Day Two

By now, the liquor should have stopped dripping, but give it a squeeze just to see if you can get any more out. Don’t worry of the juice has gone cloudy, this is common with medlars.

Measure the volume of juice and pour into a heavy based stockpot. To this, add your granulated sugar in the ratio of 500g sugar for every 600ml of juice. Turn the heat on and stir until the sugar has fully dissolved. At this point, clip on your sugar thermometer, if using. Turn up the heat so that the syrupy mixture can boil hard. As you wait for this to happen, pop a saucer into your freezer. Skim away any scum that is thrown up.

Let the syrup boil for at least twenty minutes and check the temperature – pectin sets at 105°C. Sometimes jellies don’t always set, so it’s best to double-check with the wrinkle test. Remember that sauce in the fridge? Take it out and drop some of the jelly onto it. Let it cool for a couple of minutes. If it wrinkles when you push it with your finger, all is well and the jelly is ready to be potted into sterilised jars.

(Sterilising jars is easy: place on a baking tray and pop into an oven preheated to 125°C for at least 25 minutes. I usually put mine in as the jelly is coming to a boil. Any rubber seals can be scalded in boiling water closer to the time.)

Use a jug to pour the jelly into jars, don’t overfill here, a gap of one centimetre below the rim is good. Some jars have a helpful maximum fill line on them. Seal with the lids as soon as you can. Be very careful here!

The next day, the jelly should be set, but sometimes it takes a few days, especially if vinegar was used.

The jelly will keep for 6 months unopened, once open keep in the fridge.

6 Comments

Filed under food, Fruit, General, Preserving, Recipes

The Original (Quince) Marmalade

As I mentioned in my previous post about Seville oranges that the original marmalade was in fact made from quinces and not oranges, I thought I would give you a recipe that I have recently used for the stall. It’s a recipe that appears in Eliza Acton’s 1845 book Modern Cookery. It’s an easy recipe that would be a good one to start with if you have never made a sweet preserve as you don’t need to mess about with sugar thermometers and setting points. One of the great things about making preserves with quinces is the glorious colour they go. A relatively brief boil transforms them from a pale apple-yellow to a vibrant orange-coral.

The tricky thing is getting your hands on some quinces they are available from October, but I have recently seen some organic ones in the Manchester organic grocers Unicorn. If your local greengrocer doesn’t have them on their shelves, it is worth asking if they can get them. My grocer was very happy to get me a full tray for just a tenner, so I was very pleased with that.

I have recently found another slightly more complicated version of this recipe but I have not tried it – we’ll have to wait for next autumn for that one!


If you like the blogs and podcast I produce, please consider treating me to a virtual coffee or pint, or even a £3 monthly subscription: follow this link for more information.


Eliza Acton’s Quince Marmalade

2kg (4 1/2 lbs) quinces

water

granulated sugar

Wash and scrub any fluff of the quinces, then peel and core them. Place them in a large pan and pour over enough water to almost cover. Turn up the heat and when it begins to boil, turn heat down to a simmer and stew 35-45 minutes until the fruit is soft. Strain and pass fruit through a mouli-legumes.

2012-11-19 23.49.01

Put the pulp back in the pan with the strained juice and add 280g sugar for every 500ml juice or, 1 ½ lbs sugar for every pint of juice). Stir and dissolve under low heat then, simmer until it resembles ‘thick porridge’ and begins to leave the side of the pan when you stir it.

2012-11-20 00.37.10

Pour the marmalade into sterilised pots. It is very good as a jam on toast, with cheese or as an accompaniment to hot or cold meats.

2012-11-20 00.52.23

27 Comments

Filed under Britain, cooking, food, Fruit, General, history, Nineteenth Century, Preserving, Recipes, Uncategorized

Seville Oranges and Seville Orange Marmalade

The weather outside may be miserable and the evenings still long, but luckily there is a little fleeting  sunny surprise popping up in grocers around the country that can perk us up no end; at least if you know where to find them. It is Seville orange season and a small window of just a few weeks is all we have to cook with this delicious fruit.

FxCam_1357492834789

The Seville orange is very bitter and is only really grown in Spain for us British to make our Oxford marmalade. What a treat home-made marmalade is; oranges, water and sugar that is all that are needed to produce such a delightful, very British preserve. If you have never made your own, have a go before they are all disappear again.

Like all citrus fruits, the Seville orange comes originally from China. It was imported on trade routes via Italy, to the Mediterranean countries of Europe. All of these original orange trees were bitter in flavour like the Seville. In the first half of the 17th century, sweet orange trees were delivered to the Portuguese coast by ship. These sweet oranges quickly superseded the bitter ones, that is for that small area of Spain that still grows them.

The flowers of Seville oranges are also used to make orange flower water, another of my favourite ingredients.

Seville and game painting

Rabbit with Red Legged Partridge and Seville Orange by Jean-Baptiste Chardin 1728-29

Below is a recipe for  Seville orange marmalade, but it is useful to know that the zest and juice of these oranges go very well with game and some shellfish such as scallops as the above painting shows.


If you like the blogs and podcast I produce, please consider treating me to a virtual coffee or pint, or even a £3 monthly subscription: follow this link for more information.


Seville Orange Marmalade

Oddly enough, marmalade was not made from Seville or any other orange at first, but quince (a knobbly cousin of apples and pears). It did come from Spain though, in fact the Spanish word for quince is marmalada. Every day’s a school day.

This recipe is Jane Grigson’s and it is a good strong bittersweet ‘Oxford’ style marmalade.

Ingredients

3 ¼ litres water

1 ½ (3 lb) Seville Oranges

3 kg (6 lb) granulated sugar

Give your oranges a good scrub and place them in a preserving pan or large stockpot with the water. Bring to a boil and simmer for about 1 ½ hours until the oranges are tender.

FxCam_1357499871481

Take them out with a slotted spoon. They will probably collapse in on themselves, but don’t worry about that. Let them cool a little, then halve them and scoop out their innards. Tie up the scooped-out pulp in a piece of muslin. If you want a soft set, just put the bag of pulp straight into the pan, if you want it well set, give it a good squeeze to get as much pectin out of the pith and into the liquor as possible (I’m a soft set man).

FxCam_1357502382790

Next, shred the peel, you can be as careful as you want, and you can cut them as thick as you want. You can do this by hand or in the food processor by blitzing them using the pulse setting – be careful though, you don’t want a load of slurry. I’m usually dead against using food processors for this sort of thing, but I quite like the irregular pieces you get with this method. Tip them into the pan along with the sugar. Over a medium heat, stir until the sugar dissolves.

FxCam_1357505465756

Now you need to be brave and bring it to a full rolling boil for at least 15 minutes , you need it very hot so that the marmalade can set. You have several options to test for a set, but I use a combination of a sugar thermometer and the wrinkle test. Pectin – a chemical that essentially glues plant cell walls together – will set to a gel at 105⁰C (221⁰F), so a thermometer is crucial if you want to know if you are getting close. It can take a while because water needs to evaporate to get five degrees above boiling point. Keep a close eye on it and when it gets close do the wrinkle test. For this test put a side plate in your freezer a little while before you want to make your marmalade, and when you’ve achieved 105⁰C (221⁰F), turn off the heat and spoon out a little of it onto your cold plate. Return it to the freezer for a couple of minutes. Push the jelly; if it wrinkles up, your pectin is set. If not, boil up again and retest after 10 minutes.

FxCam_1357586951956

When ready, turn off the heat and allow it to cool for 15 minutes – this important step will stop your peel from floating to the top in a single layer – then pot into sterilized jars (bake them and their lids for 25 minutes at 125⁰C or 250⁰F).

IMG_2702

33 Comments

Filed under cooking, food, Fruit, General, history, Preserving, Recipes, Uncategorized

Jane Grigson’s Orange Mincemeat

It’s just occurred to me that I haven’t put on a Christmas recipe and it is only just over two weeks until the special day. This month has flown by at a scarily quick pace.

Luckily two weeks is just enough time to make this delicious orange flavoured mincemeat. Last year I gave you Mrs Beeton’s recipe, but this one comes from the wonderful Jane Grigson. It is very moist and because of the brandy, orange juice and orange liqueur. It is also vegetarian if you want it to be; the suet can be the vegetable-based sort, or you can leave it out altogether. Give it a go.

Jane Grigson

Jane Grigson

It is extremely easy to make: there is no cooking required so all you need to be able to do is chop, grate, mix and weigh. When you pot the mincemeat, it is very important you sterilise your jars. To do this first wash them in soapy water, then rinse and allow them to dry. Place the jars on a tray, with their lids sat beside them, facing upwards and pop them in the oven for 30 minutes at around 130⁰C. Let them cool a little before potting. If this seems a lot to make in one go, you can easily reduce the amounts as you see fit.


If you like the blogs and podcast I produce, please consider treating me to a virtual coffee or pint, or even a £3 monthly subscription: follow this link for more information.


Click here for the recipe I use for making mince pies.

Ingredients

250 g (8 oz) chopped candied peel

1 kg (2 lb) peeled, cored and grated apples

500 g (1 lb) suet (fresh or packed is fine, but fresh is best)

500 g (1 lb) currants

500 g (1 lb) raisins

500 g (1 lb) sultanas

500 g (1 lb) soft dark brown sugar

1 freshly grated nutmeg

125 g (4 oz) slivered almonds

Juice and zest of 2 oranges

4 tbs brandy

6-8 tbs orange liqueur

Mix all the ingredients together in a huge mixing bowl, then pot into sterilised jars. Store somewhere dark and cool, but not the fridge! Leave the mincemeat to mature for at least together before using it.

IMG_2519

9 Comments

Filed under baking, Britain, Christmas, cooking, Desserts, Festivals, food, Fruit, General, Preserving, Recipes, Teatime

Know Your Onions

It is an exciting time for those that grow their own onions because onion season is in mid-flow. It was probably a while ago that the onions themselves were picked, but they generally grow through a short period of drying before they are used in the kitchen or put into storage over the wintertime.

I’ve never grown them myself, but I feel that when it comes to cooking and eating onions, I really know my, er, onions. (Funny saying that; there is one theory that it was invented by etymologists working on the Oxford English Dictionary who coined it in great admiration of one of the best and most knowledgeable grammarians of the day, a certain C T Onions. How I wish it were true, but it seems that is actually American. Oh well.)

I love onions and they are one of the most loved vegetables, they are certainly the most used vegetable in the world – there is not a single cuisine I can think of that doesn’t use them. In Western cookery, onions make up one of the trinity of stock vegetables alongside carrots and celery; and there are countless recipes that begin with slicing or chopping an onion before browning in butter or oil. They are a universal seasoner of foods, a ubiquitous seasoning that is not always detectable, but if it were to be omitted you would miss them.

And I do, for I recently found out that I have an onion ‘intolerance’, or at least my alimentary canal does. Finding a replacement has been tricky, but I have recently adopted using the finely sliced green parts of a leek along with a clove of garlic. It is strange that I essentially turn myself inside out after eating a cheese and onion sandwich and yet I can happily tuck into the remainder of the onion family: garlic, leeks and chives and not suffer even the mildest discomfort. Anyway, you don’t want to know about all that – I sound like an old woman!

Allium, the Onions

There are around 500 species of plant that belong to the Genus Allium, and botanically speaking they are all members of the lily family, though only a score are important as foods worldwide, and even fewer that are important to the British, though the onion, garlic and leek were all eaten in Ancient Egypt and even appear in the Old Testament of The Bible.

Below is a lovely illustration from the wonderful book Food in England by Dorothy Hartley showing the ‘Most Common or Garden Onions’. Chives and leeks have been omitted as they are suitably different to be considered standalone vegetables/herbs. There are familiar and unfamiliar onions here, and some that have been omitted, like mild white onions. Two that I have never sampled are the Welsh Holtzers and the strange Egyptian, or tree, onion.

I am going to stick to the familiar brown onion that we all know and love in this post. At the foot of the above drawing it is mentioned that onions, bread and cheese ‘are spoken together as Field Fare in our earliest manuscripts’. These three food items would have been bagged up or kept in the pocket of a ploughman or other farm worker for much-needed sustenance throughout the long working day. The original ploughman’s lunch that dates to not too long after the first century when onions were first introduced to Britain by the Romans.

Two Onion Recipes

So many recipes use onions, but so few of them show them off as the star of the show and we forget that onions can be served as vegetables in their own right. Here are two recipes that I think do them justice.

Baked Onions, or Orbs of Joy

This is a very old recipe that has recently been given a second wind by Fergus Henderson the great ‘nose to tail’ chef at St John in London. Looking at his recipe and one written in 1954 by Dorothy Hartley, there is only one difference and that is the type of onion used – a stoic brown onion or a prettier red onion. Use whichever you grow or prefer. Serve with roast game, chicken, goose or beef, using the appropriate stock.

Ingredients

butter

one good-sized onion per person

chicken, beef or vegetable stock

salt and pepper

Smear some healthy knobs of butter on the bottom of a deep ovenproof dish. Peel your onions, cut off the rooty part and sit them in the dish. Pour in enough hot stock almost to cover. Season the tops with salt and pepper. Bake uncovered in a moderate oven, around 160⁰C, until the onions are tender within and caramelised without. Test their doneness with a skewer. If you only have a little stock, cover the dish and only remove it toward the end of the cooking time so they can ‘brown becomingly’.


If you like the blogs and podcast I produce, please consider treating me to a virtual coffee or pint, or even a £3 monthly subscription: follow this link for more information.


Onion Marmalade

I imagined that onion marmalade had been around for ages but only seems to date back to the latter half of the last century. Who knew? This is a recipe of my own concoction and is a top-seller on my stall. There are plenty of dark sweet flavours as well as tart vinegar. I use cider or wine vinegar as well as Balsamic vinegar in mine. Feel free to alter the ratio of the two to your own liking. It makes about 1 litre (2 pints) of marmalade. Have it in a cheese sandwich, with bangers and mash, or with some nice potted chicken livers.

Ingredients

2 kg (4.5 lbs) onions, halved and thinly sliced

5 tbs olive oil

100 g (4 oz) granulated sugar

100 g (4oz) soft dark brown sugar

1 tbs chopped thyme leaves

4 bay leaves

1 ½ tsp salt and ½ tsp ground black pepper

250 ml (9 fl oz)  cider or wine vinegar (red or white)

50 ml (2 fl oz) balsamic vinegar

Heat the olive oil in a large pan. Turn up the heat and add the onion. Using a wooden spoon, coat the onions well in the oil. Add the sugars, thyme, salt and pepper, then turn heat down to medium and mix until the sugars have dissolve. Simmer uncovered for at least 50 minutes on a medium-low heat, until the onions have become deliciously brown and mushy. Take your time, be as slow as possible. If you don’t have 50 minutes or more to spare, wait for a time you do!

Pour in the vinegars and simmer for a further 30 minutes until the liquids have reduced to about one-quarter and are good and syrupy. Let the marmalade cool for 10 minutes then jar as normal.

7 Comments

Filed under Britain, cooking, food, history, Preserving

The Edible Hedgerow

I went a little foraging escapade last week to see what wild food I could find in Chorlton Meadows, one of my favourite places in Manchester. The hunter-gatherer is not quite dead. Today’s aim was to find some fruit for some nice hedgerow jelly; something you don’t find in the shops, no siree. I wonder how many people do this anymore? It’s shocking that there are tiny punnets of blackberries in the supermarket selling for 3 or 4 pounds when you can get them free from the brambles!

The first thing you need to find if you want to make a good hedgerow jelly is some crab apples. There’s an area of the meadows called Hardy’s Farm and I knew that there was plenty of apple trees around there so I headed straight for it. The poor summer we’ve had – very wet and warm – has been the perfect environment for moulds and other fungi, they had managed to infect every tree I came across except for one! Some trees didn’t even have fruit or flowers on them. A sad, sad state of affairs. It is a little early for apples though, so perhaps they’ll get their act together.

Some of the few crab apples that weren’t diseased

Crab apples, or any windfall apples really, make up 50 percent of the jelly because apples provide the pectin that sets jelly once it is cooked.

The great thing about these jellies is that you can use berries that are normally far too sour and astringent in their unsweetened form. I found several species though many of them were not quite ripe.

The rowans were laden with berries

Two of the best examples of this were the two most bountiful species: hawthorn and rowan. These are very common trees found in hedgerows, forests, scrubland and gardens.

The brilliant red berries seemed to glow against the rather miserable grey backdrop of the rain and clouds – especially the rowanberries. If you look closely at them, you can see that they are just tiny apples themselves.

Rowanberries are simply tiny apples!

(to be botanically correct: apples are just large berries)

There was also a few ripe rosehips, so I grabbed some of those too. The other species I found were no way near ripe enough or in high enough numbers: sloes (the wild ancestor to damsons), blackberries, elderberries and some wild plums.

Some rather unripe blackberries and hips


If you like the blogs and podcast I produce, please consider treating me to a virtual coffee or pint, or even a £3 monthly subscription: follow this link for more information.


Hedgerow Jelly

Once you have collected your fruit you can now get making your jelly – and don’t worry if crab apples are the only thing you found because they make a delicious pink-tinged tart jelly themselves. (Notice that I have suddenly gone metric, there’s a reason for this, but that’ll have to wait for another post. I shall endeavour to add Imperial measures though.)

1 kg (2 lbs) crab apples

1 kg (2 lbs) wild berries

1.2 litres (2 pints) water

granulated sugar

Wash your fruit – you don’t want hedgerow and earwig jelly. Roughly chop your apples; don’t core or peel them, it is the core and peel that contain the most of the precious pectin.

As for the berries, I give them a quick blitz in the food processor. Place the fruit in a large heavy-based stock pot. Bring to a boil, cover and simmer until the fruit is mushy.

In order to achieve a nice clear jelly, you need to strain the juice through cloth – I use muslin and a proper jelly stand for this, but it’s perfectly fine to use a large sheet of muslin, cheesecloth or even an old pillowcase. Scald your material in boiling water to sterilise it. Put the jelly bag on its frame with a bowl beneath it to catch the drips. Pour in the mushy fruit and juice and allow it to drip through in its own time overnight. If you don’t have a jelly bag, you can tie a bundle of cloth to the handle of a cupboard above a bowl.

The next day, measure how much juice you have – it should be between 1 and 1.2 litres – and pour it into your stockpot or preserving pan (I am saving up for one of those). For every 600 ml (1 UK pint) of juice you have, you’ll need 450 g (1 pound) of sugar. Add this to the pan and turn on the heat to medium, stir with a wooden spoon until the sugar is completely dissolved, then turn the heat to maximum. Boil the fruity syrup until setting point is reached: this is easy to judge if you have a thermometer, because pectin sets at 104.5⁰C.This should take about 10 or 15 minutes. If you don’t have one then, turn the heat off and place a drop of the jelly on a freezing-cold plate. Let it set, then push it with your nail. If it wrinkles, then it is ready. If it doesn’t, put the heat on again for 10 minutes and try again.

Once setting point is reached, skim away the skum and pour into sterilised jars. The way I do this is I put the jars and lids on a clean baking tray in the oven for 30 minutes at 120⁰C.

Variation: Mulled cider jelly. Use 2 kg of crab apples, and add a 500 ml bottle of dry or sweet cider along with 700 ml of water, along with a cinnamon stick, some cloves, a star anise and a piece of nutmeg. When it comes to the point where you add the sugar, use 100 g less as the cider lends a lot of sweetness itself.

Mulled cider jelly

9 Comments

Filed under Britain, cooking, food, Recipes

Rillettes

A brief hop over the English Channel to France for this post…

I have a great love of potted meats – not the awful ones you get in those little glass jars on the supermarket shelves, but the proper job. Making them is easy and satisfying, but you can’t go too long flicking through the cook books and history books without eventually having to give a huge nod to French cuisine. Pâtés are of course well known and popular, but don’t forget the classic rillettes. They’ve been around for at least six hundred years, yet of recent times they have fallen out of favour in Britain, though they were very popular in Victorian and Edwardian Britain – the heyday for savouries such as these:

Rillettes: A French savoury meat preparation, used for hors-d’oeuvres and savouries

Charles Herman, Culinary Encyclopaedia 1898

See? I told you.

Rillettes are a classic, similar to a pâté in that you spread them on toast and eat them with some nice cornichons, but it is made in rather a different way; long slow cooking with plenty of fat is needed and, rather than being pulverised, they are stripped and potted along with their juices. They are subtly flavoured – the glory comes from the slowly cooked meat and the mild herbs. If I were to be a ponce, then I would say they are sublime. However I am not, so I shan’t.

Any kind of meat, or even fish, can be used to make rillettes but the classics are pork, duck, rabbit and goose. The best rillettes come from Tours and Reins.


If you like the blogs and podcast I produce, please consider treating me to a virtual coffee or pint, or even a £3 monthly subscription: follow this link for more information.


 Rillettes de Porc (Potted Pork)

Here’s the recipe I have tried out a couple of times now for rillettes de porc. I can’t wait to get back to England and try some rabbit rillettes (wild rabbits are a rarity in America). There is little variation in any recipe you see, whether found online today or in an eighteenth century cookbook.

Technically you can use any cut of meat as long as it has plenty of fat. I have been using pork belly, but neck would be okay, and for the less squeamish amongst you, the head.

Ingredients

2 lbs pork belly (weight after removal of rind and bones)

2 tbs salt

1 lb back fat

2 cloves of garlic, crushed

3 or 4 sprigs of thyme

2 bay leaves

Freshly ground black pepper

Freshly ground nutmeg

Around 10 fl oz water

Cut the pork belly into strips around 1 ½ inches wide, place them in a bowl and rub in the salt. Cover and leave for around 8 hours. Cut the back fat into cubes and place it, along with the pork belly, in an ovenproof casserole or similar. Tuck the herbs and garlic under the meat in the centre and sprinkle over a good seasoning of pepper and a little nutmeg then pour over the water. Cover with a tight-fitting lid or foil and bake in a very low oven, 140⁰C (290⁰F), for 4 hours.

Remove the foil and take out the bay leaves, garlic and thyme – they have imparted their flavours. Place a sieve over a good-sized bowl and toss the contents of the pan into the sieve so it can drain.

rillettes before

Next – and this the good bit – grab two forks and start stripping the meat and fat into shreds.

rillettes after

If it is easier, do this in a separate bowl. Pot lightly into jars, ramekins or earthenware pots and cover with the salty-fatty juices. Keep covered in a cool place, failing that the fridge.

Serve with thin toast and pickles.

It is very important that the rillettes are spreadable, so if they are kept in the fridge, make sure you let them get to room temperature before eating them.

10 Comments

Filed under food, French Cookery, General, Meat, Preserving, Recipes, Uncategorized