Today on The British Food History Podcast I am speaking with food historian Peter Gilchrist and food writer Ross Clarke, who specialise in writing about and rediscovering the traditional foods of Scotland and Wales, respectively.
Peter is a returning guest who goes under the name Tenement Kitchen and is the co-host of The Scottish Food History Podcast. Ross is a food and travel writer and author of The Welsh Kitchen on Substack.

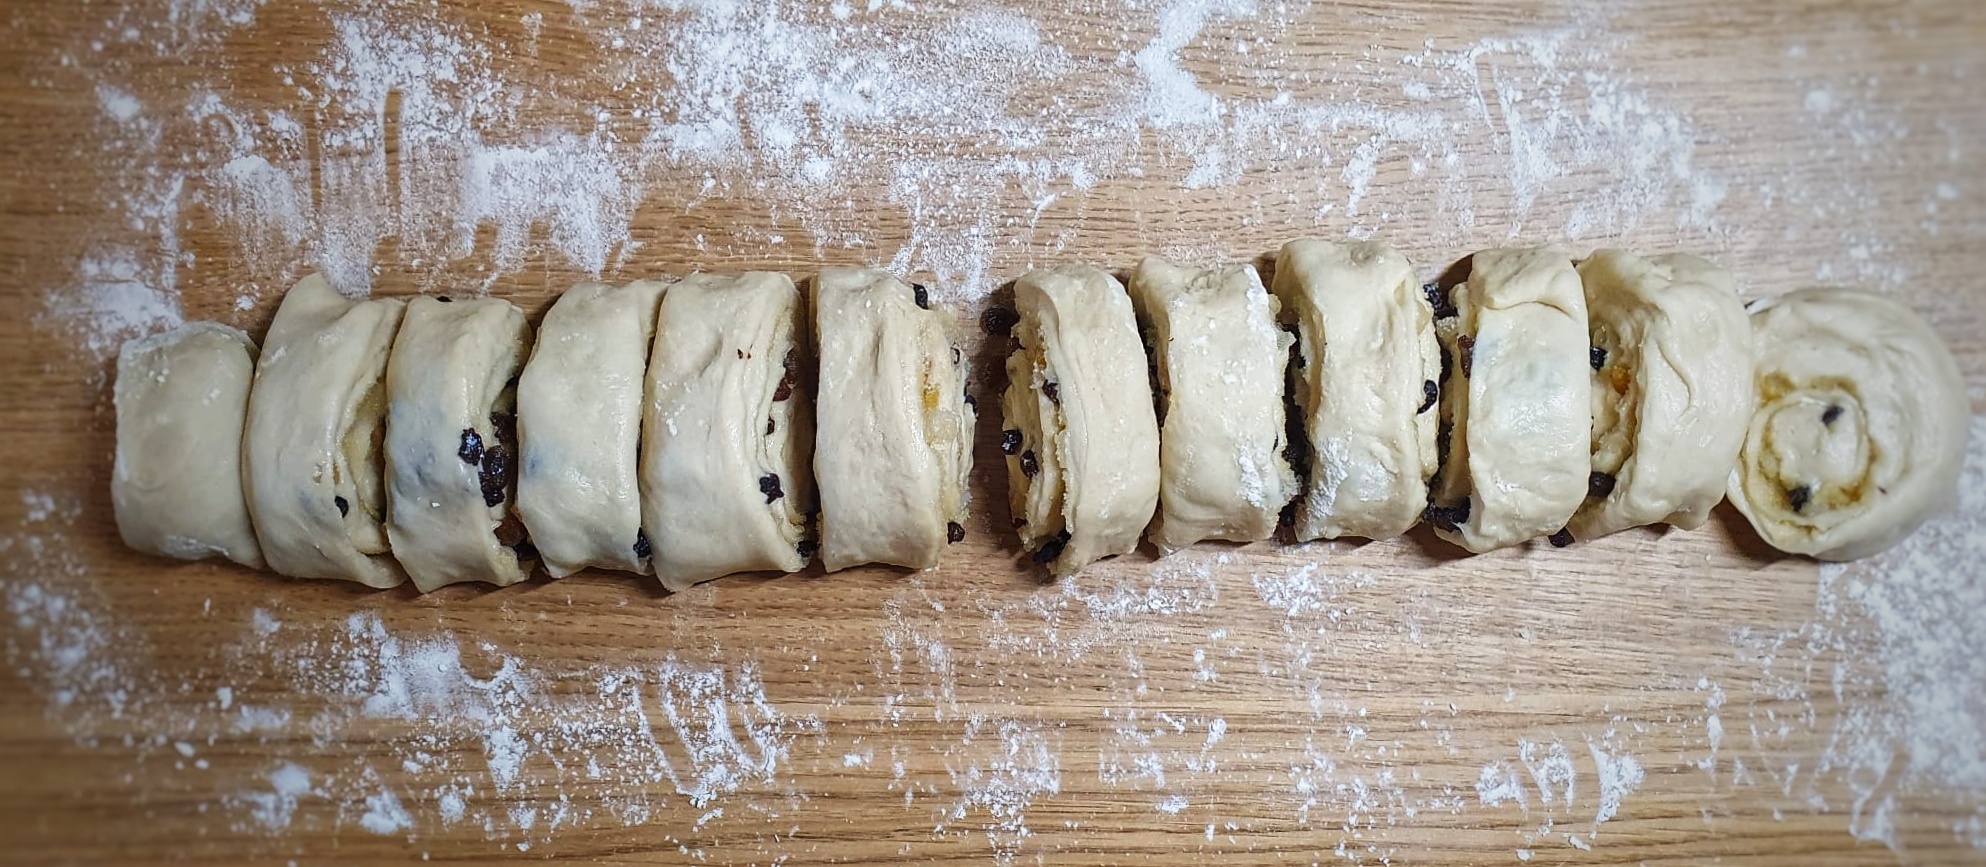
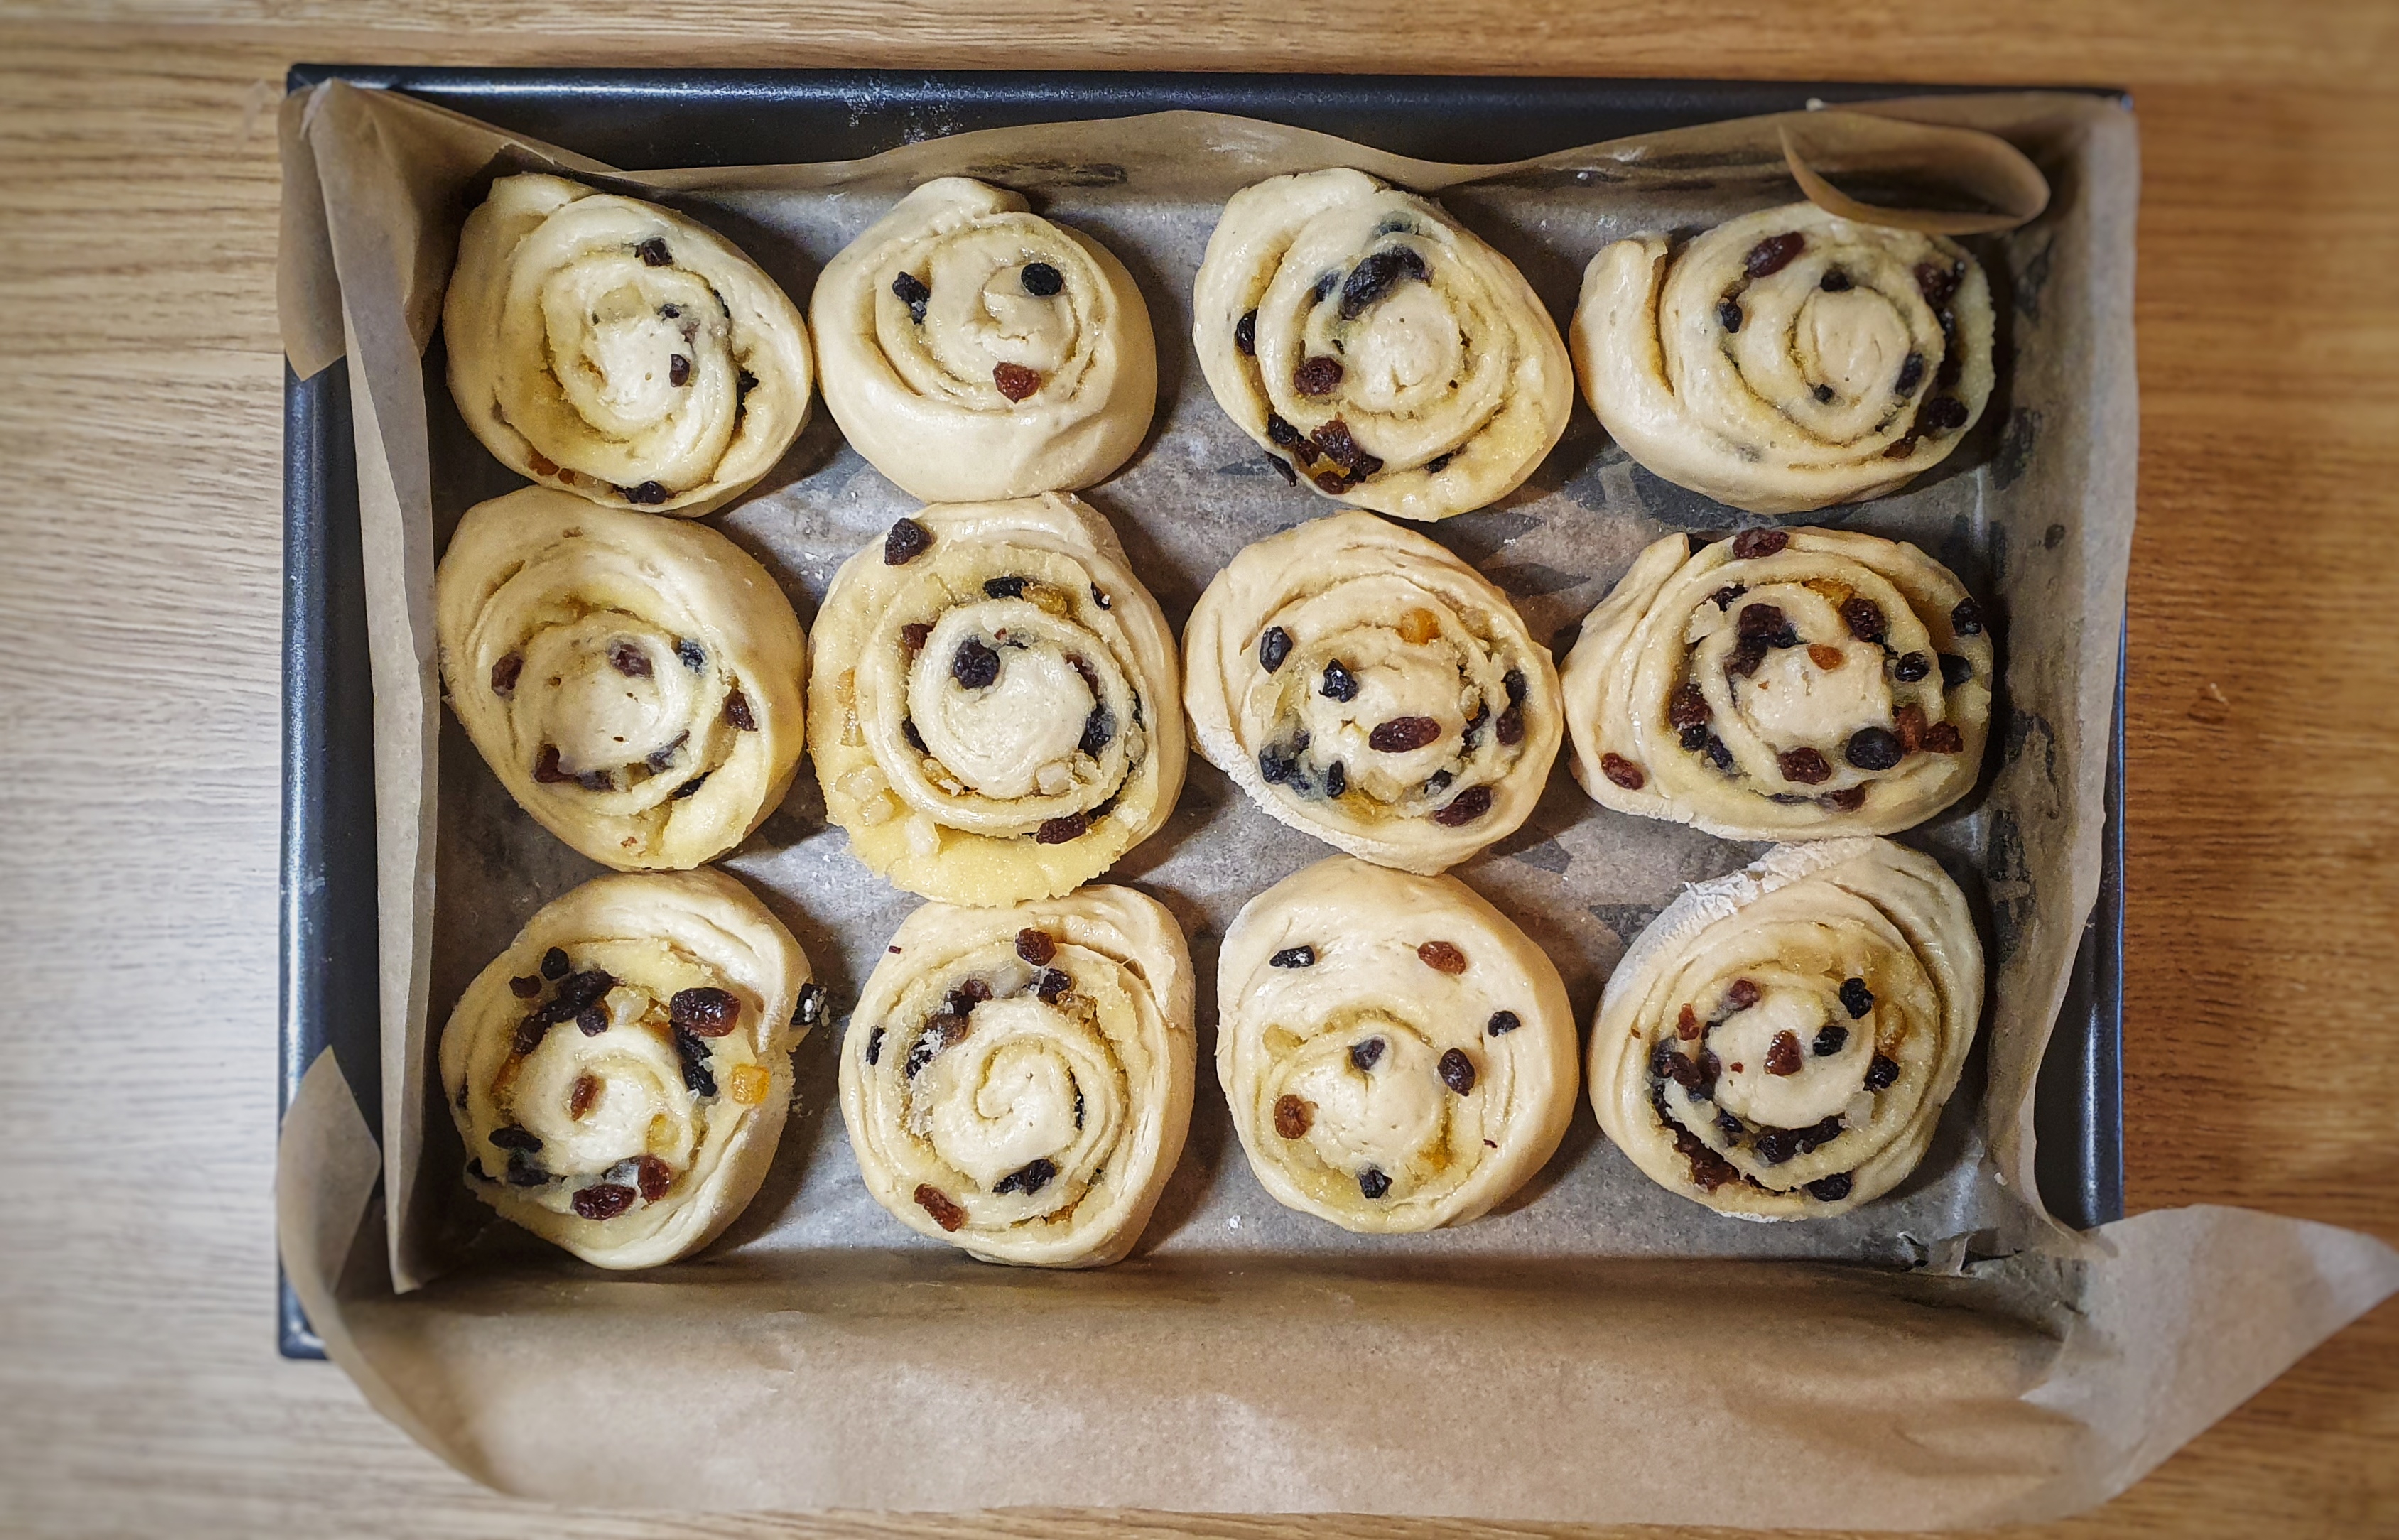
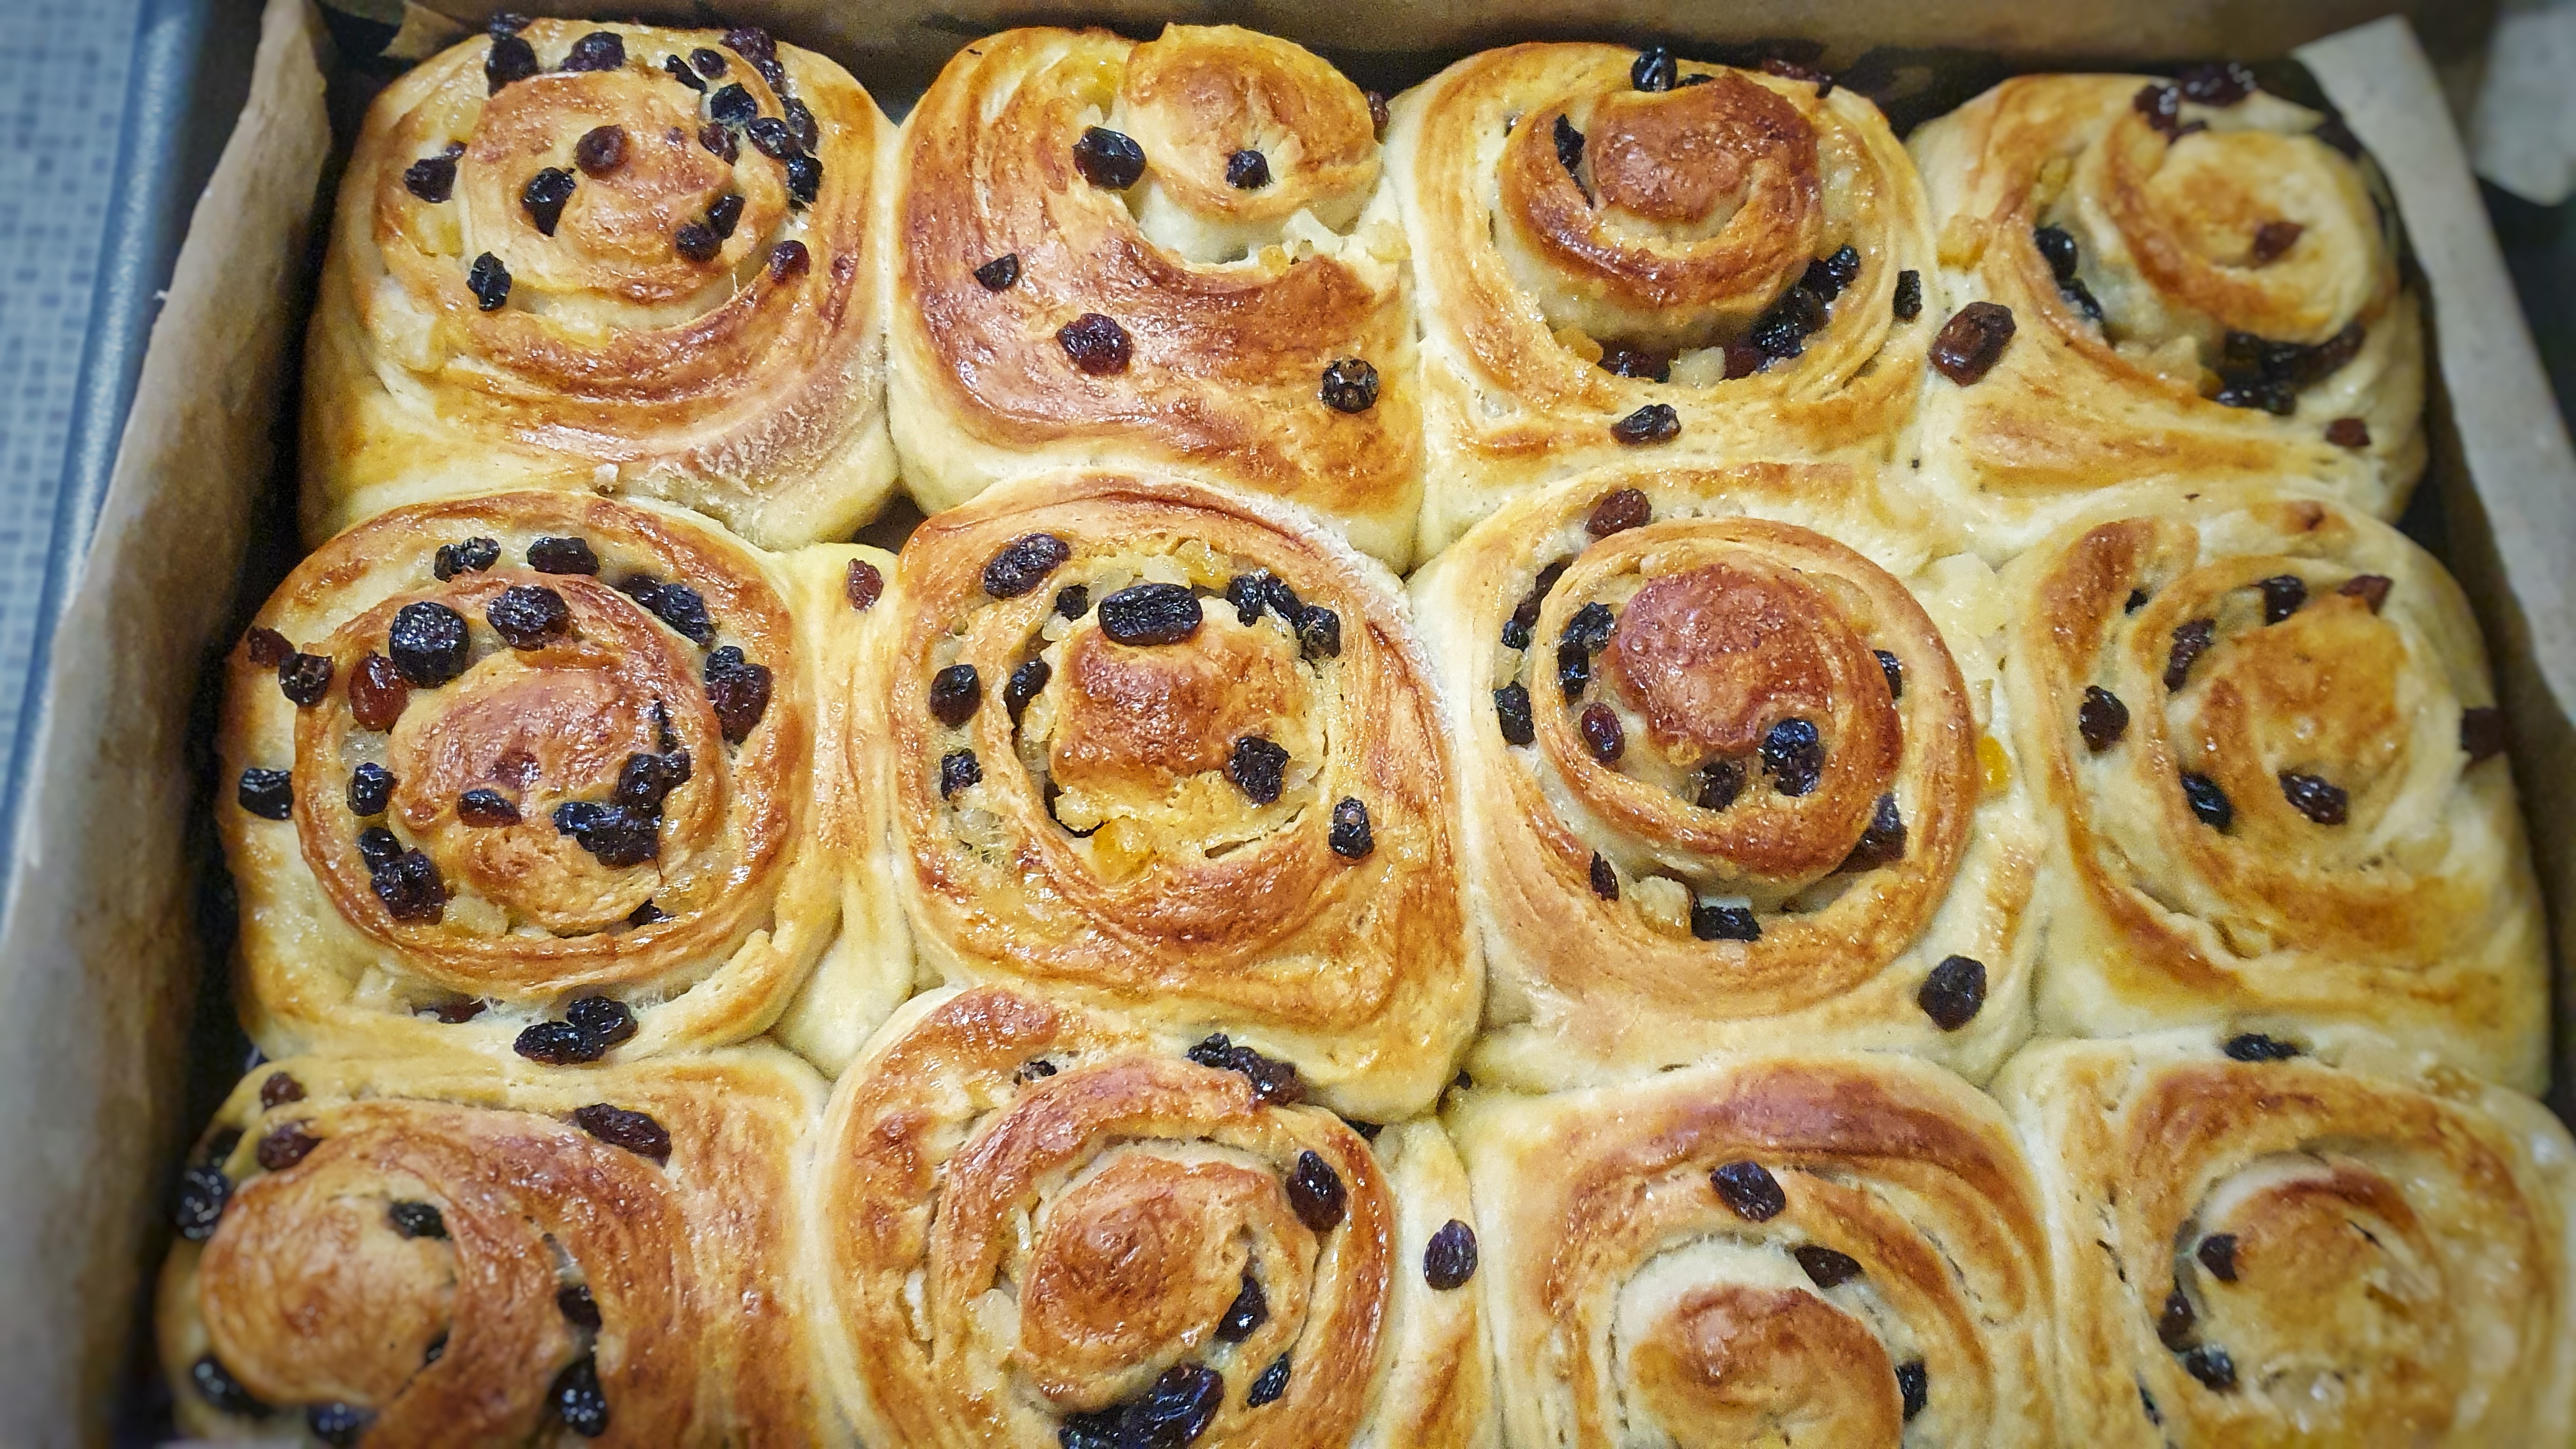
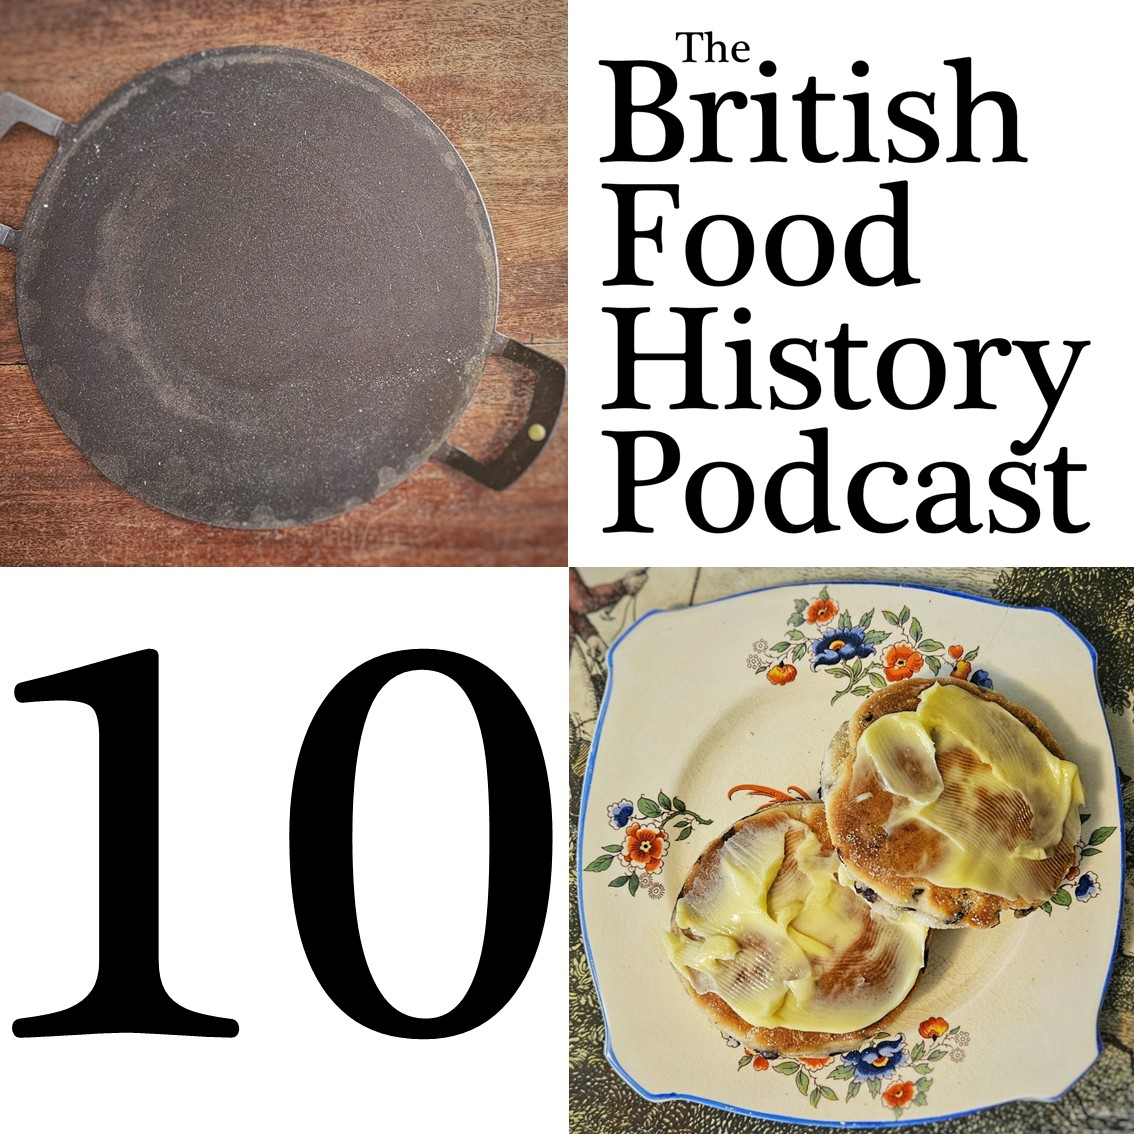
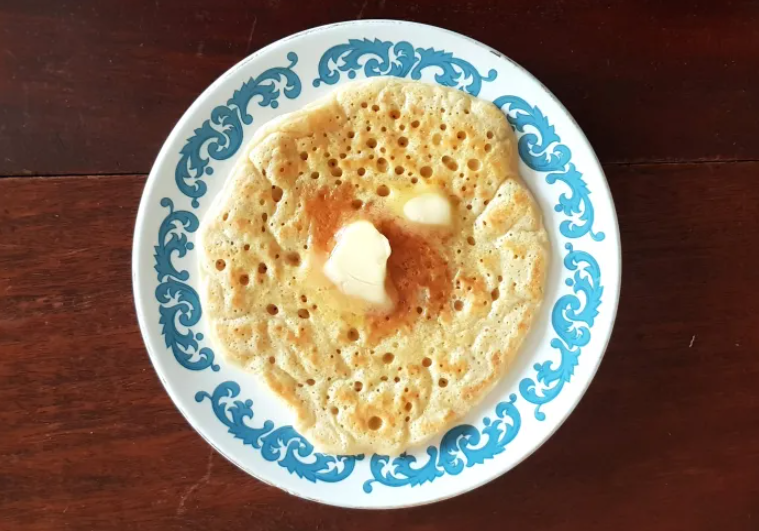
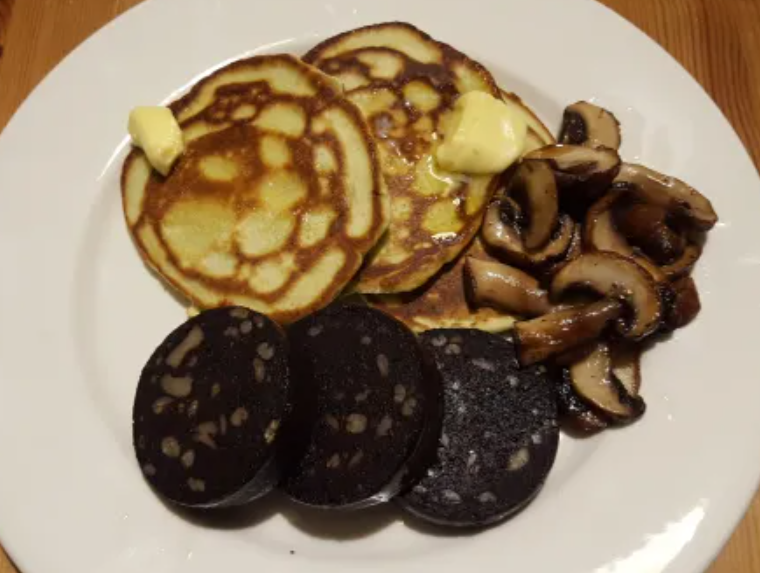
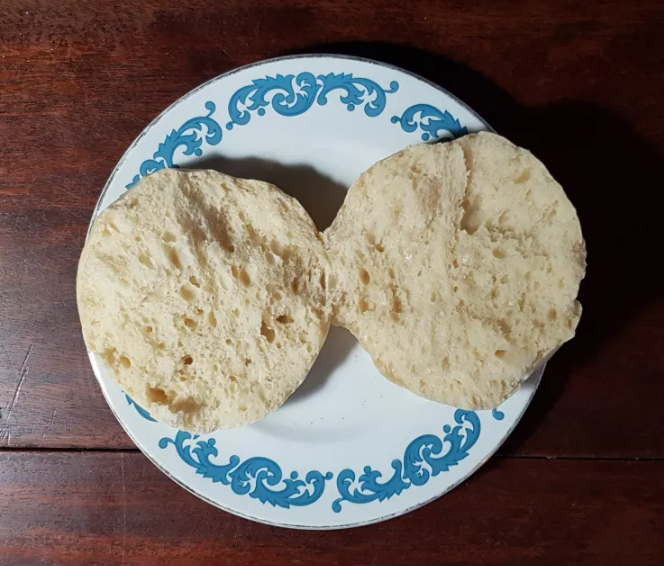
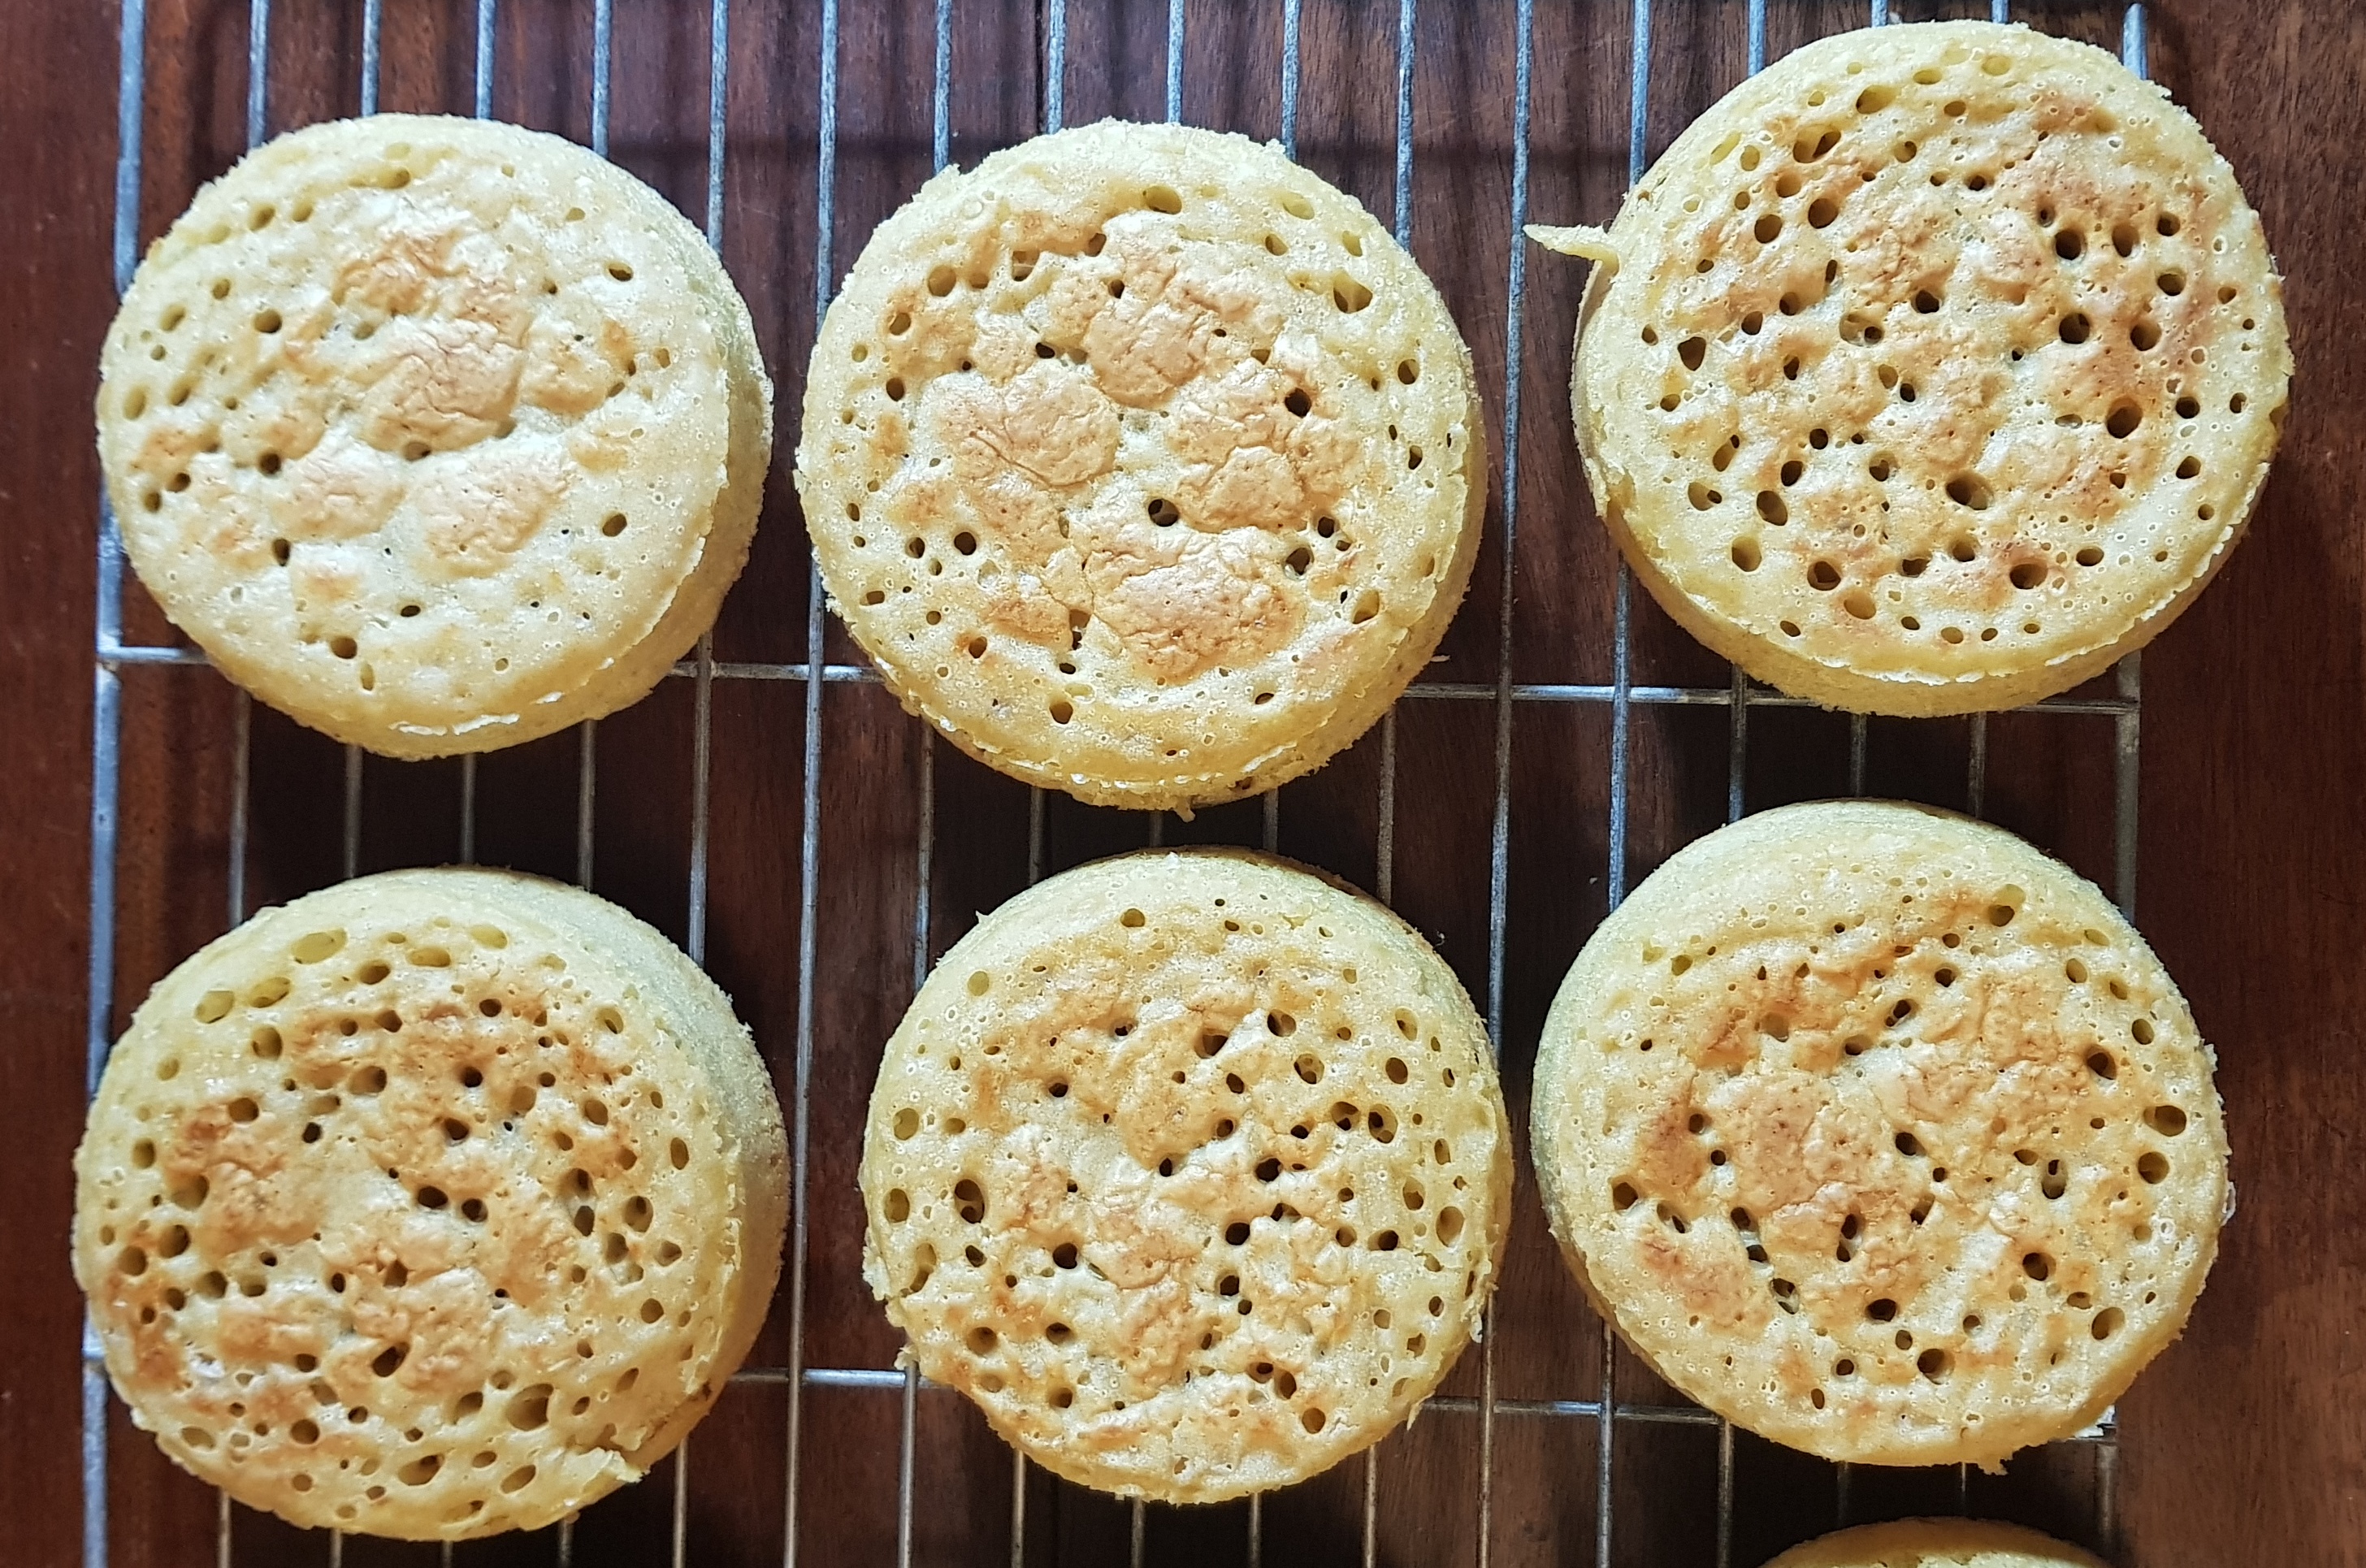
They both use a bakestone or griddle (or whatever you call yours – there are quite a few names for the usually round, usually iron piece of iron we bake our crumpets, drop scones, muffins and Welsh cakes upon) and I thought we should discuss using them and some of the best of British bakestone bakes.
We talk about the place of bakestones and griddles in British food culture, Welsh cakes, bannocks and pikelets, classic writers such as Bobby Freeman and F. Marion McNeill and the applied uses of bacon fat, amongst many other things.
The British Food History Podcast is available to download on all podcast apps; alternatively, you can stream it via this Spotify embed:
Those listening to the secret podcast get plenty of bonus material where we discuss adapting traditional recipes to keep them relevant, how annoyed I get when classic recipes get messed around with, what we get out of recreating historical recipes and buttermilk – plus more.
Follow Peter on social media: @TenementKitchen on Facebook, Insta, Bluesky, X and TikTok
Follow Ross on Social Media: @theguiri on Insta, @rosswclarke on X and Facebook
Season 10 of the podcast is sponsored by Netherton Foundry, makers of high-quality kitchen and outdoor cookware. Netherton Foundry ships to several countries outside of the UK, including the USA and Canada. Visit www.netherton-foundry.co.uk to find out more about their wonderful products – approved not just by me but by folk such as Tom Parker-Bowles, Diana Henry and Nigella Lawson.
If you can, support the podcast and blogs by becoming a £3 monthly subscriber, and unlock lots of premium content, including bonus blog posts and recipes, access to the easter eggs and the secret podcast, or treat me to a one-off virtual pint or coffee: click here.
Things mentioned in today’s episode
A Book of Welsh Bakestone Cookery by Bobby Freeman
First Catch Your Peacock by Bobby Freeman
First Principles of Good Cookery by Lady Llanover
The Scots Kitchen by F. Marion McNeill
Knead to Know: A History of Baking by Neil Buttery
Ross’s article about Welsh cakes
Ross’s article The Joy of the Bakestone (with bara planc recipe)
The Scottish Food History Podcast episode about F. Marion McNeill – part 1 with Jeremy Lee
Peter’s morning rolls UNSECO bid
Serve it Forth Food History Festival EARLY BIRD TICKETS AVAILABLE NOW!
Previous pertinent blog posts
The Griddle Cakes & Pancakes section on Neil Cooks Grigson
Previous pertinent podcast episodes
A History of Baking with Sam Bilton & Neil Buttery
The Philosophy of Puddings with Neil Buttery, Peter Gilchrist & Lindsay Middleton
Derbyshire Oatcakes with Mark Dawson
Lent episode 1: Preparing for Lent
B is for Bakestone, Bechamel & Barbecue
C is for Custard, Chancellor’s Buttocks & Crumpets
Don’t forget, there will be postbag episodes in the future, so if you have any questions or queries about today’s episode, or indeed any episode, or have a question about the history of British food please email me at neil@britishfoodhistory.com, or leave a comment here.