As promised in the last episode of The British Food History Podcast, all about Netherton Foundry Cookware, here is my recipe for kedgeree using their excellent 10 inch Prospector Pan with lid.
The tenth season of the podcast is being sponsored by Netherton Foundry, so please do check out their website[1] and support them if you can.
Kedgeree is a classic British breakfast dish that isn’t eaten so much these days. Perhaps it’s because it’s a bit much to tuck into first thing on a Thursday morning, though it does make a great lunch. Or maybe it’s the association with the officer class of the British Raj at a time when the romance of the British Empire is fizzling out. But whatever your feelings about that, there’s no denying that kedgeree is a classic piece of Anglo-Indian cookery. I call it Phase I Anglo-Indian cookery: ‘a result of the interface between Indian cooks and British wives of British officers and officials stationed in India’, as Alan Davidson put it.[2]
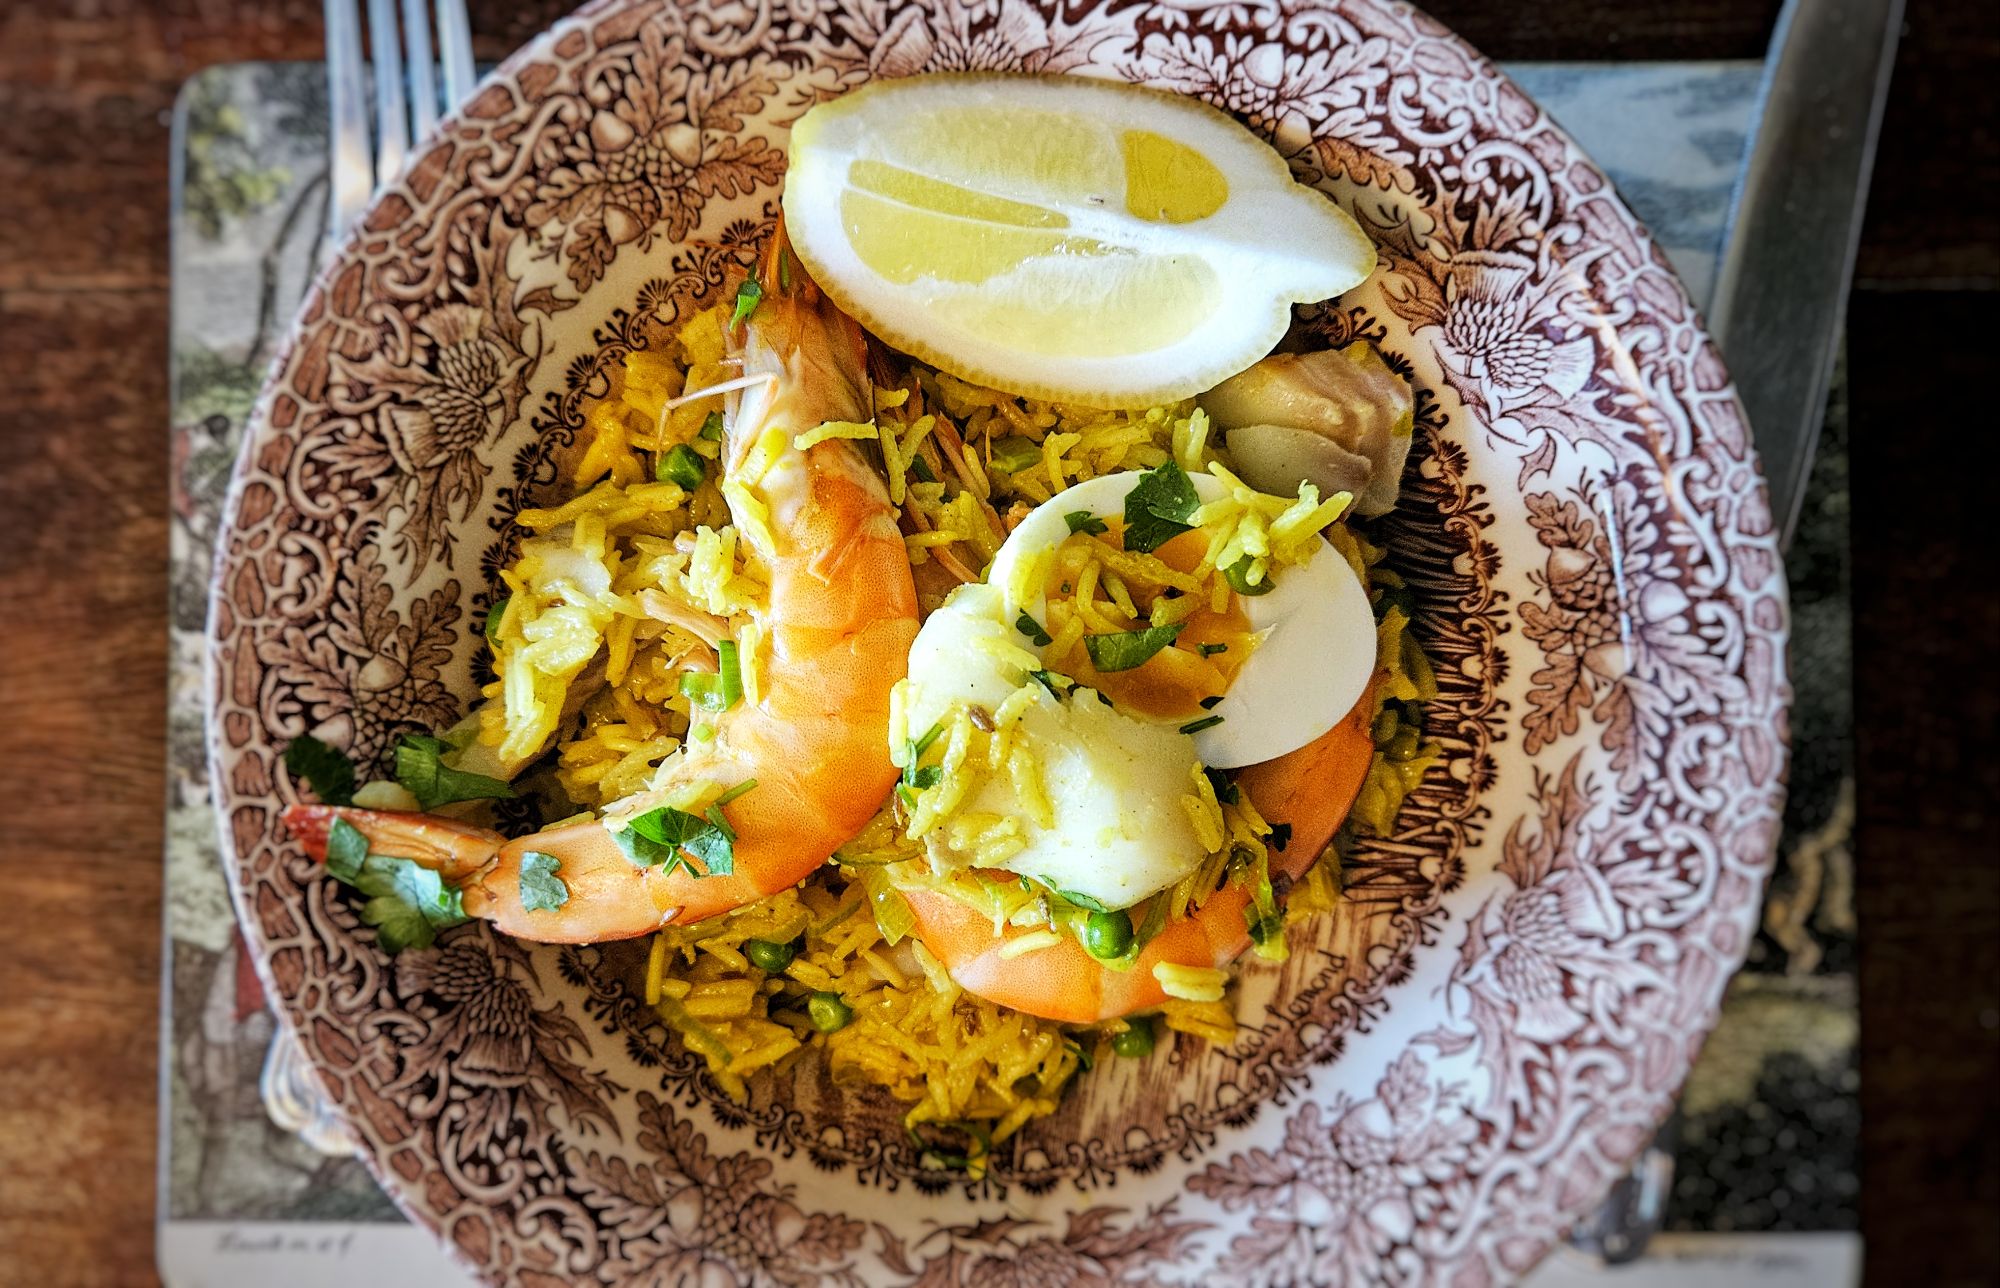
It’s a simple dish of mildly spiced rice, poached fish, onions and boiled eggs. The word is derived from the Tamil word khichri, a breakfast dish made from rice and mung beans (though other leguminous vegetables are also used). When the English arrived in India in the 17th century, they happily tucked into khichri, but as they became more established in the 18th century, the beans were swapped for protein-heavy fish.[3] Although I can’t confirm this, I think that the eggs were an addition made in Britain rather than India. Recipes are common in British cookery books of the 19th century, but there’s much variation, and a fixed, official recipe for kedgeree is impossible to find. Eliza Acton’s recipe is very much a leftovers dish, with any fish being used. Her only spice is cayenne pepper. Oddly, the eggs are beaten and fried with the rice.[4] In a 1950s edition of Beeton’s Book of Household Management, the eggs are boiled, and prawns are the fish of choice. The spices are paprika, black pepper and nutmeg. Weirdly, grated cheese is involved.[5]
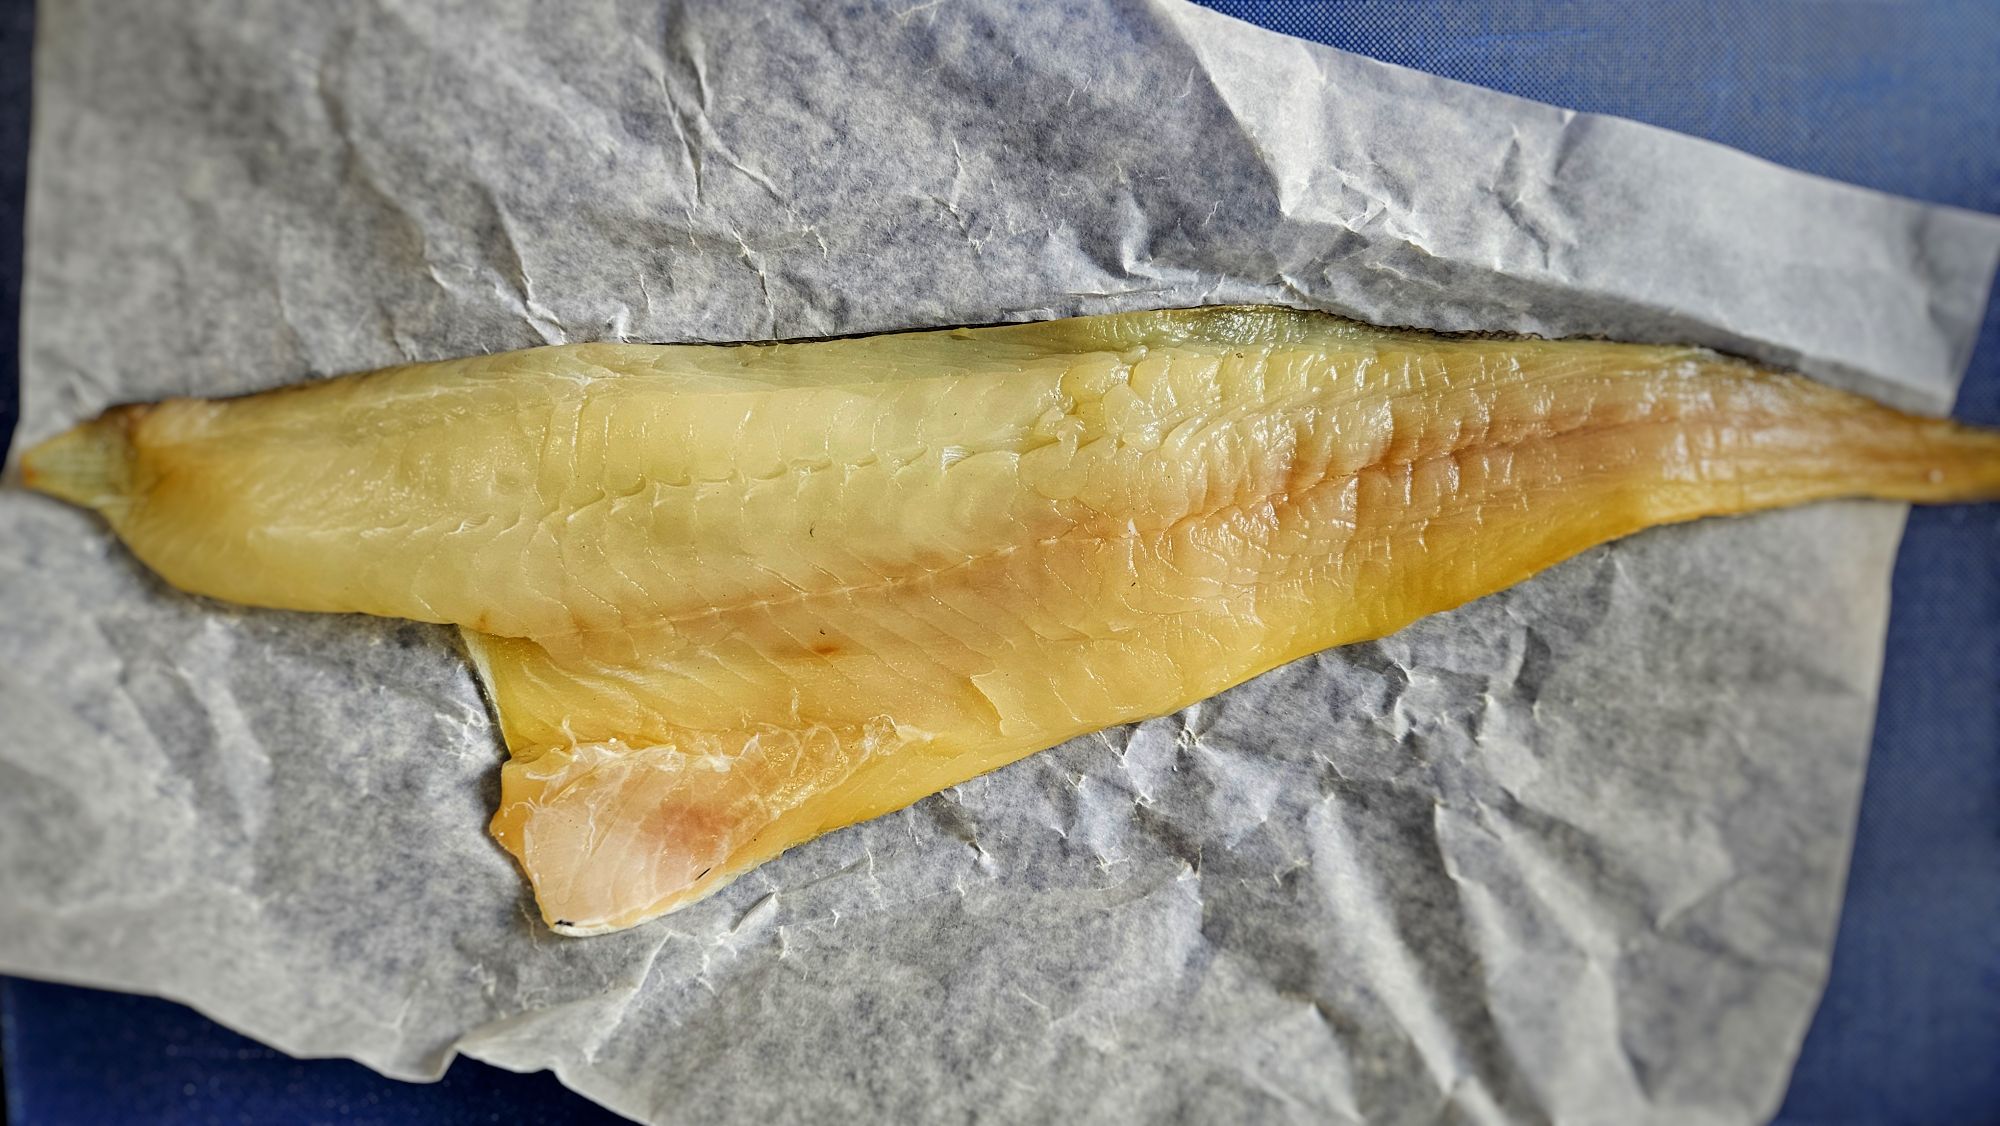
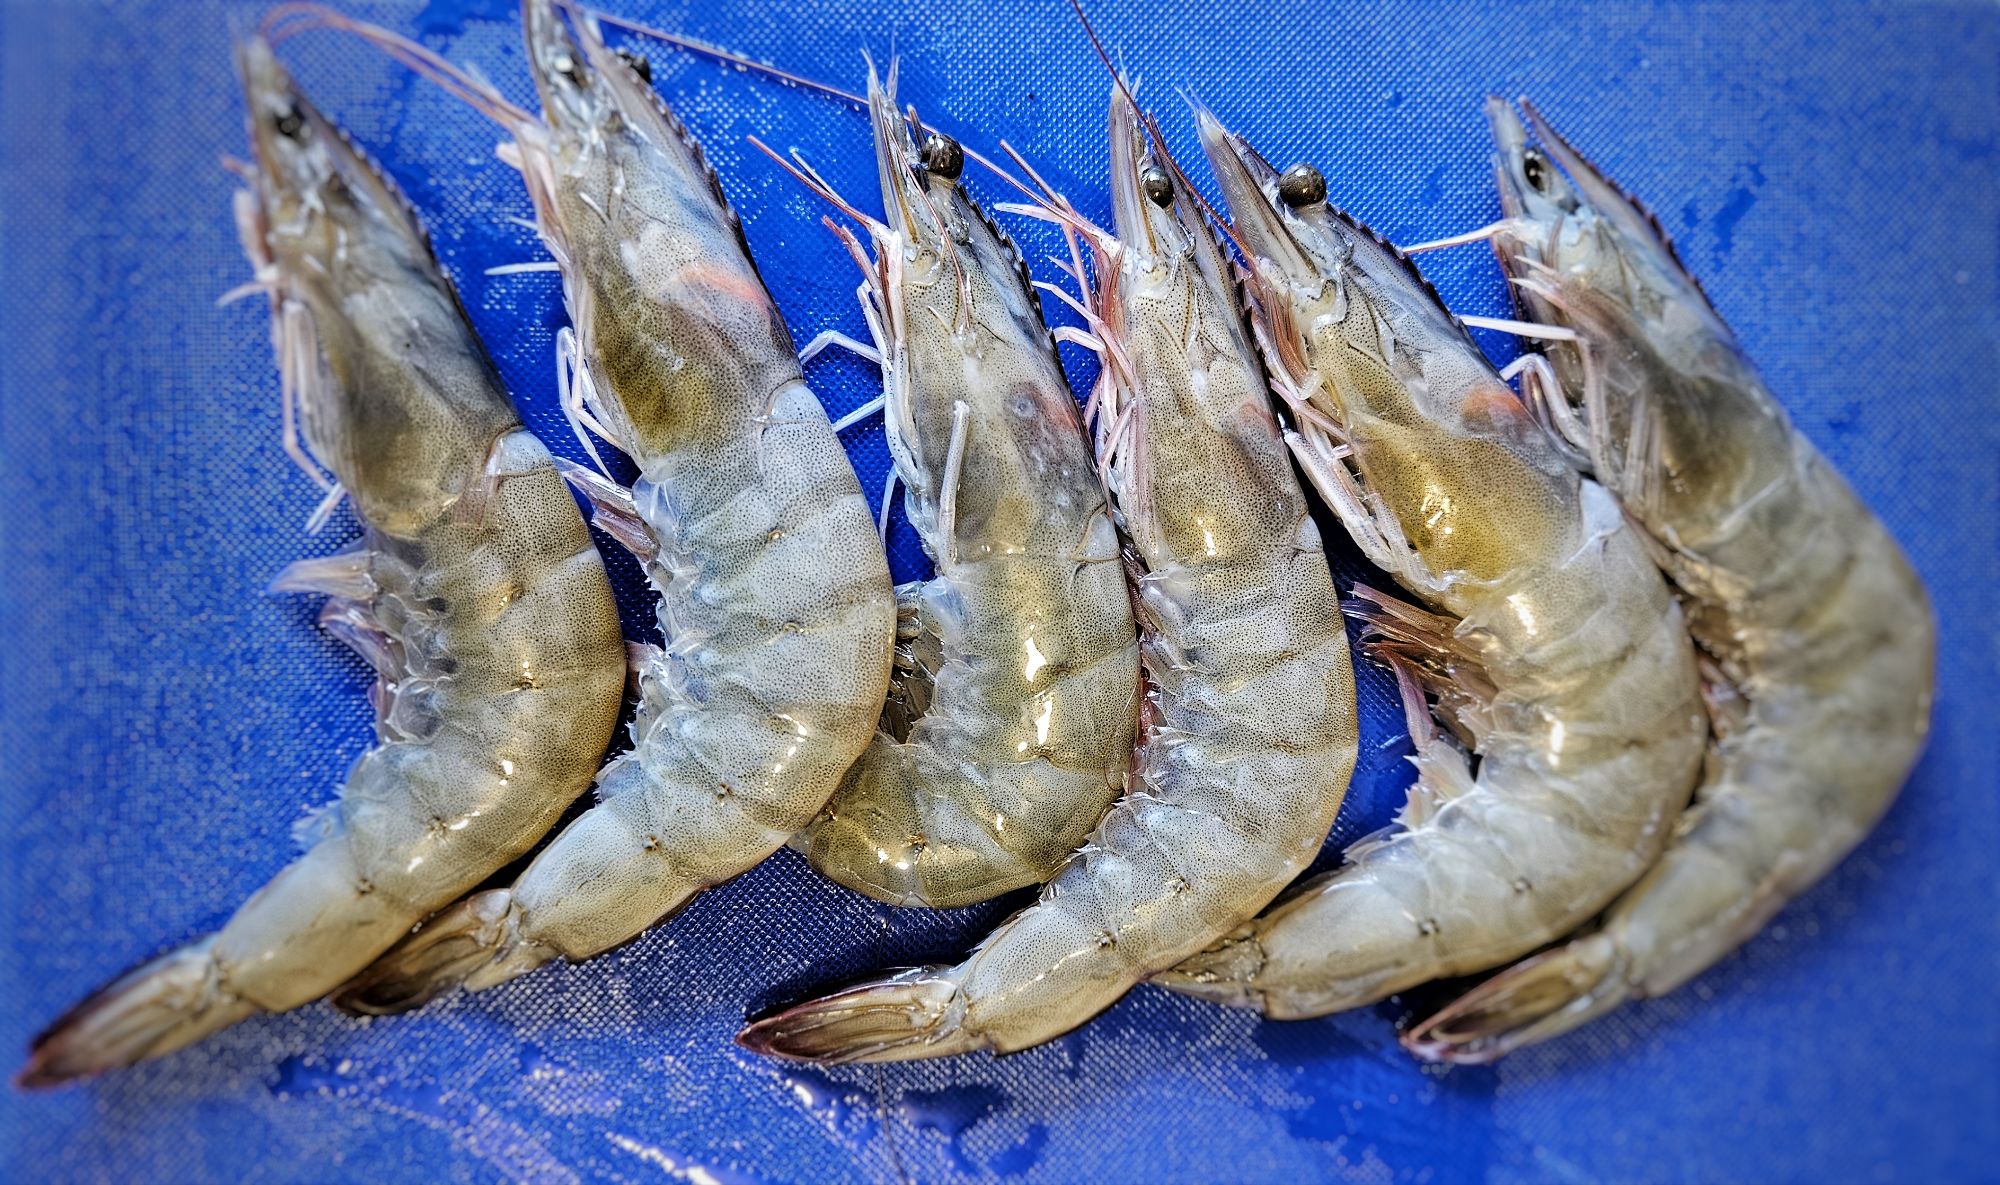
These days, the fish of choice is smoked haddock, but you can use any fish you like really. I like to add a few fat prawns whenever I’m feeling flush.
If you can, please support the podcast and blogs by becoming a £3 monthly subscriber, and unlock lots of premium content, including bonus blog posts and recipes, access to the Easter eggs, a monthly newsletter and the secret podcast, or treat me to a one-off virtual pint or coffee: click here.
Recipe
There are two ways you can make kedgeree: with freshly poached fish, as I describe below, or with leftover cooked fish, in which case, follow the method below, except for the stage where the fish gets poached in water and milk. Instead, use some fish or chicken stock instead of water and milk and follow the method as given, just letting the cooked fish warm through at the end of cooking.
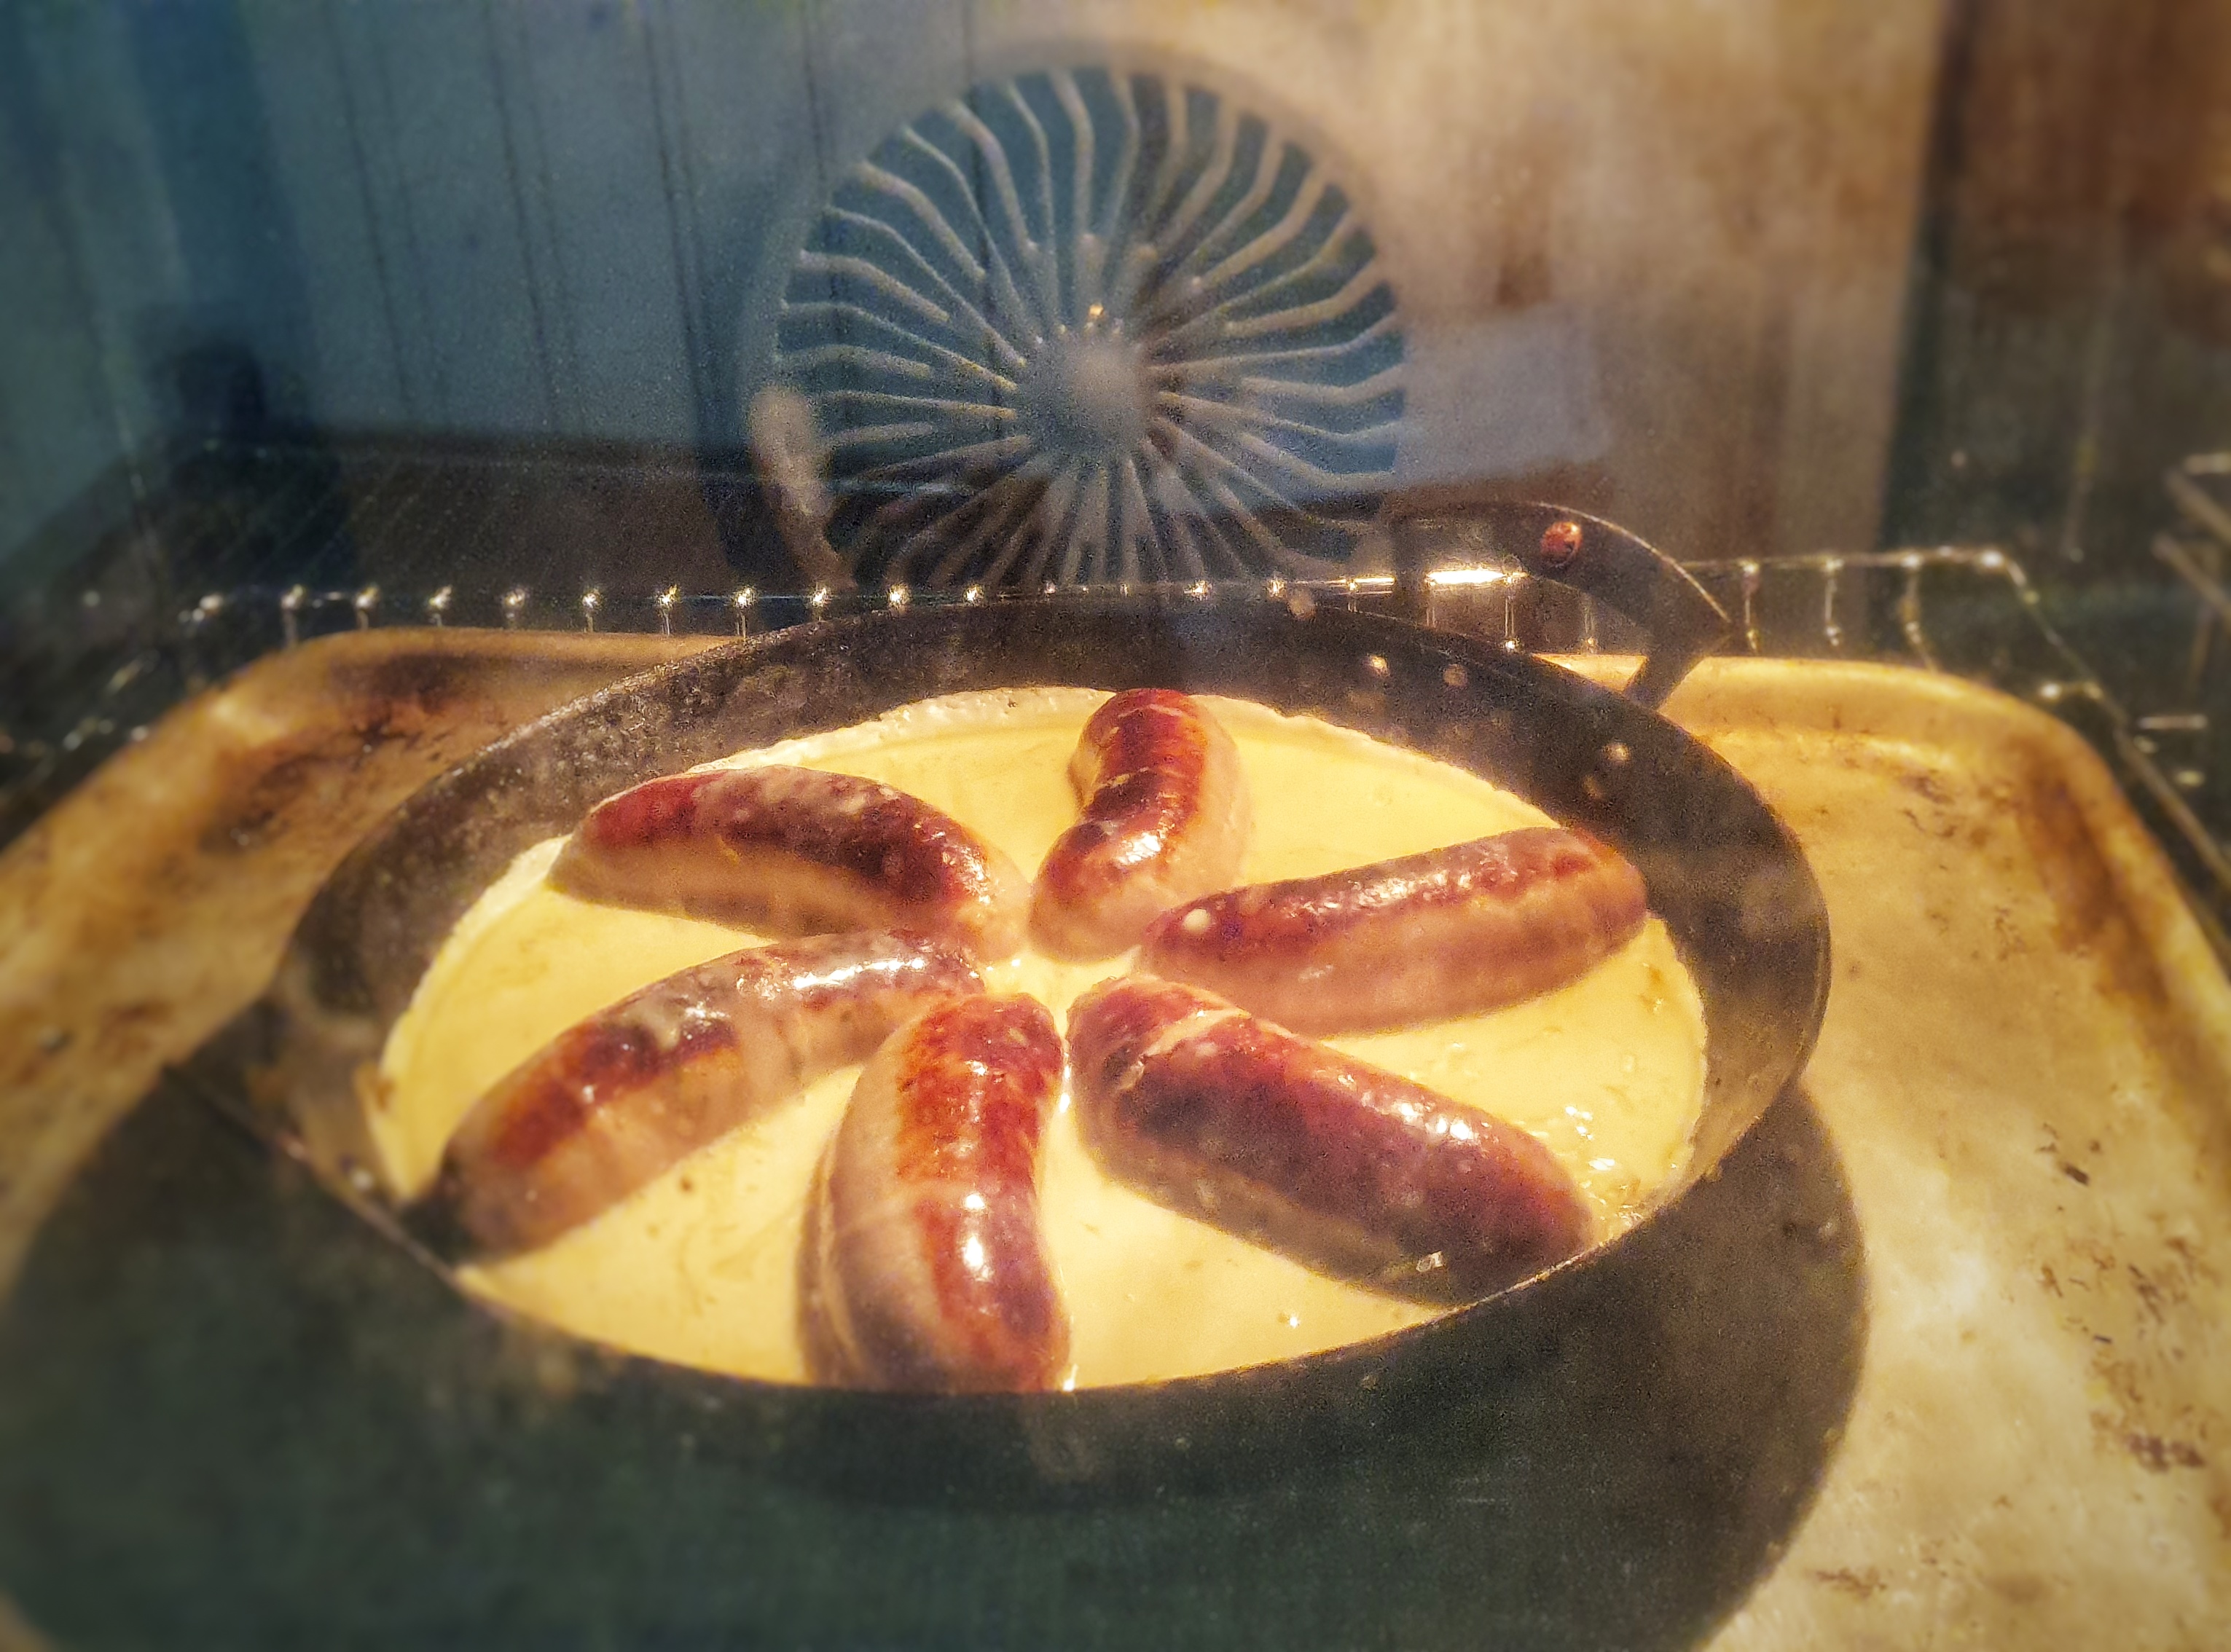
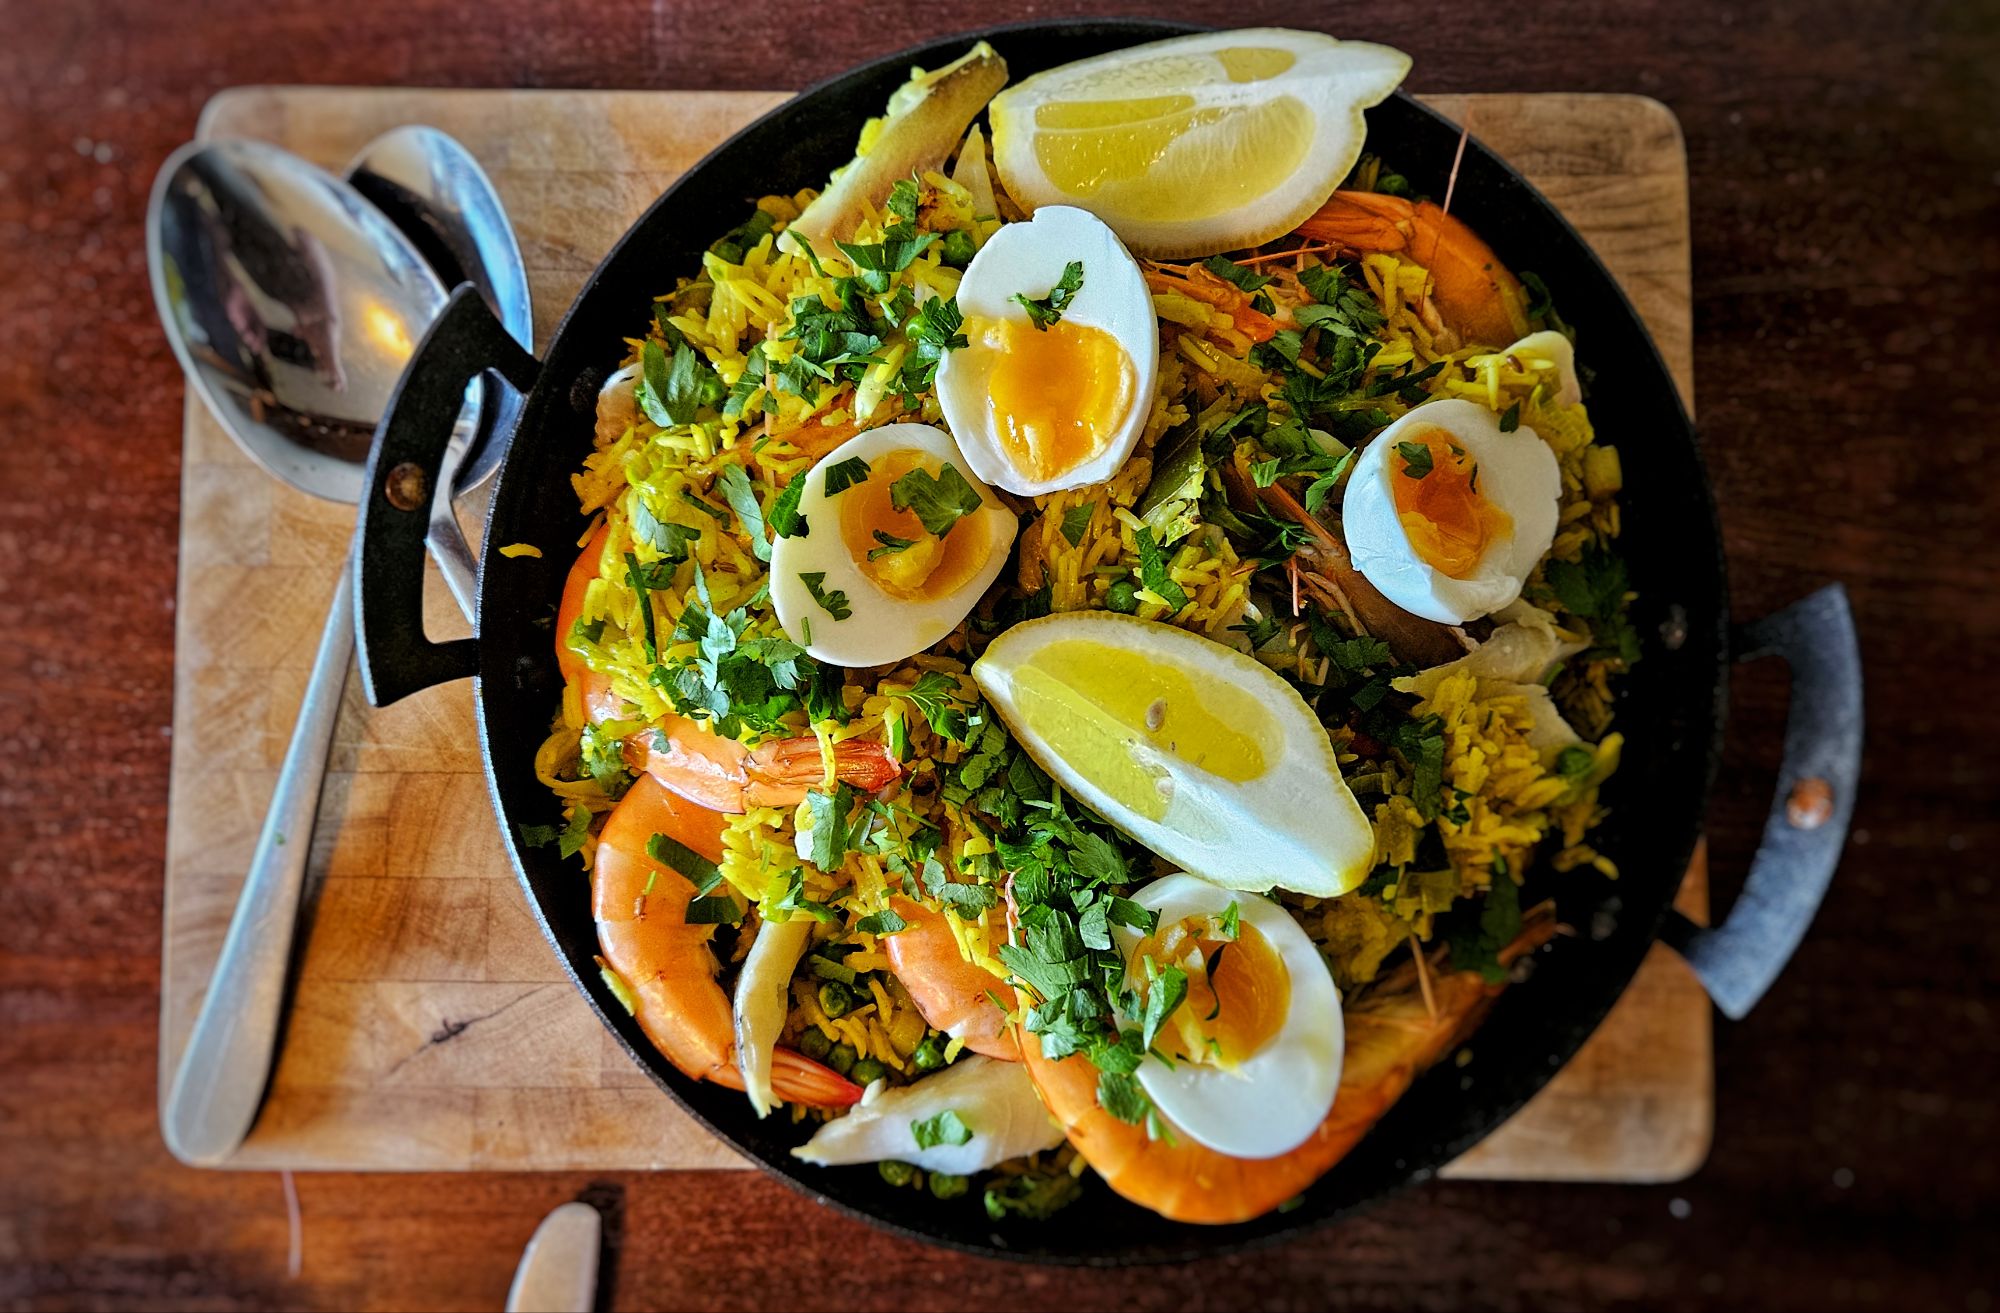
I used my 10-inch Netherton Foundry Prospector Pan – the whole dish can be cooked in it, and when it is ready, it can go straight to the table to await your fellow diners.
My spices of choice are cumin seeds, garam masala and turmeric, but you can use whatever you like: curry powder works really well, as does a little smoked paprika or chilli powder. Some recipes use no spices at all, so if you are spice-averse, do not worry!
Serves 6 for breakfast, or 4 for a main meal
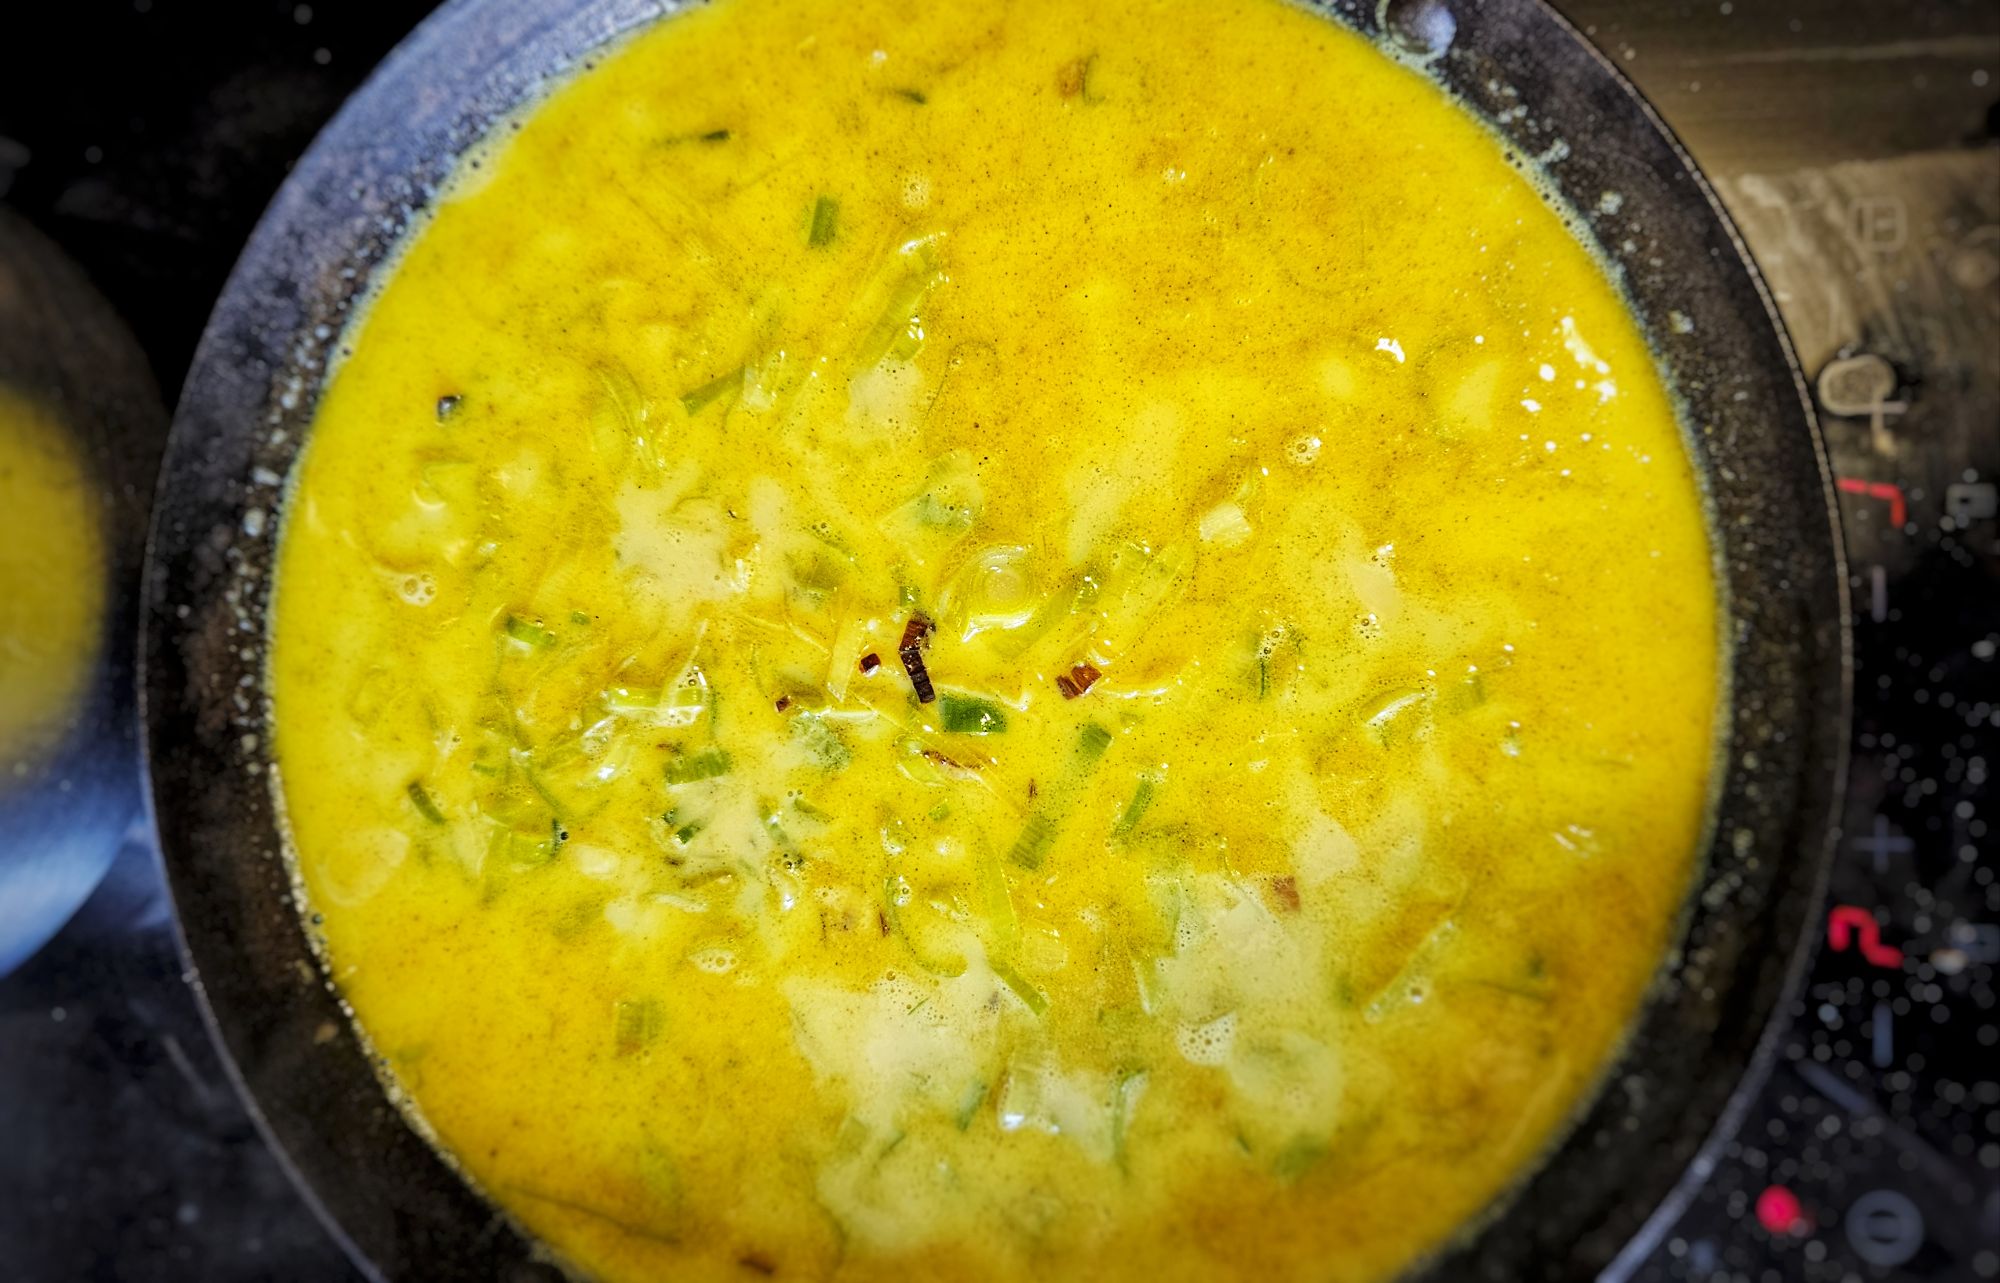
300 ml water
200 ml milk
2 bay leaves, crushed
One whole side of naturally-smoked haddock (around 250 g)
45 g butter
¾ tsp cumin seeds
1 medium onion or leek, sliced
3 cloves of garlic, finely chopped
¾ tsp salt
¾ tsp garam masala
½ tsp ground turmeric
Freshly ground black pepper
250 ml (200 g approximately) white basmati rice
1 handful of frozen peas (optional)
4 or 6 room-temperature medium eggs
4 or 6 whole prawns (optional)
2 tablespoons chopped parsley
1 lemon
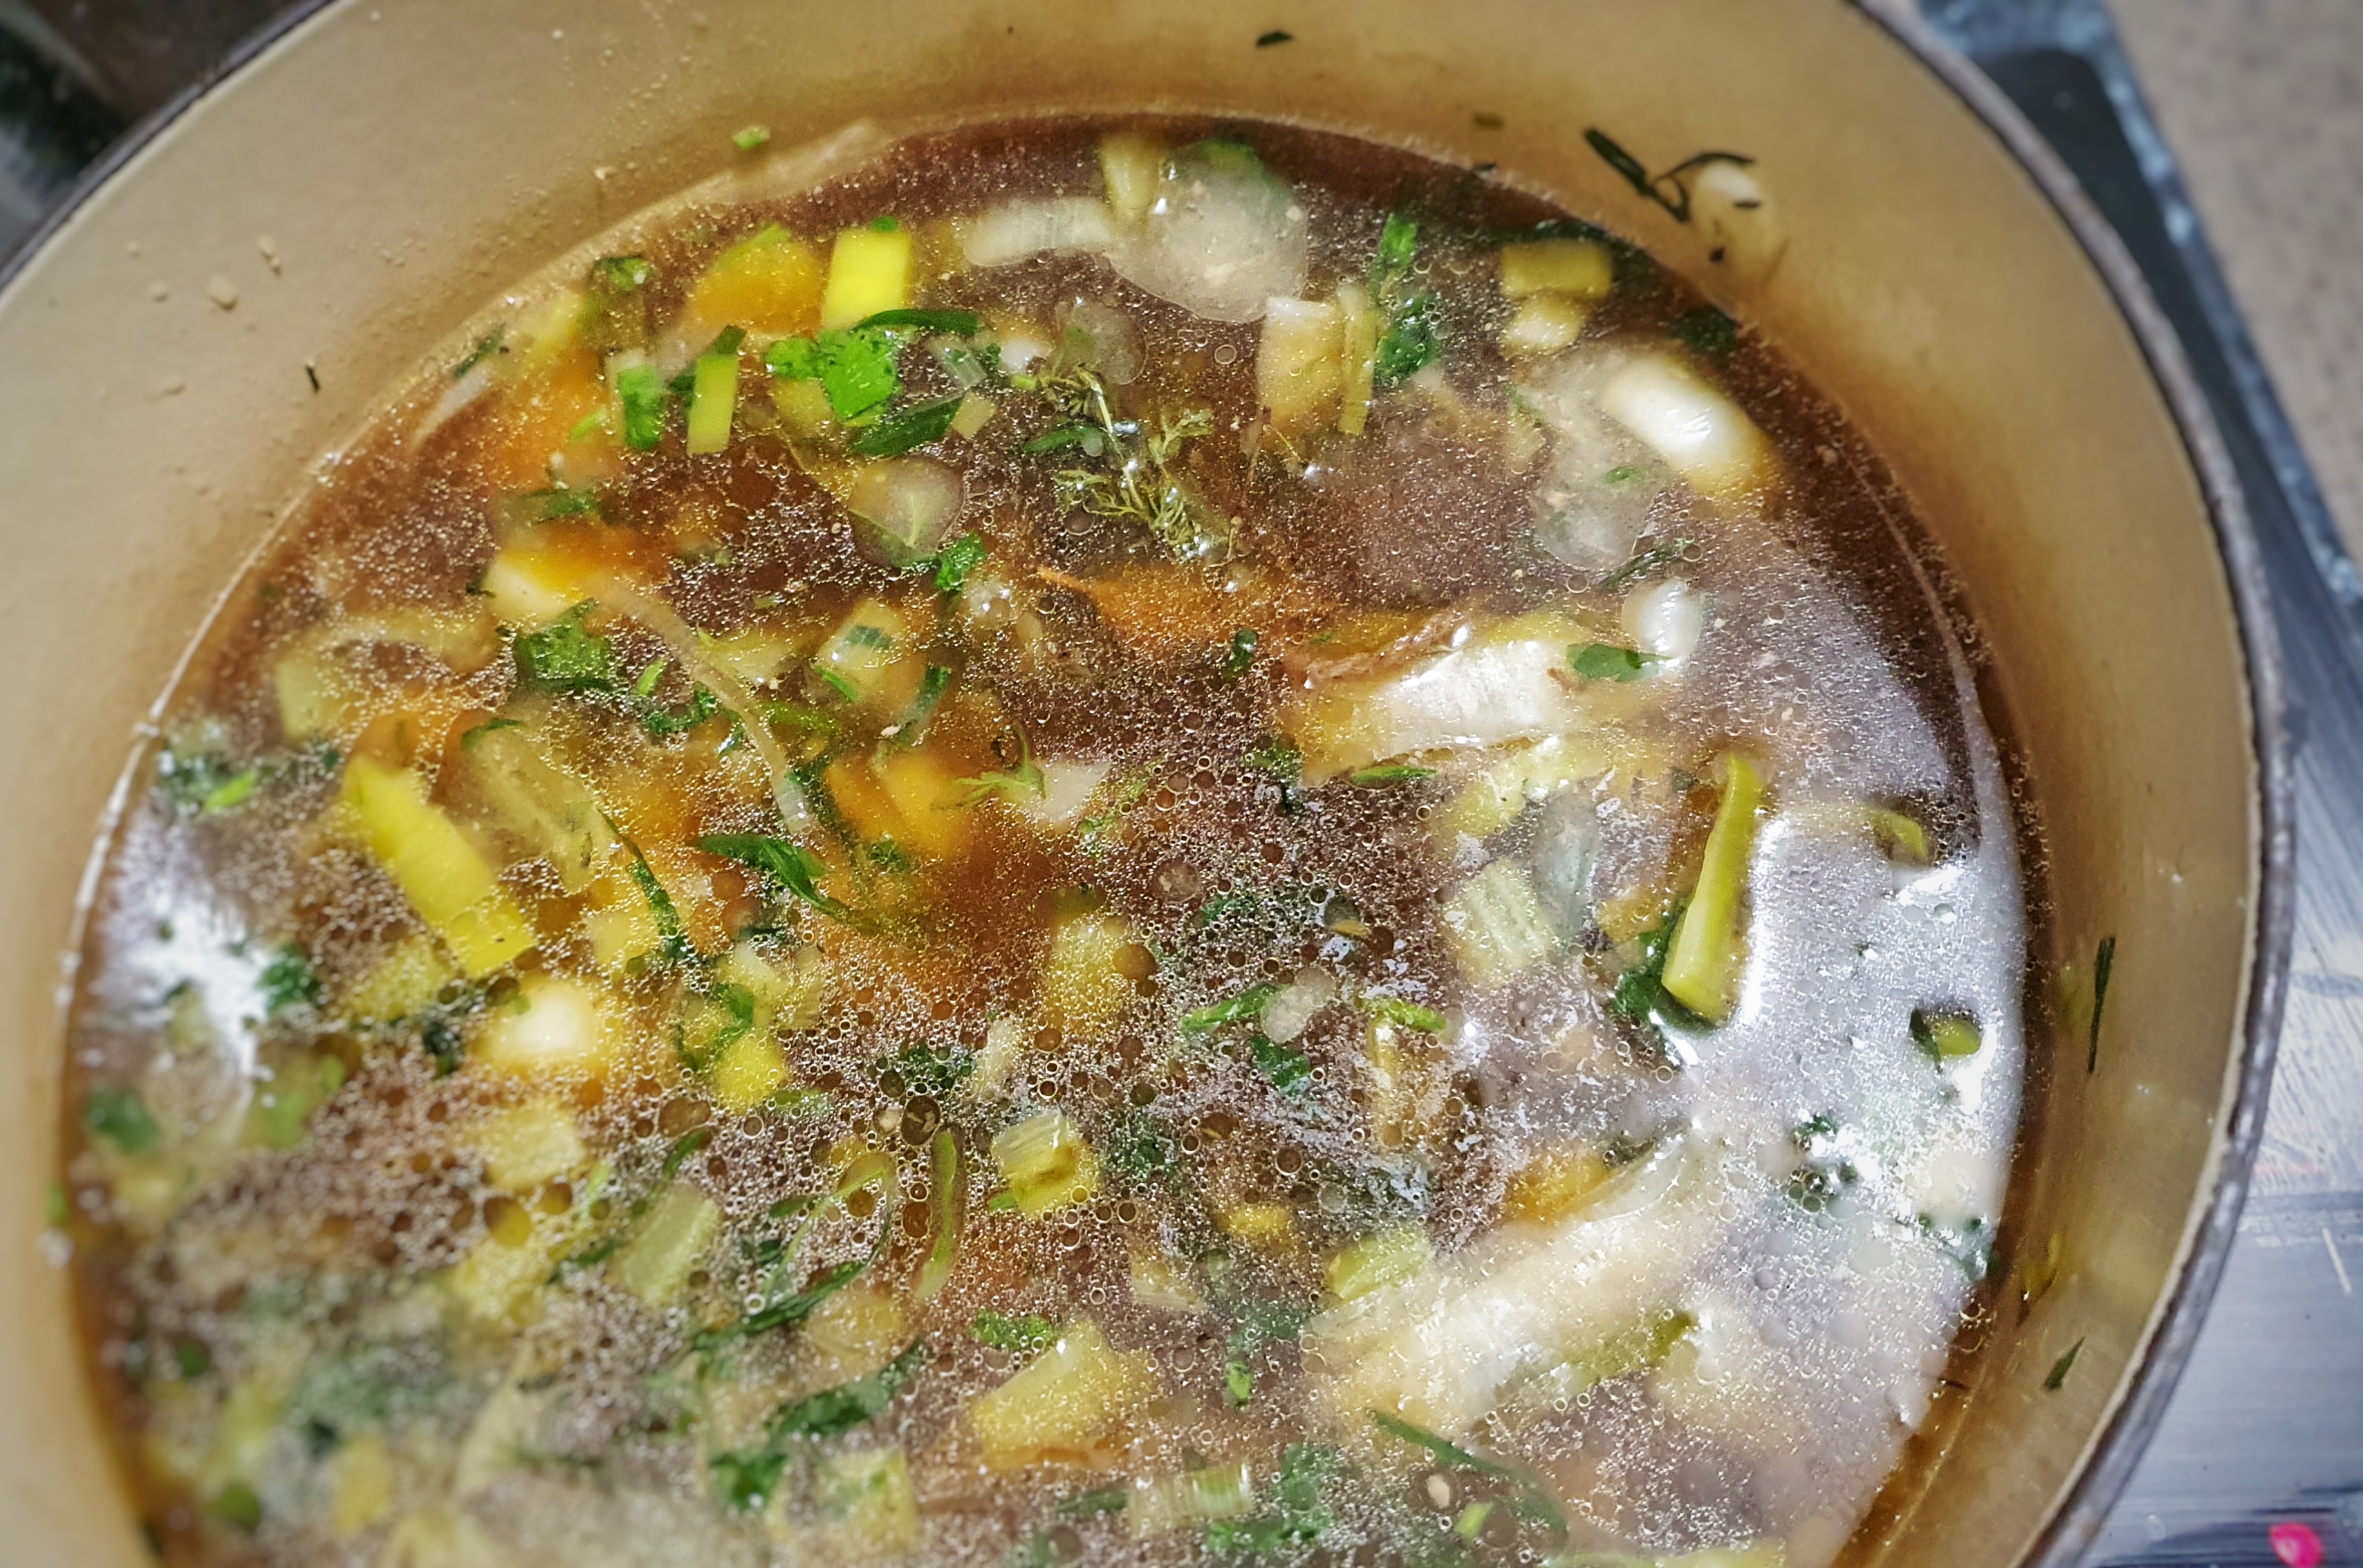
In a saucepan heat the water and milk to scalding point with the bay leaves. Cut the haddock into two or three pieces so you can comfortably plop it into hot liquid. Allow the milk-water mix to come back up to a bare simmer, turn the heat off and leave the fish to poach for three or four minutes, until the flesh flakes easily. Remove from the liquid and set both the fish and the poaching liquid aside.
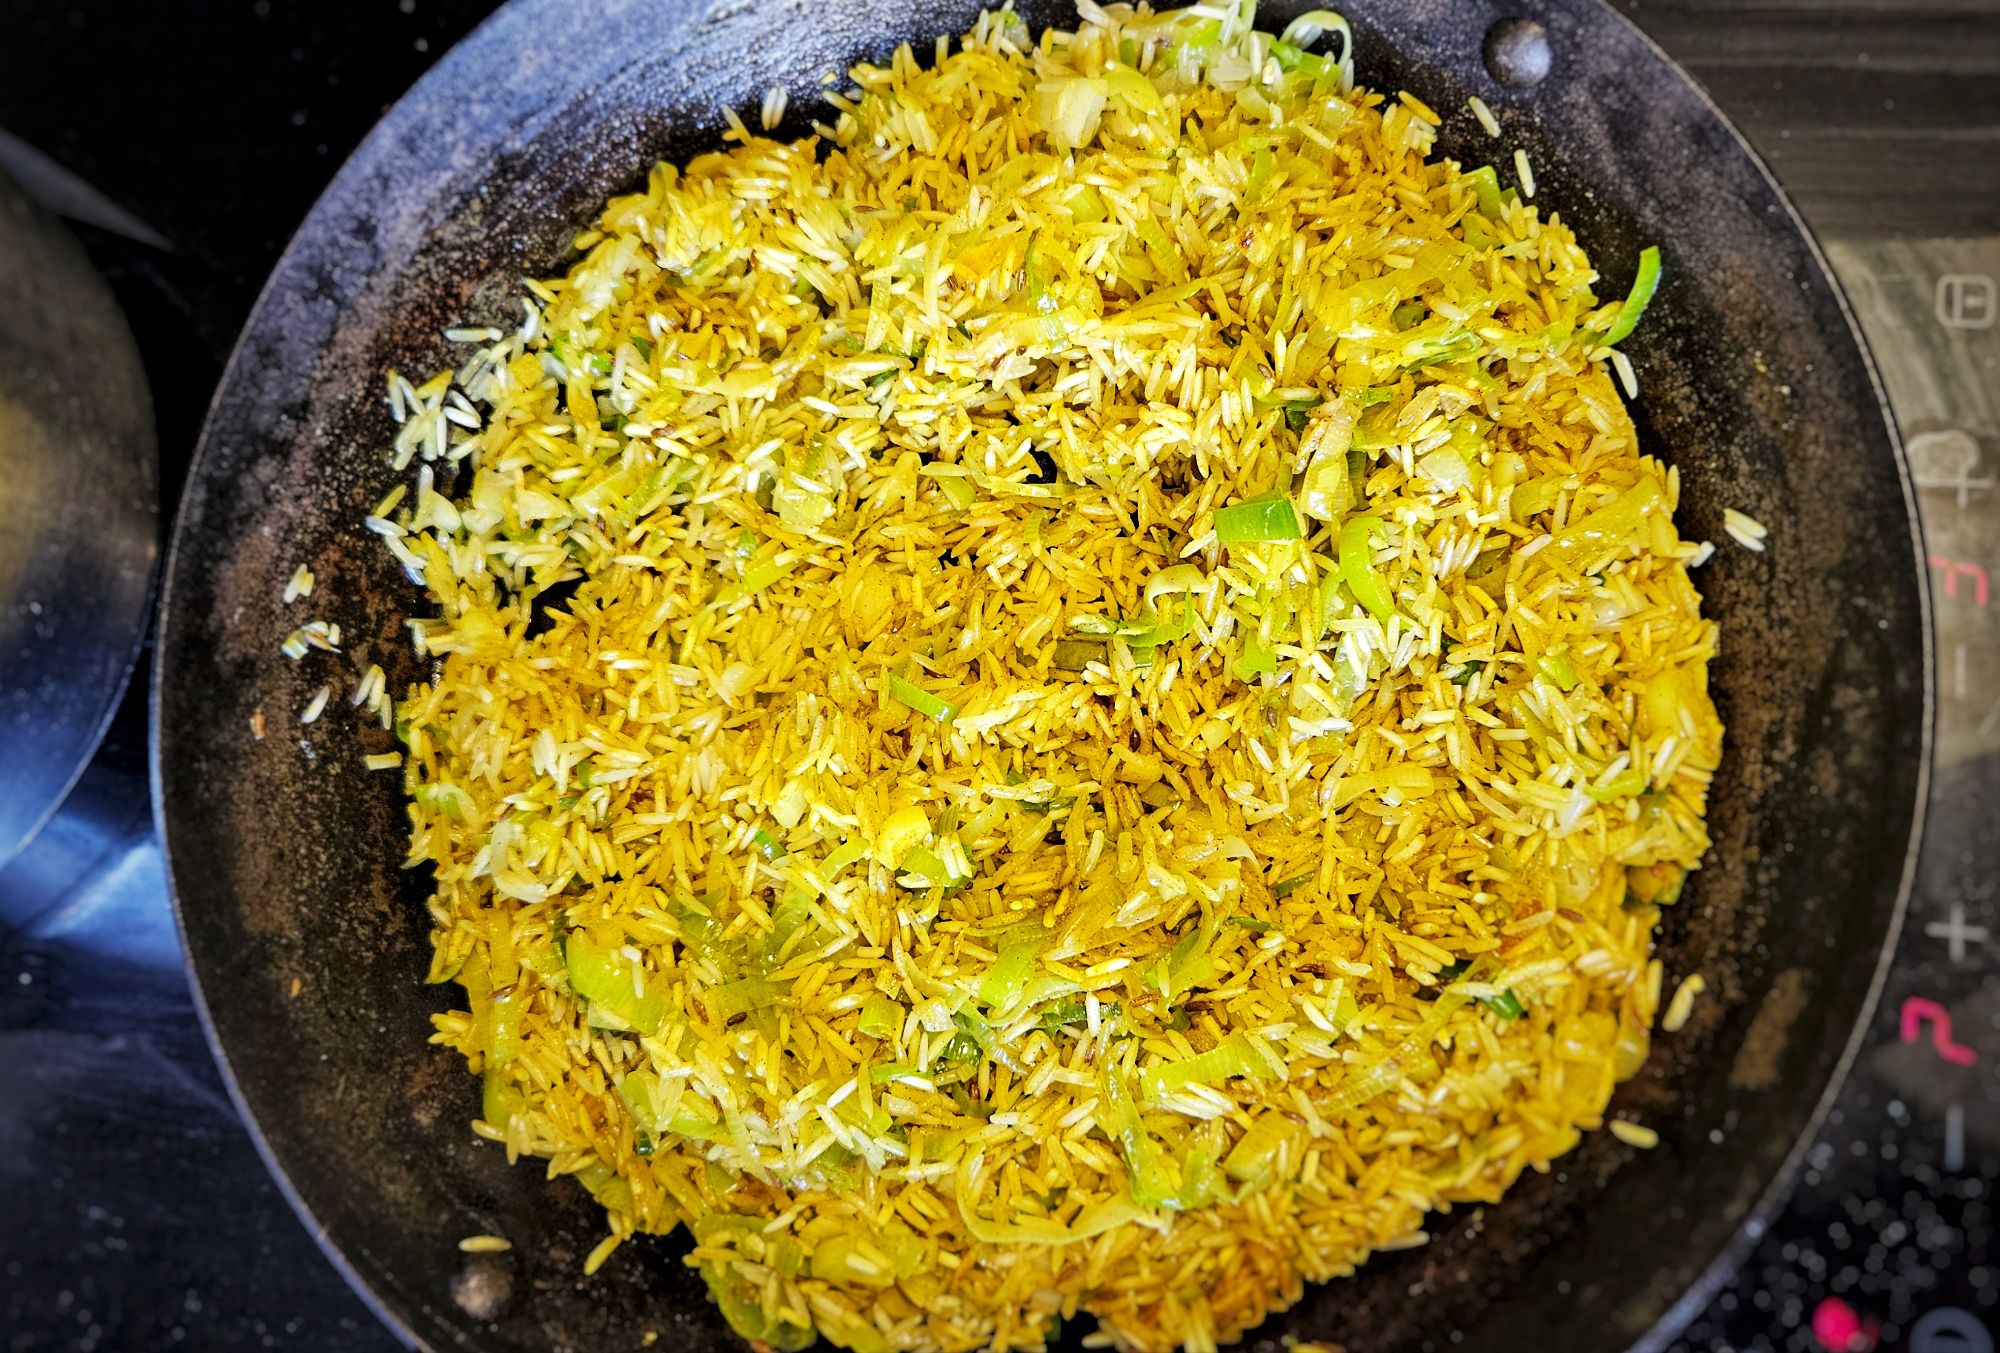
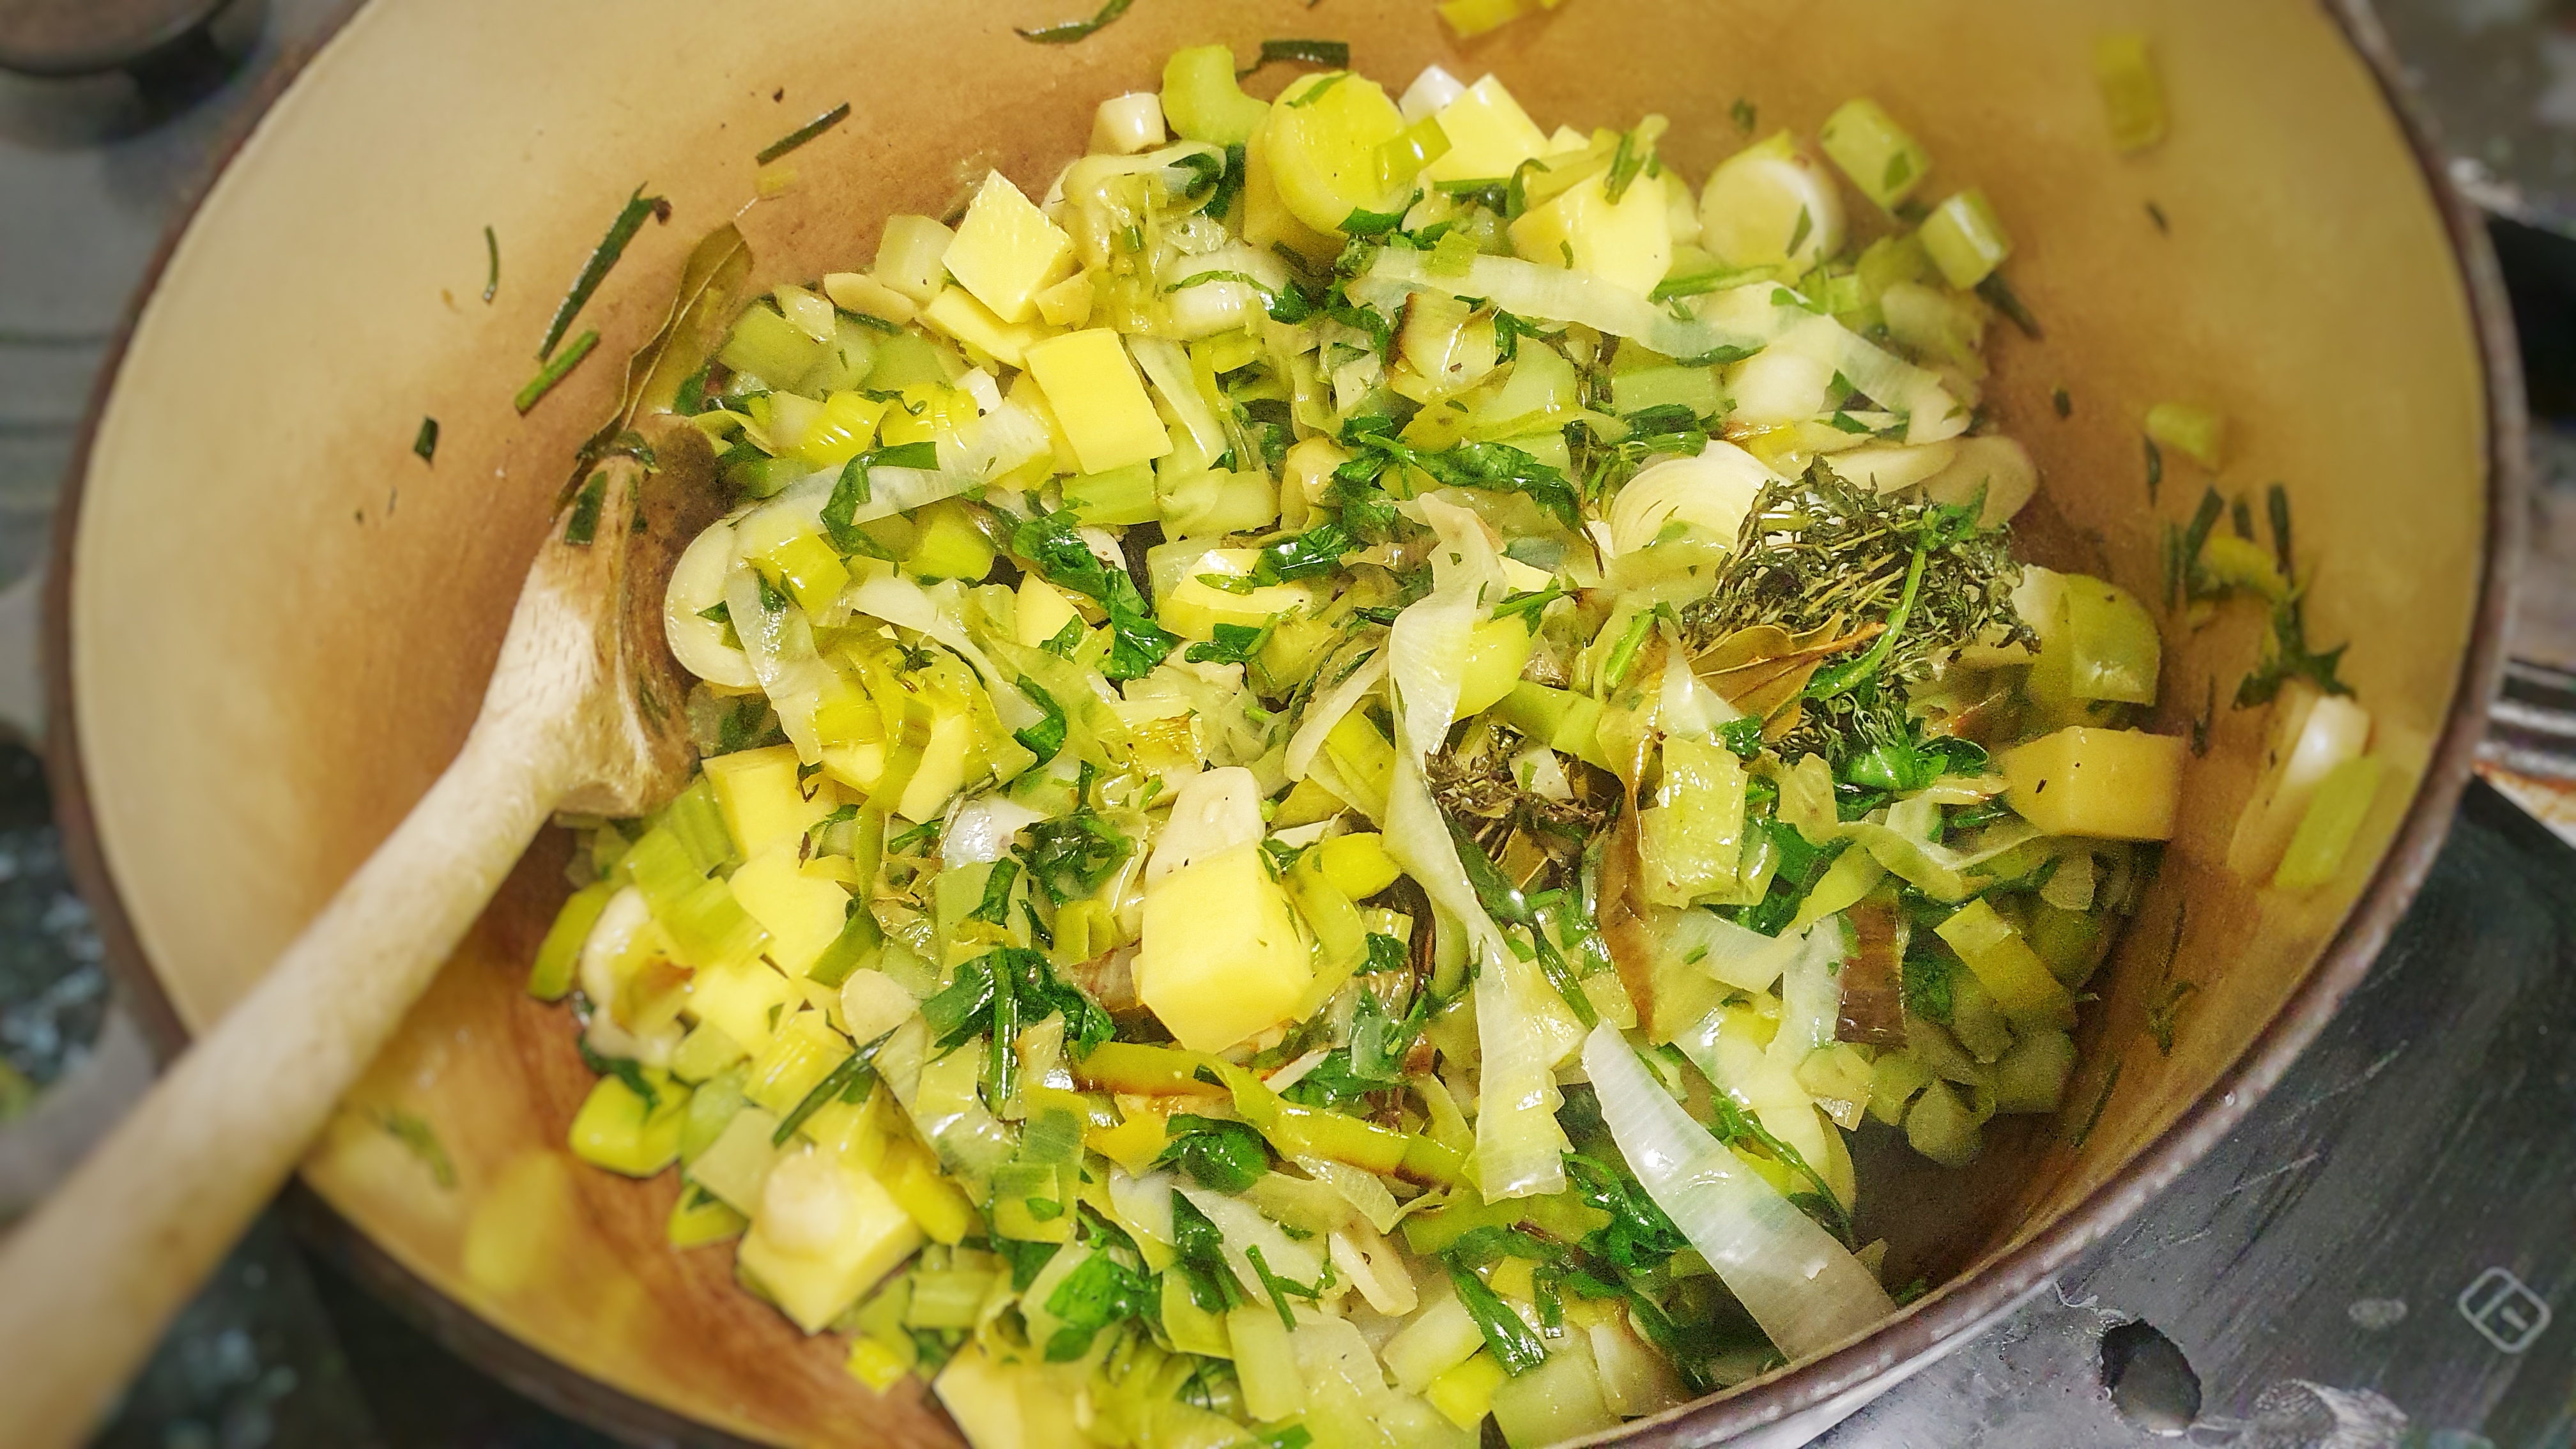
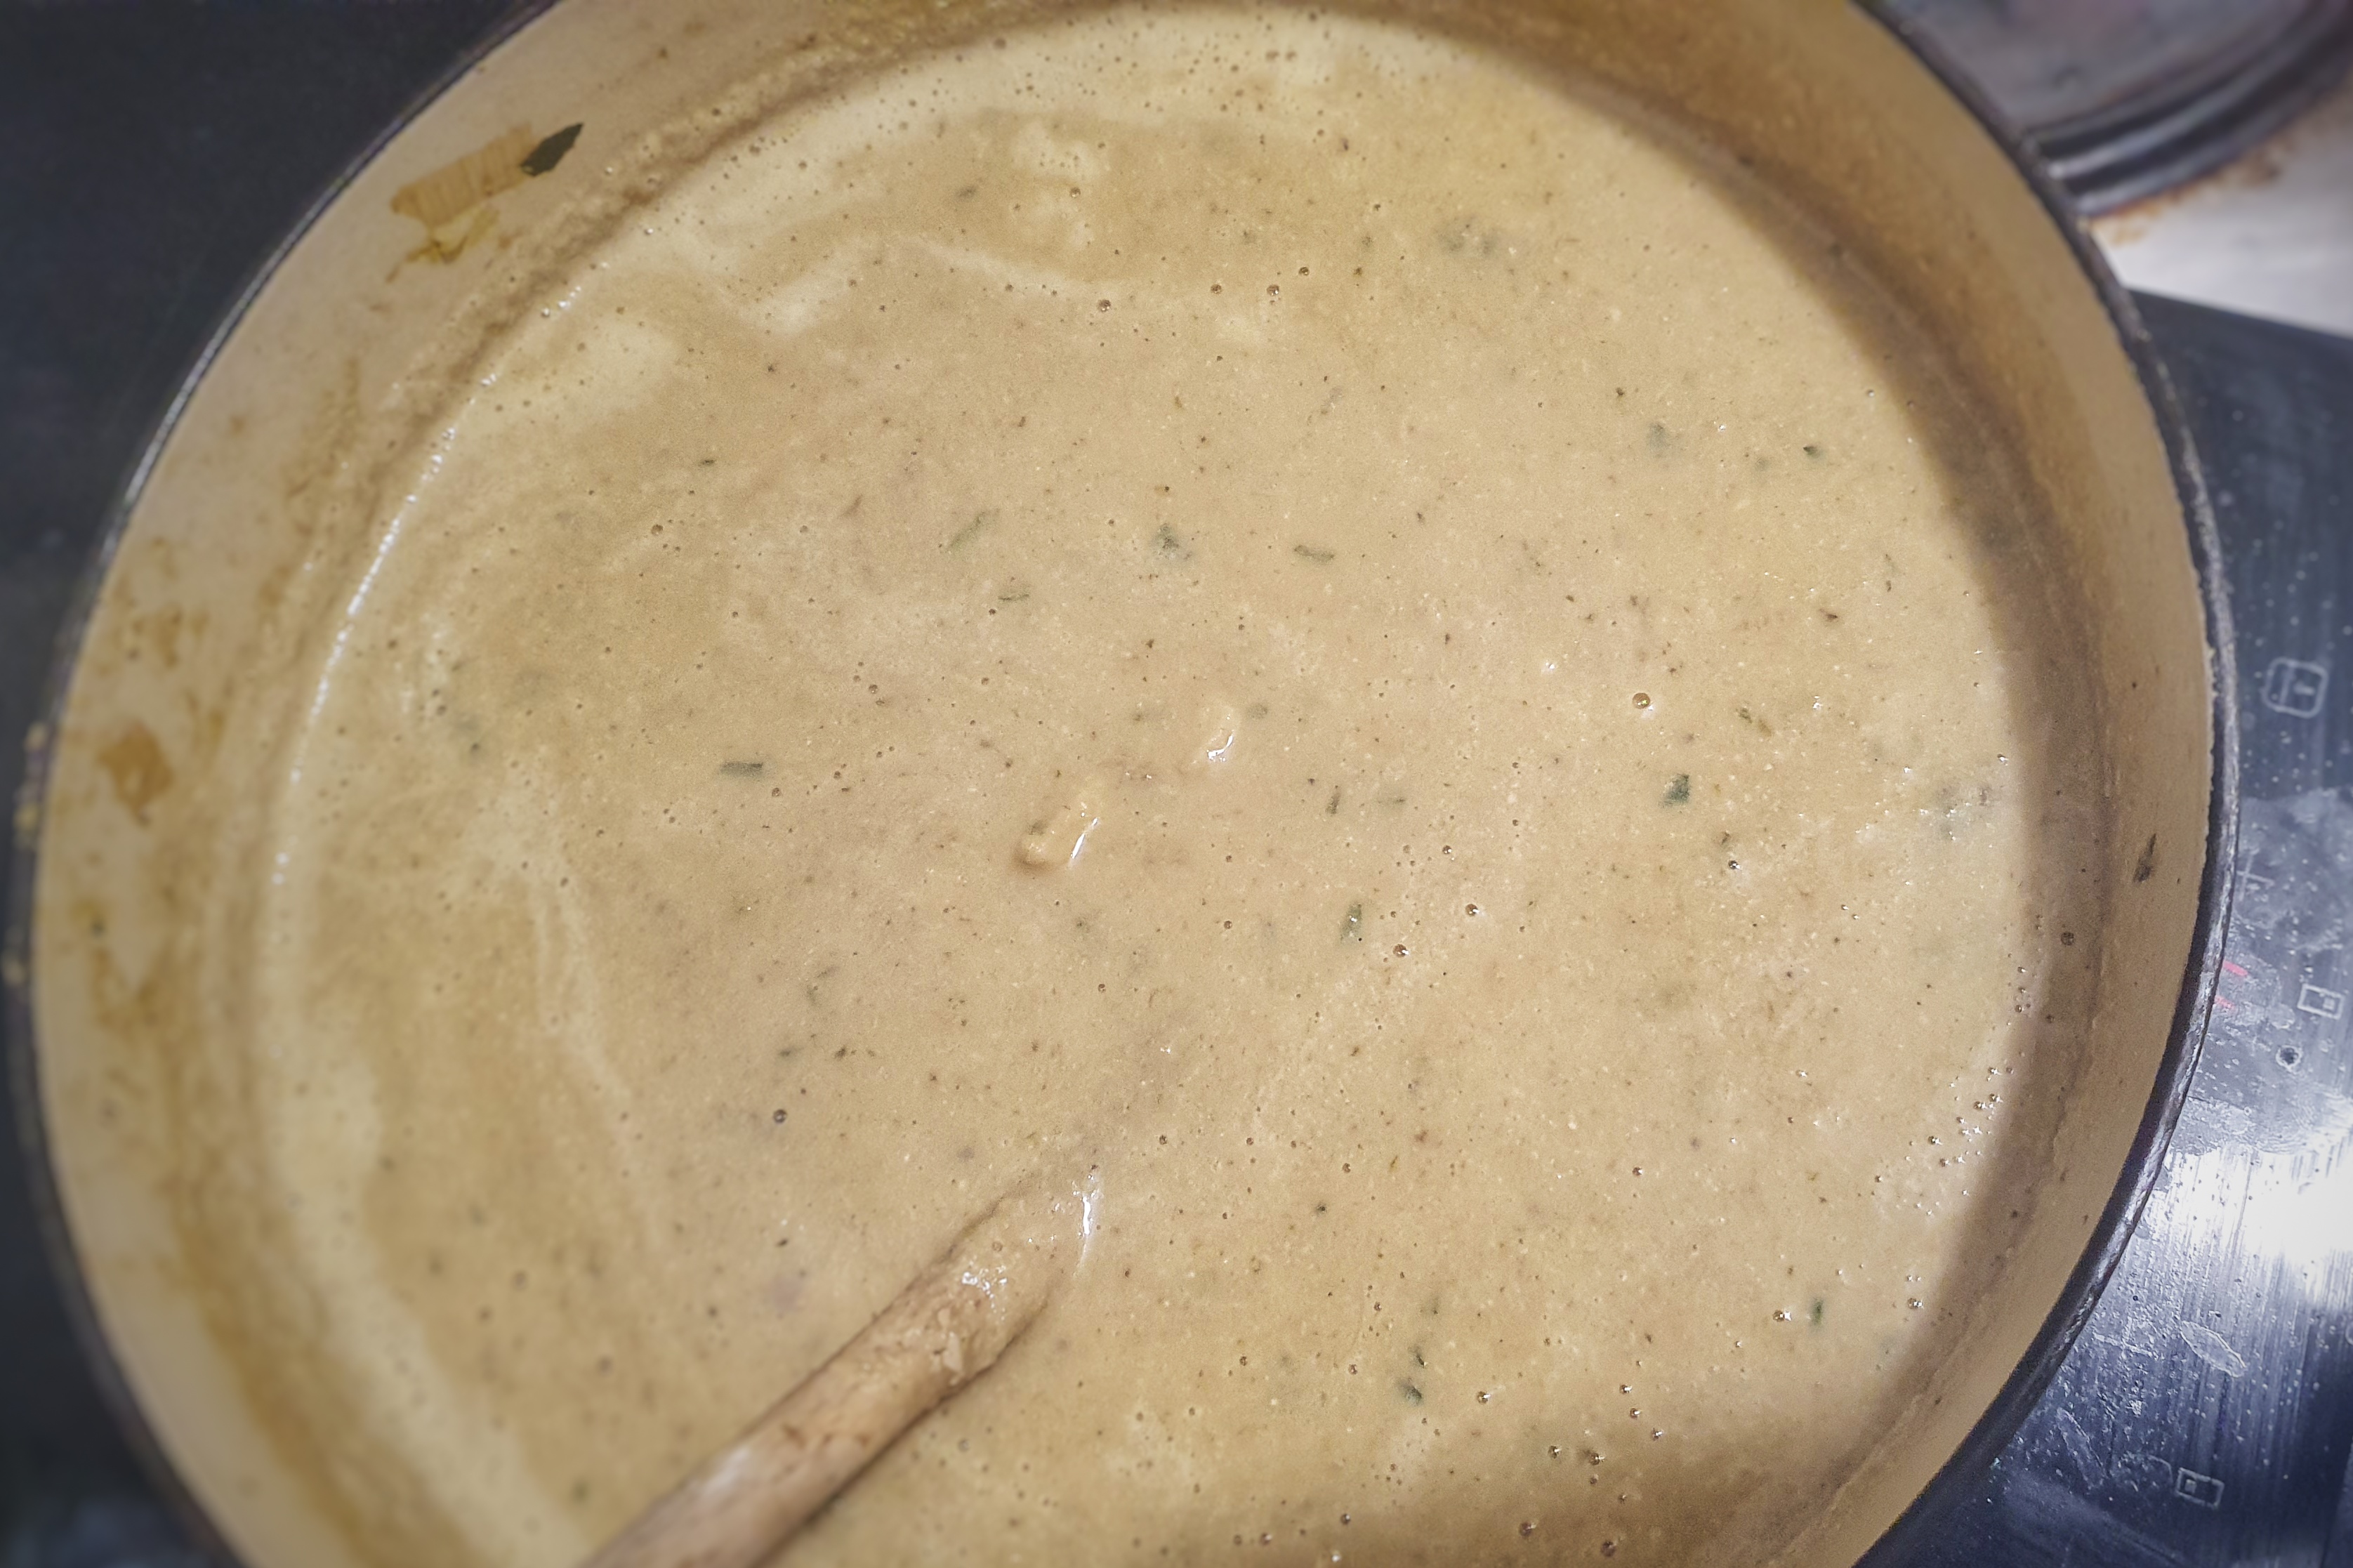
Place a sturdy-bottomed pan over medium heat – I used my 10-inch Prospector pan – and melt the butter. Once fizzling, add the cumin seeds and cook for a minute before tipping in the onion or leek, garlic and salt. Fry until soft, then add the garam masala and turmeric, plus a few turns of the peppermill. Fry for 30 seconds more, then stir in the rice and make sure each grain gets covered in the spices and oil.
Turn the heat down a little and pour the reserved poaching milk into the pan. Add the peas if using. Give everything a single stir to make sure nothing’s stuck and all the rice grains have separated. Do no more than one stir round, though – you’ll end up with claggy rice. Turn the heat down to a bare simmer, put on the lid and set a timer for 10 minutes.
Meanwhile, boil the eggs: get some water up to an excited simmer and gingerly sink in your eggs. Simmer for 6½ minutes, drain the water away, and refill the pan with cold water. Set aside.
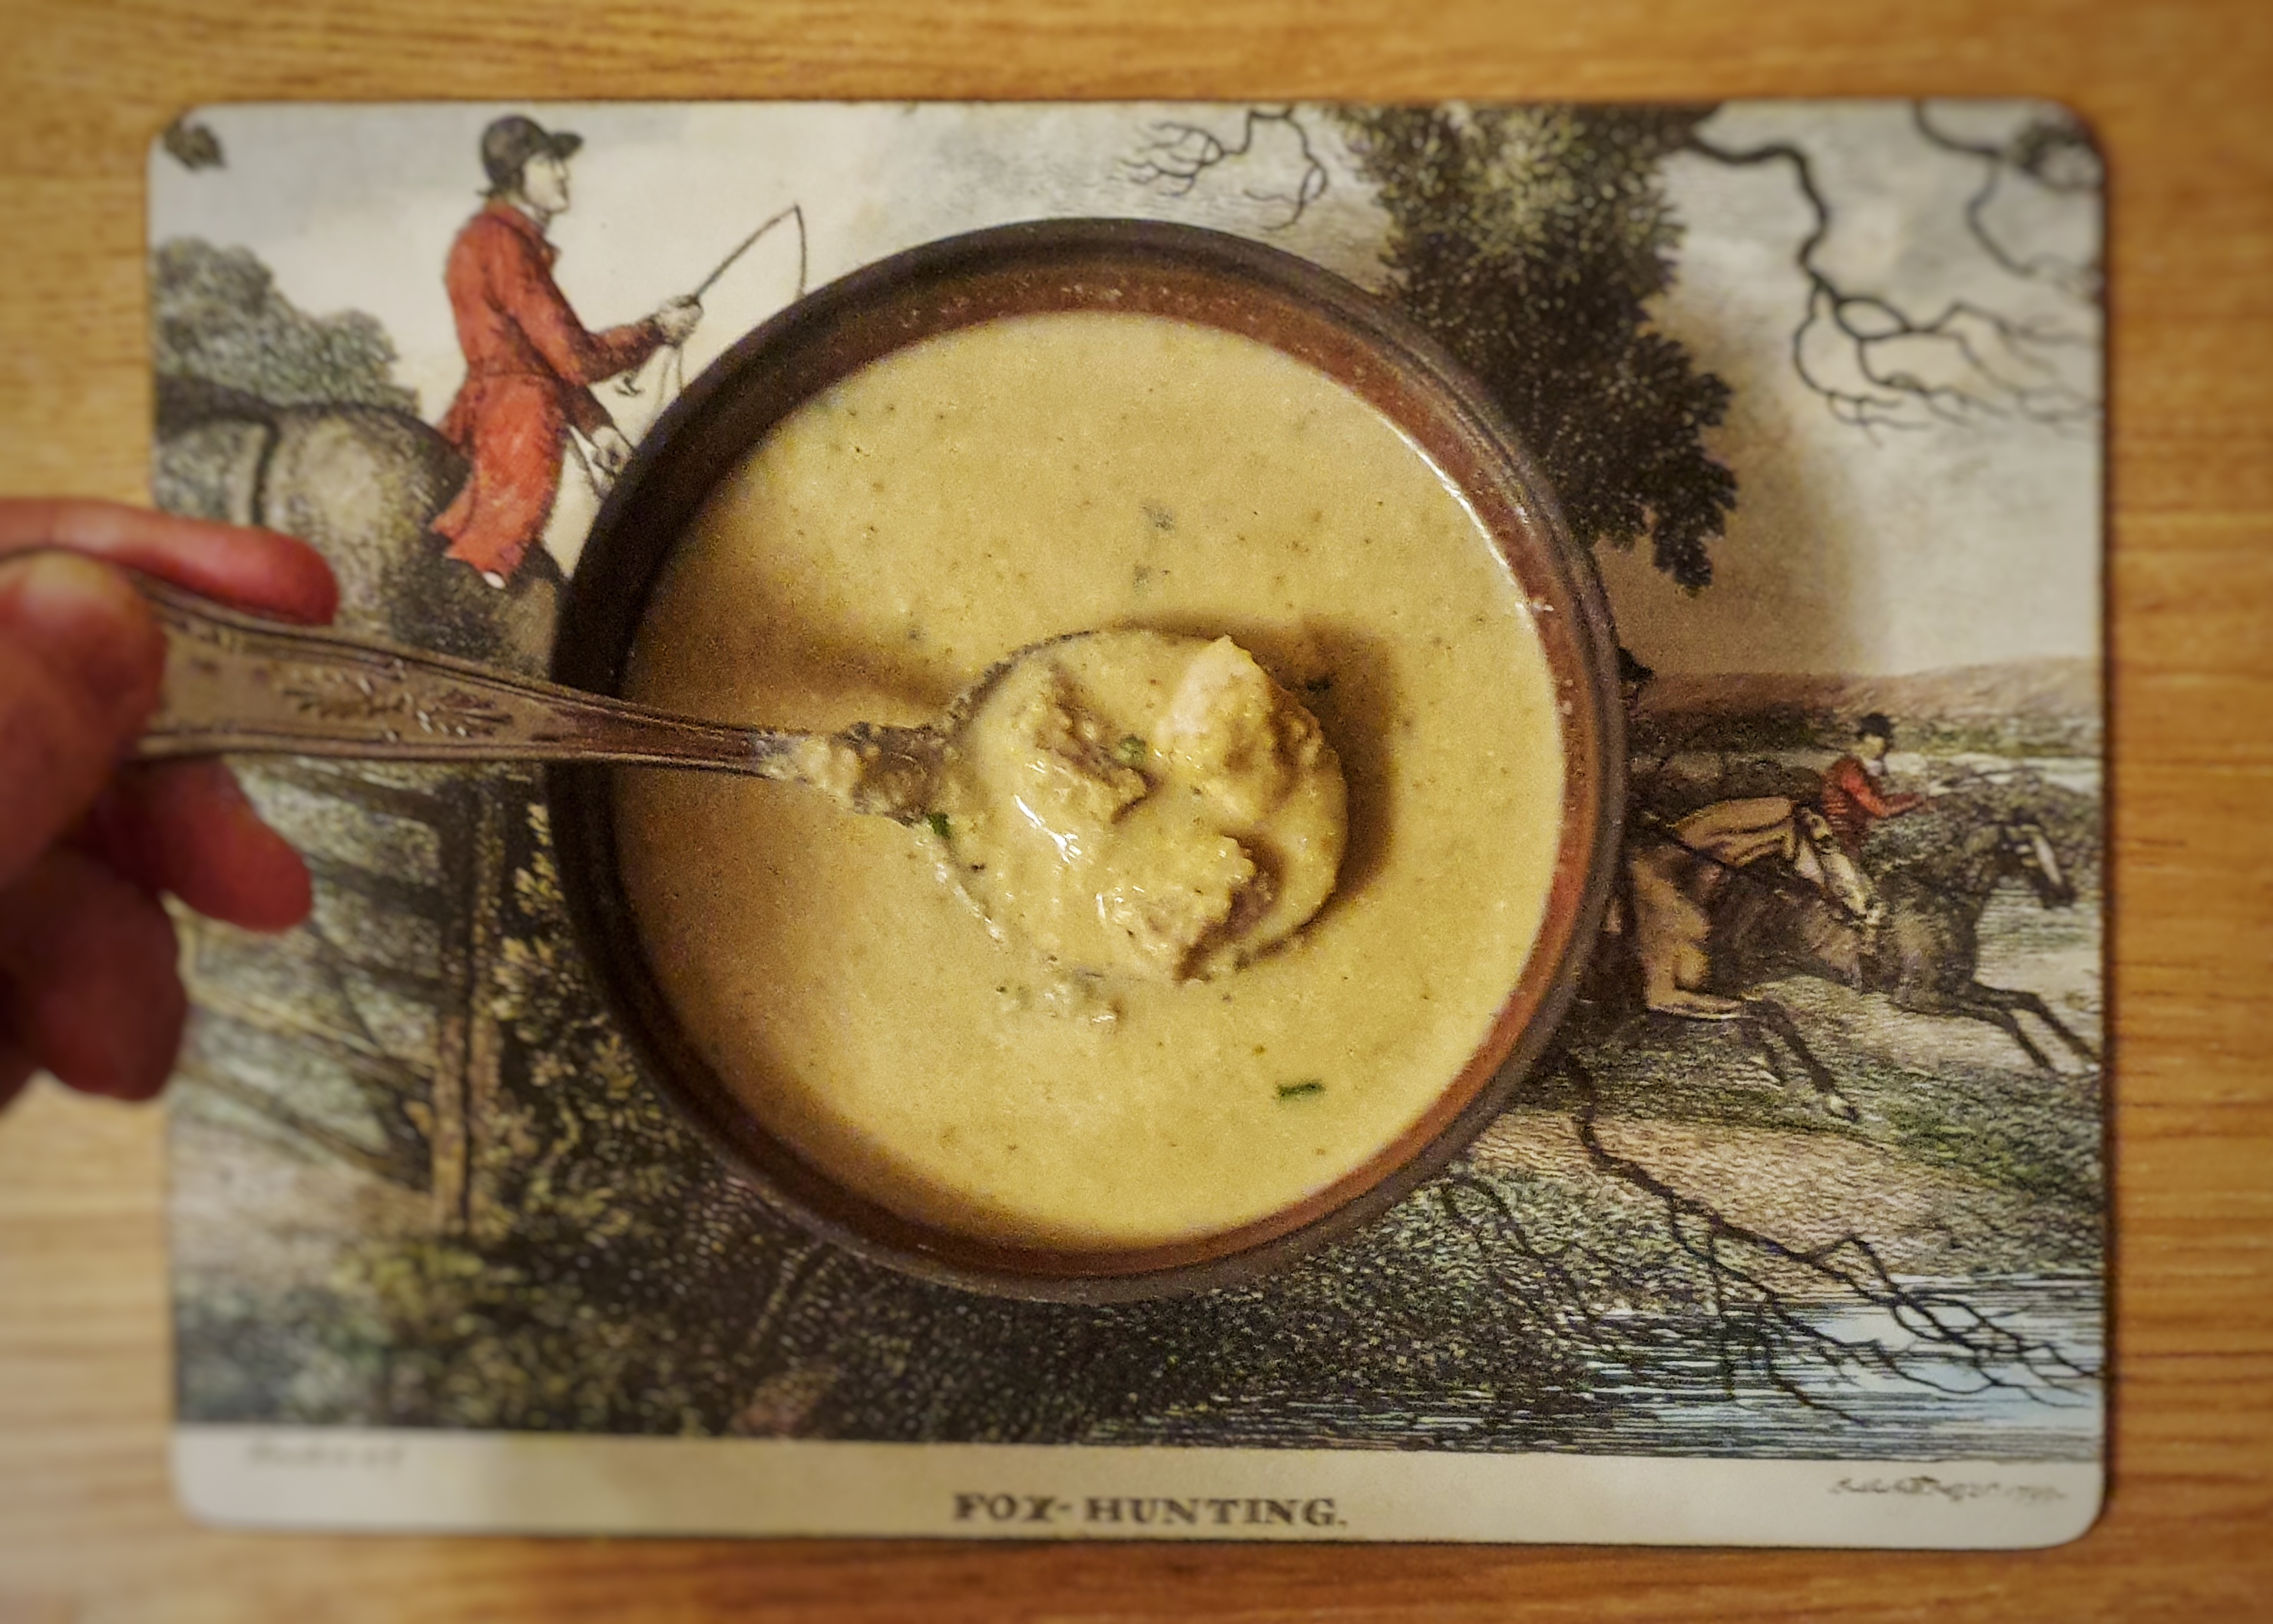
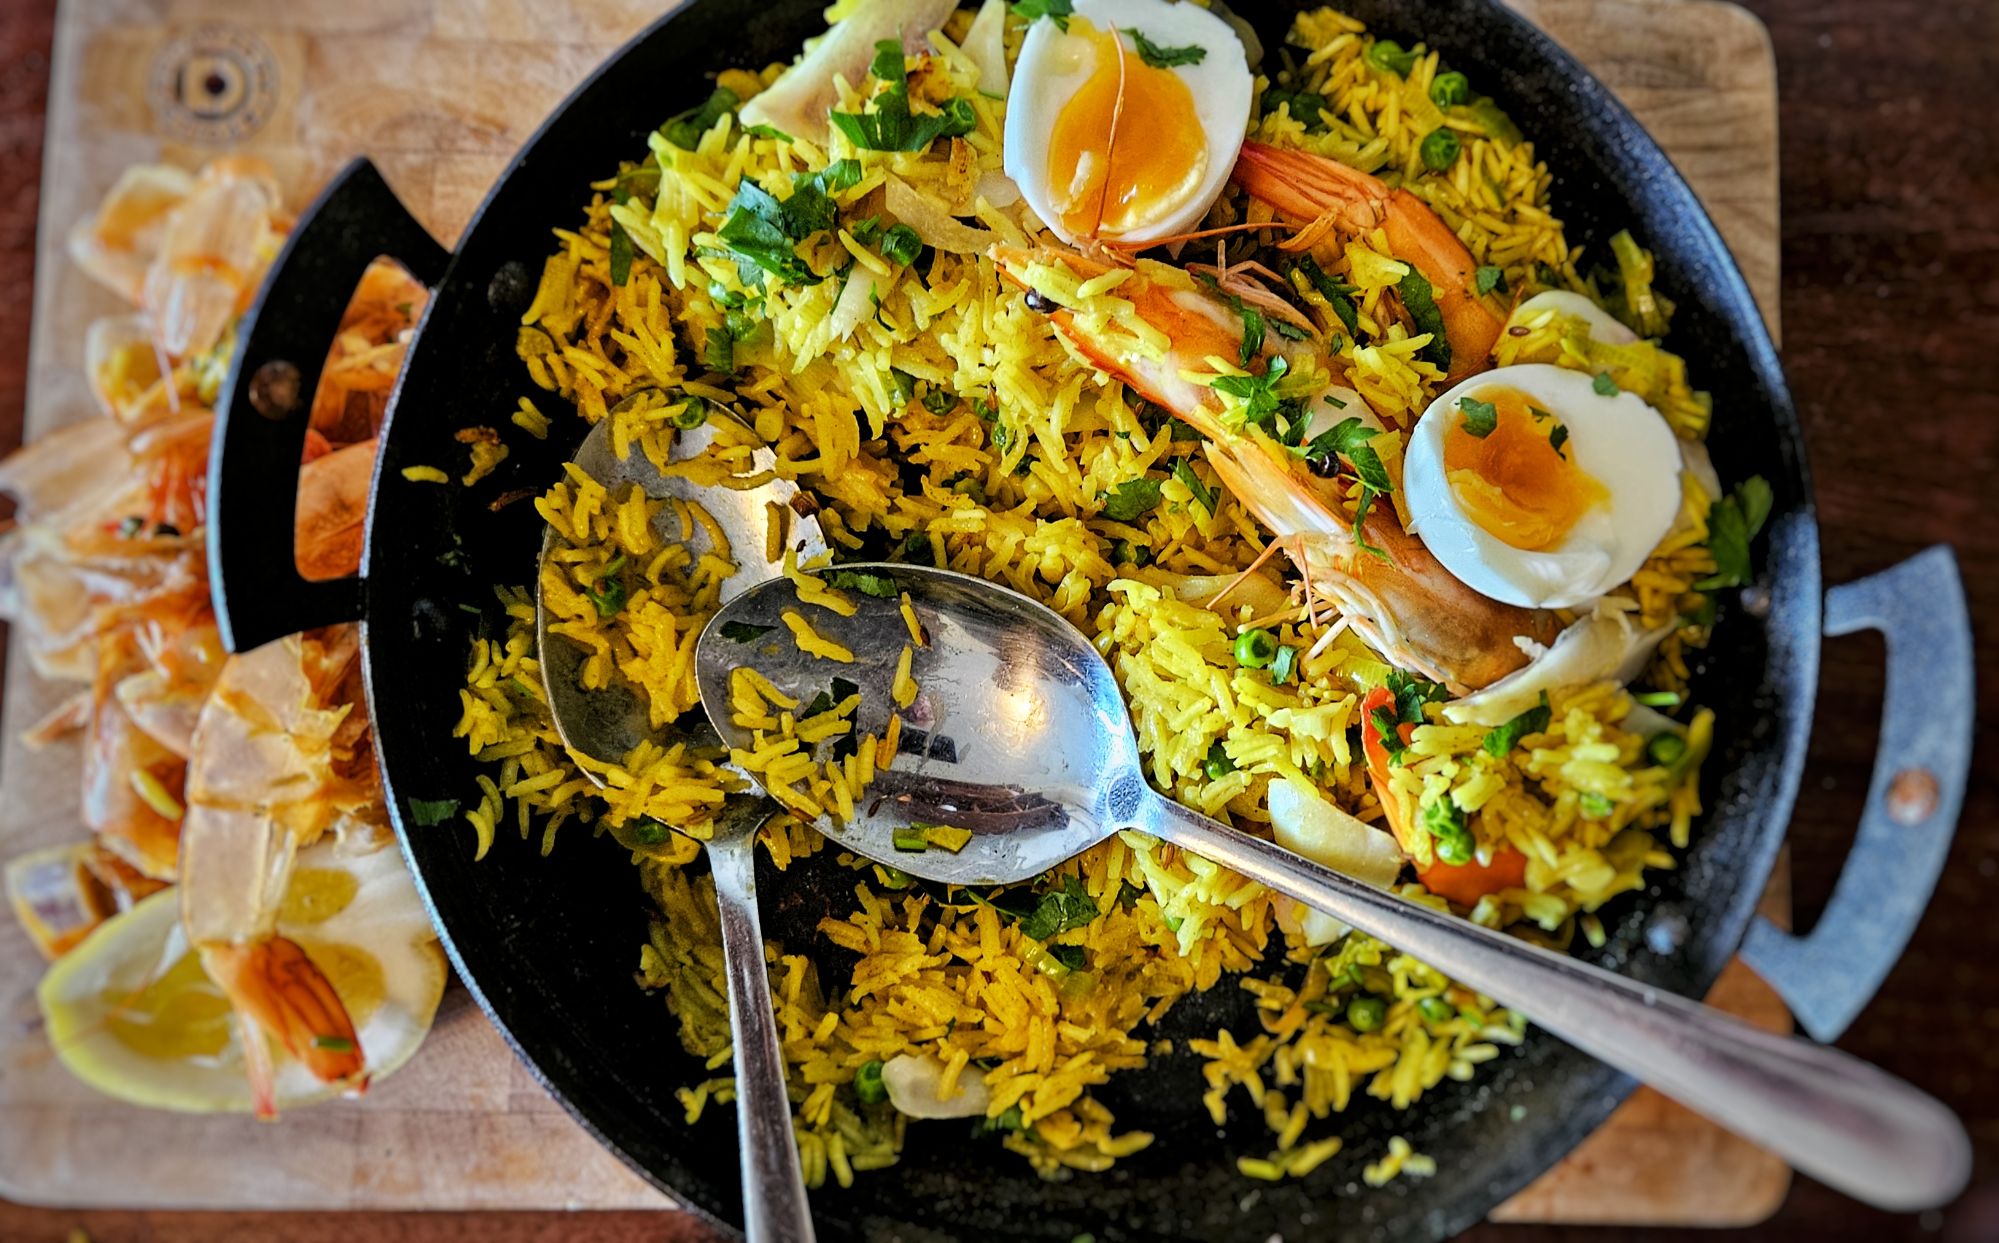
When the 10 minutes are up, place the prawns on the rice and replace the lid. Now leave for two minutes. Turn the prawns, add the flaked fish, replace the lid and take off the heat. Leave everything to steam for two more minutes. As you wait, peel the eggs.
Take the pan to the table, remove the lid and fork through to mix, and serve with the boiled eggs, chopped parsley and the lemon cut into wedges.
Eat immediately.
Notes
[1] www.netherton-foundry.co.uk
[2] Davidson, A. (1999) The Oxford Companion to Food. Oxford University Press. Extending this idea, Phase II is when the people of the Indian subcontinent came to Britain and adapted their cuisines to British tastes.
[3] Burton, D. (1993) The Raj at the Table: A Culinary History of the British in India. Faber & Faber; Davidson (1999)
[4]Acton, E. (1845) Modern Cookery For Private Families. Quadrille.
[5] Beeton, I. and Ward & Lock (eds.) (1950) Mrs Beeton’s Household Management. Ward and Lock.