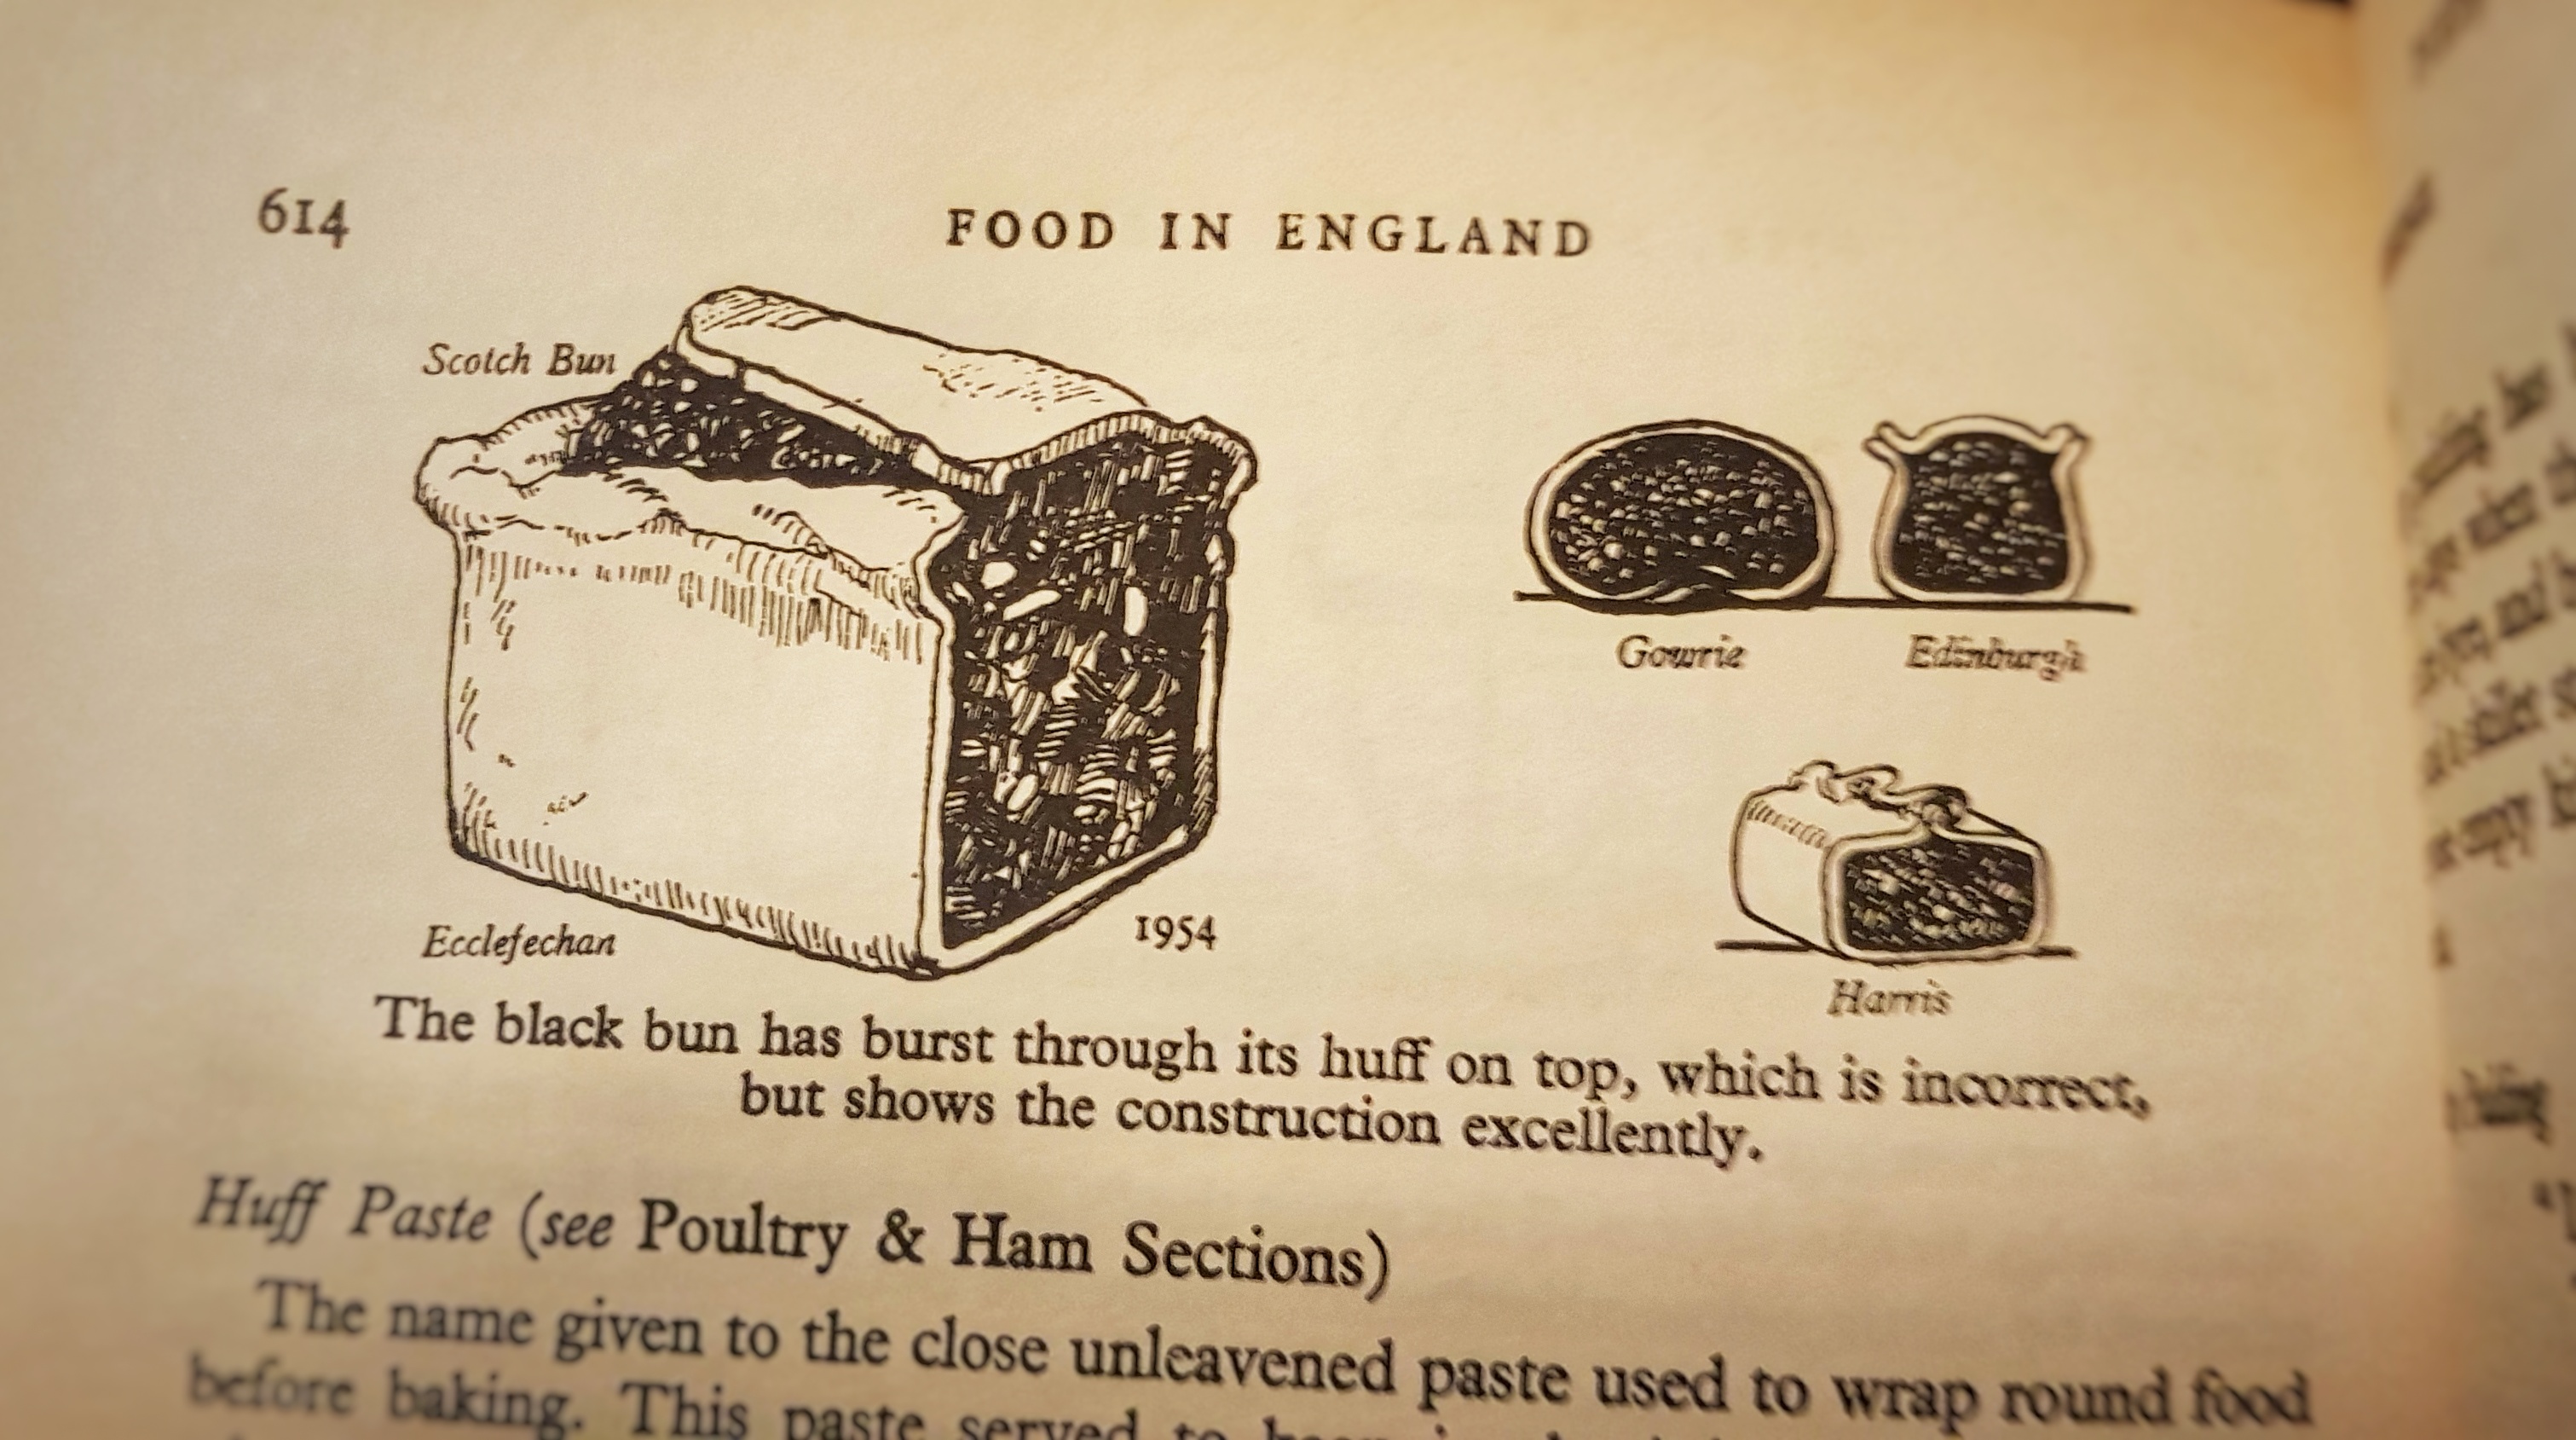
Saffron-scented buns, breads and cakes used to be enjoyed right across England from at least the 17th century. Today, however, they are typically found in bun form and are associated with Cornwall because, from around the 1780s, saffron was only grown in this area and Essex.[1]
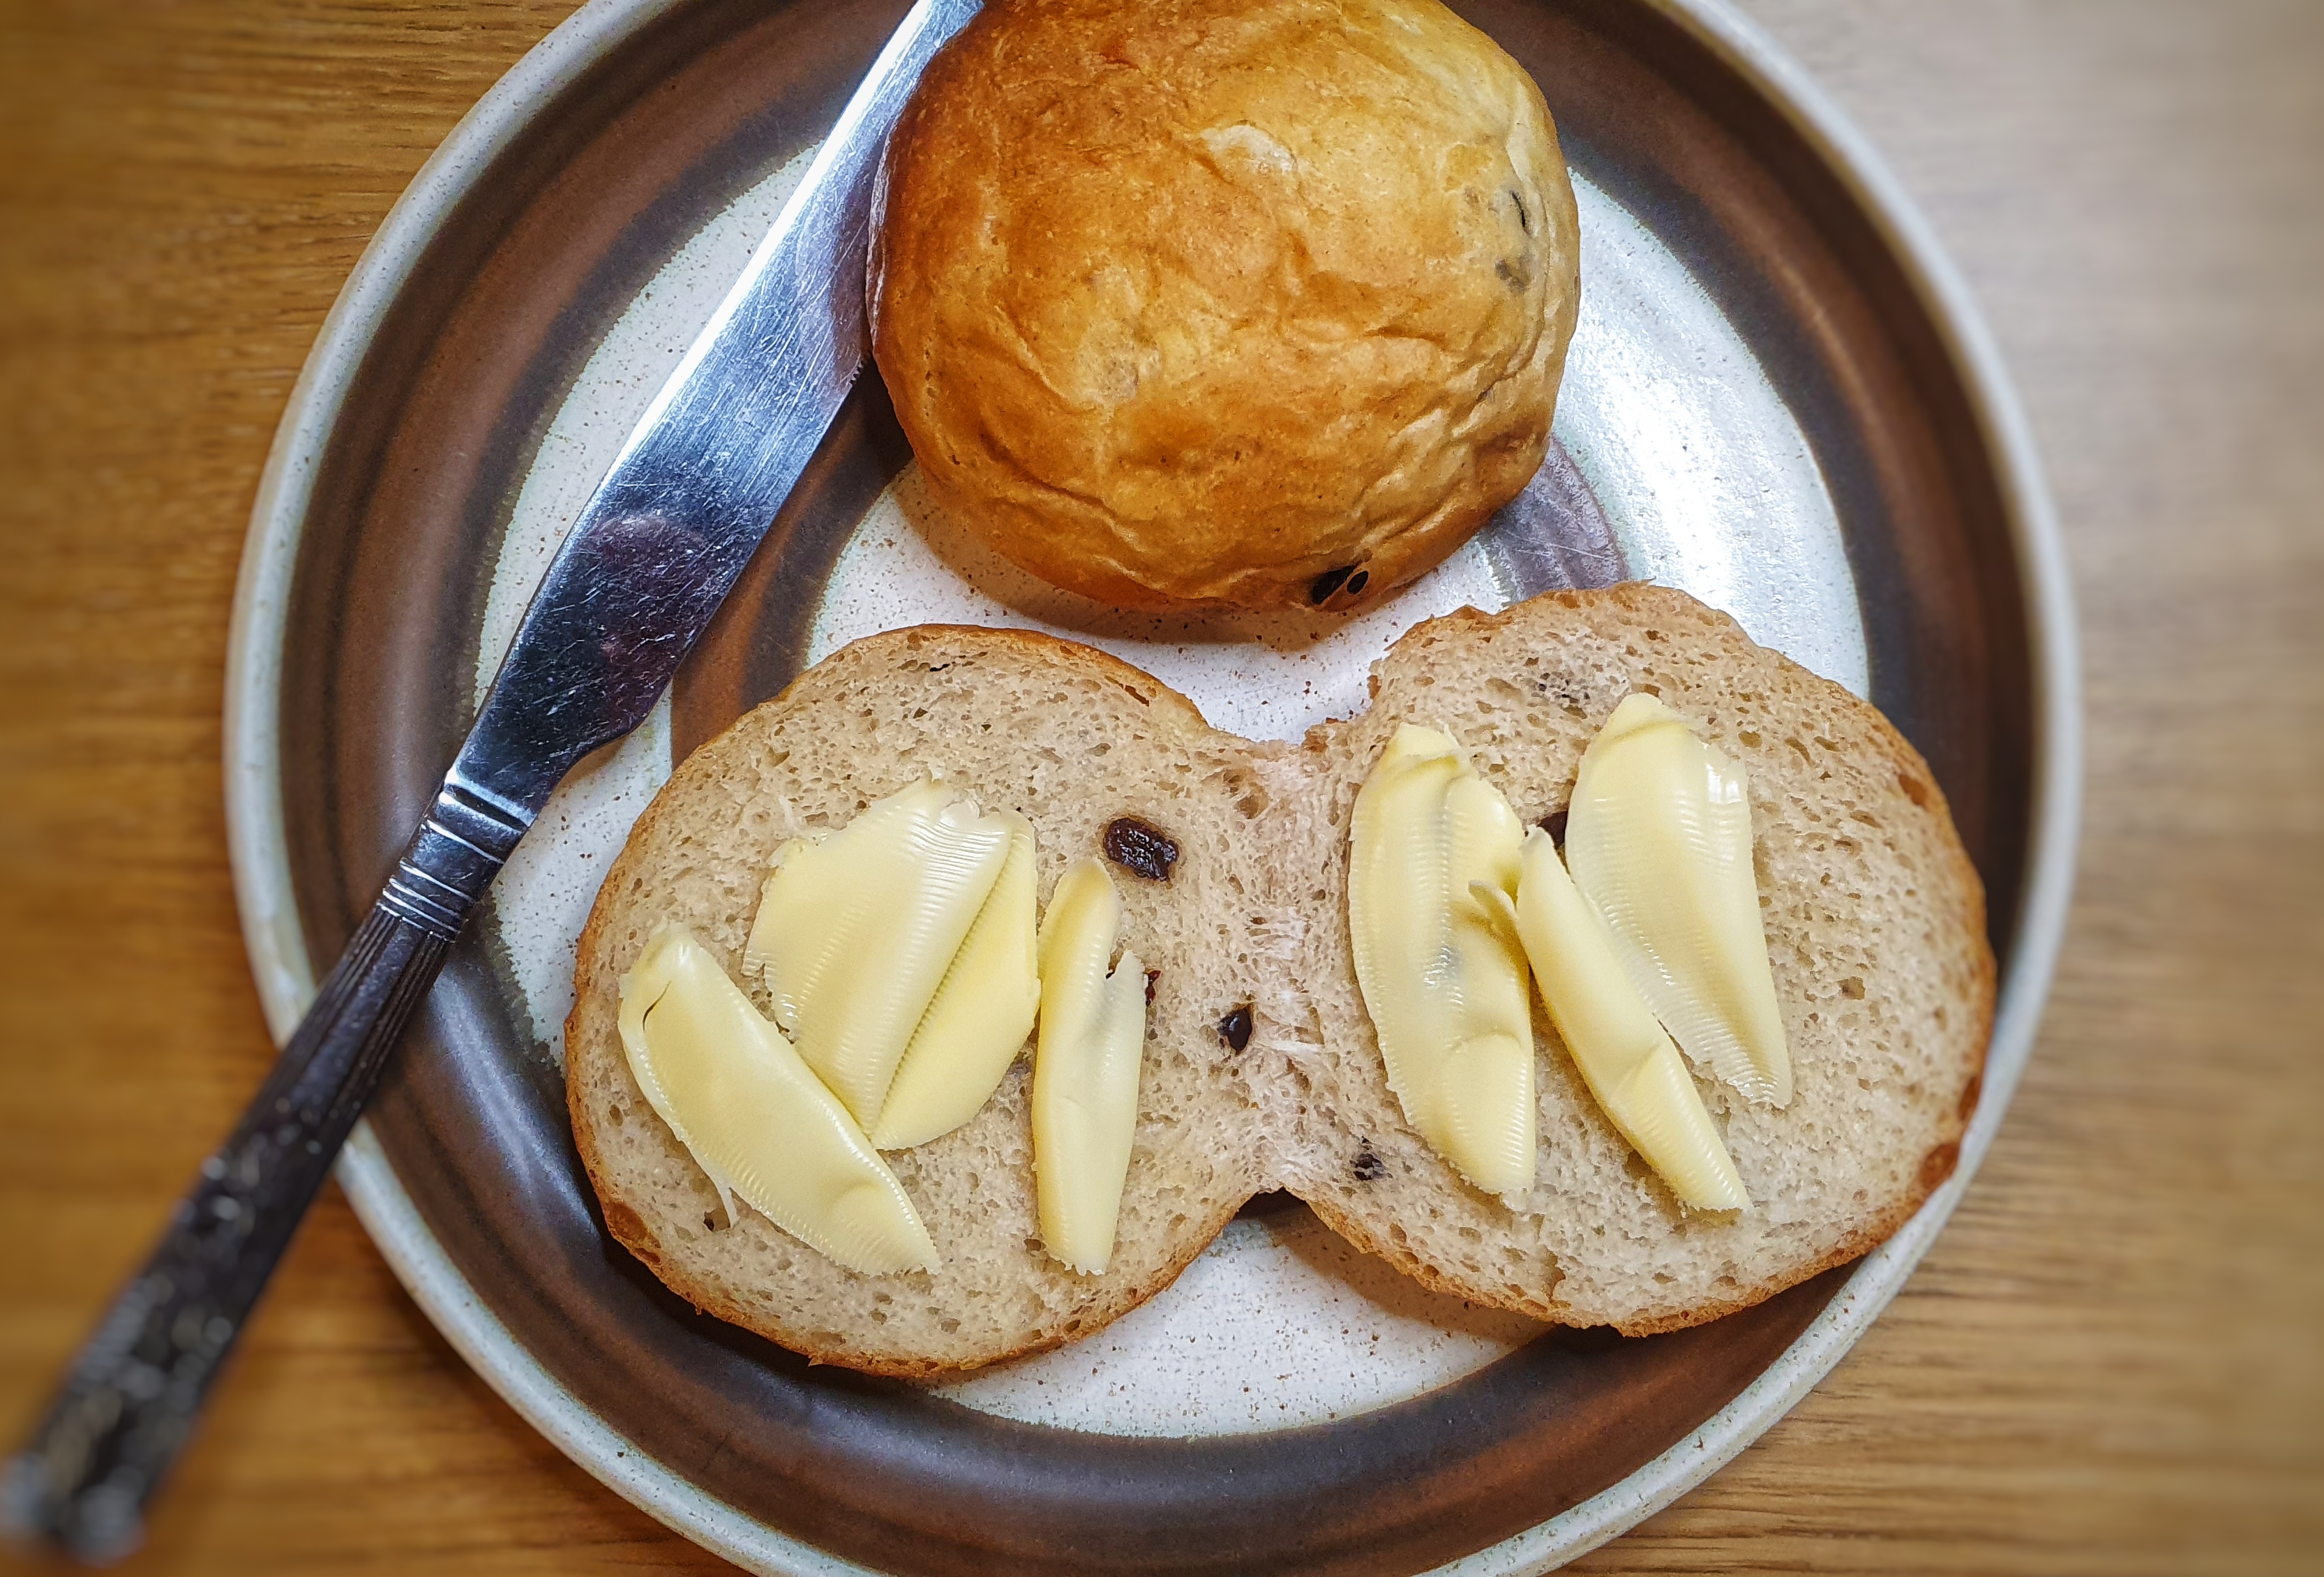
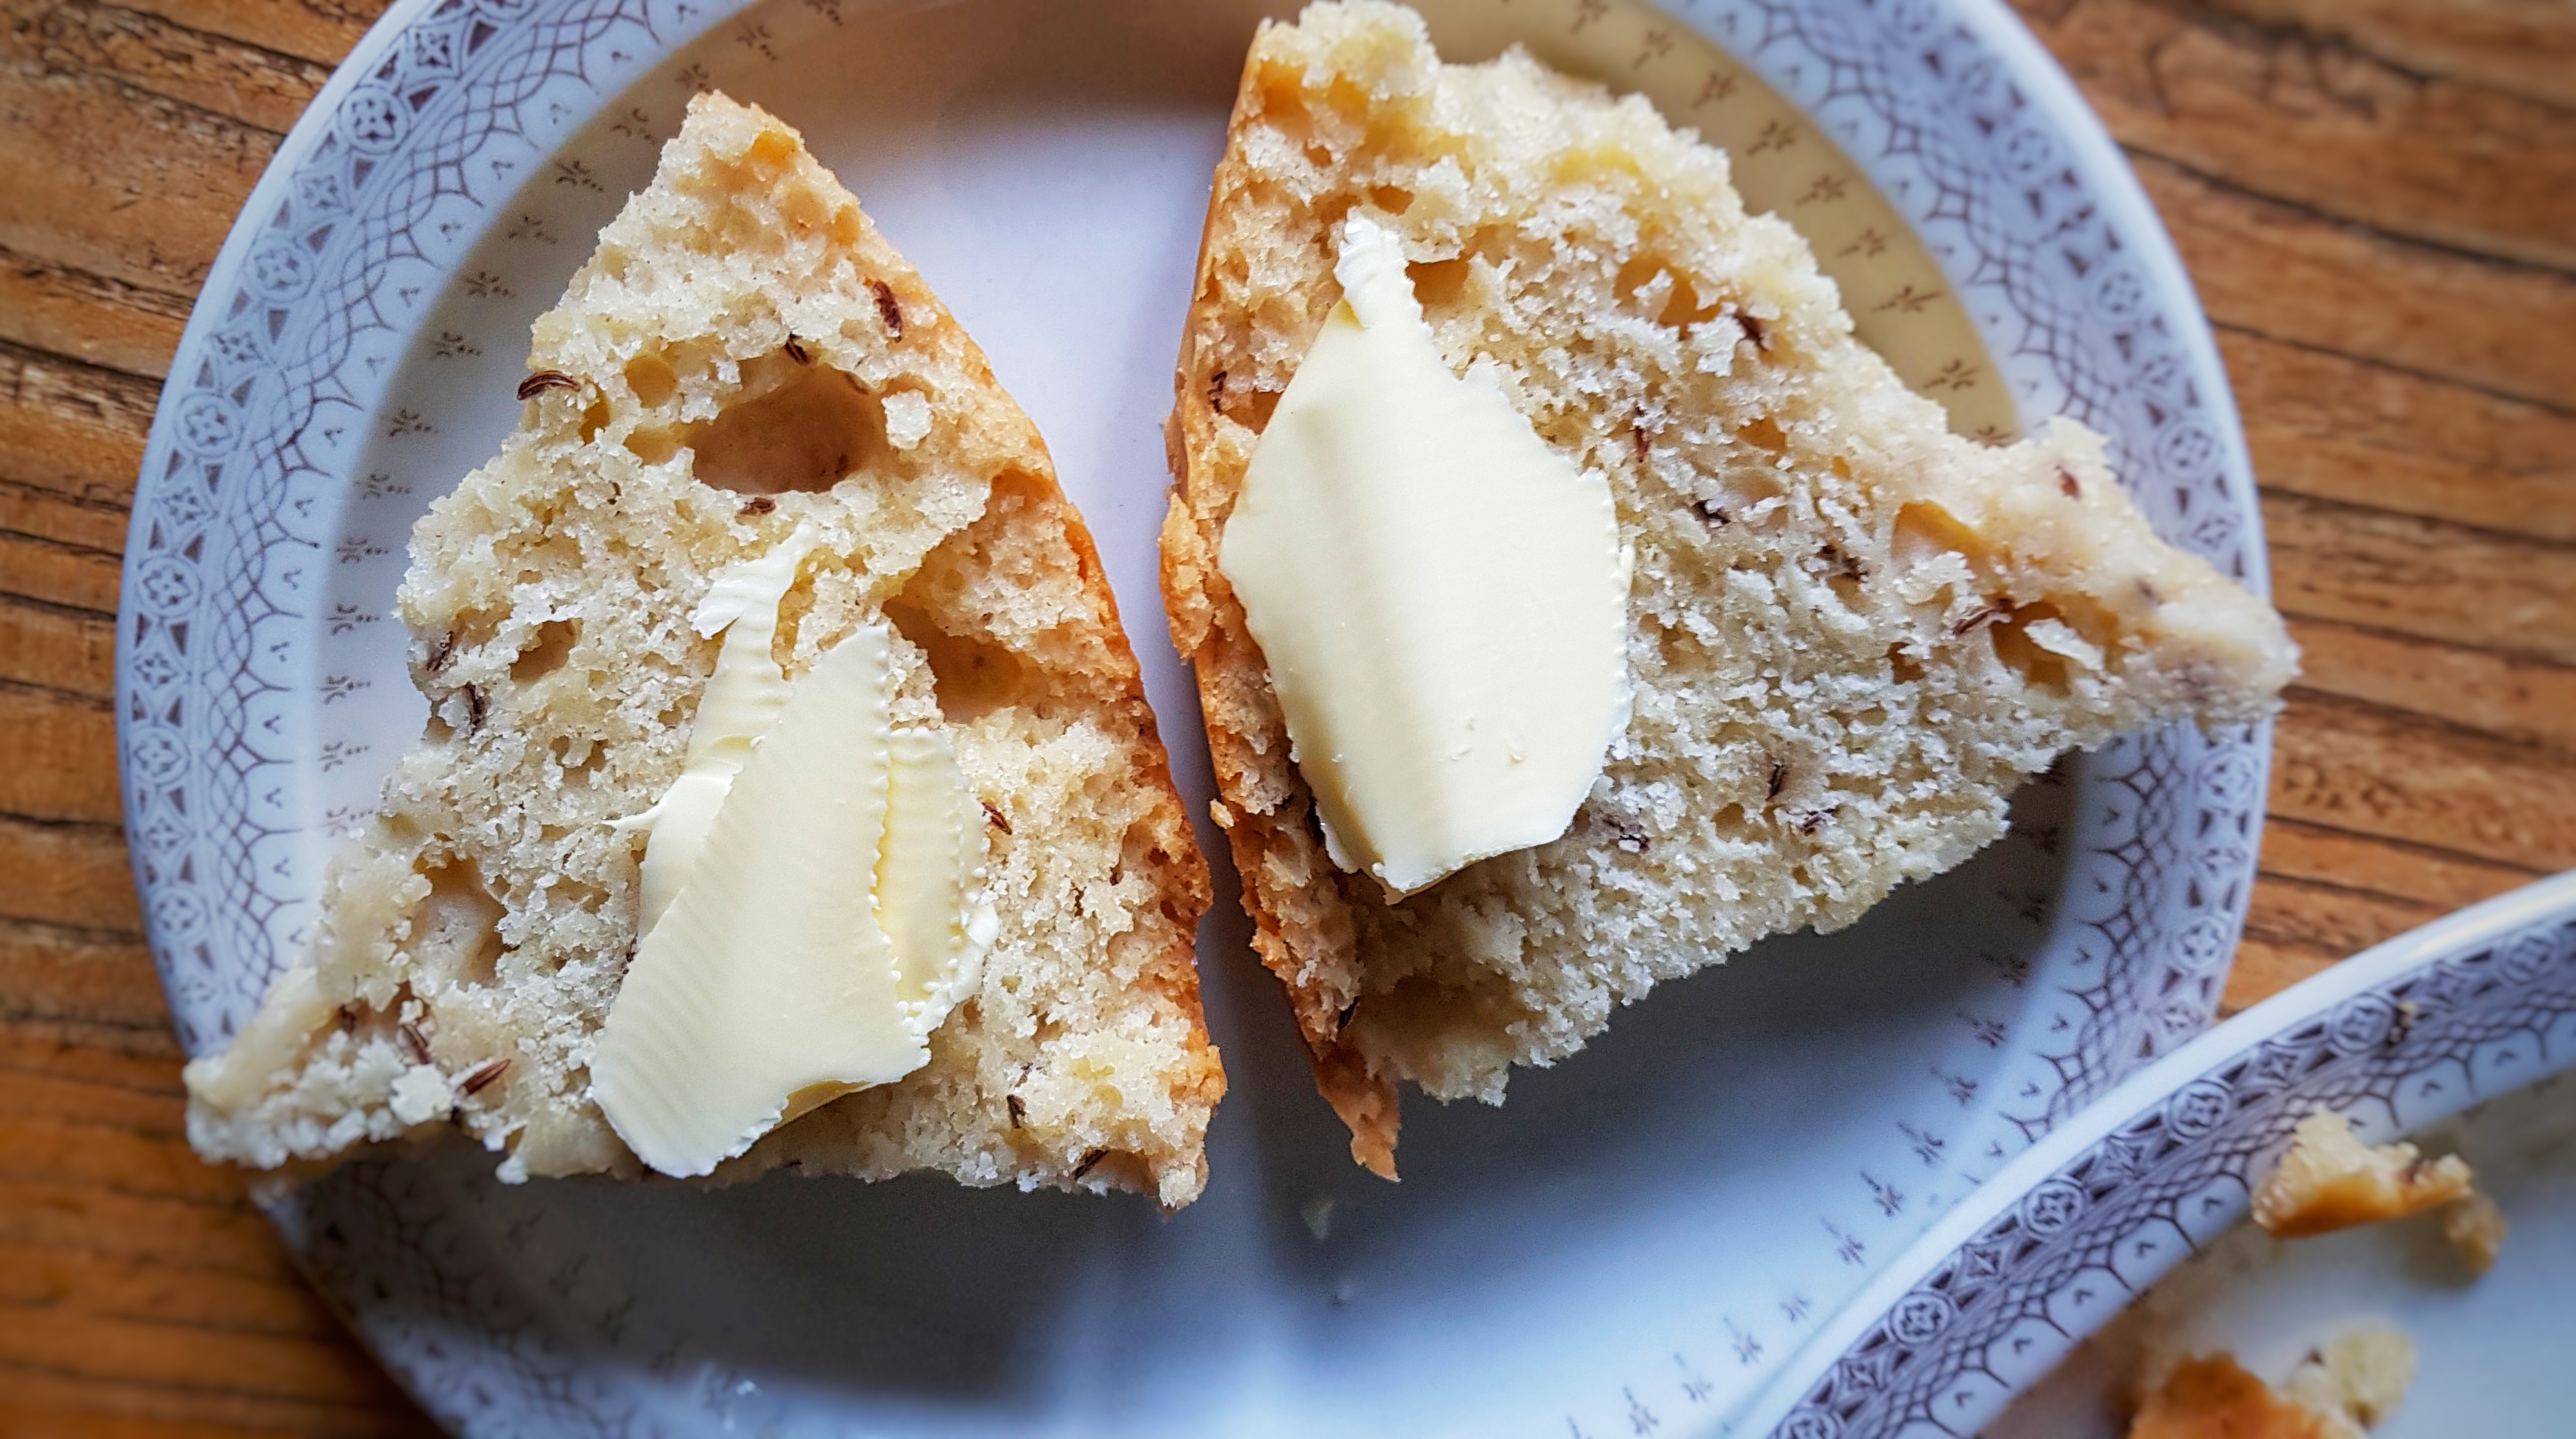
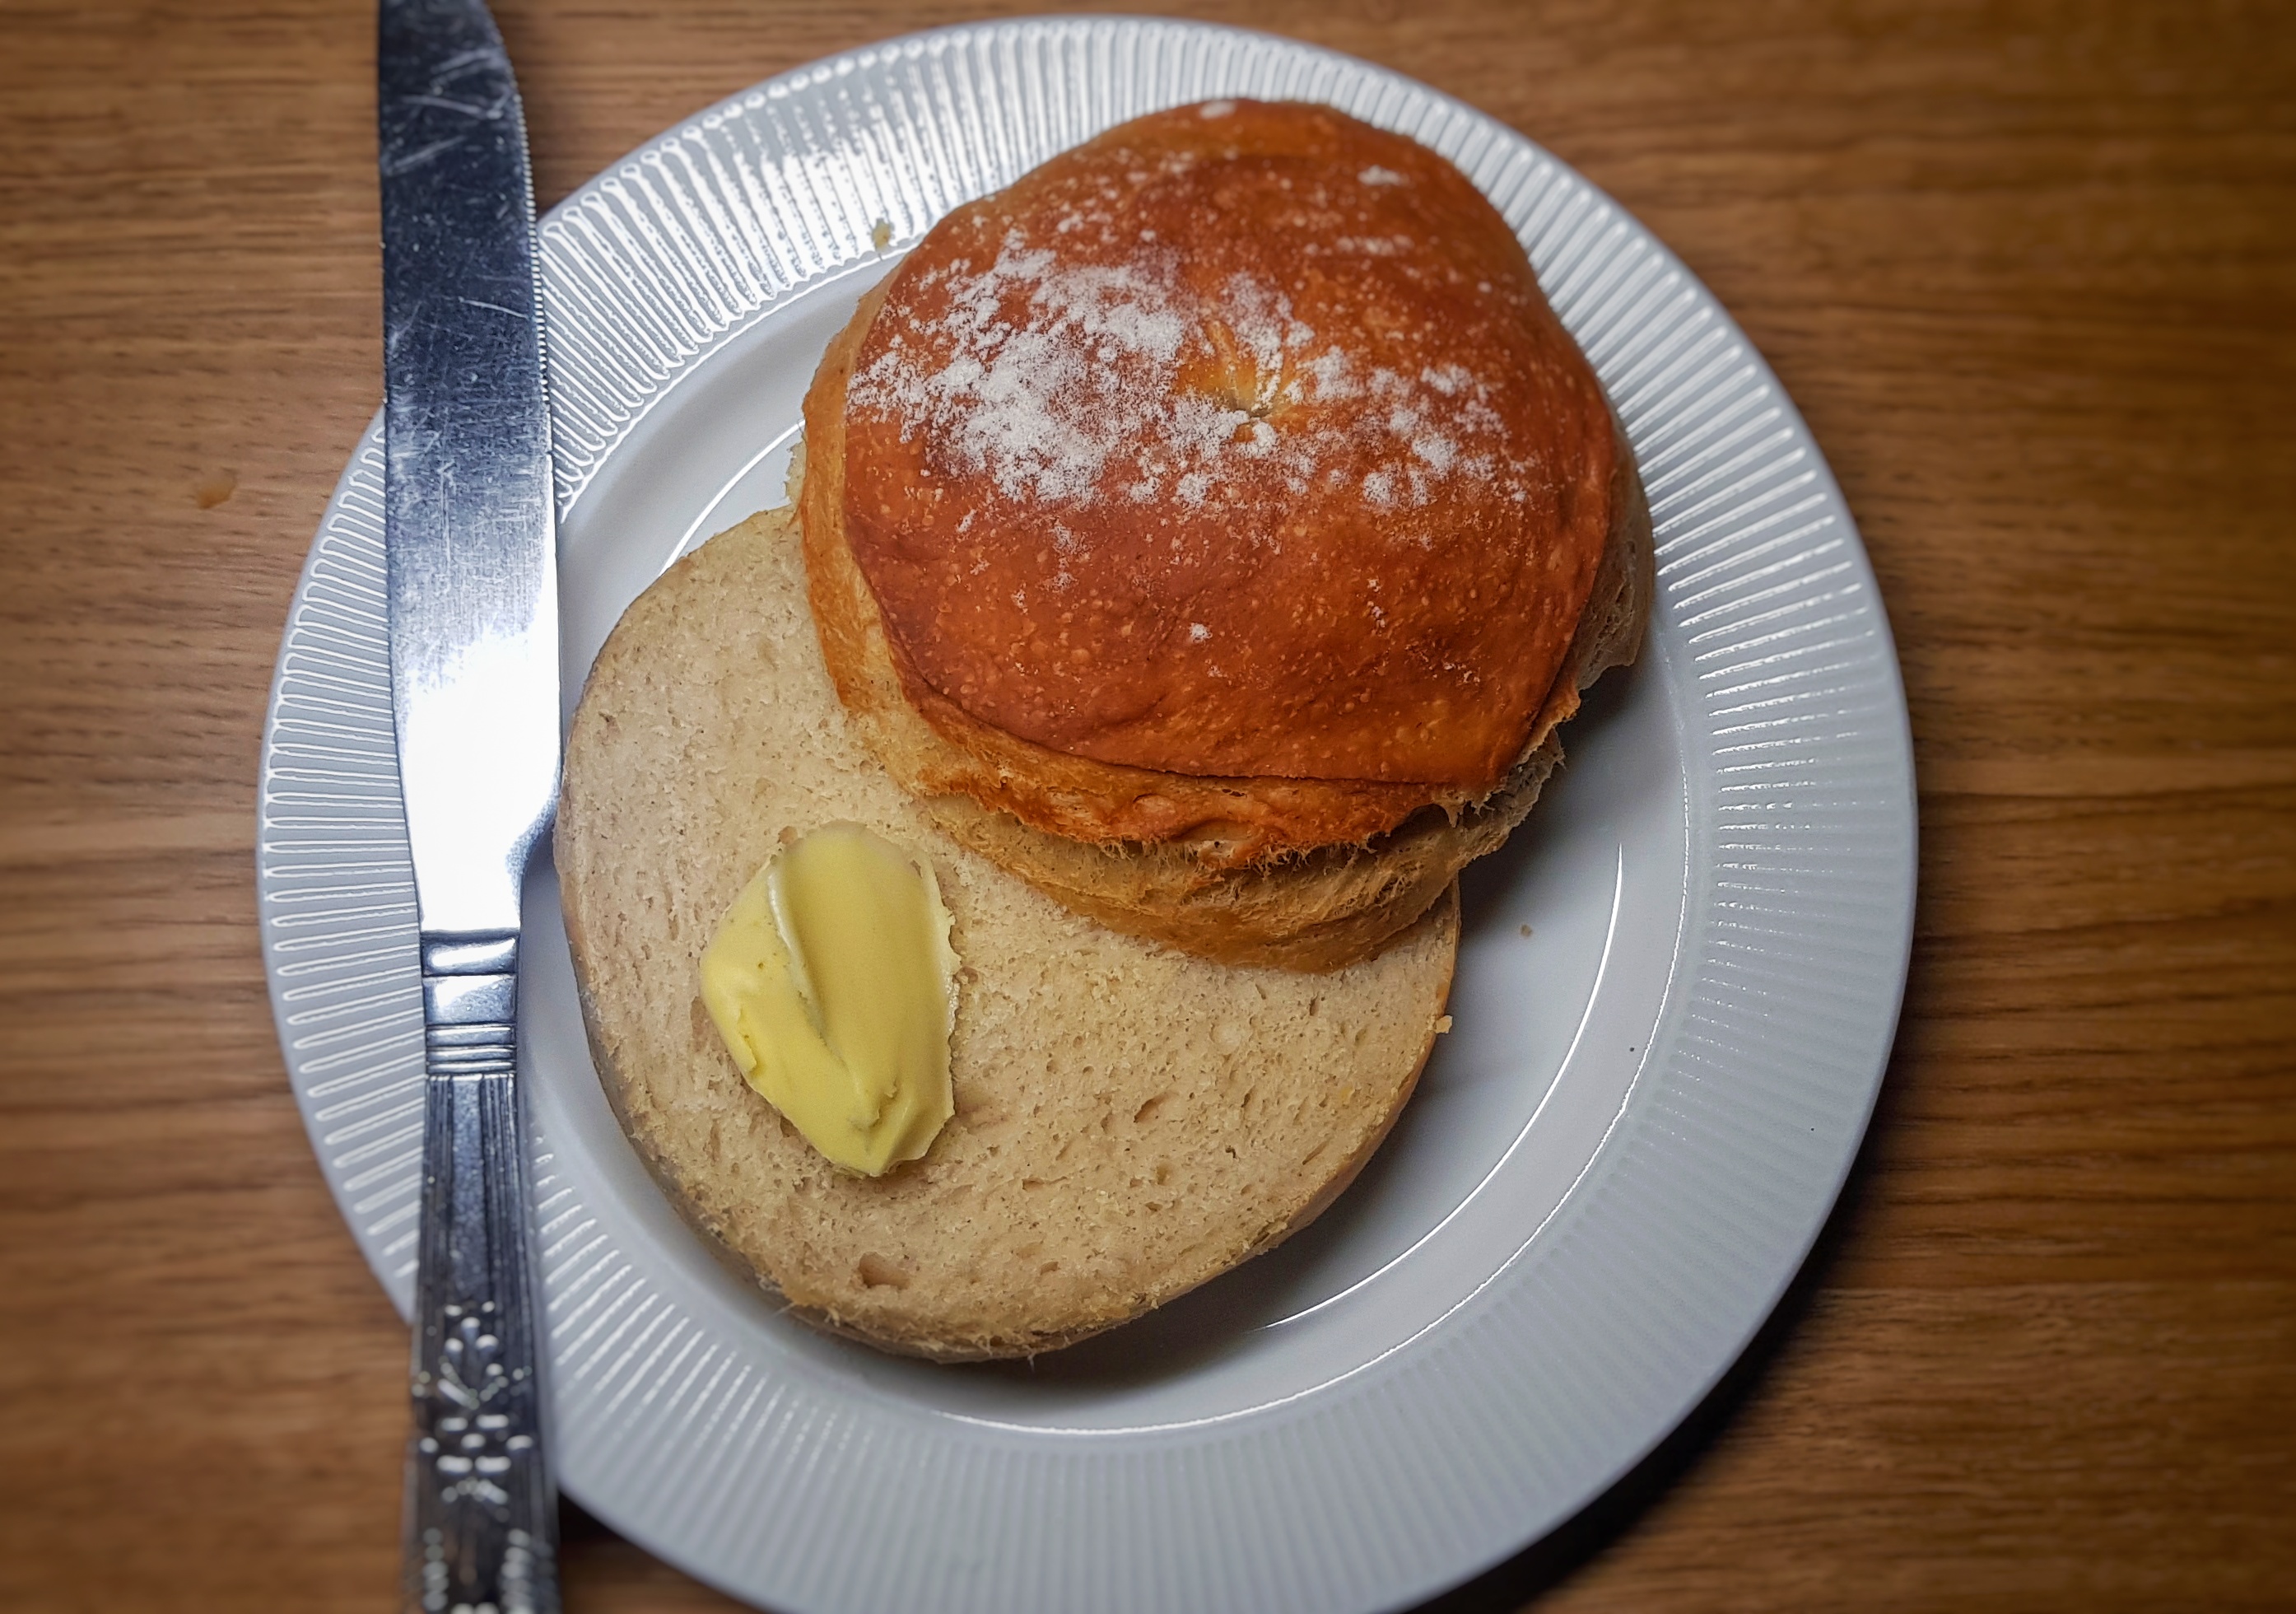
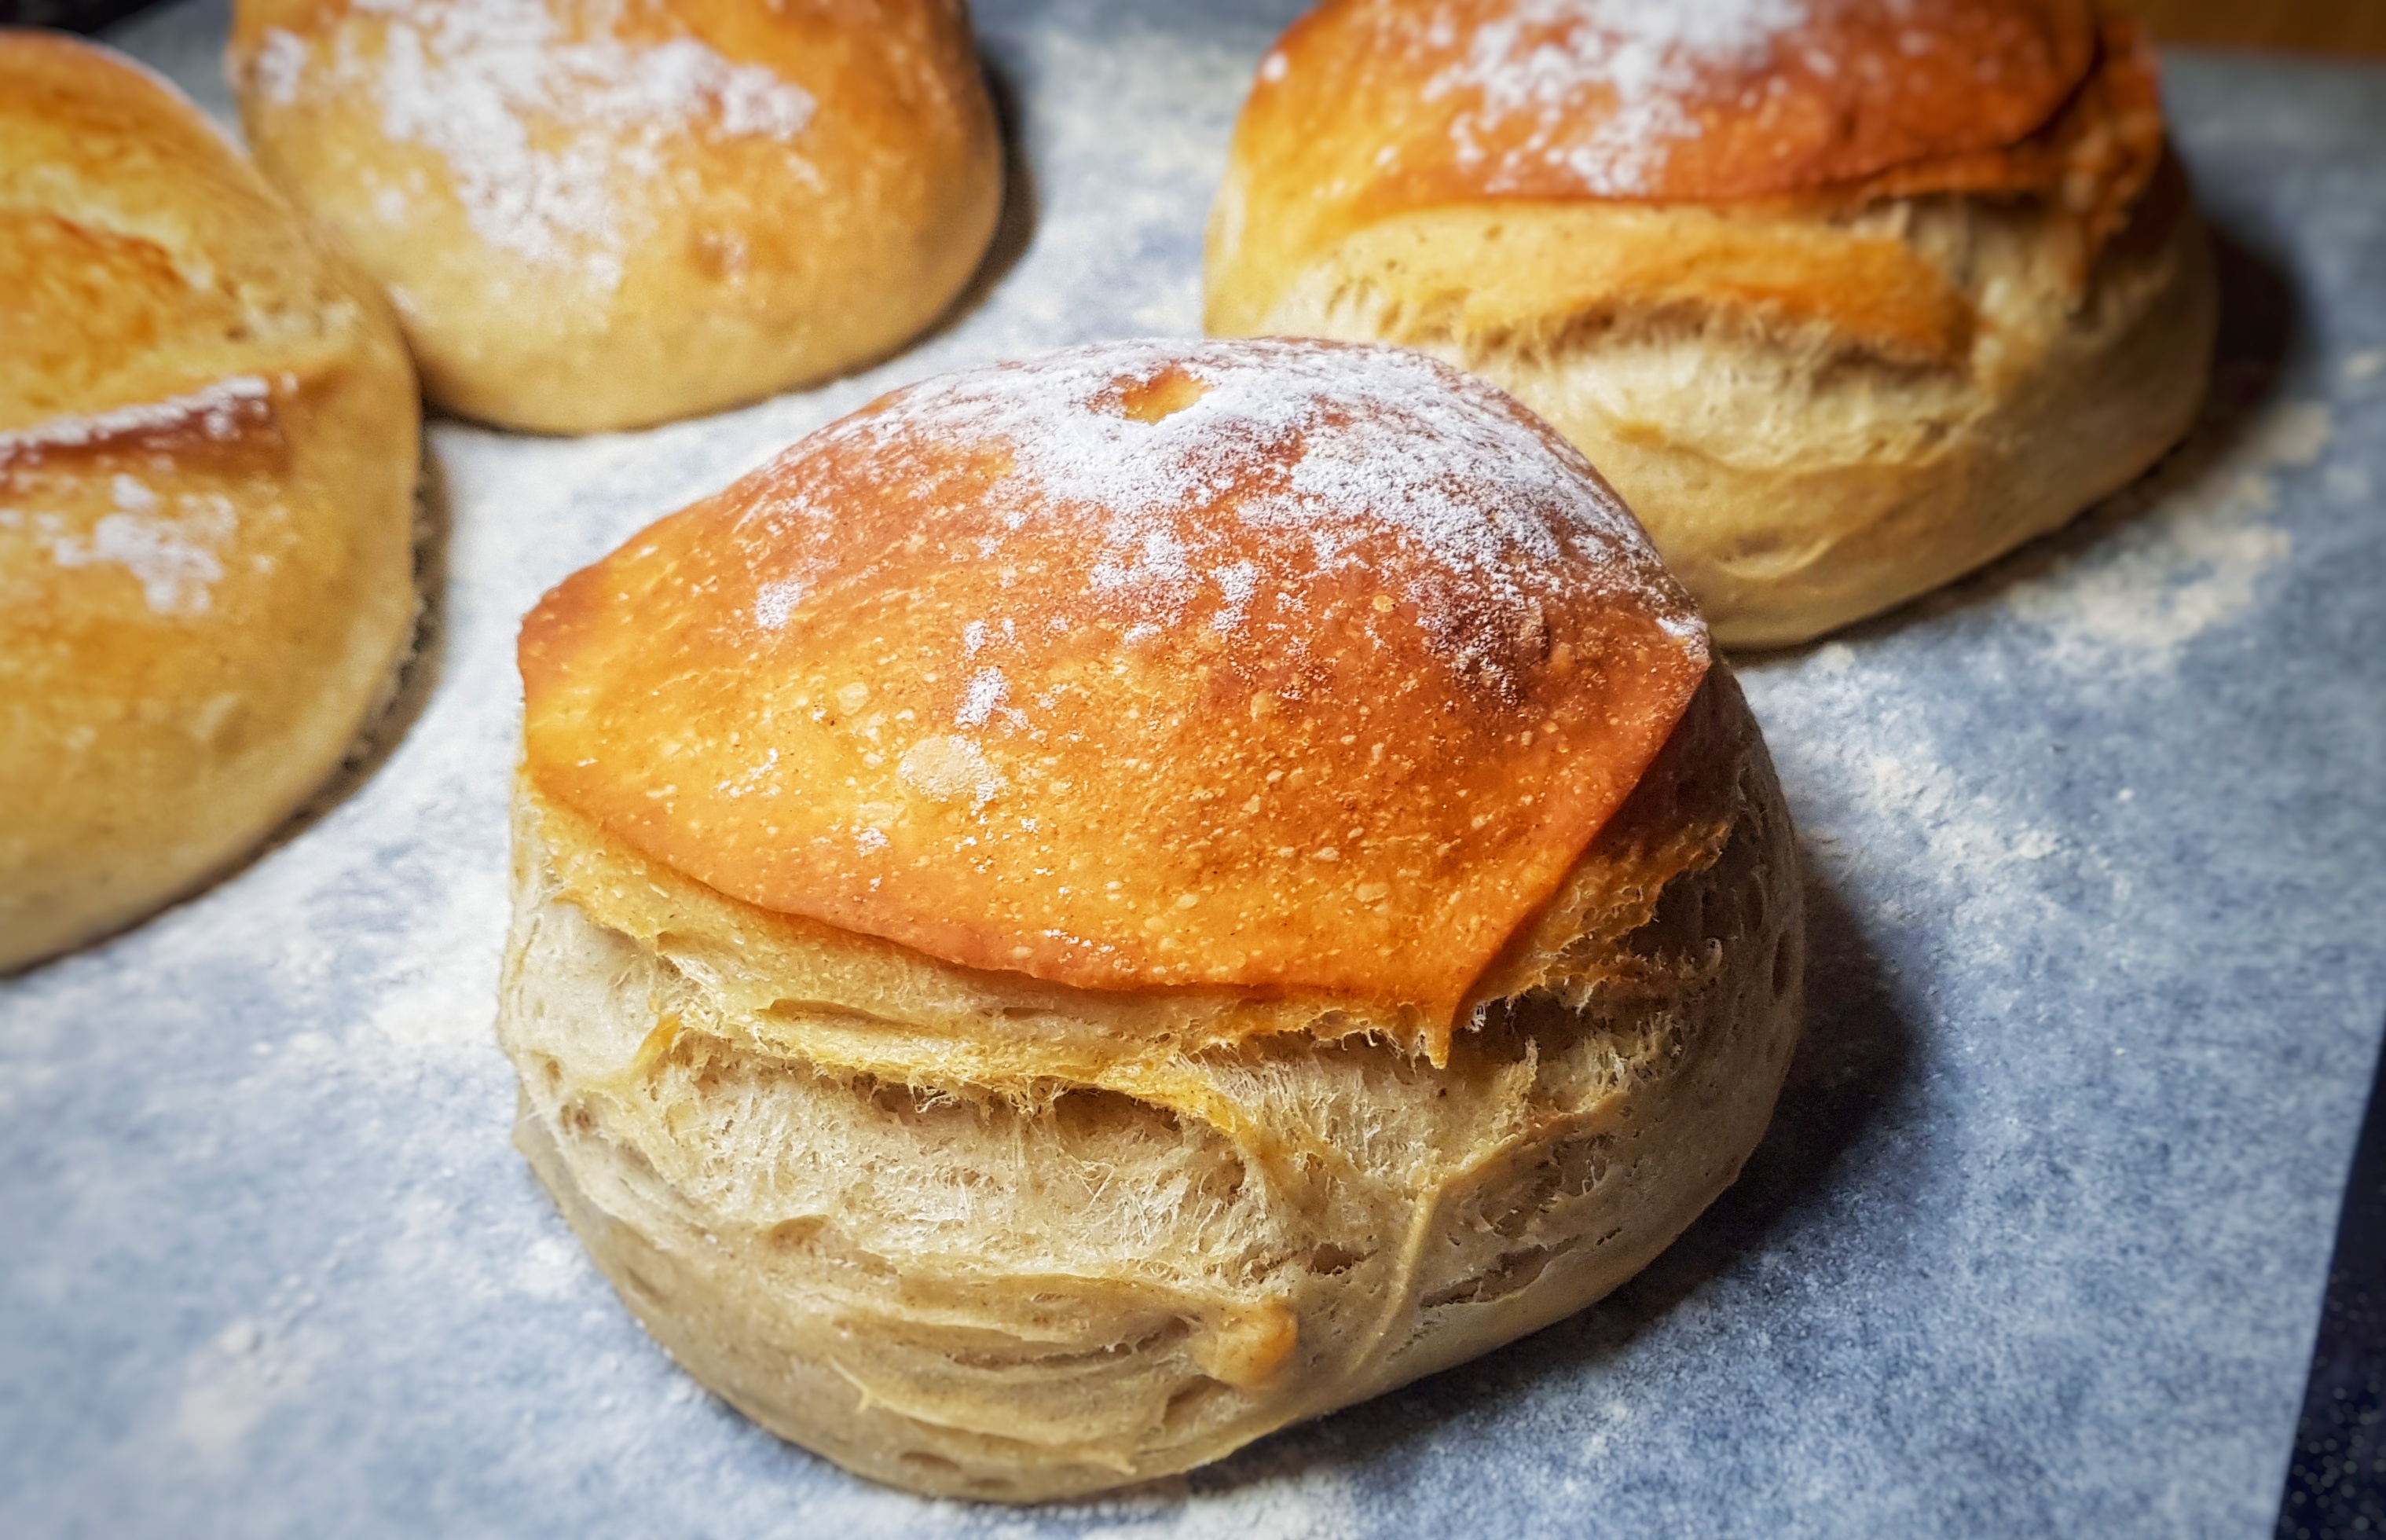
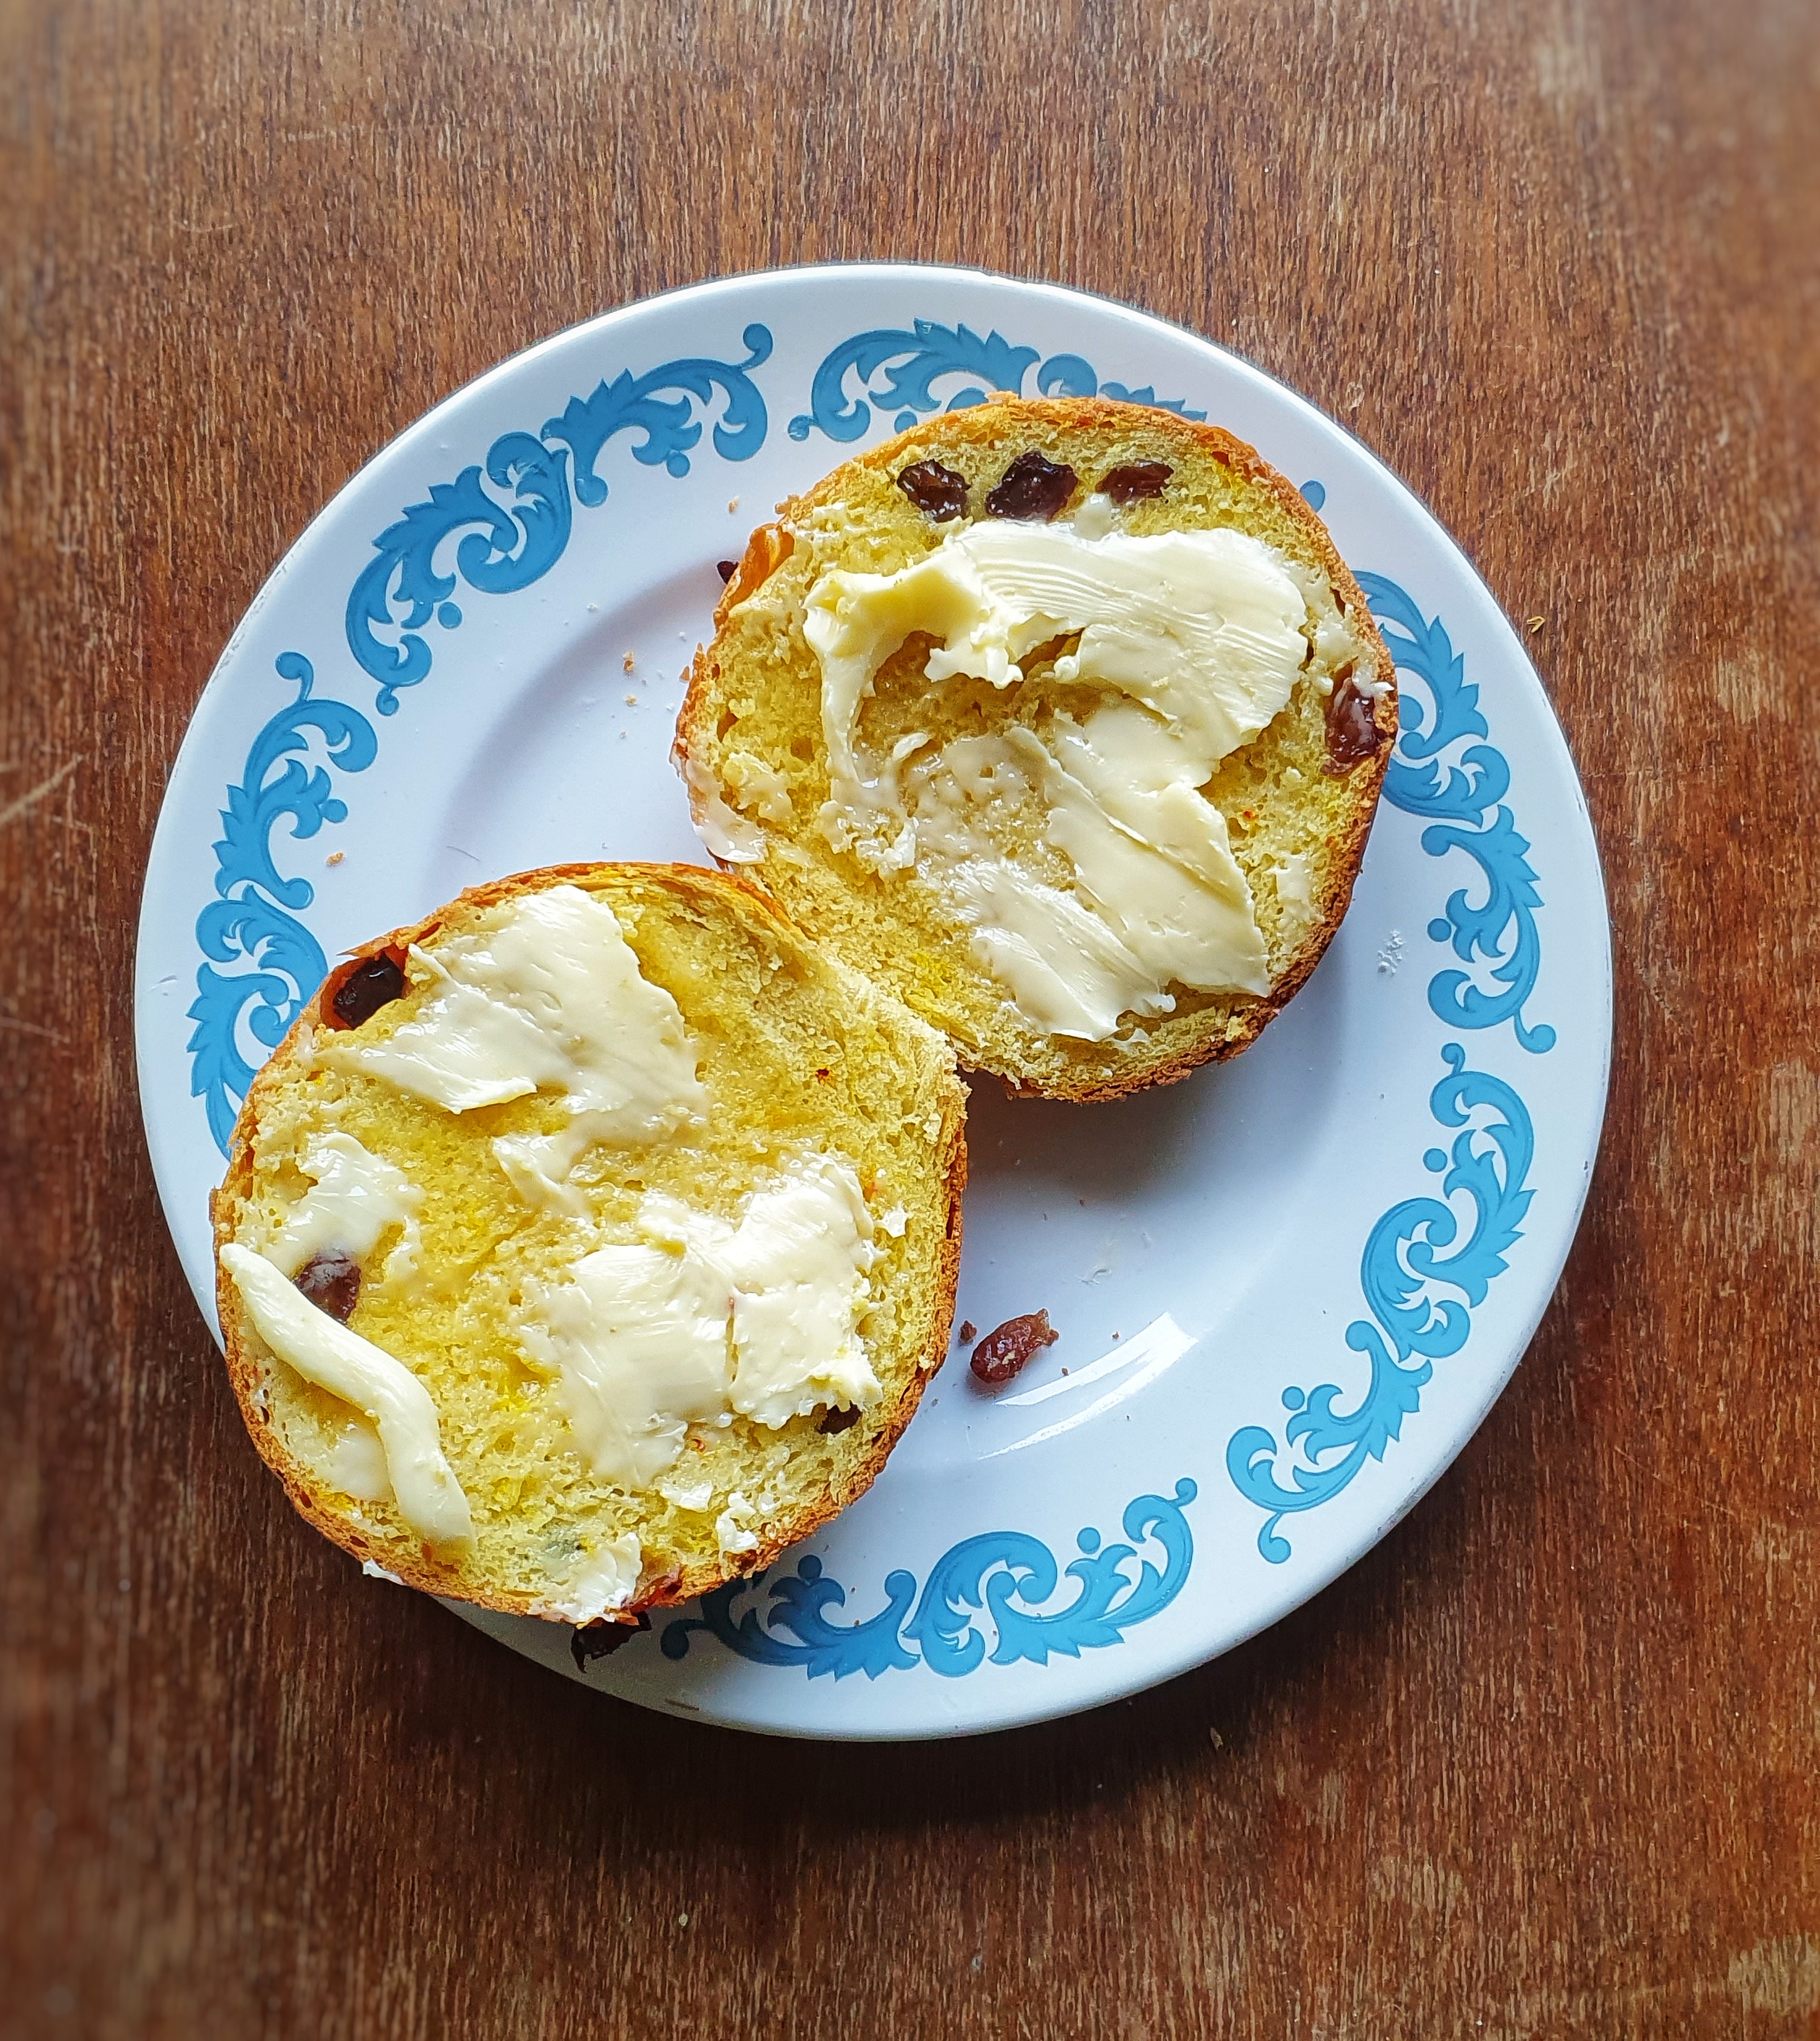
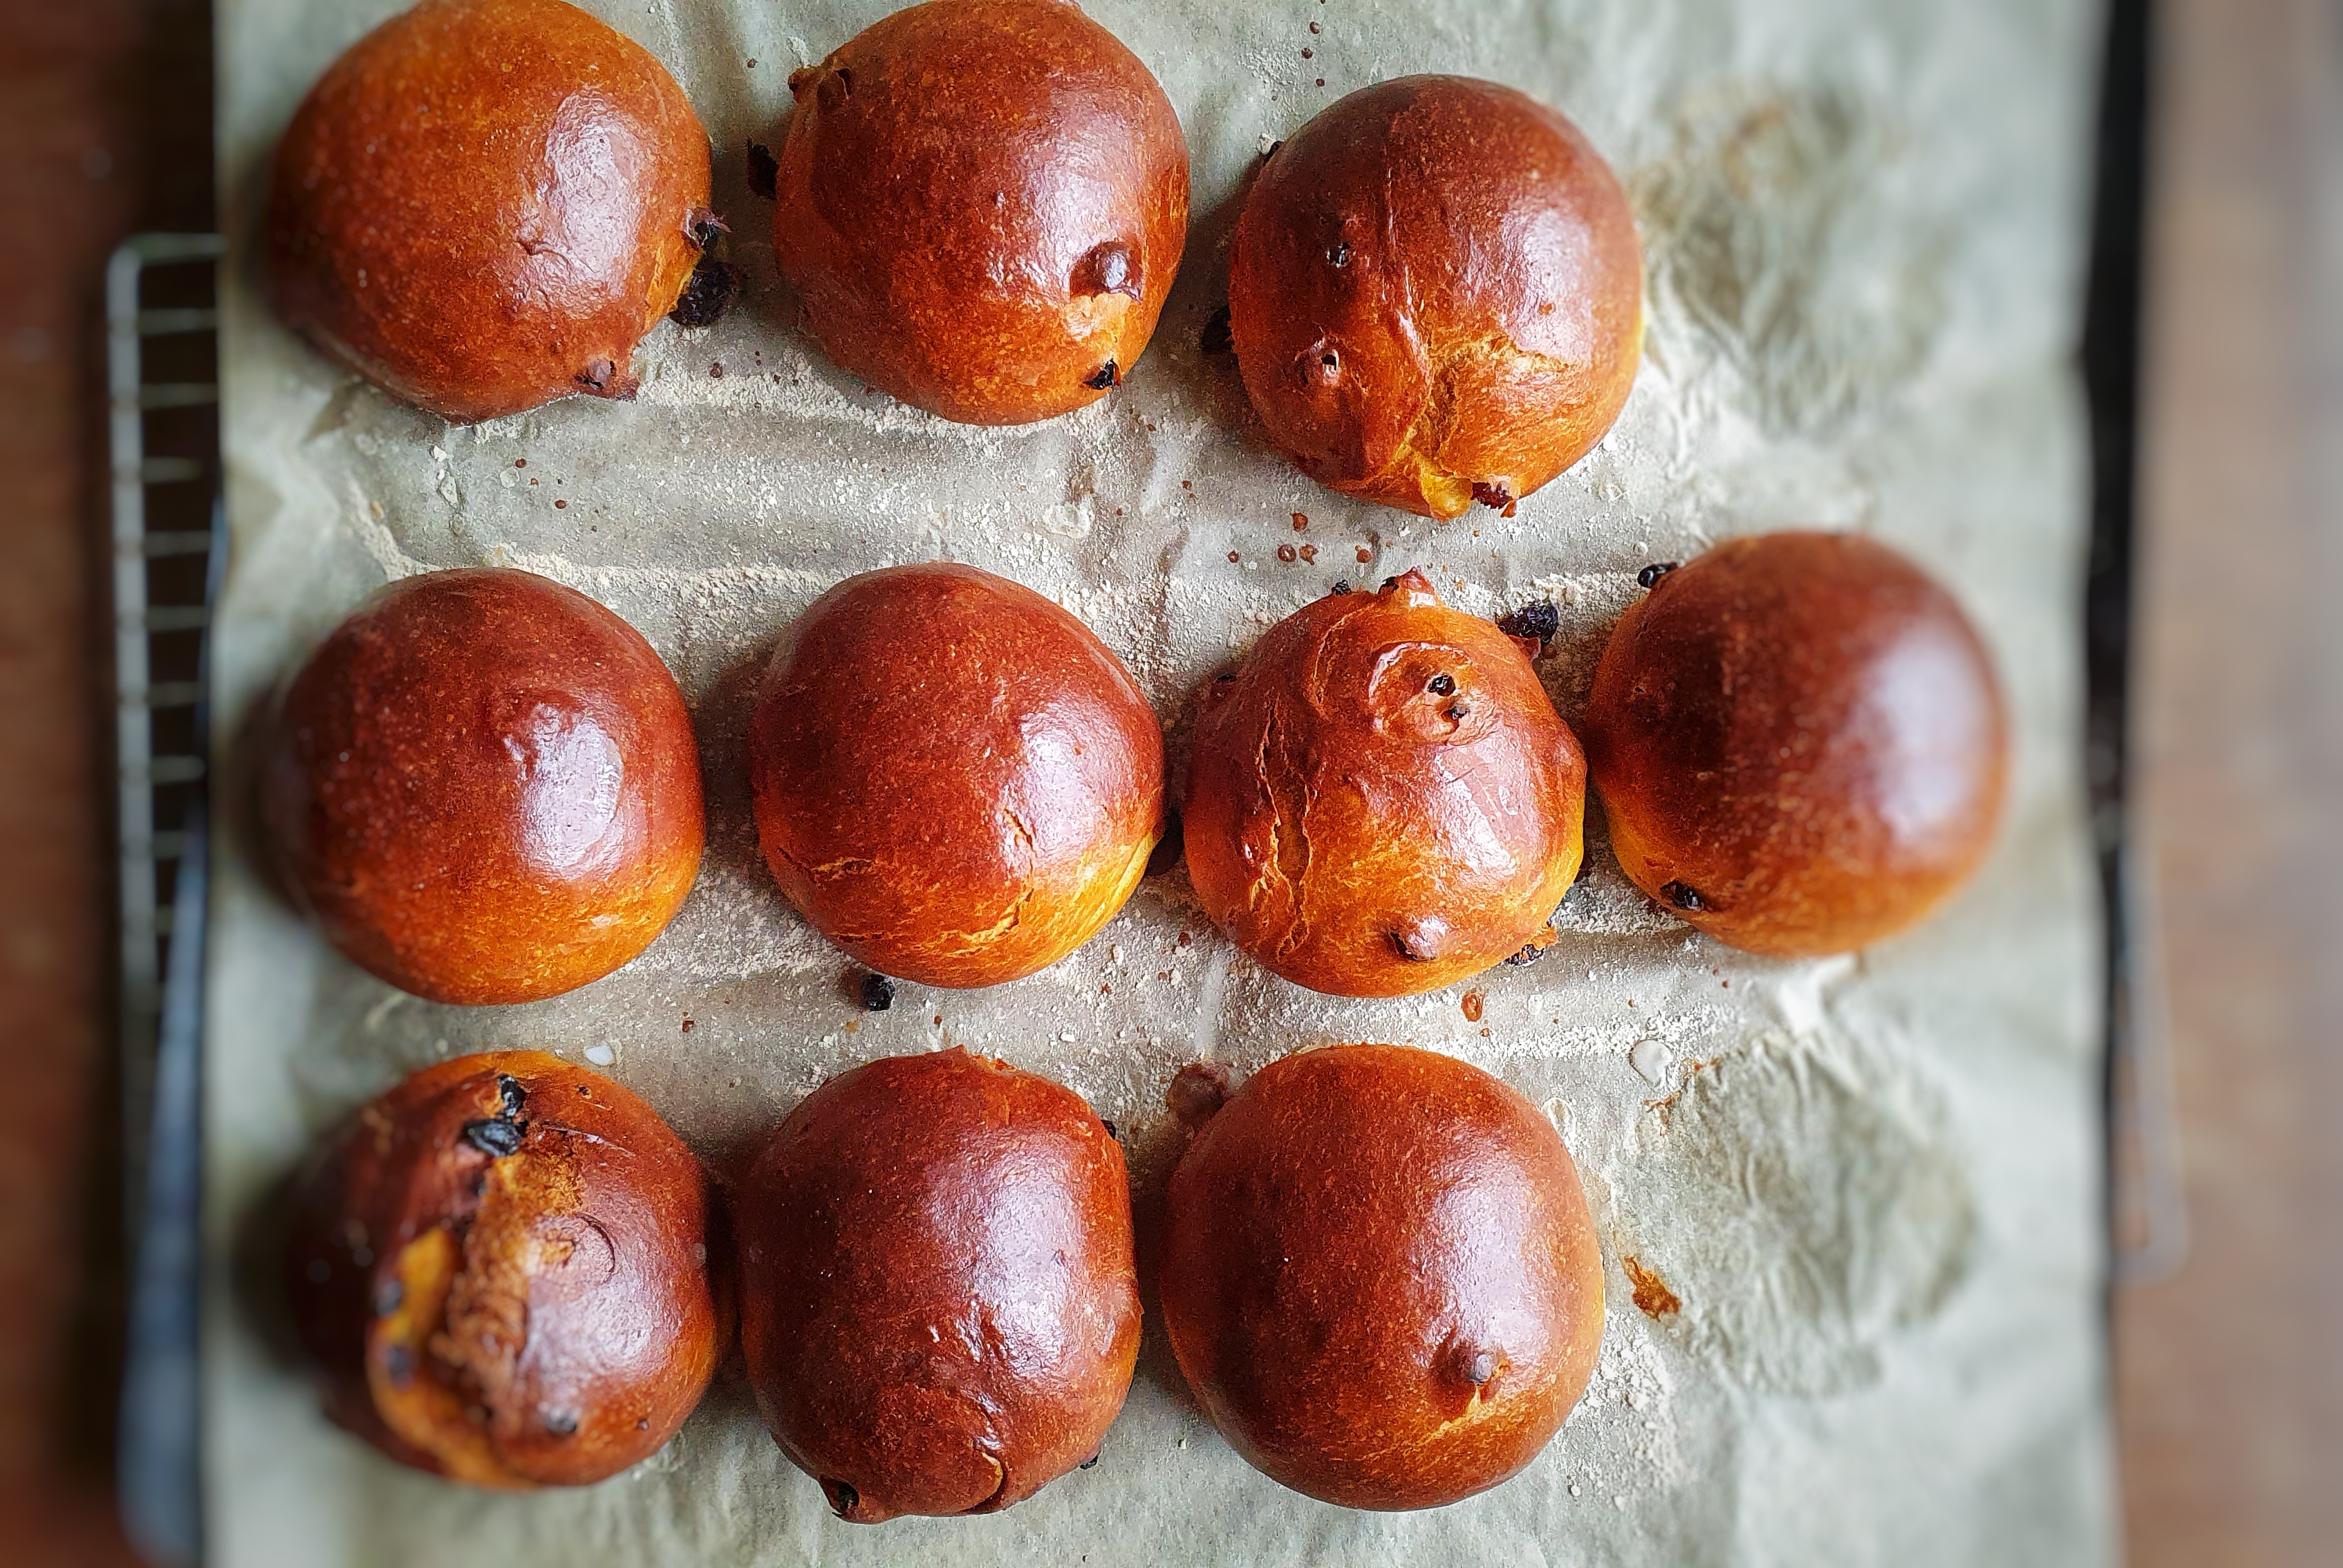
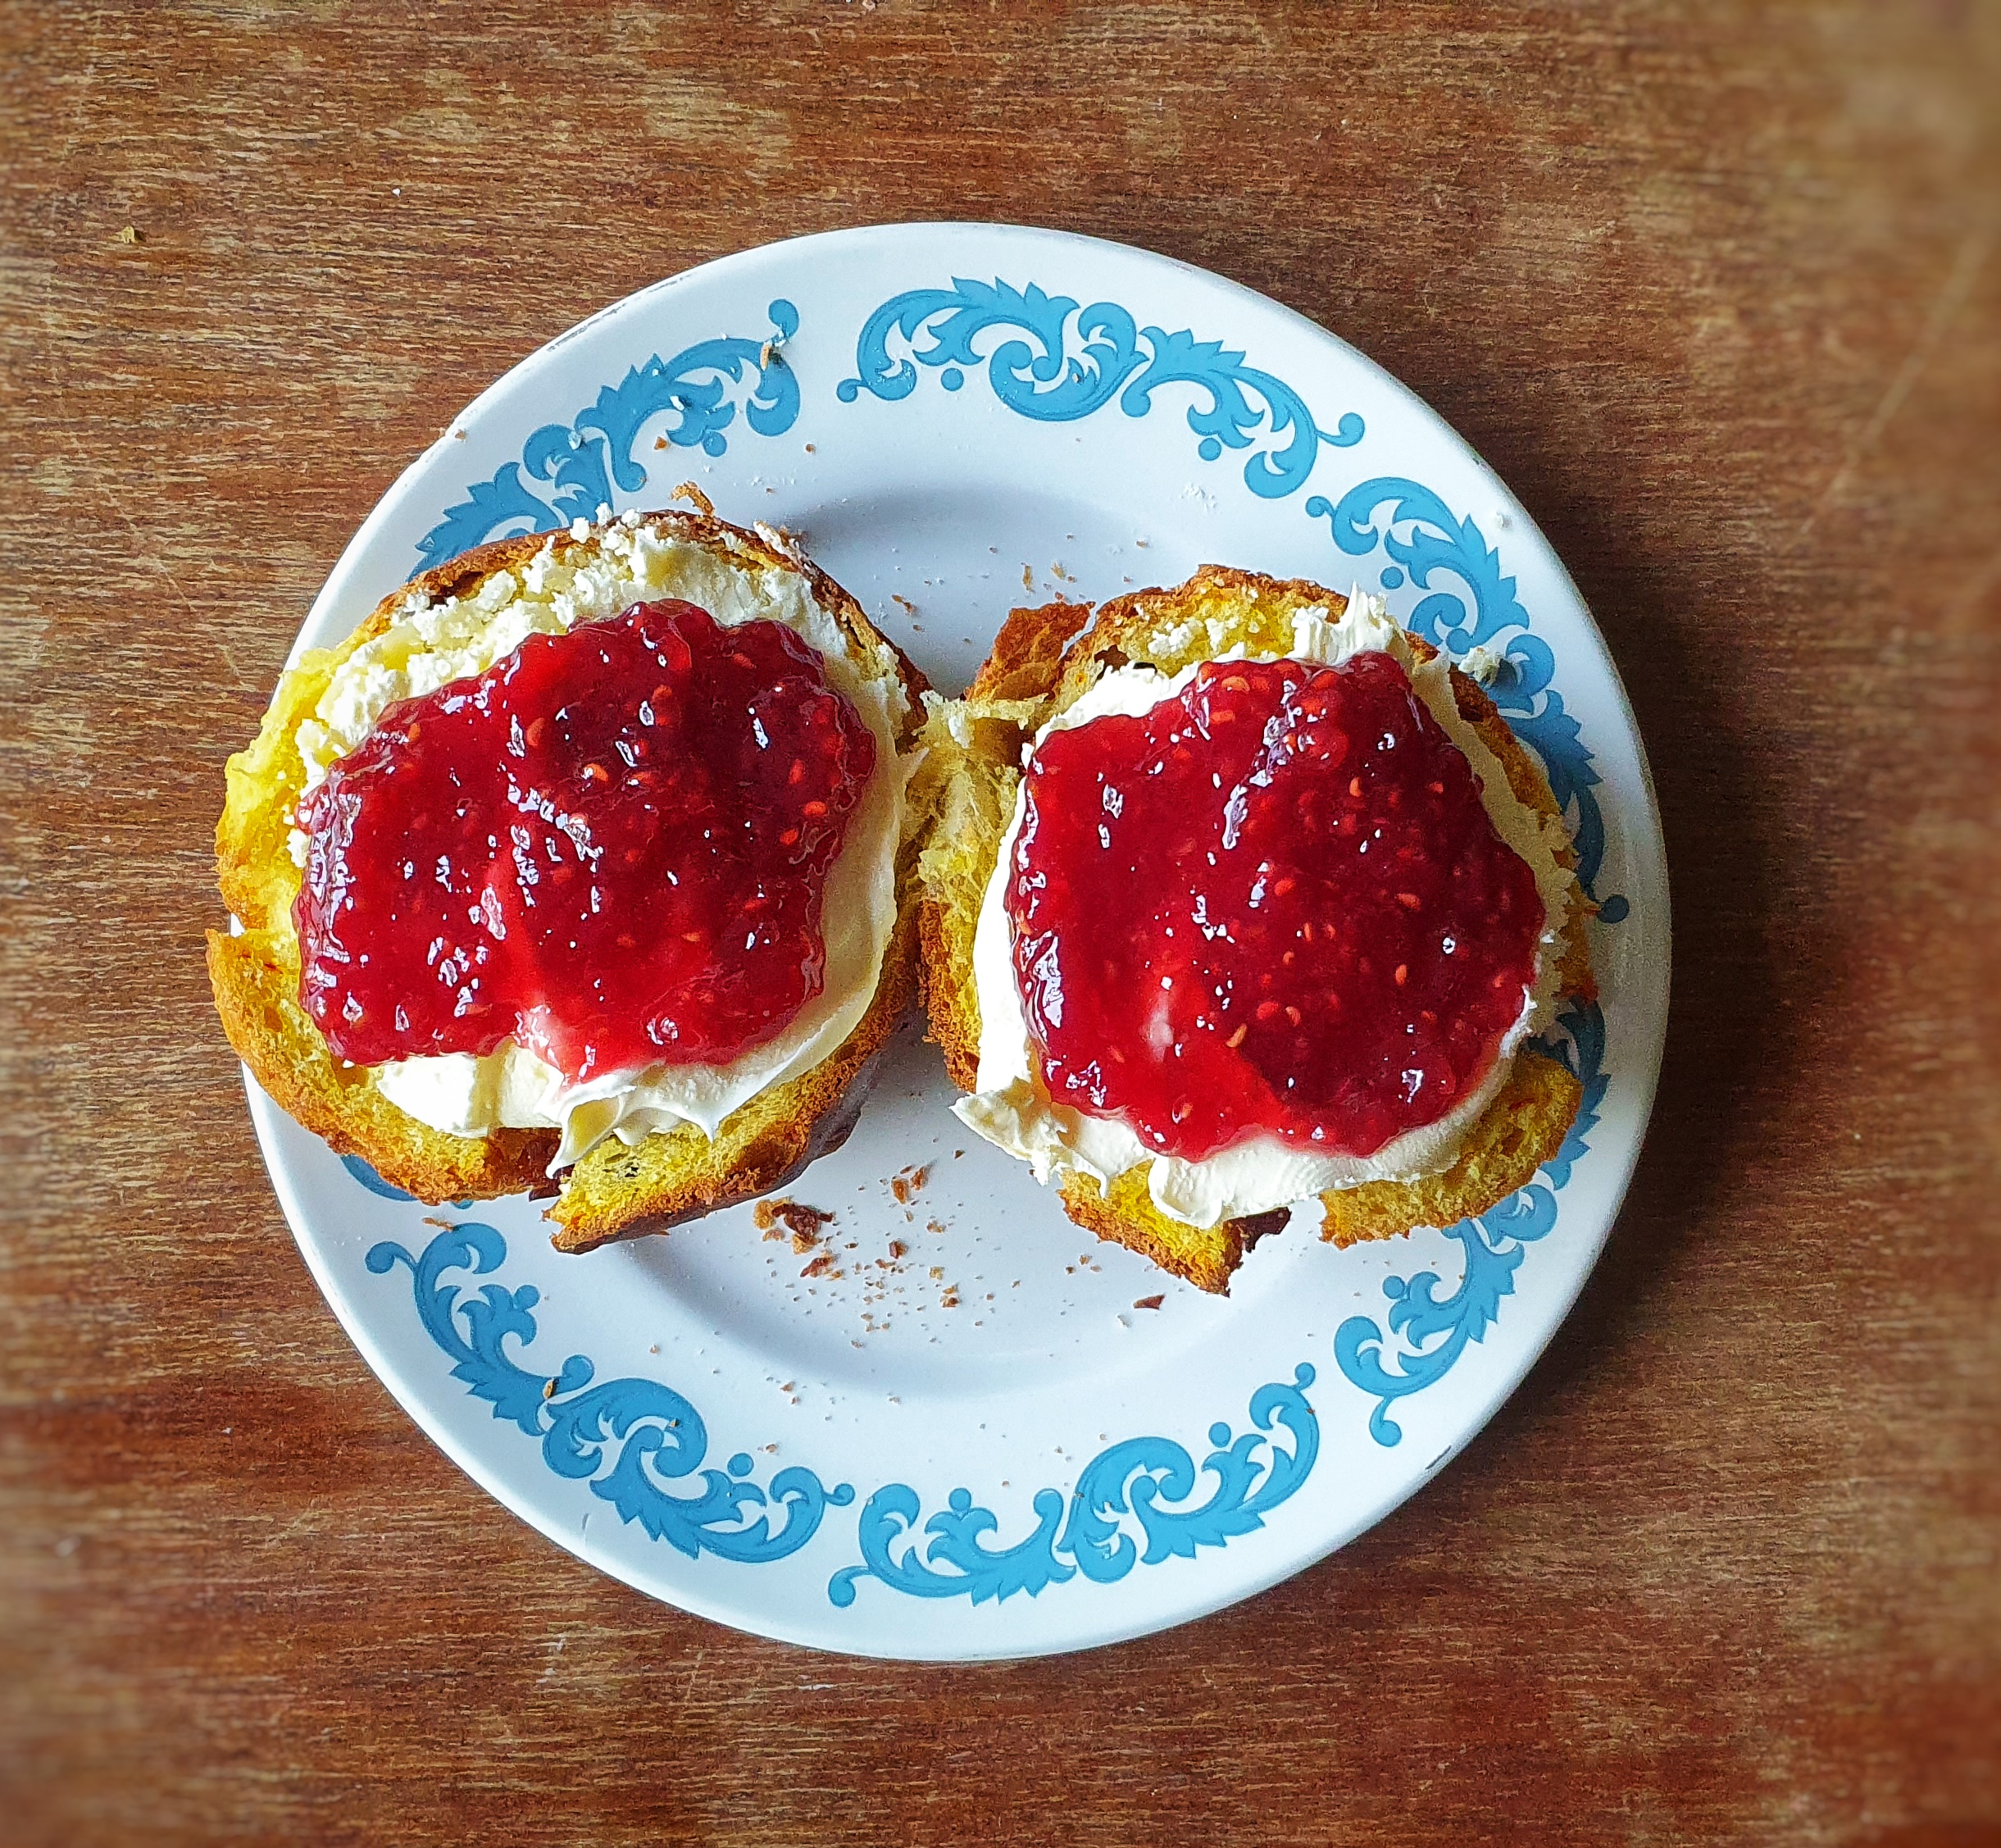
A modern-day saffron bun is a lovely egg yolk yellow and has that lovely, unique earthy flavour associated with the spice. Other ingredients usually include mixed spice, dried fruit and a little sugar, and e enriched with a good amount of egg and clotted cream, though as Sam Bilton points out in Fool’s Gold: A History of British Saffron, Sarah Harrison’s 18th-century recipe contains no fruit, and the only spice used aside from saffron is coriander seed.[2] Early recipes are usually for single, large cakes such as Sir Kenelm Digby’s ‘excellent cake’, which is baked in a hoop and requires ‘a Peck of fine flower’. It’s enriched with (amongst other things) ‘one pint of Sack…half a pint of Rose-water [and] half a quarter of an ounce of Saffron.’ It is then iced with sugar and egg whites flavoured again with rose water.[3] Rosewater seems to have been a key ingredient because it’s still used a century later in John Farley’s London Art of Cookery (1783) and again in Cassell’s Dictionary of Food a century after that.[4] Perhaps it should be brought back?

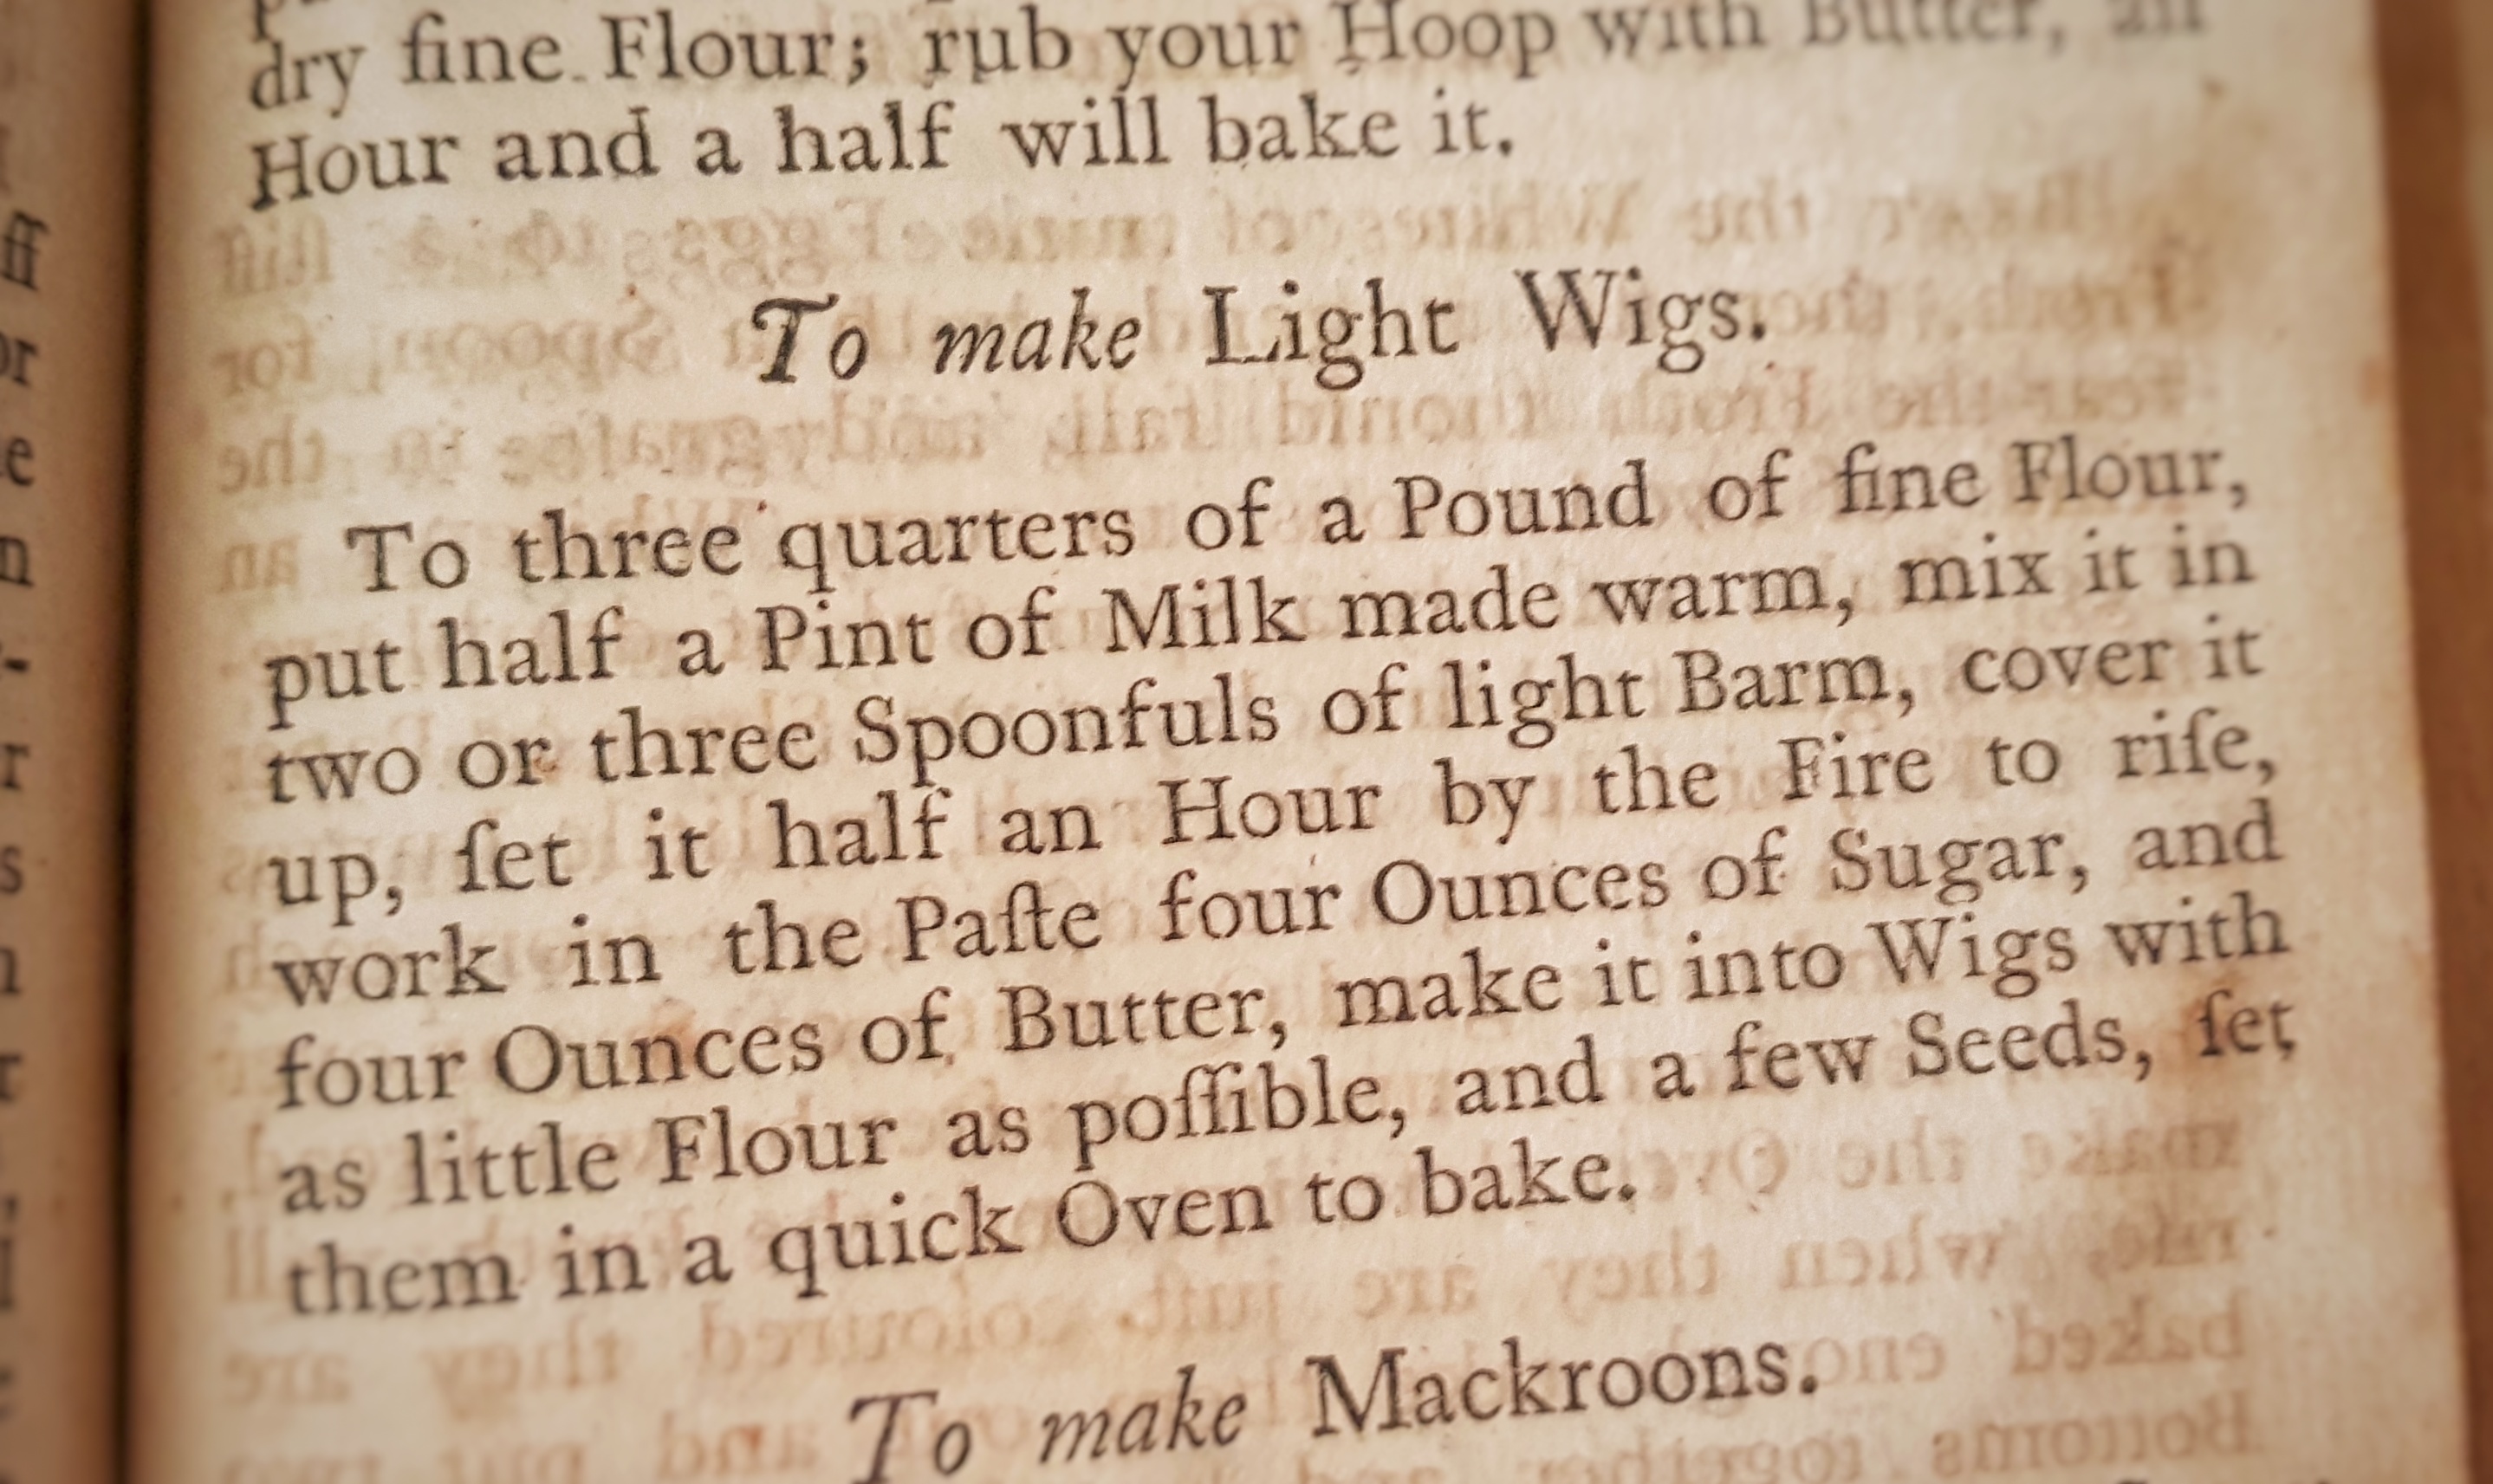
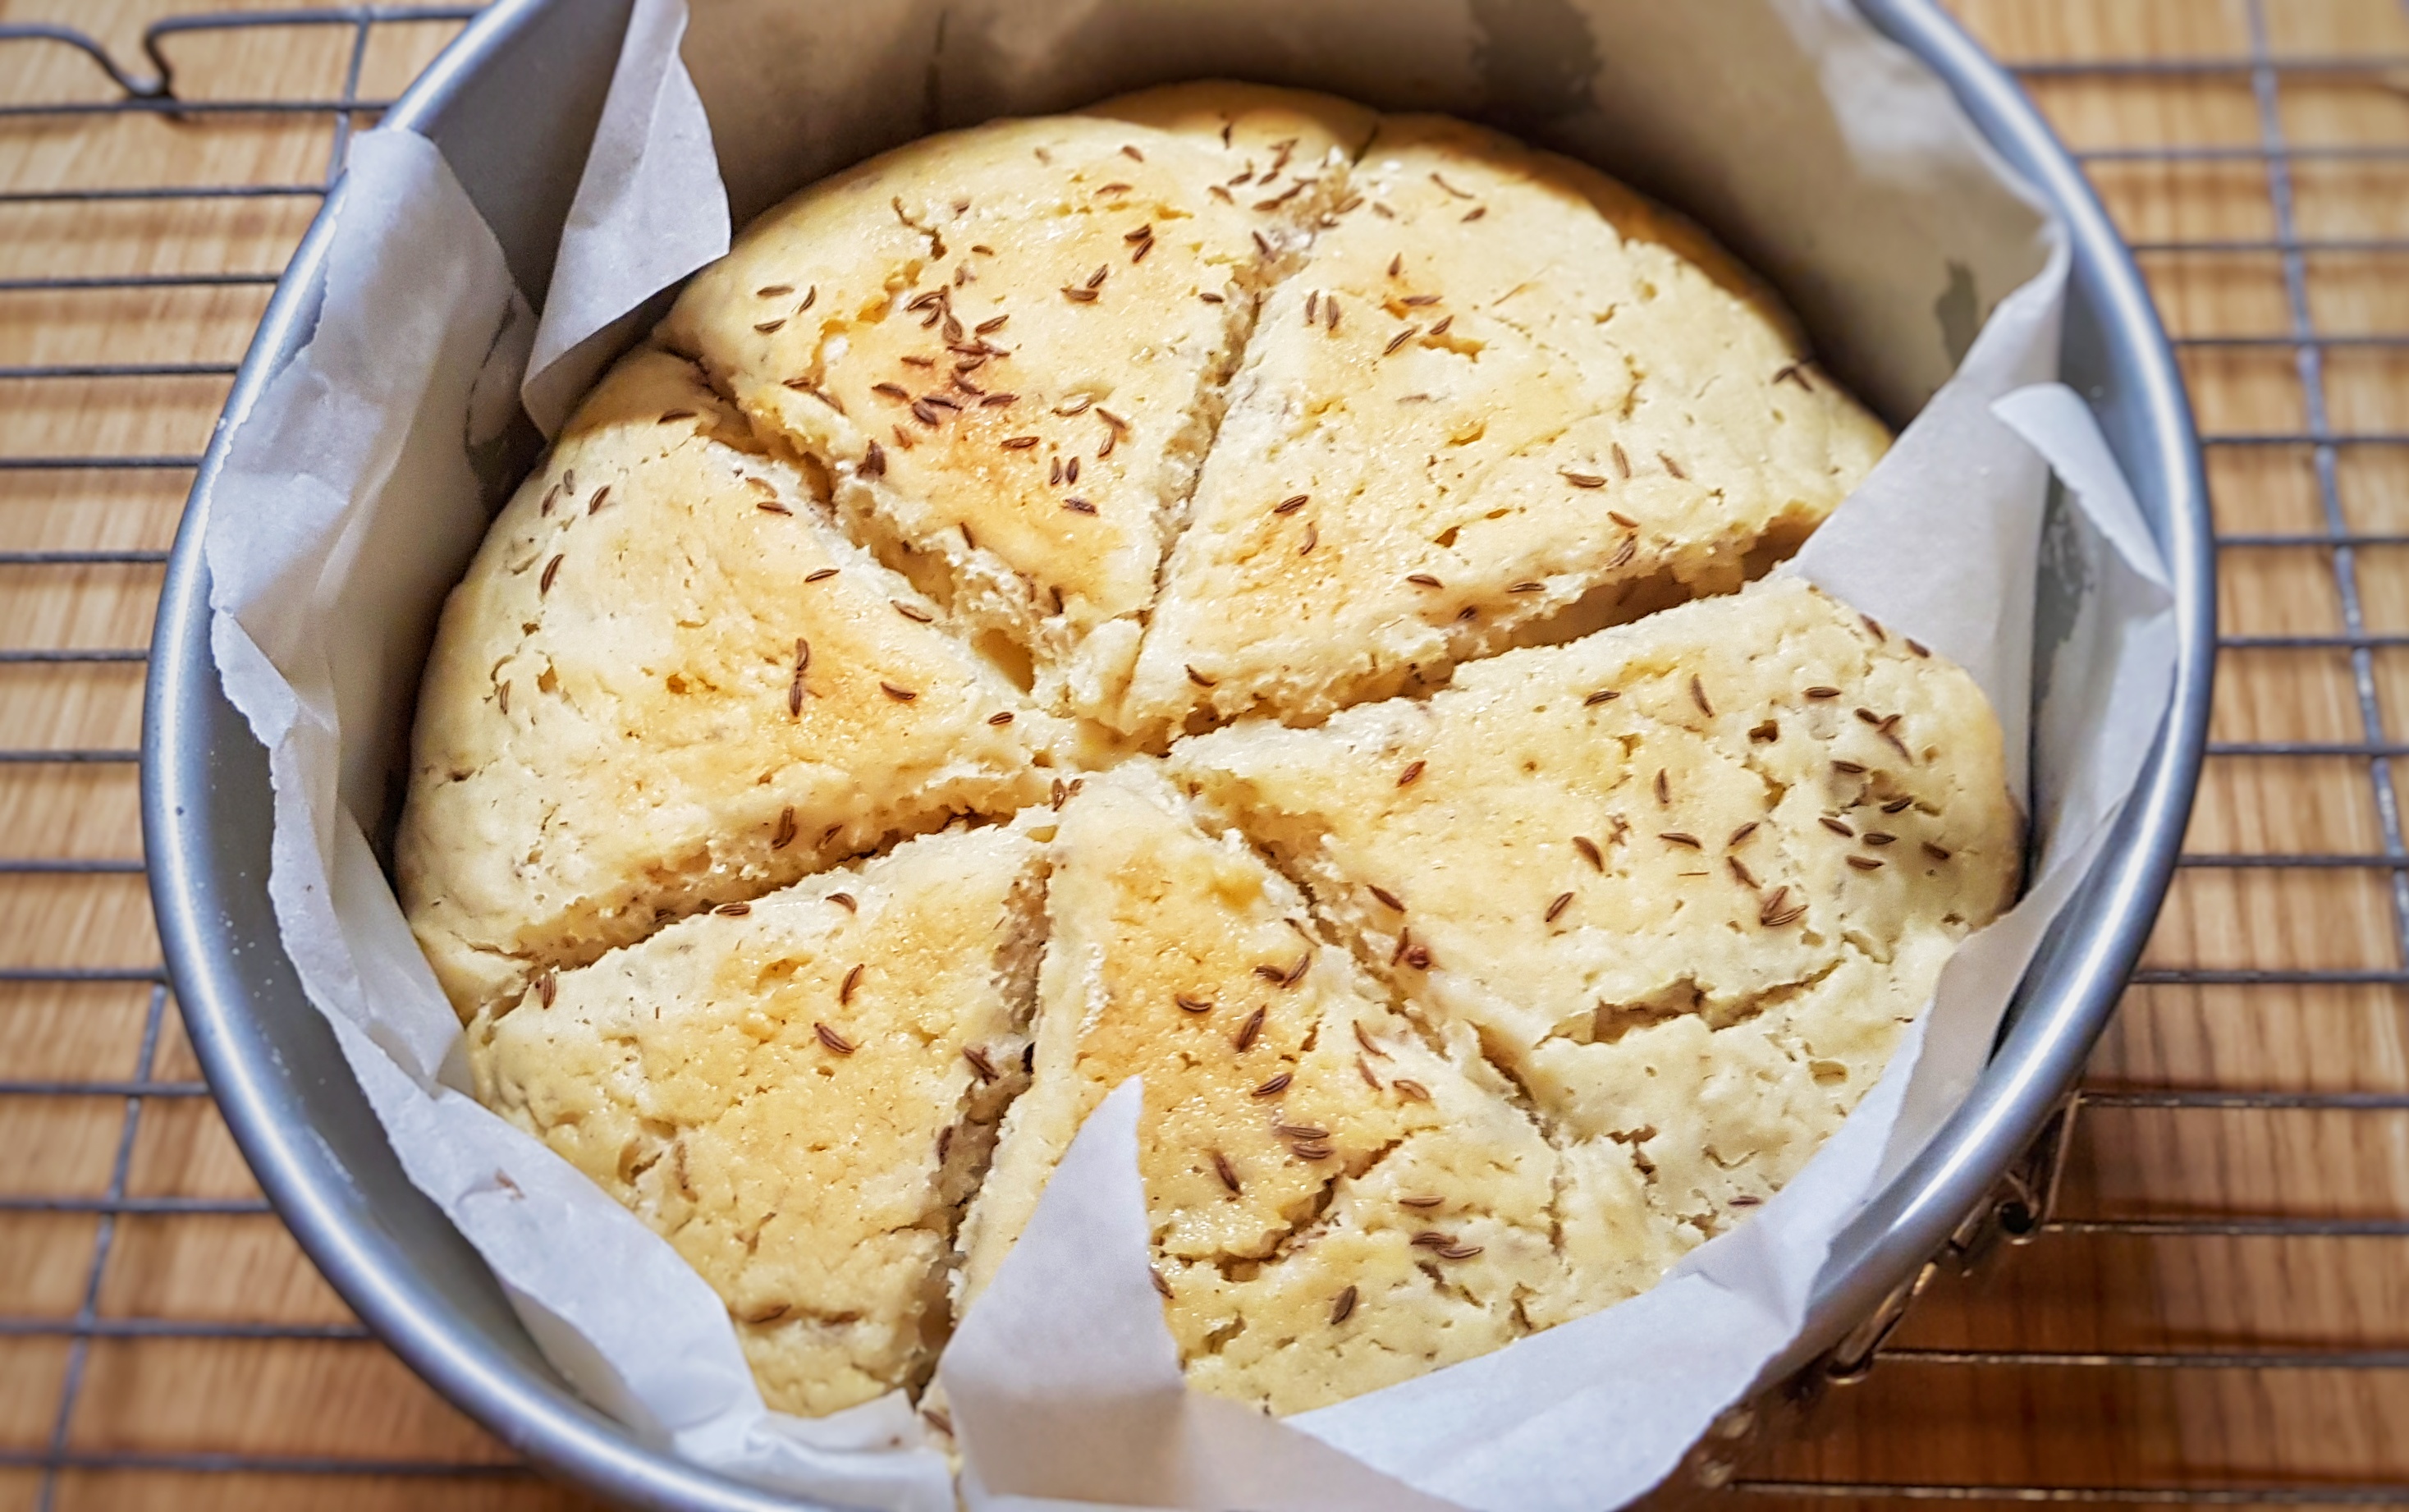
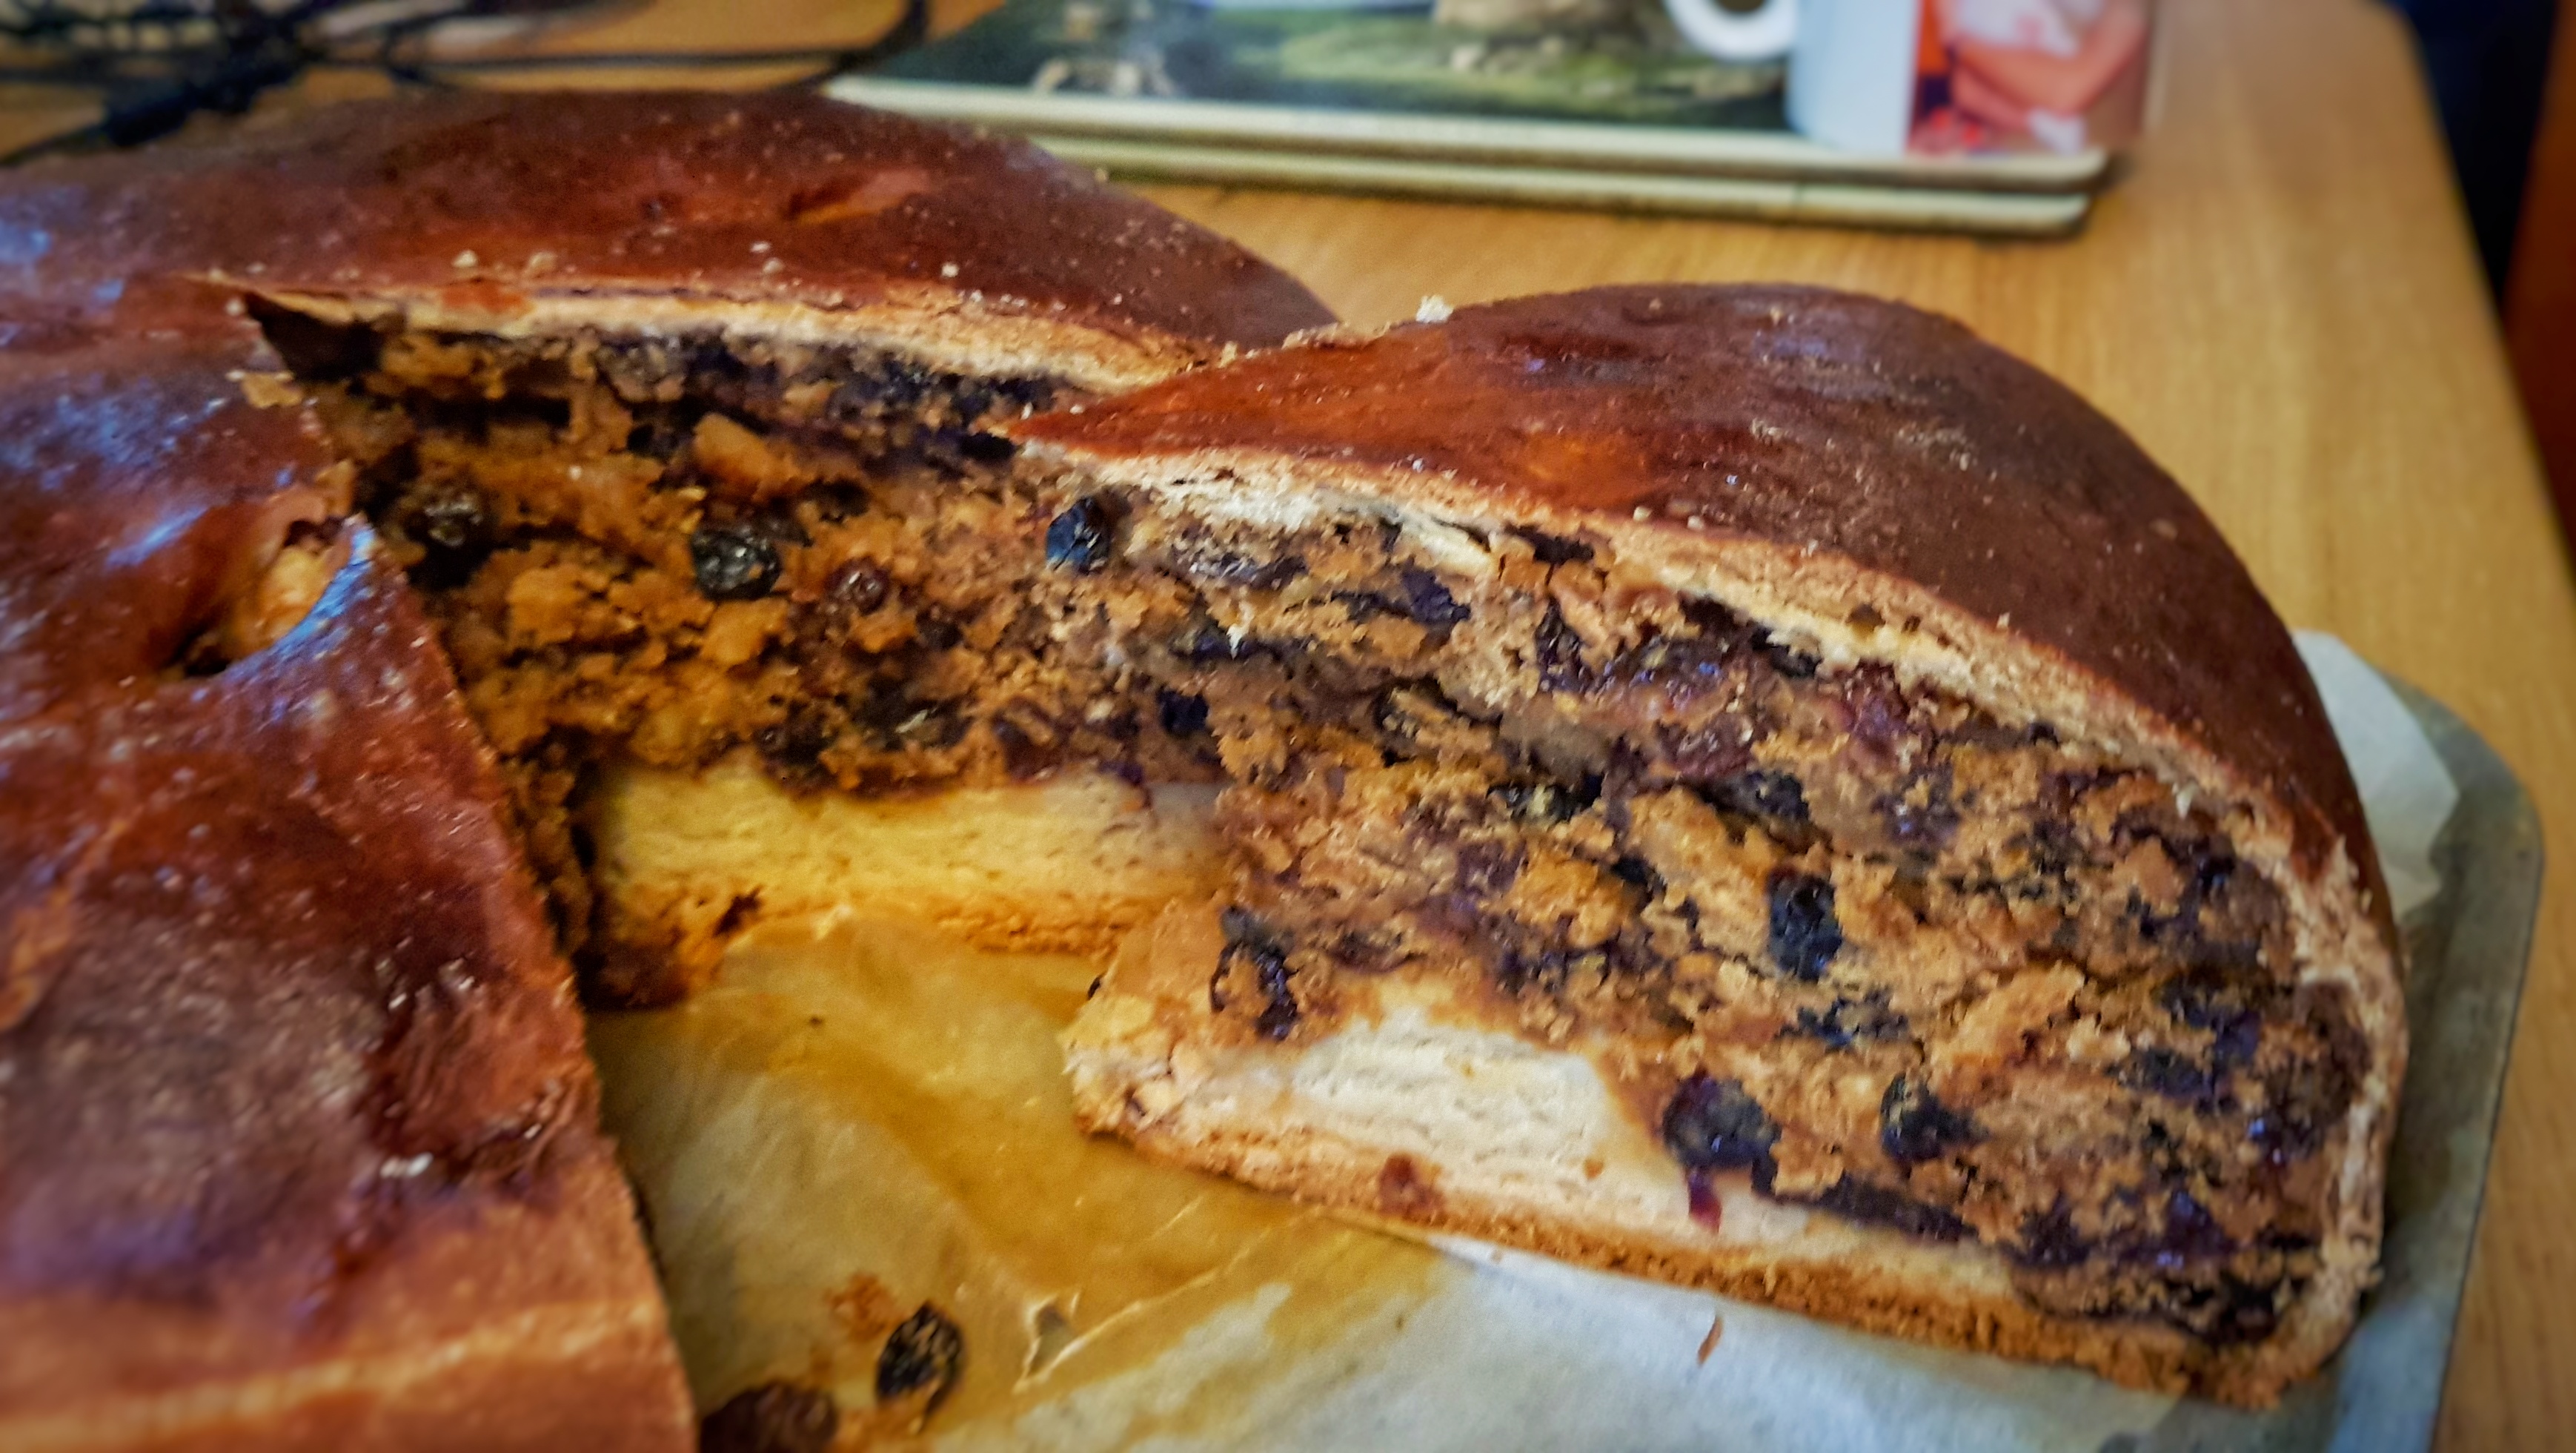
Because of their expensive and rich ingredients, saffron buns are associated with celebrations and feast days. On Good Friday (a day associated with spiced buns), they were cut with a cross and brushed with a saffron wash and eaten with clotted cream.[5] At Christmastime, they were made into miniature cottage loaf shapes. They were also a special taste of home: folk of Newquay, when putting together Christmas food parcels to be sent to fighters during the Great War, were sure to include saffron cakes and buns.[6]

According to Cassell, aside from providing colour and flavour, saffron makes buns or cakes ‘wholesome and palatable’, aids digestion and will ‘drive out intestinal worms’ to boot, and suggests swapping the liquid used in your favourite bun or cake recipe for saffron-steeped hot water that has been allowed to cool to blood heat.[7]
Saffron is the most expensive spice in the world by weight, and there was (and still is) therefore pressure for food manufacturers to use an adulterant such as yellow food colouring or turmeric to offset costs. Real saffron buns are appropriately (but proportionally) more expensive than your regular fruit bun, and according to Elizabeth David, the strands are not strained from their soaking water as one might expect, ‘probably as a visible sign that true saffron has been used.’[8]
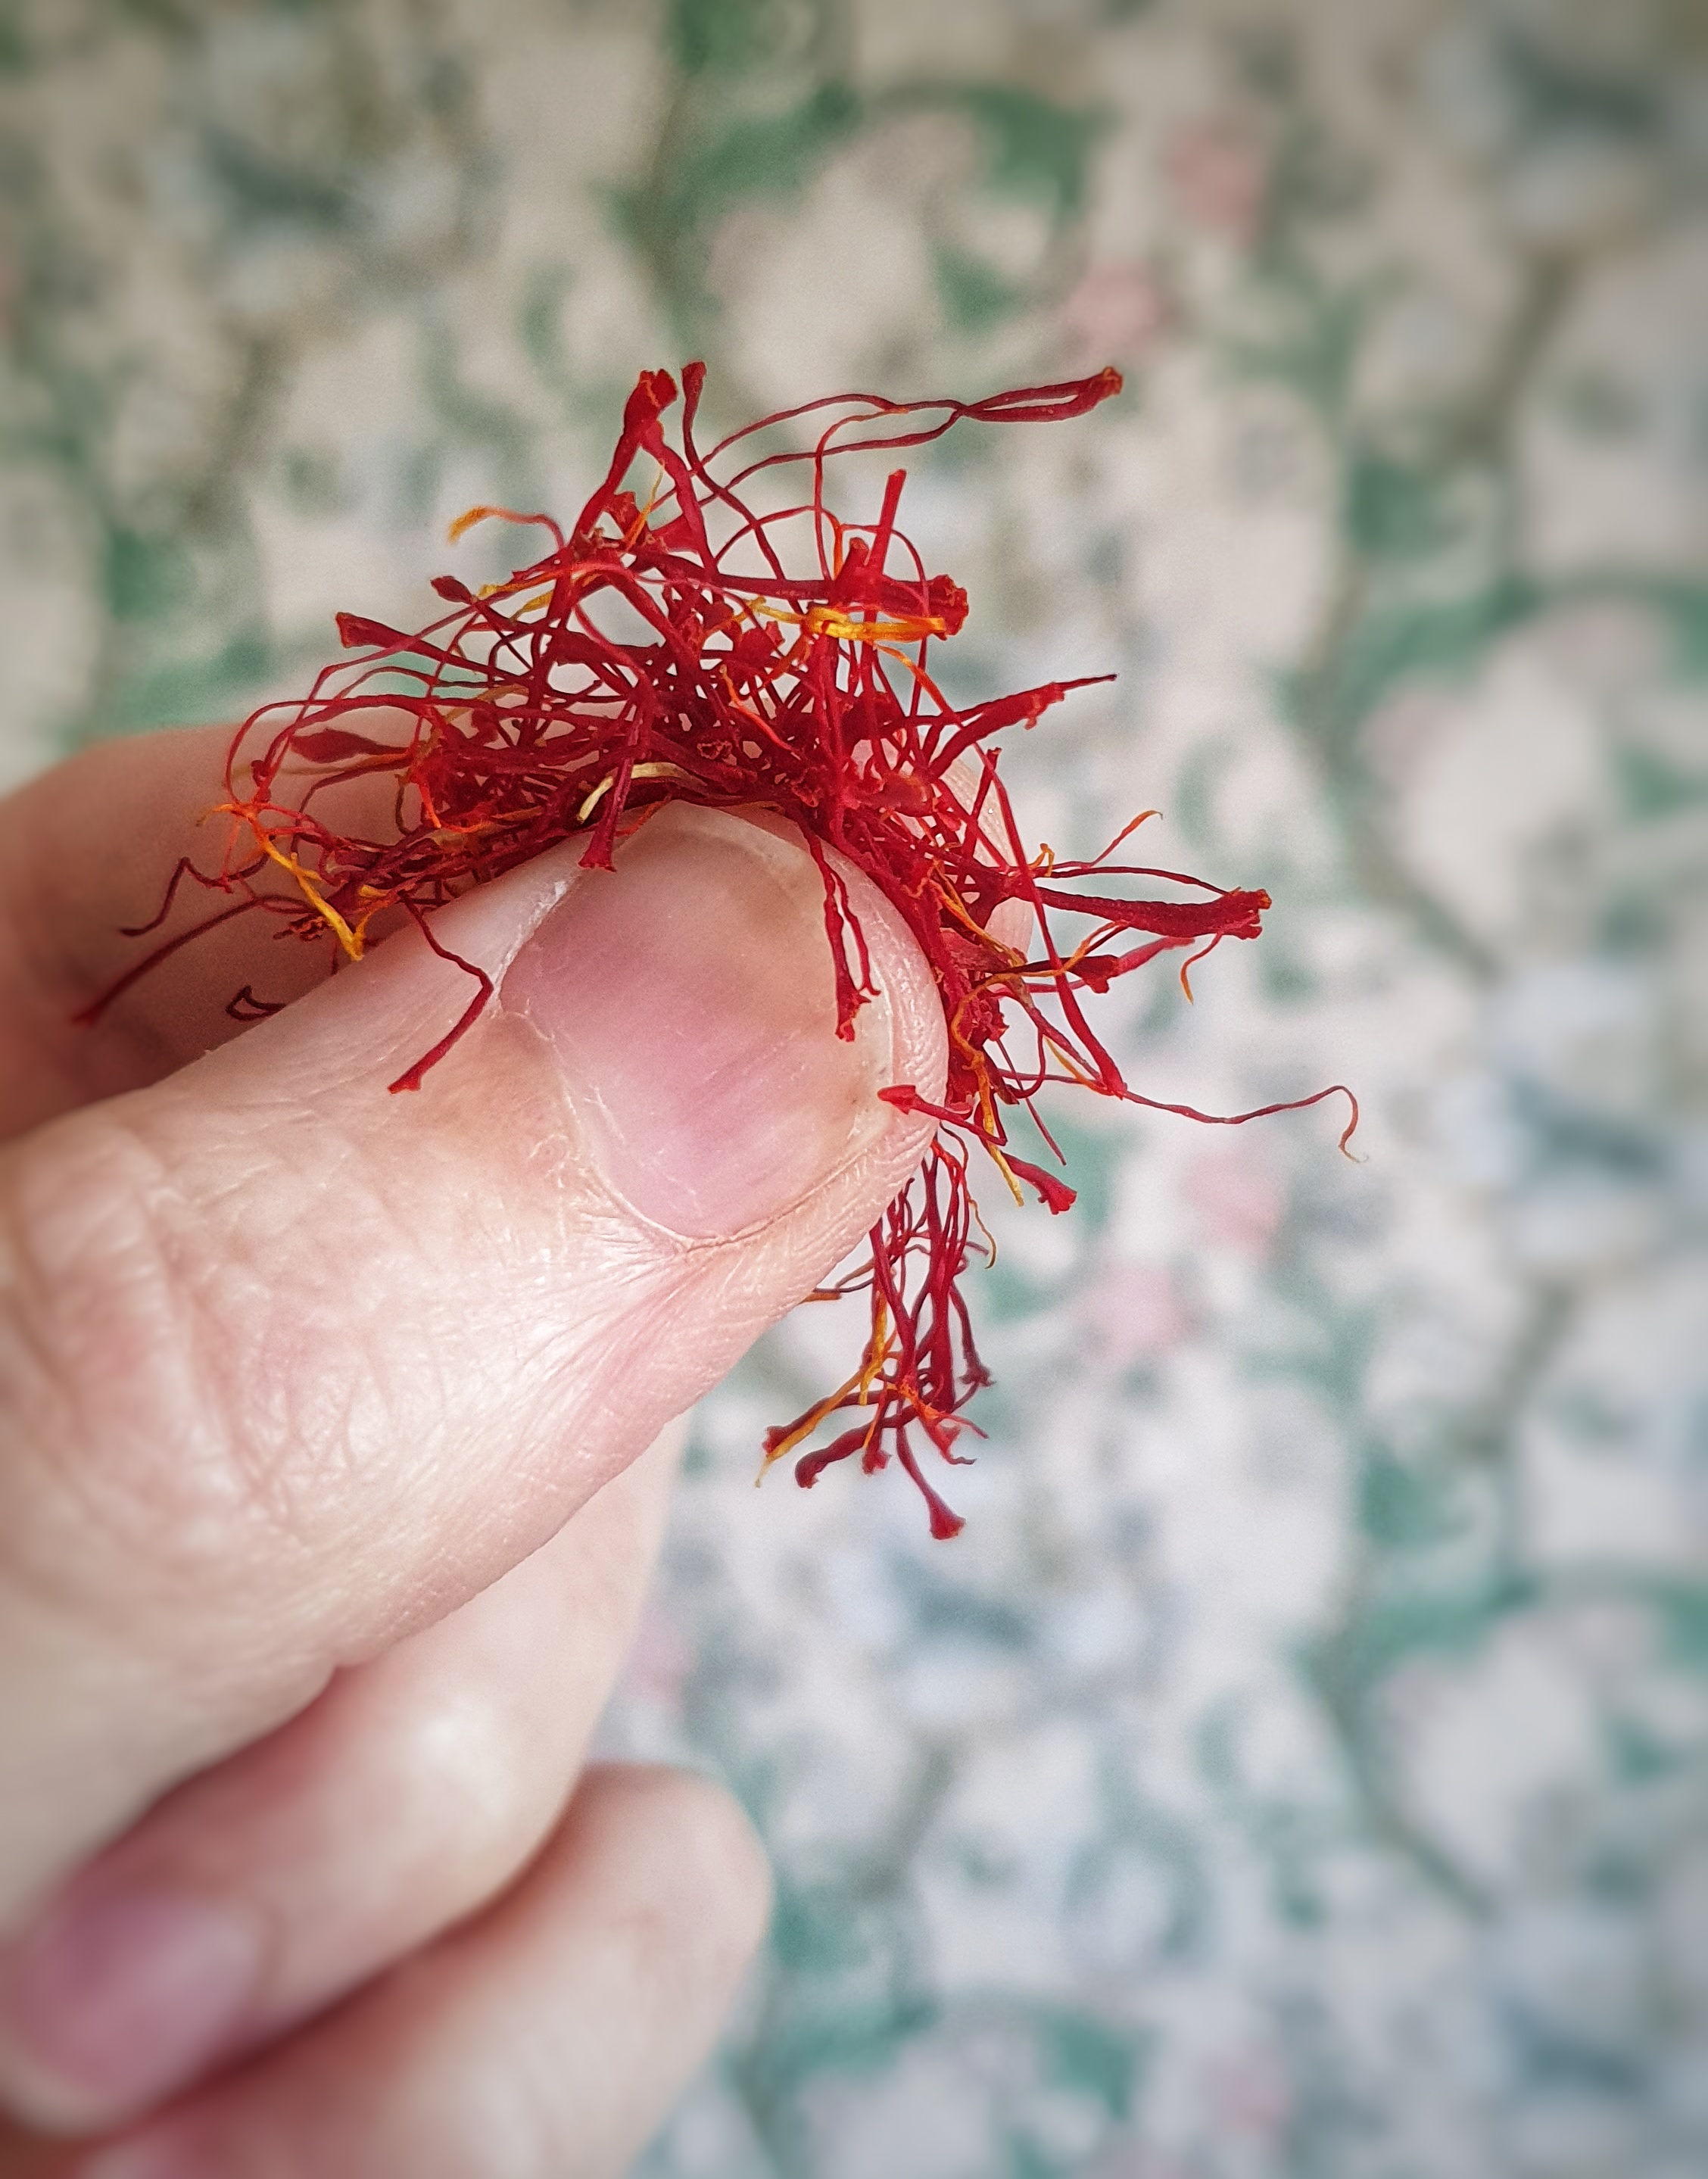
But how much saffron to use? Amounts can vary greatly, and Sam Bilton wrestles with this question: she spotted that Elizabeth David complained about people using too much saffron in their cooking – true, it can taste soapy when over-applied – but then asks for four pinches in her recipe for buns![9] Of course, the answer depends upon a few factors: the quality of your saffron, how long it has been sitting in the spice rack, and how much you enjoy the flavour of saffron. My recipe uses ‘a good 2-finger pinch’.
If you want to know more about the history of saffron in Britain, have a listen to this episode of The British Food History Podcast with guest Sam Bilton:
If you like the blogs and podcast I produce and would to start a £3 monthly subscription, or would like to treat me to virtual coffee or pint: follow this link for more information. Thank you.
Recipe
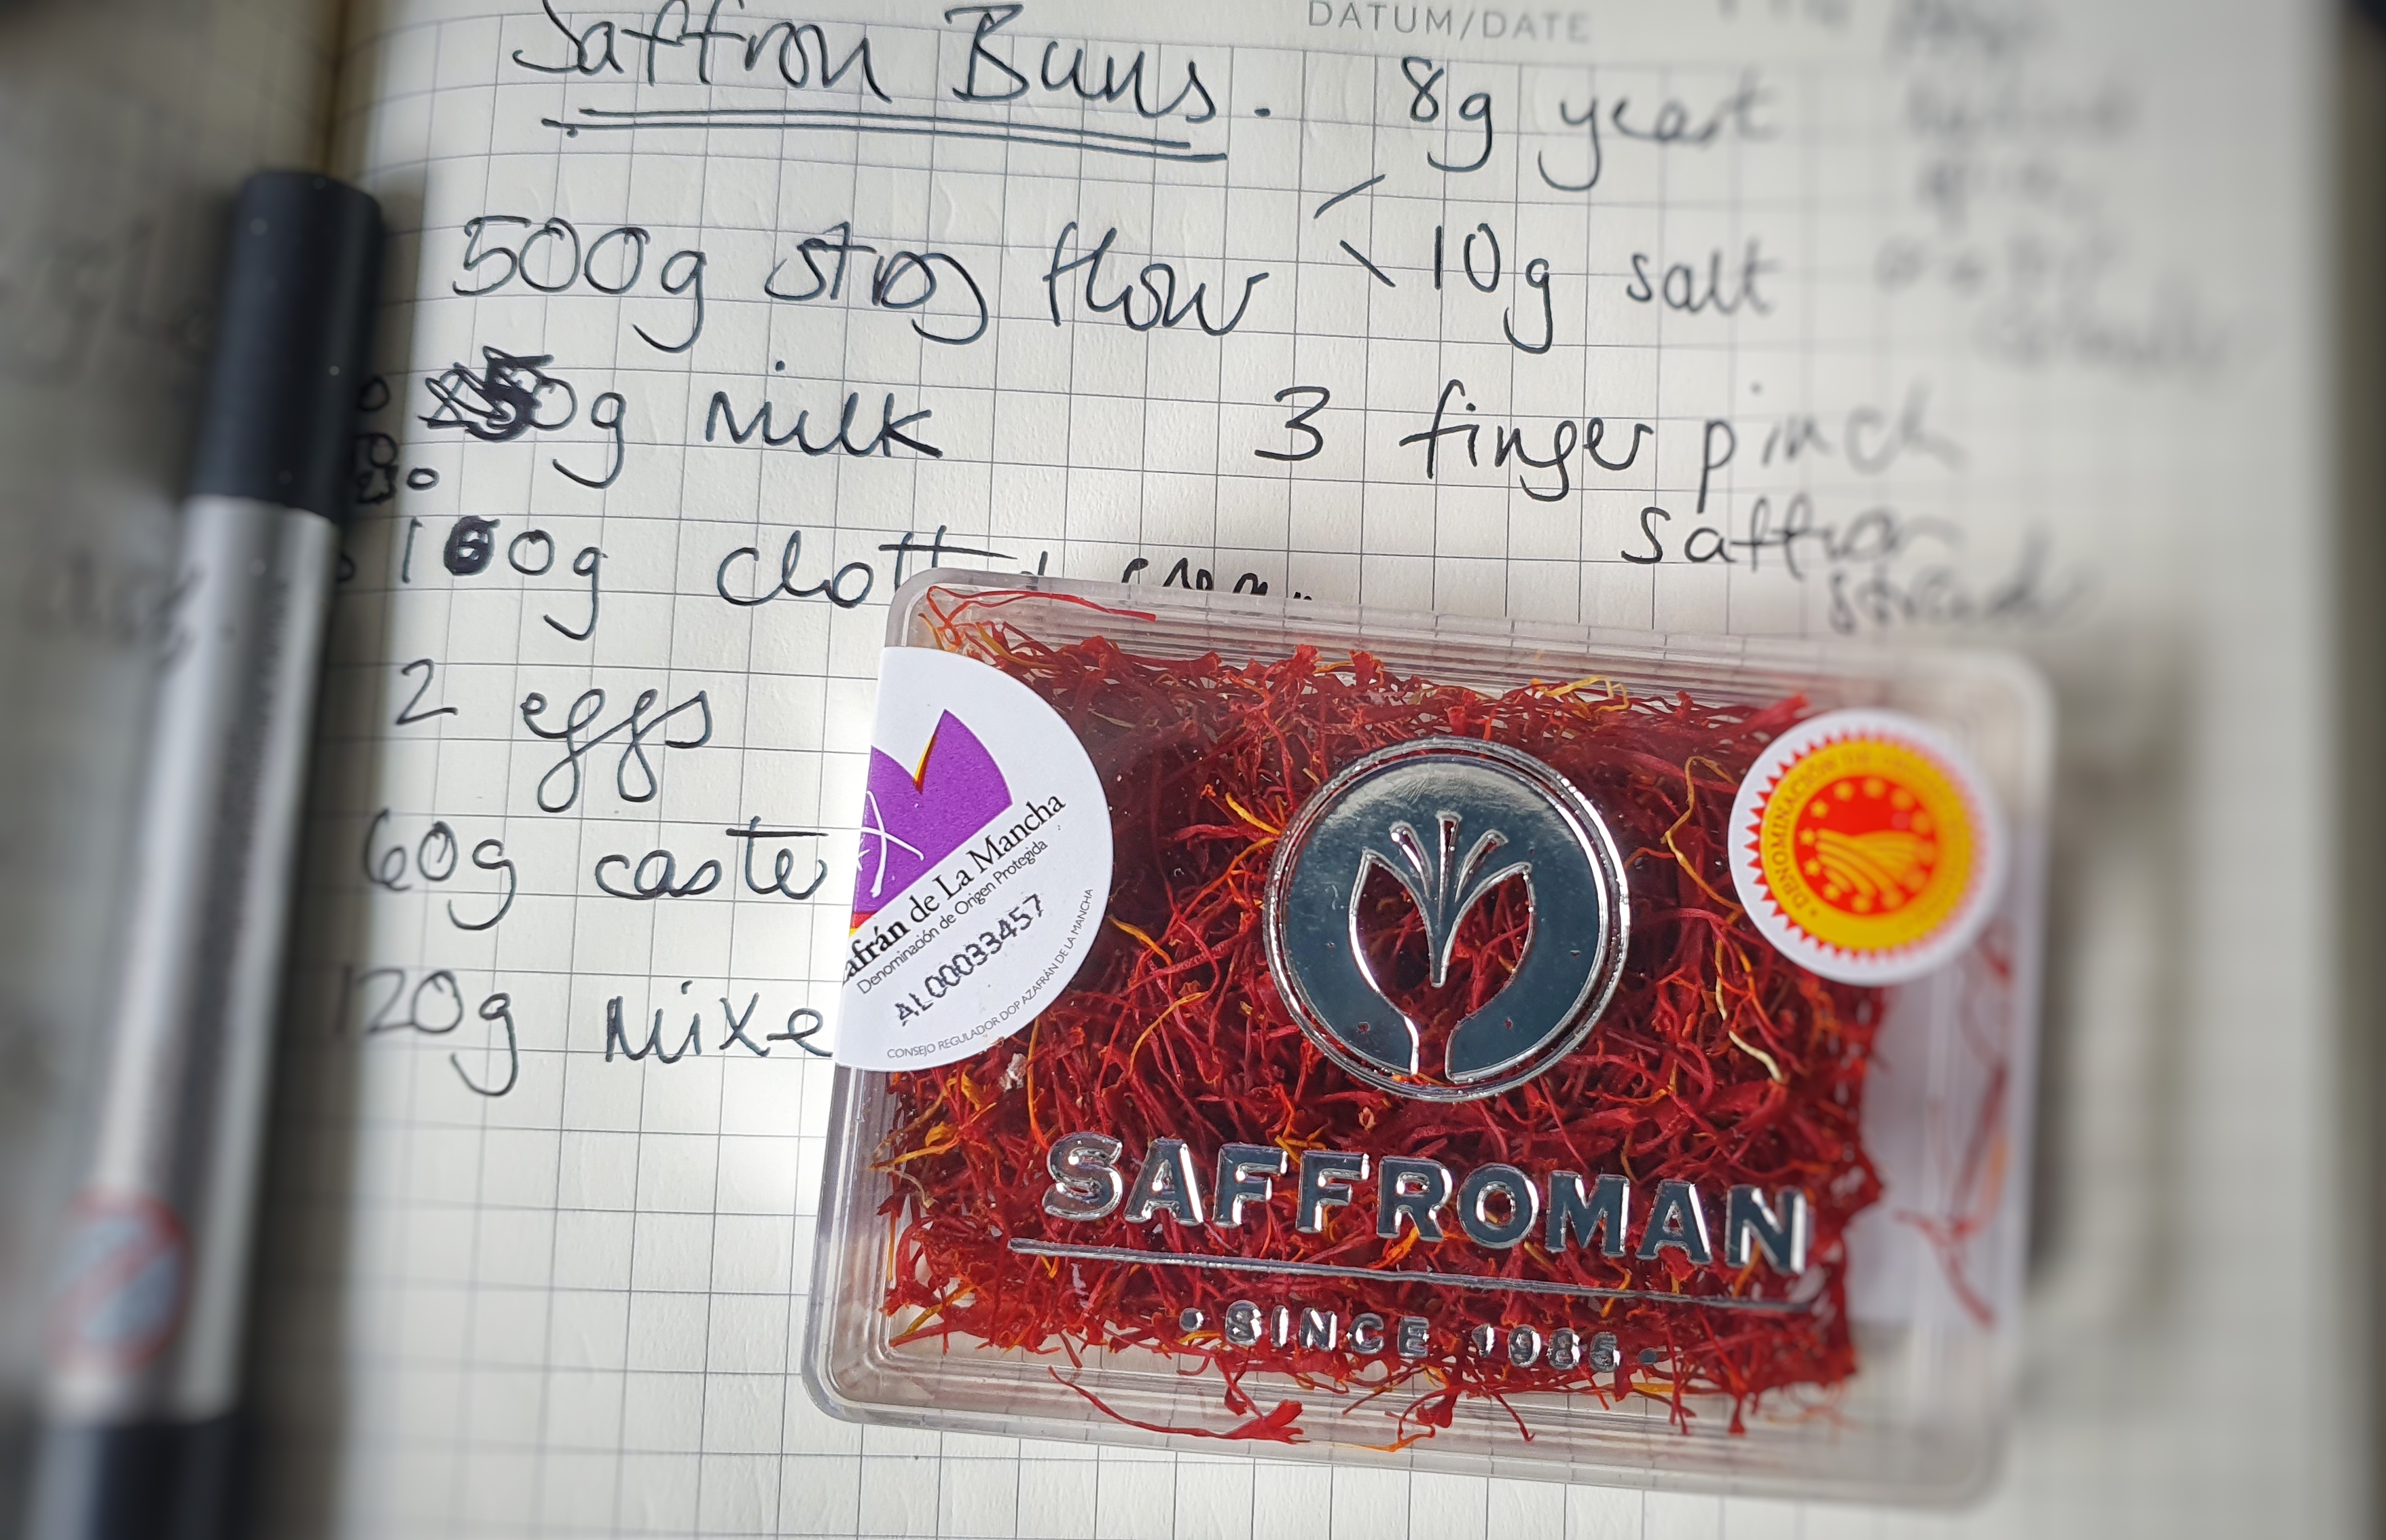
Makes 12 buns.
230 ml full-fat milk, plus extra for brushing.
A good 2-finger pinch of saffron
500 g strong white bread flour, plus extra for rolling
1 tsp/8 g instant yeast
1 tsp/10 g salt
¾ tsp mixed spice or 1½ tsp ground coriander seed
60 g caster sugar
2 eggs, beaten
120 g clotted cream
A little flavourless oil for proving
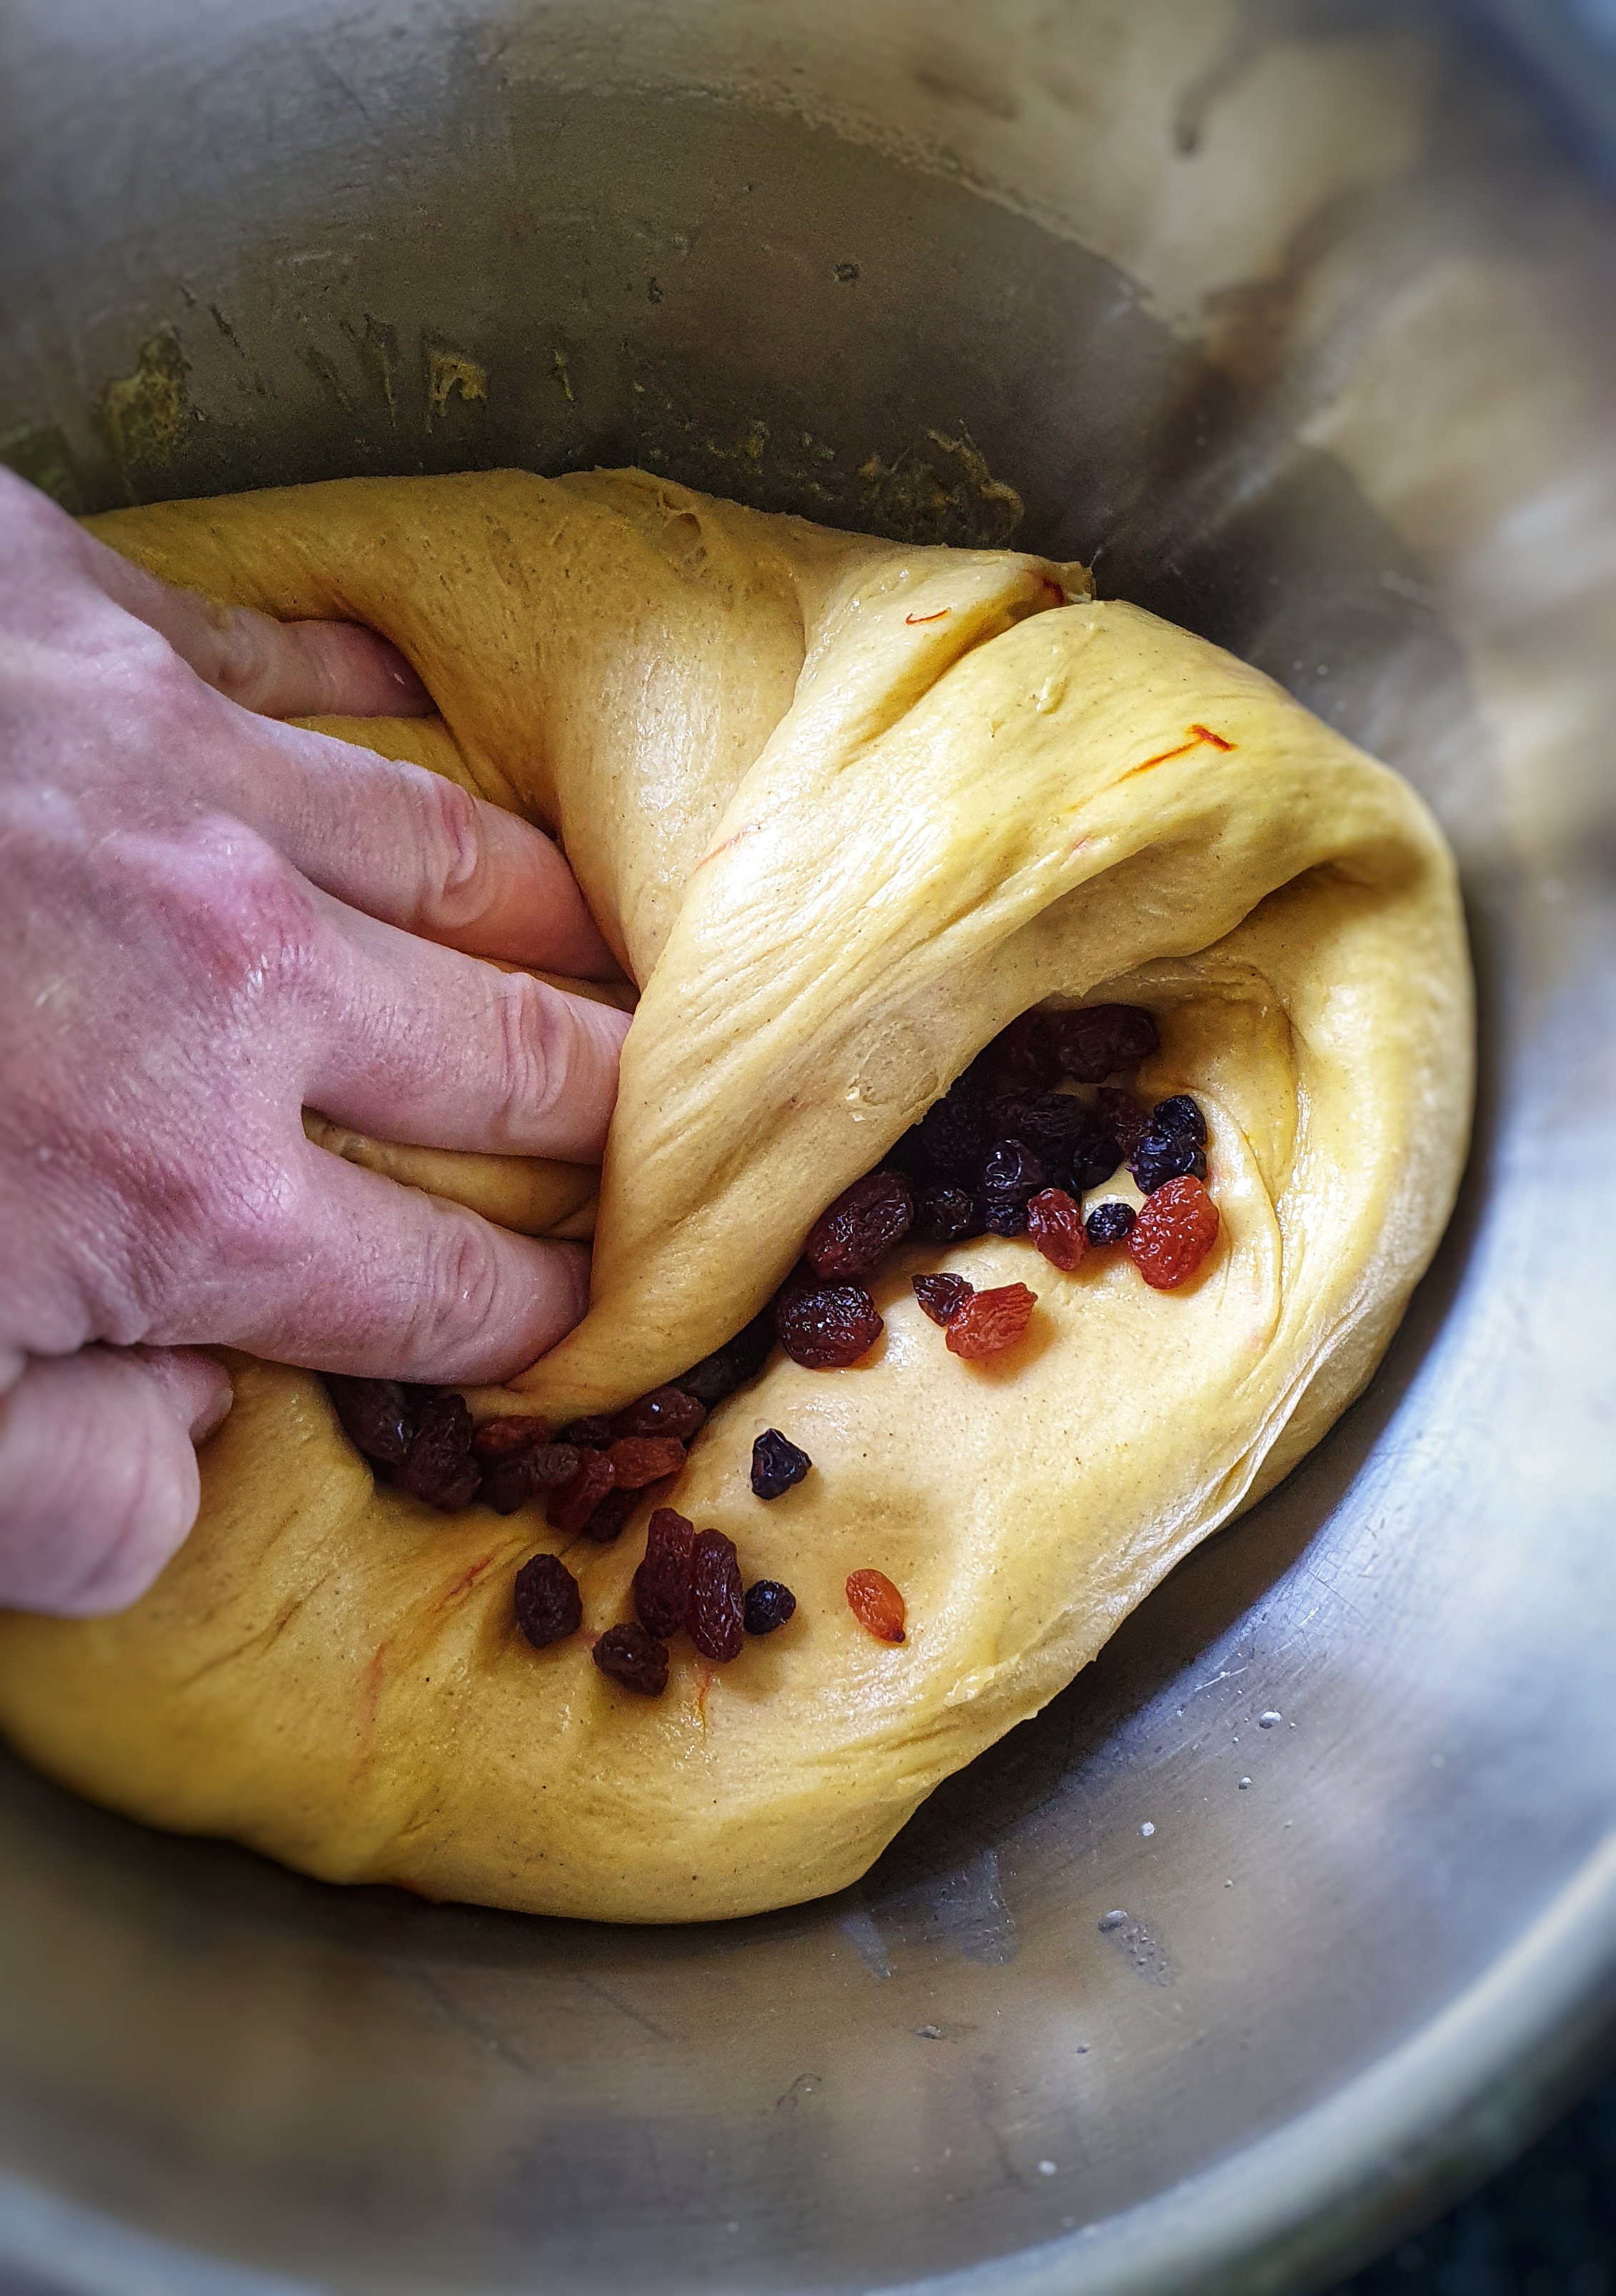
120 g mixed dried fruit (currants, raisins and sultanas)
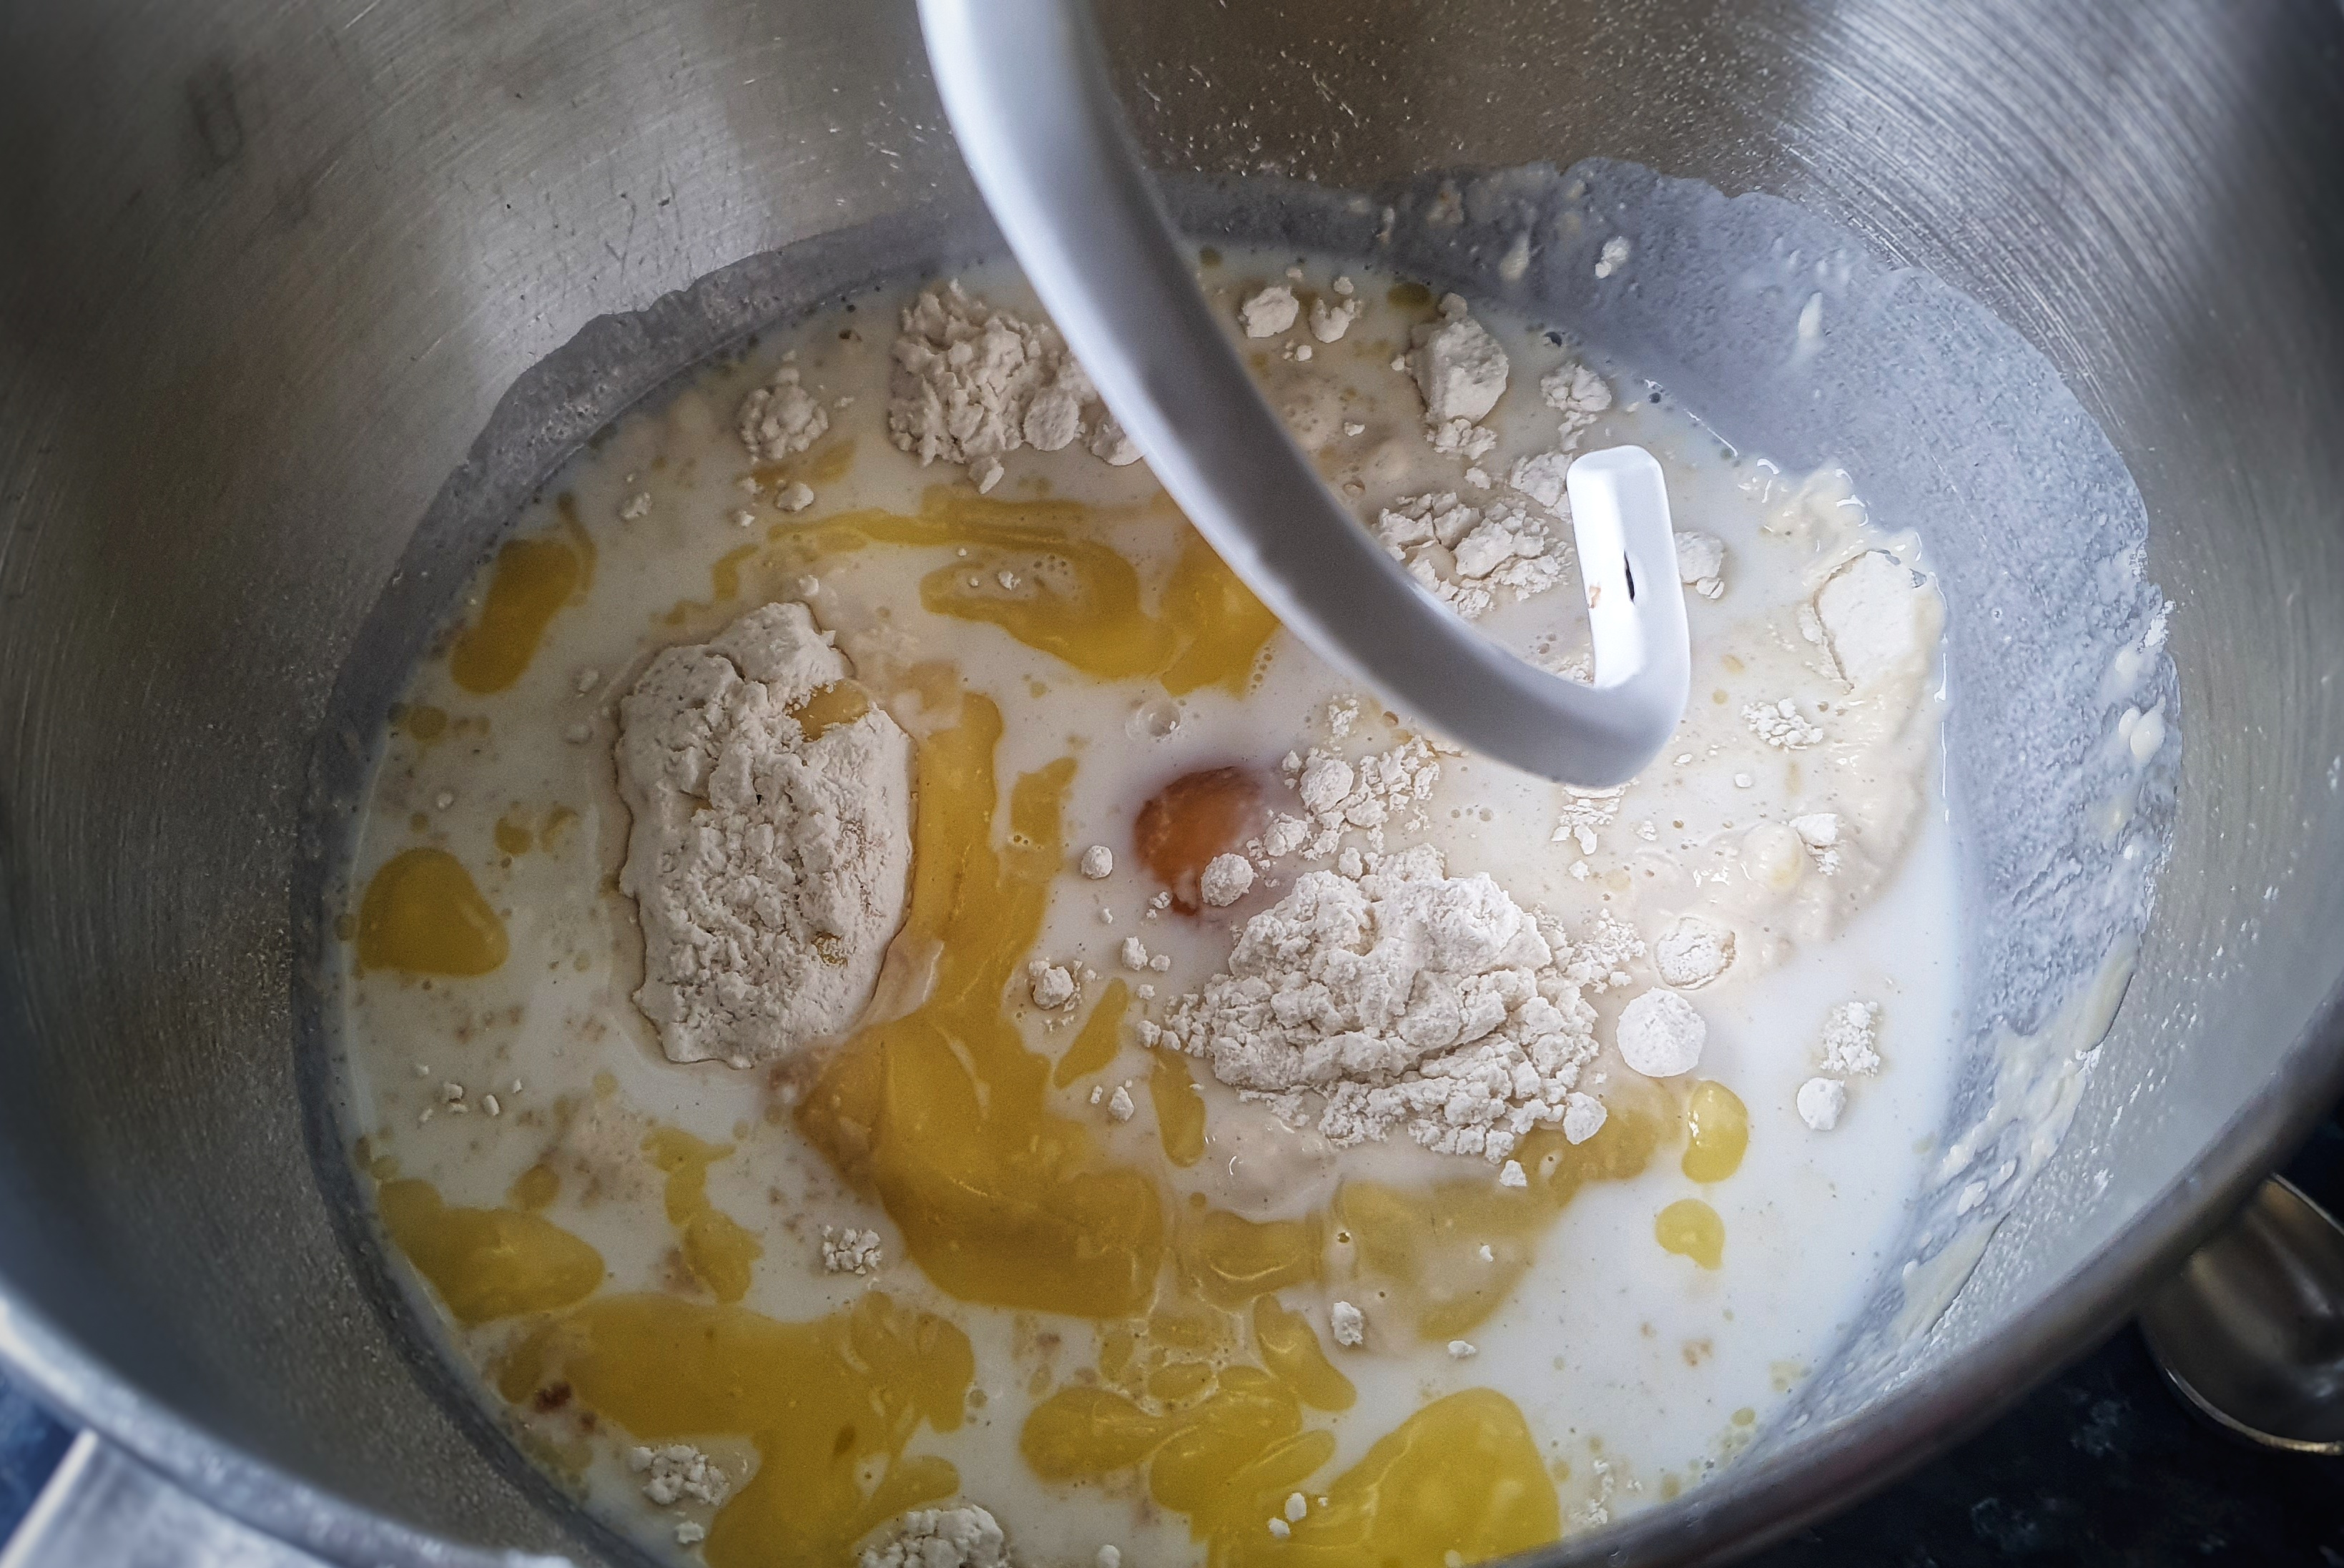
Pour the milk into a small saucepan and bring to scalding point. Check to see if a skin has formed on the milk’s surface, if so, remove it before adding the saffron.[10] Whisk in the saffron strands and let the milk cool to ‘blood heat’ (about 40°C).
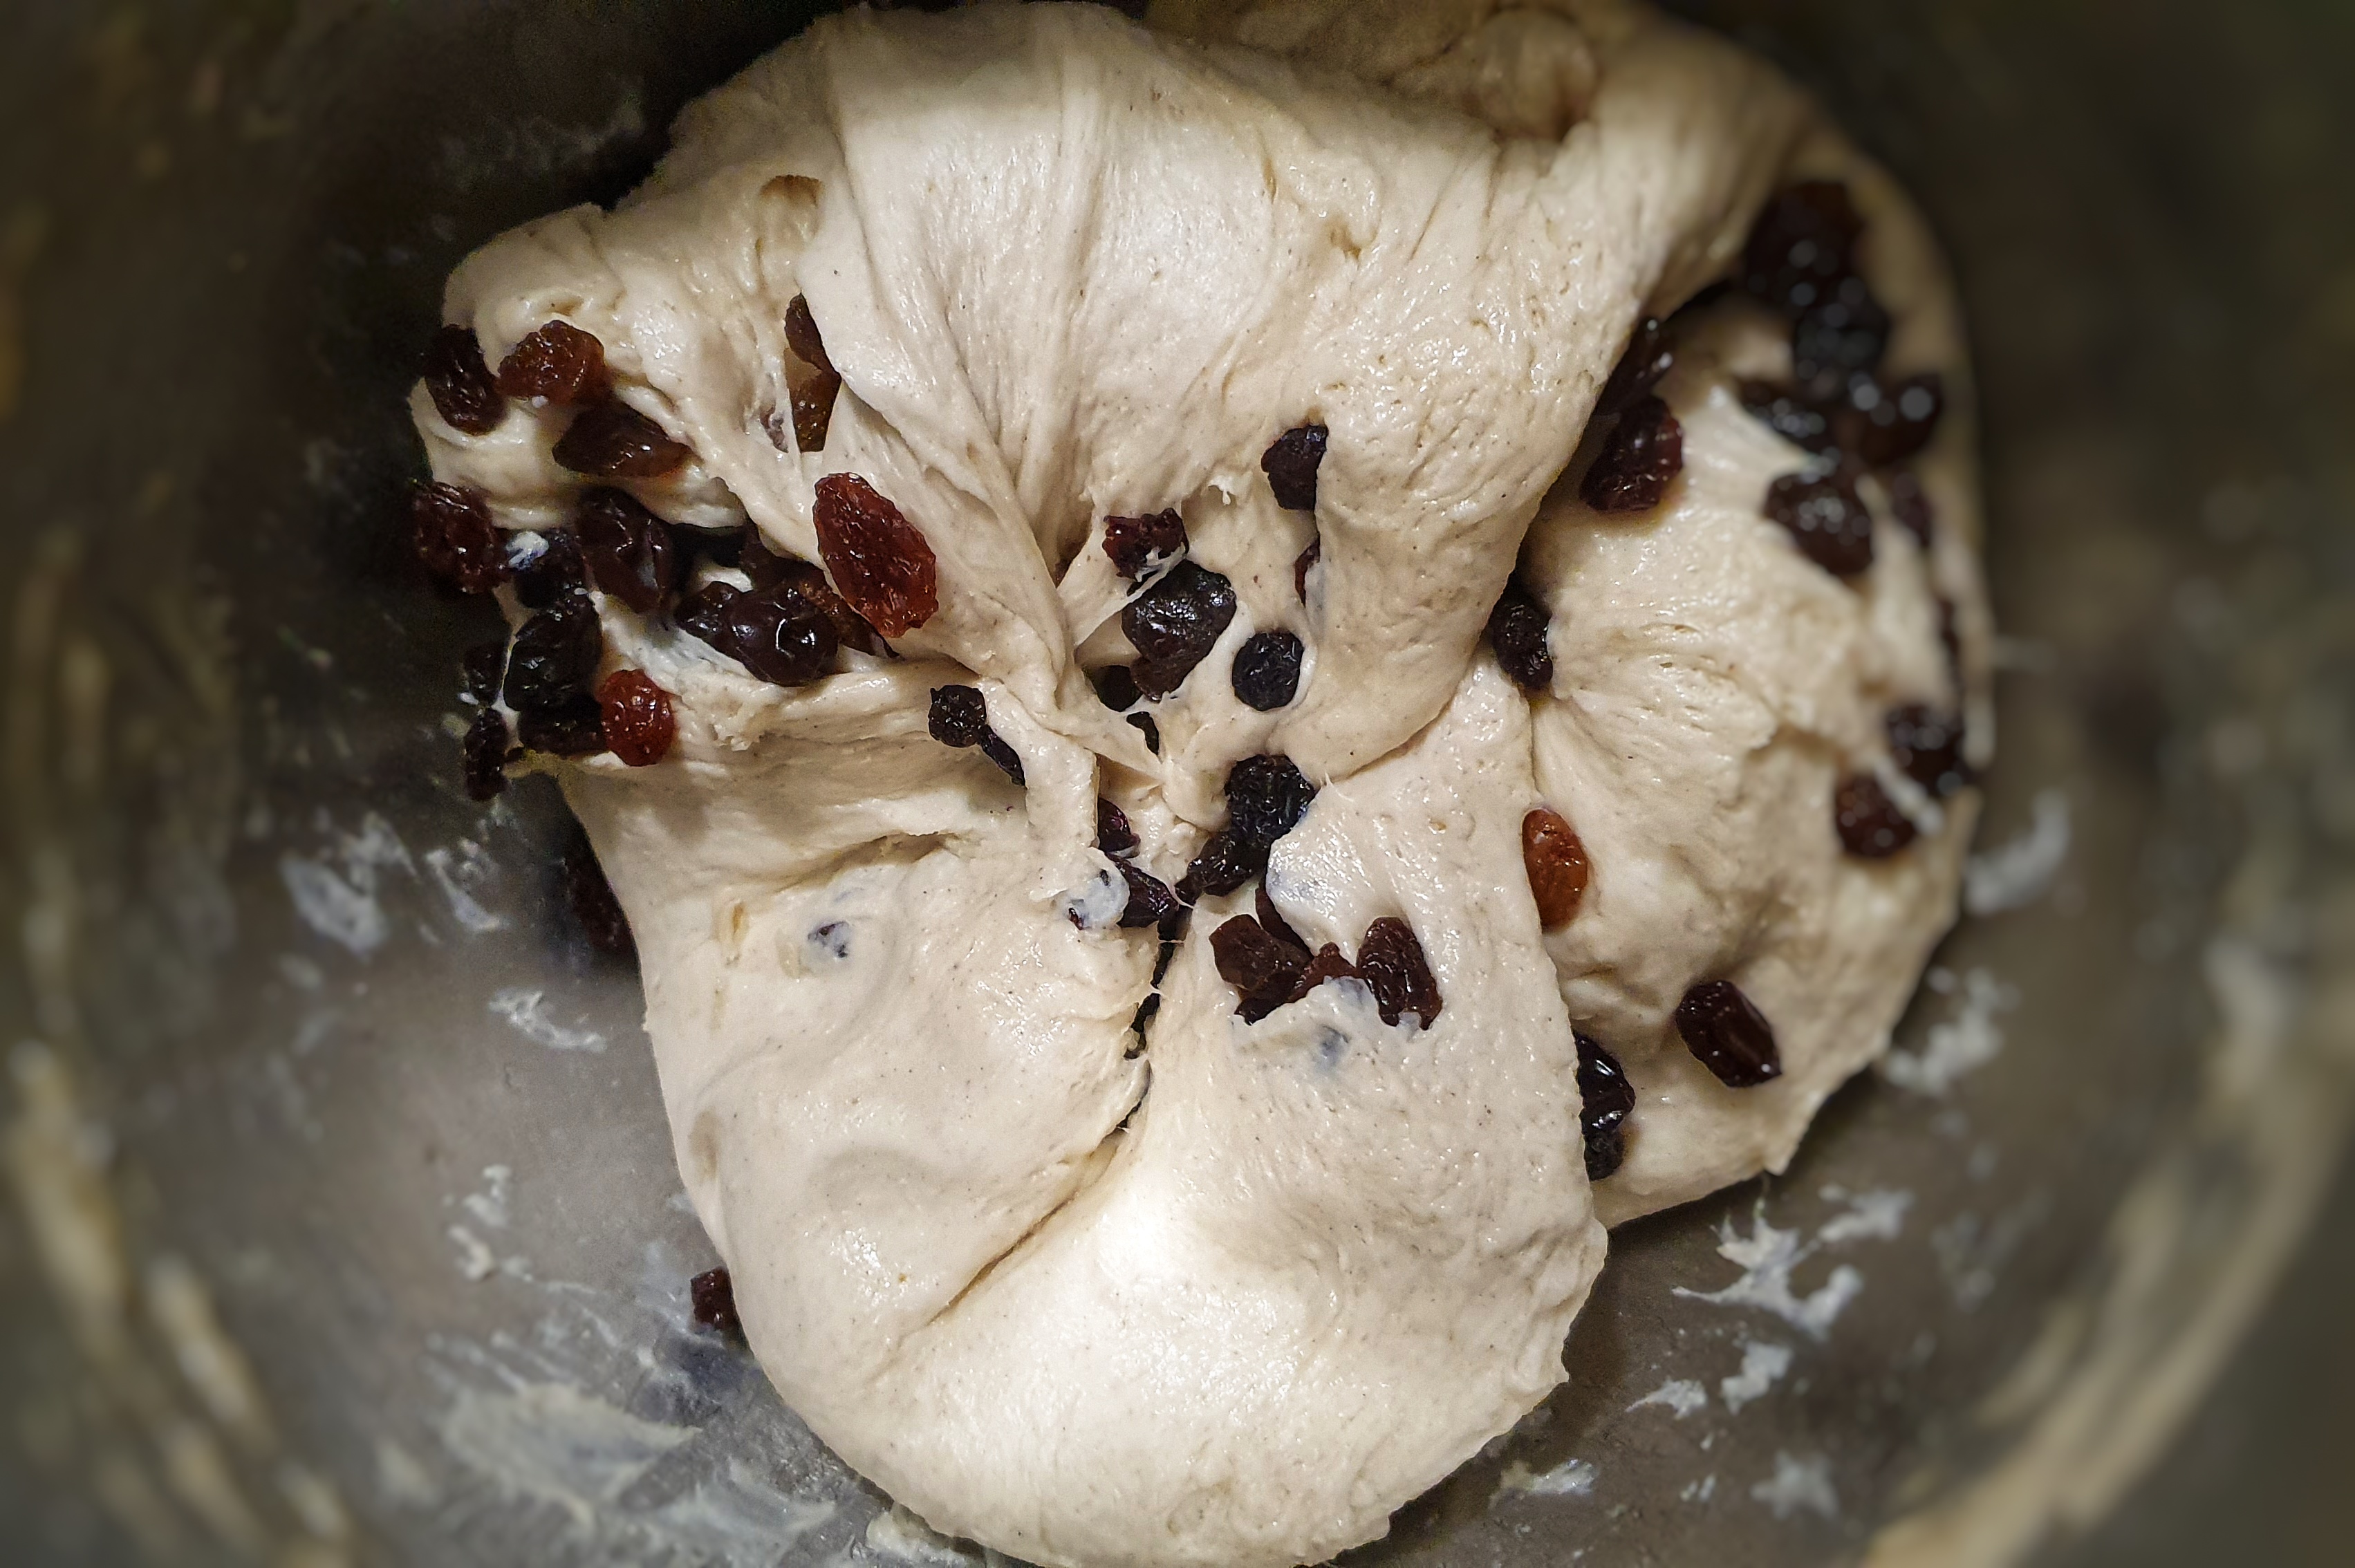
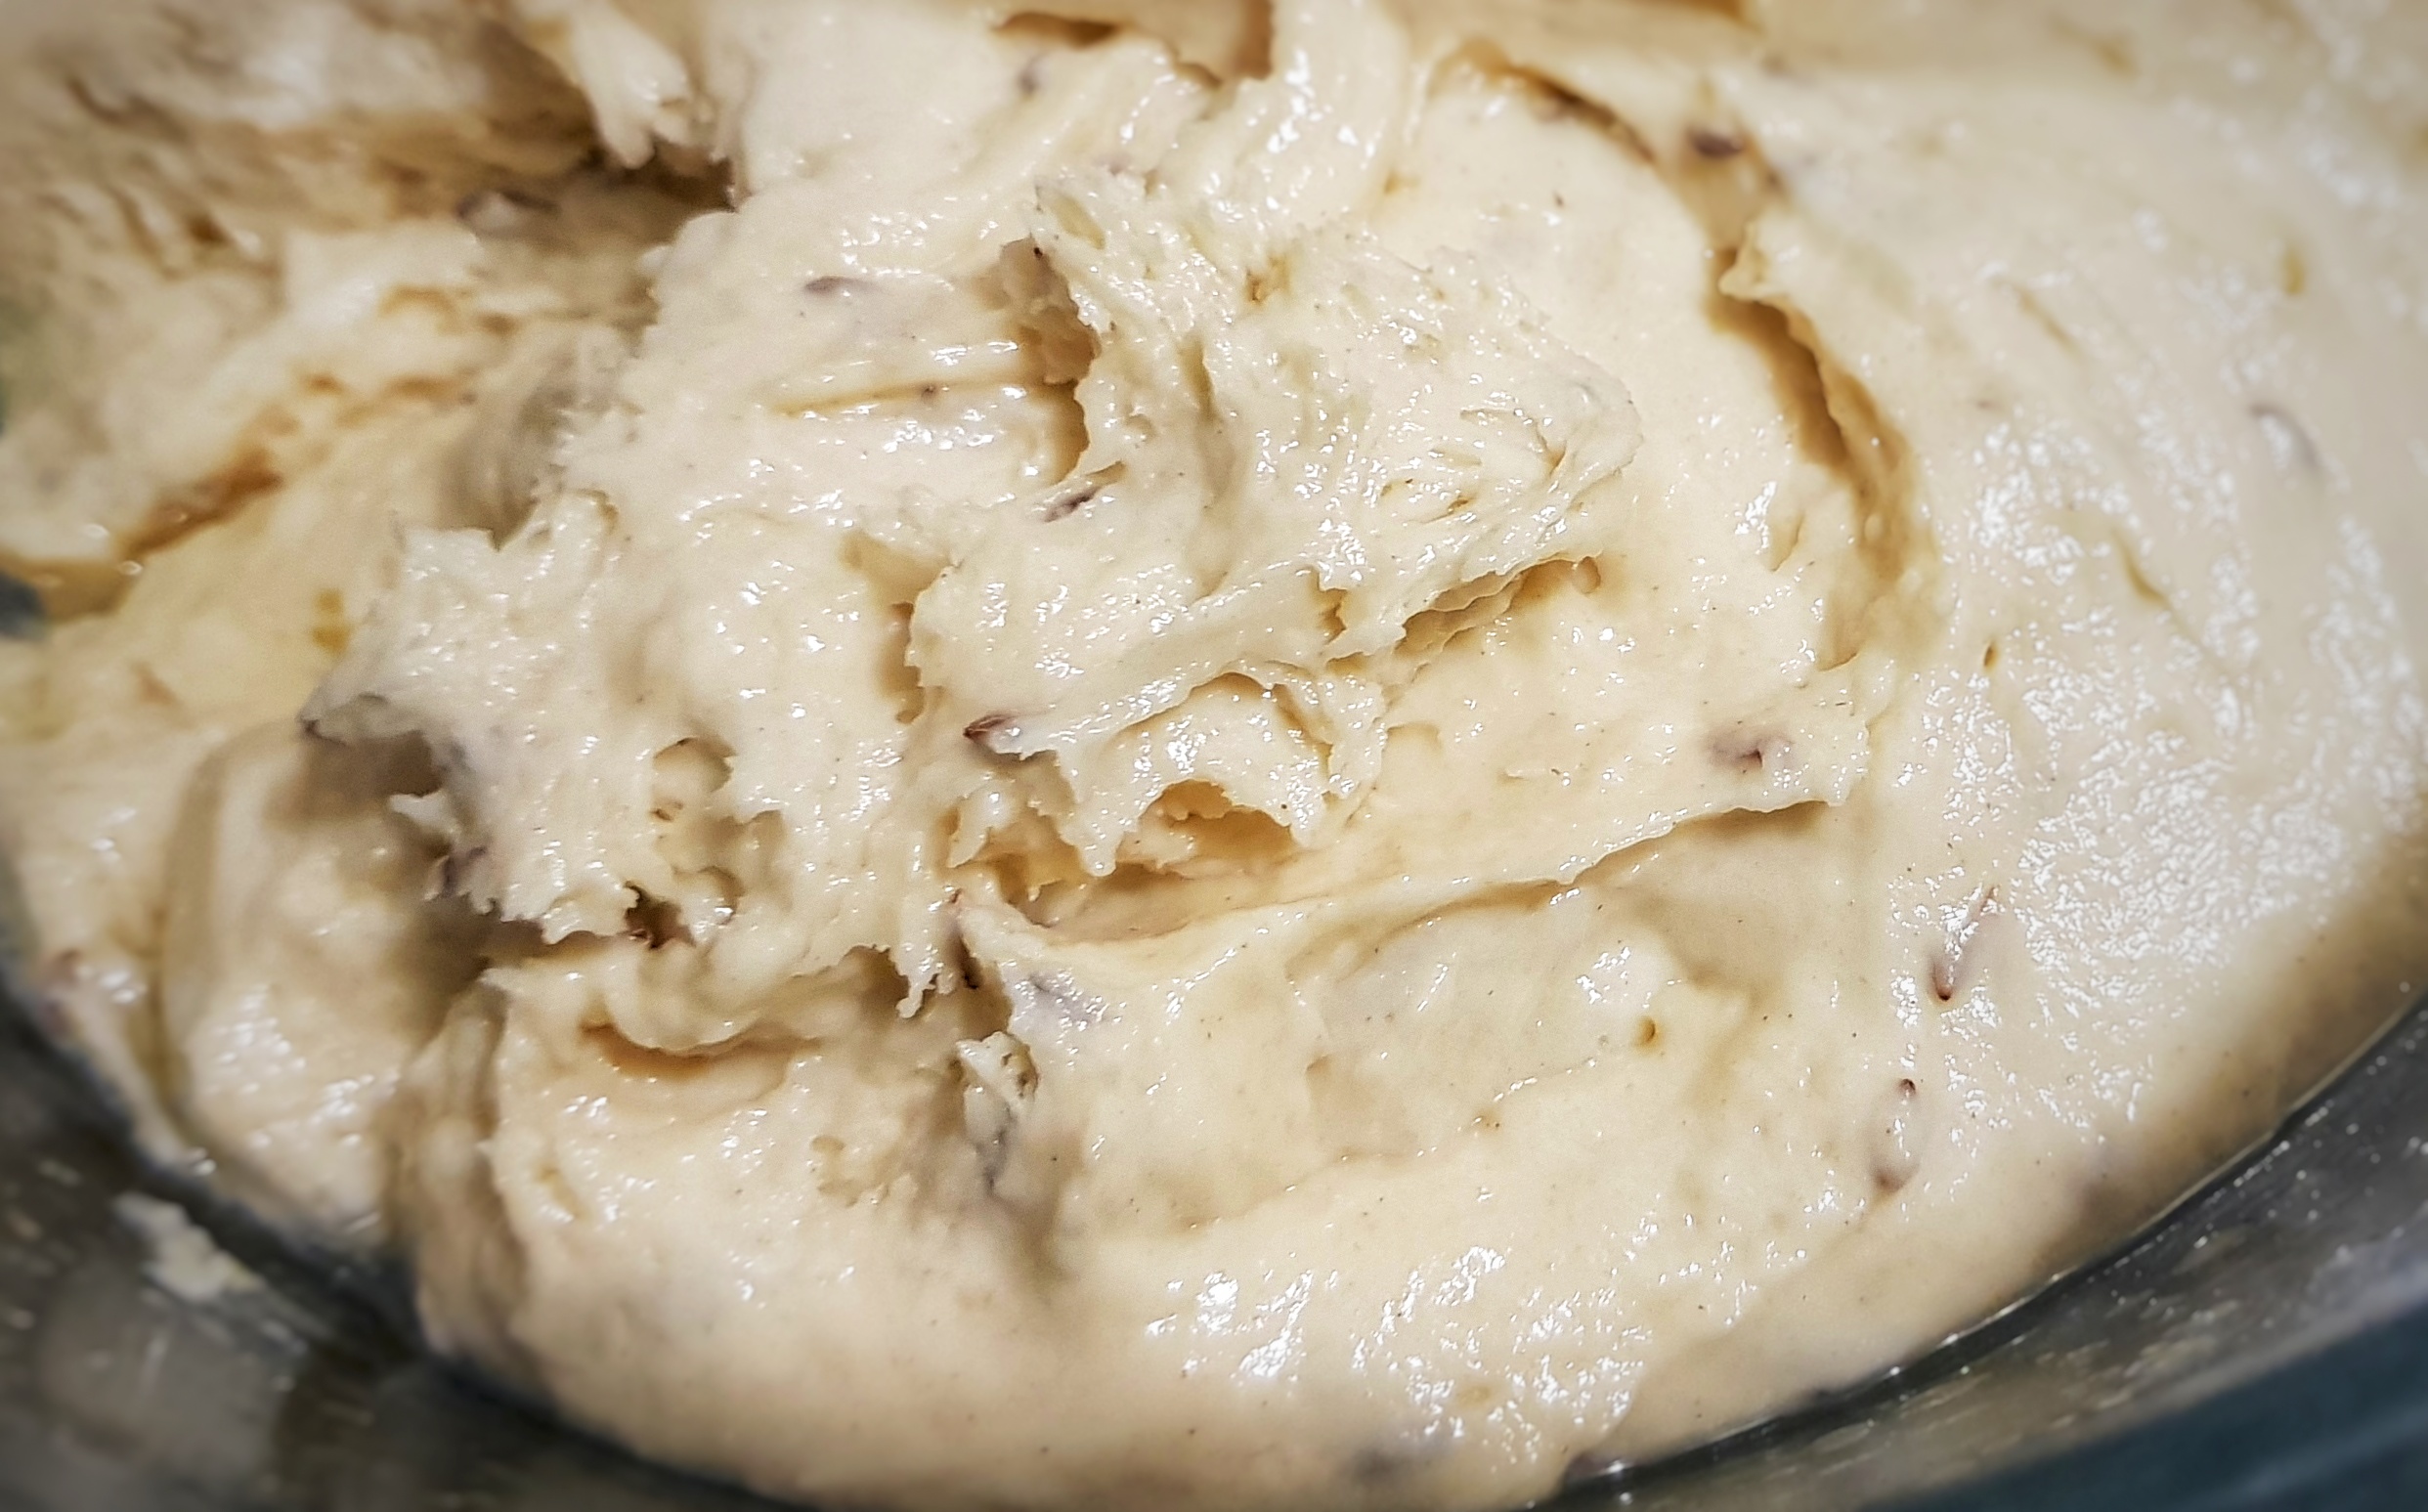
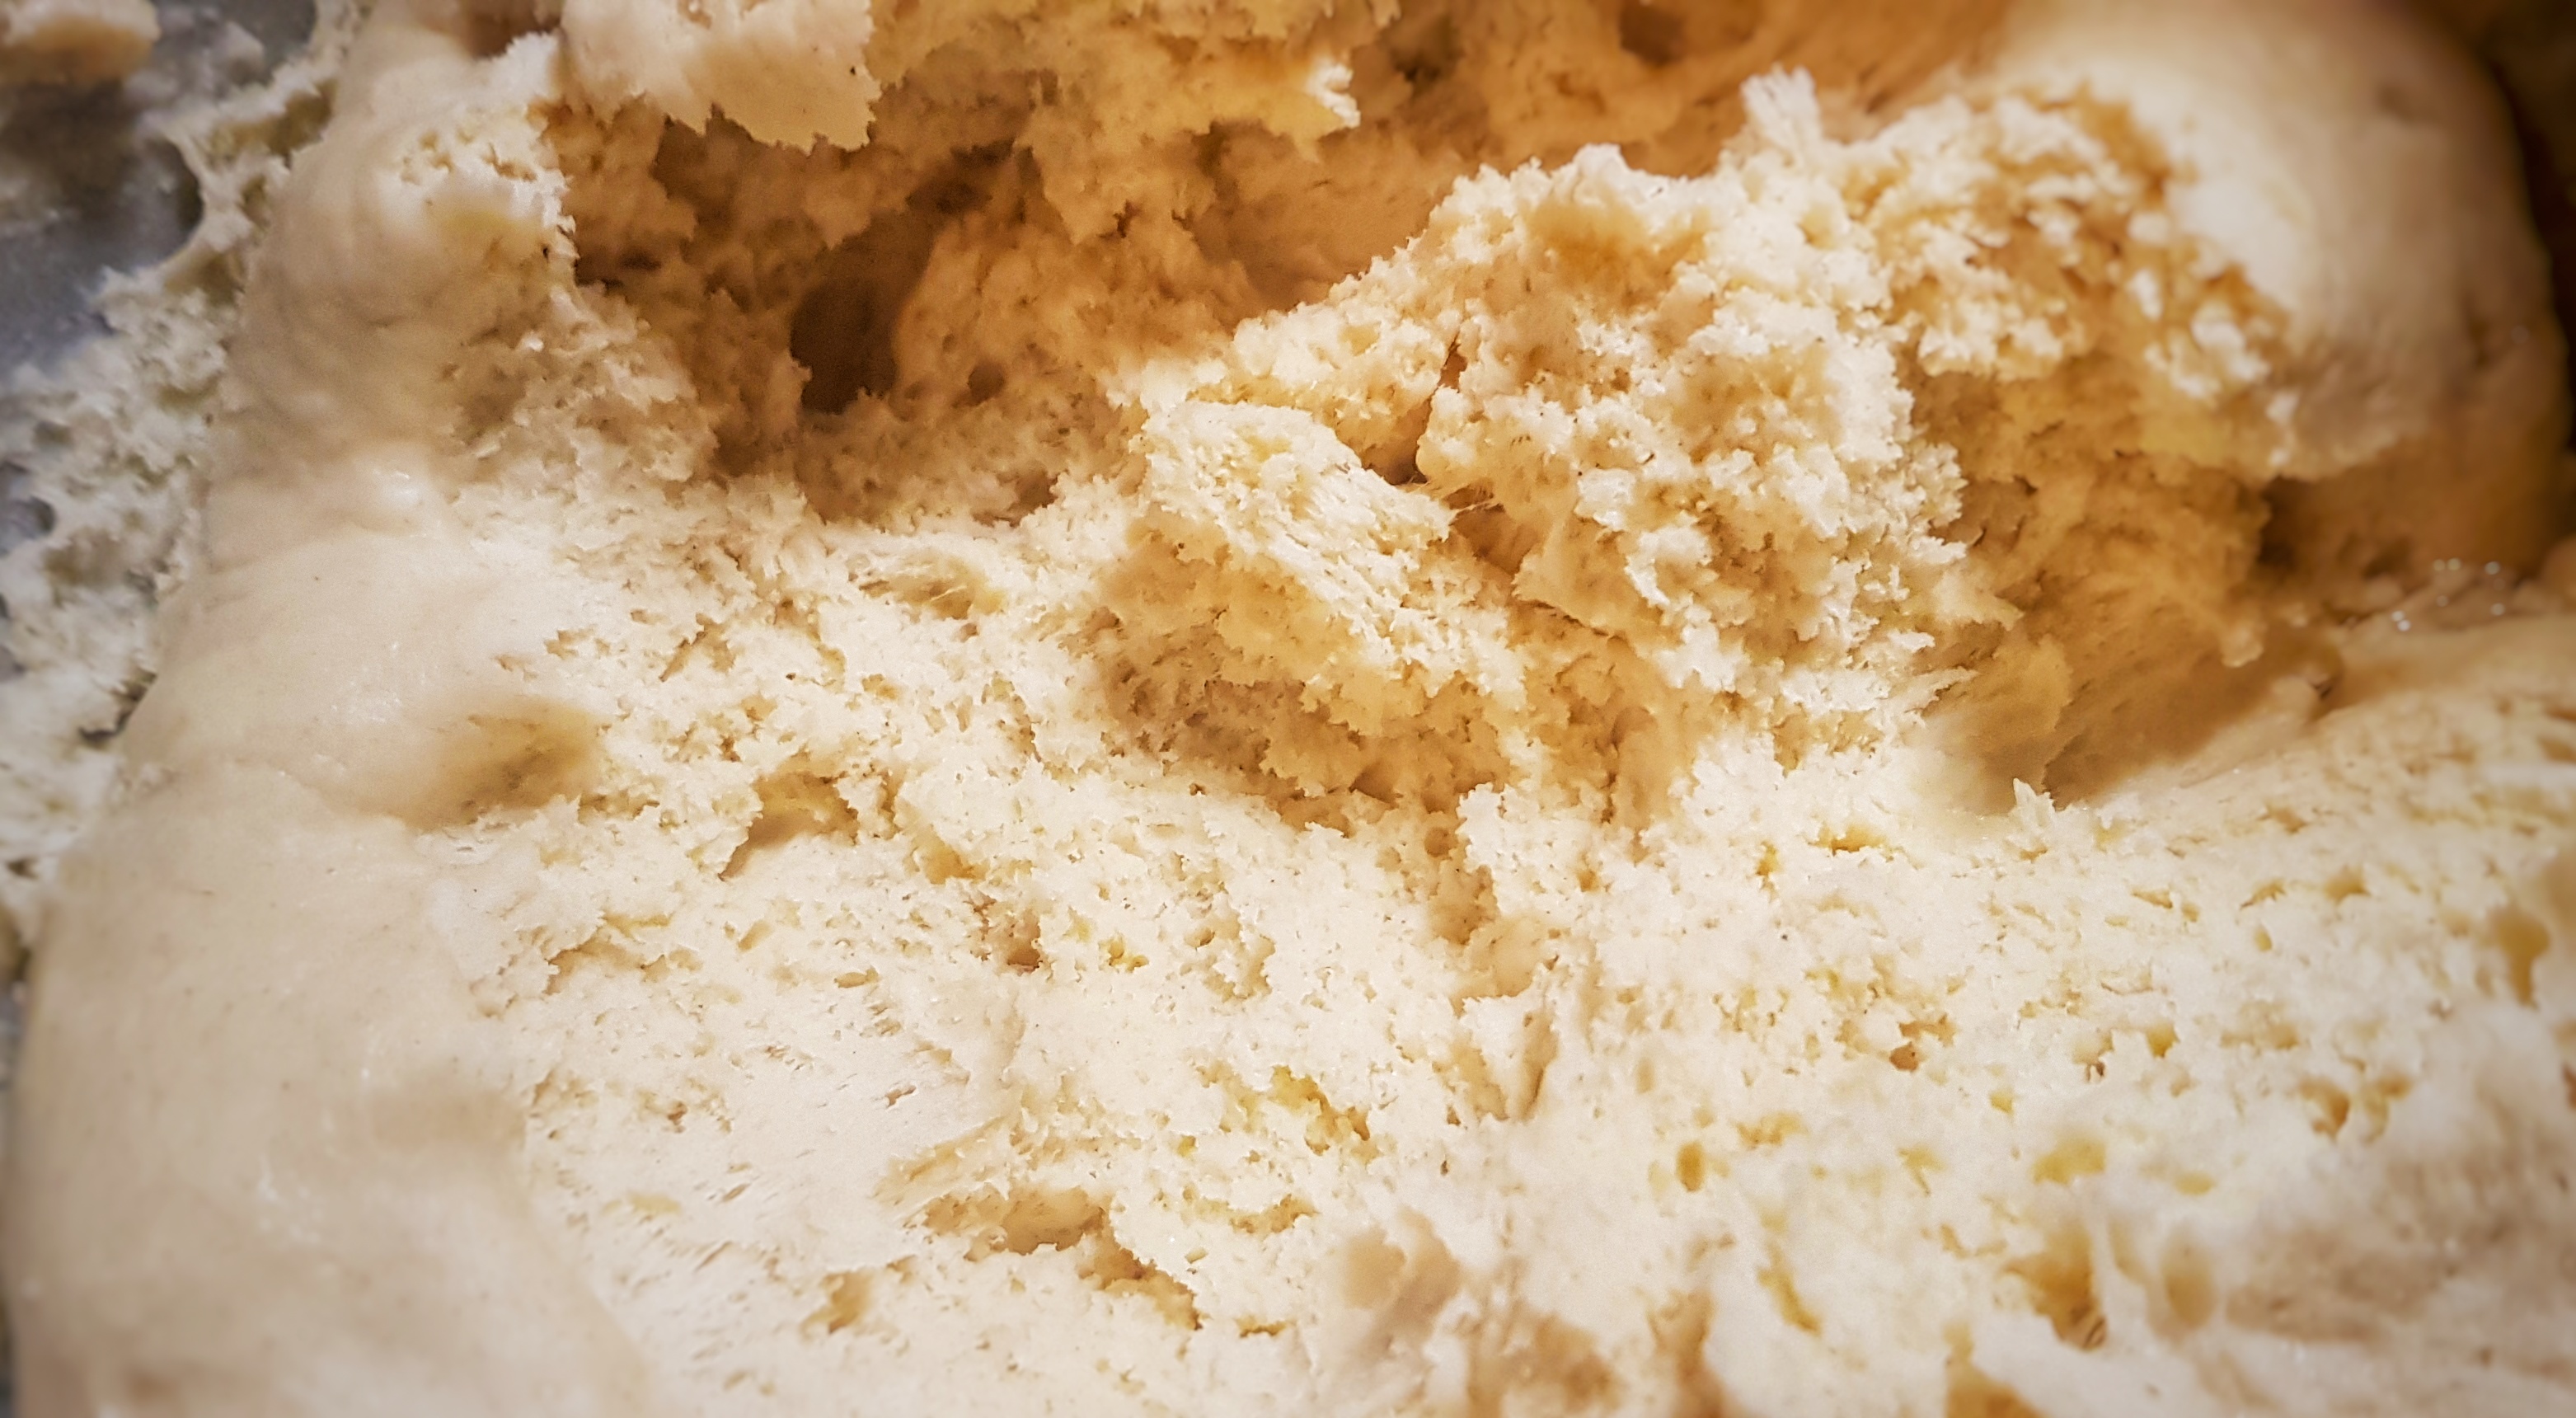
Mix the flour, yeast, salt, spice/s and sugar in the bowl of a tabletop mixer, make a well in the centre and add the eggs, clotted cream and saffron-infused milk. Attach a kneading hook, mix to combine on a slow speed and then turn up the speed a couple of notches and knead for around 6 minutes, until the mixture is smooth and elastic – it will still be a little sticky.

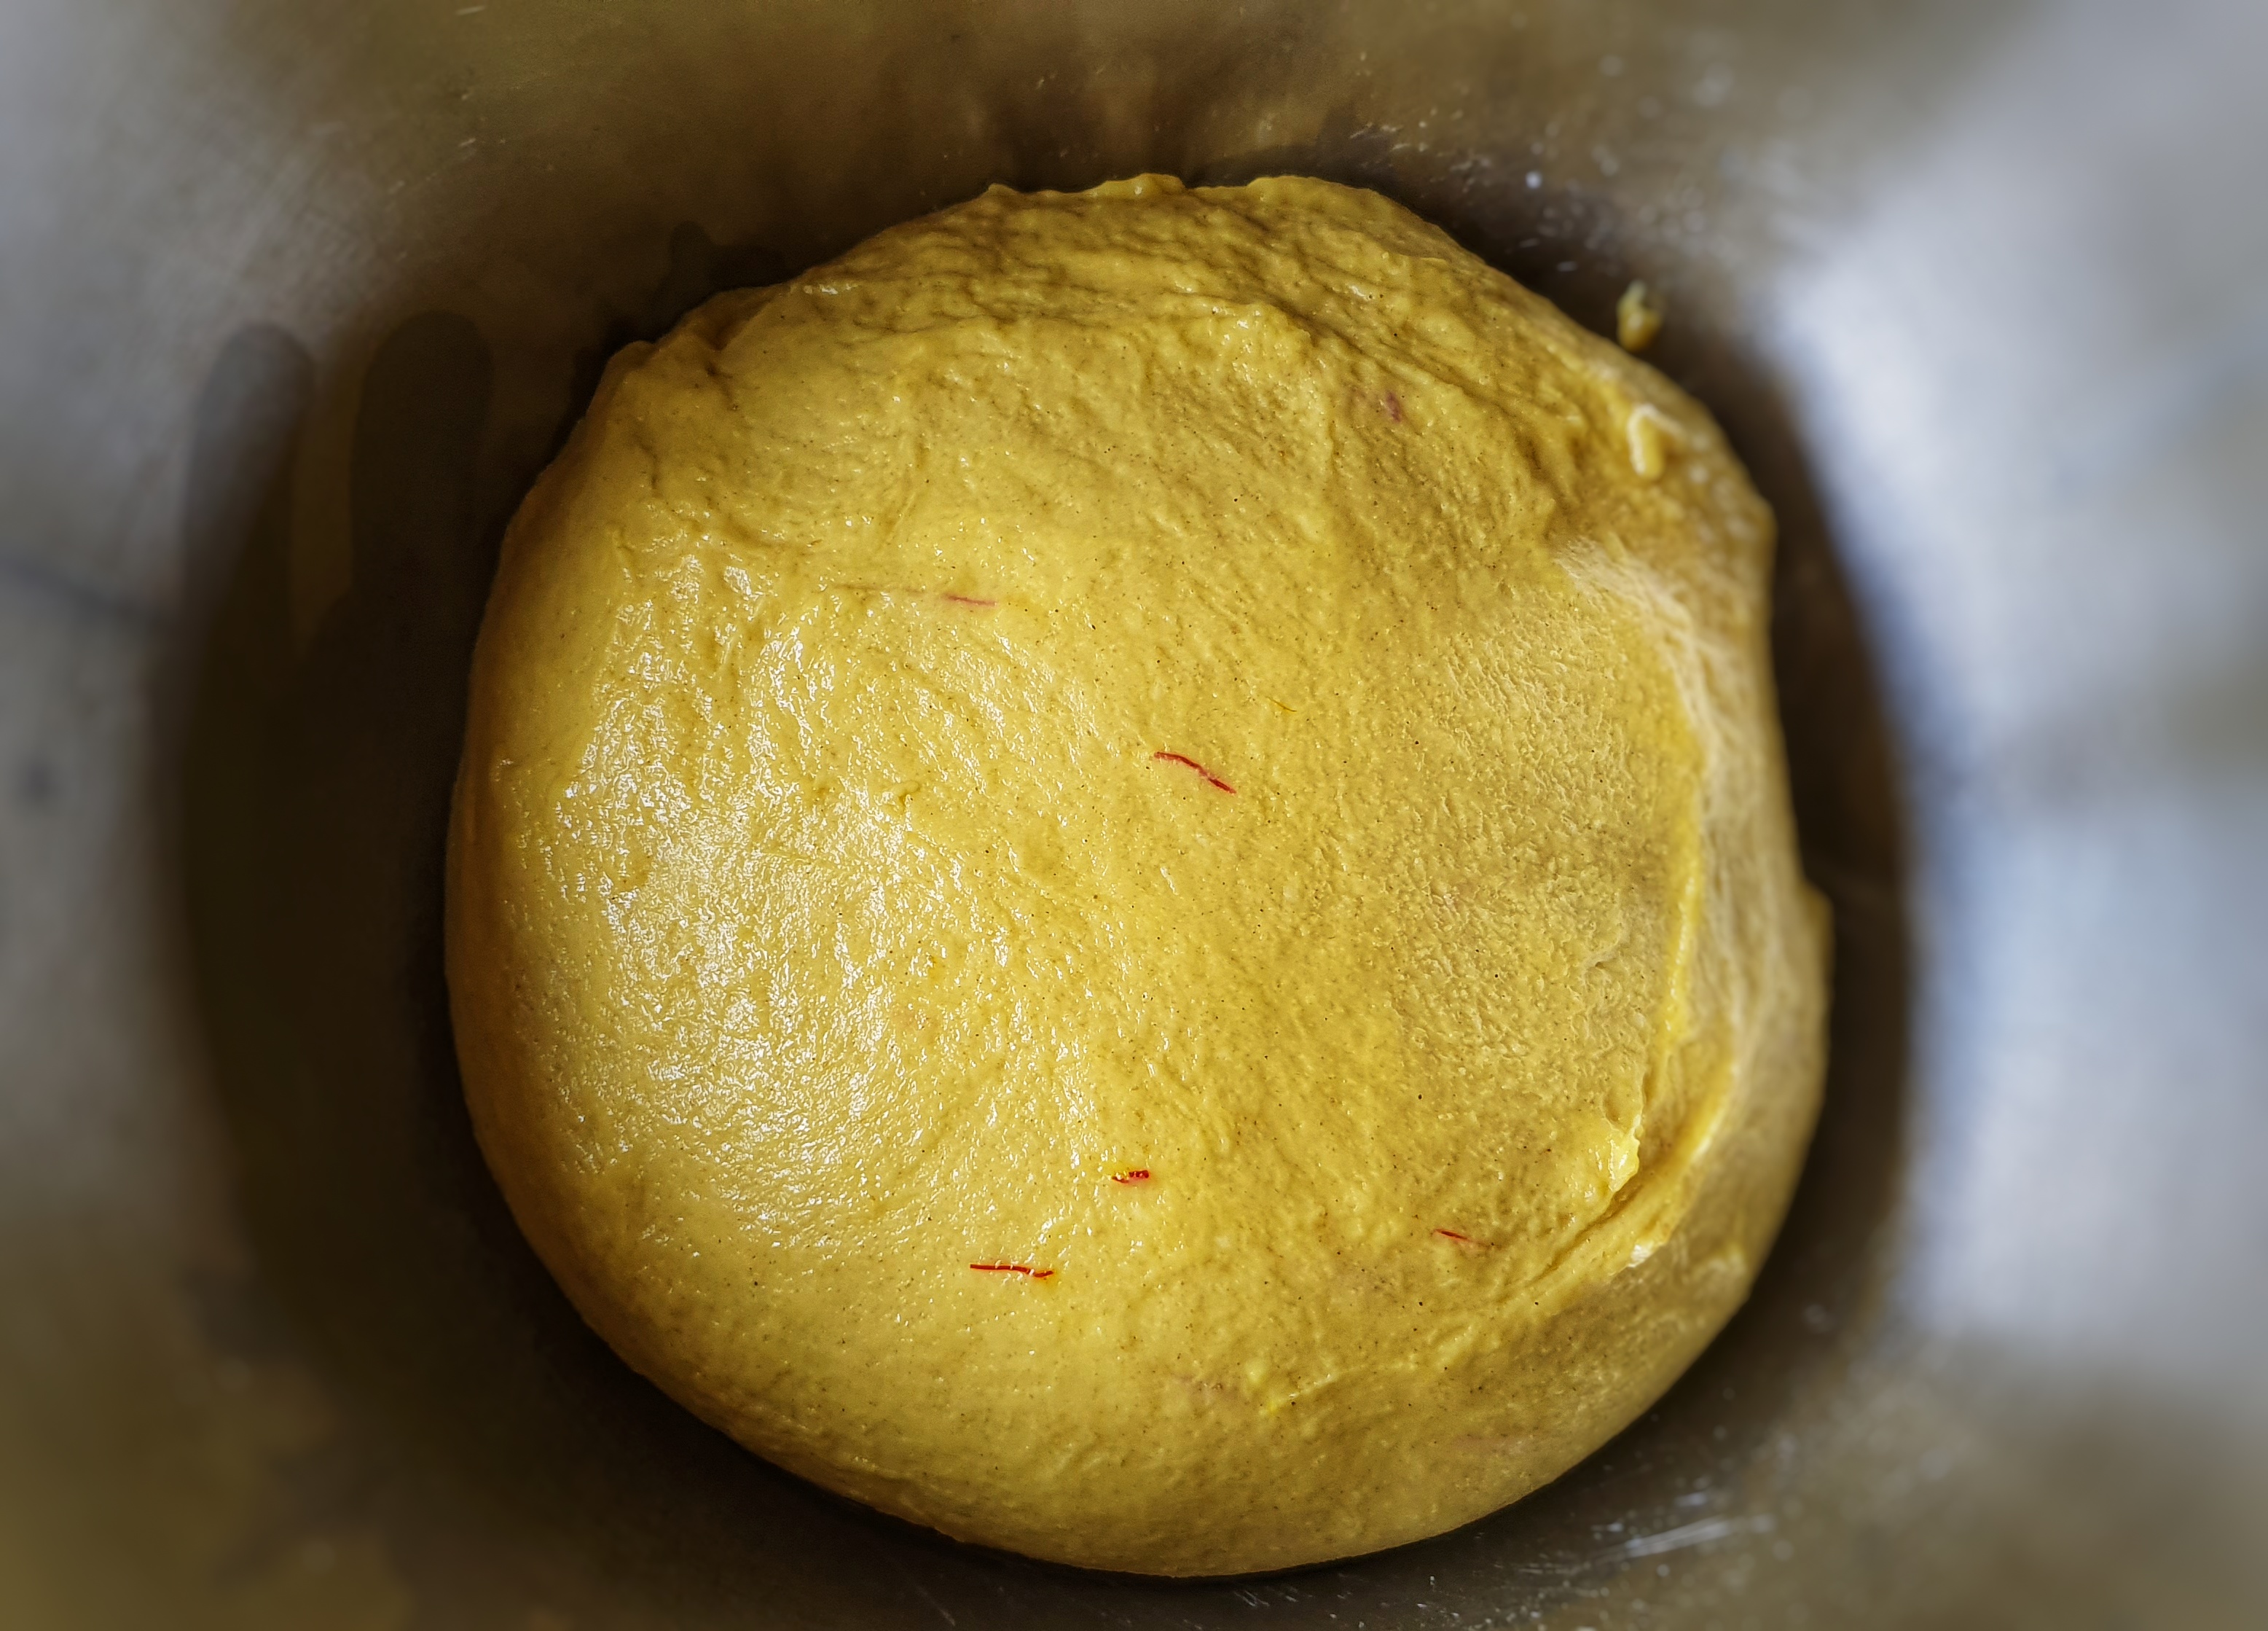
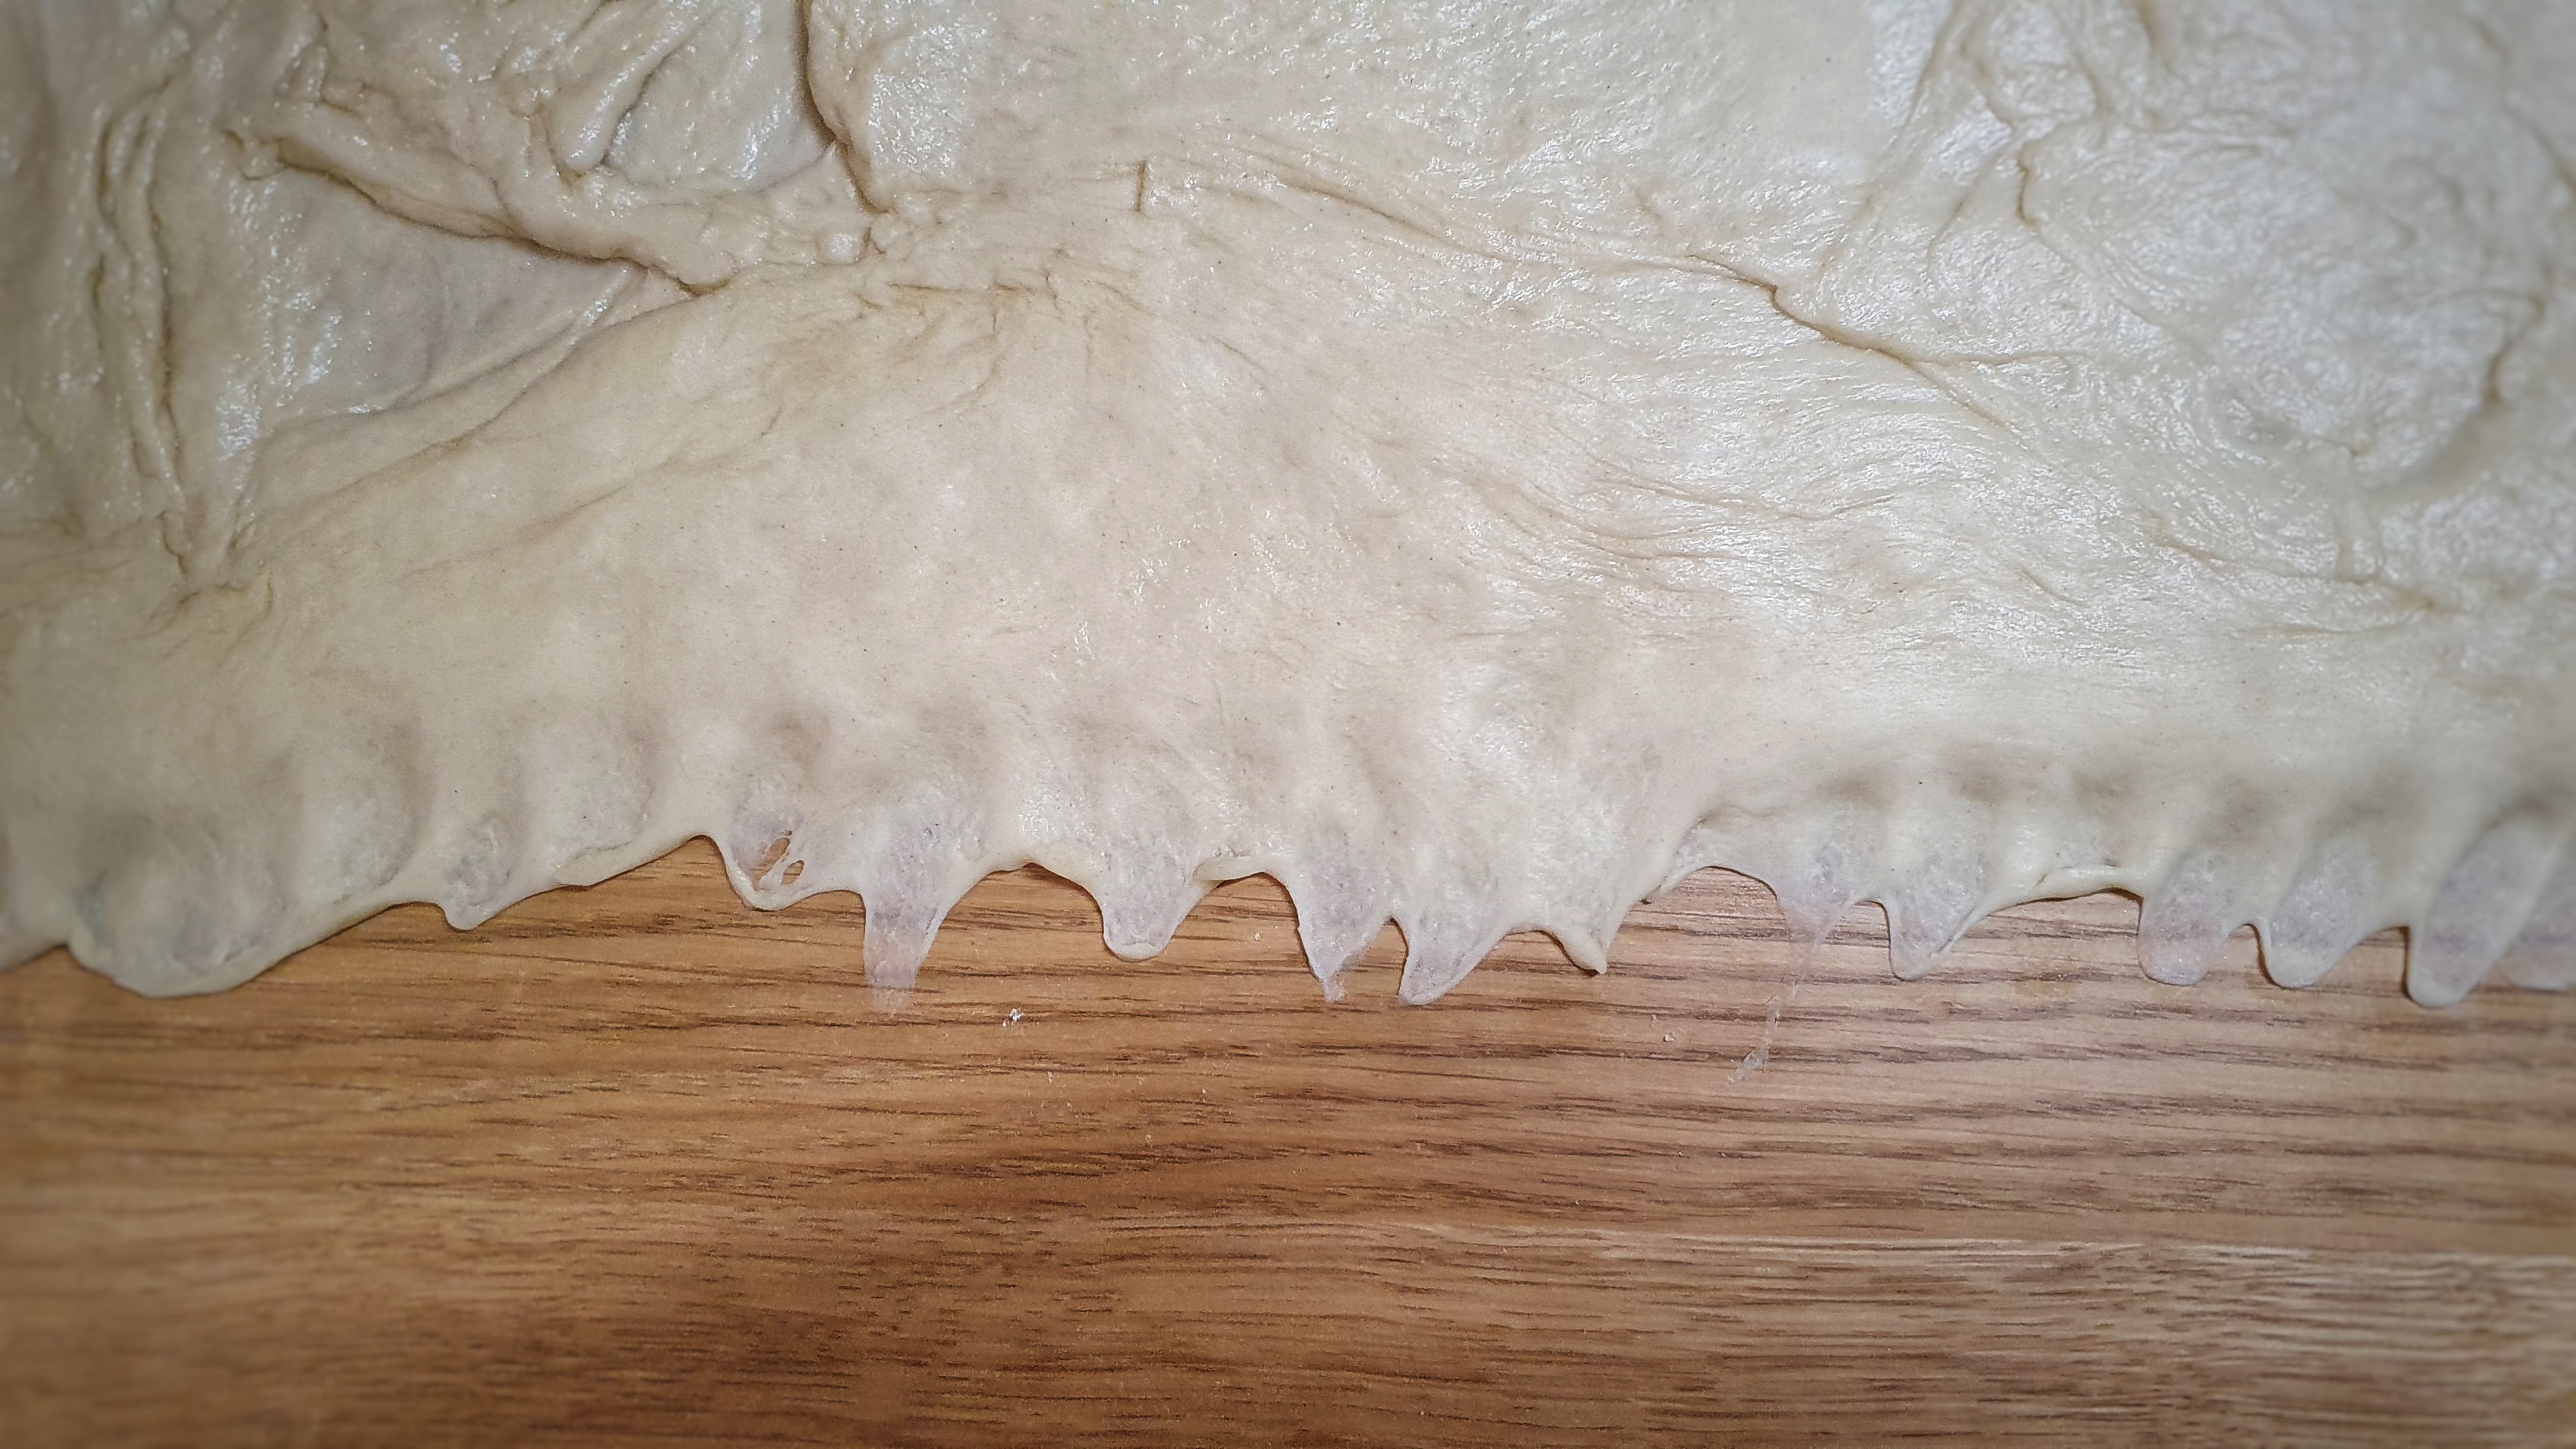
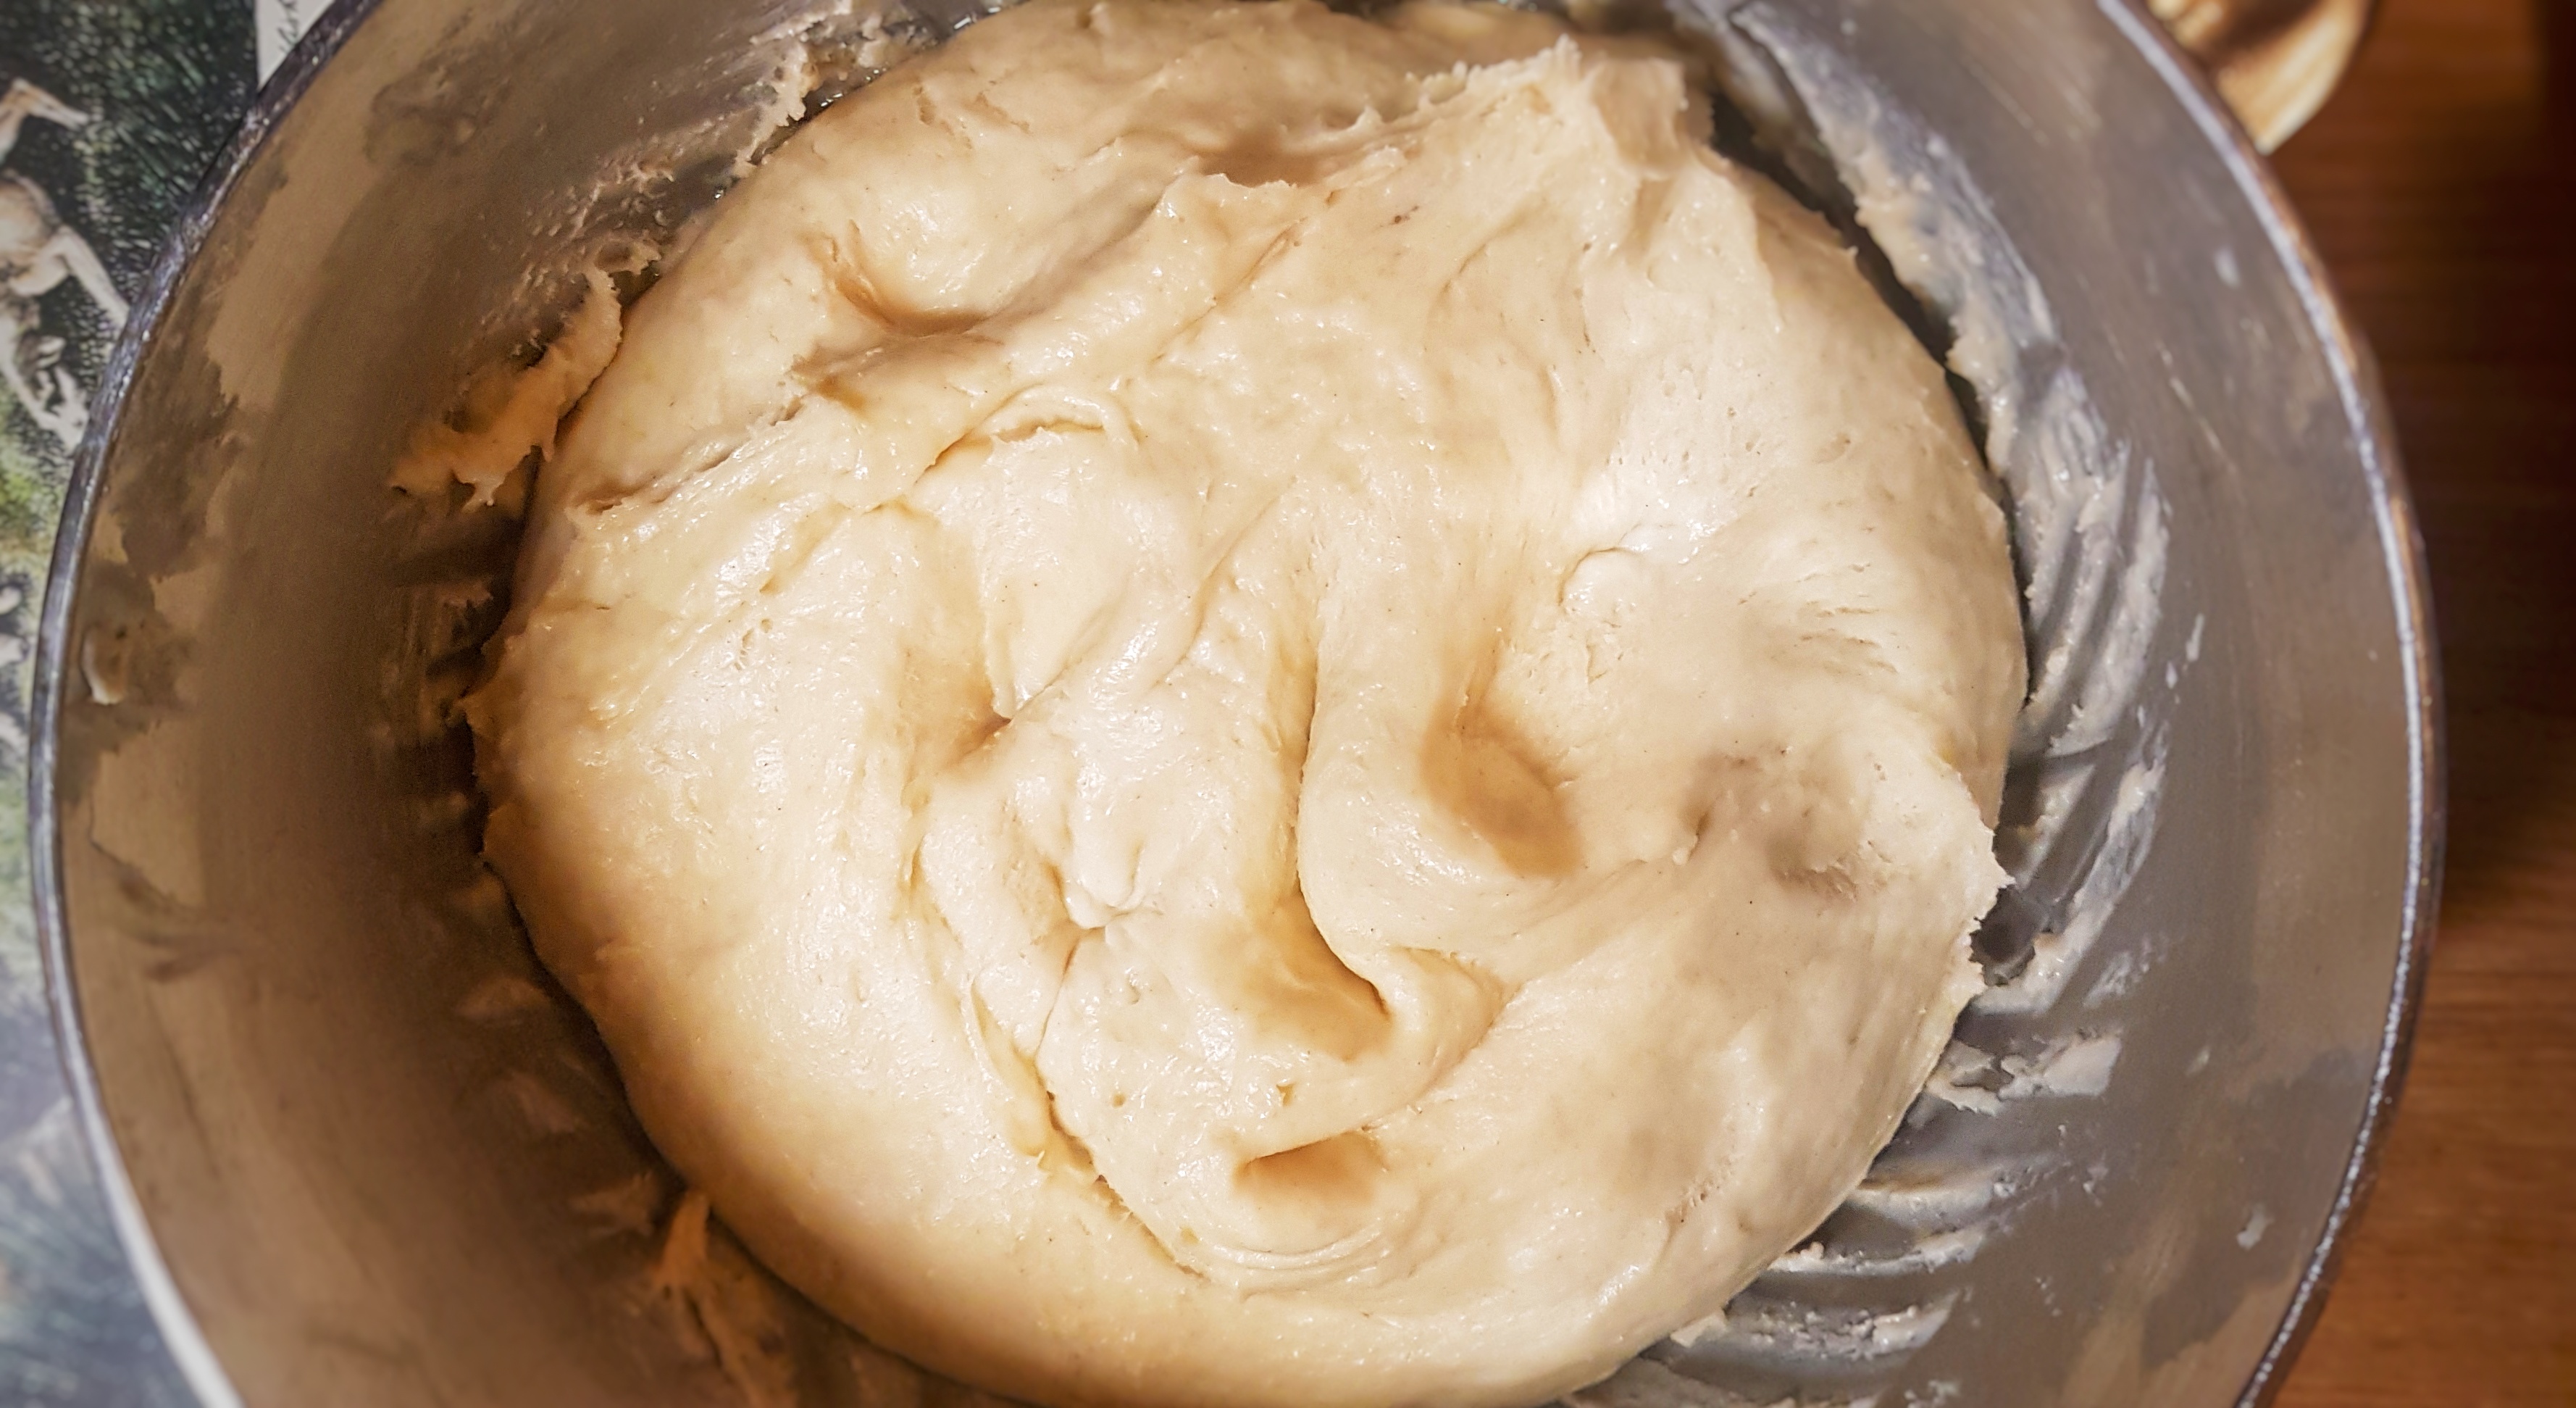
Add a little oil to a bowl and with oiled hands, gather up your dough into a ball and sit it in the bowl. Cover with cling film or a damp, clean tea towel until it doubles in size. Mine took 2 hours.
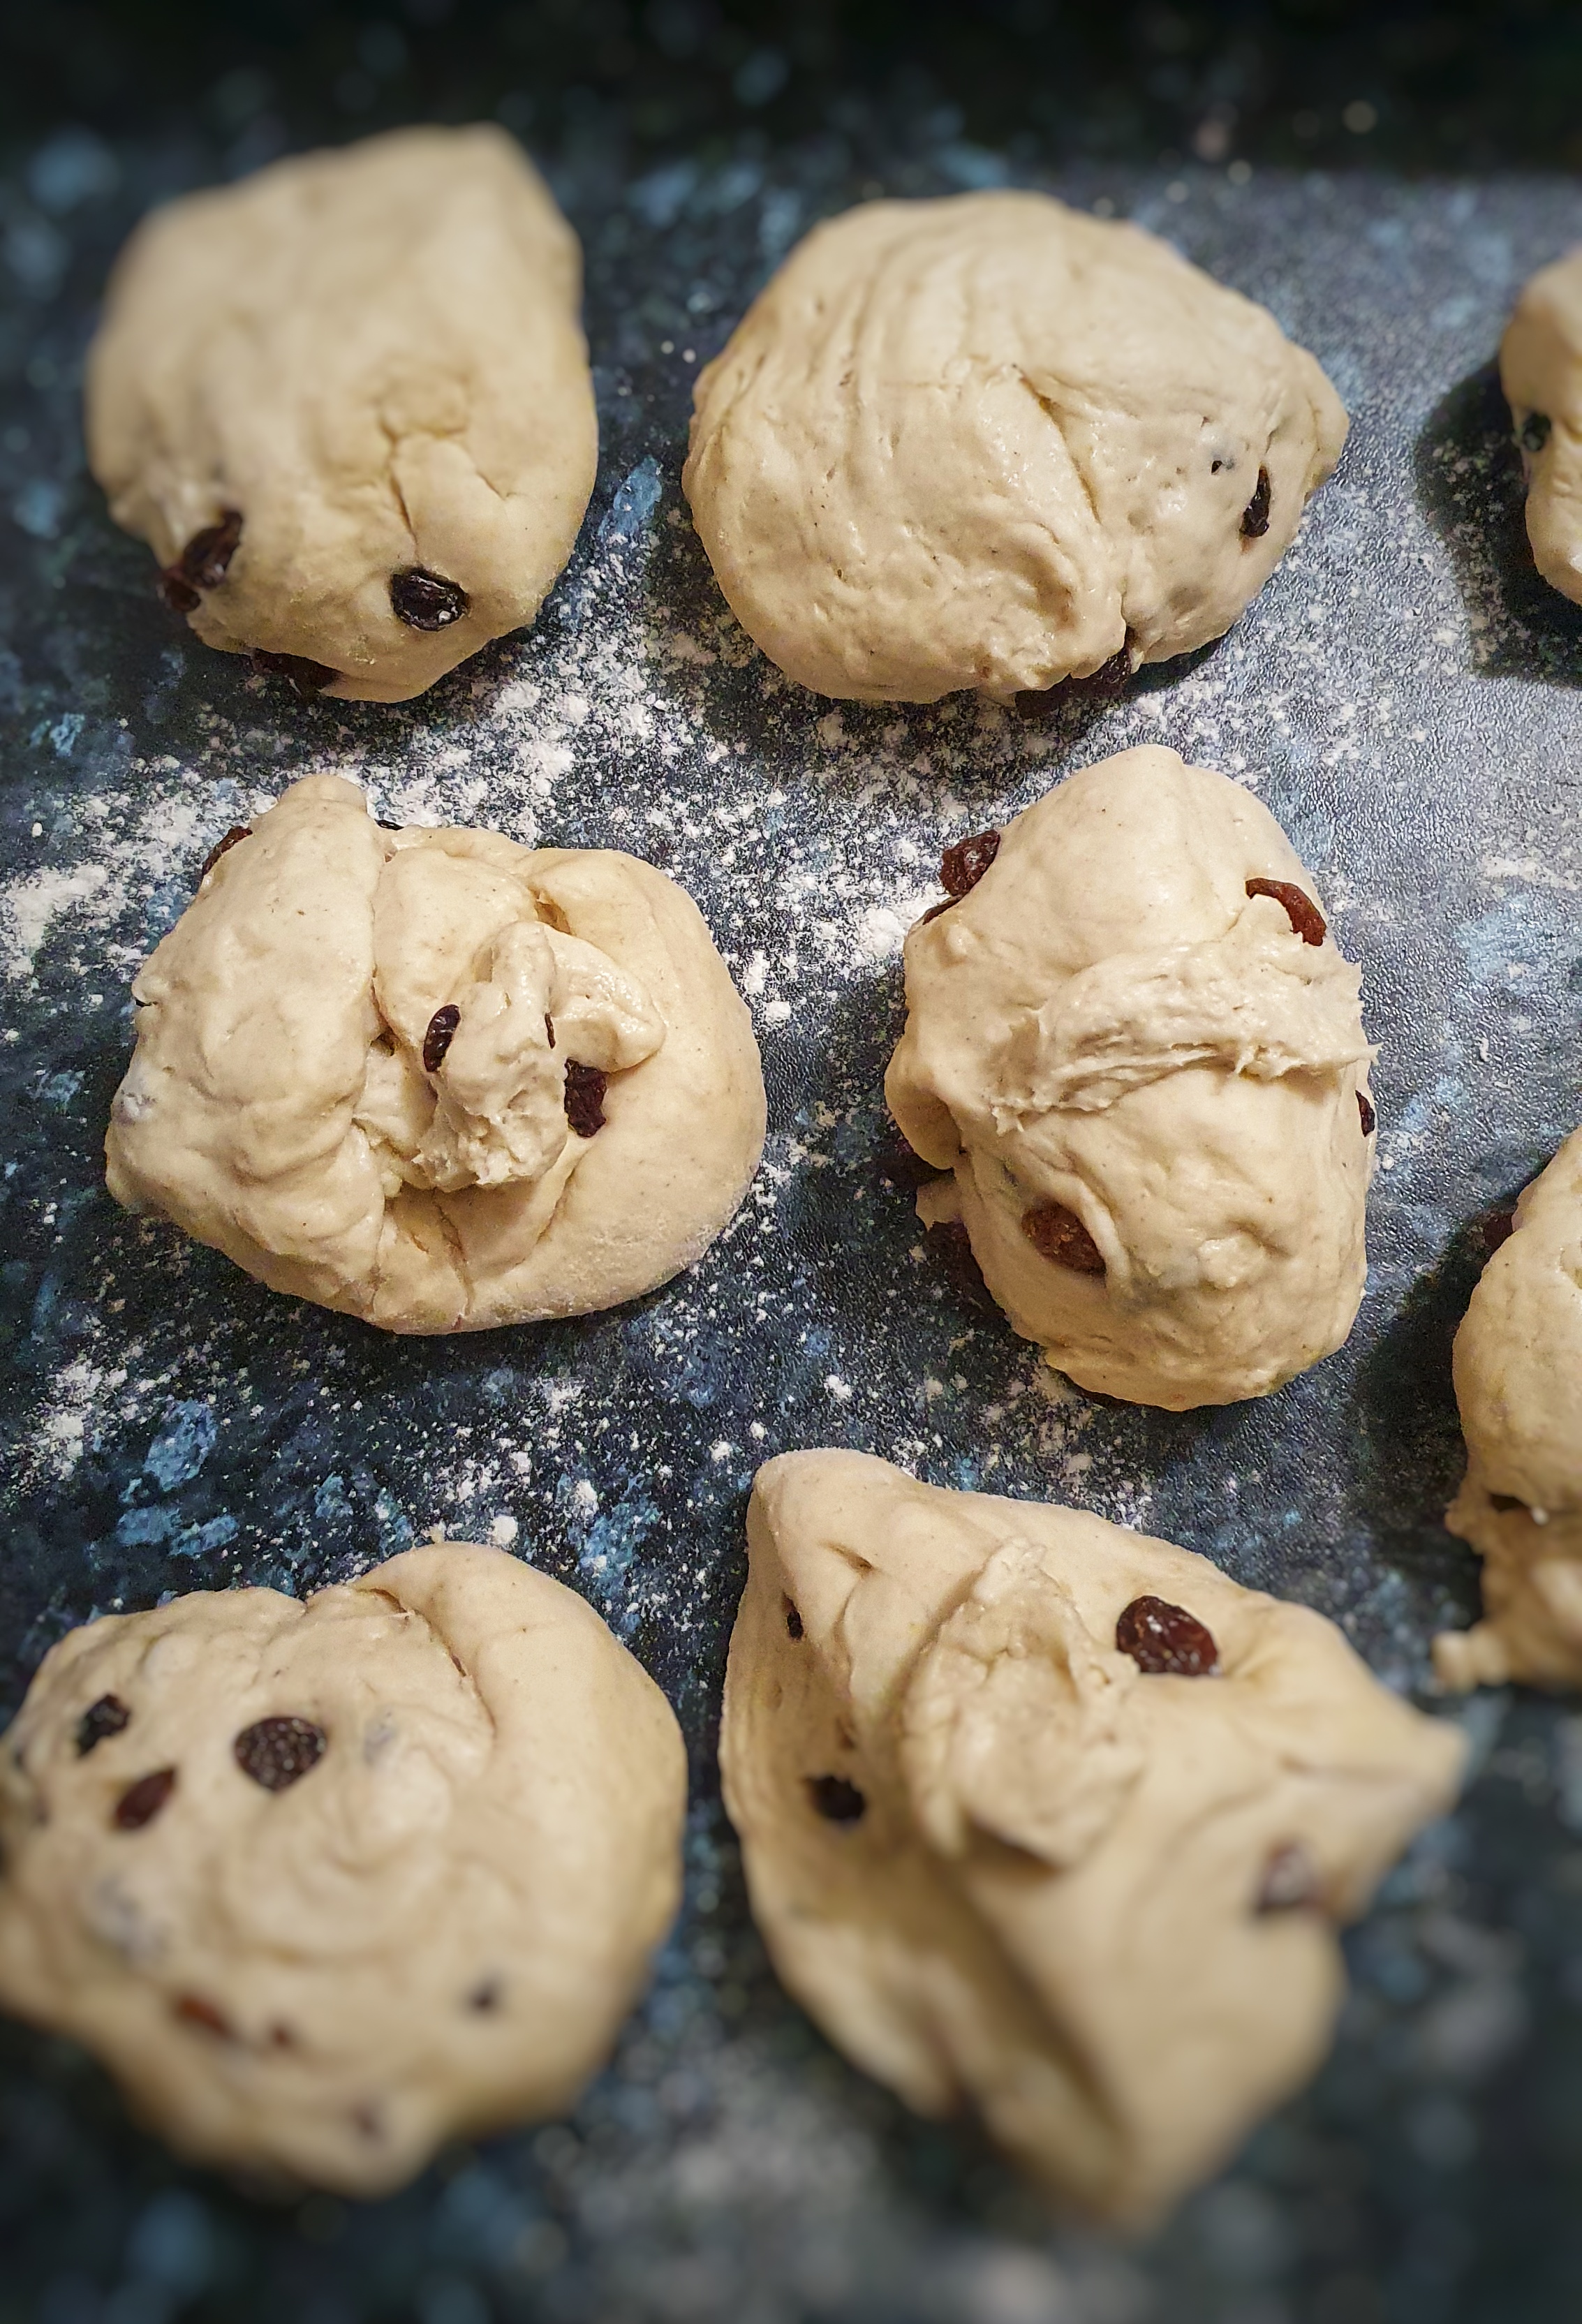
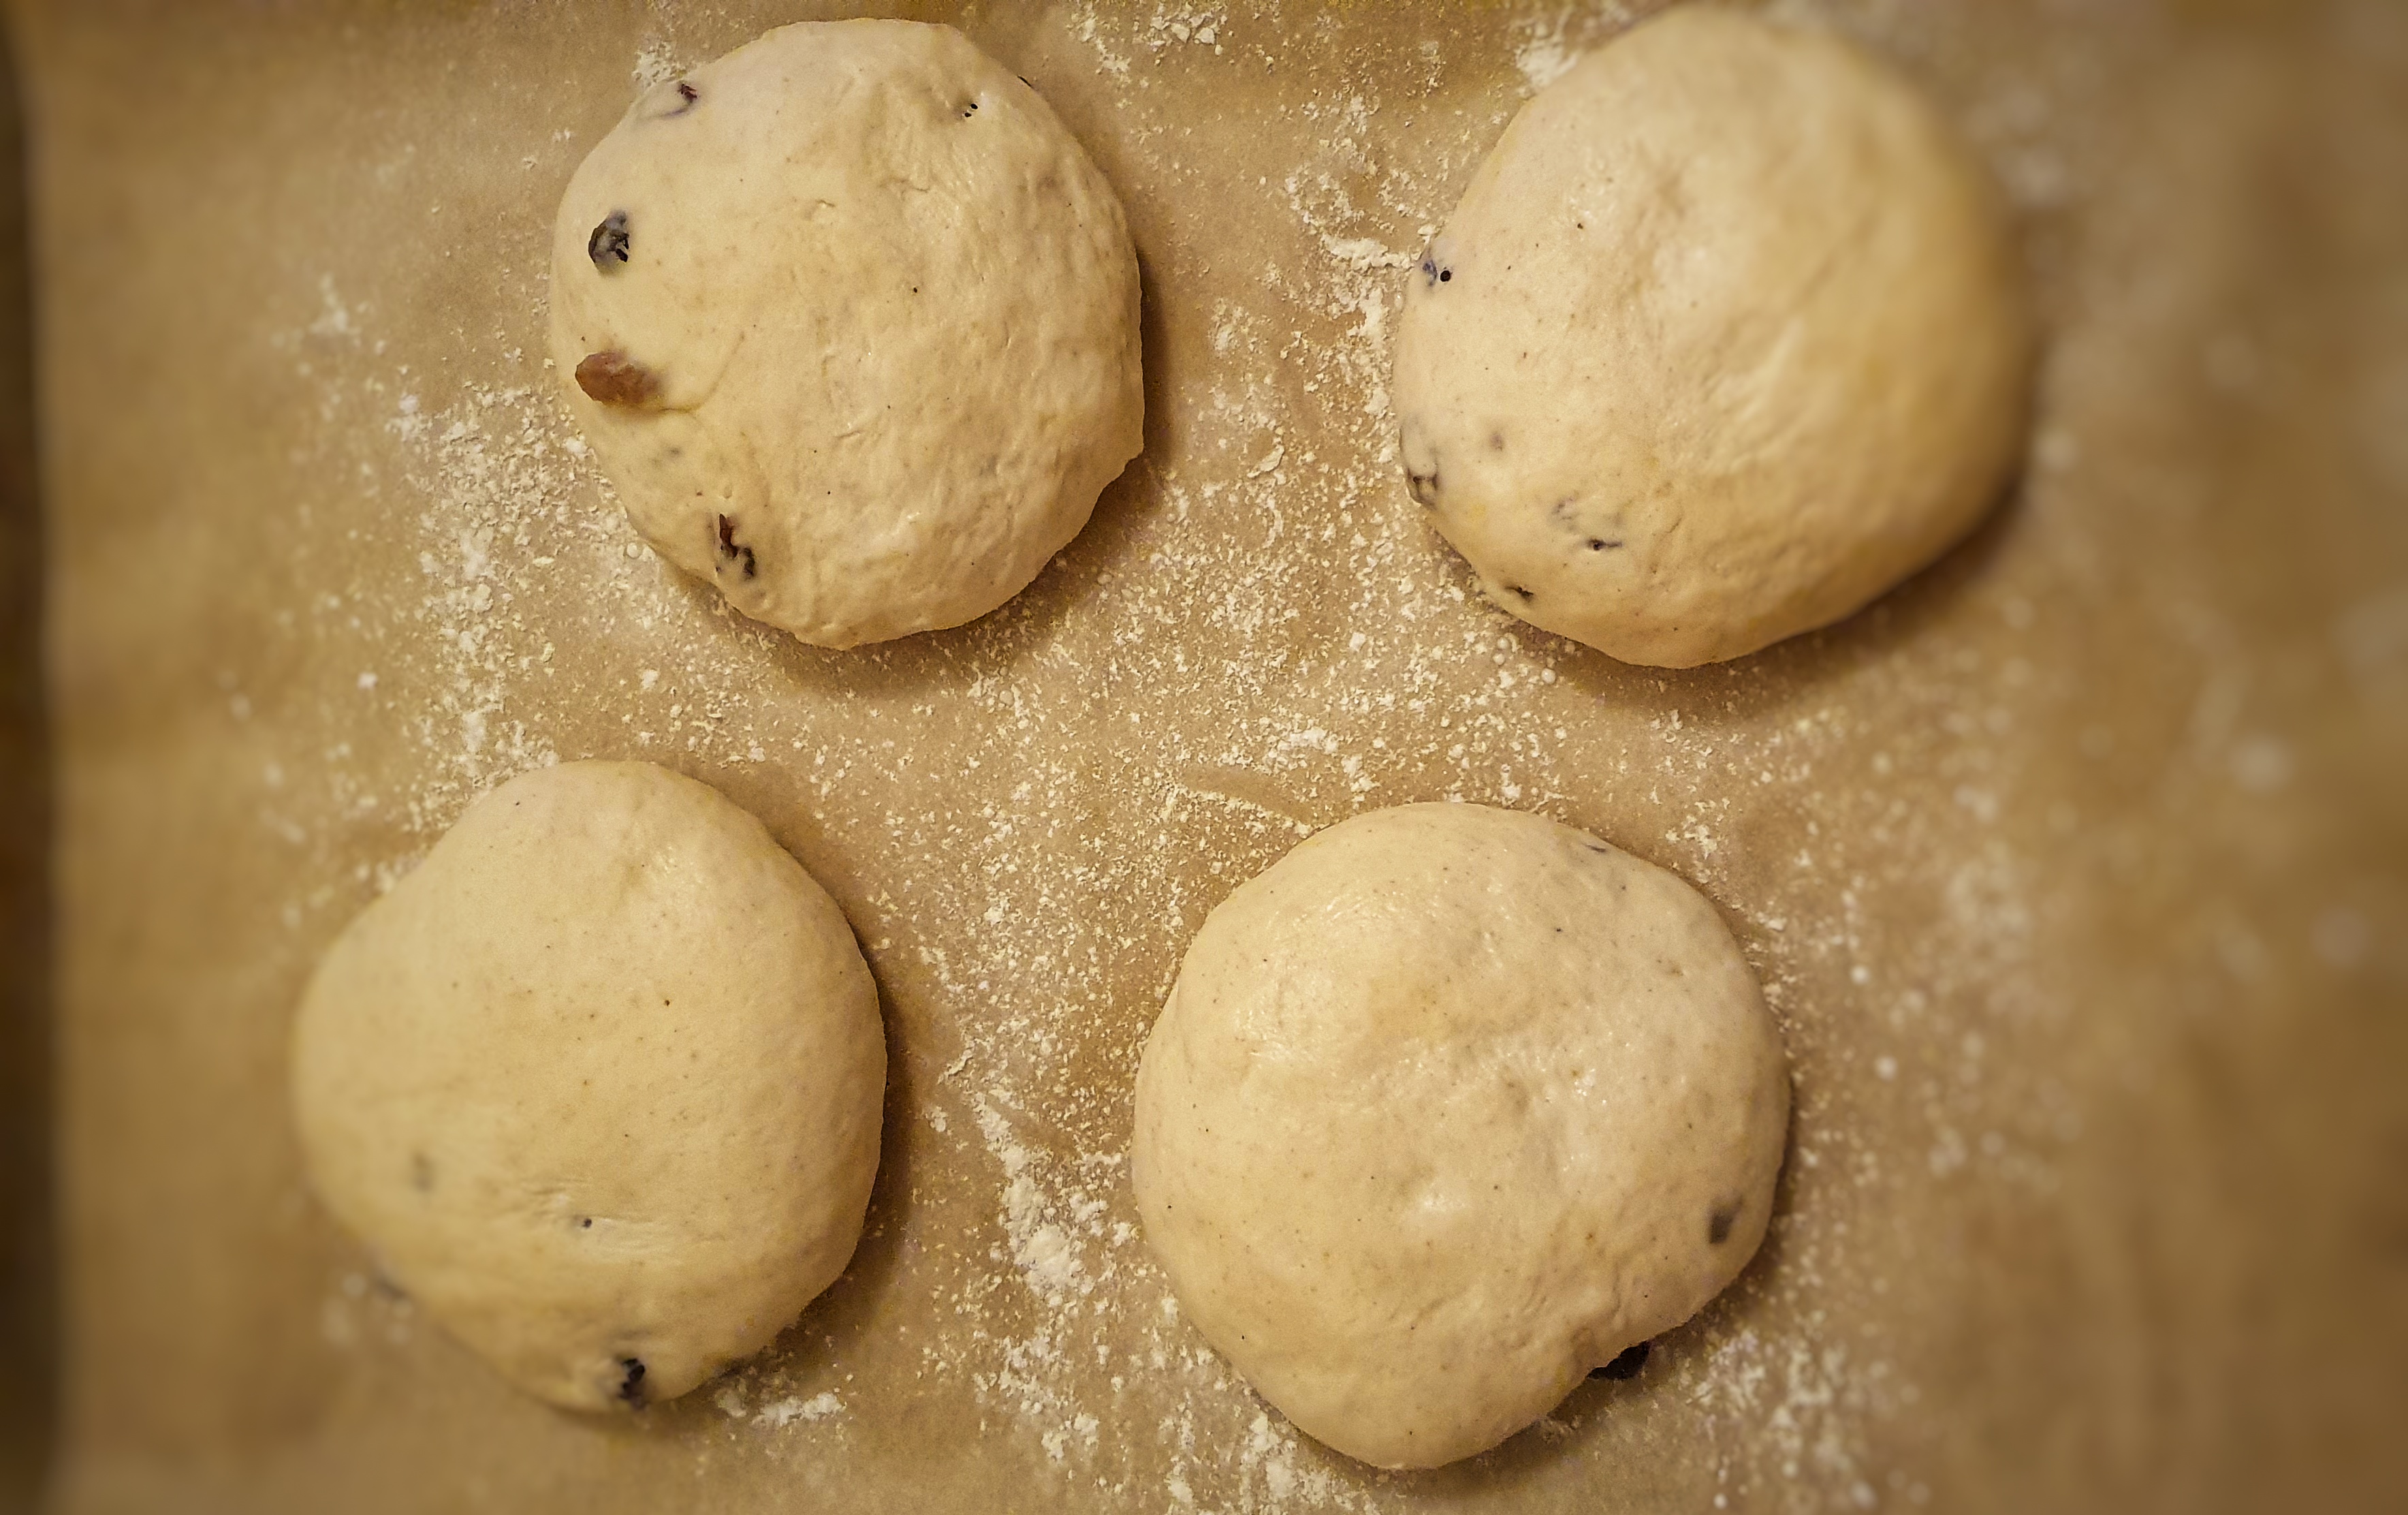
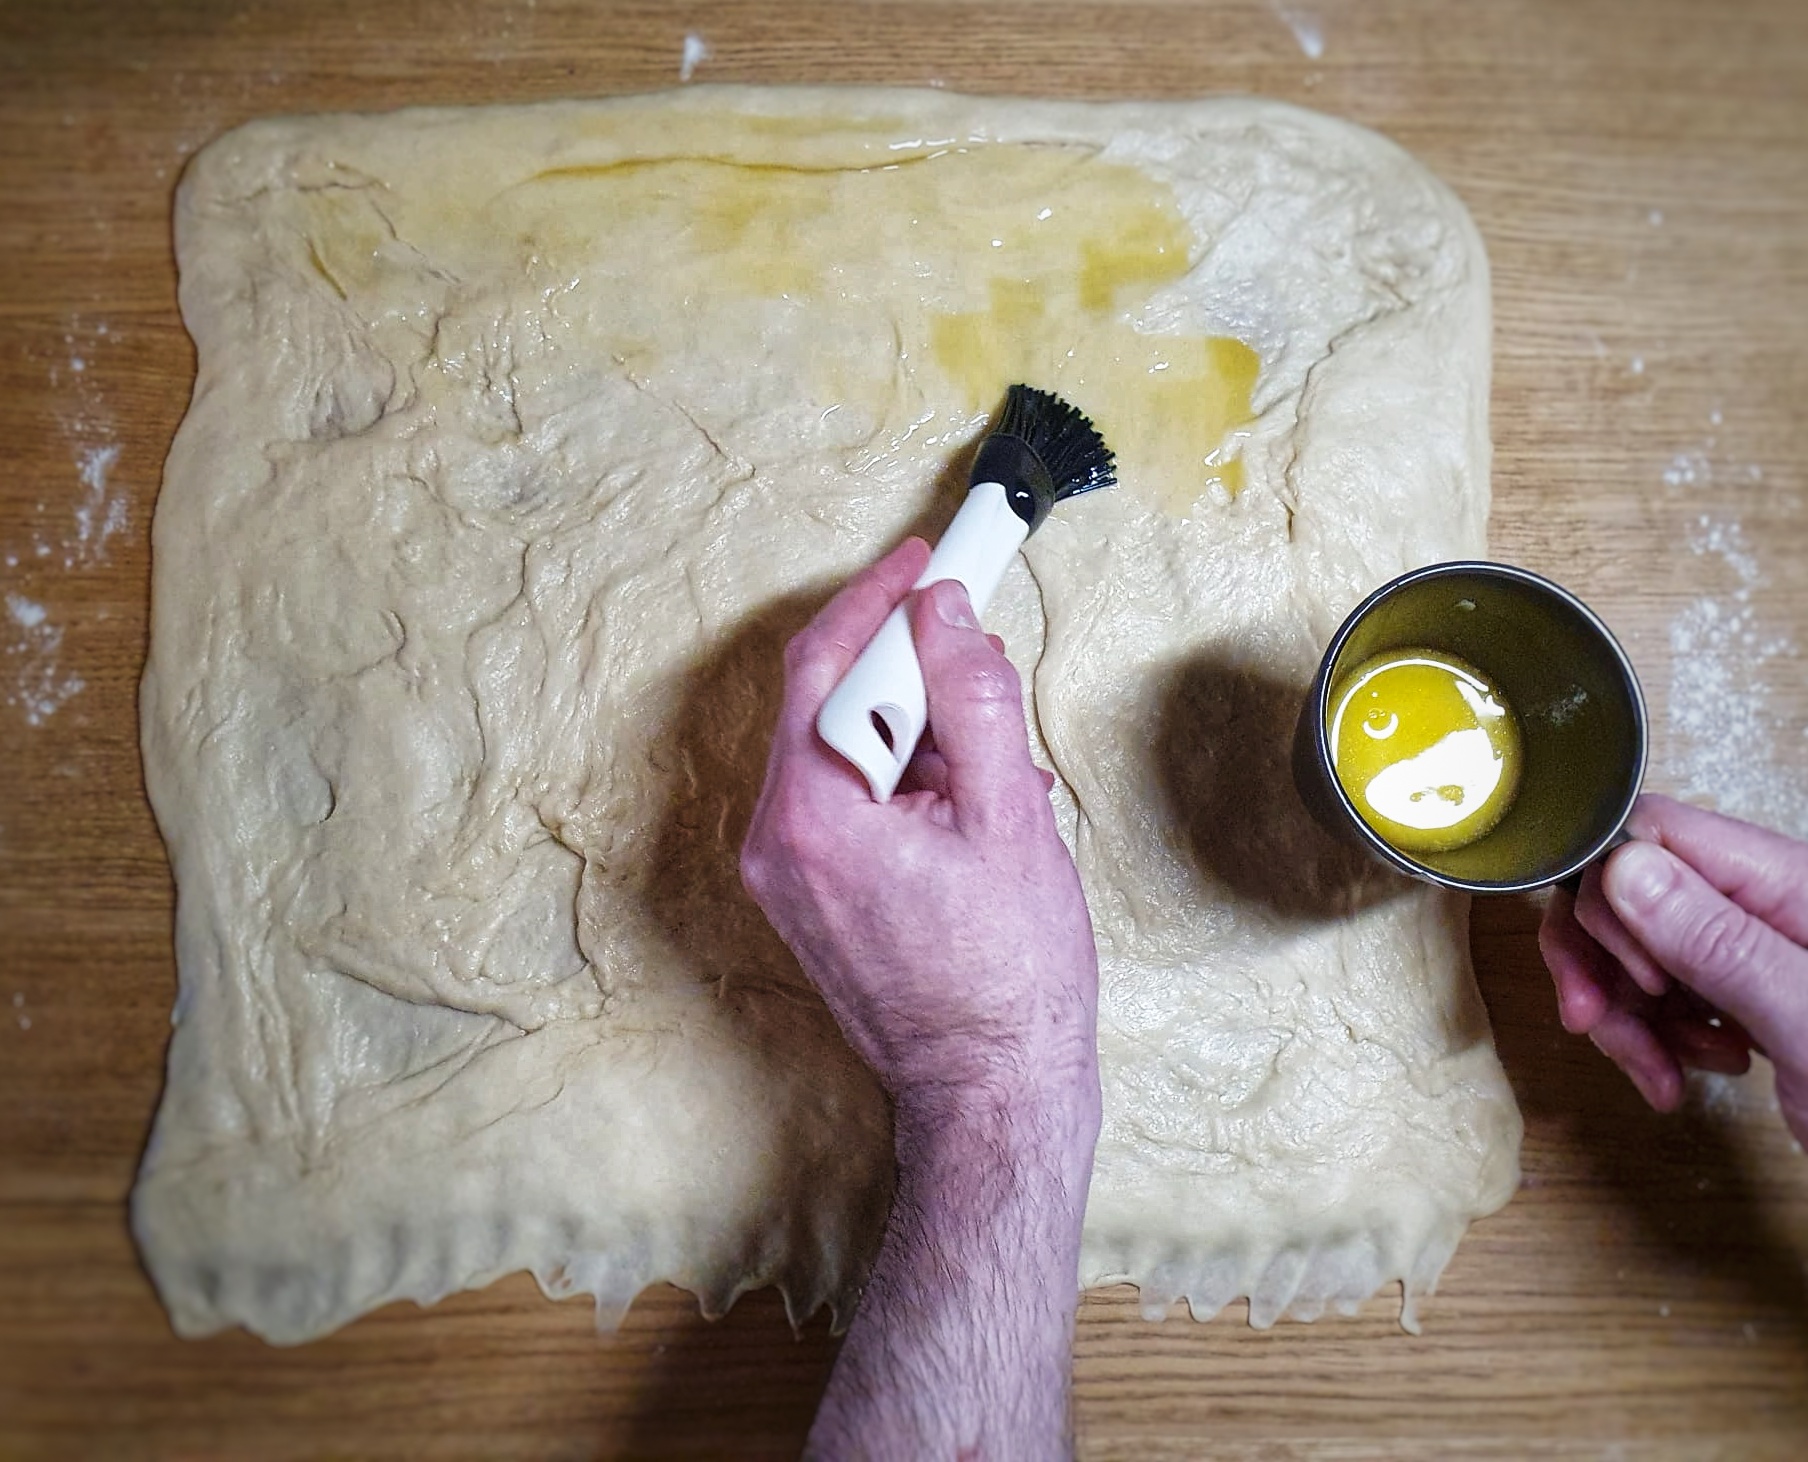
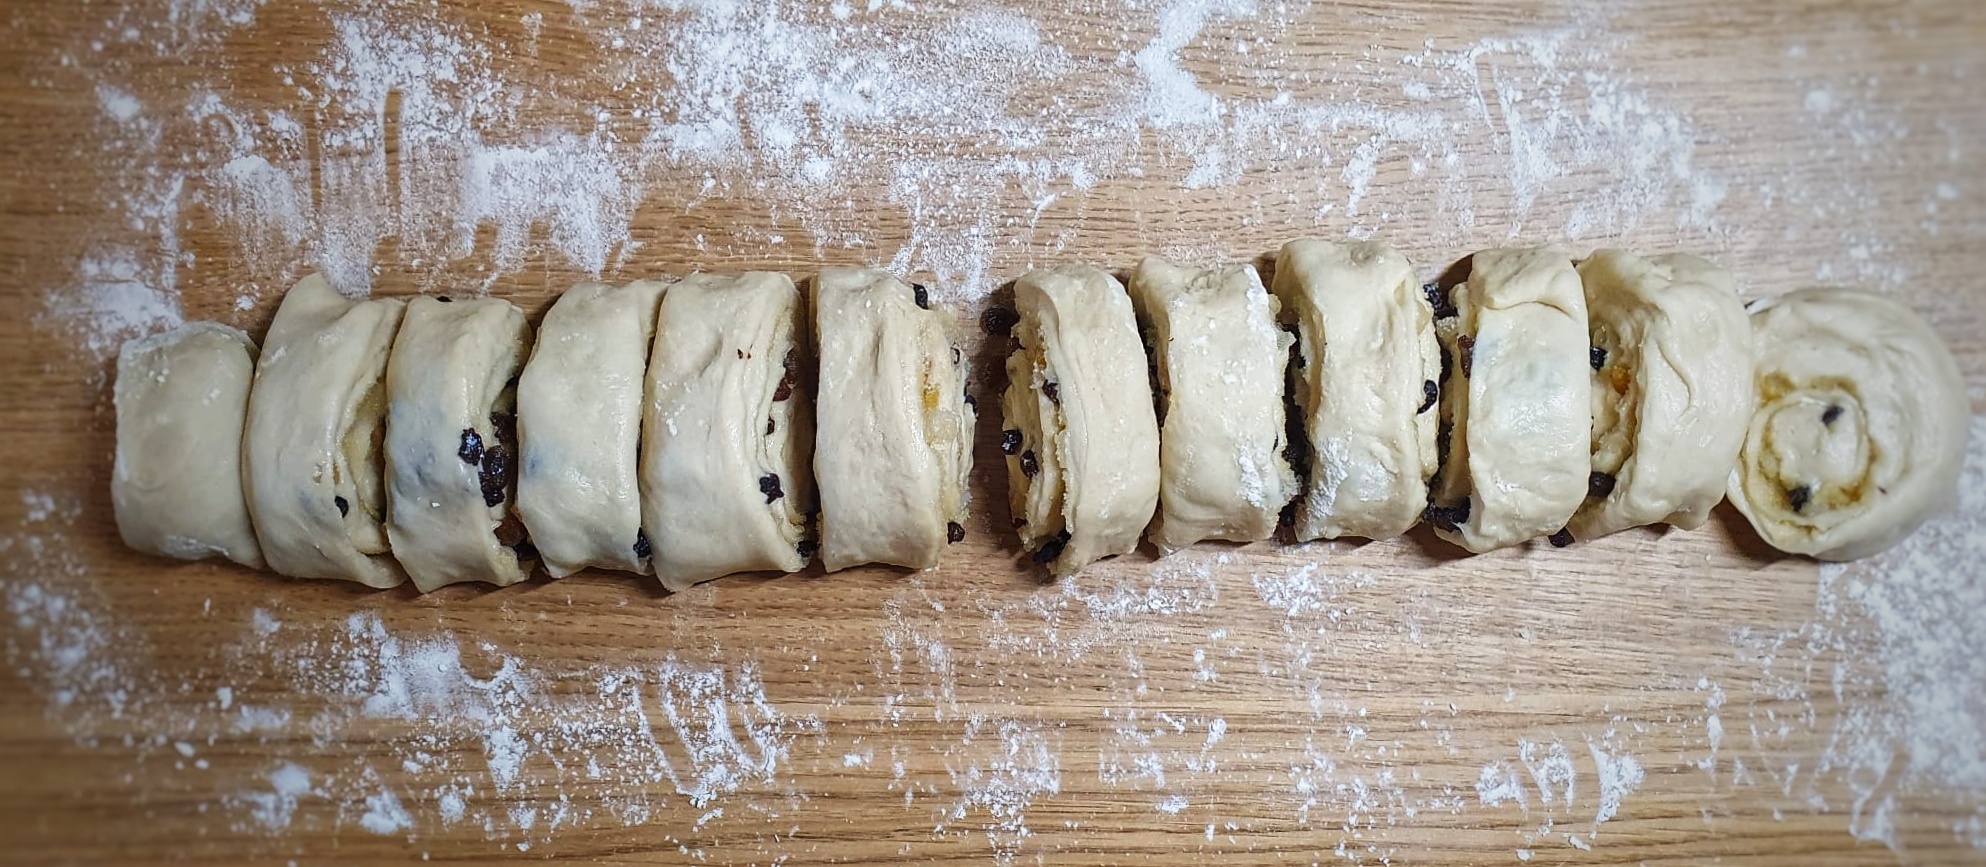
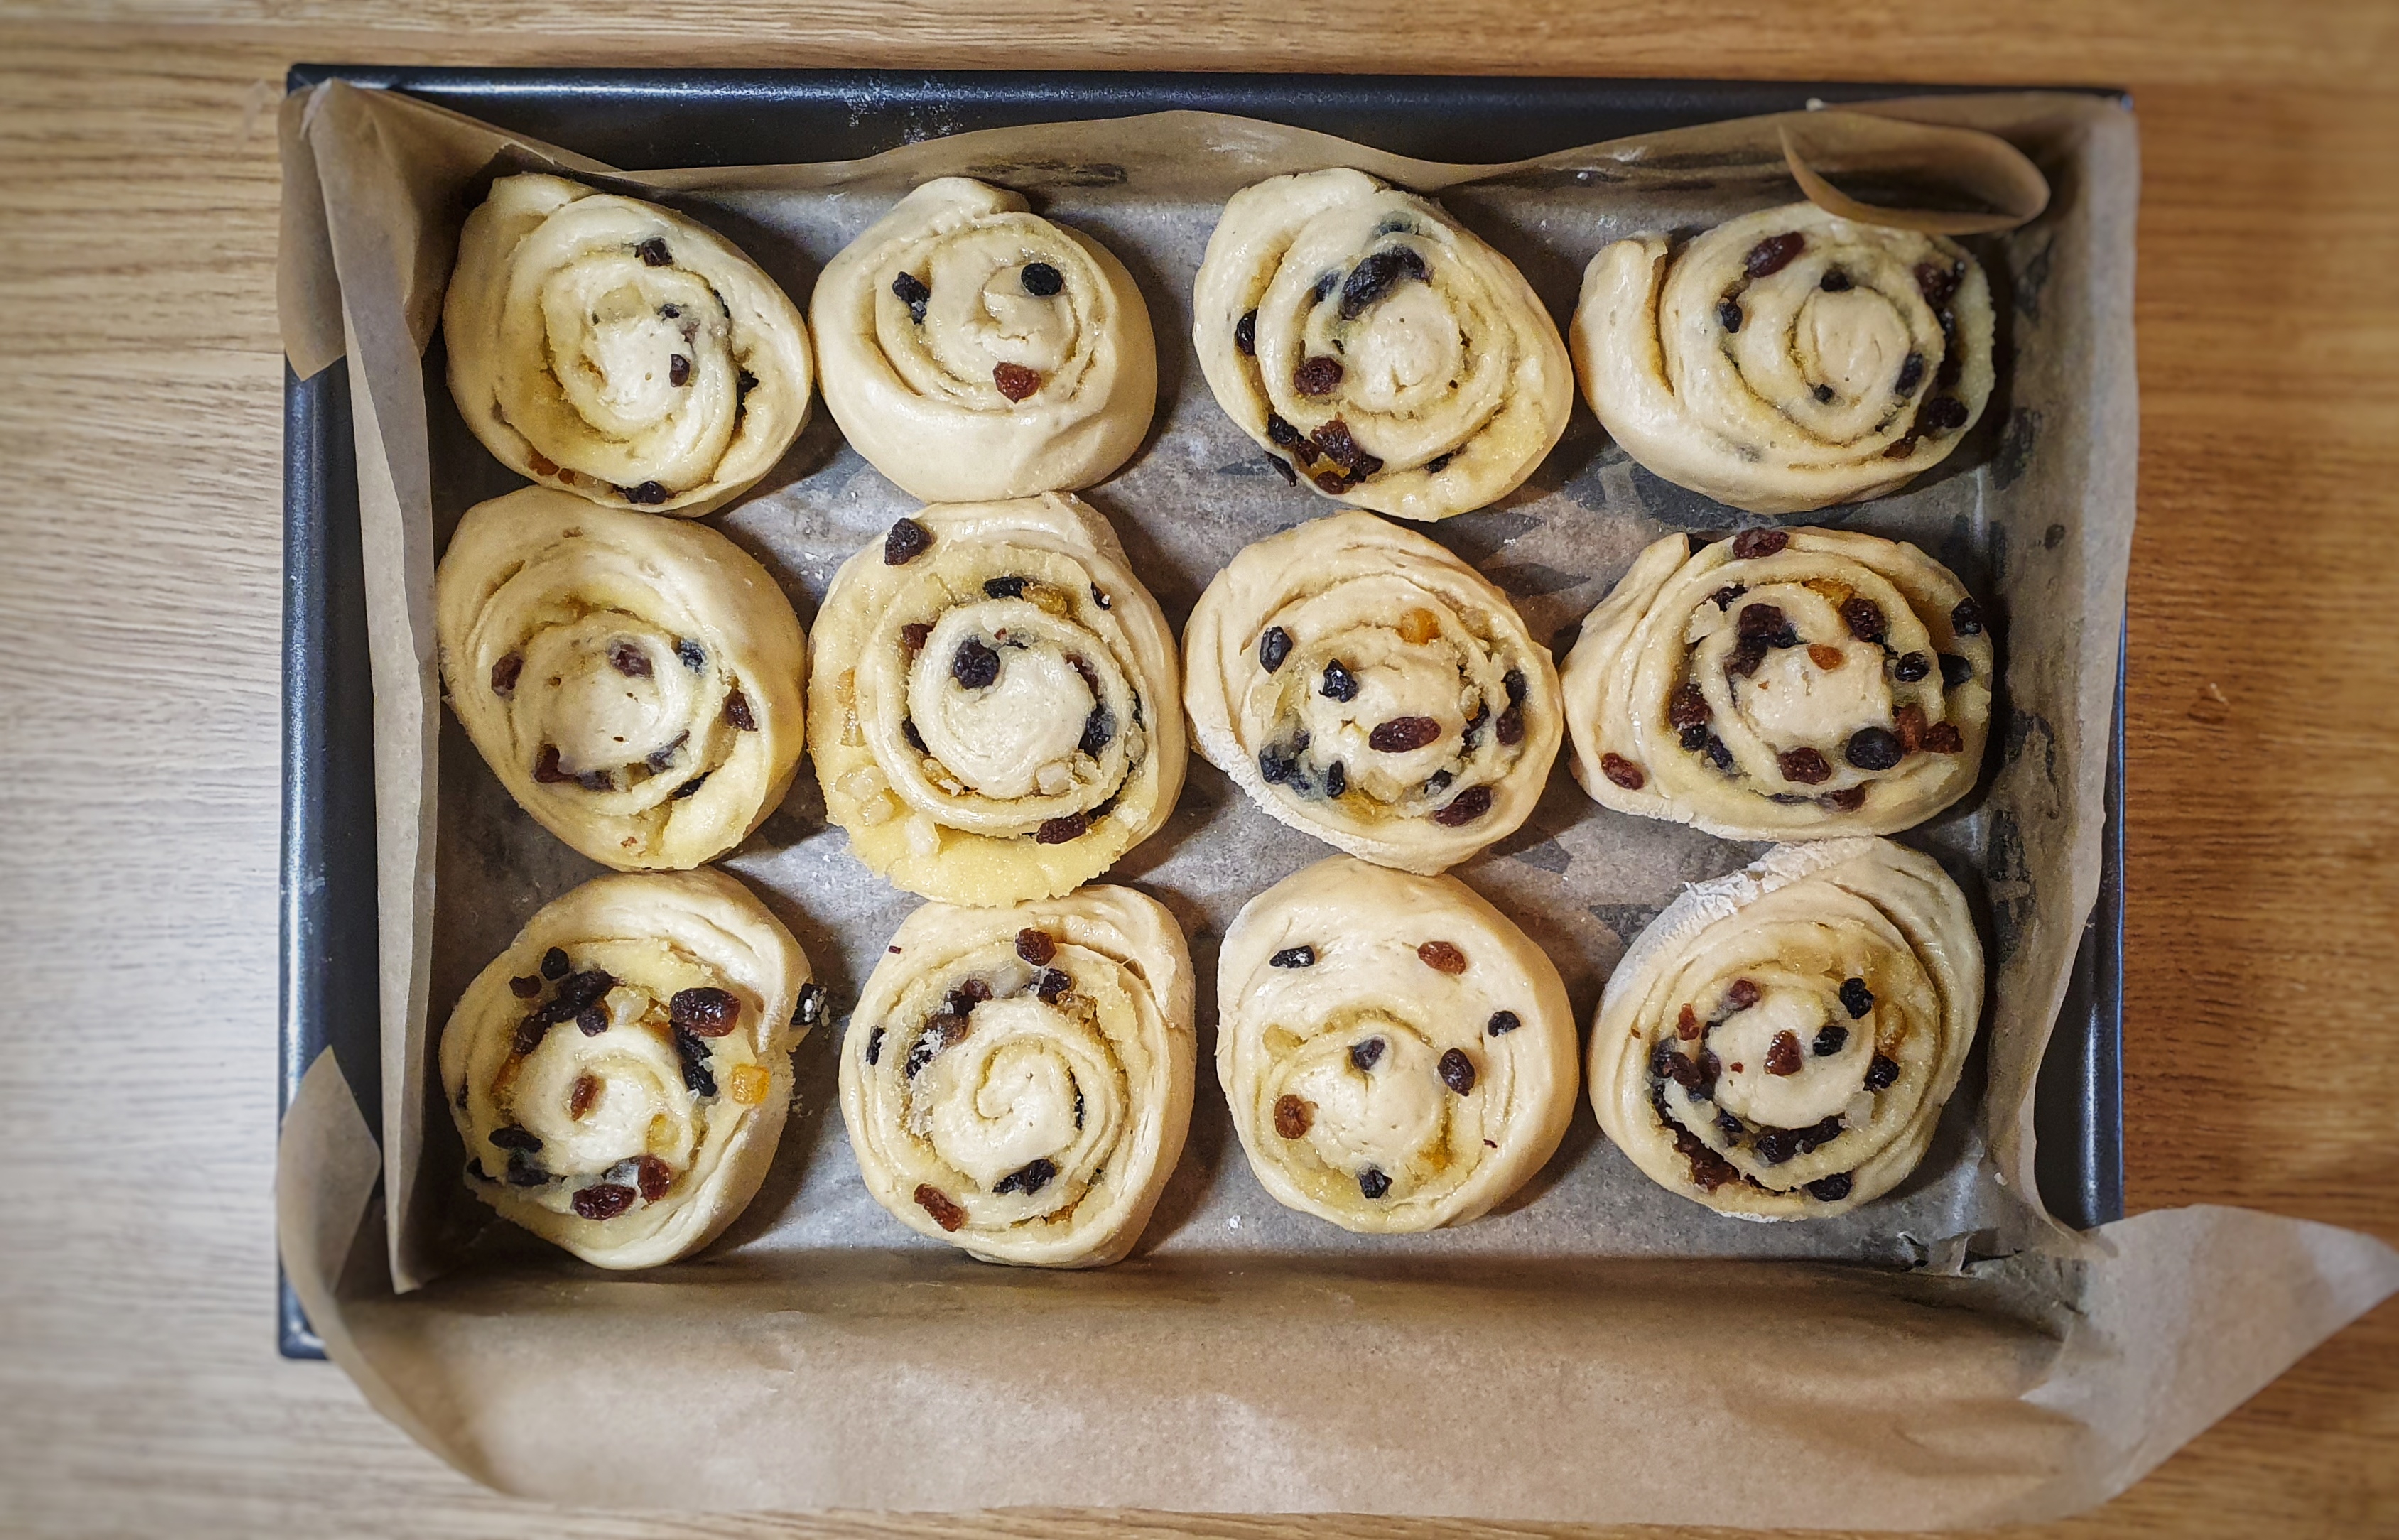
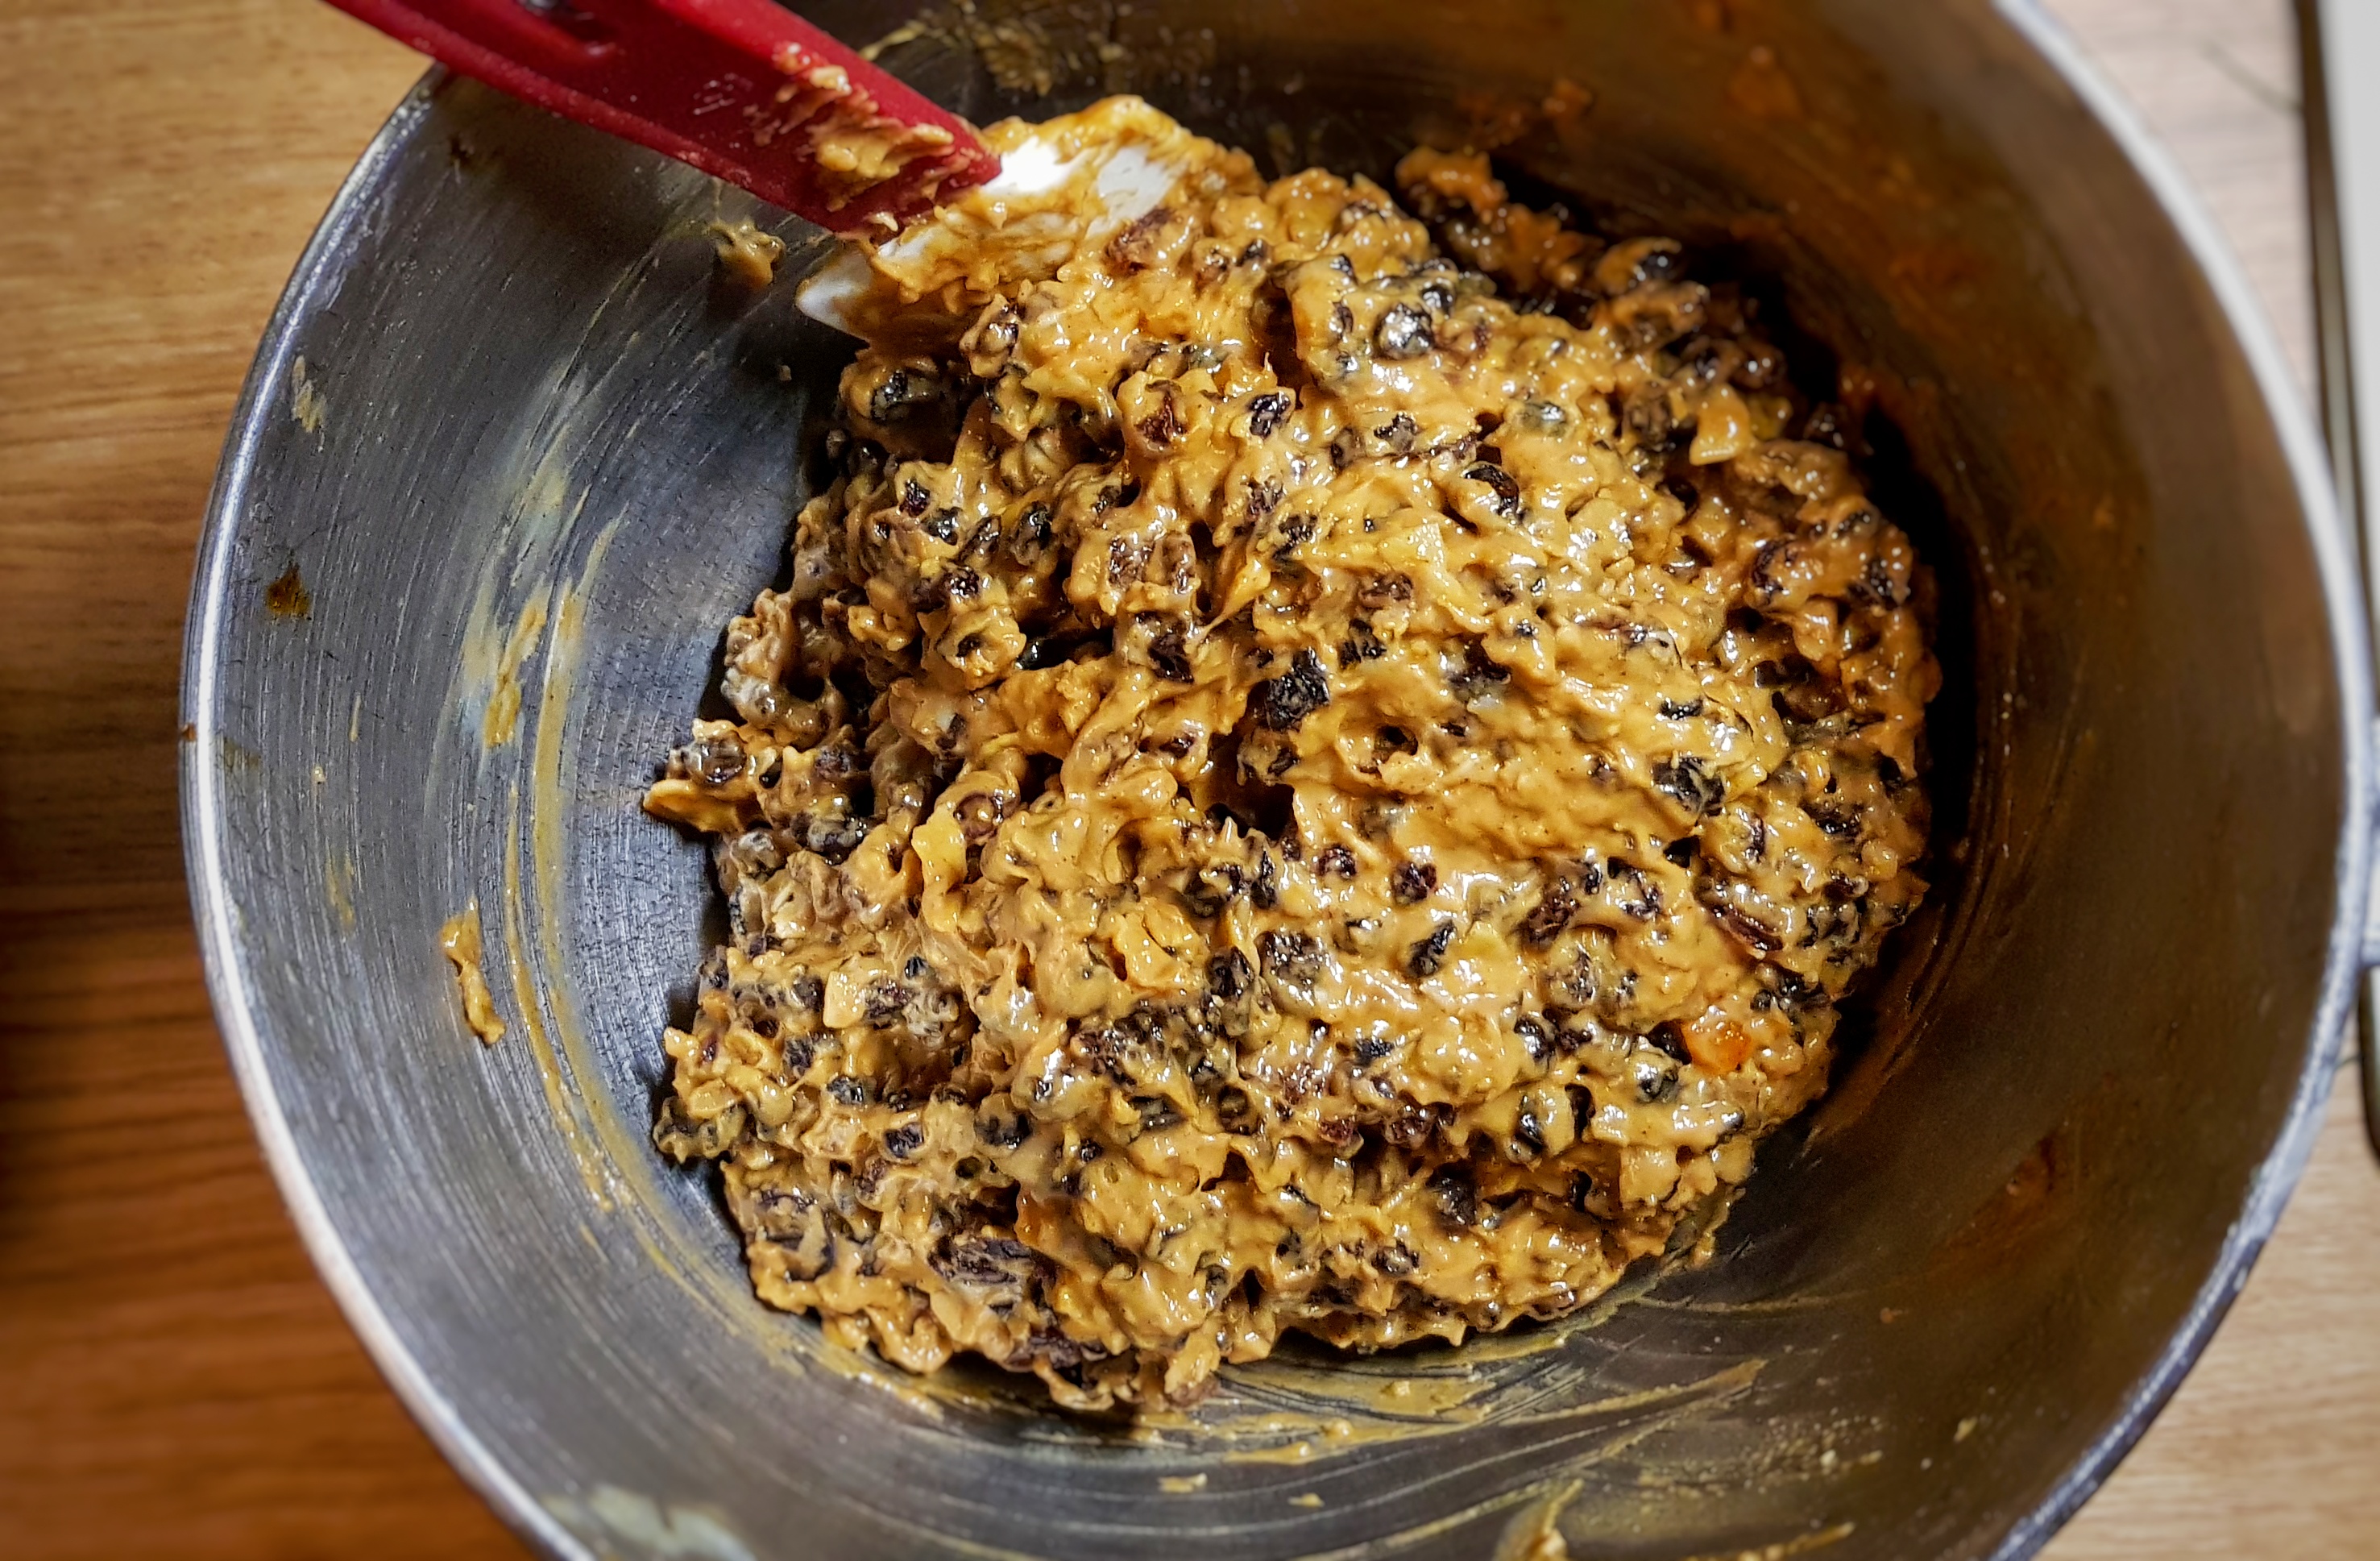
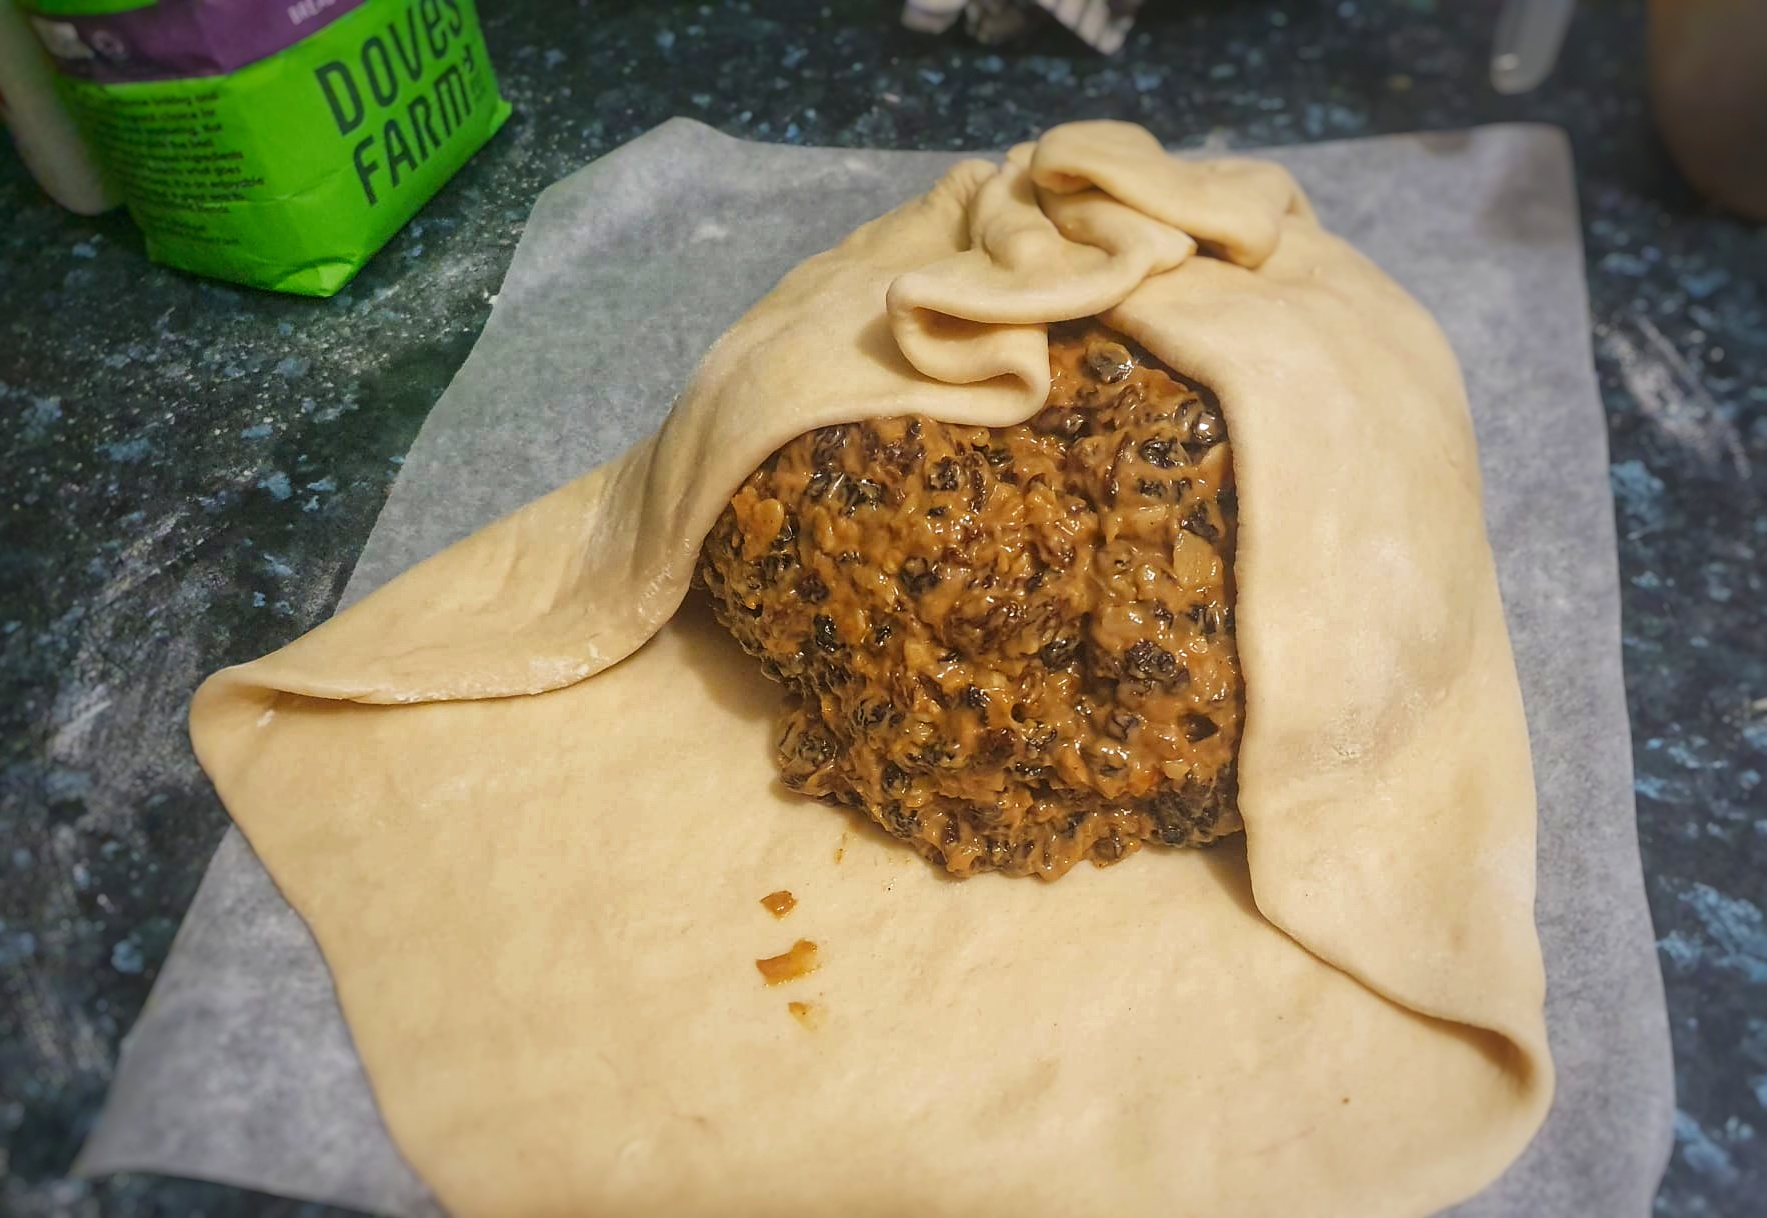
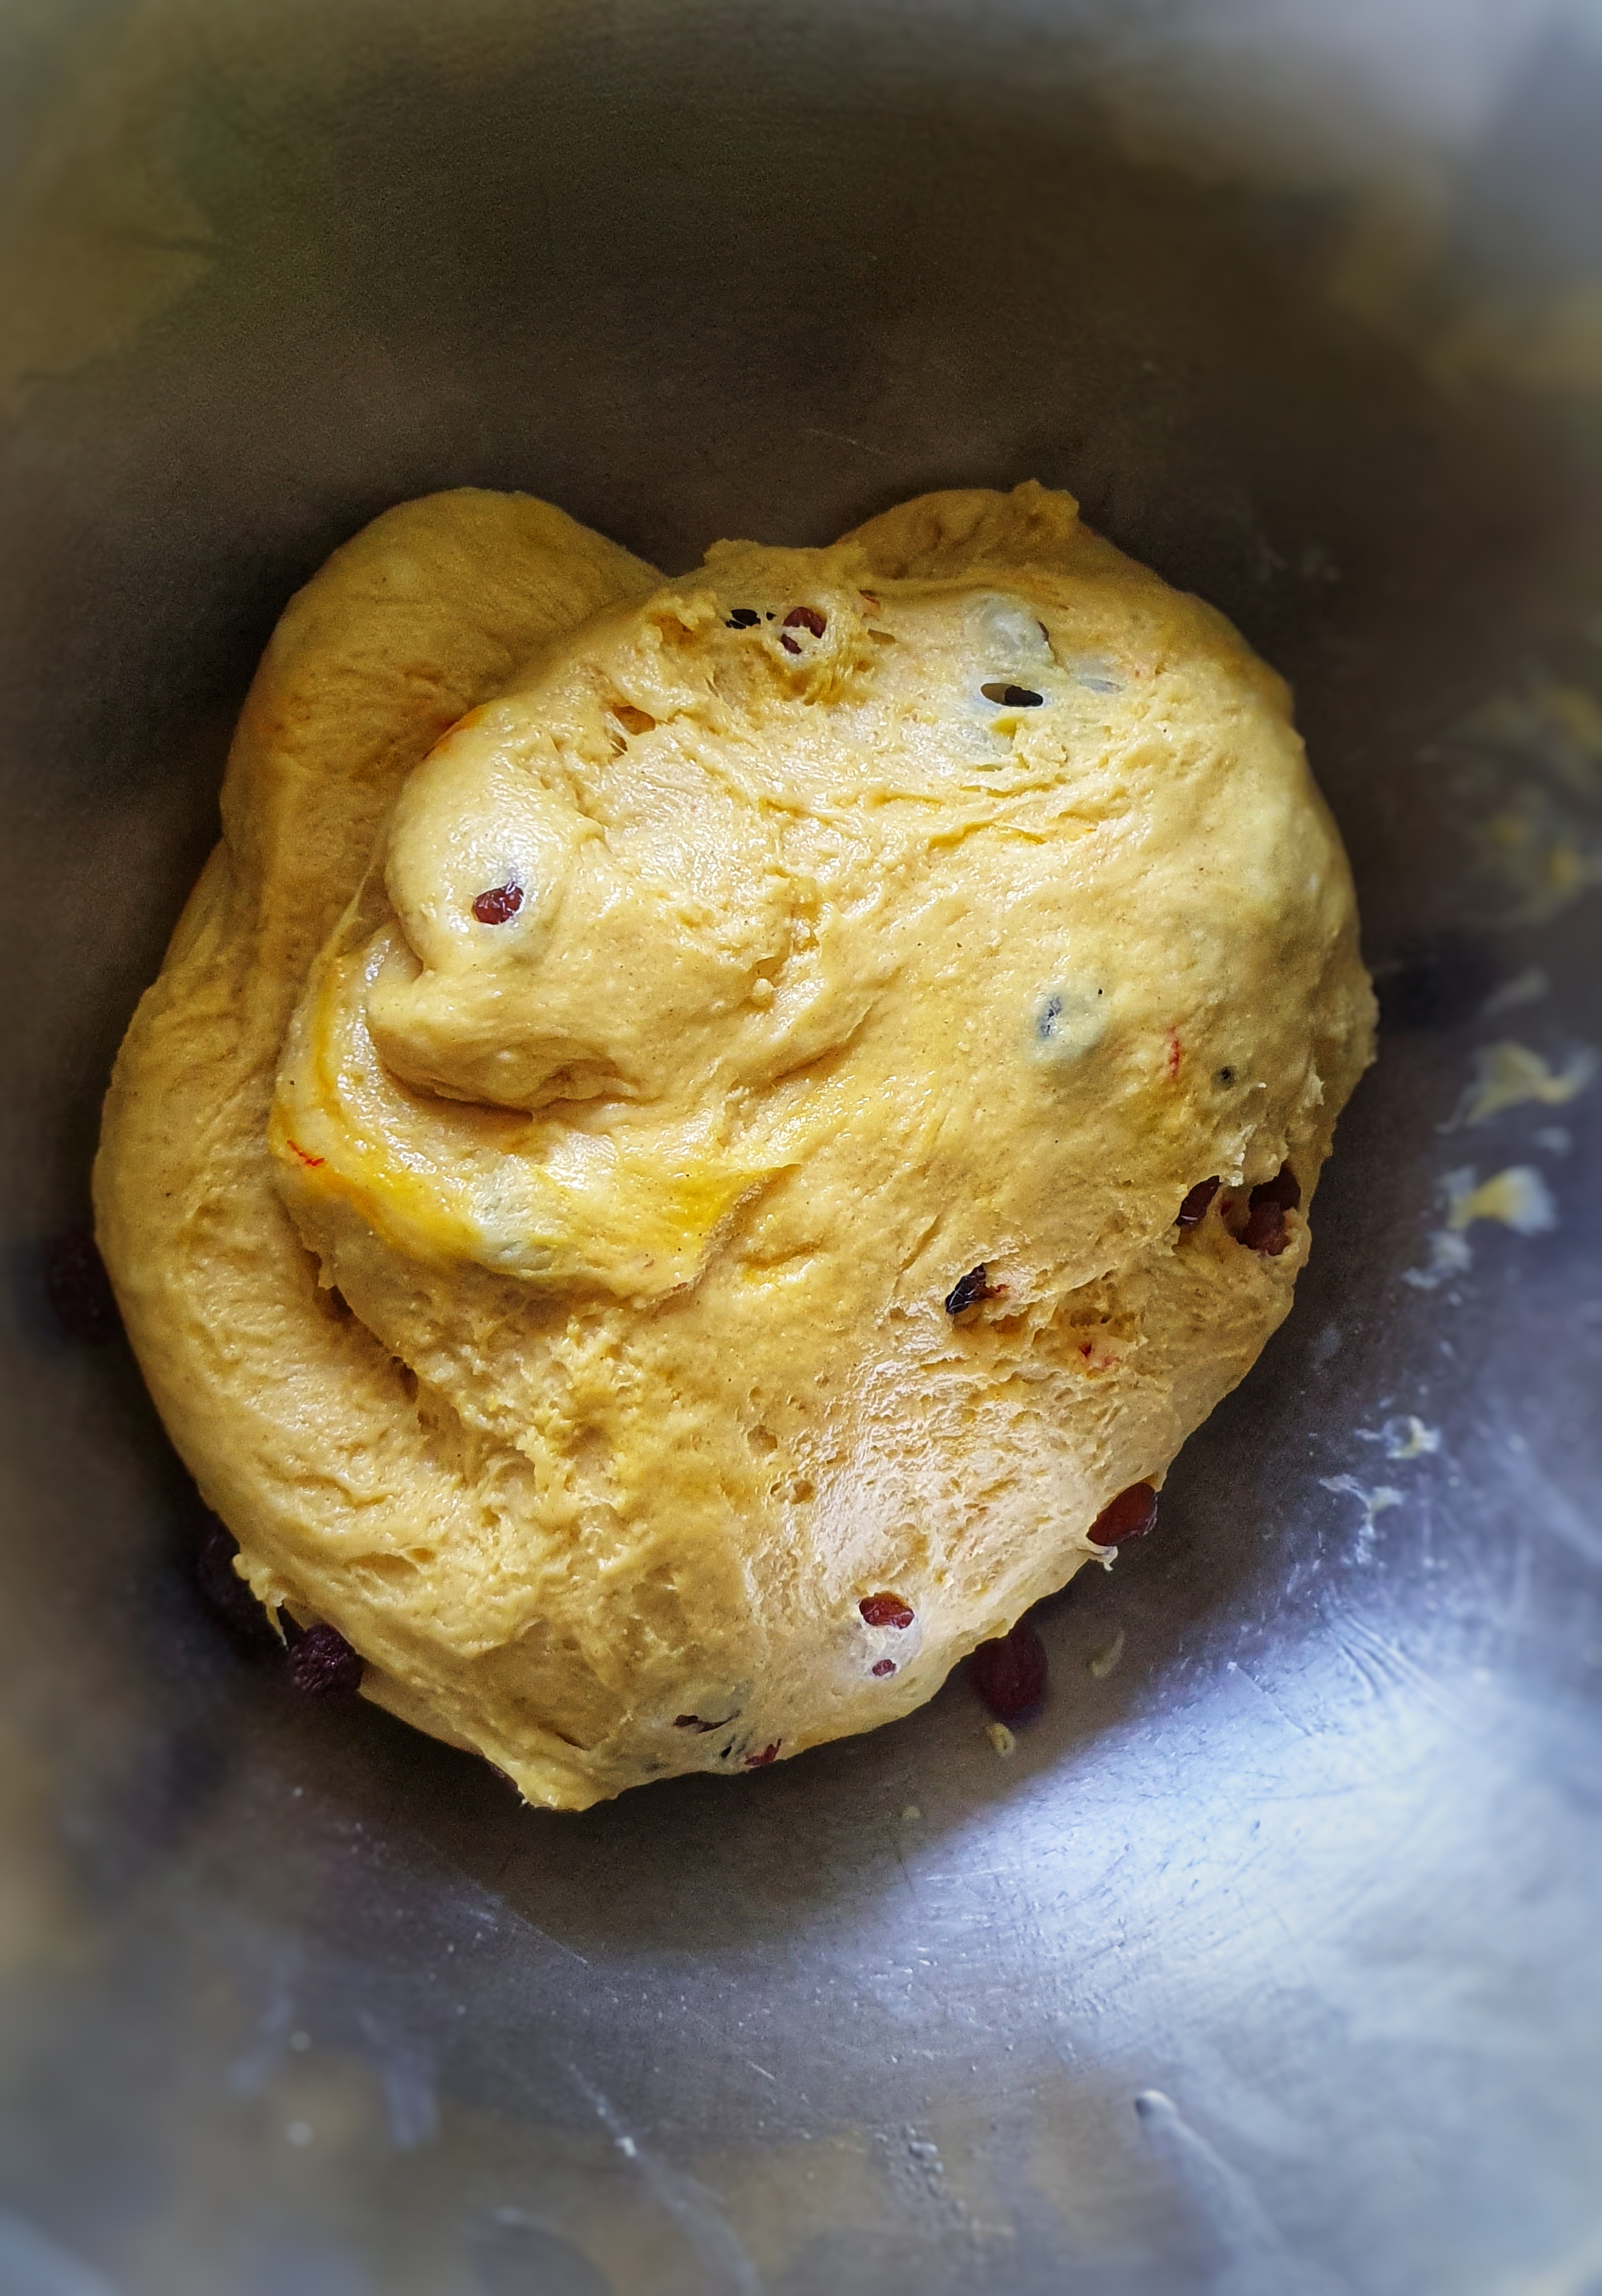
Knead the dried fruit into the dough, then divide into 12 (for precision weigh the dough), then line a baking tray with greaseproof paper.
Roll each piece of dough into tight balls using a very small amount of flour to prevent it sticking and then arrange on the baking tray. Cover and allow to prove – this usually takes a third of the time as the first rising.[11]
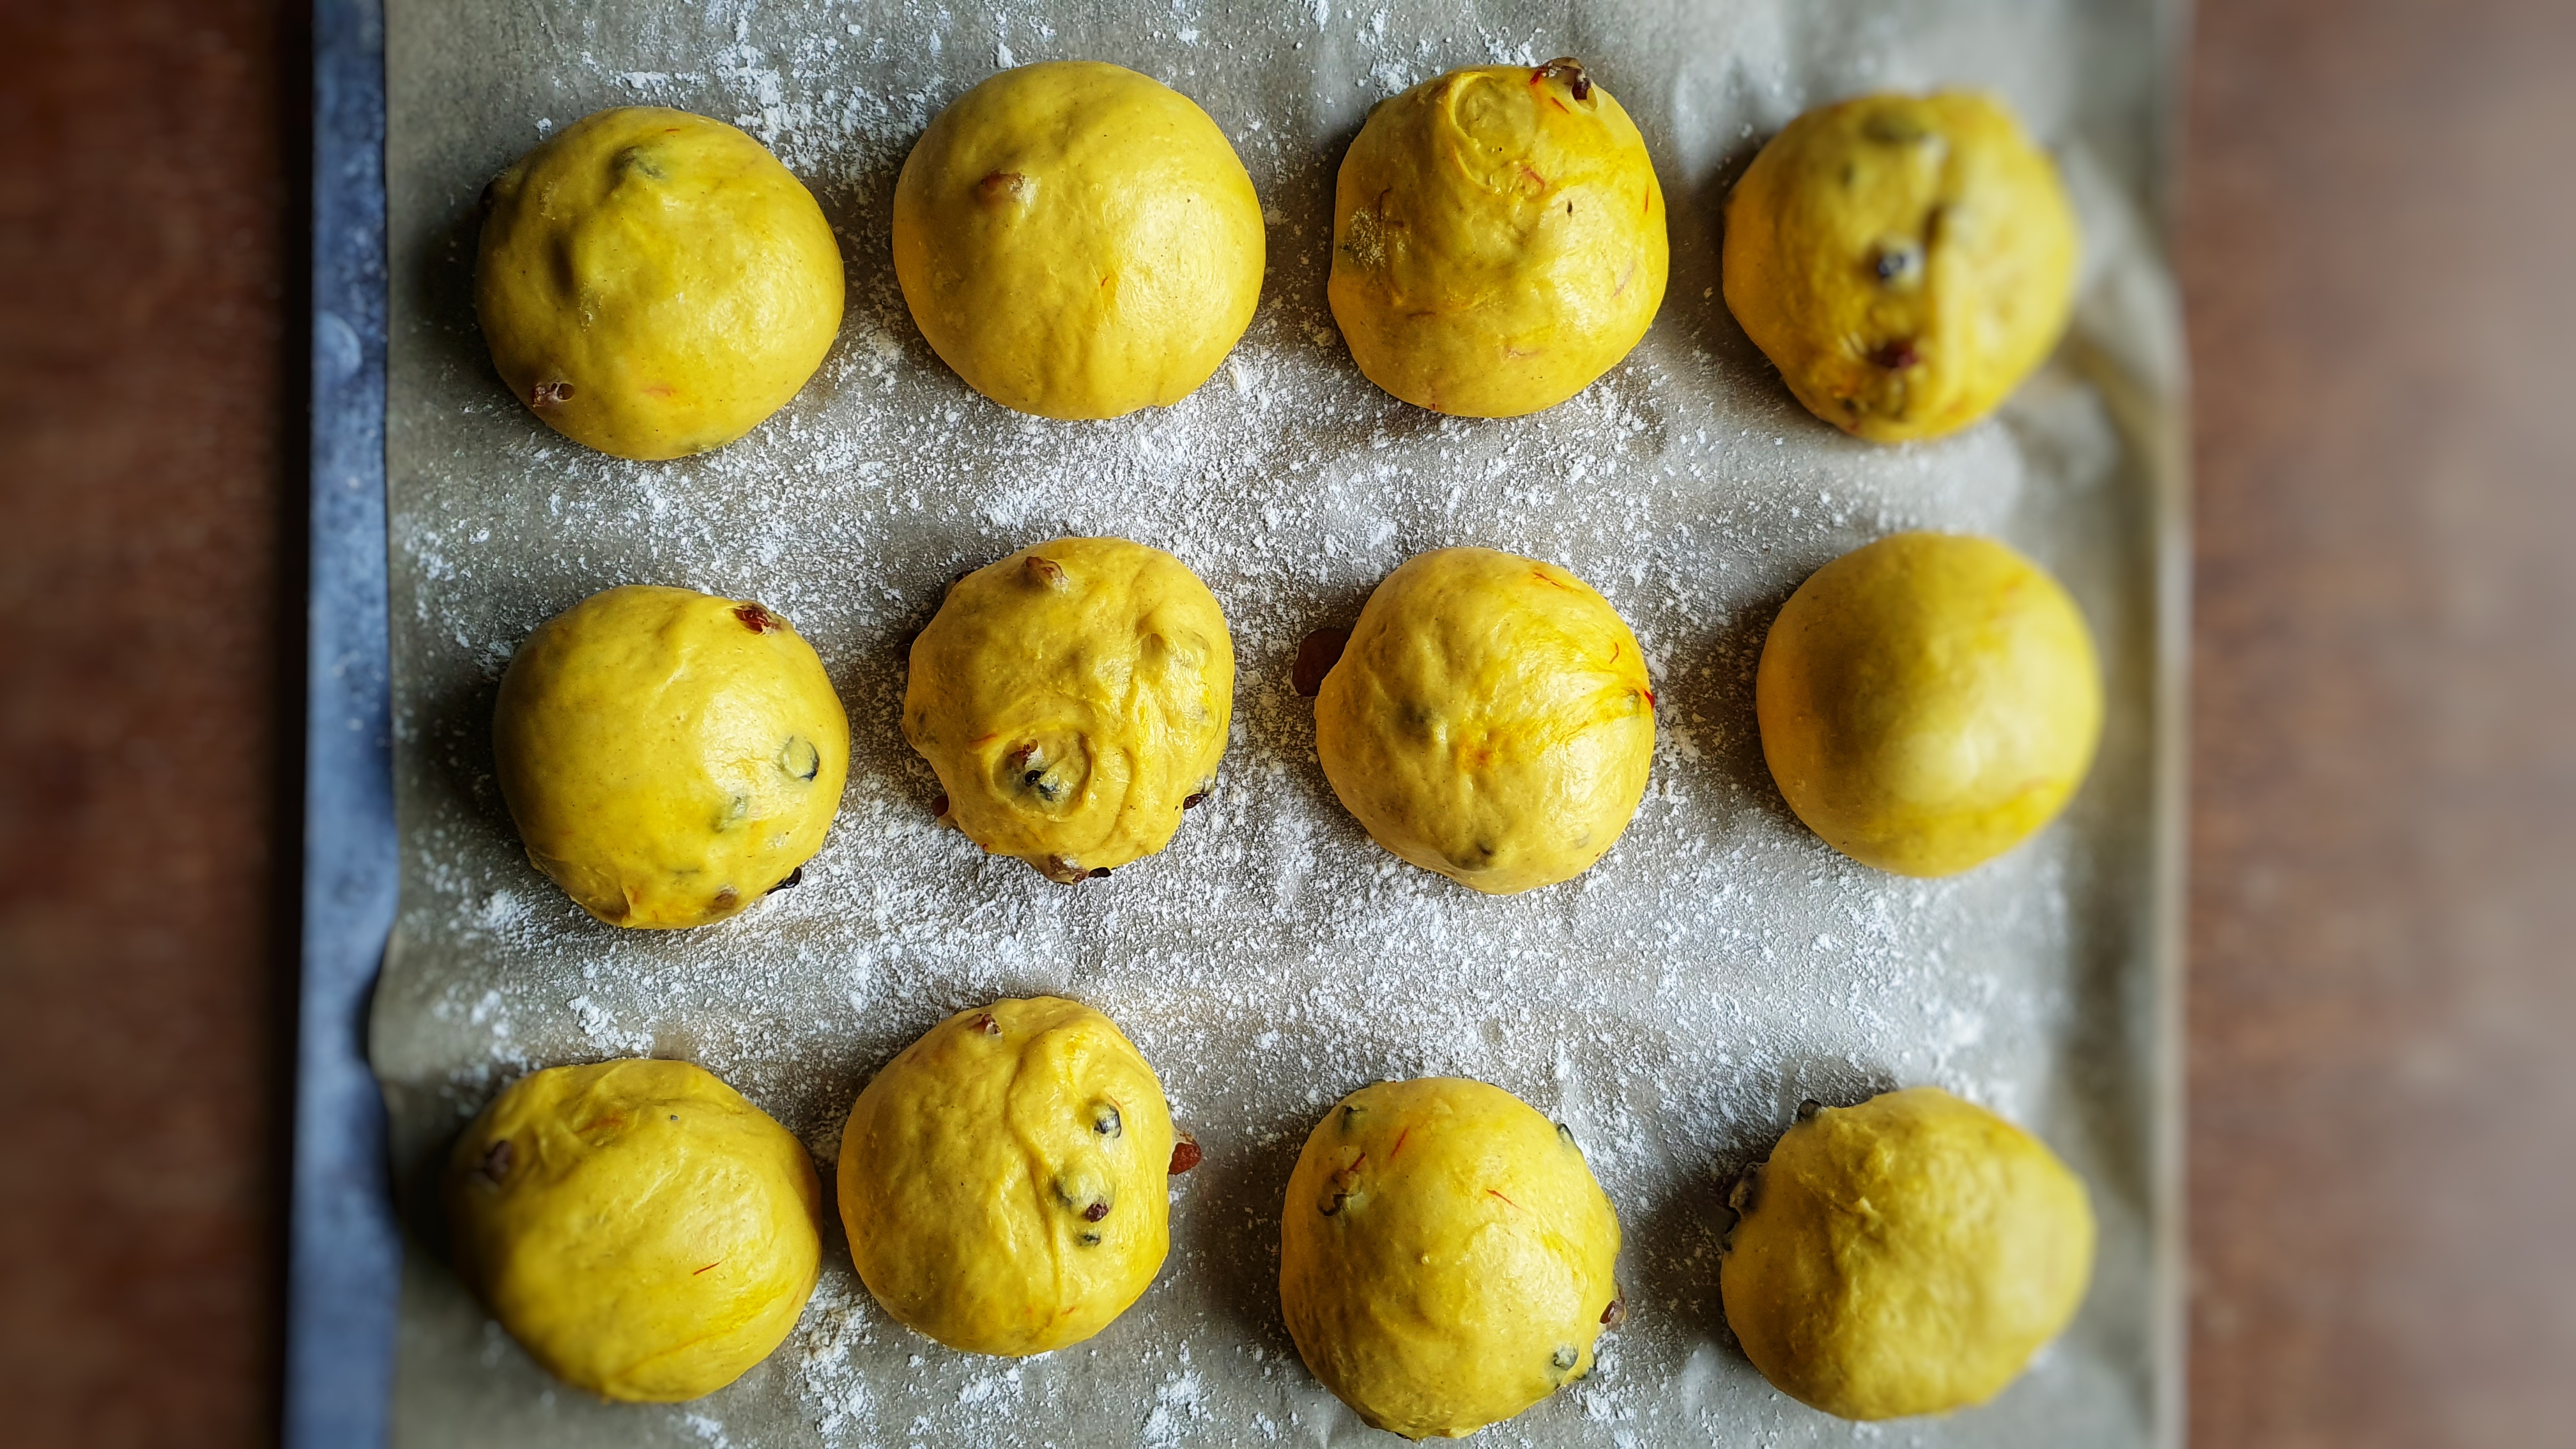
Preheat the oven to 200°C and use the steam setting, or place a metal tray on the base of the oven and pour water into it.
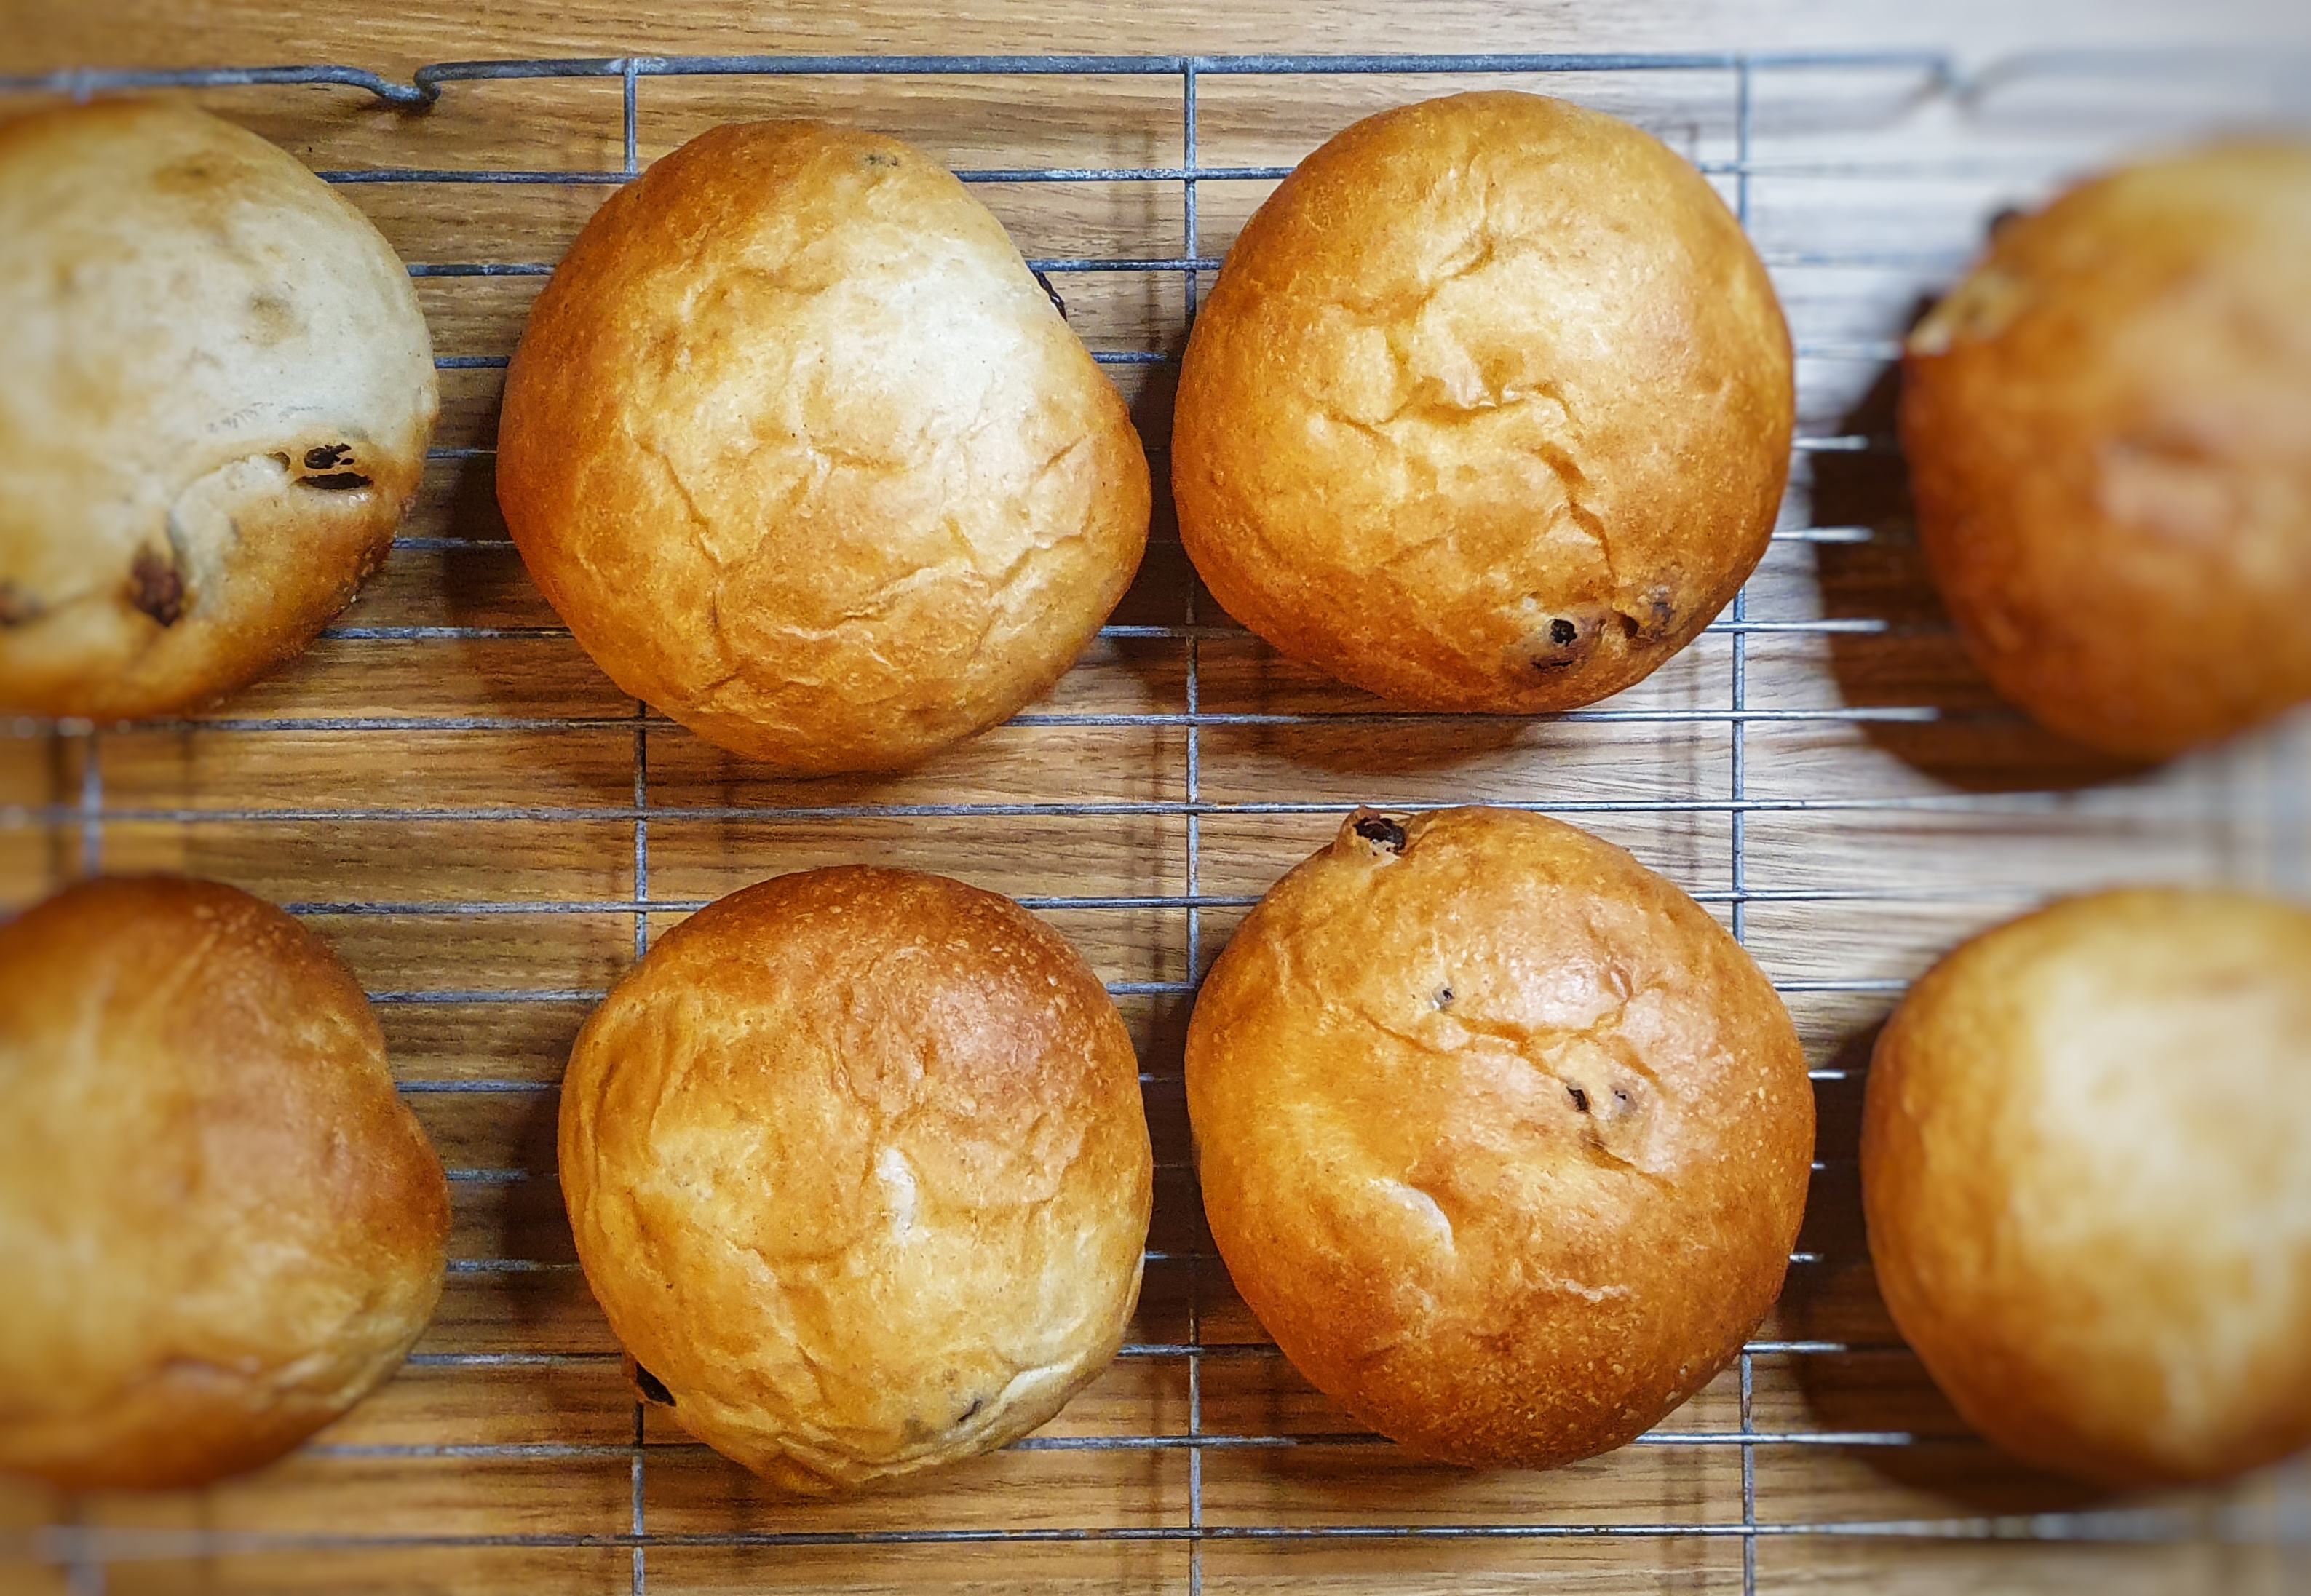
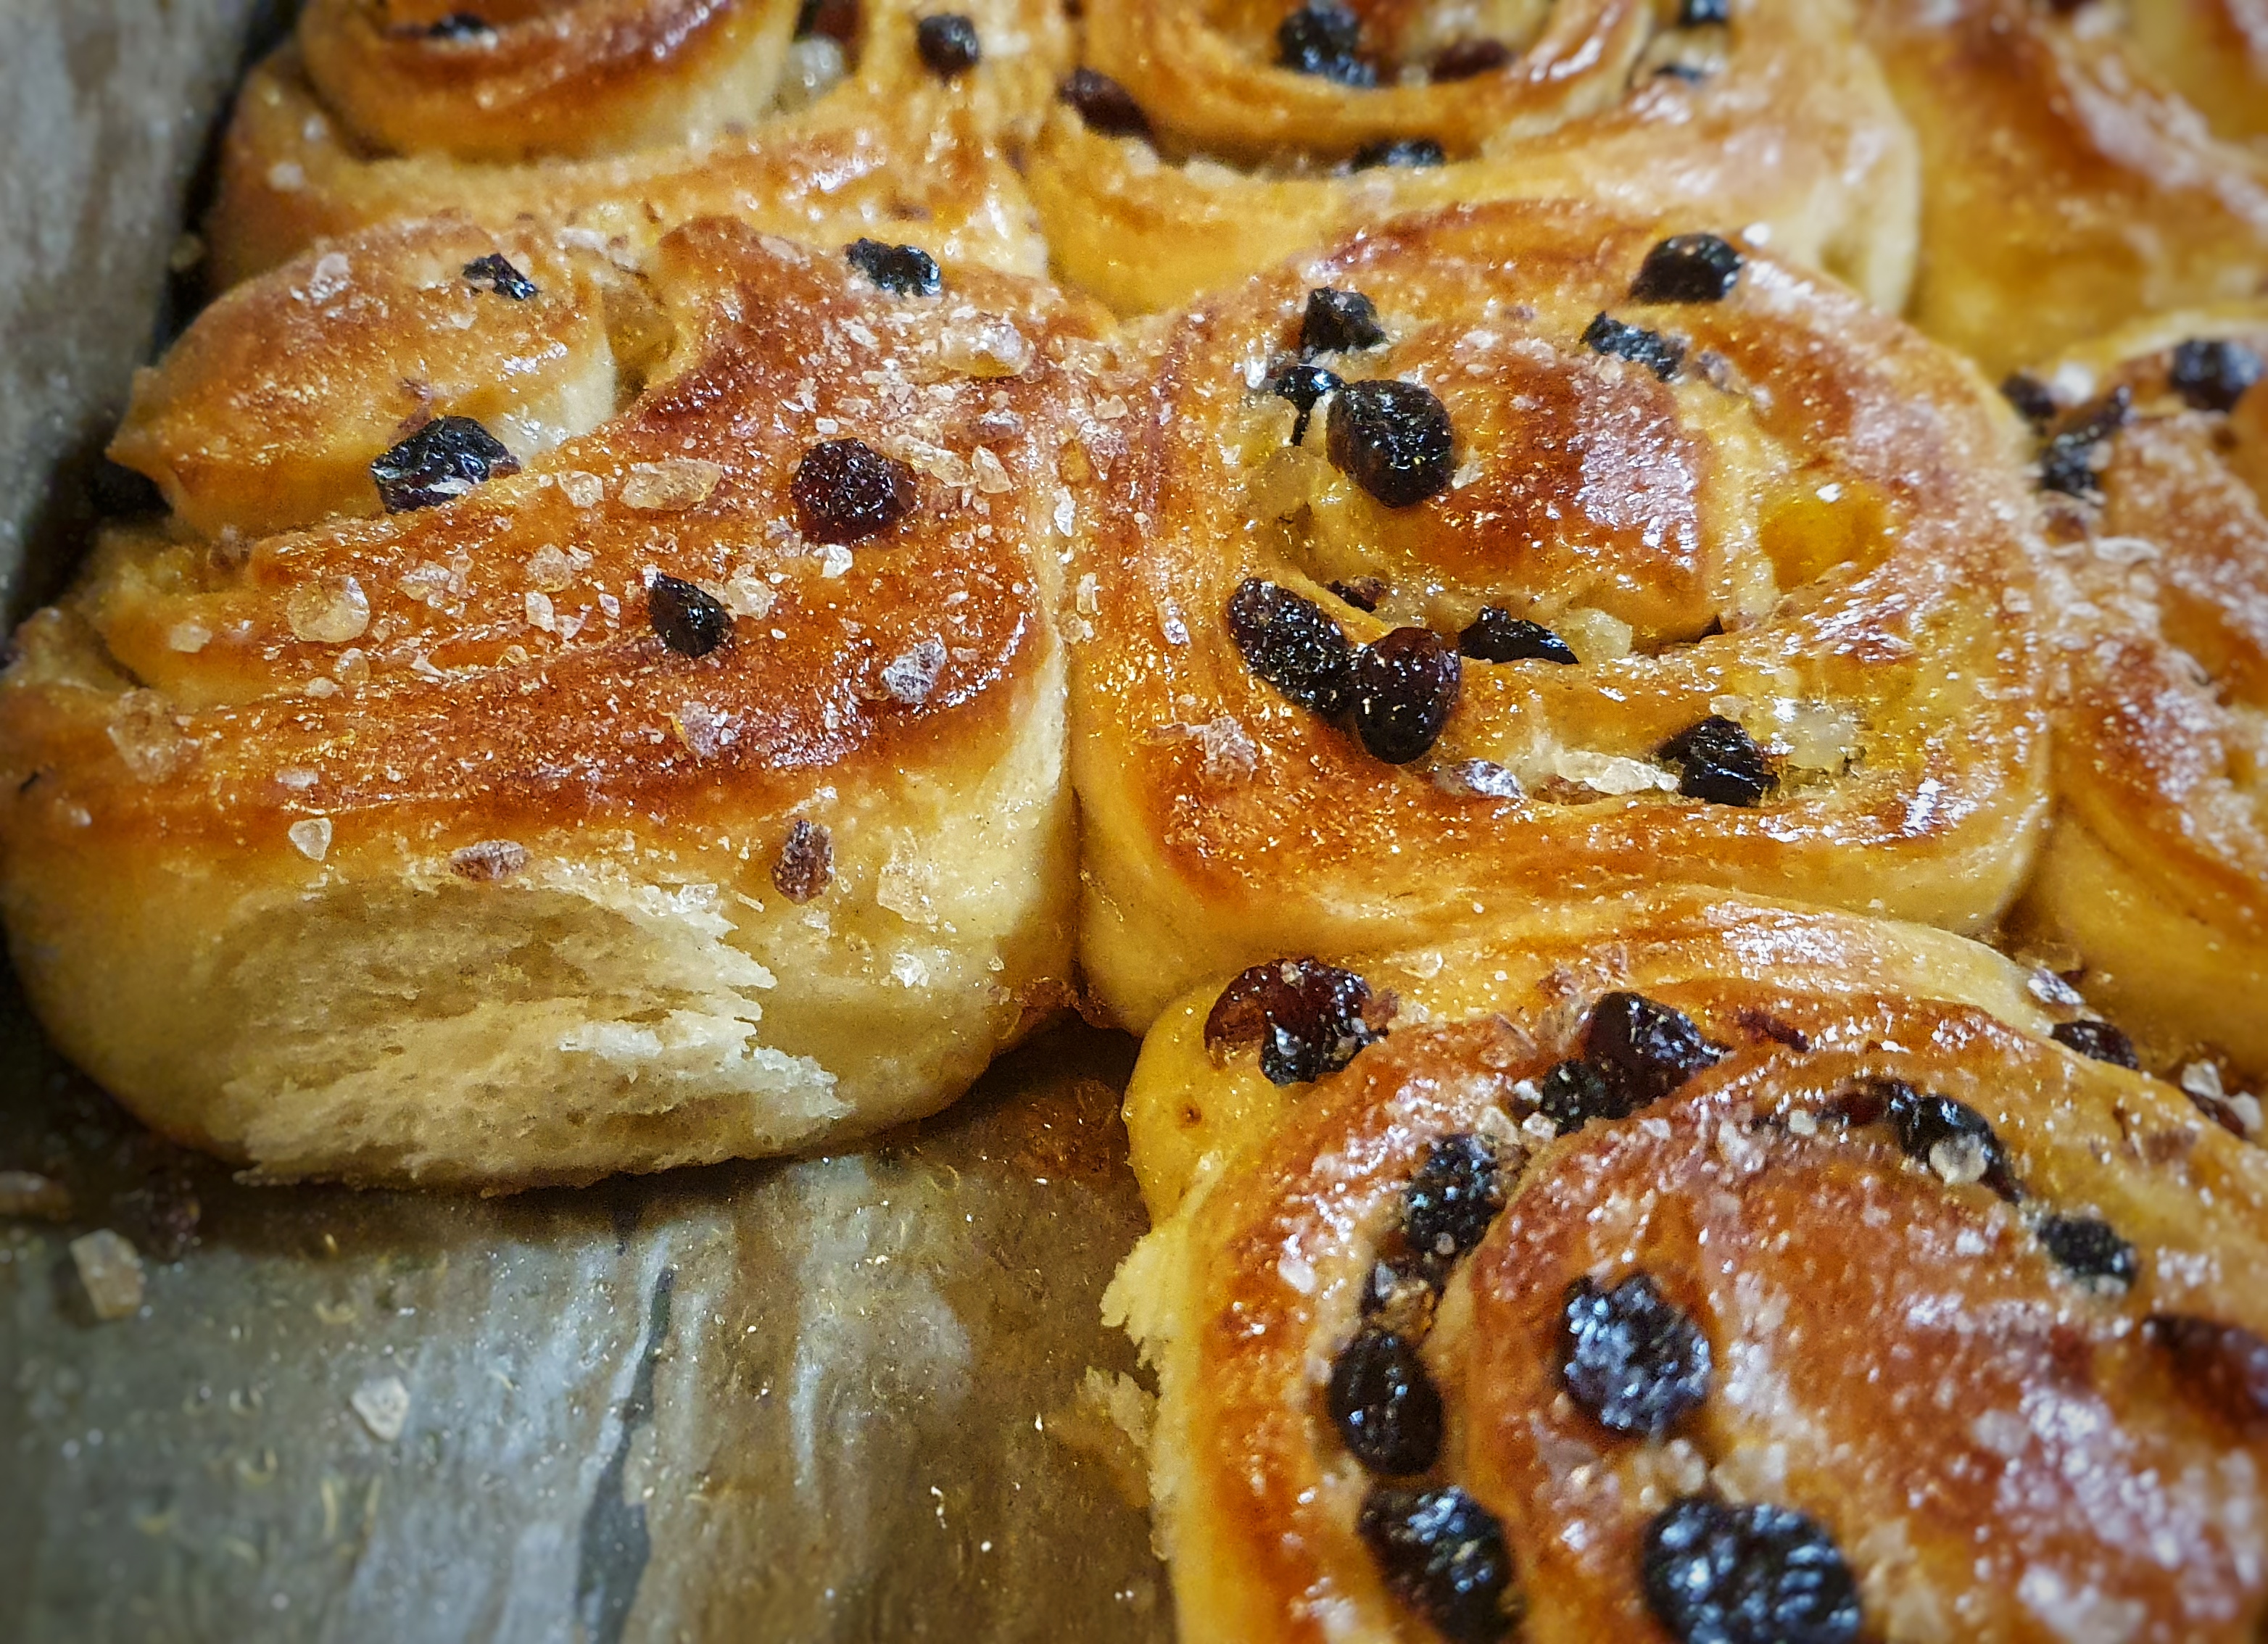
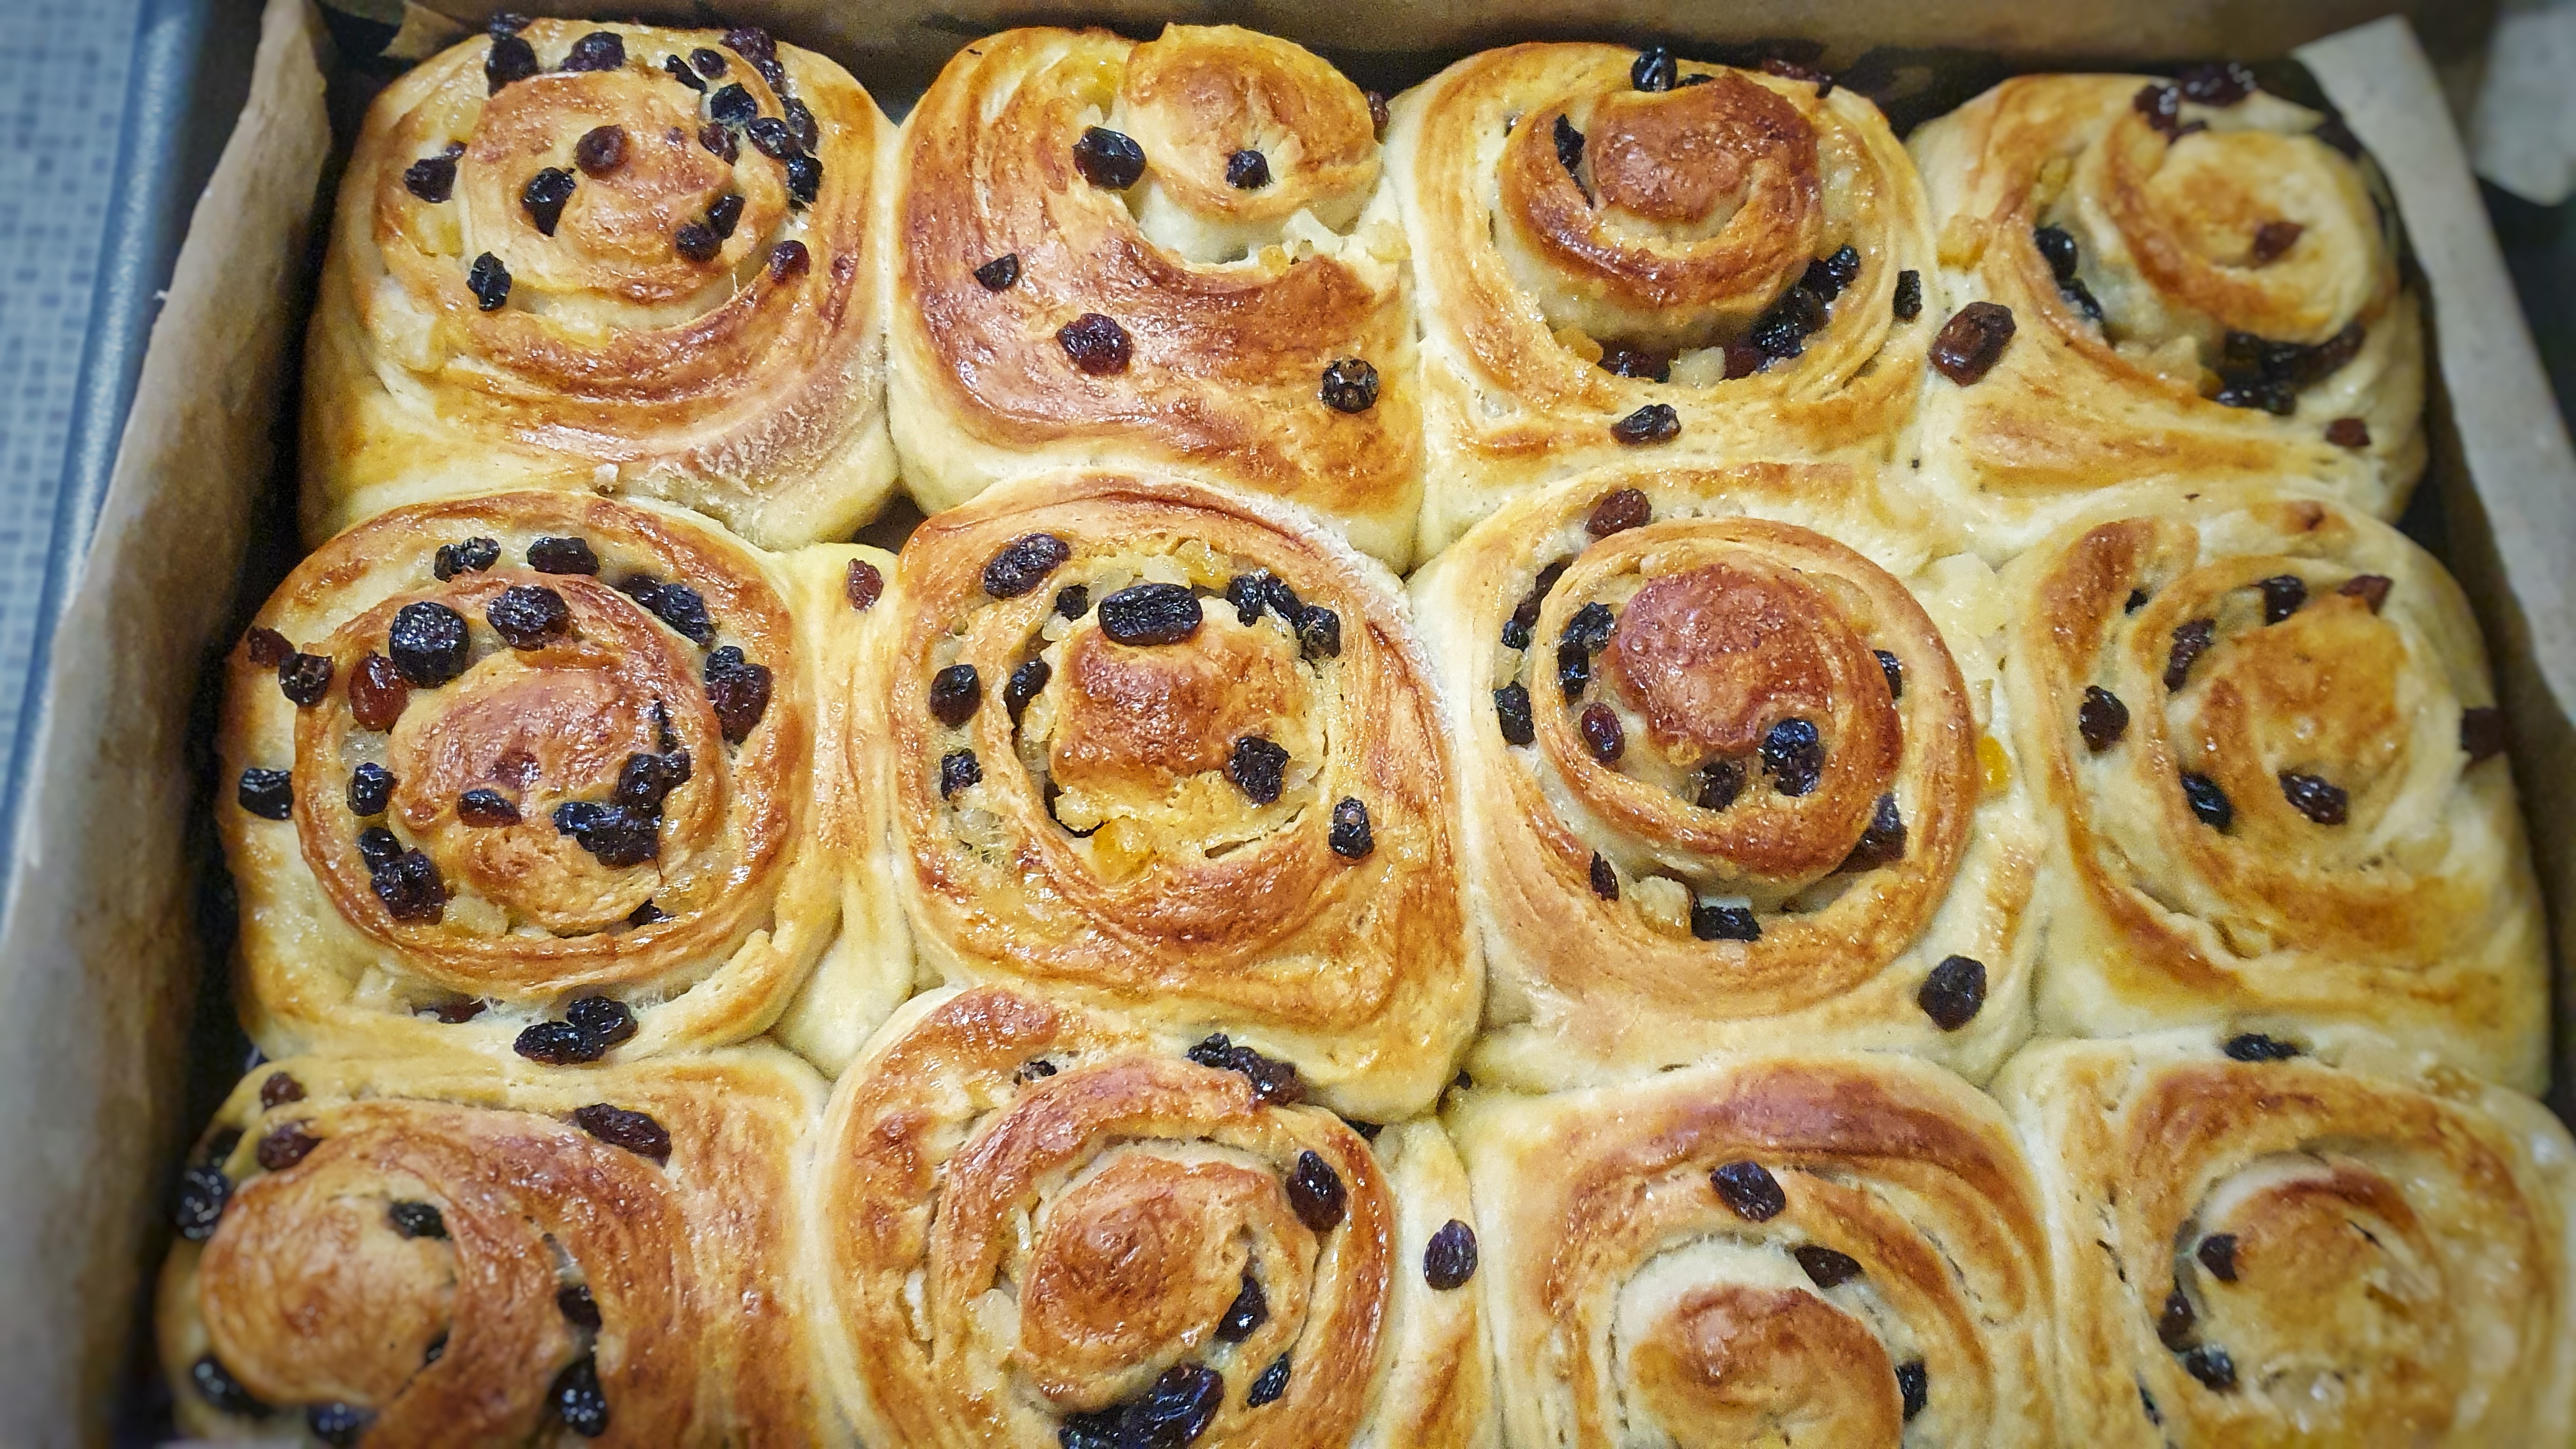
Brush the buns with milk and place in the oven for 18 to 20 minutes. If they turn too golden brown, turn down the heat to 175°C.
When ready, remove from the oven and immediately brush with more milk and then throw a double layer of clean tea towels over them and allow to cool.
These are best eaten on the day they were made; any older than that, they should be toasted.
Notes:
[1] Davidson, A. (1999) The Oxford Companion to Food. Oxford University Press; Mason, L. and Brown, C. (1999) The Taste of Britain. Devon: Harper Press. It also prompts the question – why are there no famous Essex saffron bakes or dishes? Maybe there is.
[2] Bilton, S. (2022) Fool’s Gold: A History of British Saffron. Prospect Books.
[3] Digby, K. (1669) The Closet of Sir Kenelm Digby Opened (1997 reprint). Edited by J. Stevenson and P. Davidson. Prospect Books.
[4] Cassell (1883) Cassell’s dictionary of cookery. Cassell, Petter, Galpin & Co.; Farley, J. (1783) The London Art of Cookery, and Housekeeper’s Complete Assistant. Price.
[5] Mason & Brown (1999); Bilton (2022).
[6] Bilton (2022).
[7] Cassell (1883)
[8] David, E. (1977) English Bread and Yeast Cookery. Grub Street.
[9] Bilton (2022).
[10] I speak from personal experience here: if you don’t remove the skin, the strands just get caught encapsulated in it.
[11] The best things to use to cover a whole tray of buns are a large shopping “bag for life”, an upturned plastic storage box or a damp, clean tea towel: take your pick.