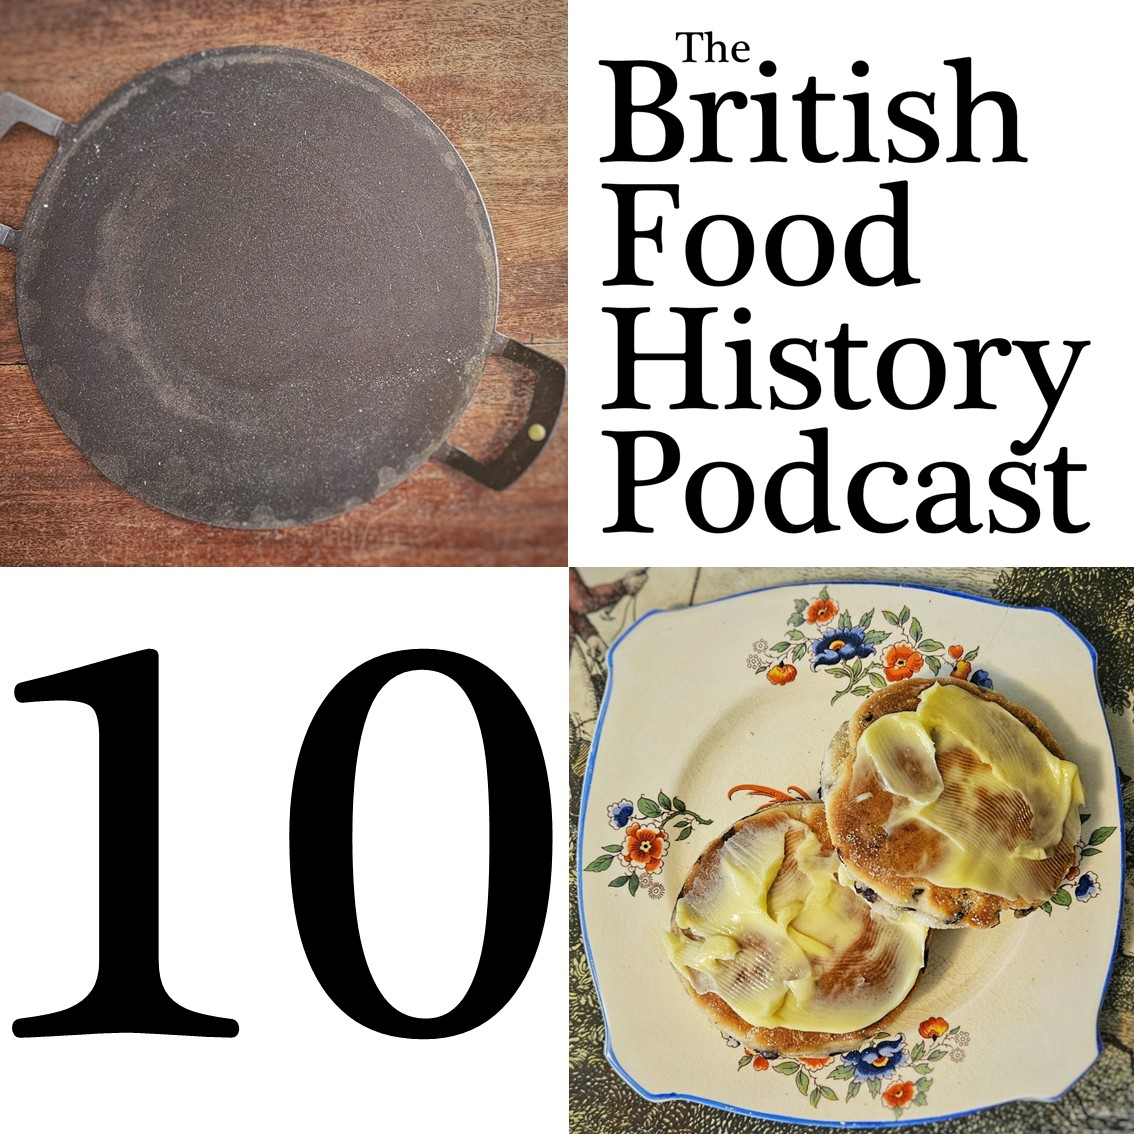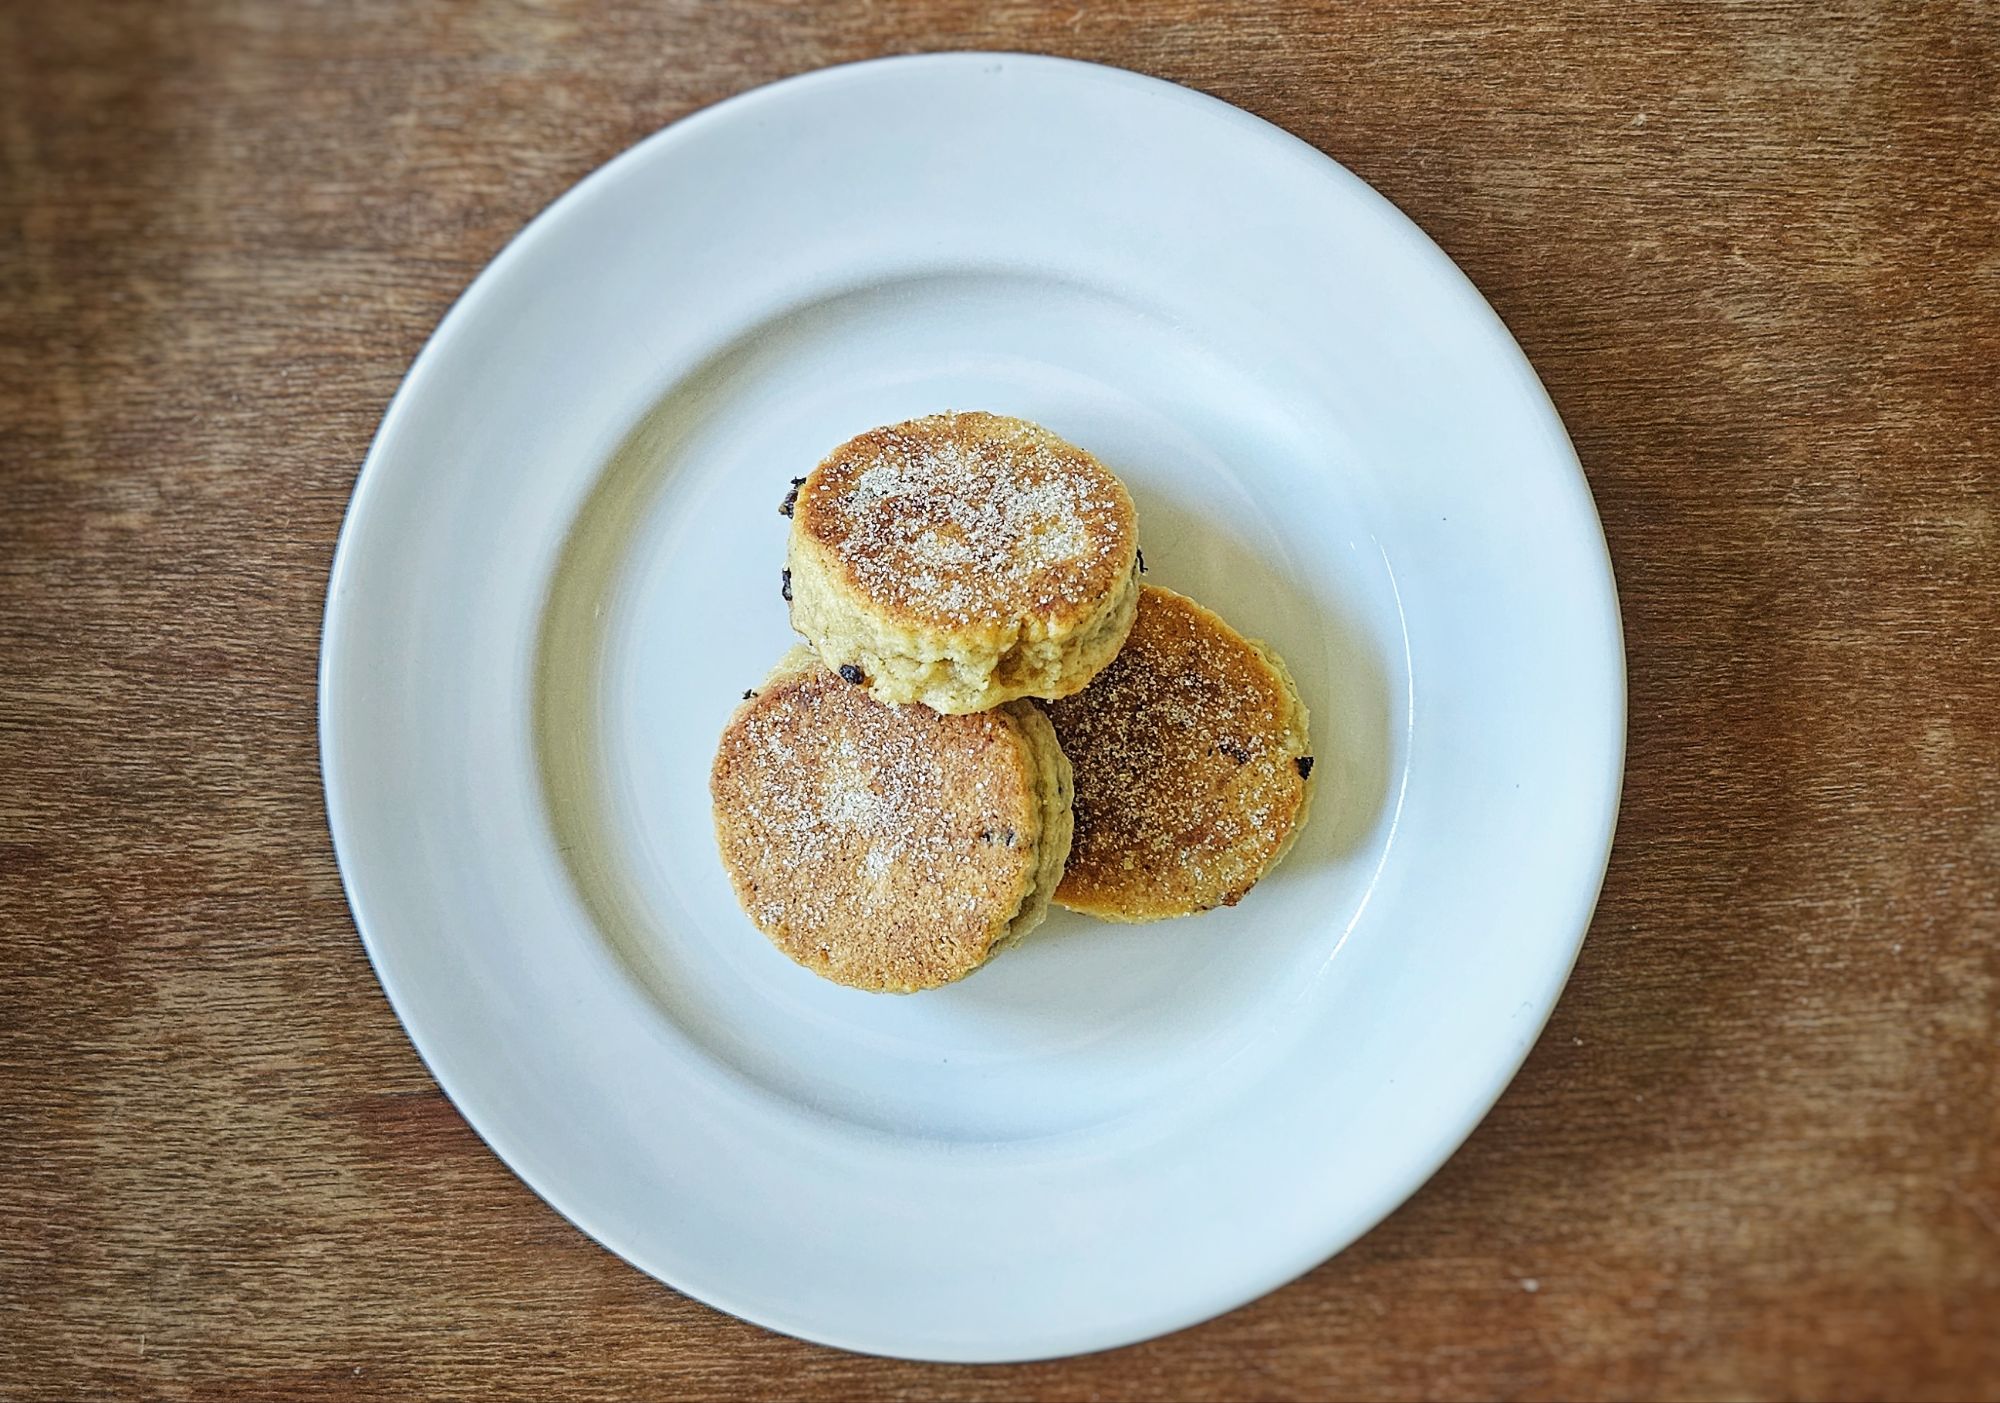
In the most recent episode of The British Food History Podcast, Griddle & Bakestone Cookery with Peter Gilchrist & Ross Clarke, we talked about several culturally important bakestone bakes. One of these was, of course, the iconic Welsh cake or pice ar y maen, which translates literally as ‘cakes off the stone’ (or I think it does; please do correct me, Welsh speakers). Ross said they were called bakestones where he grew up, but they also go by other names: round cakes, tishan ar y maen and tishen lechwan.[1]
You need a griddle or bakestone to make Welsh cakes. I used my 12-inch Netherton Foundry griddle, which has a good thick base. Netherton Foundry are very kindly sponsoring the 10th season of The British Food History Podcast. Please check out their website to see their range.

According to the Amgueddfa Cymru (Museum of Wales) website, they originated in the second half of the 19th century in Glamorgan, South Wales.[2] We have to remember that white wheat flour would have been less available to folk before then; as in most parts of Britain, oats were the cereal most commonly eaten.
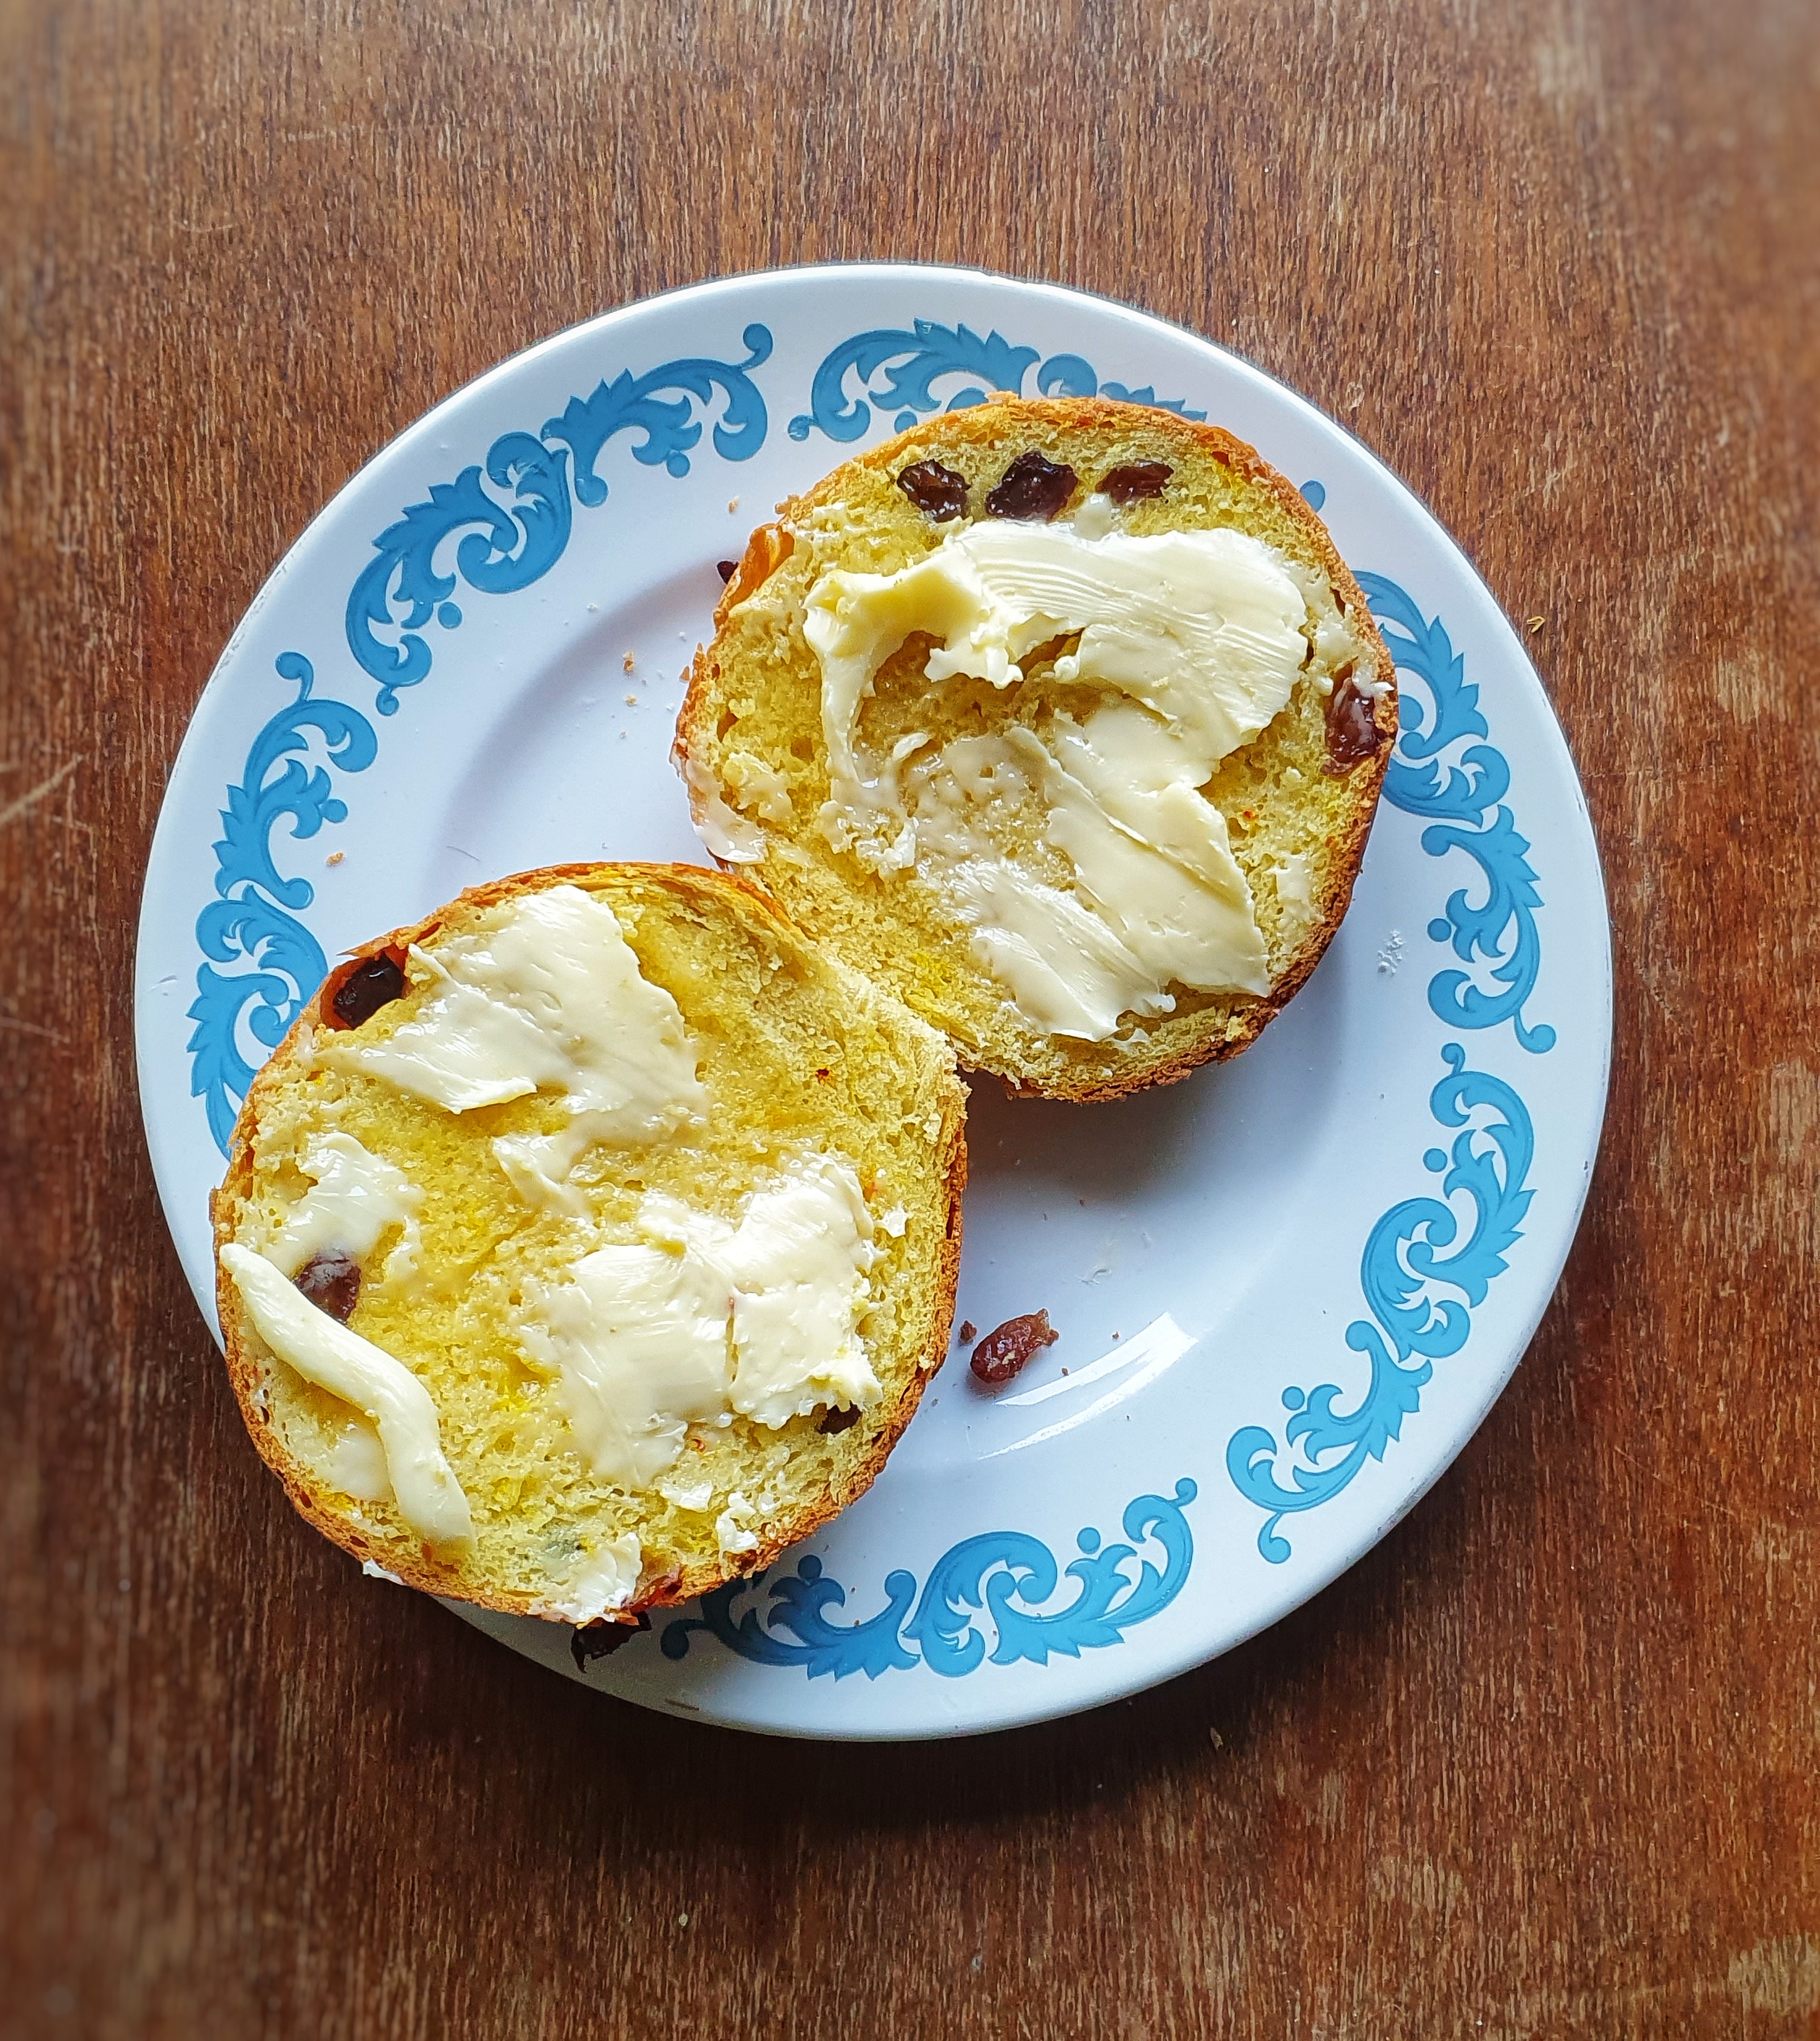
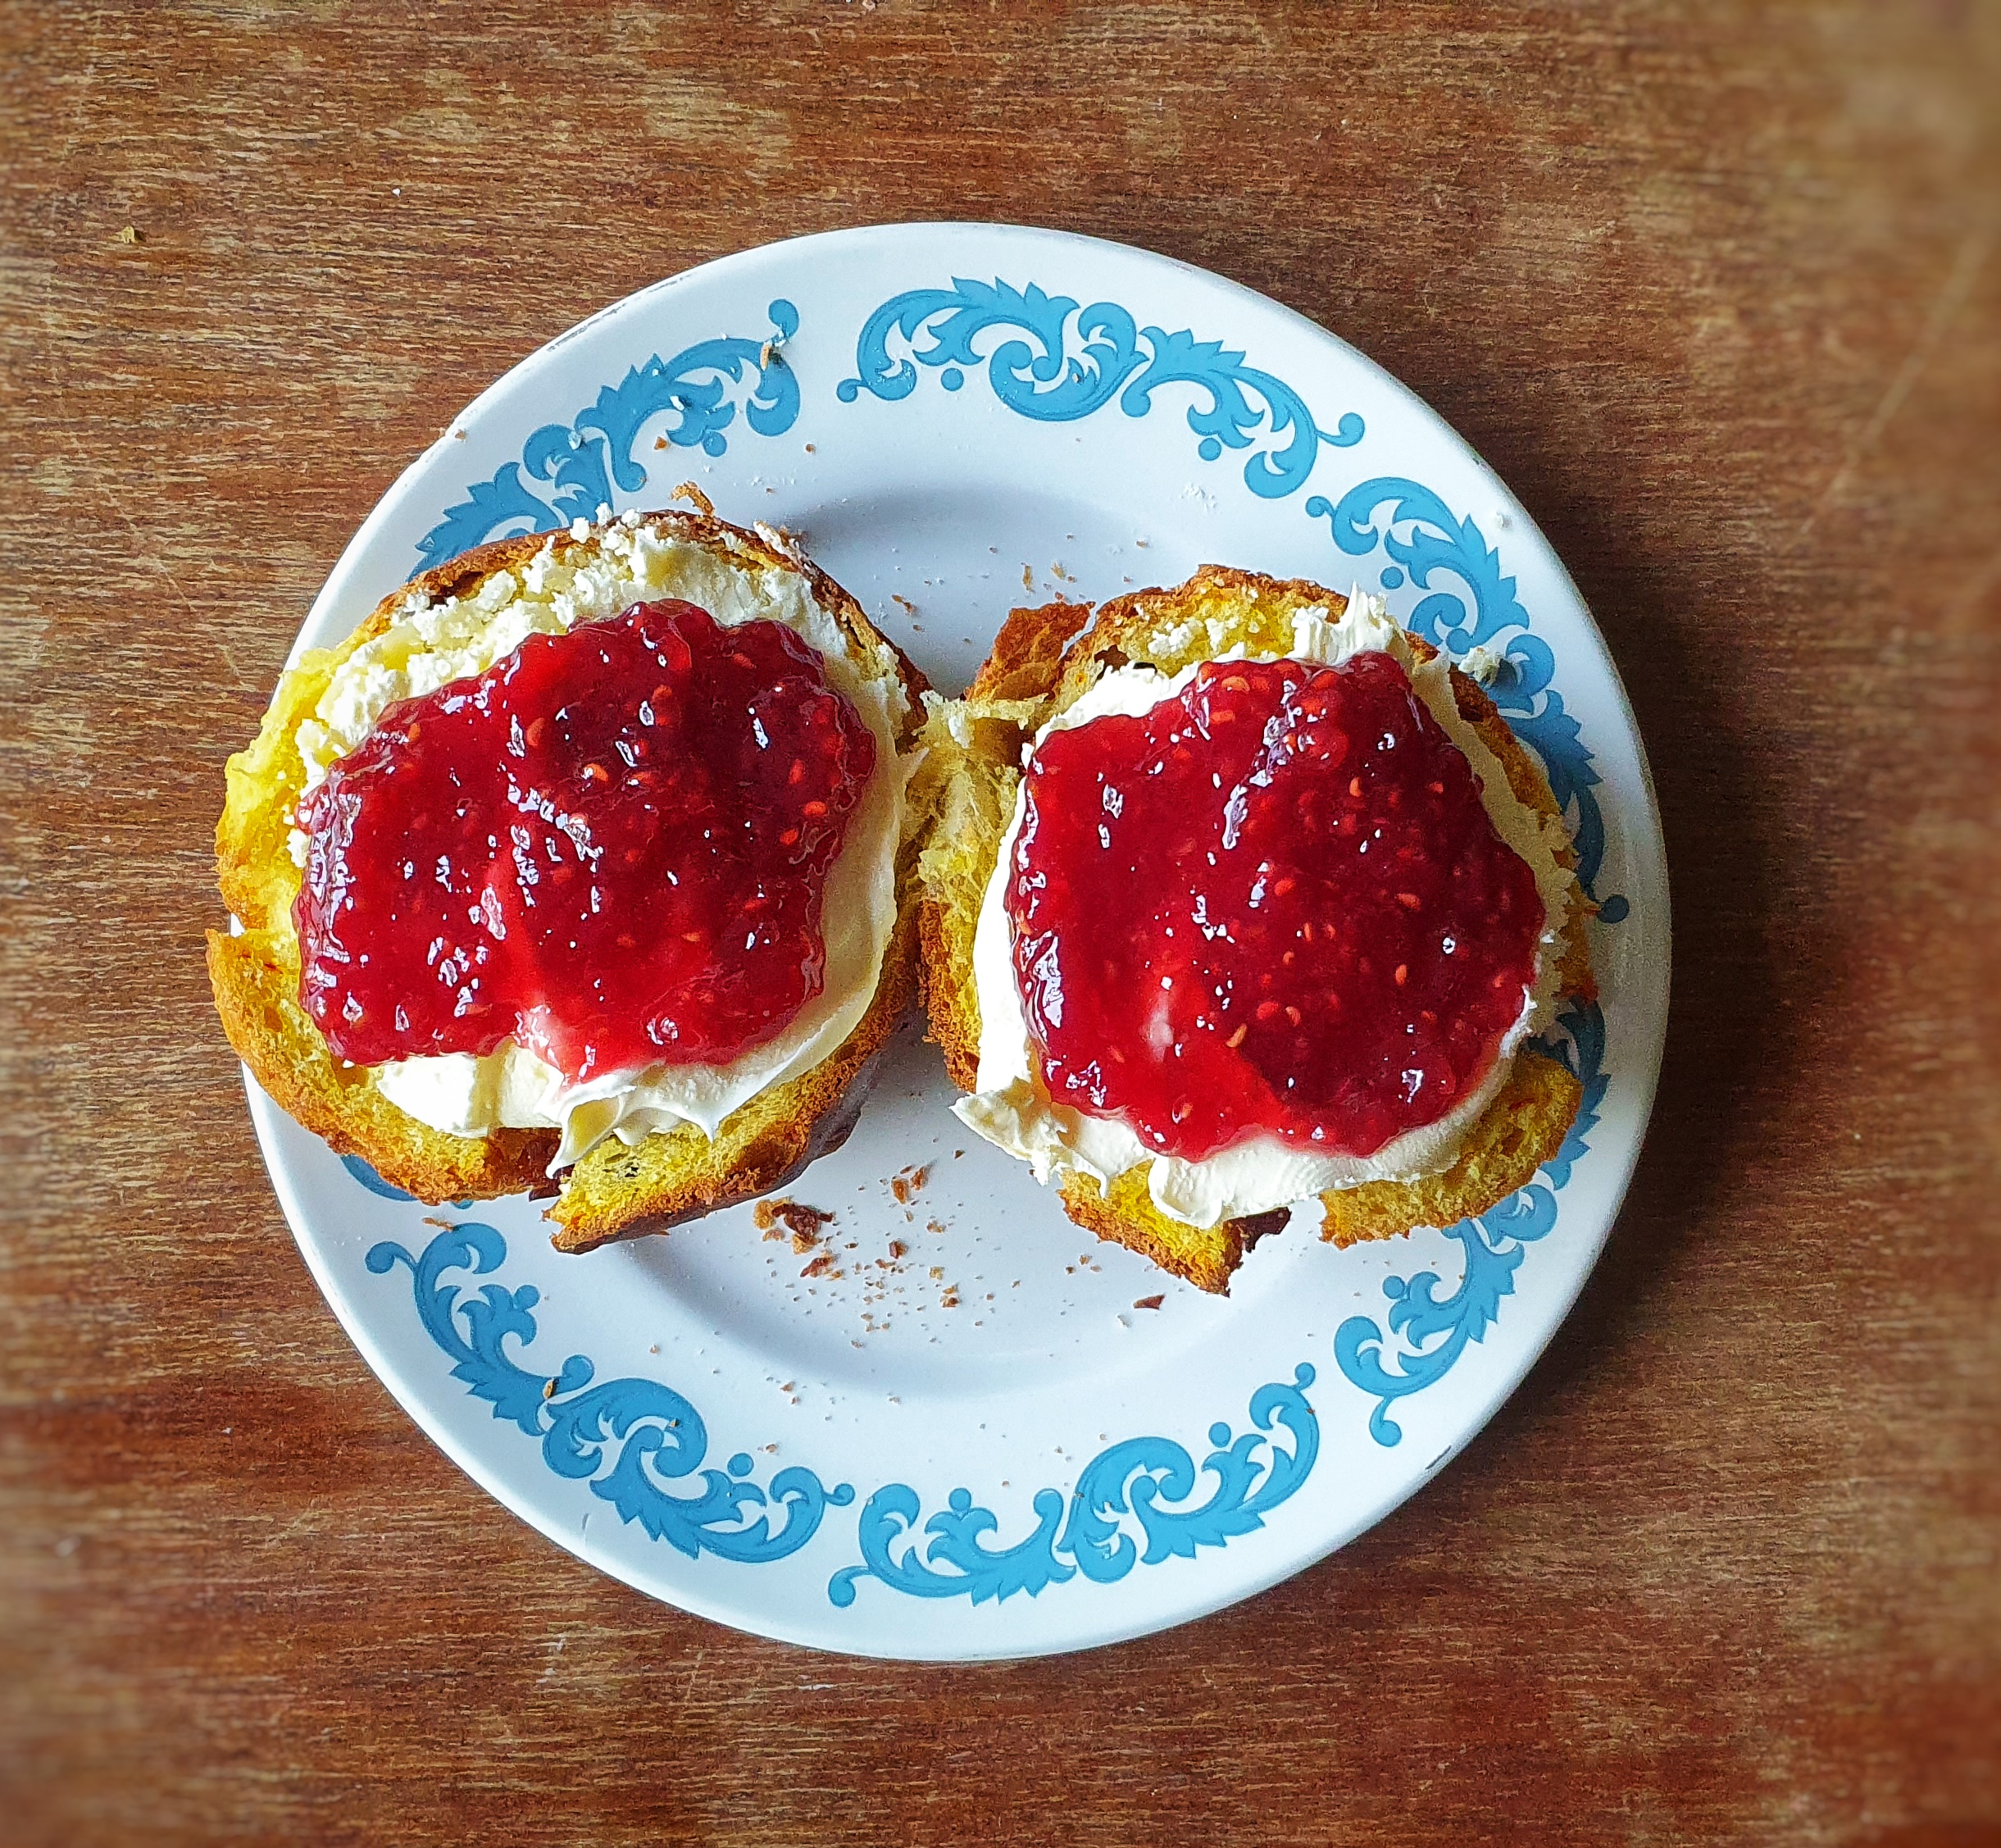
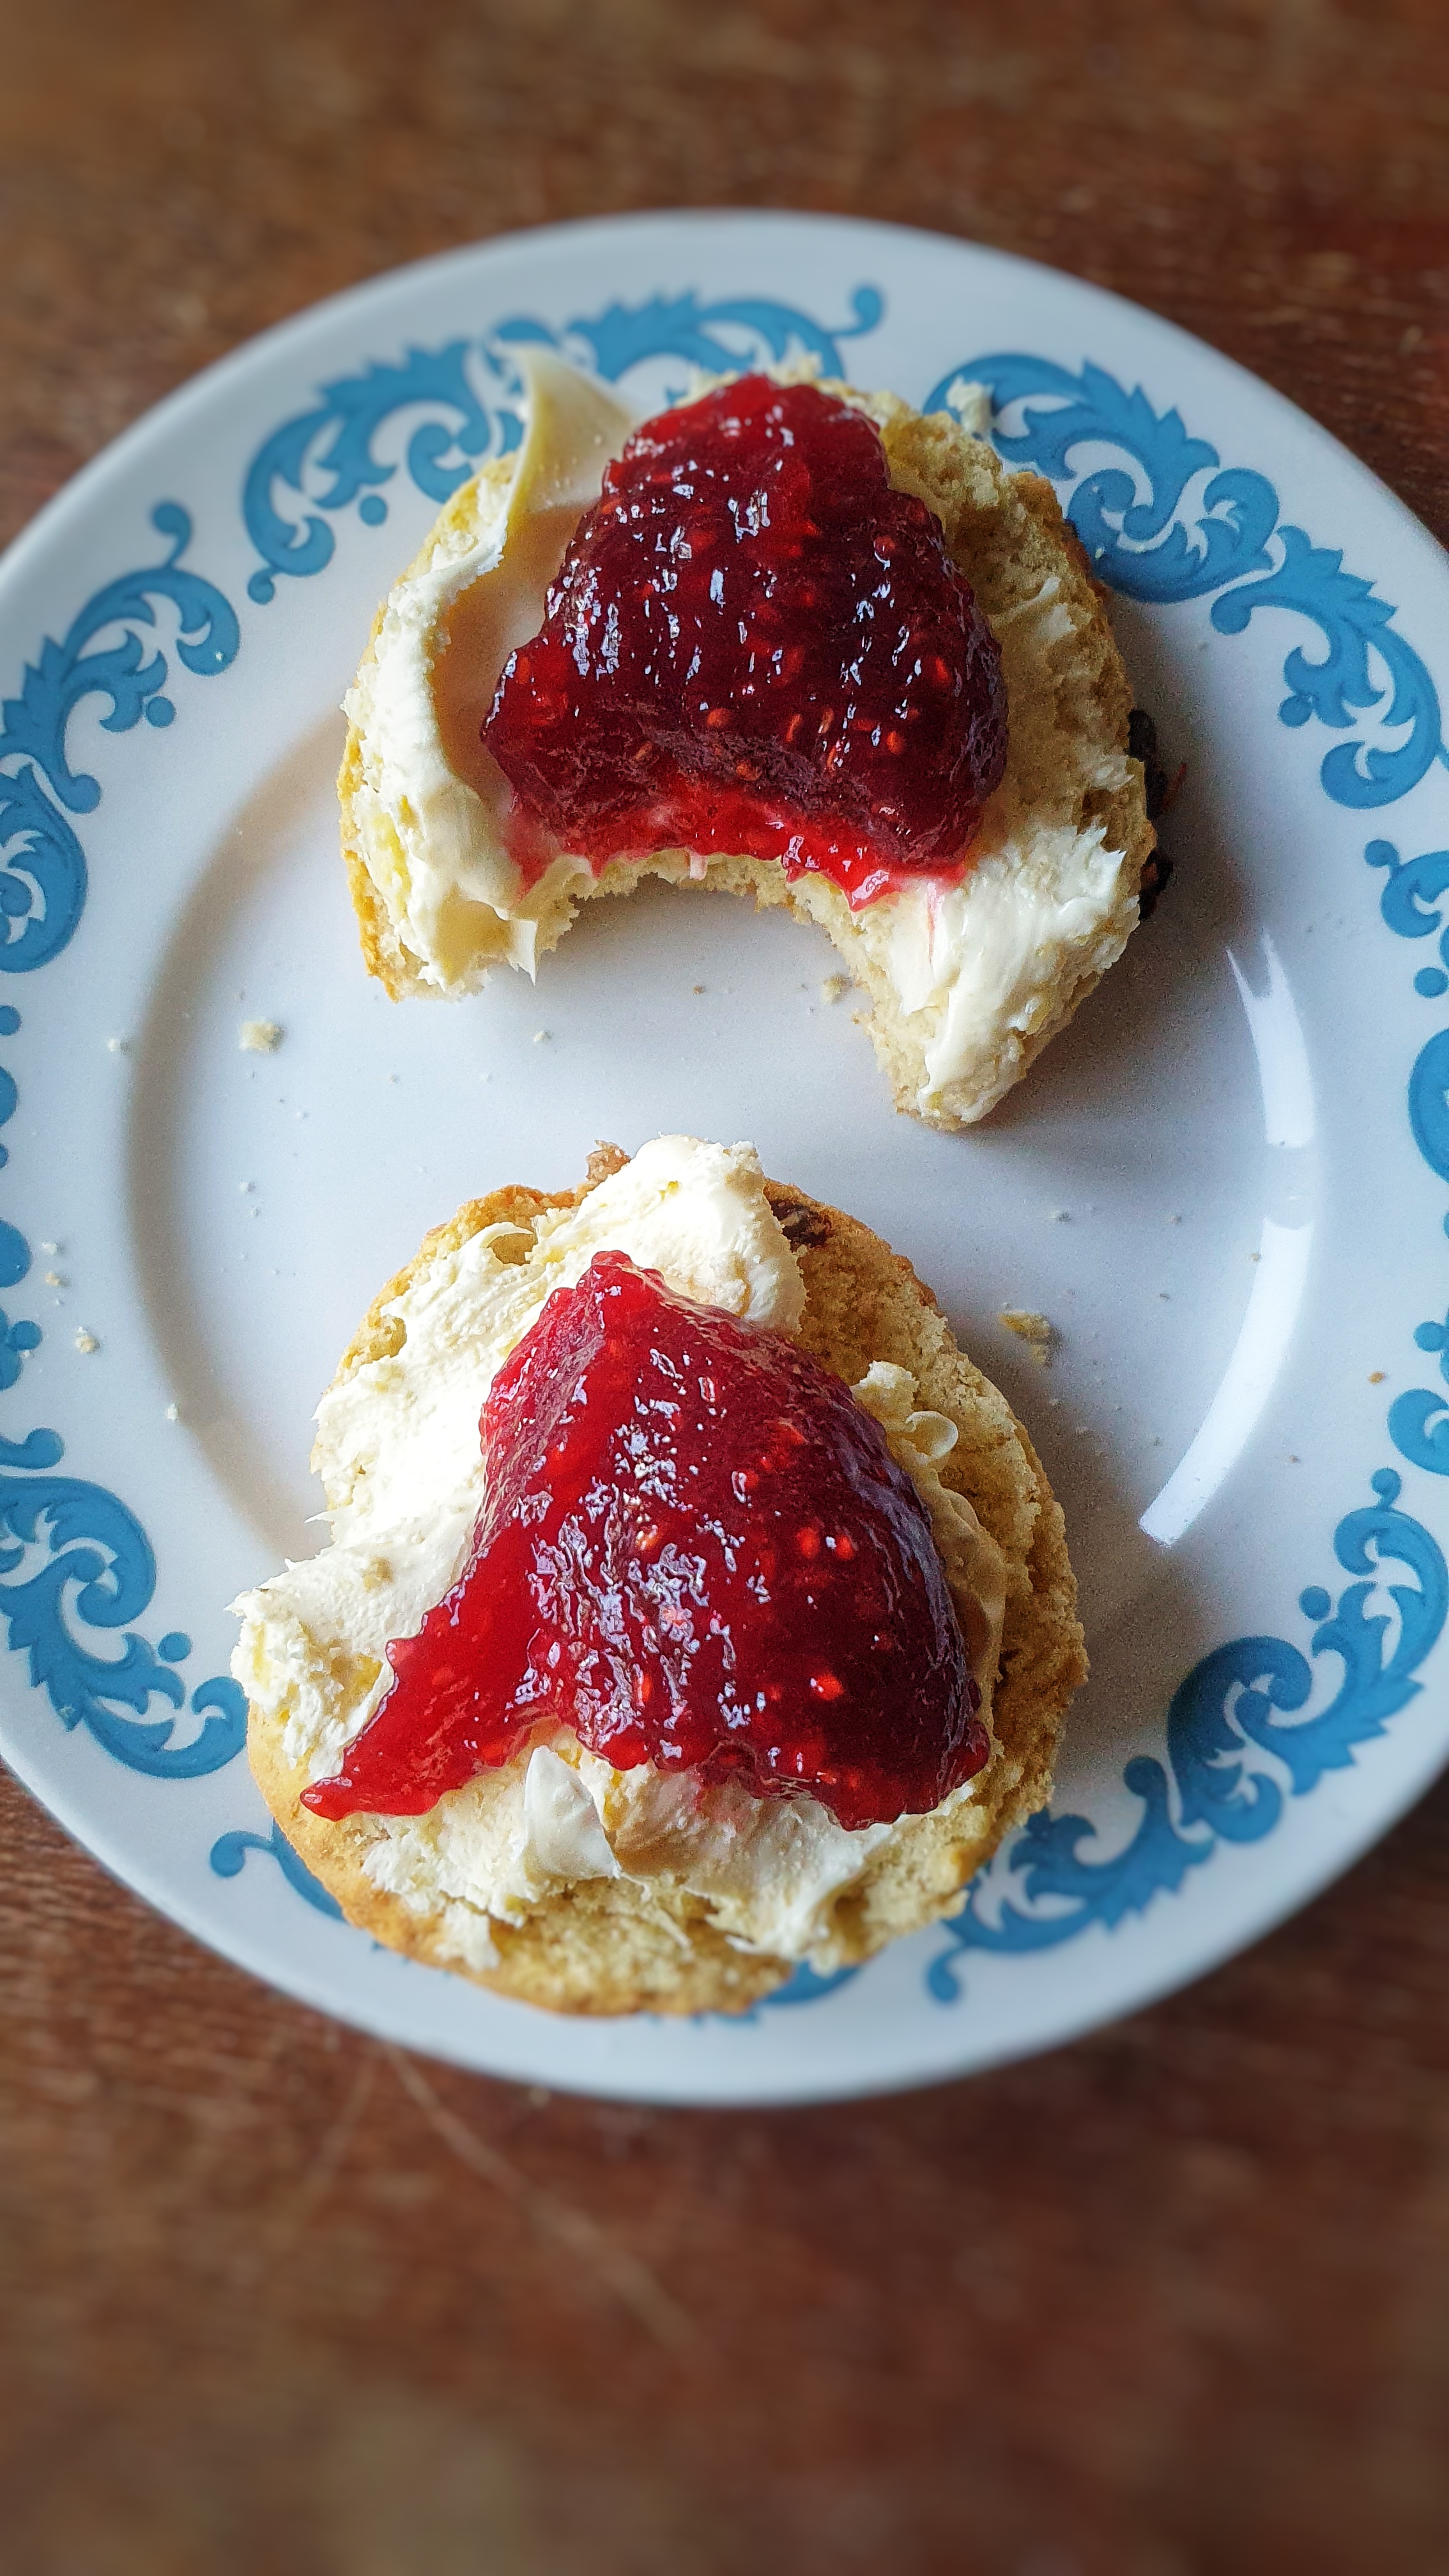
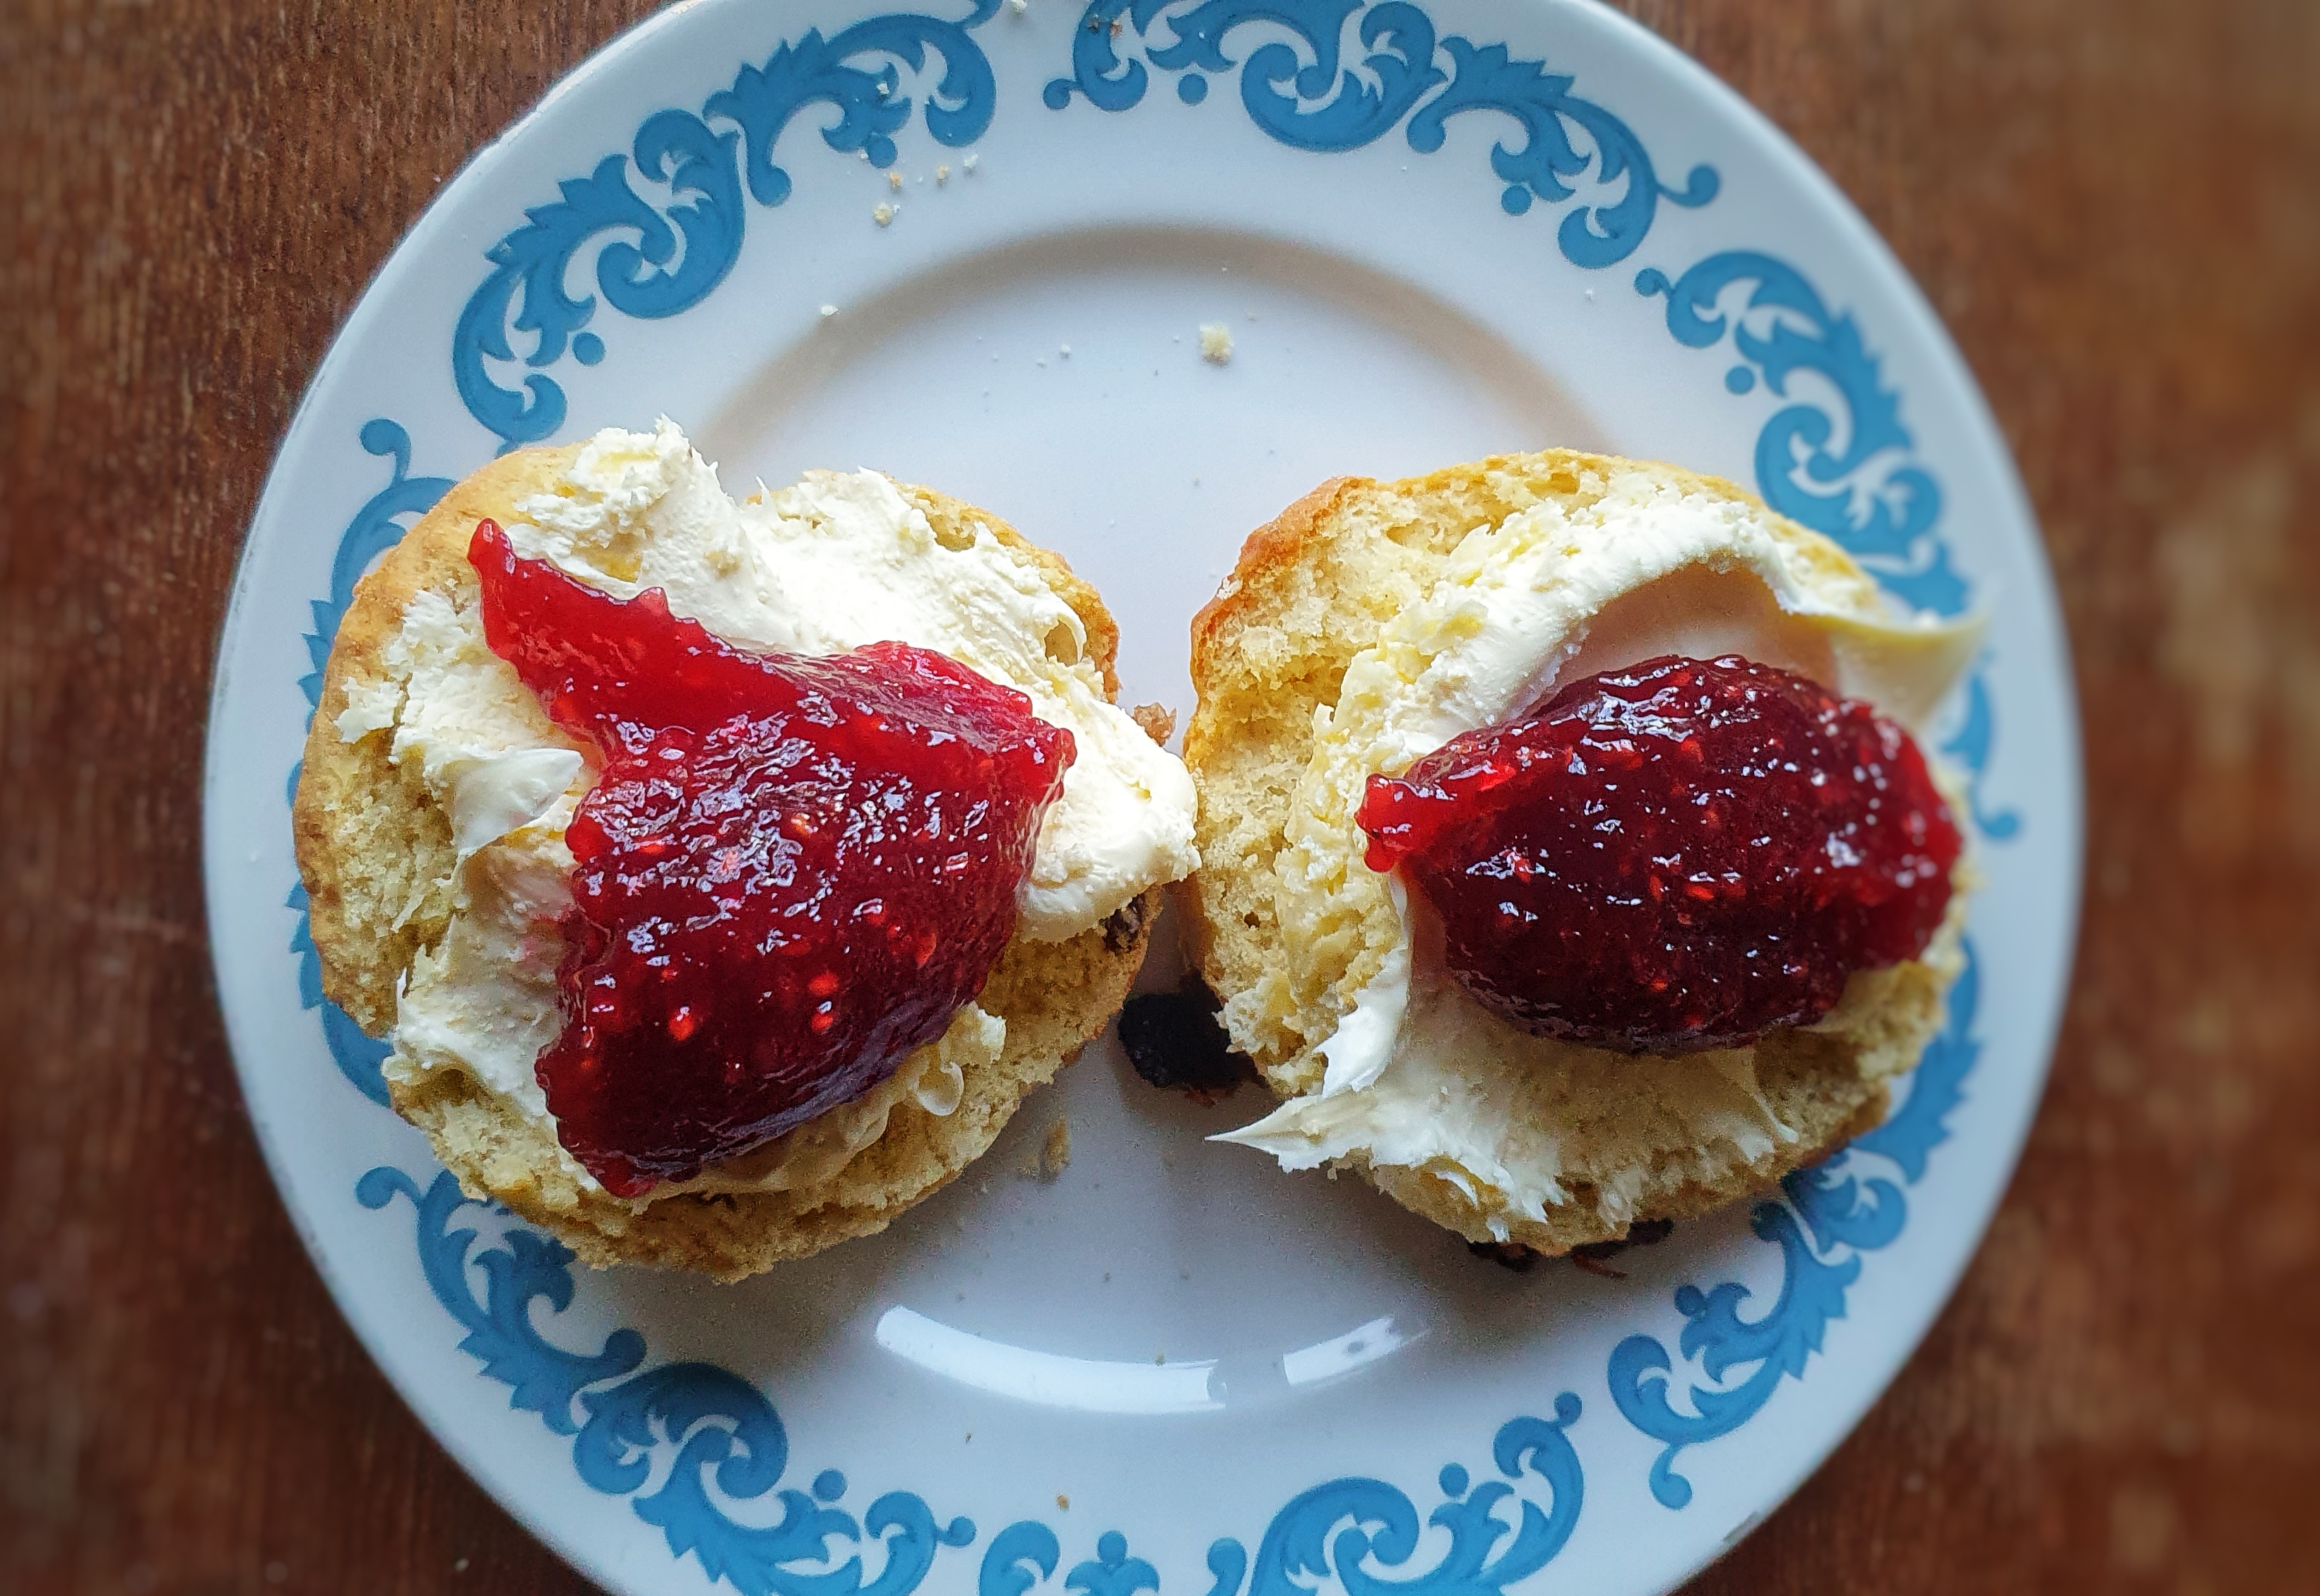
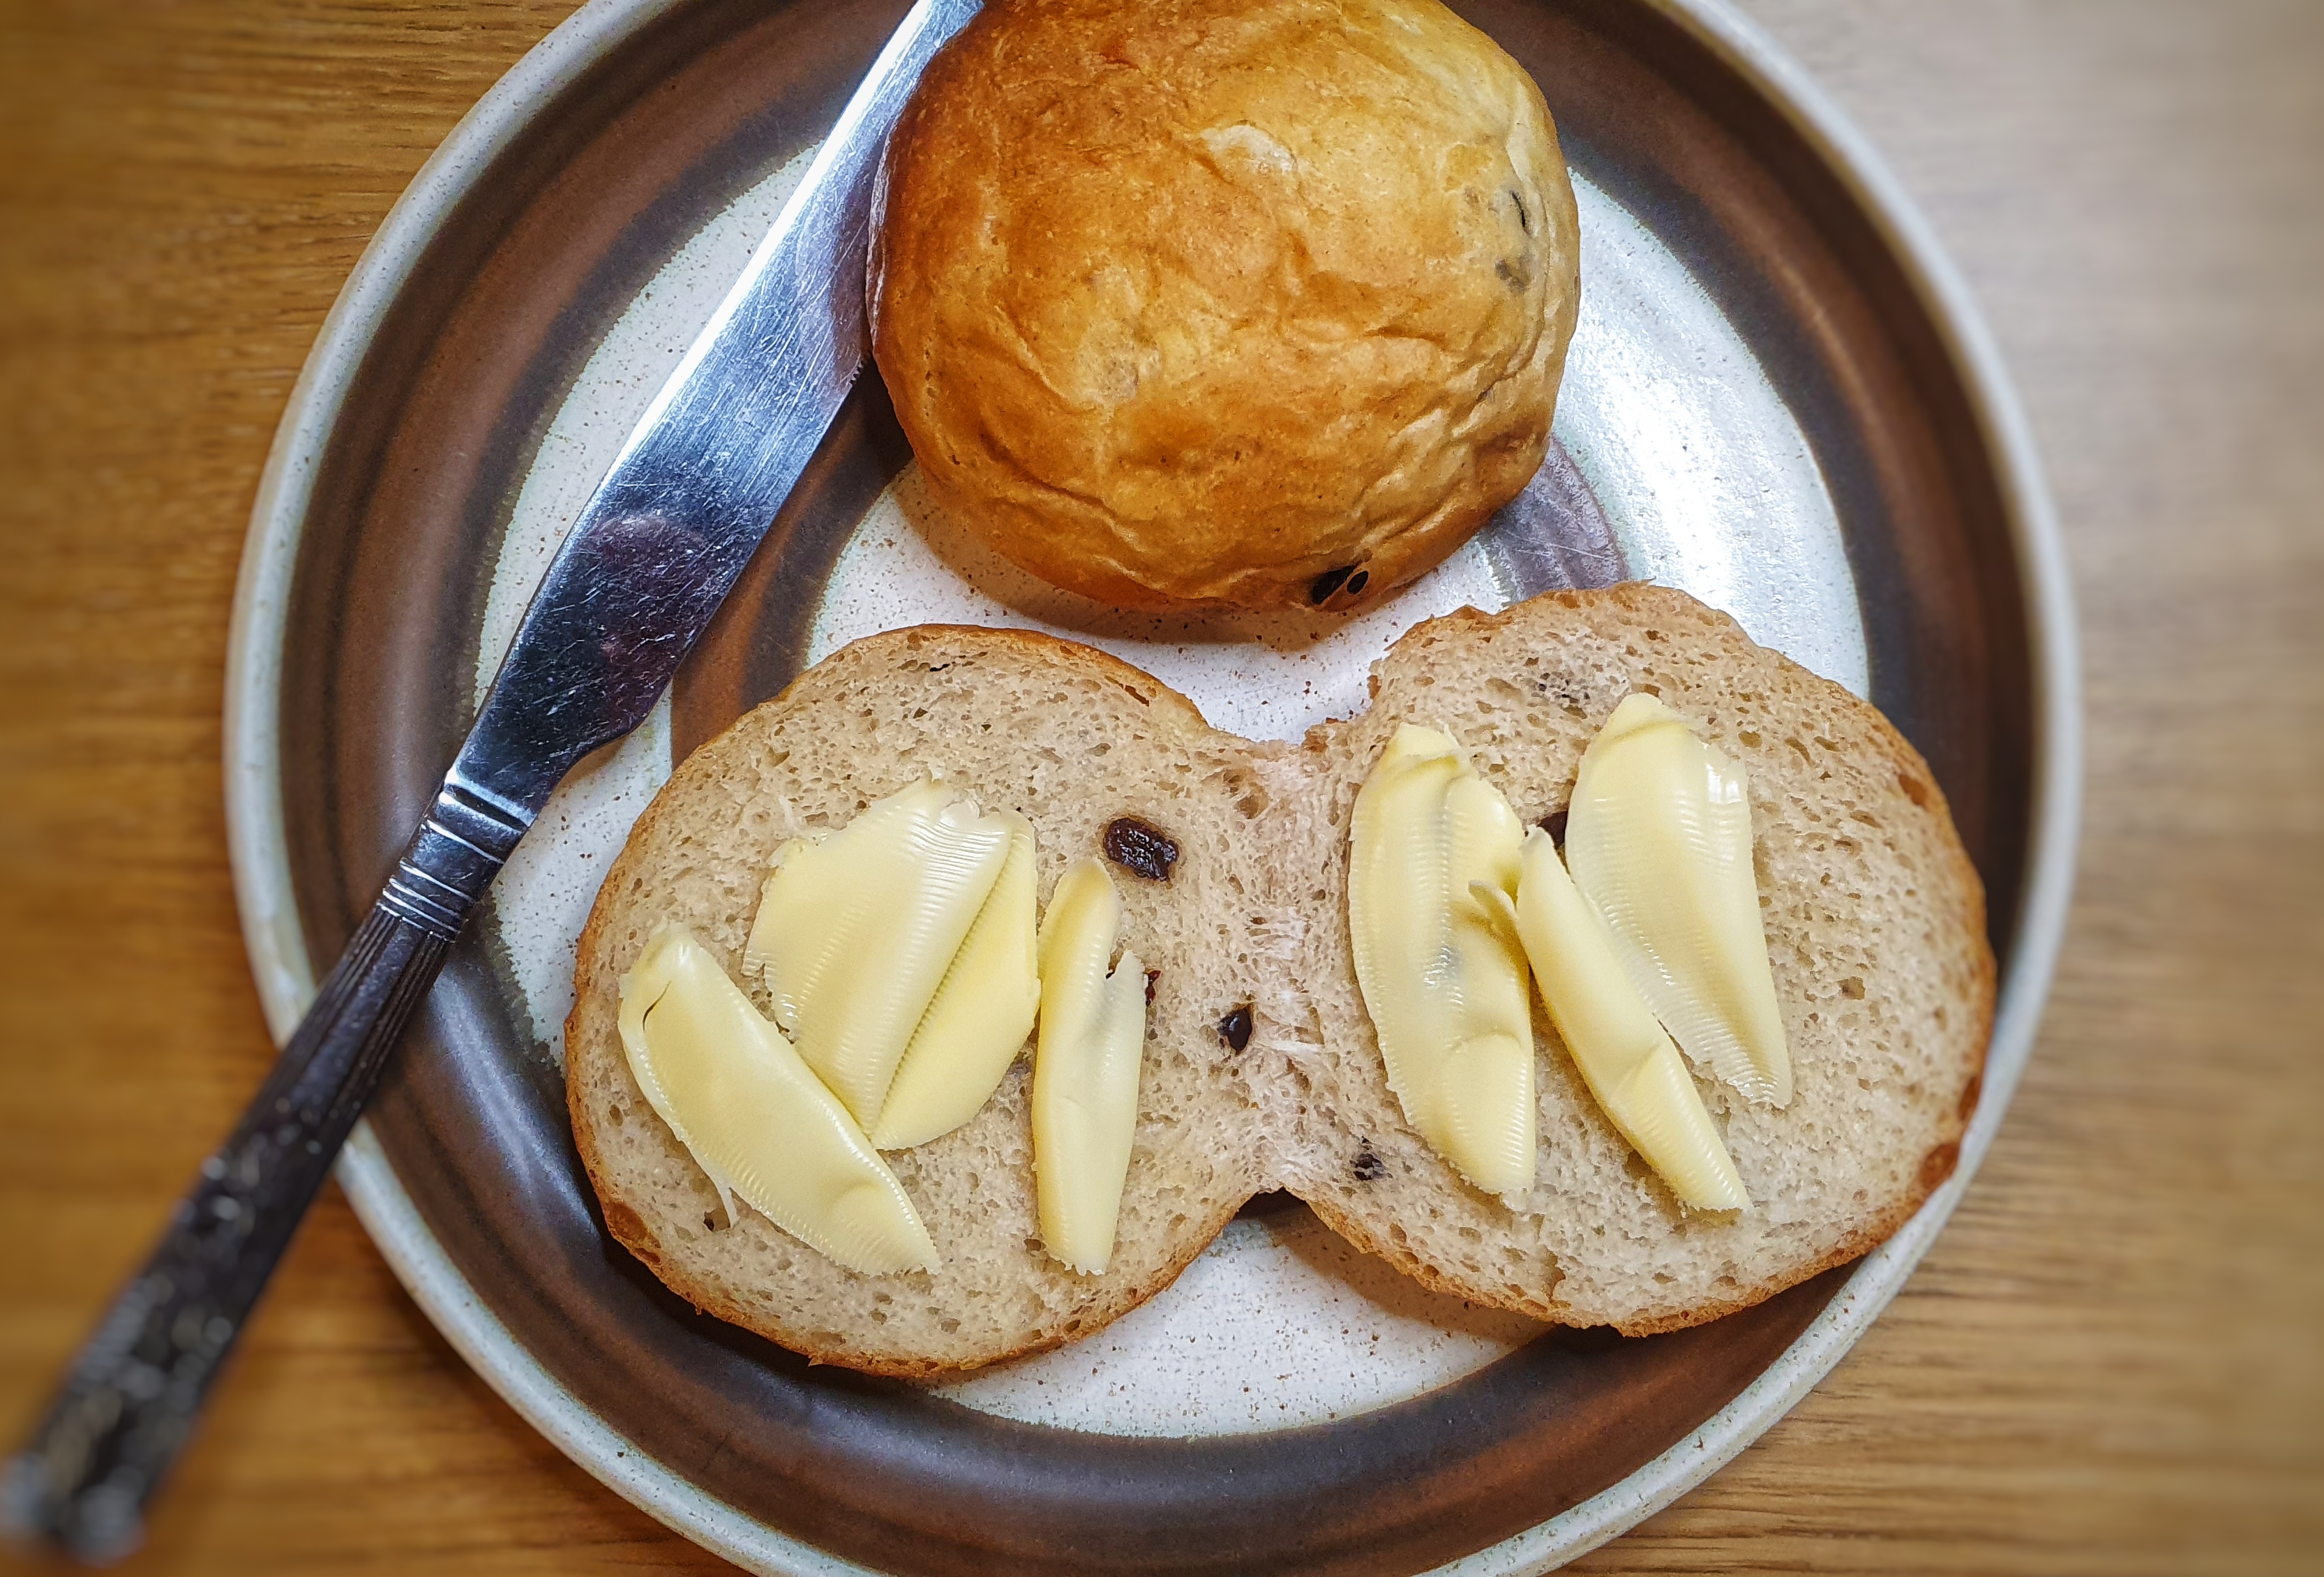
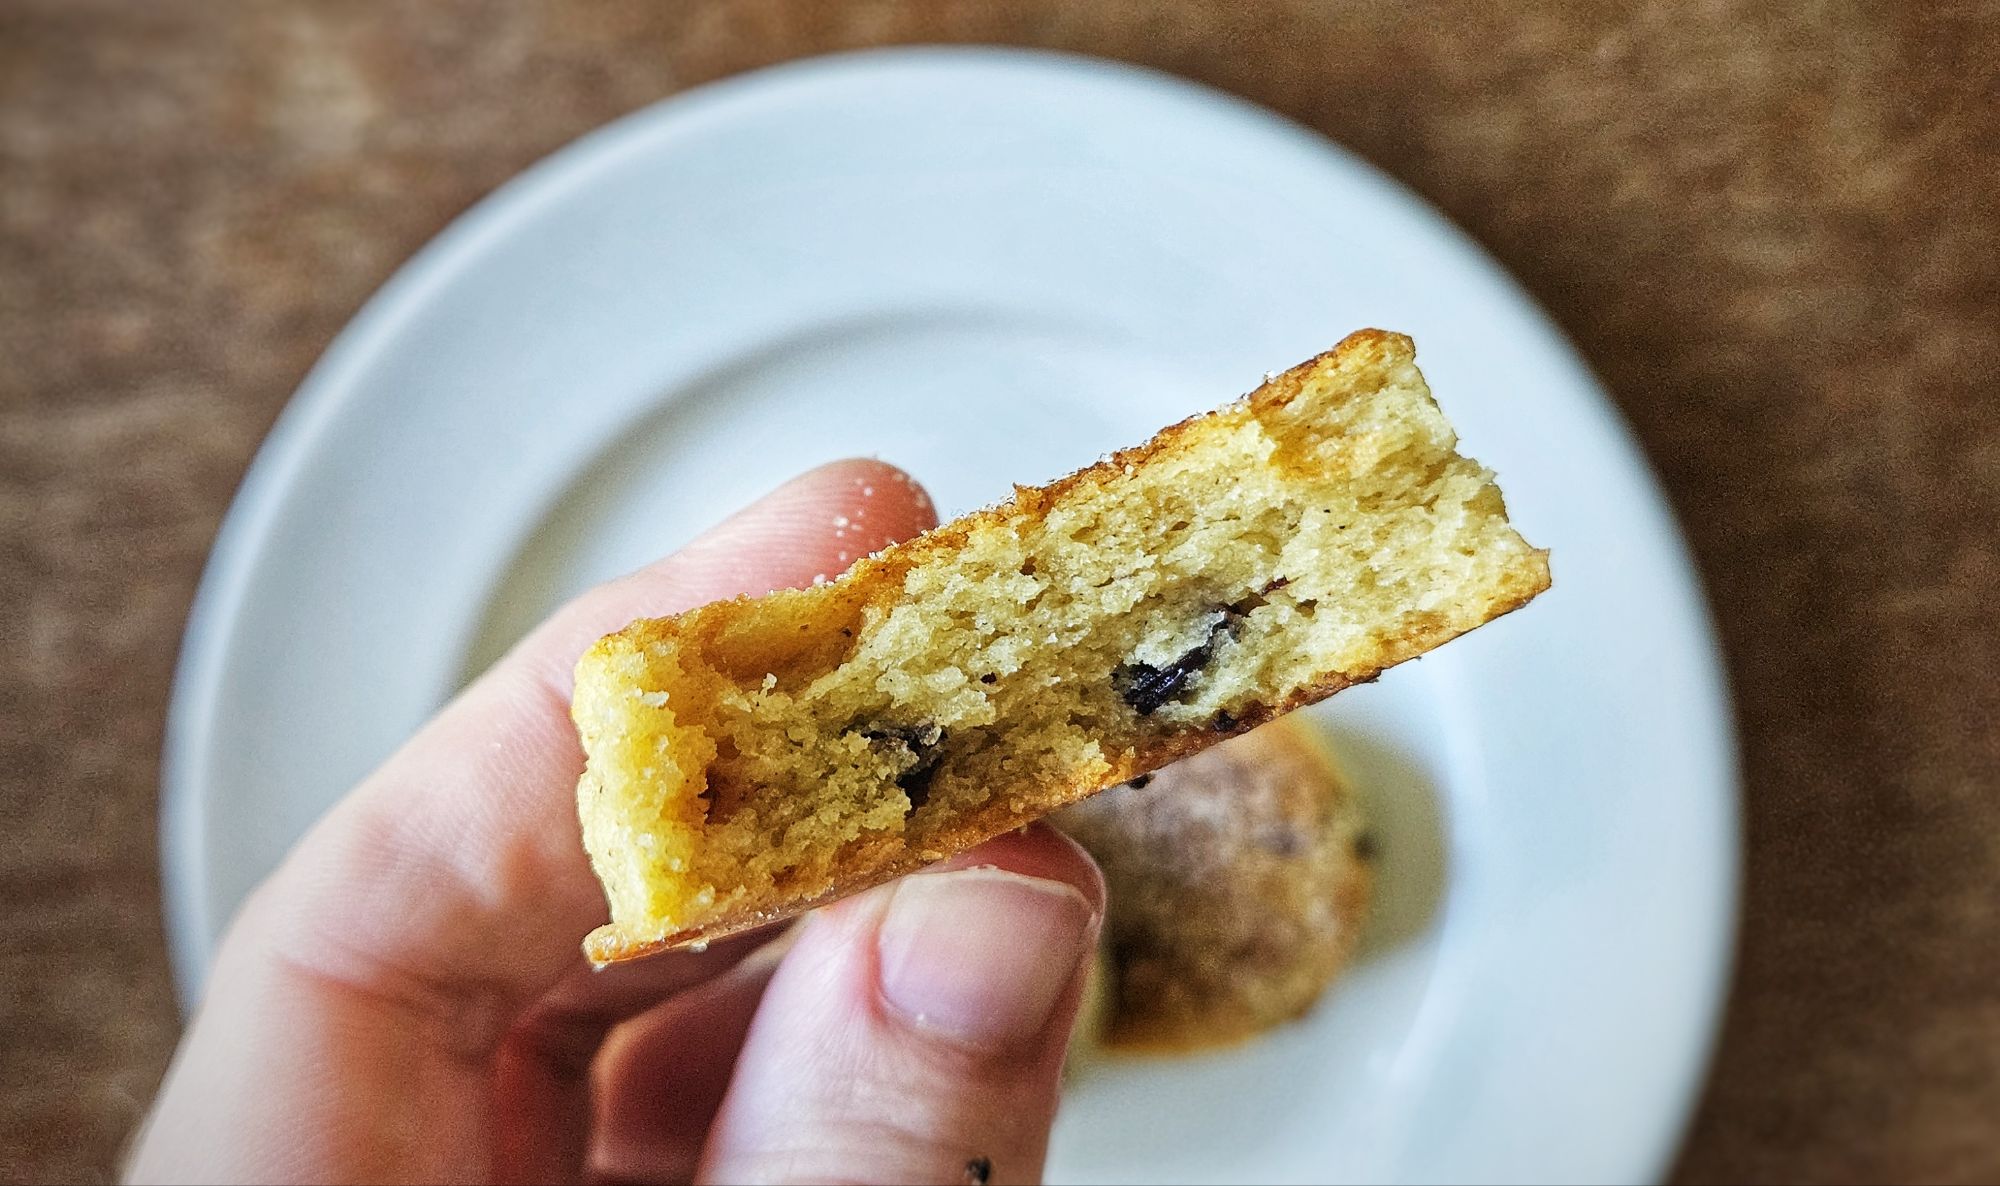
These little round cakes sit somewhere between rich pastry and scone, and they are, as Jane Grigson wrote, ‘the most delicious of all the girdle cakes.’[3] They are like a pastry because you rub your fats into your flour at a proportion of two to one, but they’re like a scone because they have more egg and liquid, and are made lighter with a chemical leavening agent. Bobby Freeman points out that the mixture must have more liquid than a pastry dough ‘to prevent a dry, biscuity result’.[4] They are also very similar to singin’ hinnies, which are from Northumbria. One has to wonder, the two areas being centres of mining, whether there was some cultural cross-pollination going on.
If you can, support the podcast and blogs by becoming a £3 monthly subscriber, and unlock lots of premium content, including bonus blog posts and recipes, access to the easter eggs and the secret podcast, or treat me to a one-off virtual pint or coffee: click here.
Recipe
All recipes are essentially identical in terms of proportions; the only variation is in the spices and fats.
Your usual spices are mixed spice, cinnamon, nutmeg and (less often) mace, but you can leave them unspiced. I went for a 50-50 mix of mace and nutmeg, a delicious combination, and one we don’t see as often as we should.
Just like in pastry-making, you can go all butter (or vegan baking block), or half butter and half lard. I heartily suggest doing the latter because it makes things richer, but has a hint of savouriness, which I think improves the flavour. It also makes a slightly shorter dough that’s more tender and melting when baked compared to an all-butter dough.
The cakes take 8 to 10 minutes to bake on your bakestone/griddle. You need a ‘moderately hot bakestone’ – these are Bobby Freeman’s words, not mine.[5] However, there’s a huge amount of variation between both bakestones and kitchen hobs, so you will have to play about with the temperature to get it right. To give you an idea of what ‘moderately hot’ means, on my induction hob, which has 9 heat settings, I used a temperature of 3.
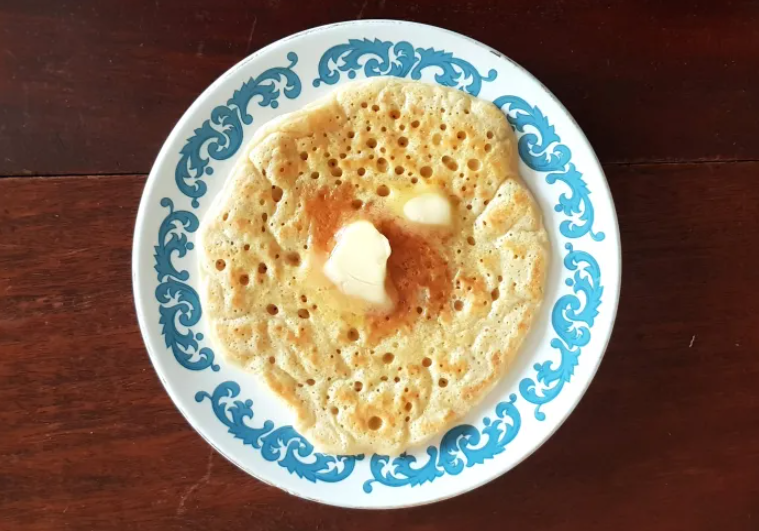
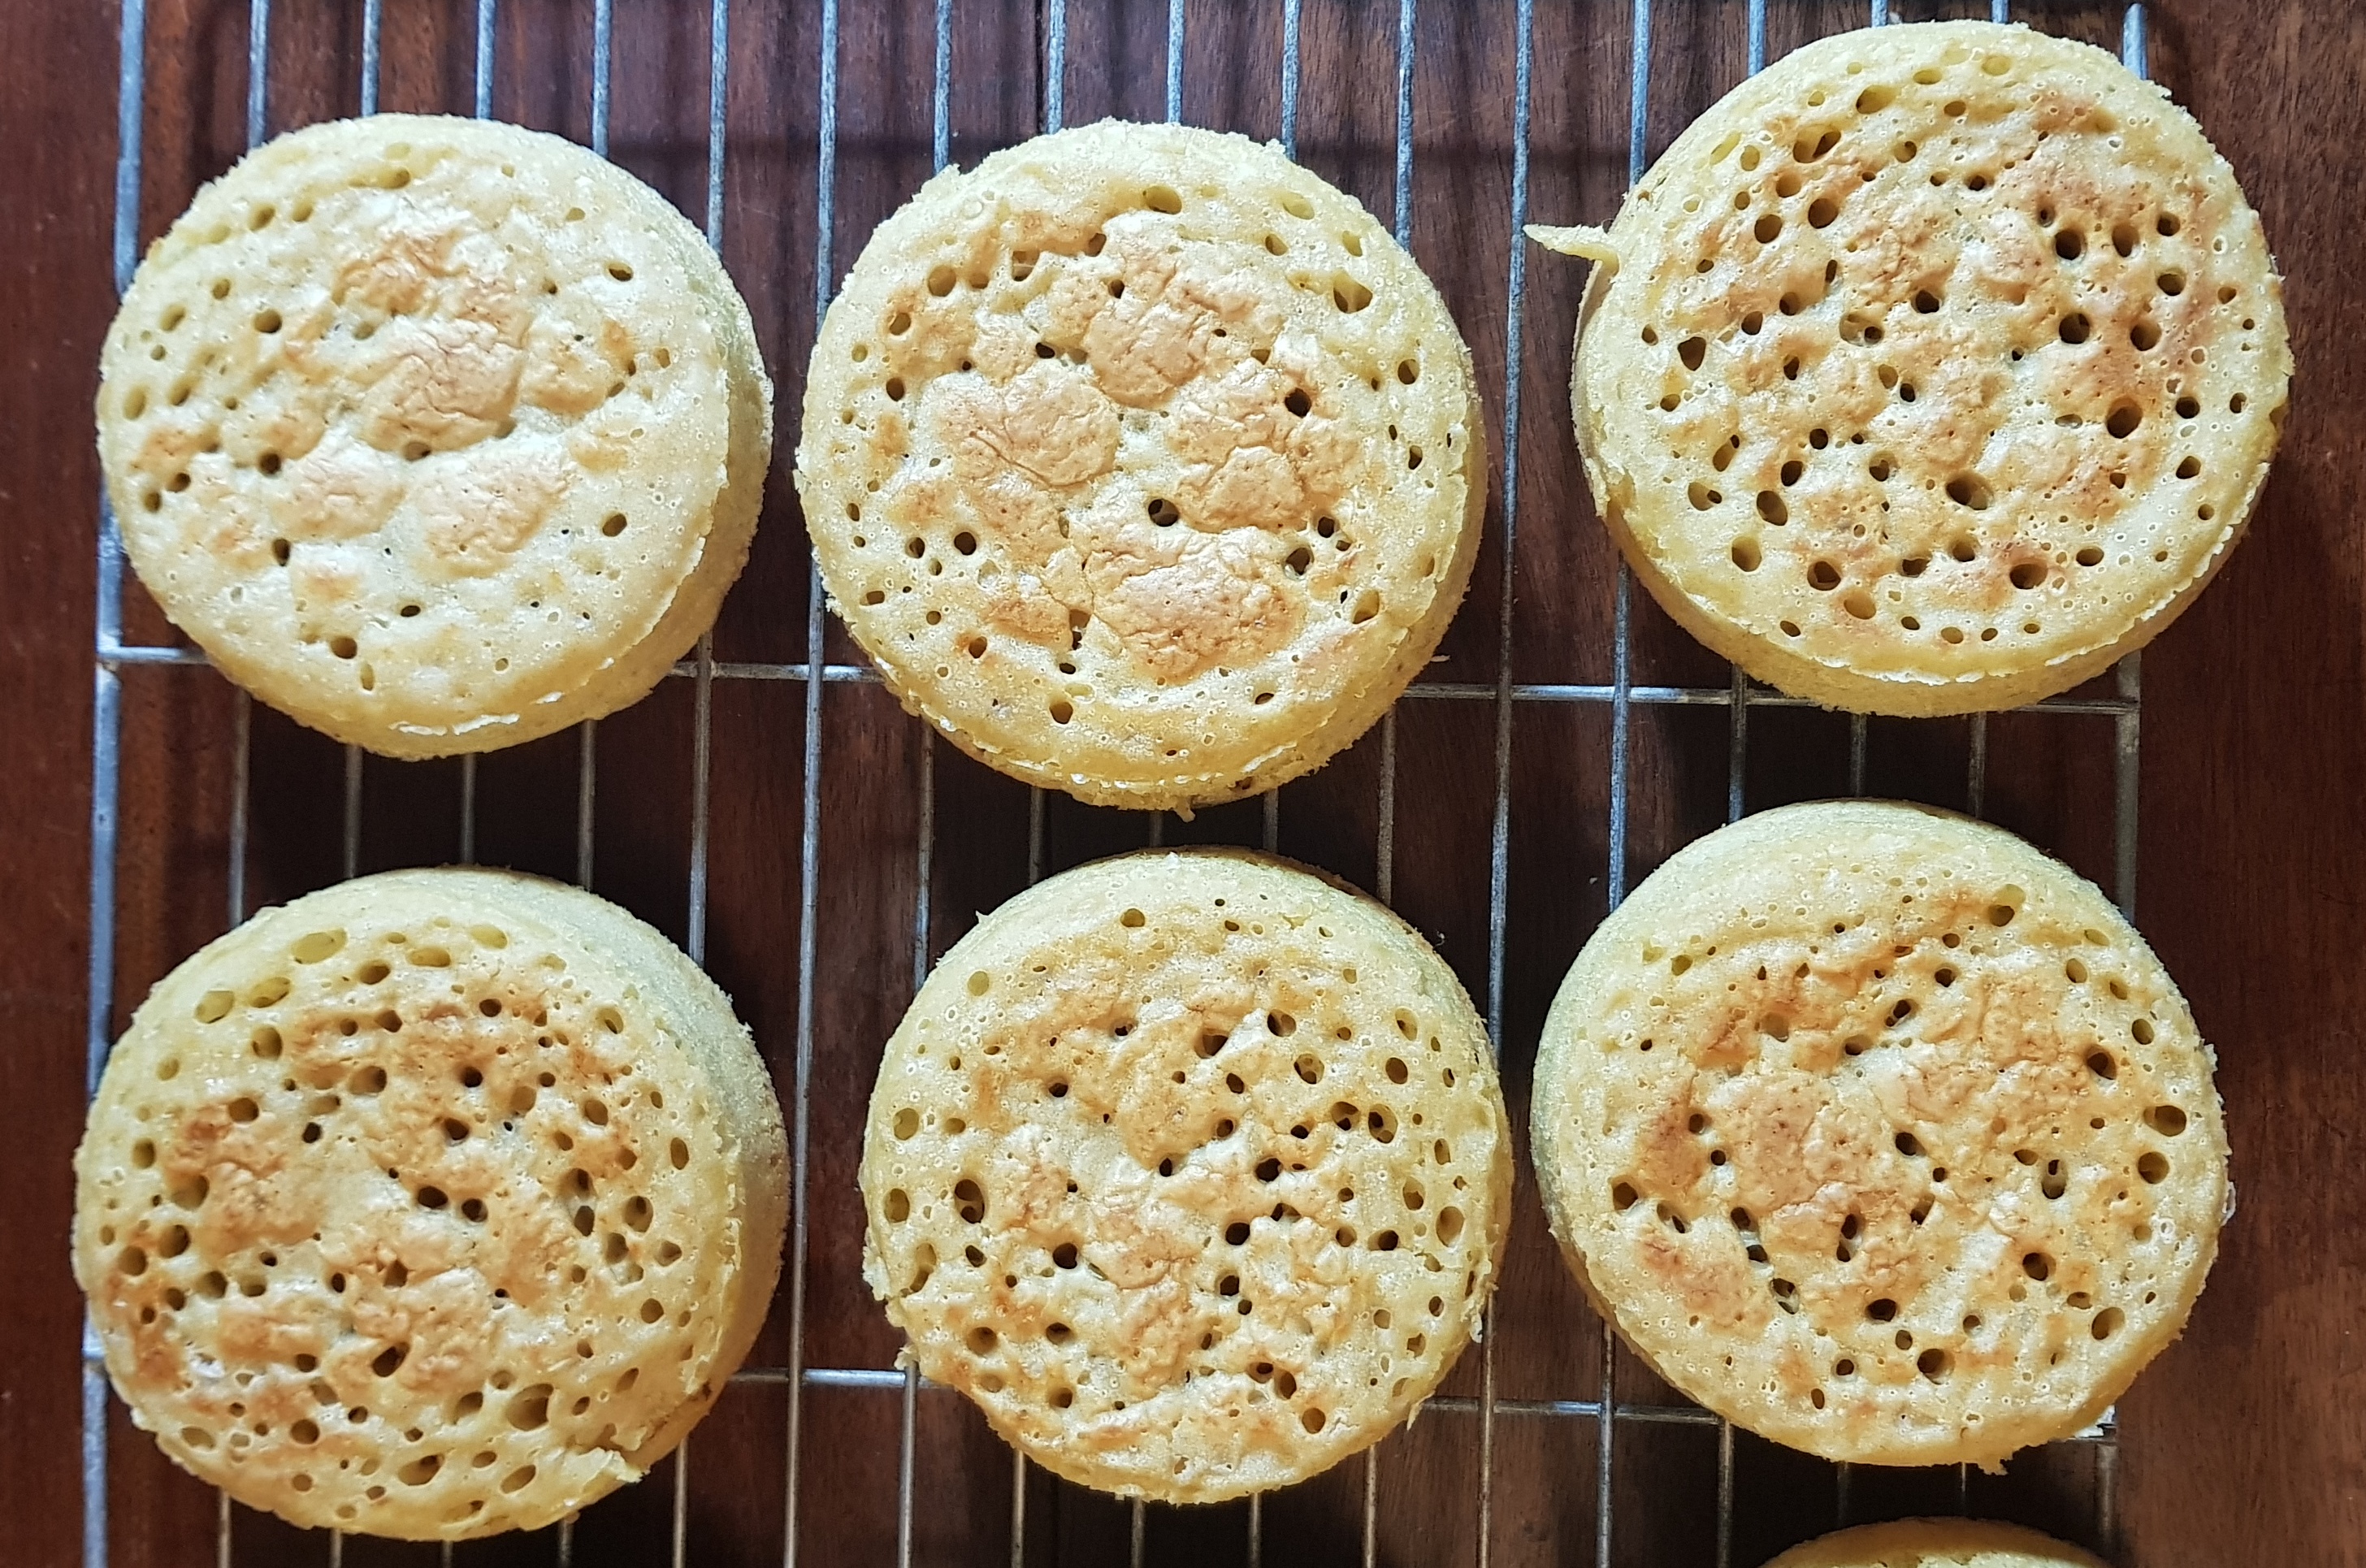
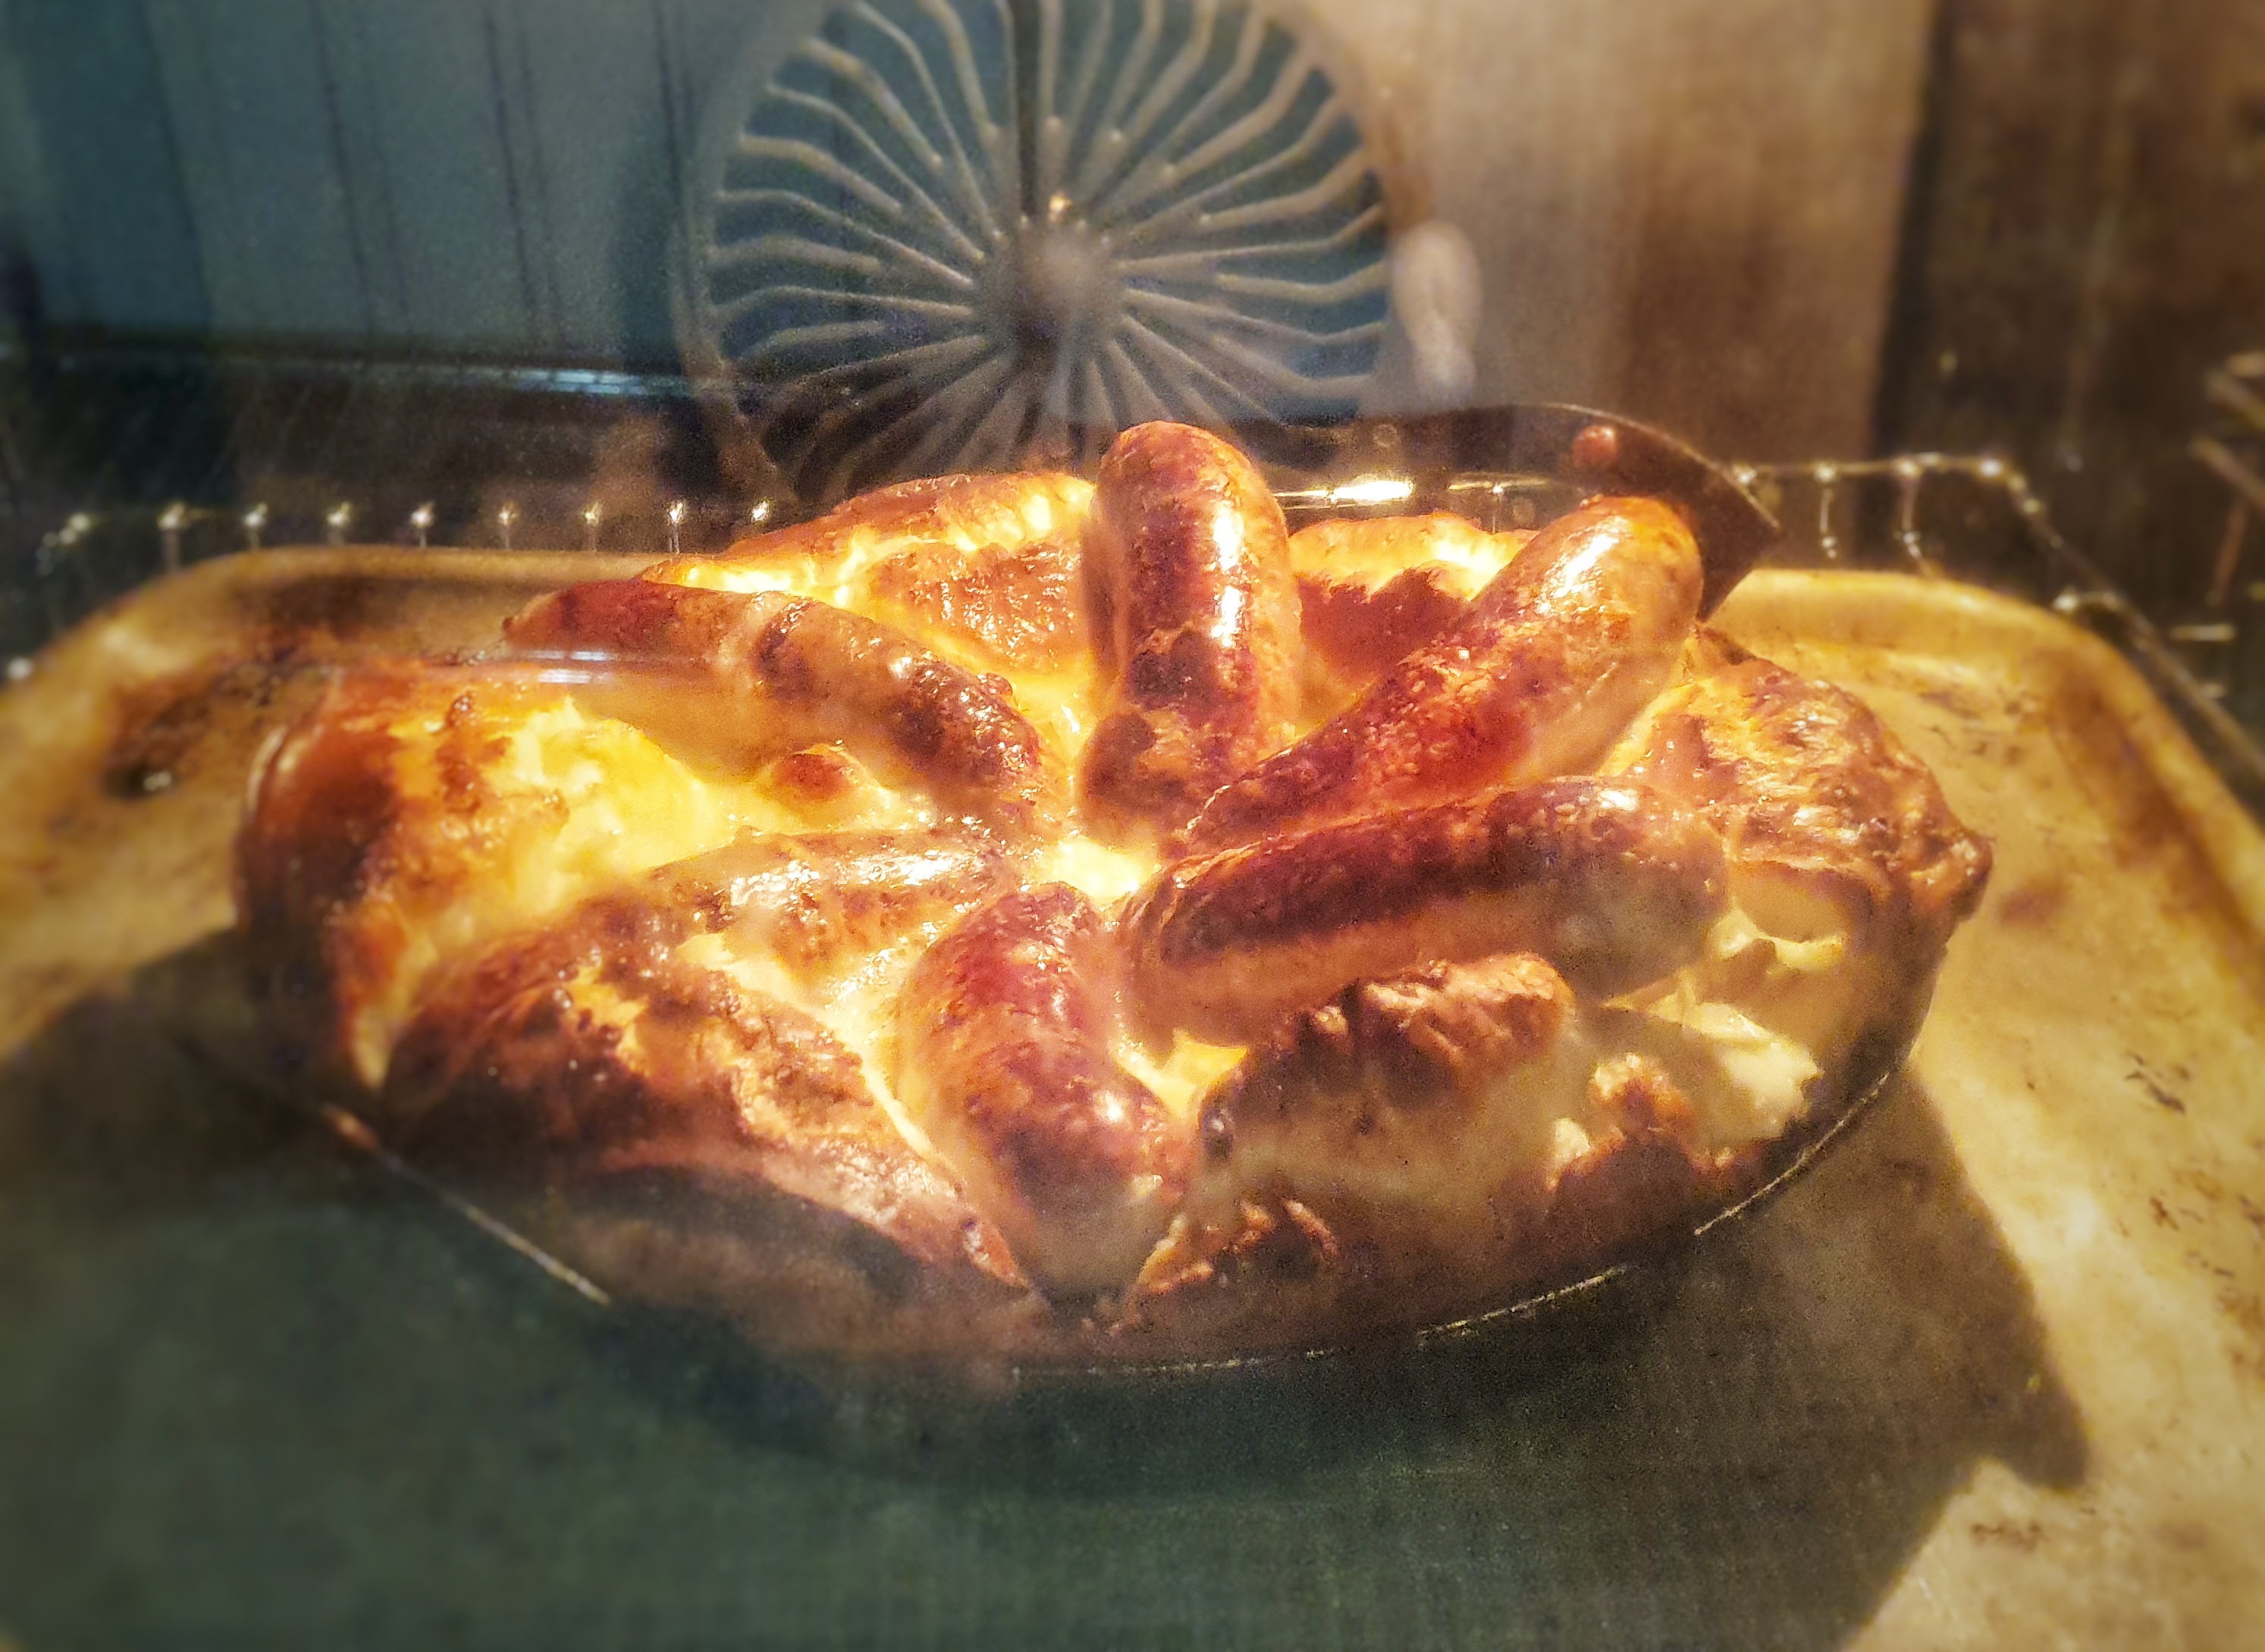
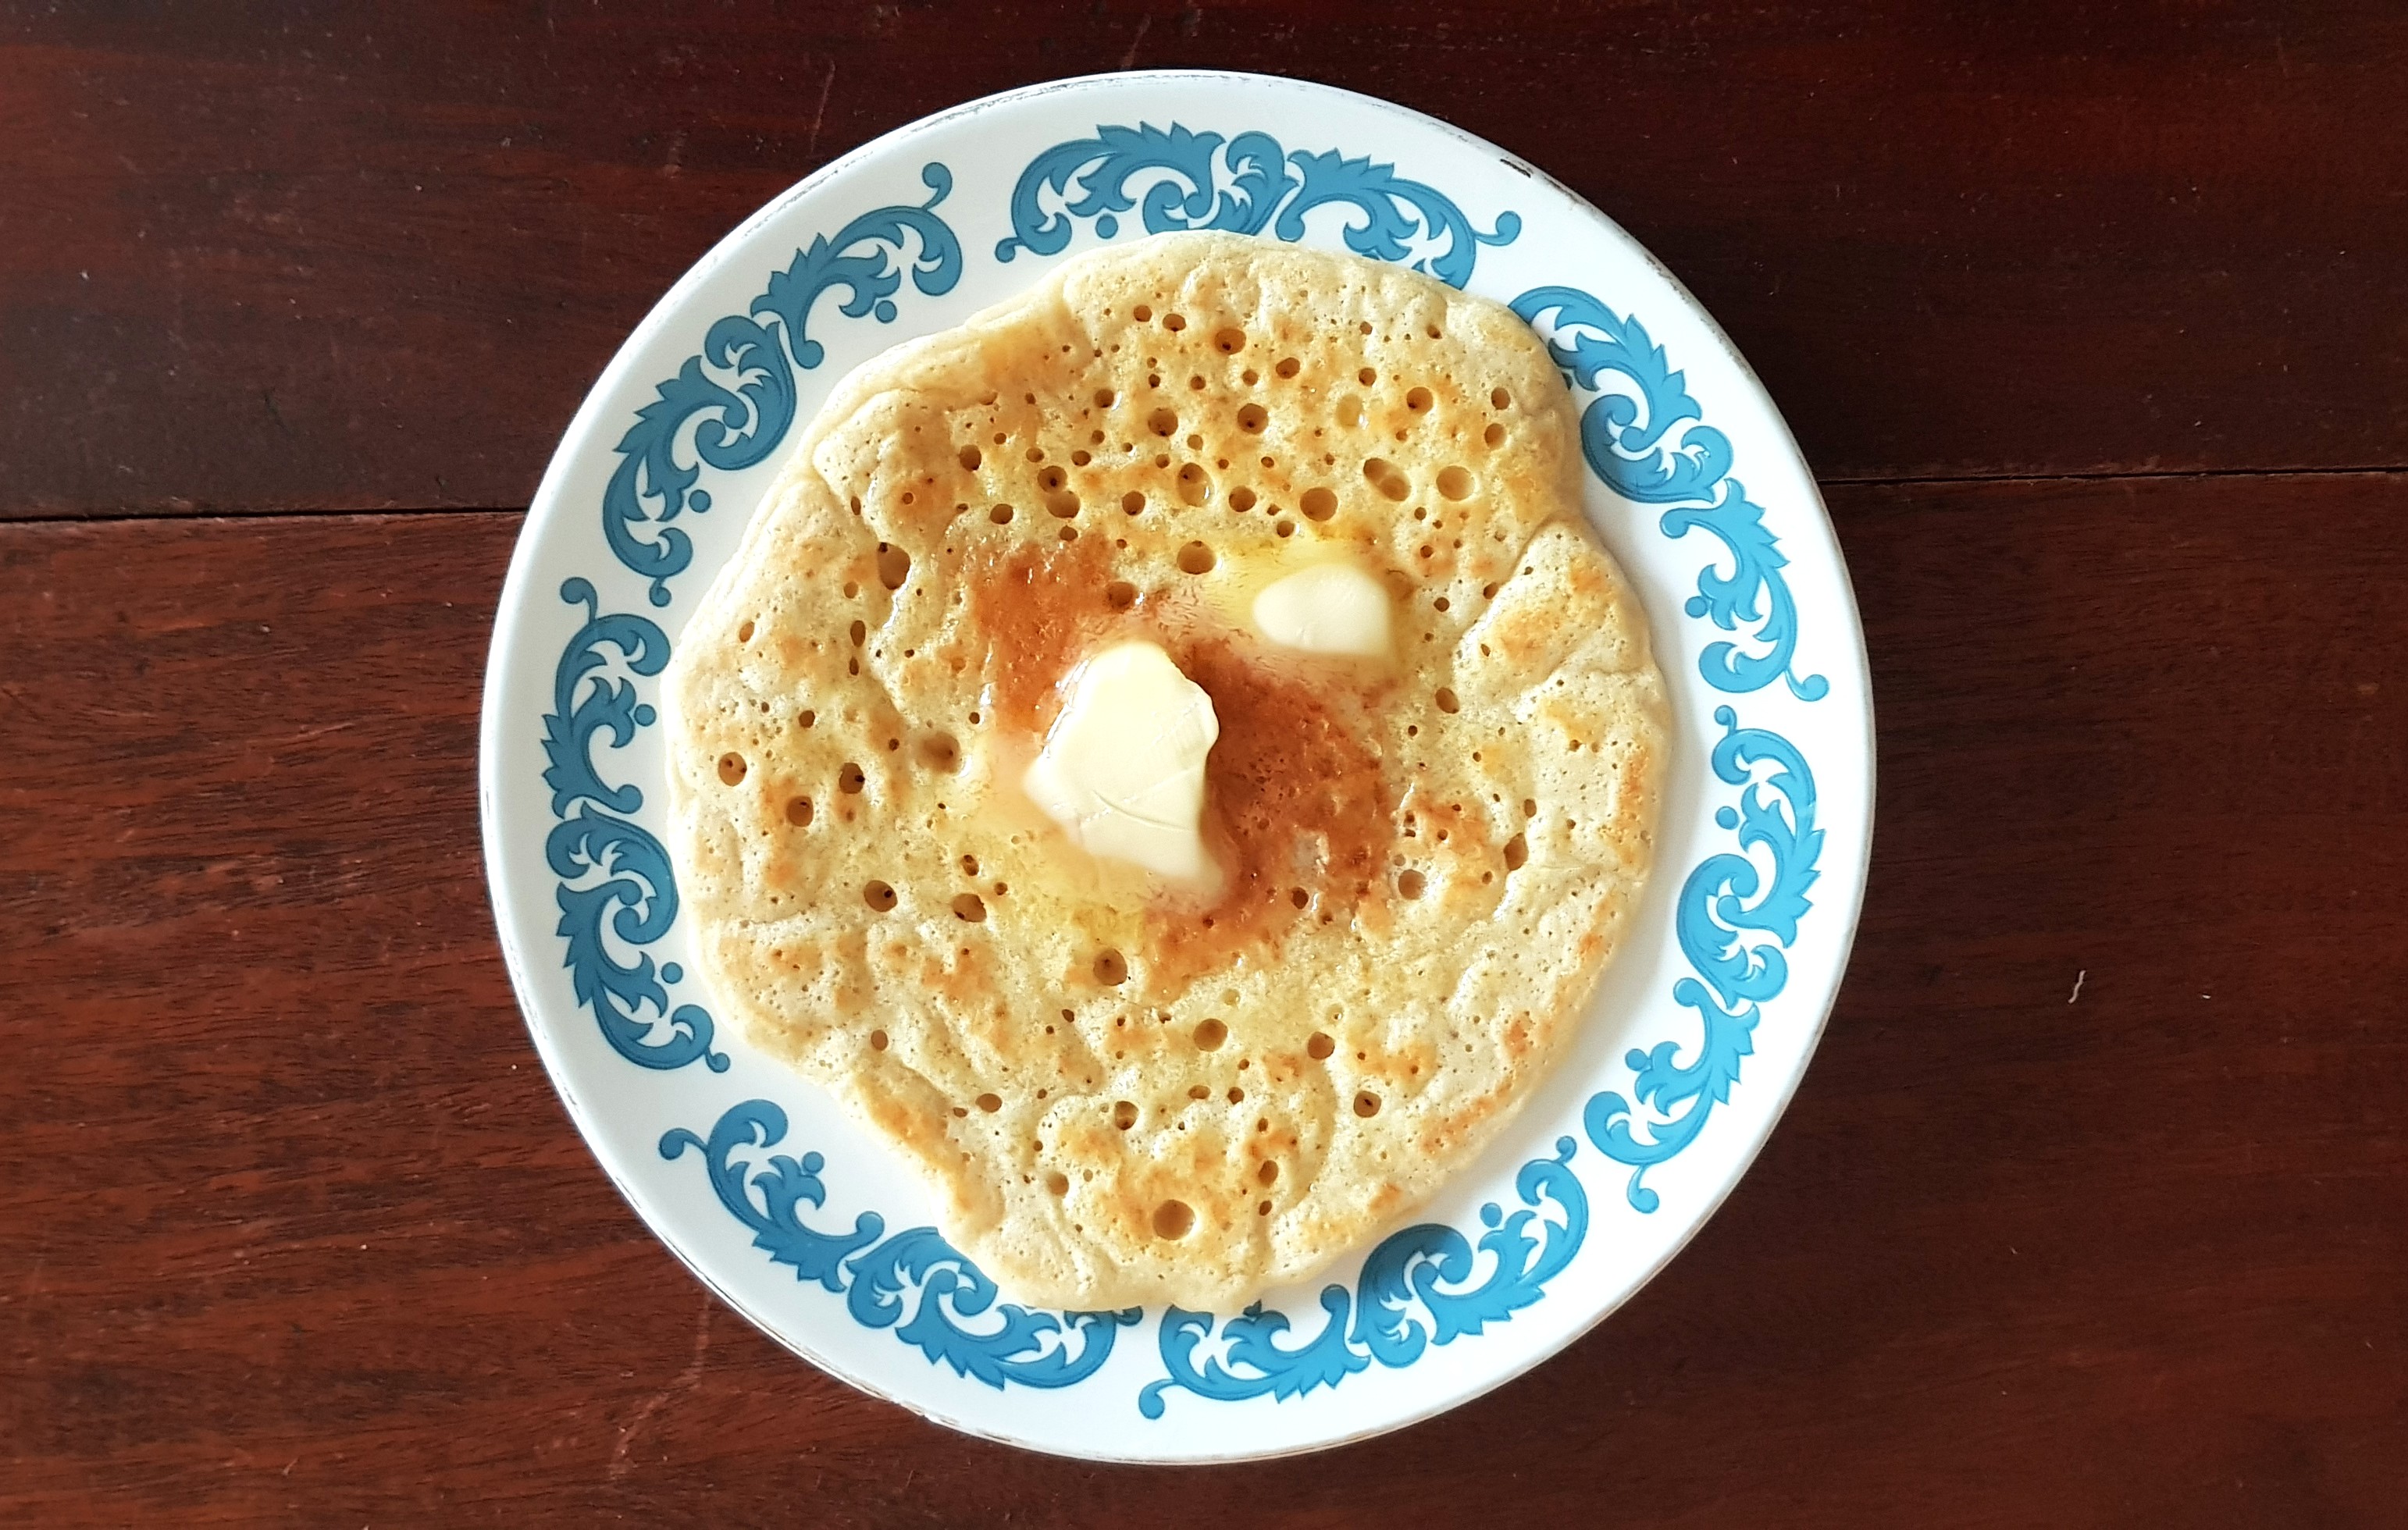
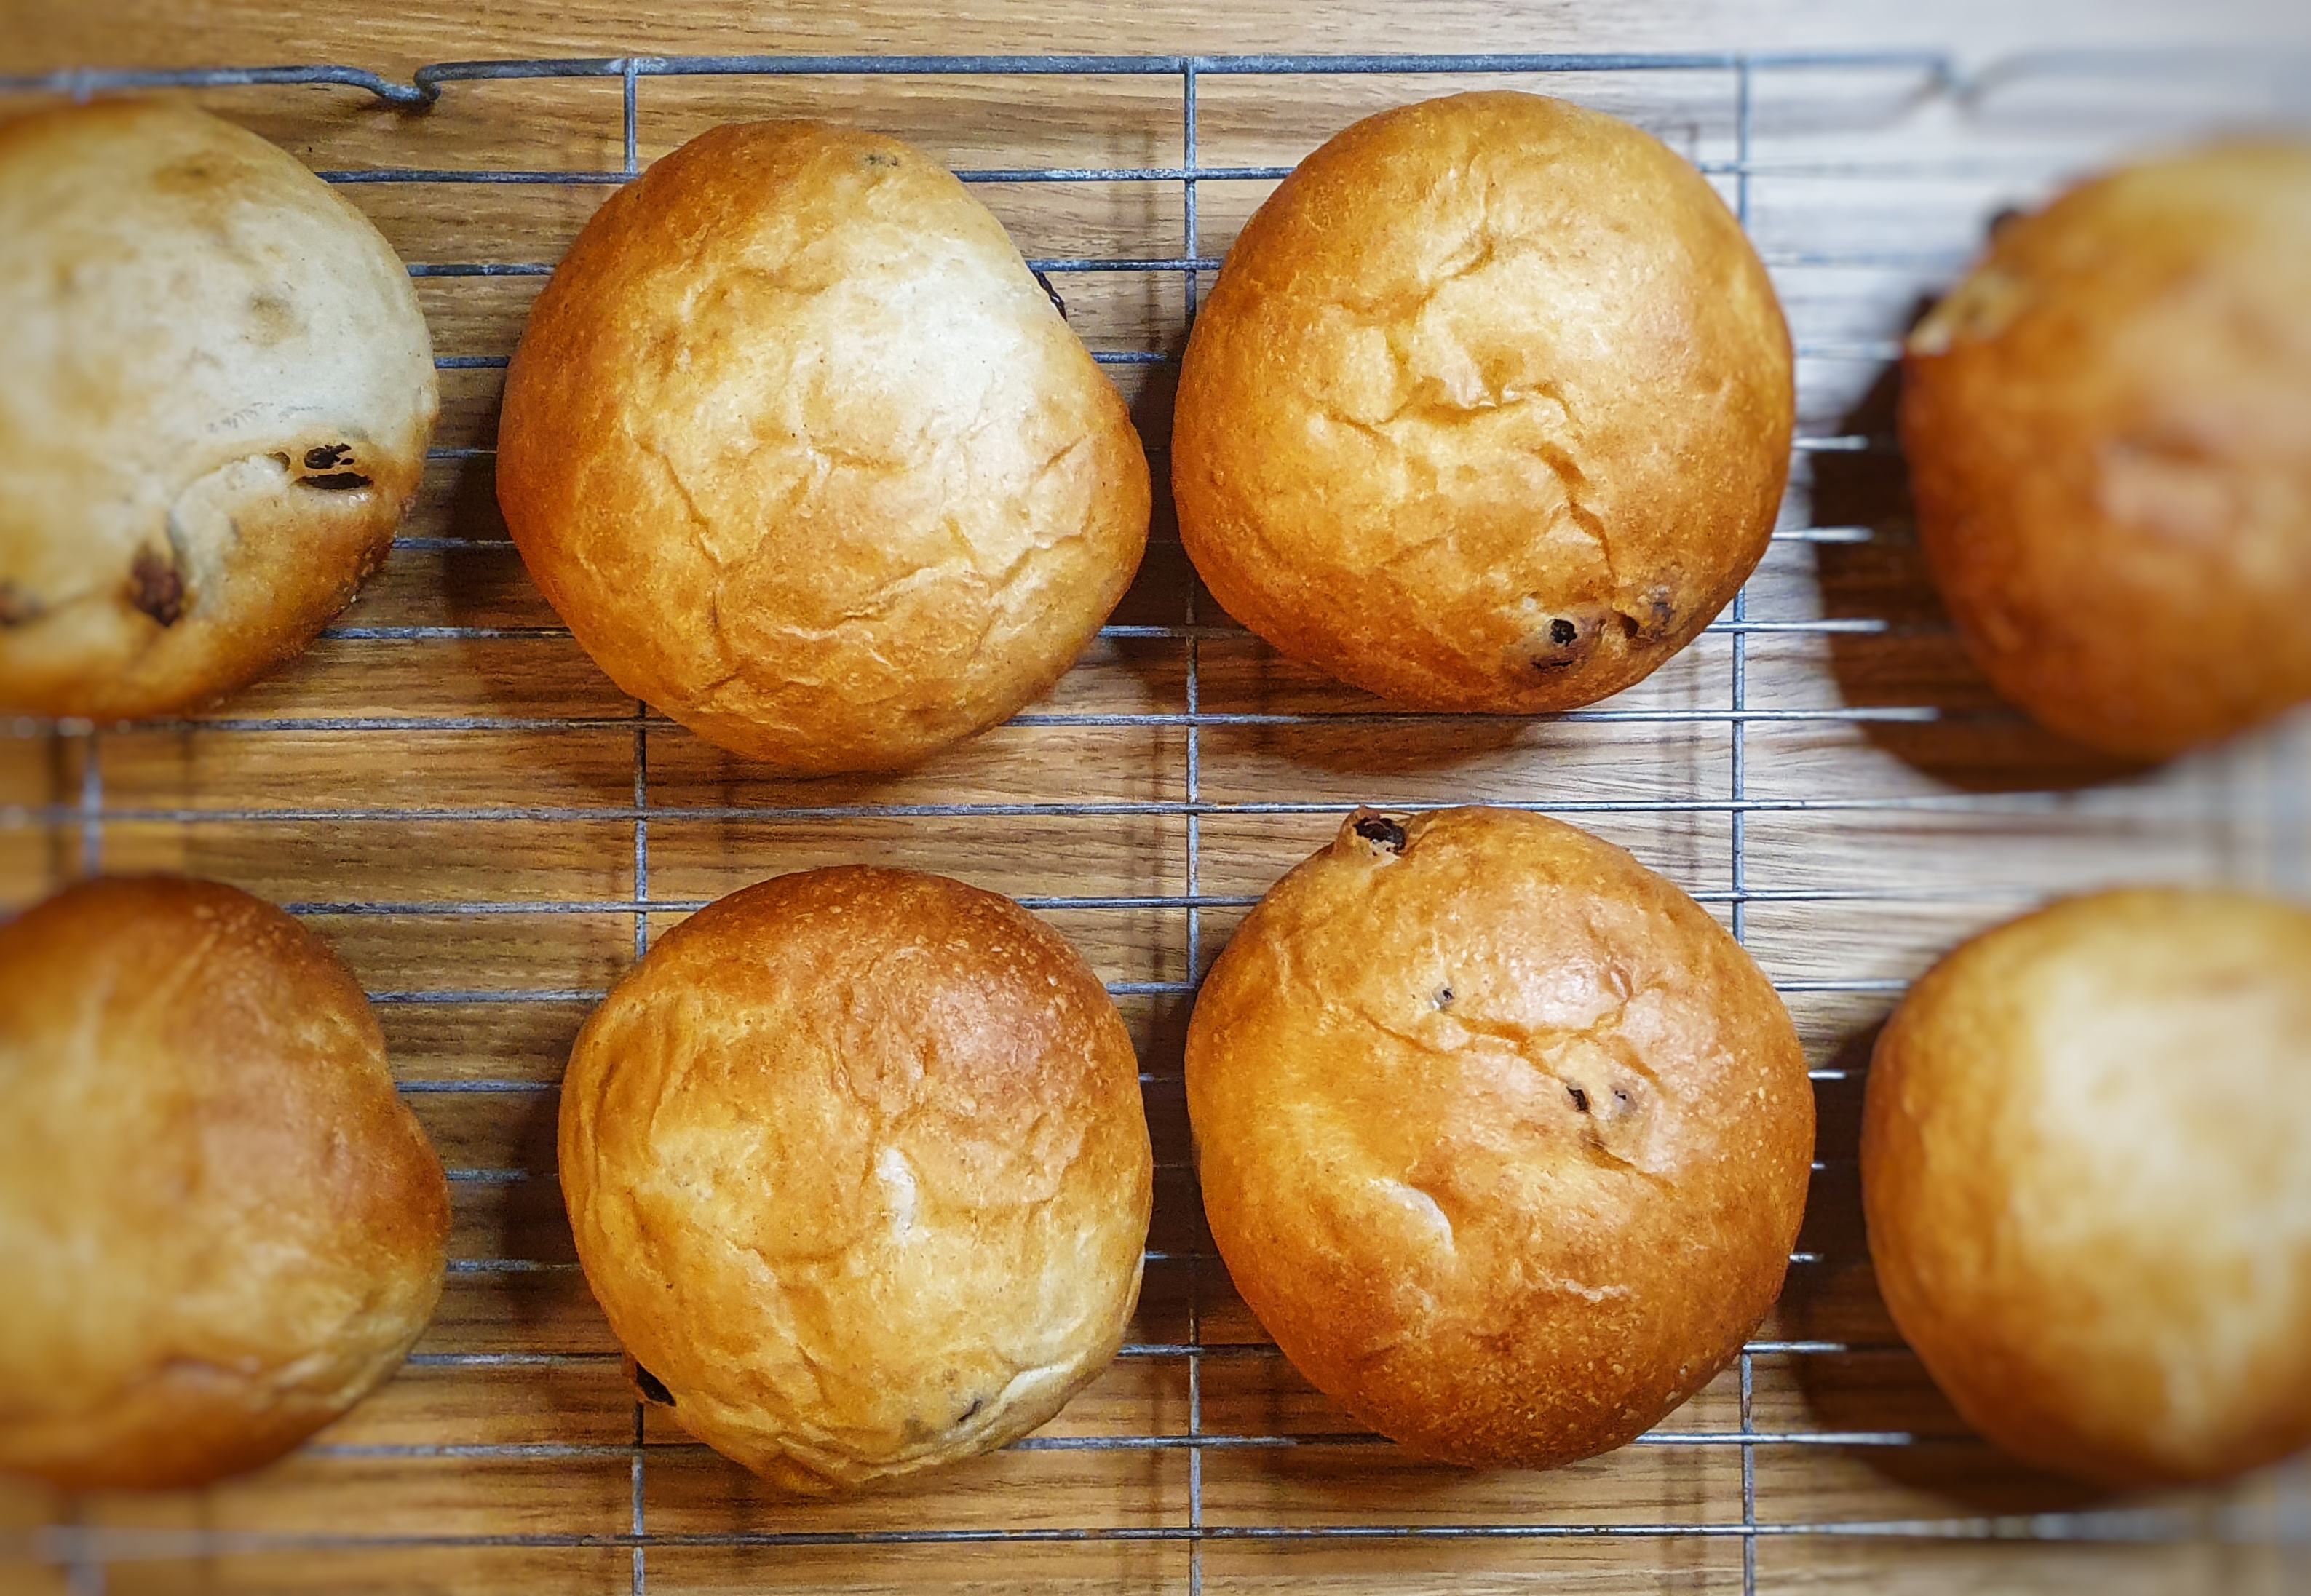
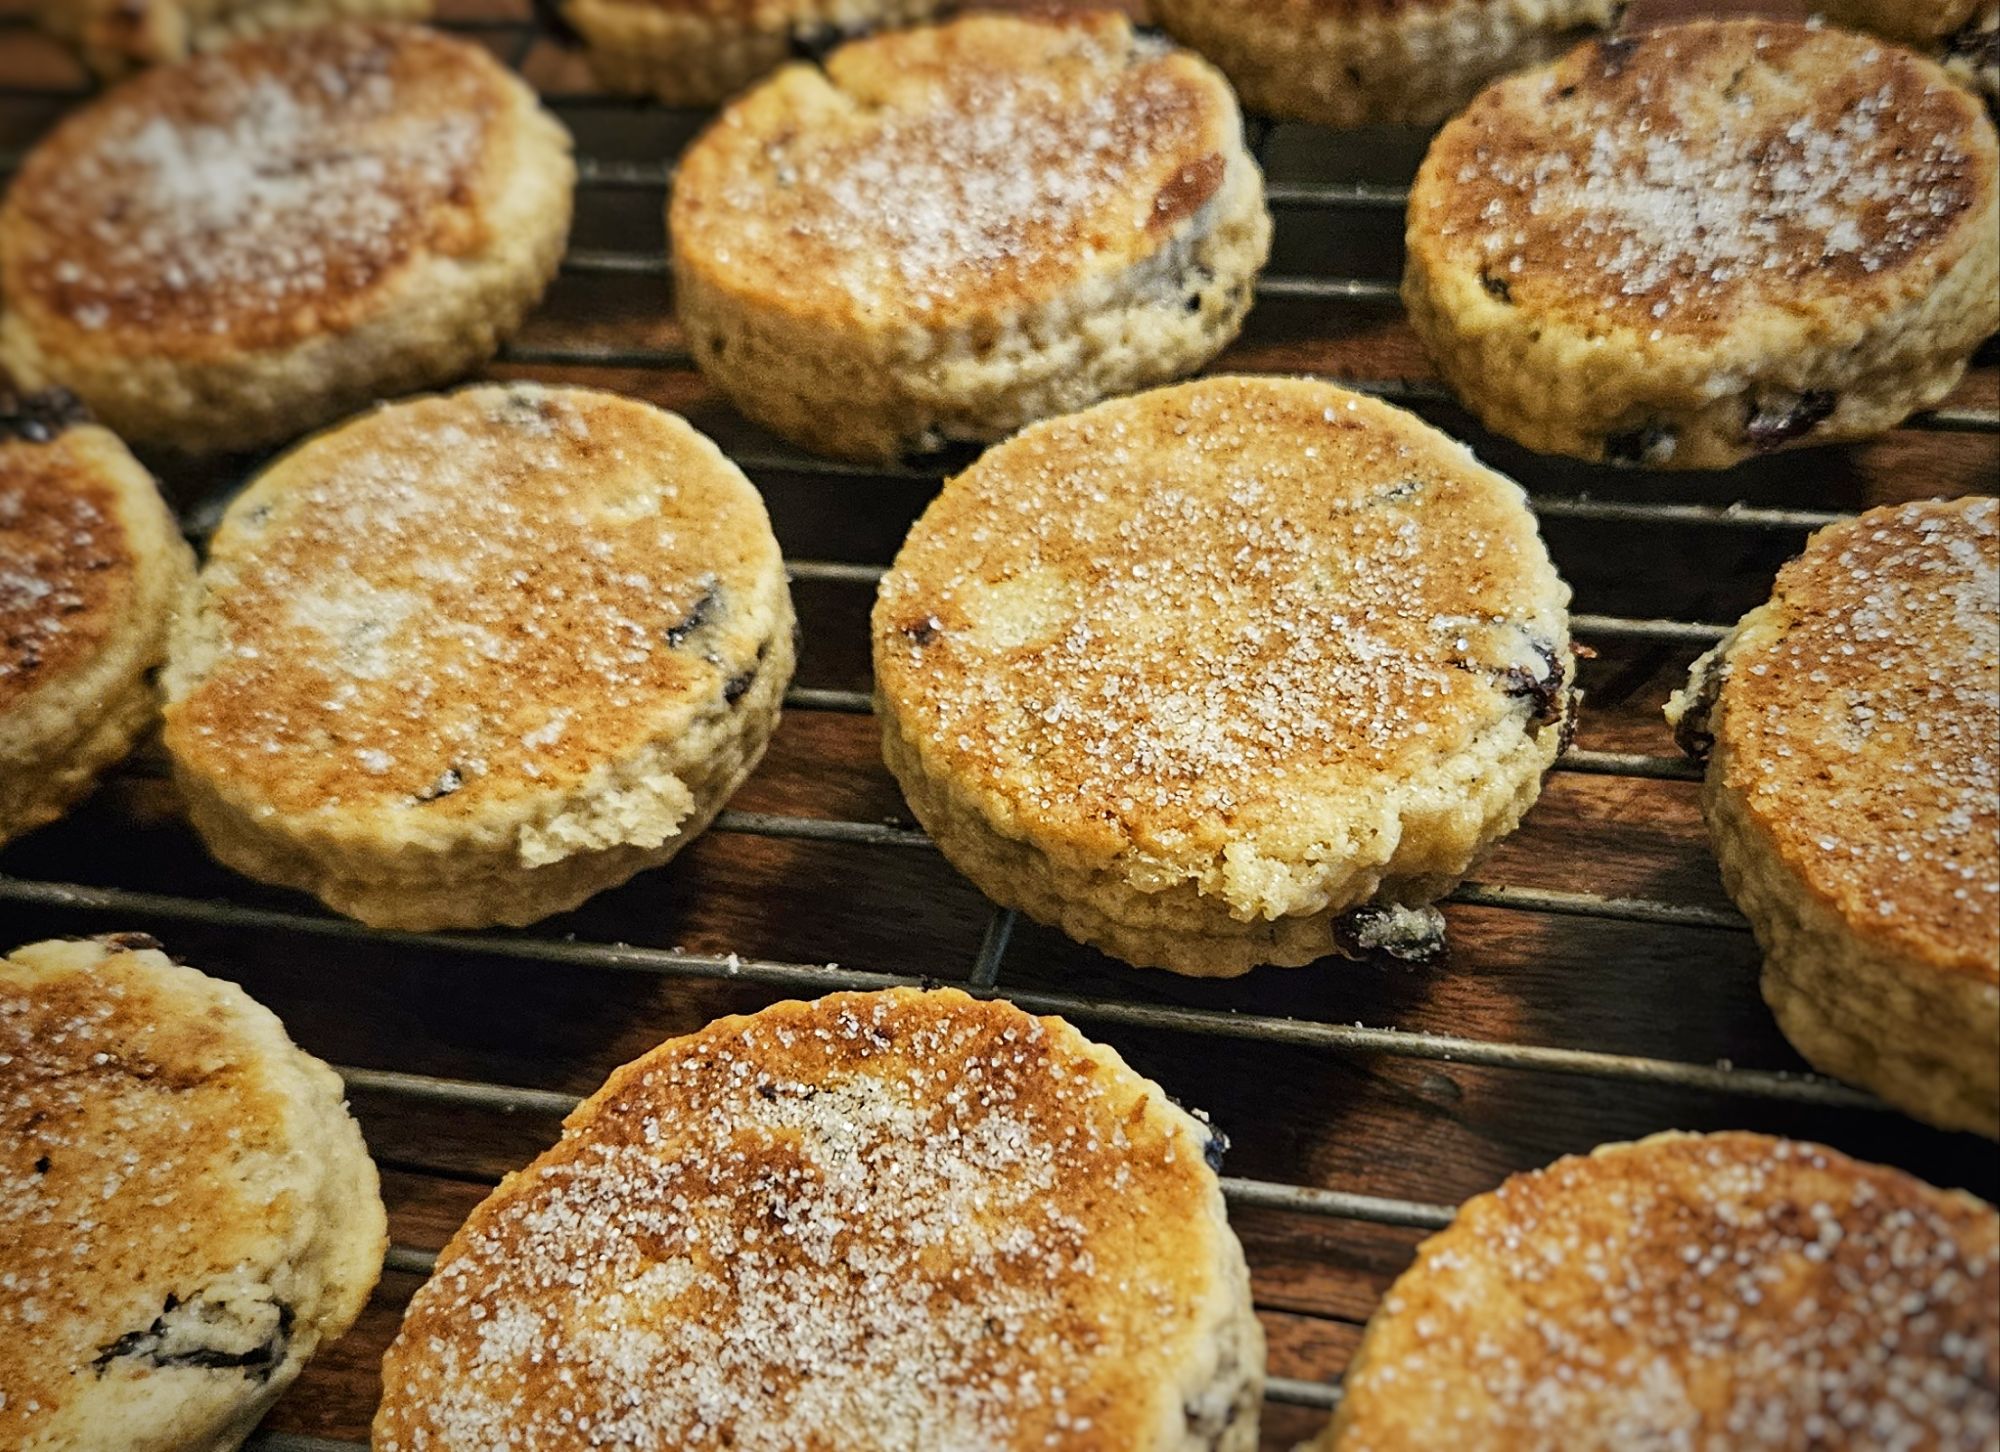
As Ross pointed out in the episode of the podcast, one of the joys of using the bakestone is the variation you get: no two cakes are the same, as you can see by the photo! They’re best eaten warm from the bakestone. The cakes keep very well for 5 or 6 days in an airtight tin.

The mixture makes around 48 cakes.
500 g self-raising flour
1 tsp baking powder
½ tsp salt
1 tsp ground spices: nutmeg, cinnamon, mixed spice or mace
250 g salted butter, or half-and-half butter and lard, diced
150 g caster sugar, plus extra for sprinkling
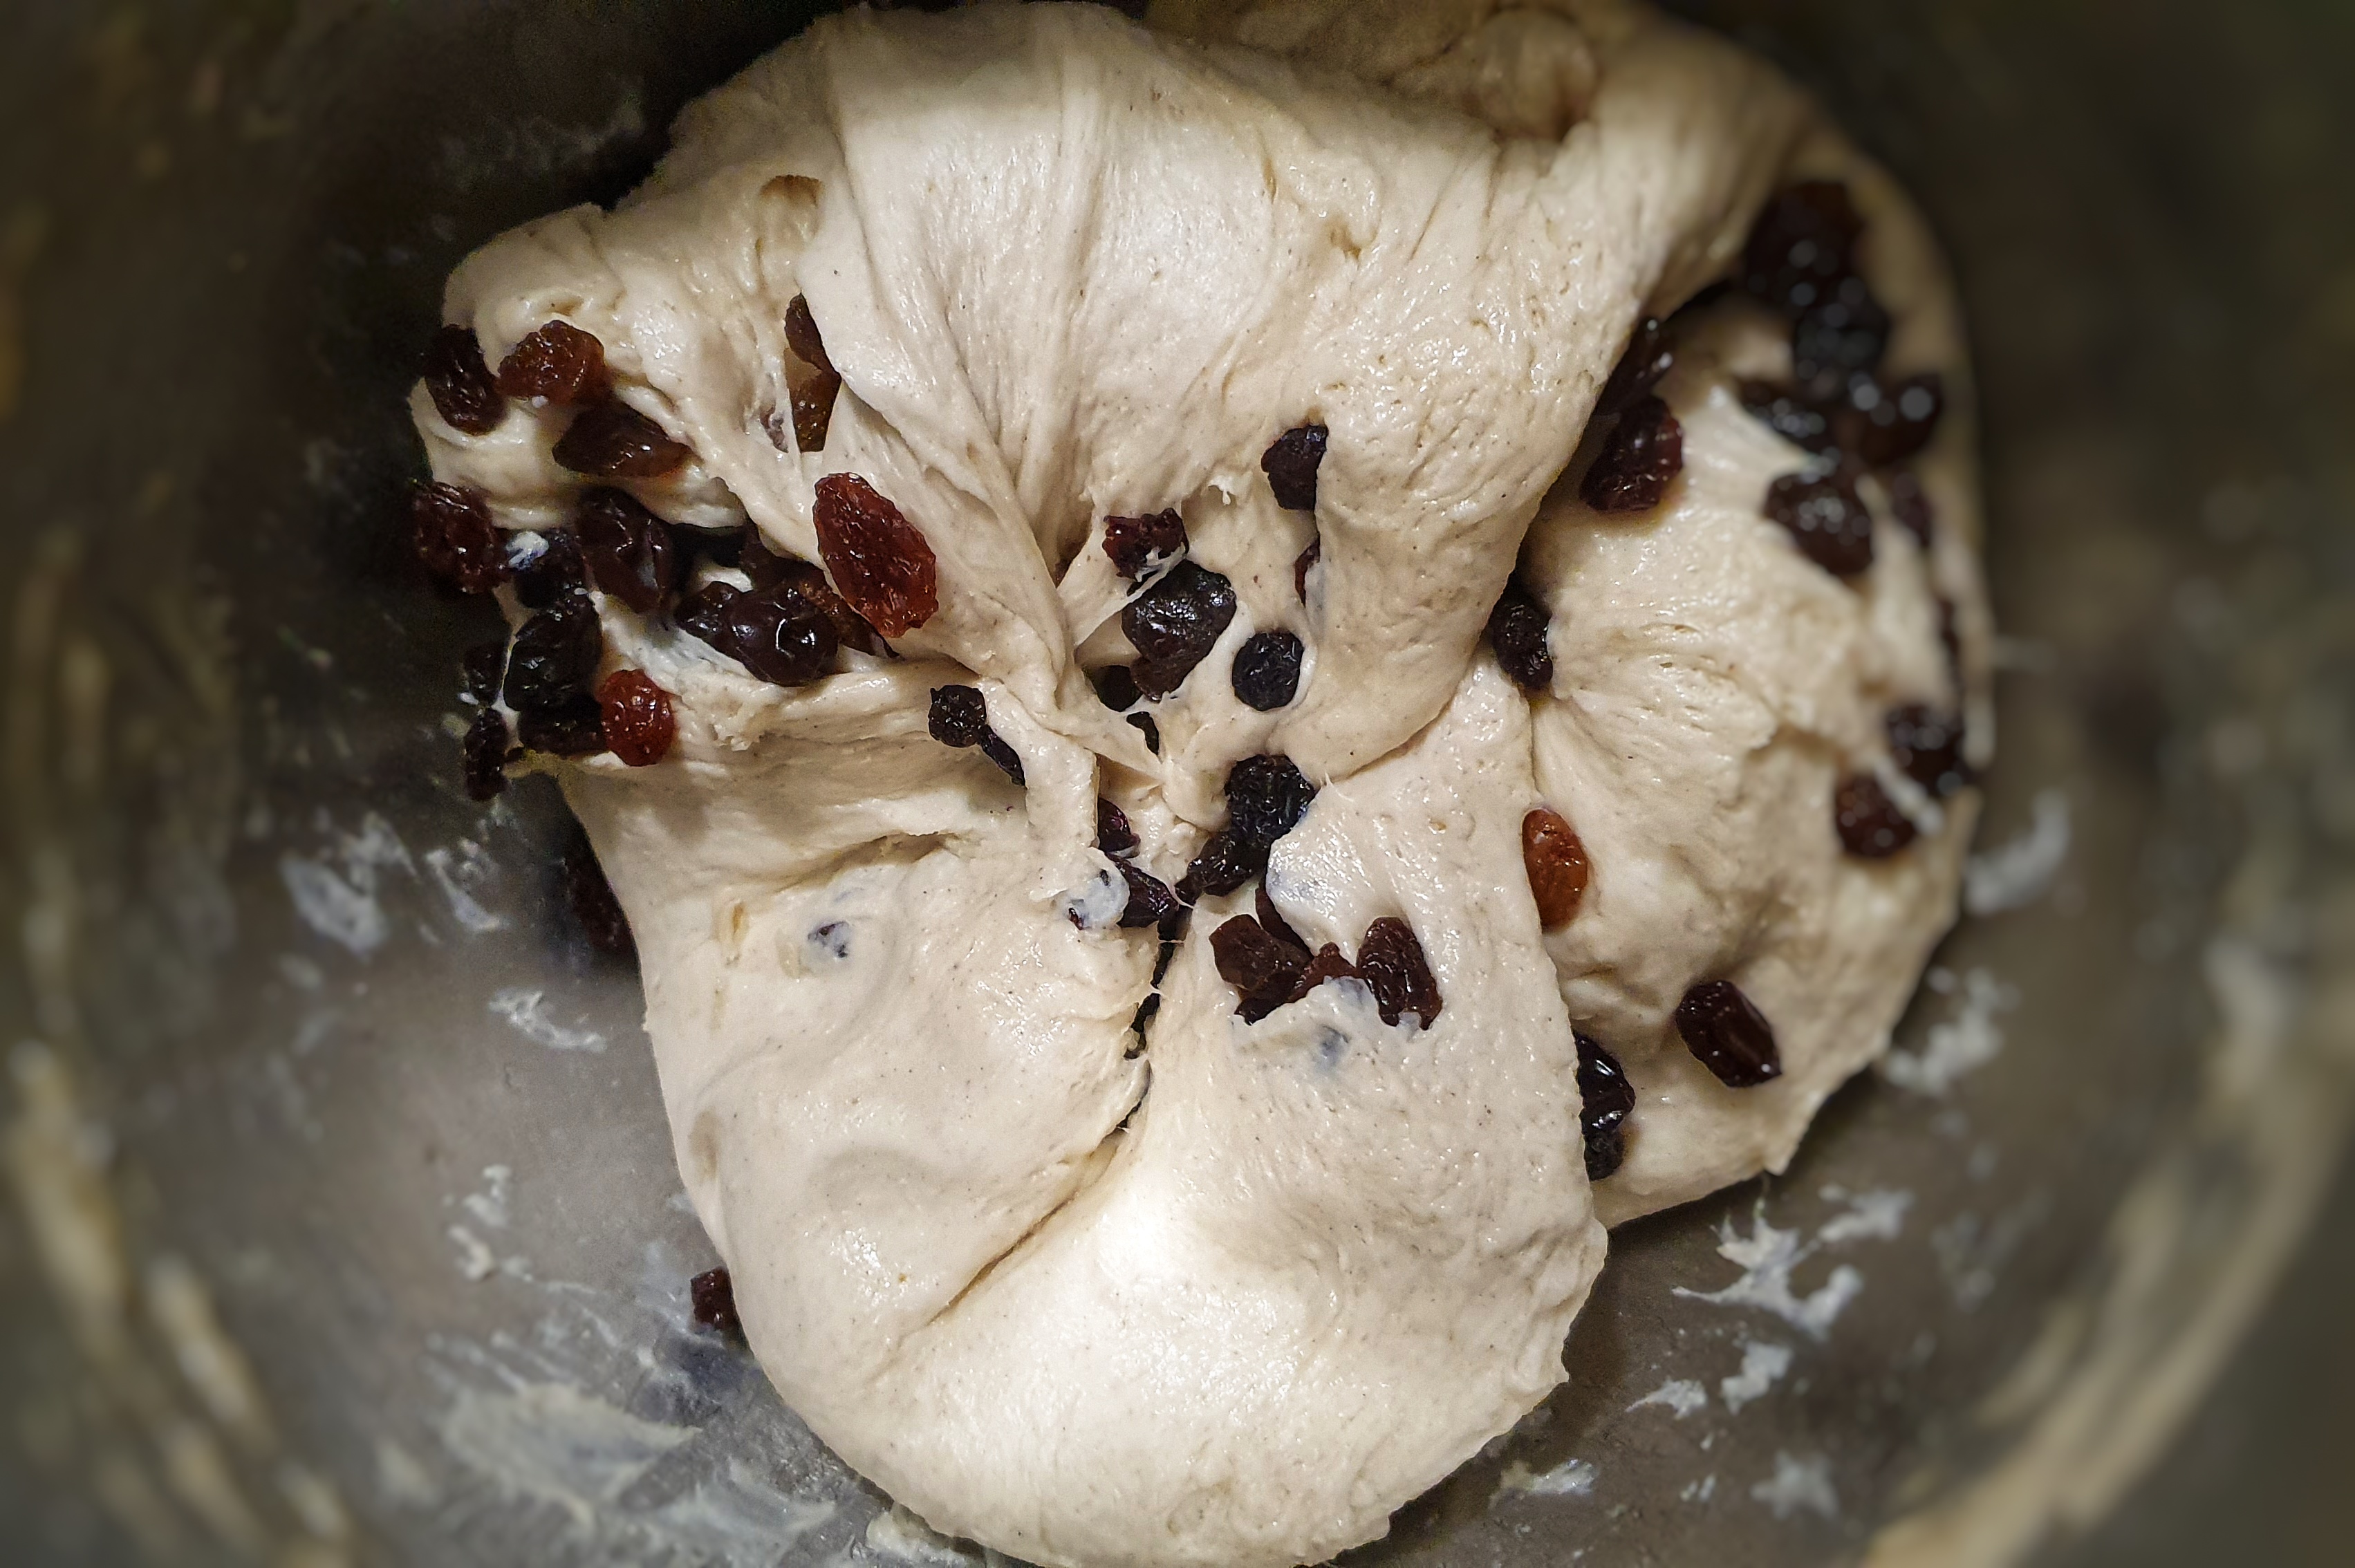
120 g currants and raisins
2 medium eggs, beaten
5 to 6 tbs milk
Extra lard, butter or cooking oil for frying
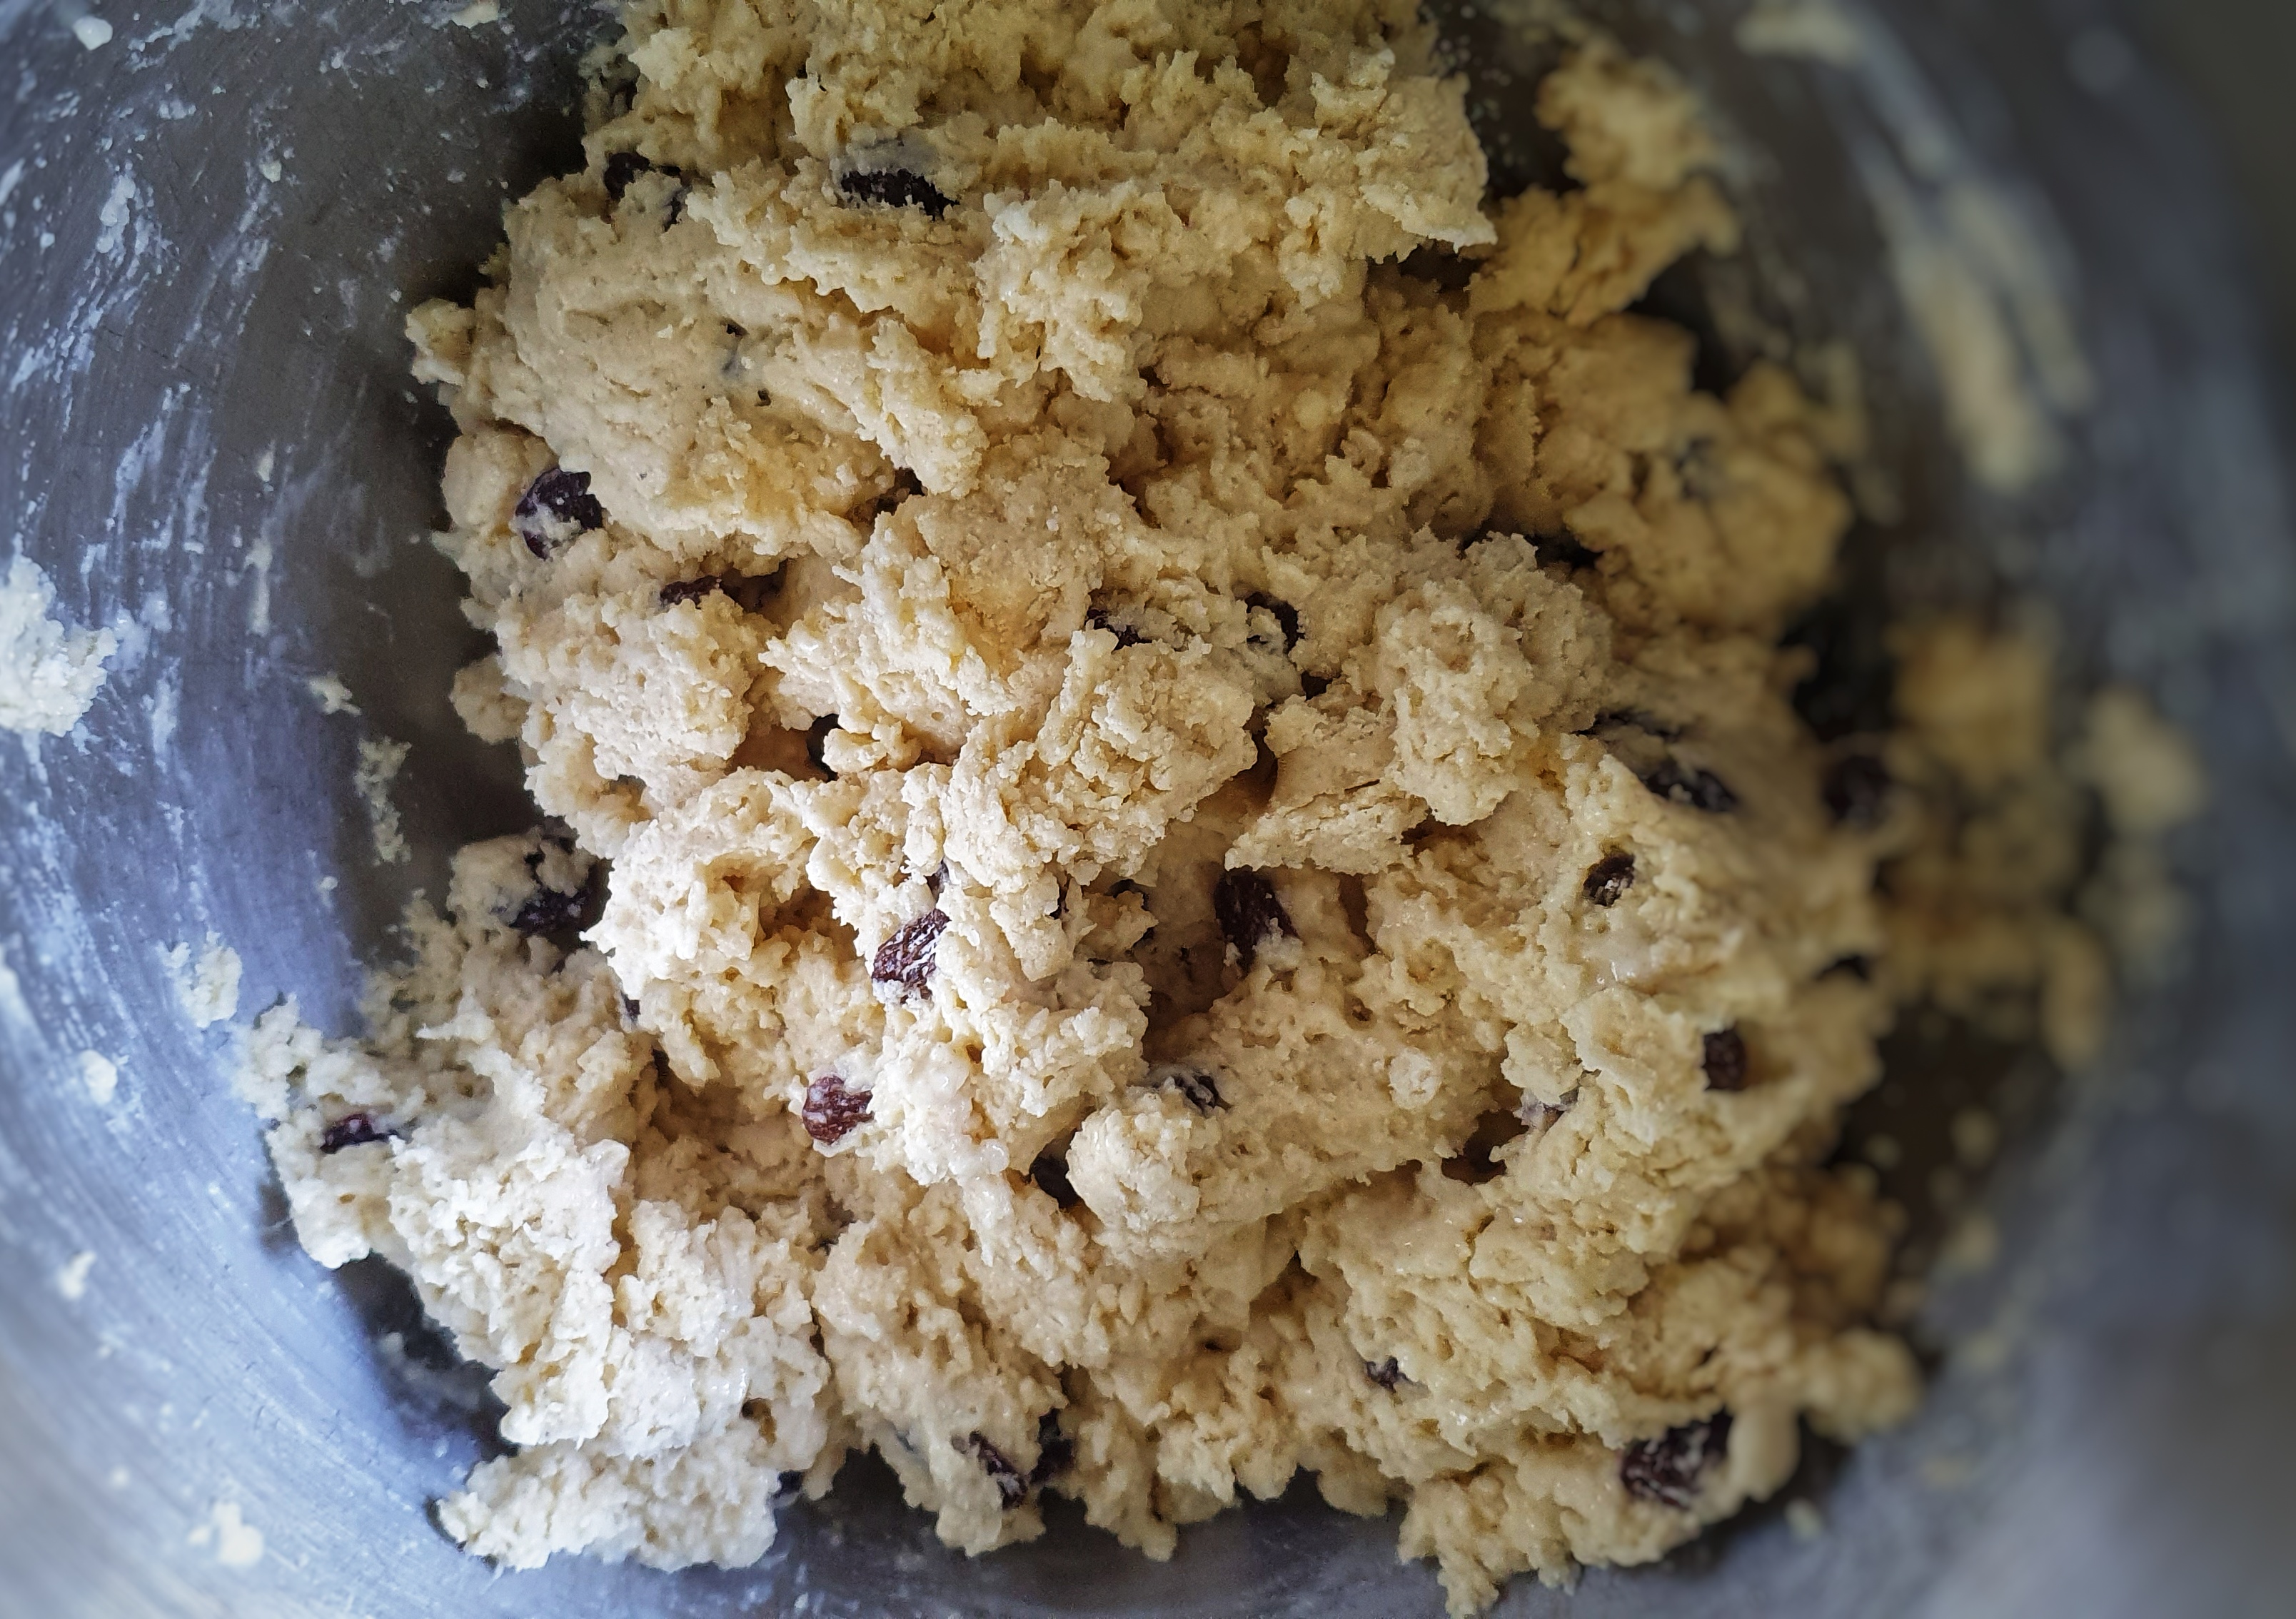
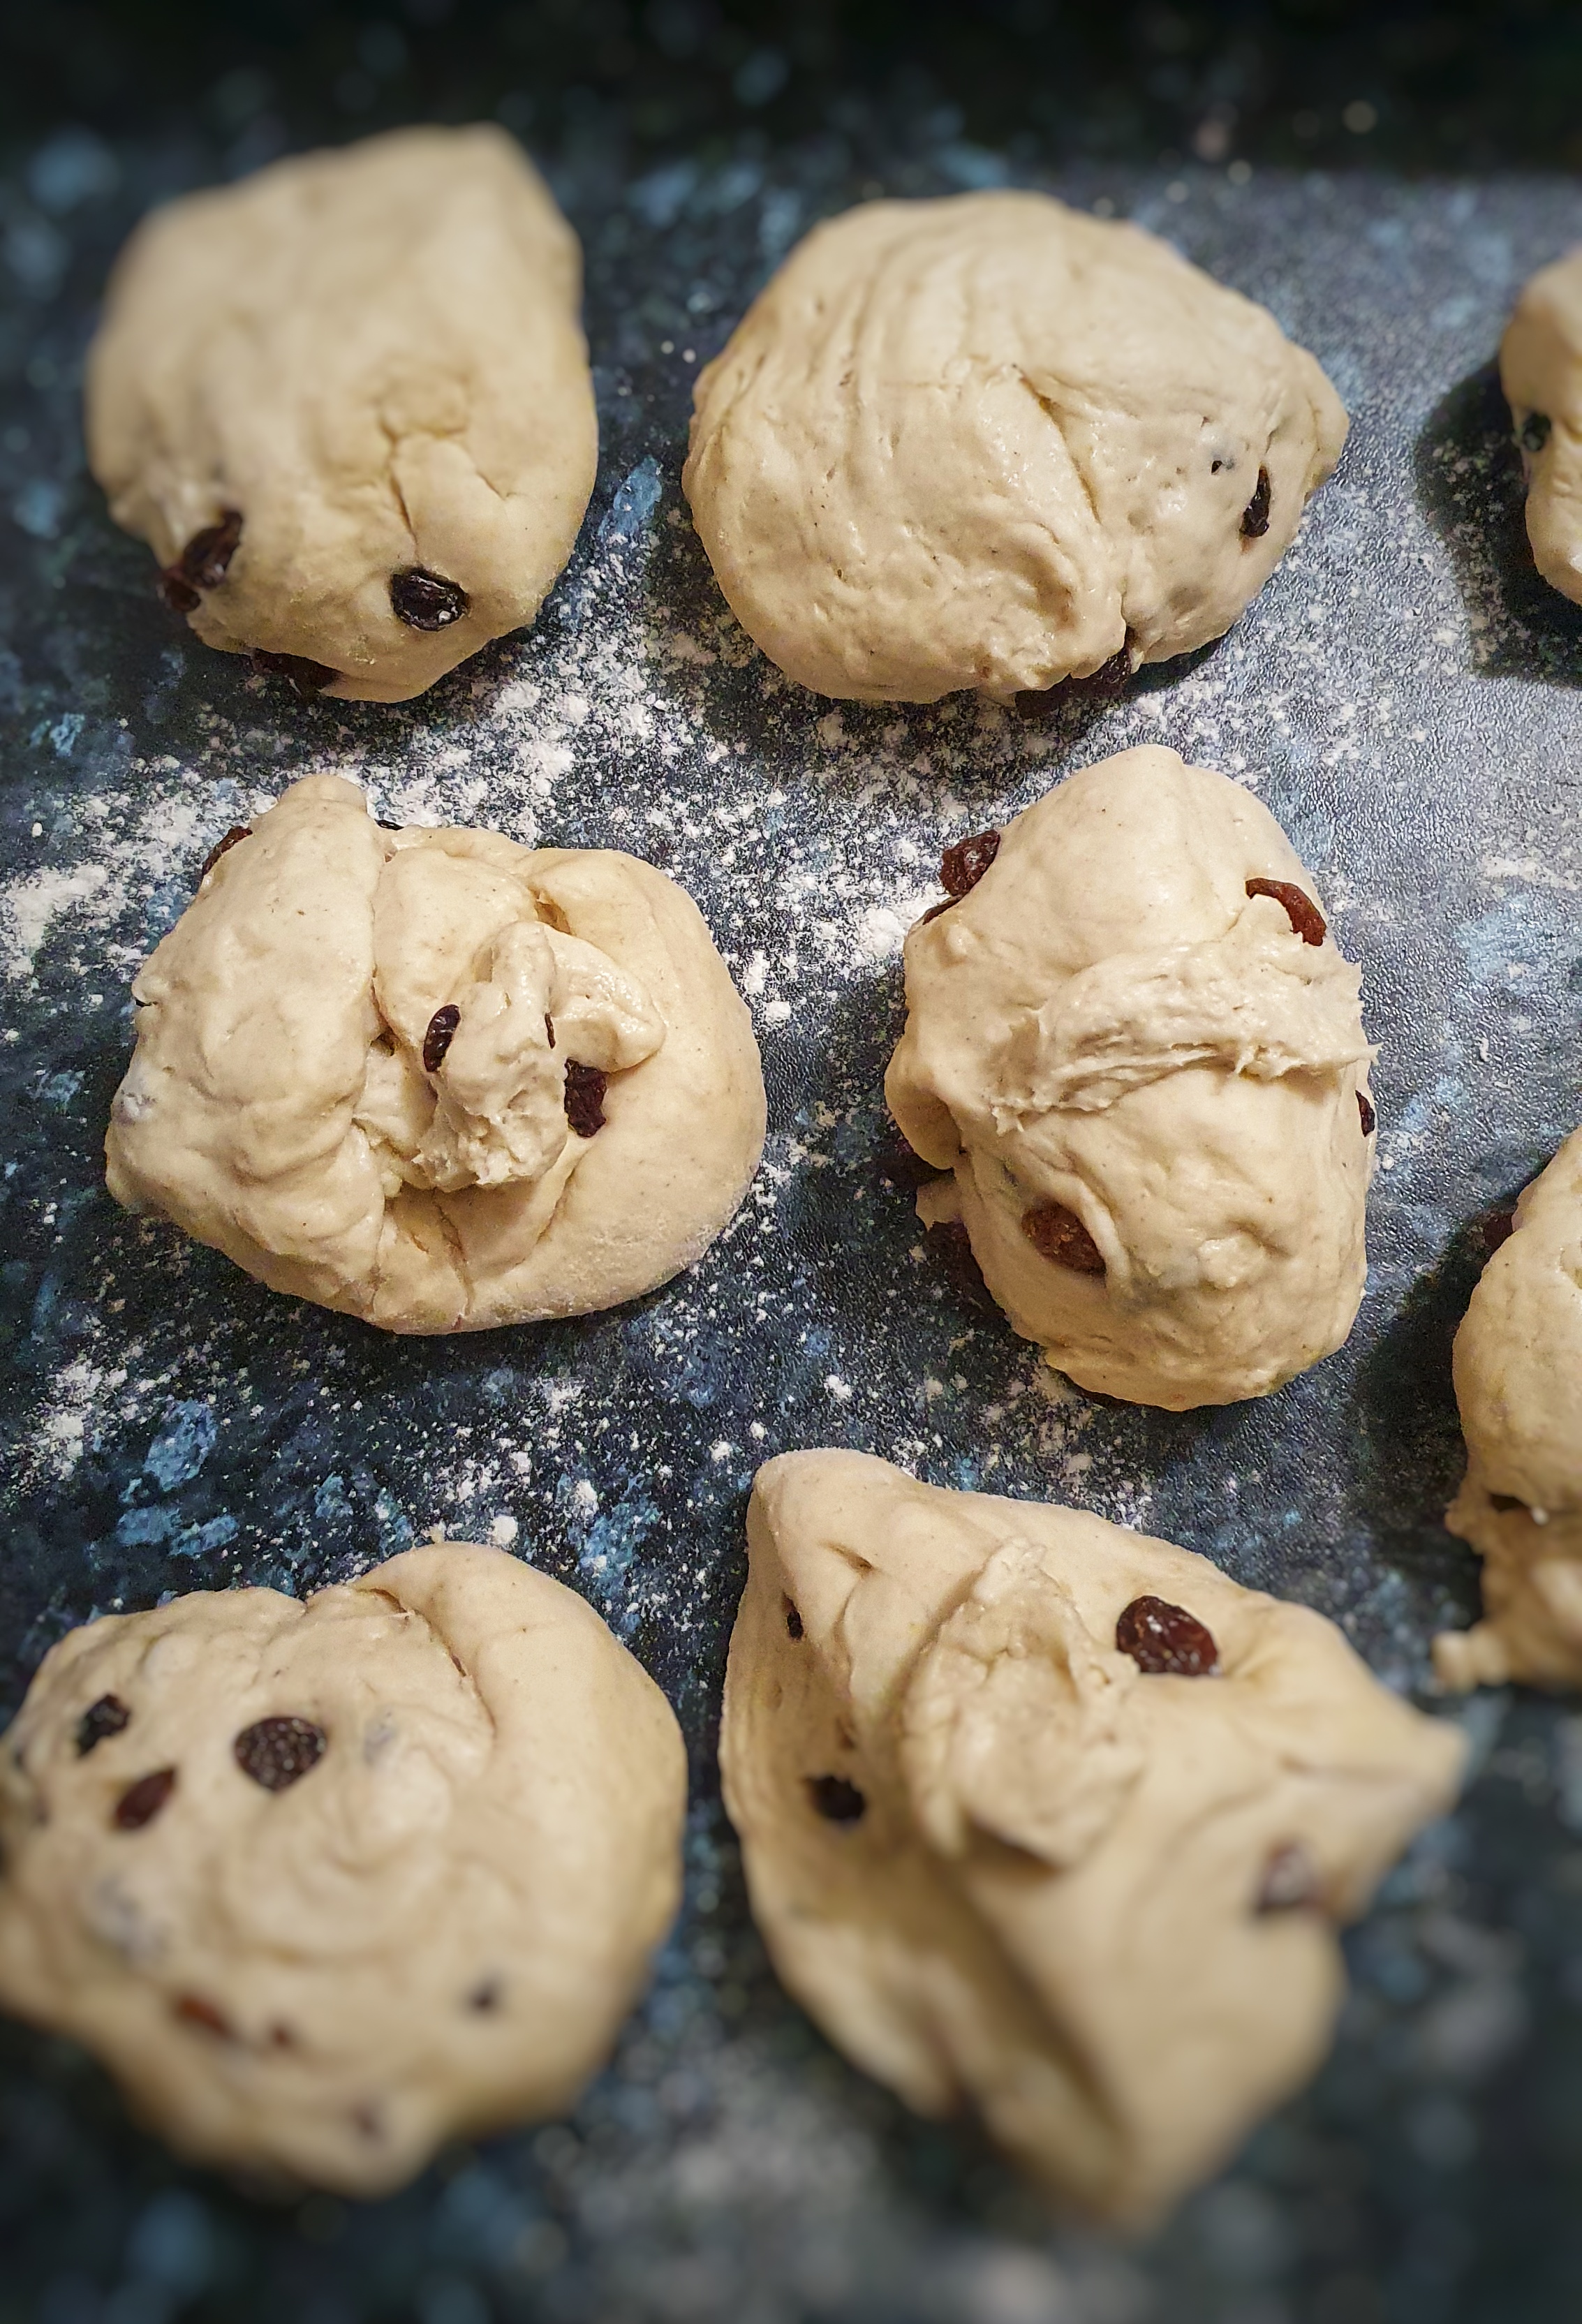
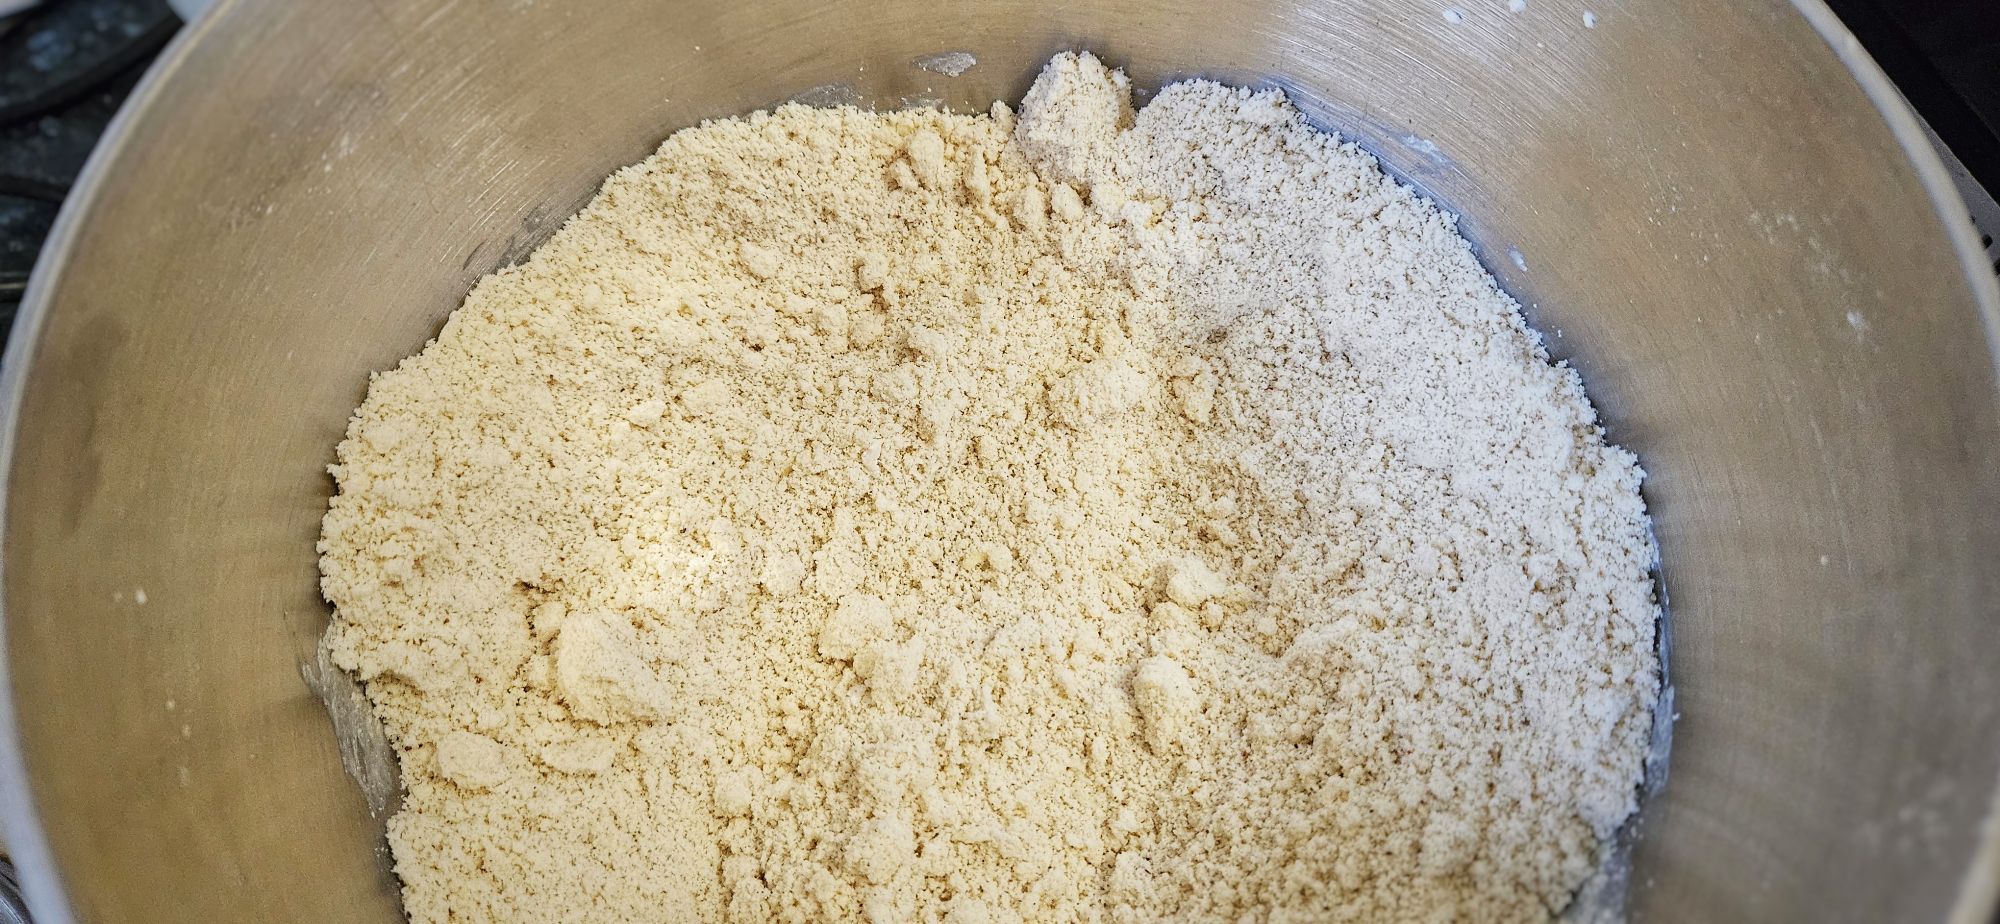
In a bowl, mix the flour, baking powder, salt and spices, and rub in the fat with your fingertips until the mixture resembles breadcrumbs – just like making pastry. You can use the flat beater on your mixer too, but use a slow setting; you don’t want to pulverise the mixture into a paste. Mix in the sugar and dried fruit.
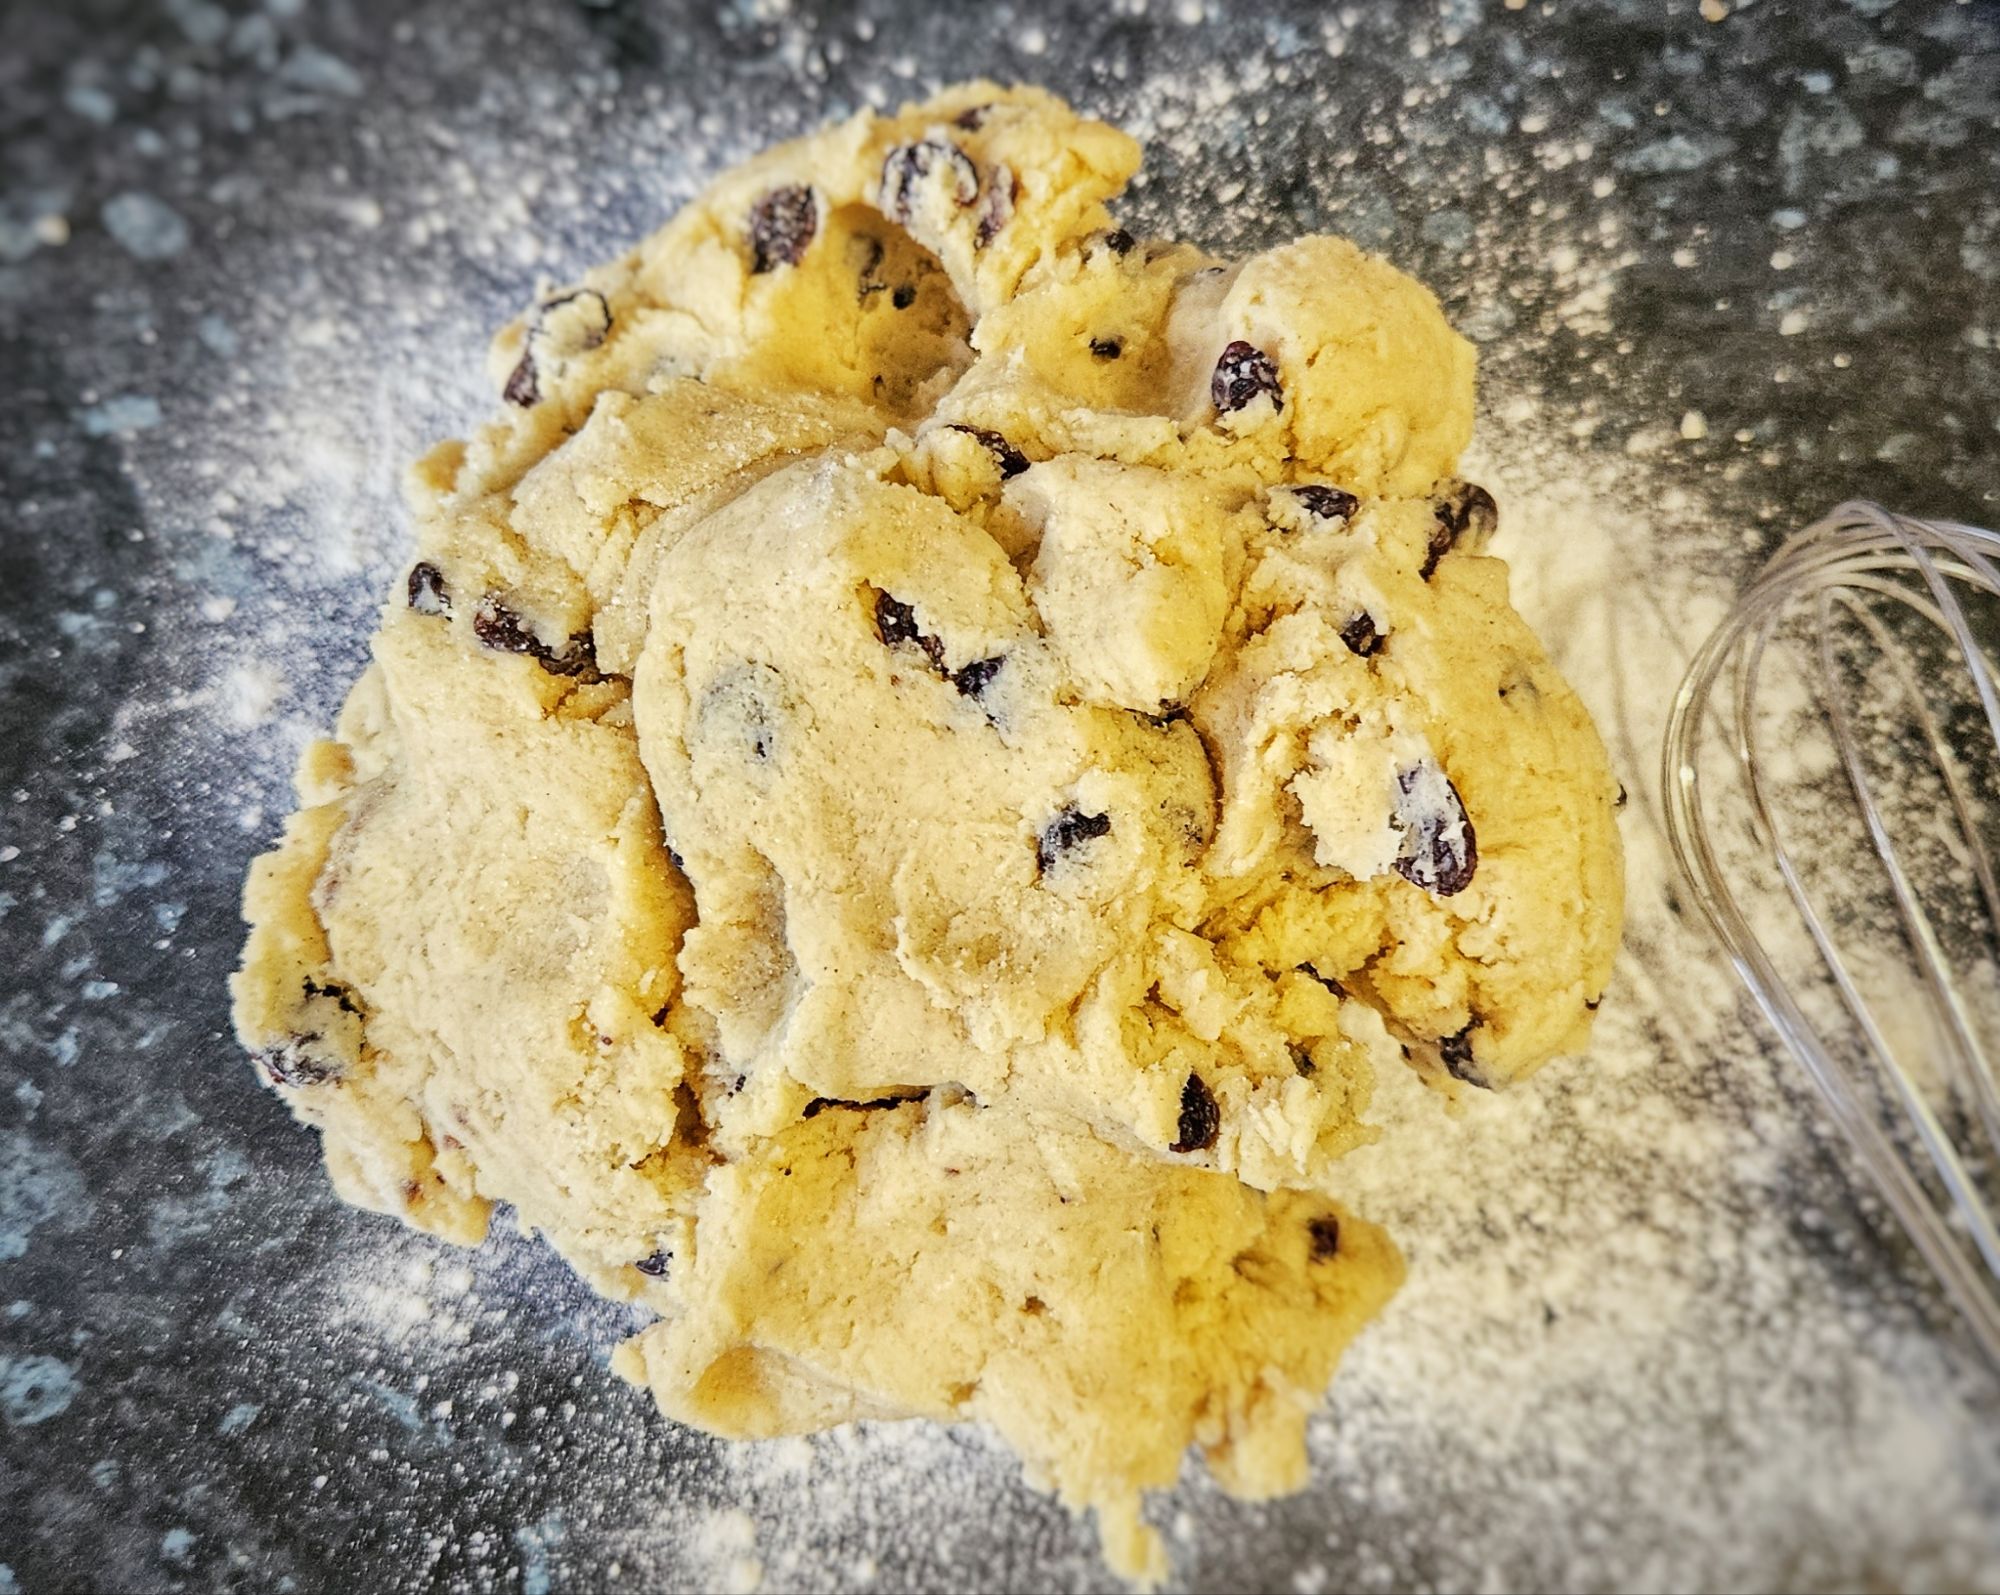
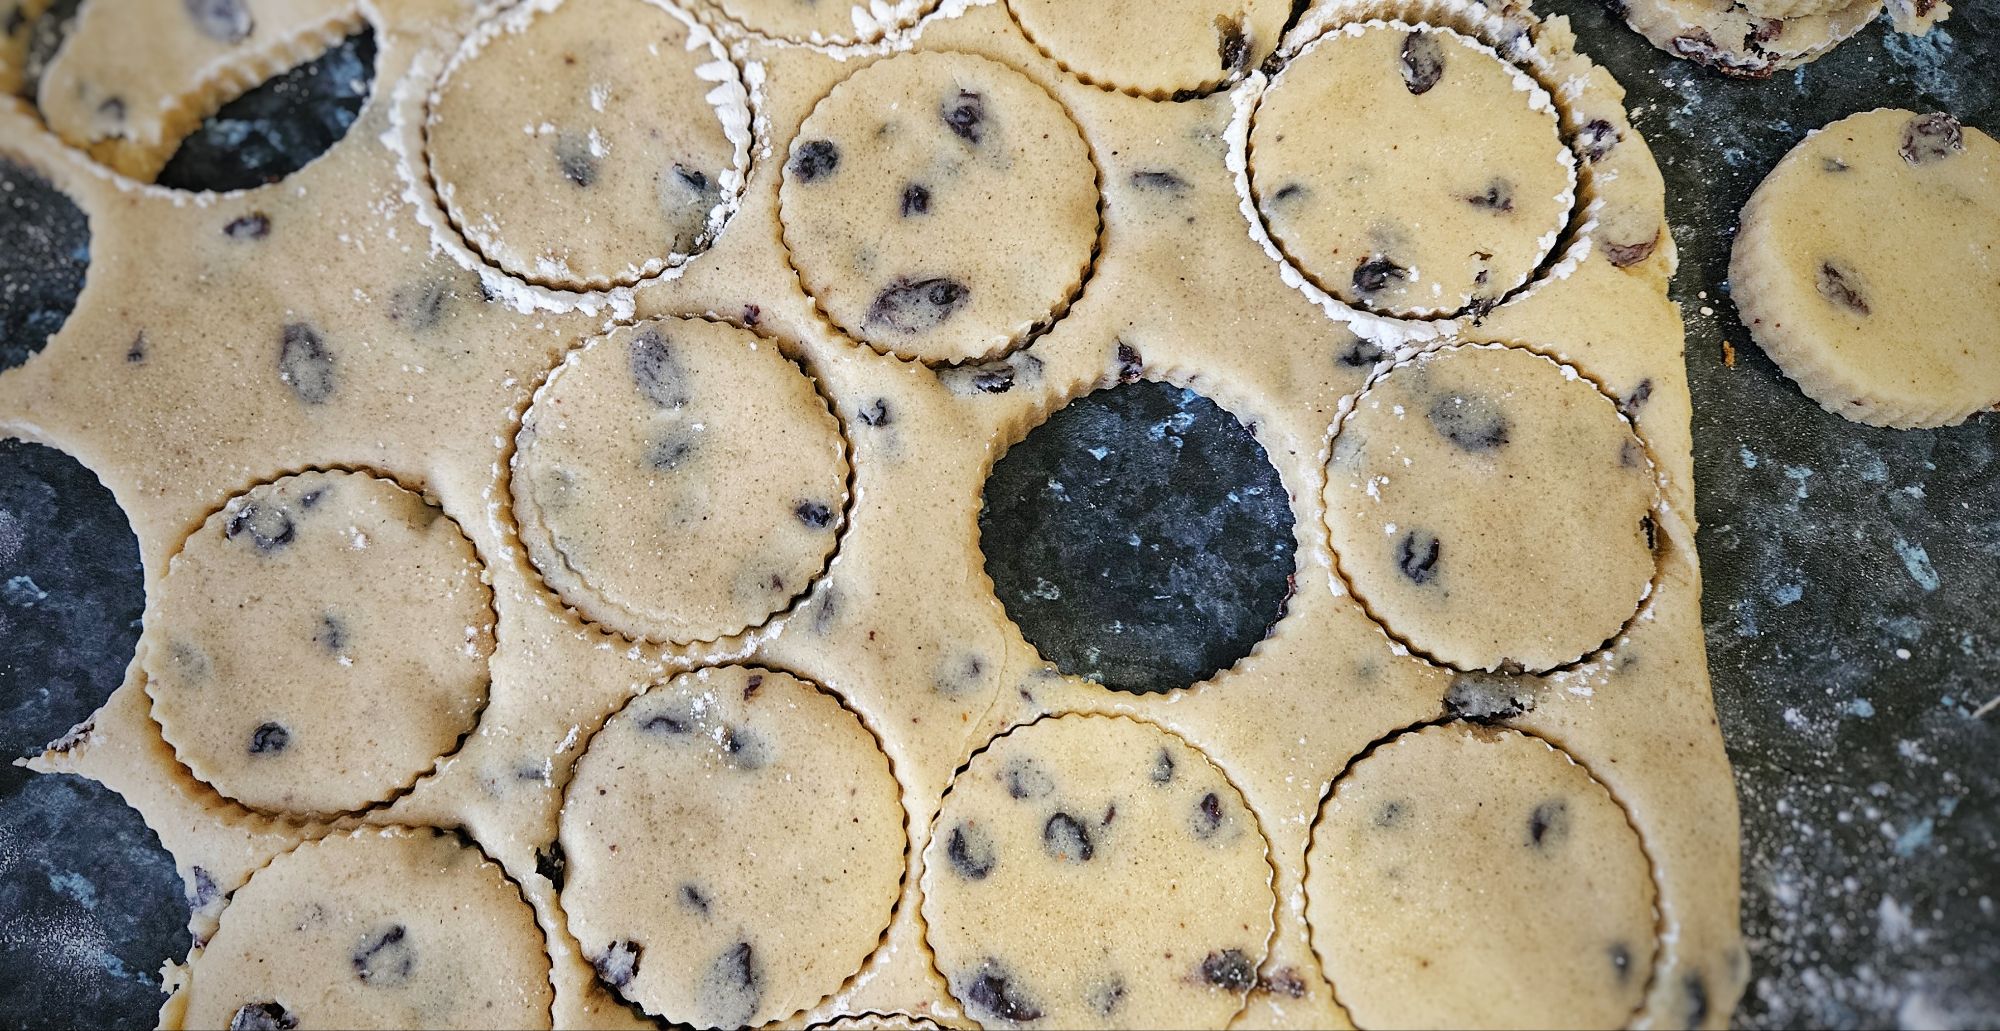
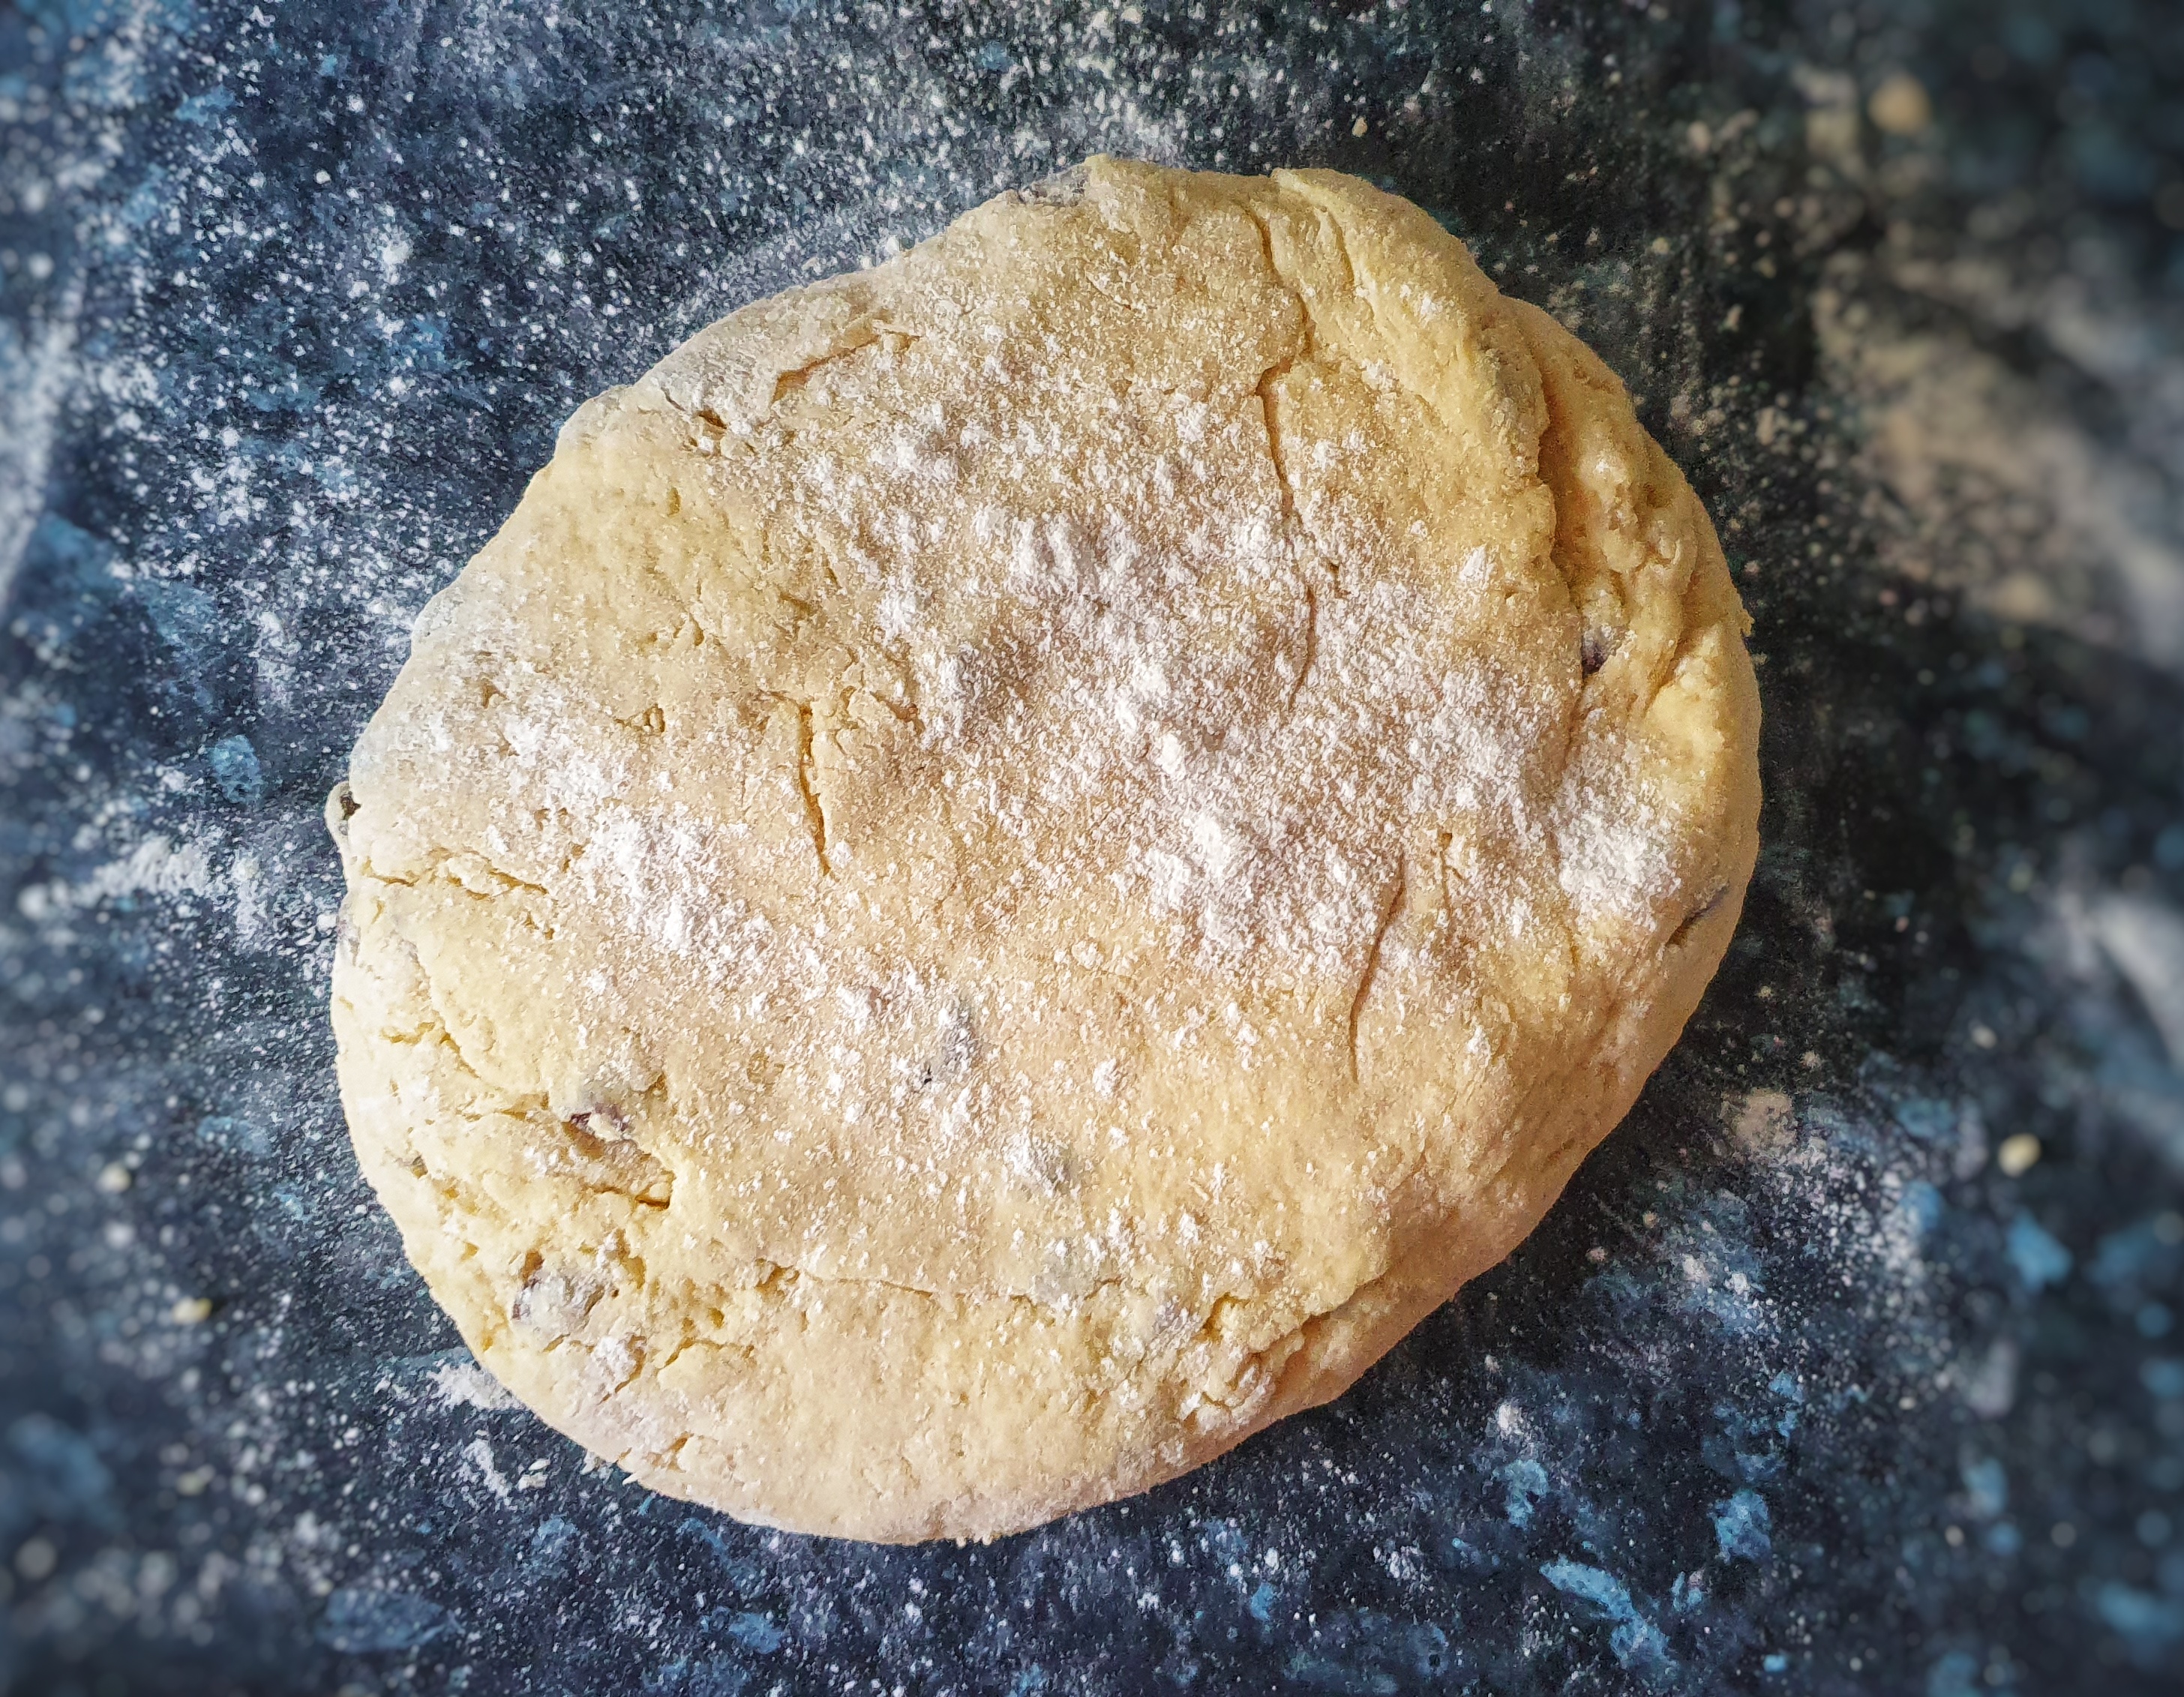
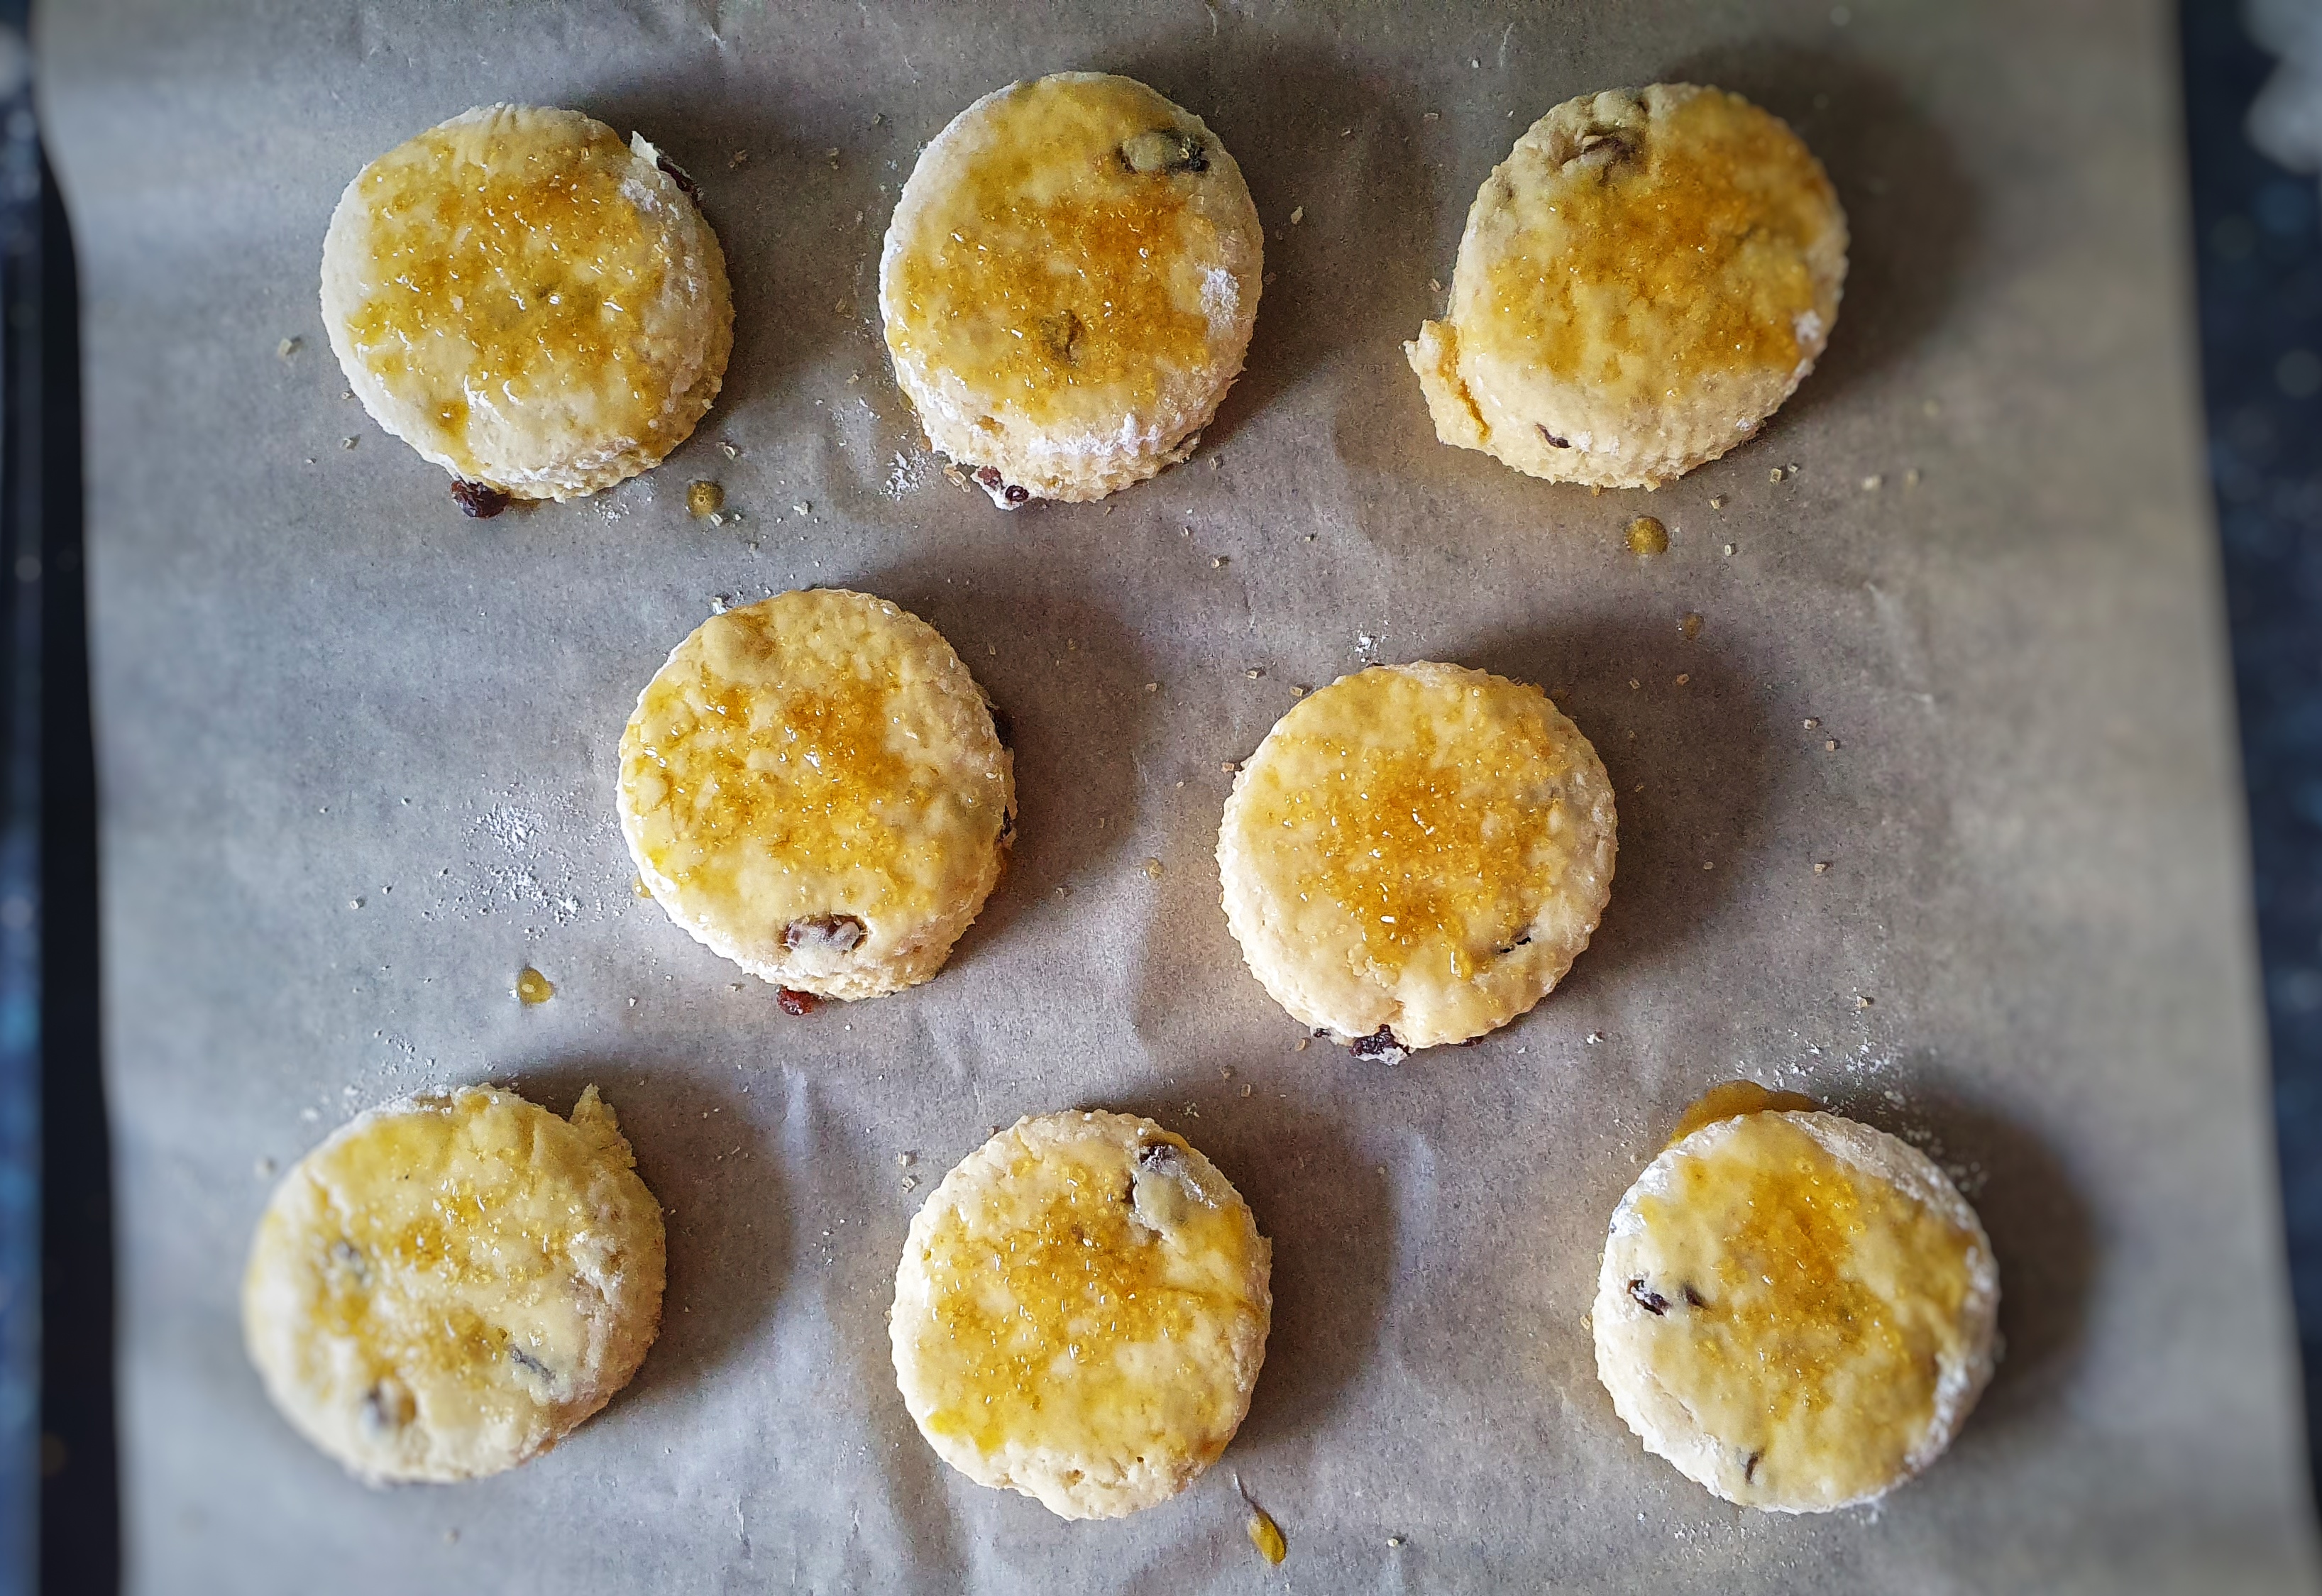
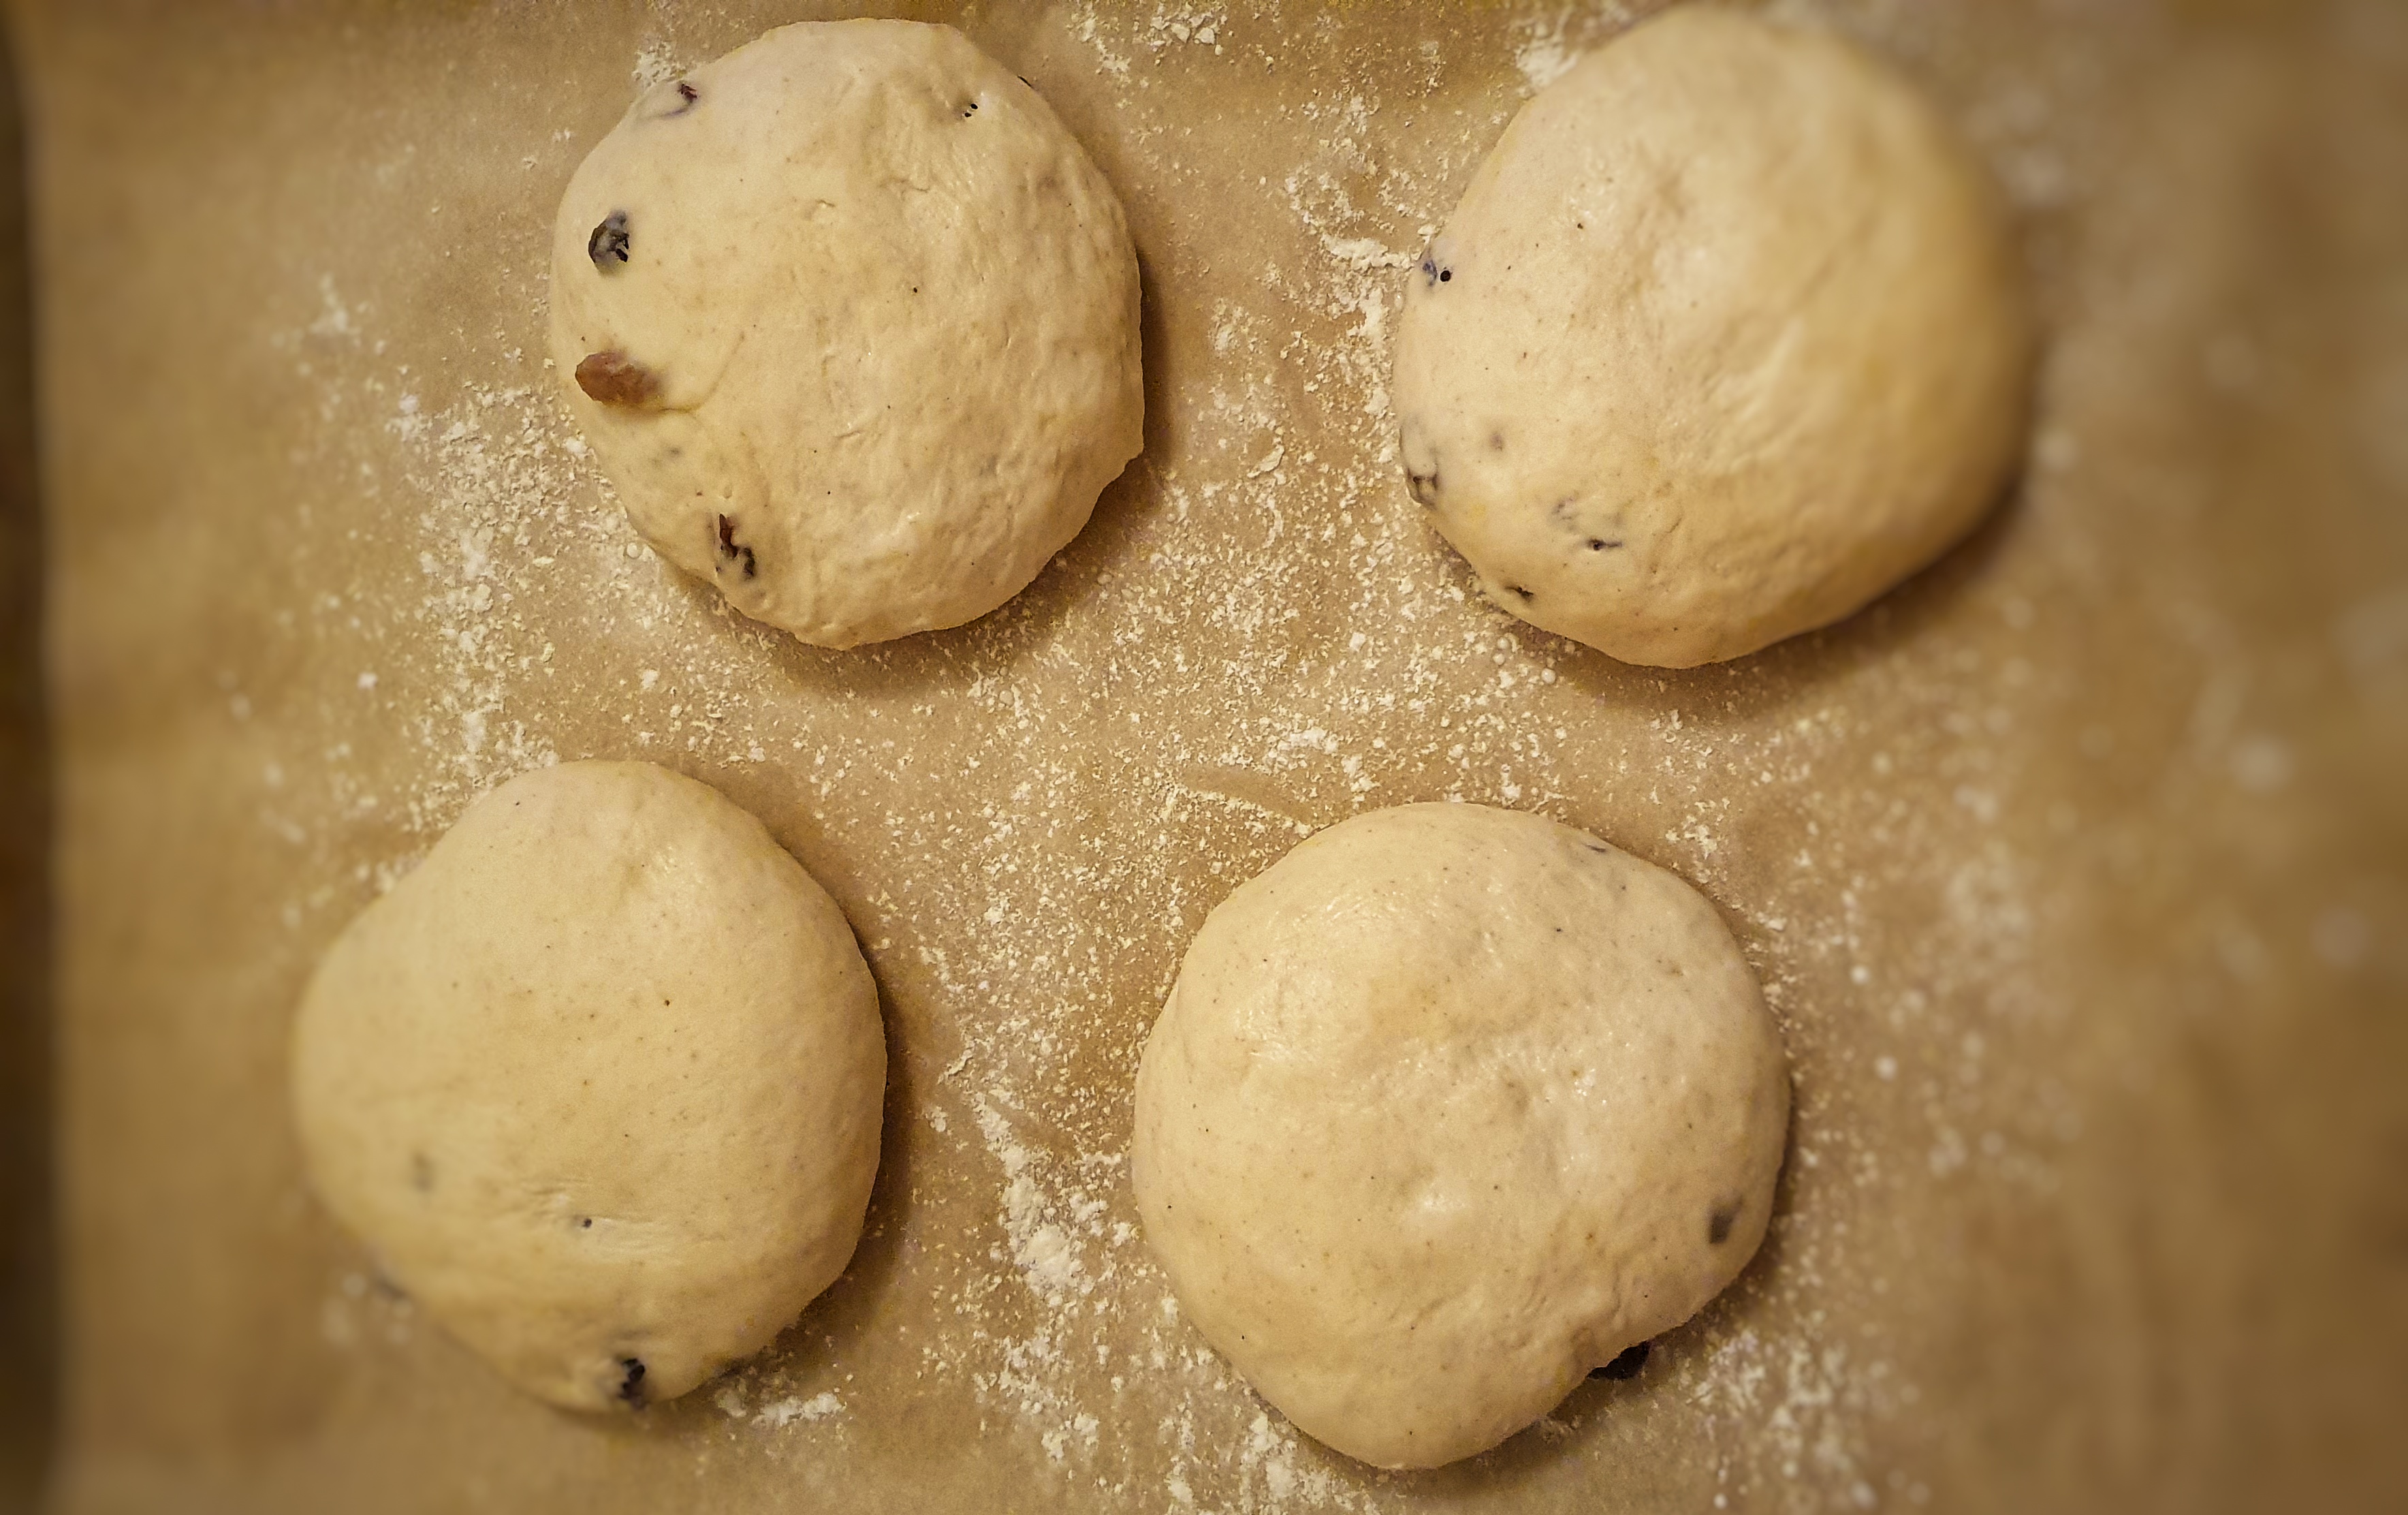
Make a well in the centre and pour in the eggs and 2 tablespoons of the milk. Mix everything together by hand, adding more milk if there are some dry patches, to form a soft dough. Knead briefly on a floured worktop and roll out to a thickness of around 6 mm (or ¼ of an inch in old money). Use a 6 cm cutter to stamp out the cakes. Dip the cutter in flour and dust it off to prevent sticking every 3 cakes or so.
Heat the bakestone to a low-medium setting. Be patient and let it warm up slowly – don’t be tempted to put on a high heat and then turn it down. There disaster lies. Pick your temperature setting and just give it a bit of time to do its thing.
When suitably hot, brush the surface of the bakestone with a little oil or lard. You only need the merest smear, and I find adding the fat and then wiping it around with a dry clean cloth or a piece of kitchen paper does the trick.
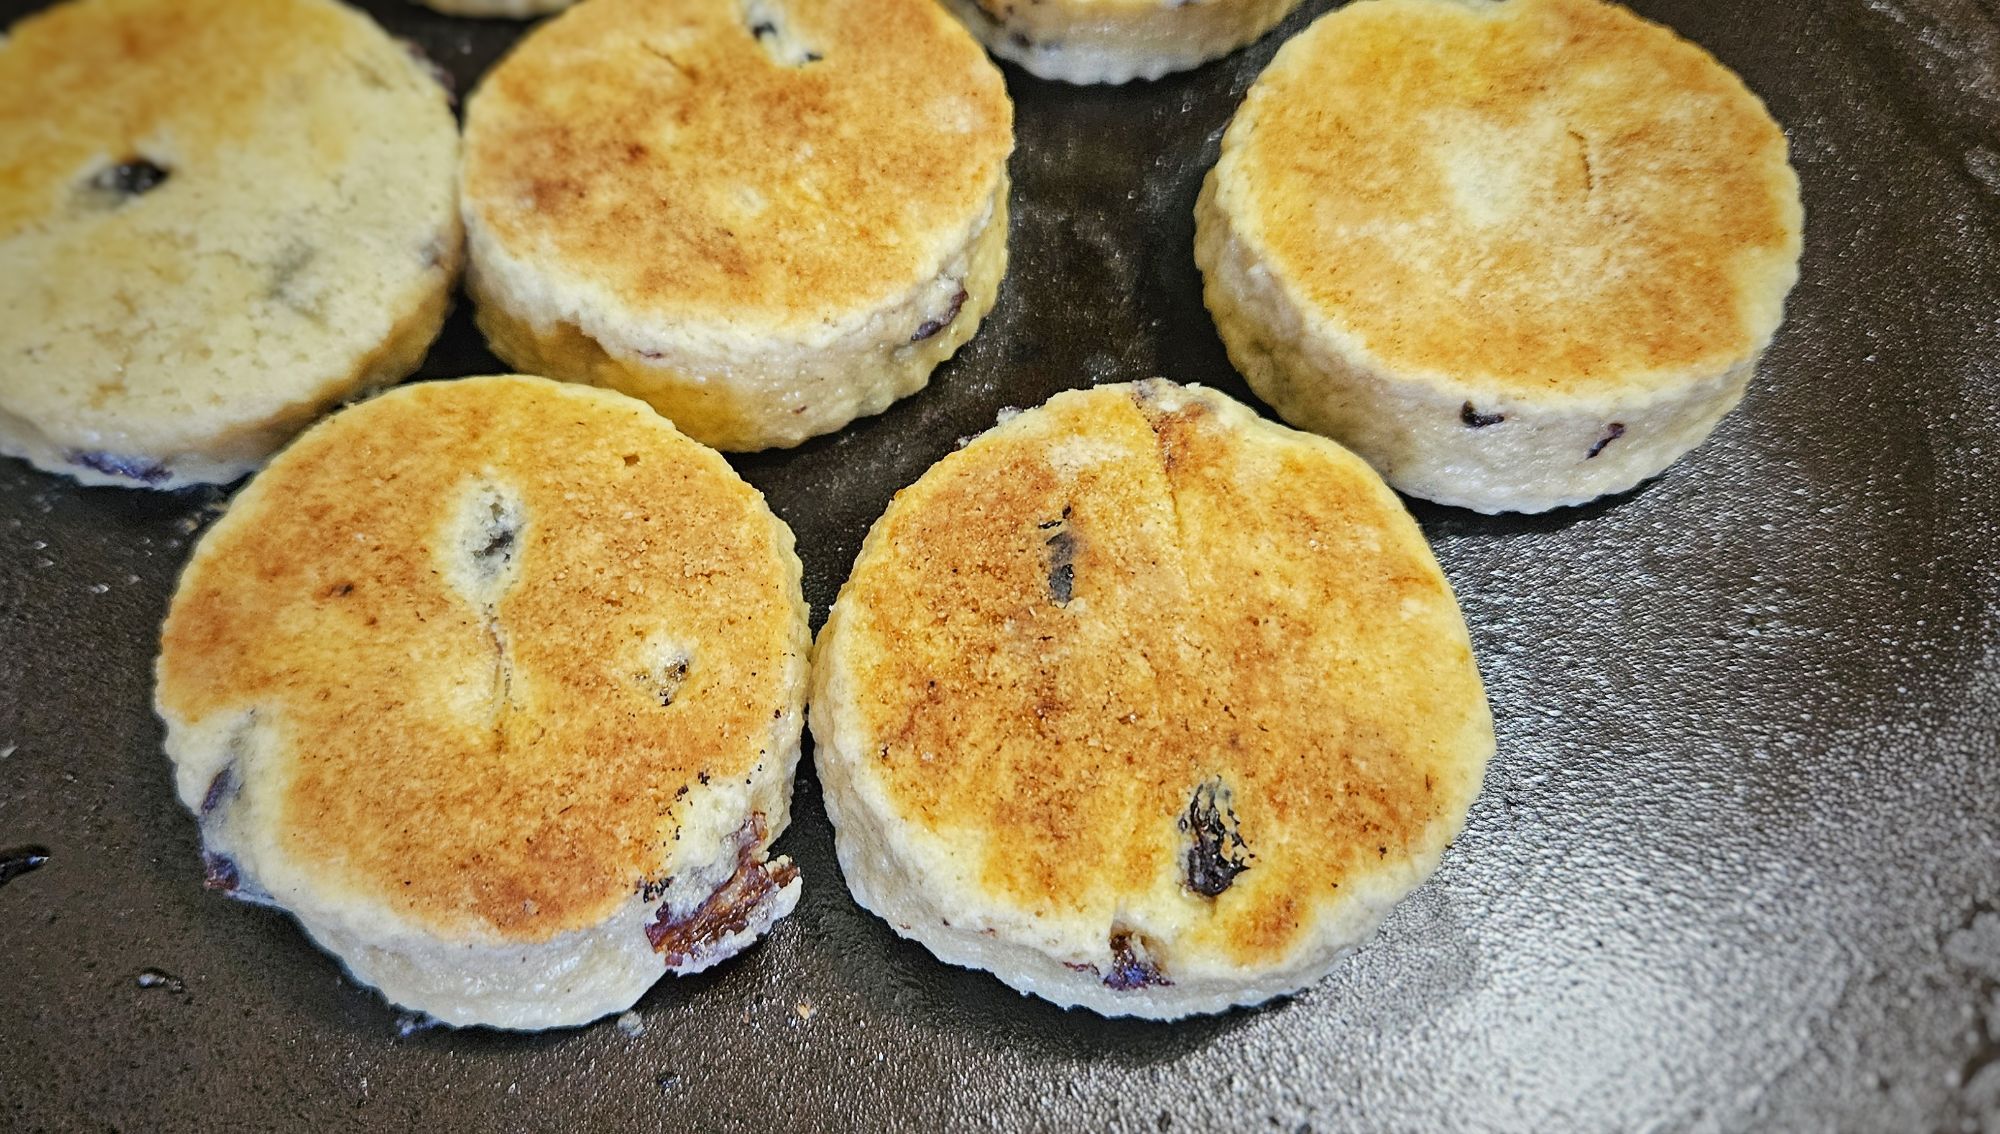
Bake the cakes in batches: don’t overcrowd the bakestone and remember that your bakestone will likely be cooler at the edges than the centre. After 3 minutes give them a check, and if they are already looking brown, turn them over and lower the heat a smidge. You’re looking to bake them for 4 to 5 minutes per side until they are a mottled golden brown. You know they are ready when they feel firm, but with a slight softness in the centre.
Place cooked cakes on a rack whilst you attend to the ones that aren’t quite ready yet. Add a sprinkle of caster sugar to the cooling cakes.
When they are all cooked, add a little more fat to the bakestone and bake the next batch.
My references
[1] ‘Round Cakes’, Amgueddfa Cymru website, https://museum.wales/collections/welsh-foods/?id=118
[2] Ibid.
[3] Grigson, J. (1992) English Food. Third Edit. Penguin.
[4] Freeman, B. (1984) A Book of Welsh Bakestone Cookery. Y Lolfa.
[5] Ibid.