My guest on the podcast today is Alex Bamji, Associate Professor of Early Modern History at the University of Leeds, and we are talking about a rare treatise on cheese dating from the Early Modern Period.
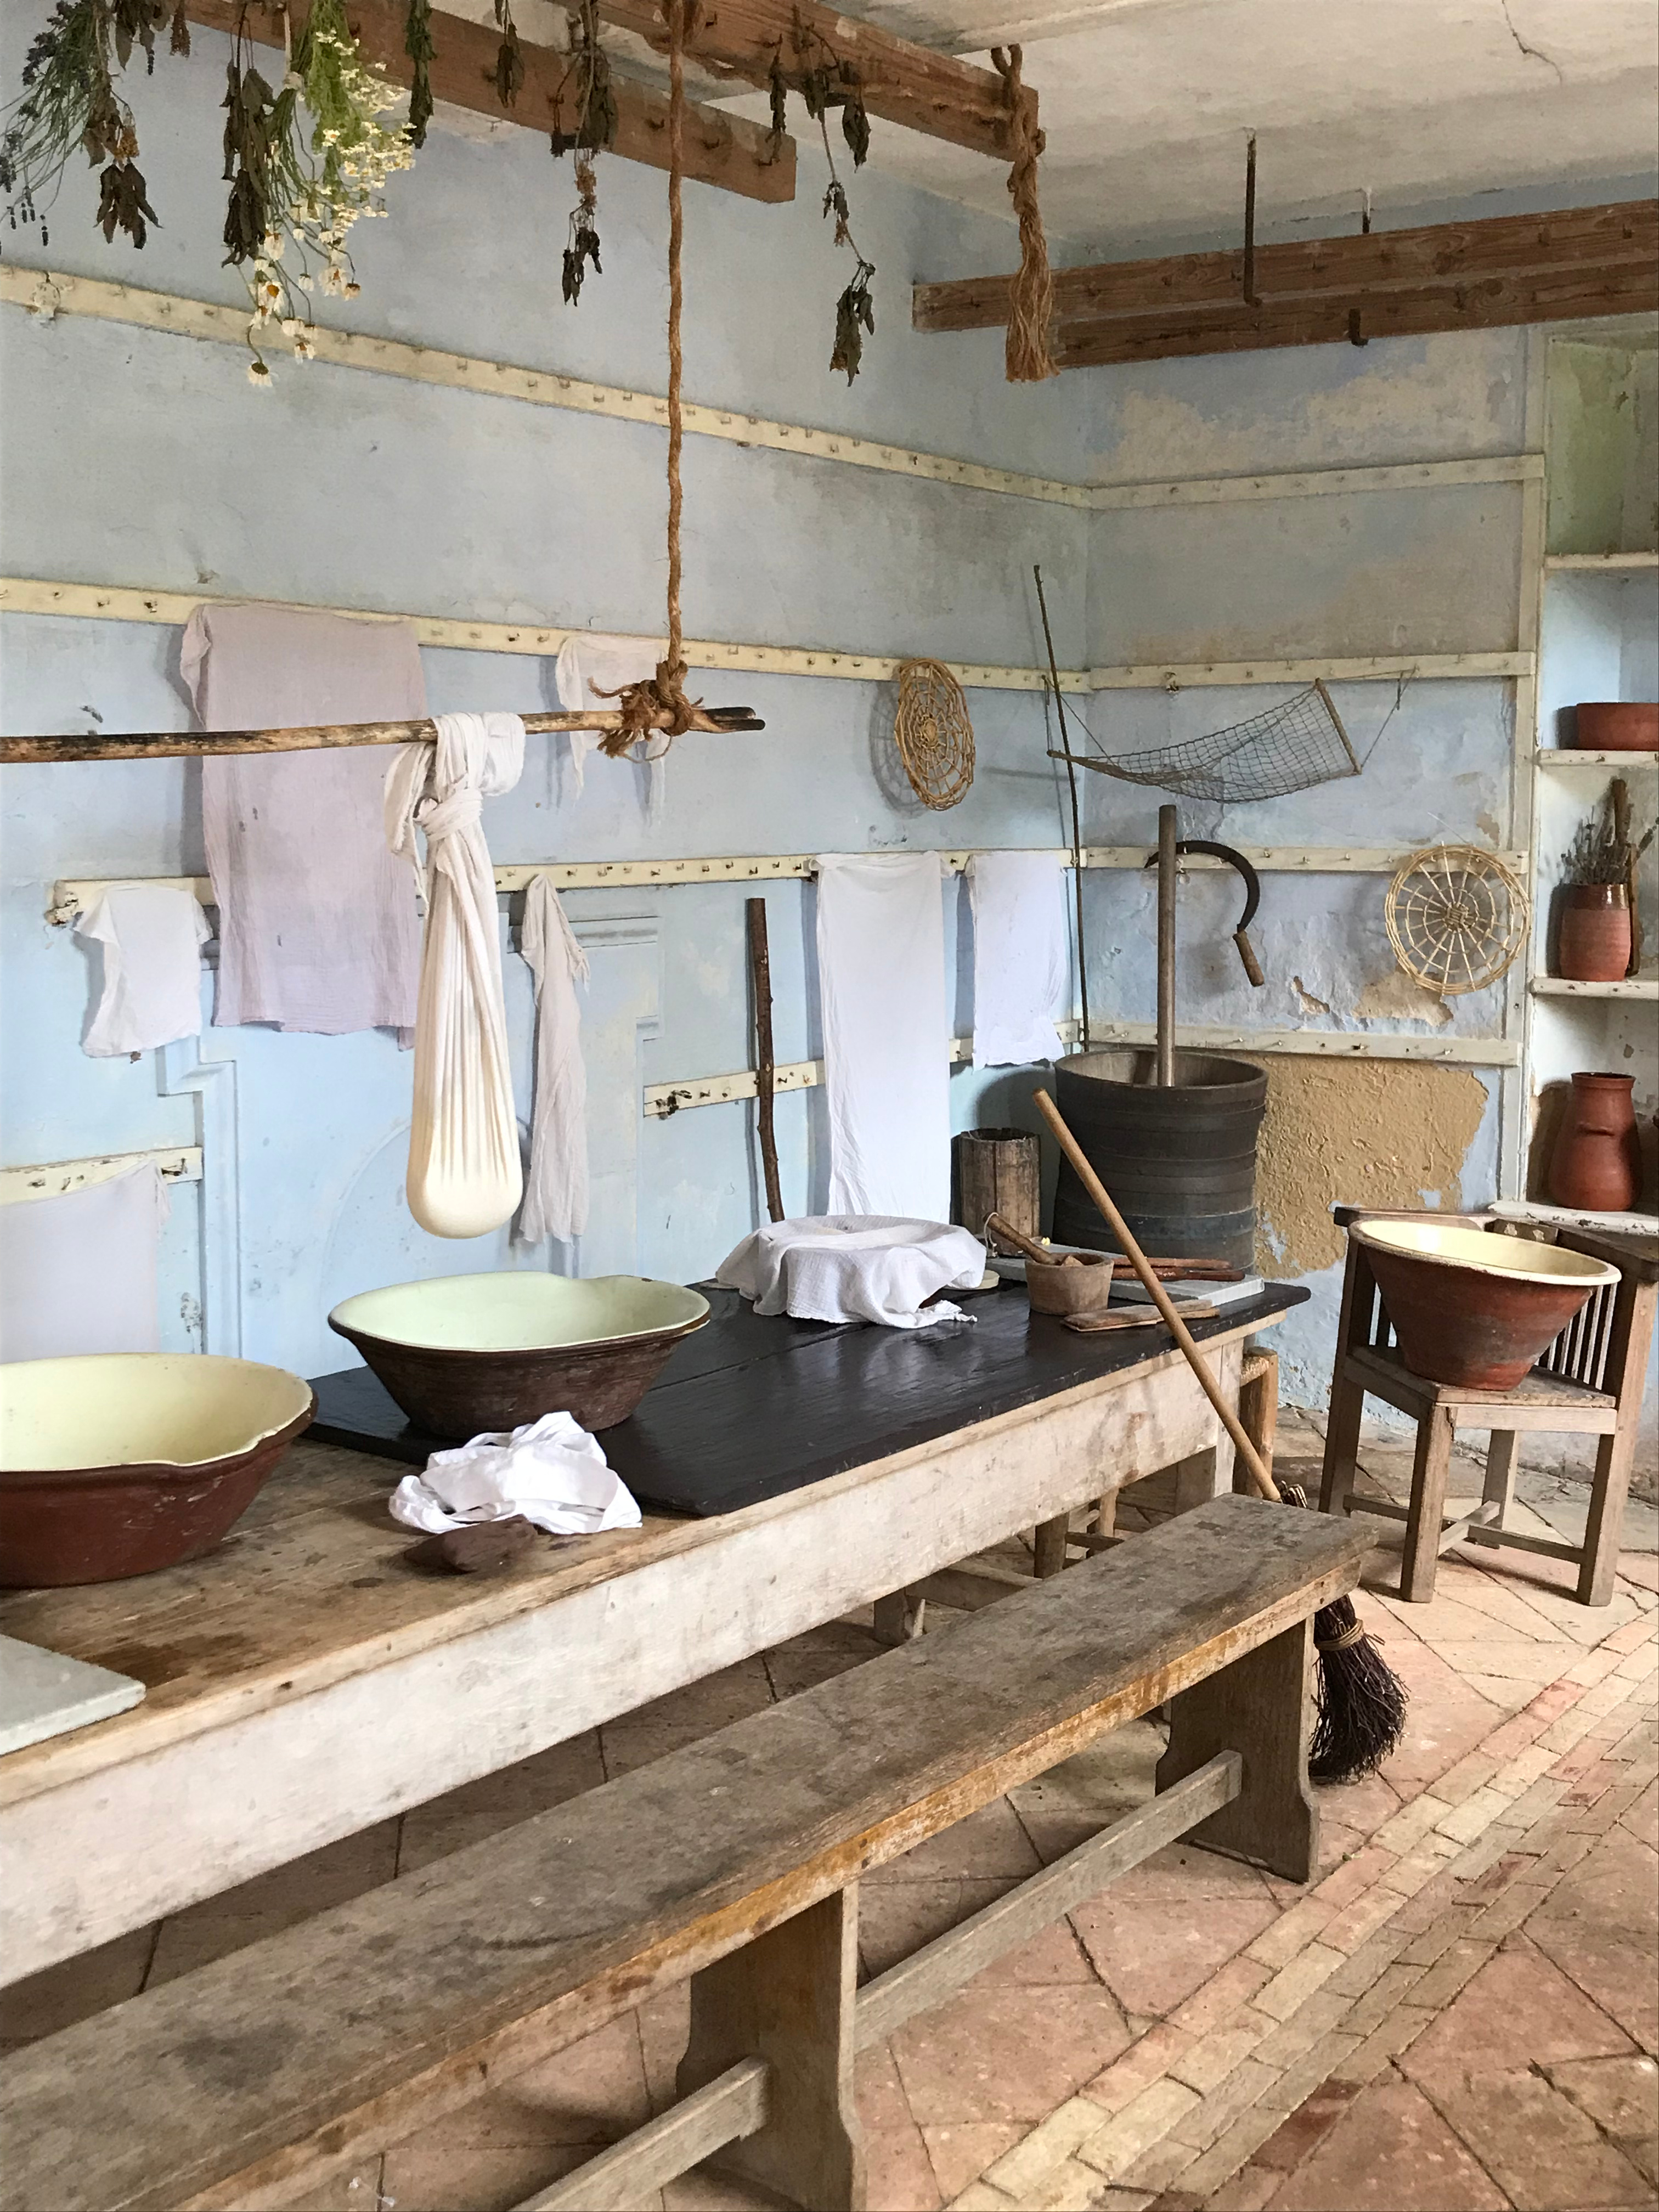
We met up at the Brotherton Library which is home to a fantastic collection of cookery books and manuscripts. We talk about cheese, health and humoral theory; what makes a good cheese; the early modern cheese landscape; cheese as a cure for gout; and cheese haters – plus many other things.
The front cover and title page of the cheese ‘pamflyt’ (University of Leeds Cultural Collections)
Those listening to the secret podcast: Alex and I talk about why cow’s milk is the best milk, and I wonder whether there any clues as to where their microbes are coming from.
The British Food History Podcast can be heard on your favourite podcast app and on YouTube, or si ply steam via this Spotify embed:
Follow Alex on Twitter, Bluesky and Instagram @alexbamji
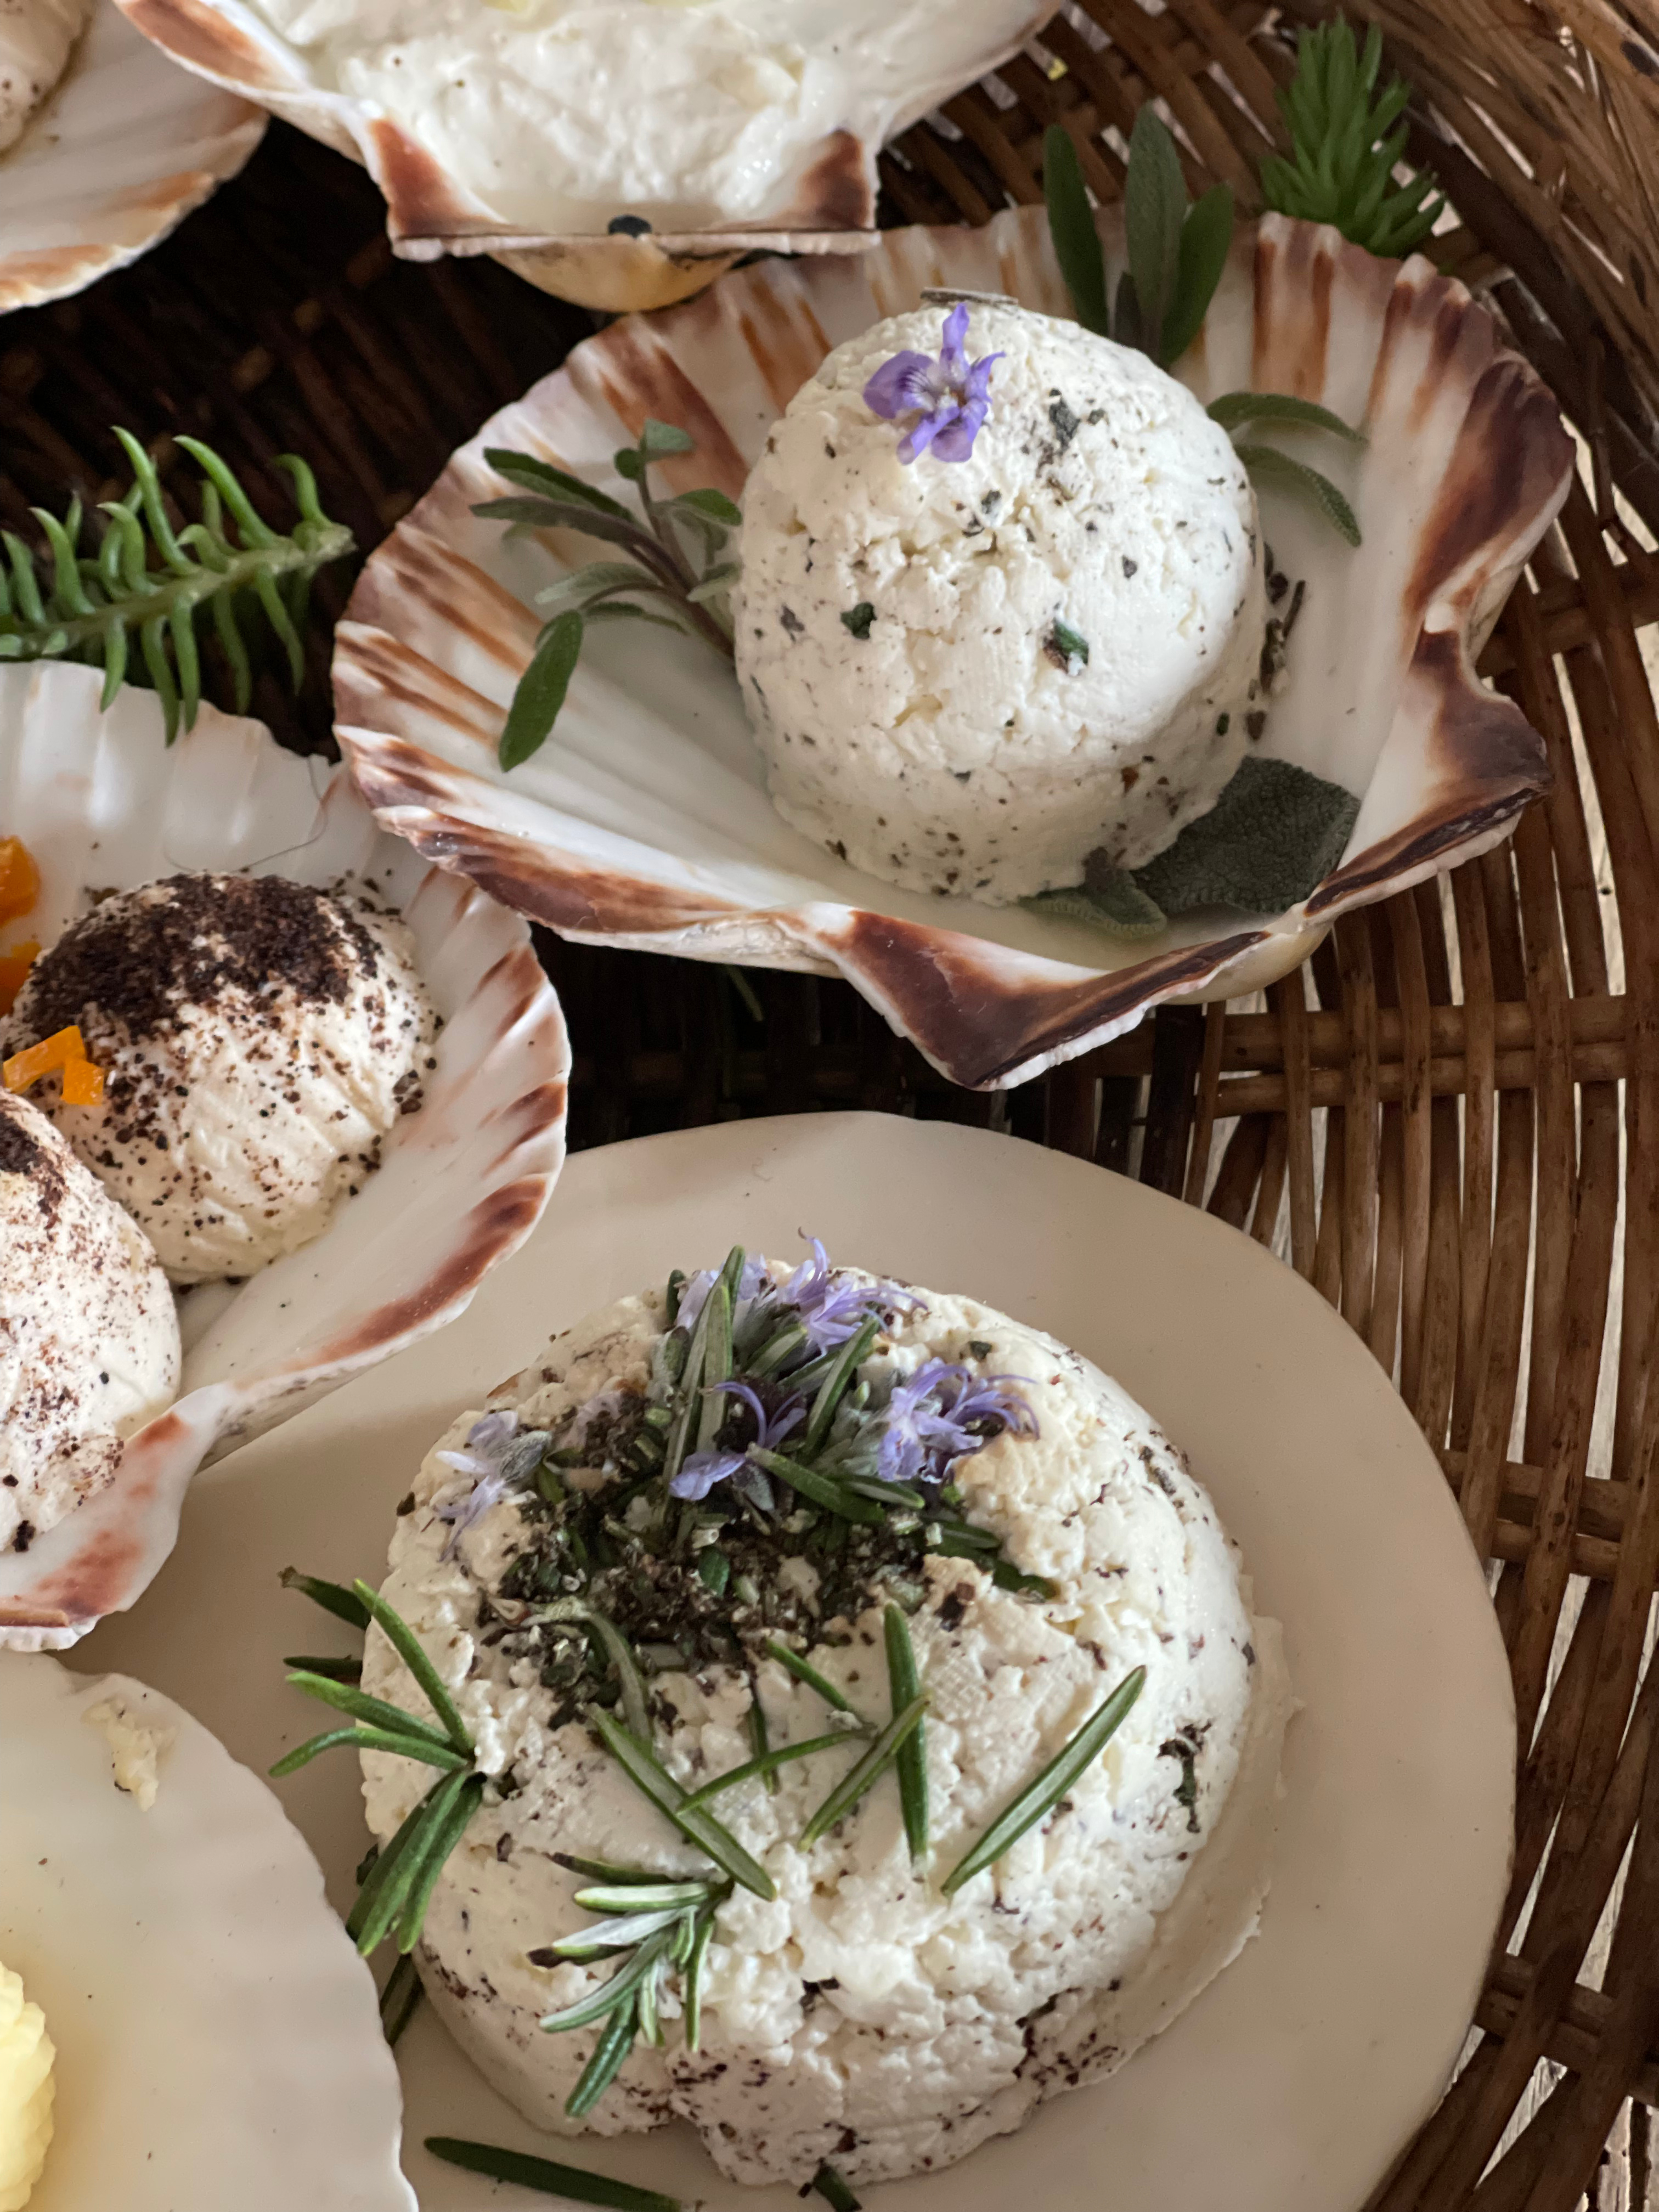
Early Modern cheeses recreated at Kentwell Tudor Dairy, Suffolk (Tracey Doyle)
Remember: Fruit Pig are sponsoring the 9th season of the podcast and Grant and Matthew are very kindly giving listeners to the podcast a unique special offer 10% off your order until the end of October 2025 – use the offer code Foodhis in the checkout at their online shop, www.fruitpig.co.uk.
If you can, support the podcast and blogs by becoming a £3 monthly subscriber, and unlock lots of premium content, including bonus blog posts and recipes, access to the easter eggs and the secret podcast, or treat me to a one-off virtual pint or coffee: click here.
Don’t forget, there will be postbag episodes in the future, so if you have any questions or queries about today’s episode, or indeed any episode, or have a question about the history of British food please email me at neil@britishfoodhistory.com, or on twitter and BlueSky @neilbuttery, or Instagram and Threads dr_neil_buttery. My DMs are open.
This post complements the 2023 Christmas special of The British Food History Podcast called ‘Mince Pies’:
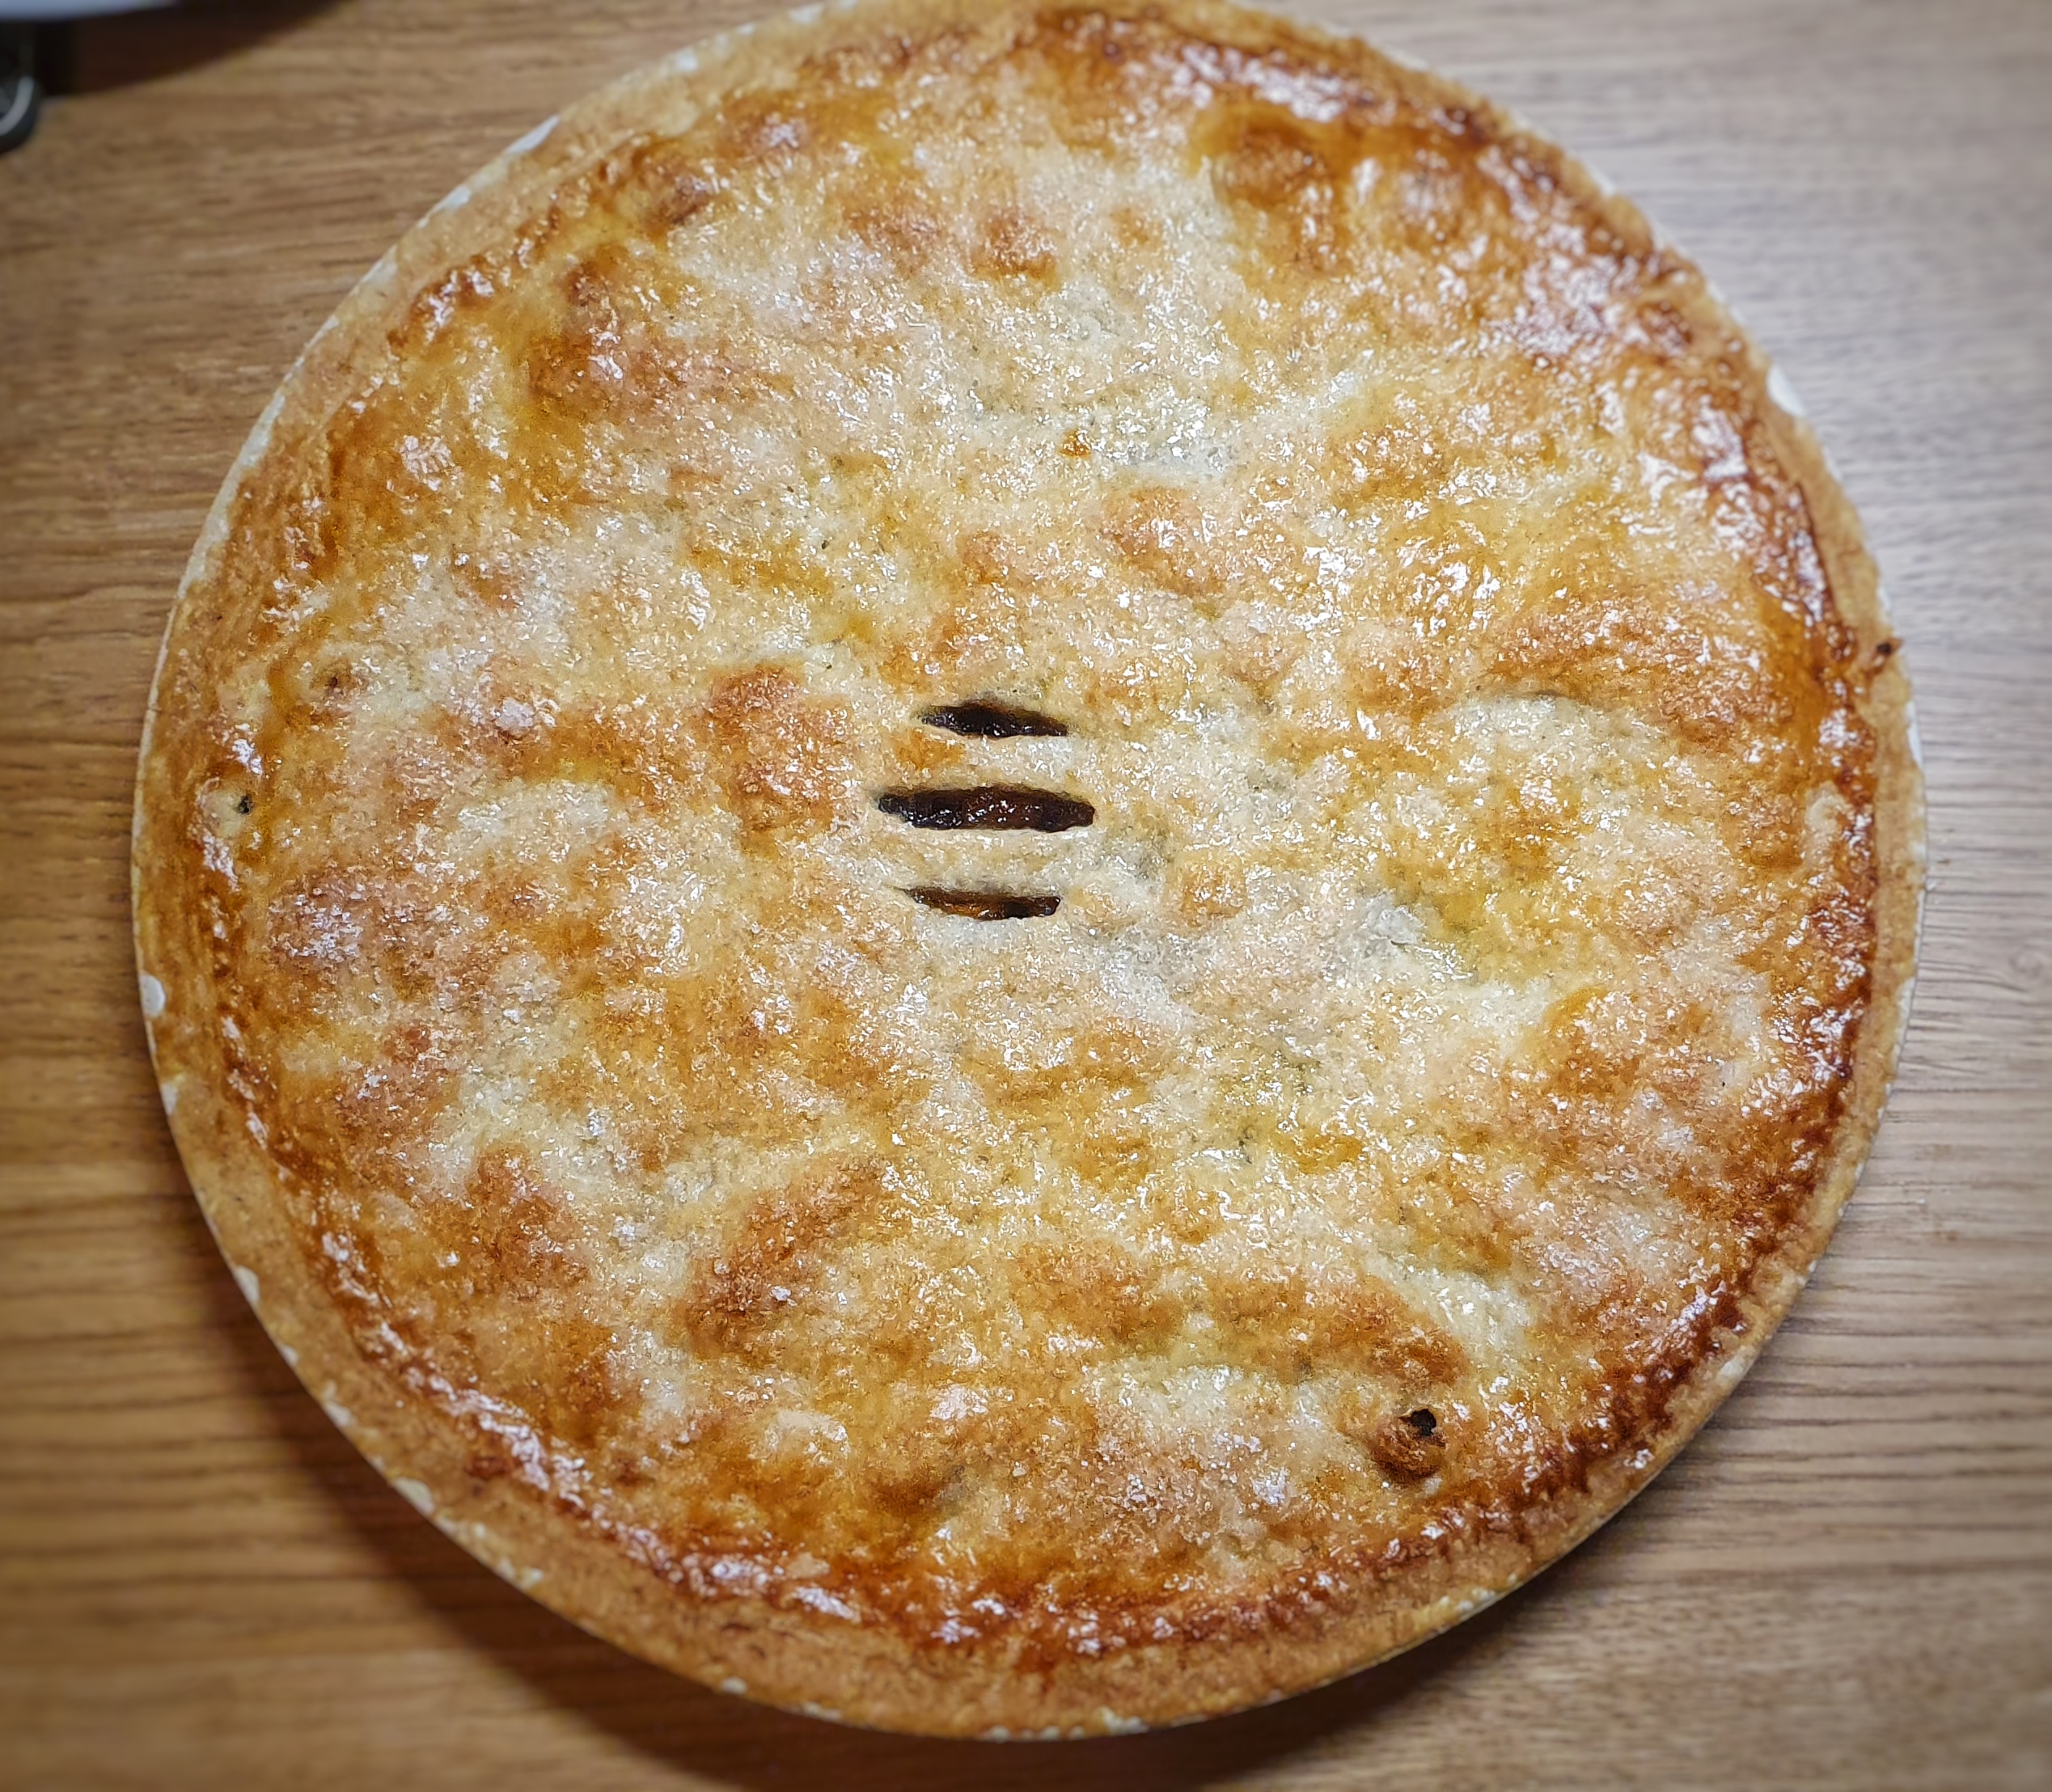
I have written several times about mince pies and mincemeat over the years on the blog. There are my two go-to mincemeat recipes: Jane Grigson’s Orange mincemeat, and Mrs Beeton’s traditional mincemeat, along with instructions on how to make small, individual mince pies. This year, however, I wanted to make an old-fashioned sweet lamb pie, once eaten in Westmorland in the Northwest of England, a defunct county now making up parts of Cumbria and North Yorkshire. It was one of the last areas of the country to carry on putting meat in its mincemeat mixtures.[1] Like all mince pies of the past, they were not eaten only at Christmas, but much of the year, though because of the dried fruit content, they were associated with wintertime.
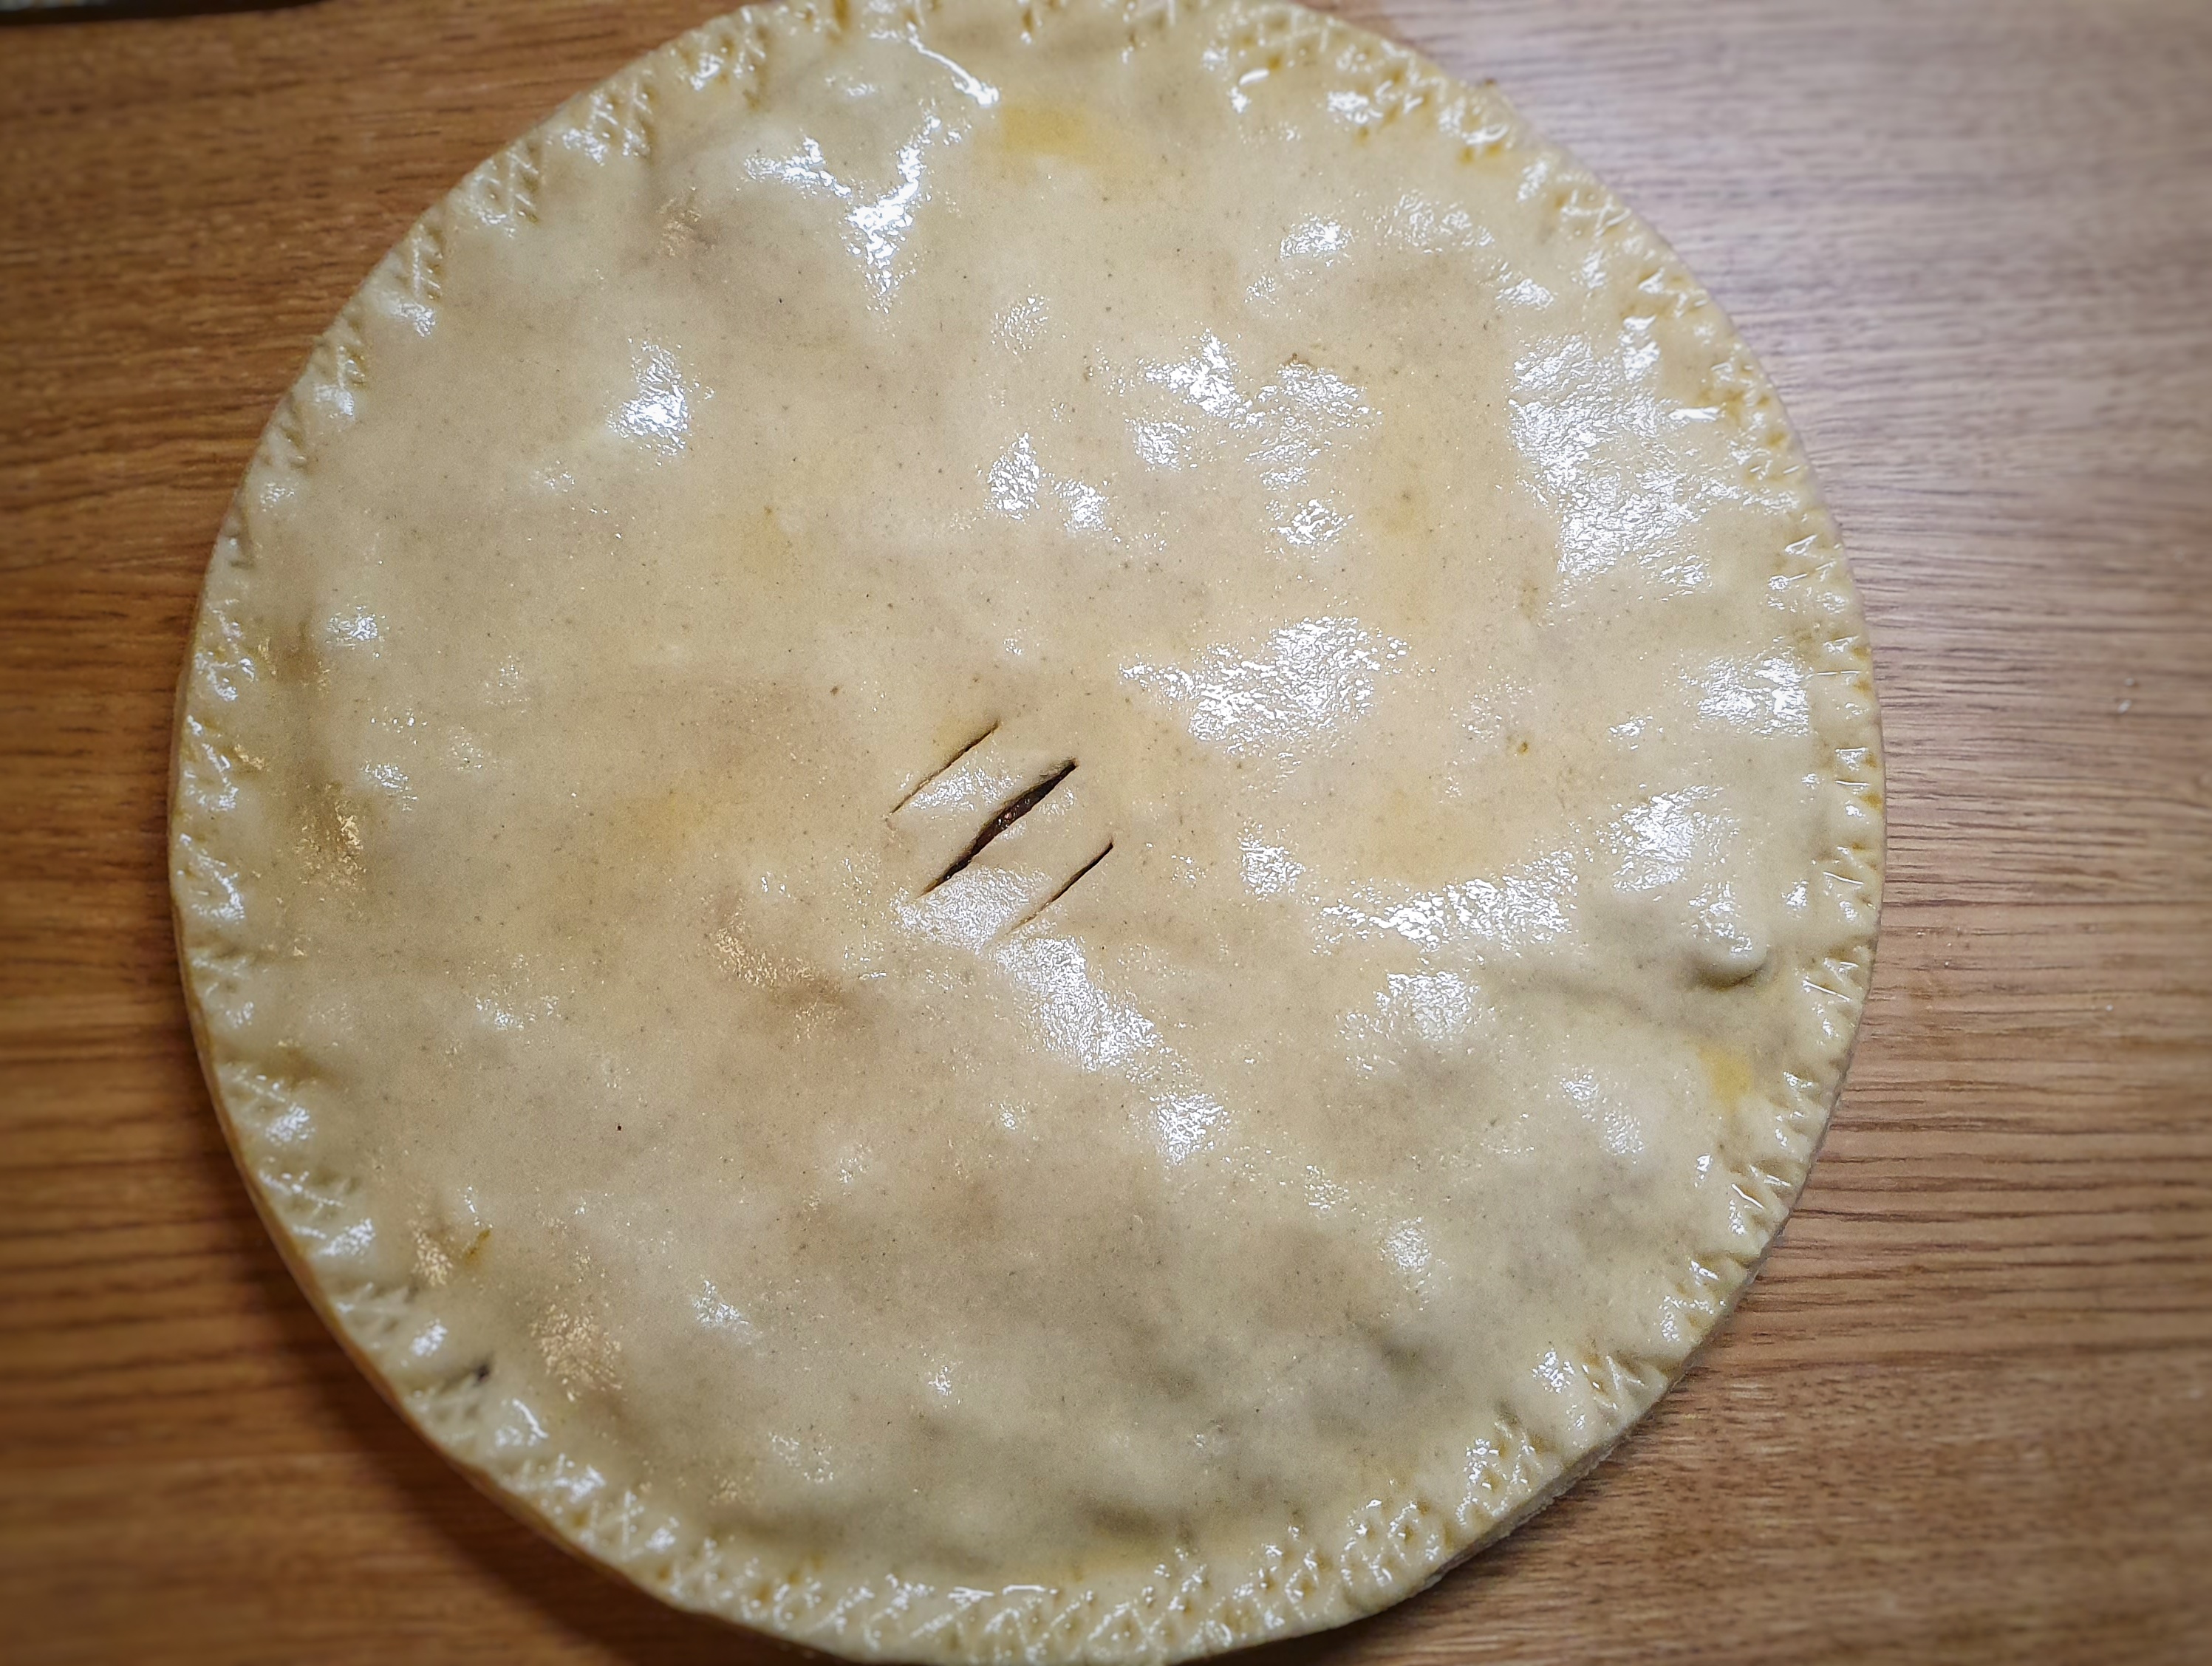
I was first introduced to this pie by Jane Grigson, and I made it many moons ago, for the Neil Cooks Grigson blog, I really liked it and have been meaning to revisit it.[2] These pies were not of the small individual type, but large plate pies, baked in a pie plate made of earthenware, tin or enamel.[3]
I’ve based the recipe on hers, but I did make some changes inspired by other recipes found on the Foods of England Project website.[4] The mincemeat isn’t cooked, but because of the booze and sugar content, it keeps very well. Don’t be put off by the meat content, it makes the filling succulent – and you can taste it, but this blurring of sweet and savoury is most delicious, something I have come to embrace after so many years of making historical British food.
If you like the blogs and podcast I produce and would to start a £3 monthly subscription, or would like to treat me to virtual coffee or pint: follow this link for more information.Thank you.
The filling:
This makes around 2 ¼ litres of well-packed filling, but I do intend to make two large pies at least and lots of smaller ones, so scale down if need be. It keeps for months if left somewhere dark, dry and cool; and remember mince pies are for life, not just for Christmas.
500 g lean lamb
200 g lamb or beef suet, membrane and sinew removed (packet stuff is acceptable if fresh is unavailable)
350 g apples, peeled and cored
120 g almonds
250 g each currants, raisins and sultanas
300 g soft, dark brown sugar
100 g chopped candied peel
Juice and zest of 2 oranges
120 ml dark rum
1 tsp salt
½ tsp ground black pepper
1 tsp each ground mace and cinnamon
½ freshly grated nutmeg
To make a truly ‘minced’ meat, you need to chop the meat, suet, apples and almonds quite finely. (You can, of course, use minced lamb, slivered almonds and grated apple and suet).
My ‘minced’ lamb and suet
Mix everything together in a large bowl and pack tightly into sterilised jars.[5] Leave to mature for at least a week before using.
The pie:
These pies were made on pie plates, but you can make them in any flan or pie tin you like. For my 26 cm diameter pie plate I used the following amounts, though the pastry was quite thin, so you may want to proportion things up in line with perhaps 360 g flour. I will leave it to you to judge size and thinness. There are instructions on how to make small, individual mince pies here.
300 g plain flour
150 g butter, or 75 g each butter and lard
75 g caster or icing sugar
80-100 ml cold water
Egg wash: 1 egg beaten with ½ tsp salt
Dice the fat and rub into the flour until breadcrumbs are formed (or use the flat beater on a machine, set to slow), then add the sugar, mix, and add the water slowly mixing and stirring. Bring everything together to form a firm dough. You might not need all of the water. Knead briefly to smooth the dough, cover and then leave to rest in the fridge for around 30 minutes.
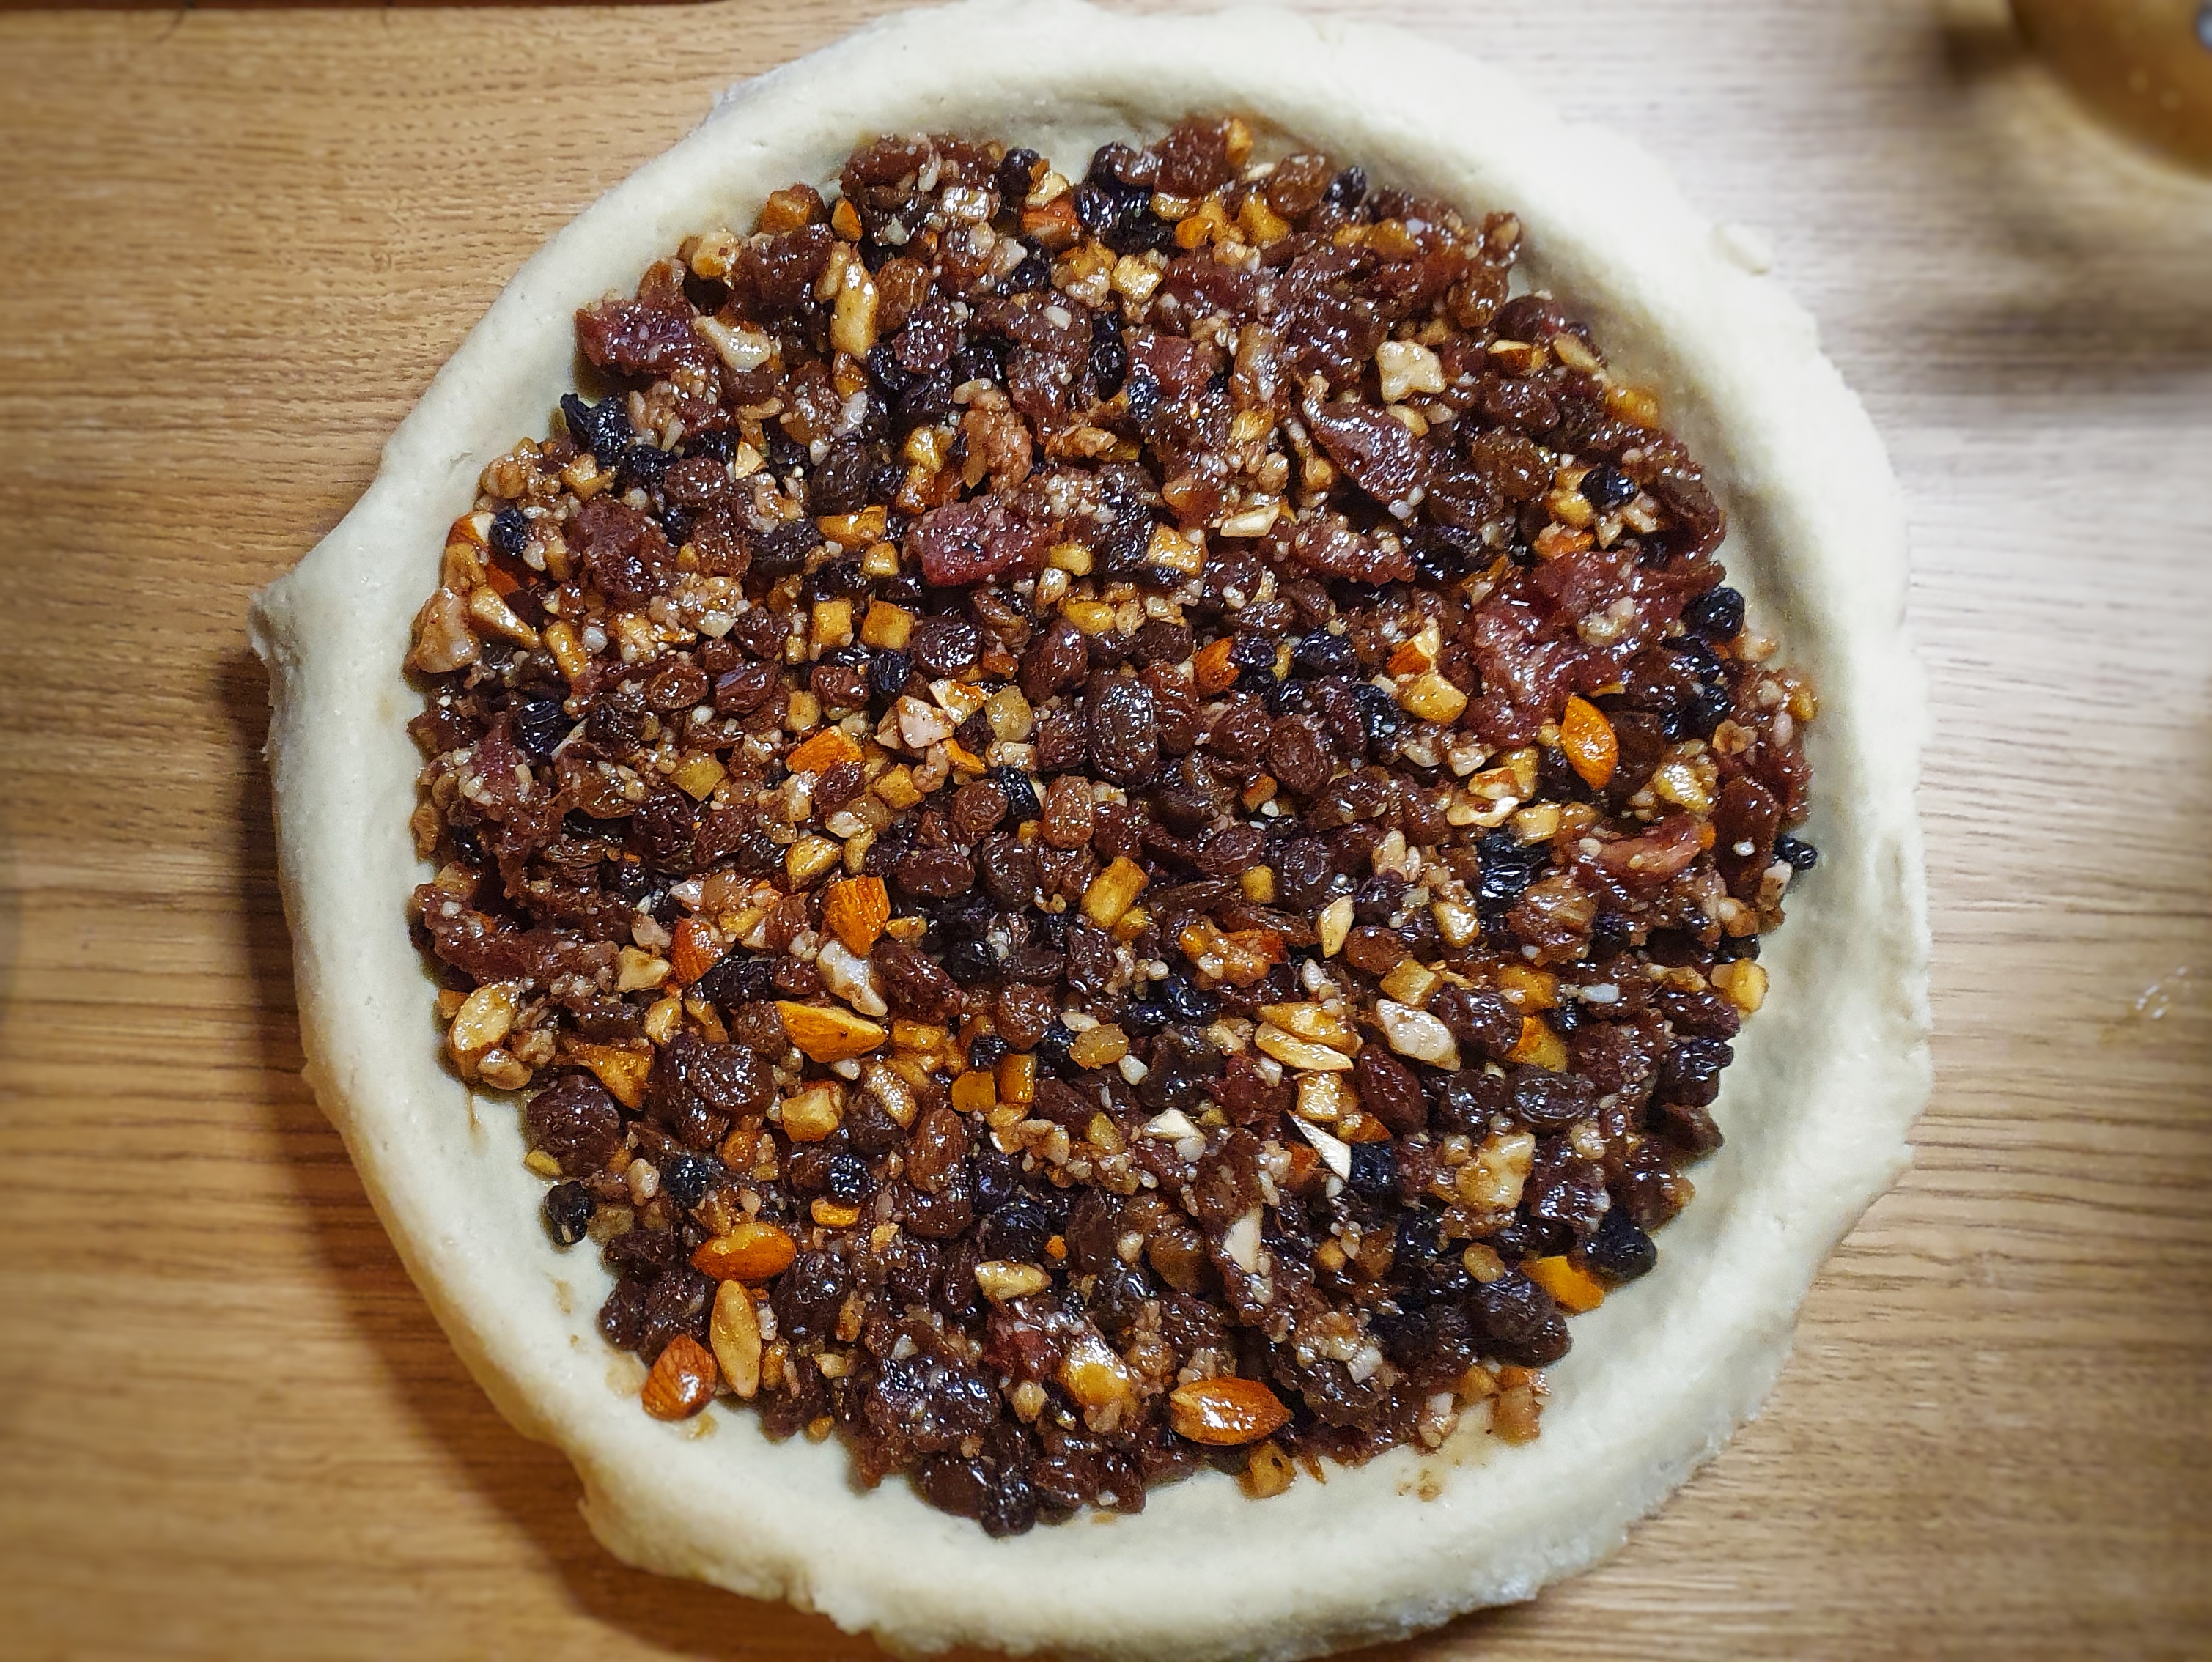
Roll out two-thirds of the dough into a round, lift and lay it over the plate neatly. Prick the base with a fork. Spoon the filling in. Again, go with your gut – do you want a thin amount or loads? I added enough to come up to the lip of my plate.
Roll the remaining third of the pastry out into a round. As it rests, wash the rim of the pie plate and place the lid on top, securing it with a crimping tool or fork prongs or with your thumb or forefinger. Cut a steam hole and brush with egg. You can sprinkle a little sugar over the top if you fancy.
Place in the fridge to firm up and preheat the oven to 200°C. When the oven has come up to heat, slide the pie onto the centre shelf and cook for around 35 minutes, or until a good golden-brown colour and you can see the filling bubble through the steam hole.
[5] To sterilise jars, heat them in the oven for 25 minutes at 120°C. Any rubber seals – or lids with rubber seals, can be sterilised in very hot water.
Live-fermented foods are becoming more and more popular here in the UK. We seem to have embraced sourdough bread and its heady community of wild yeasts and bacteria; a community of microbes that not only leaven the dough but also provide that distinctive flavour. They also digest the gluten and other constituents in the flour, making it easier on our own stomachs. The microbes also create nutrients such as vitamins and essential amino acids, and make the food inhospitable to other microbes which would otherwise spoil it; a necessity in a world before refrigerators and freezers. Another live-fermented food is sauerkraut, traditionally made with cabbage, flavoured with caraway, and there are also fermented drinks like kefir (fermented milk) and kombucha (fermented sugar or honey, and tea) which are available in almost every supermarket and grocer’s shop around the country.
I think for many of us in the UK, all of this enthusiasm for live ferments looks like a bit of a fad, despite the growing evidence that foods that contain live cultures of fermenting microbes are very good for us. One reason why some regard them with suspicion is that in the UK we have never had a culture – as it were – of consuming these sorts of foods, except perhaps yoghurt, which unfortunately is all too often laced with sugar, had its fat skimmed away and its healthy microbes killed by pasteurisation.
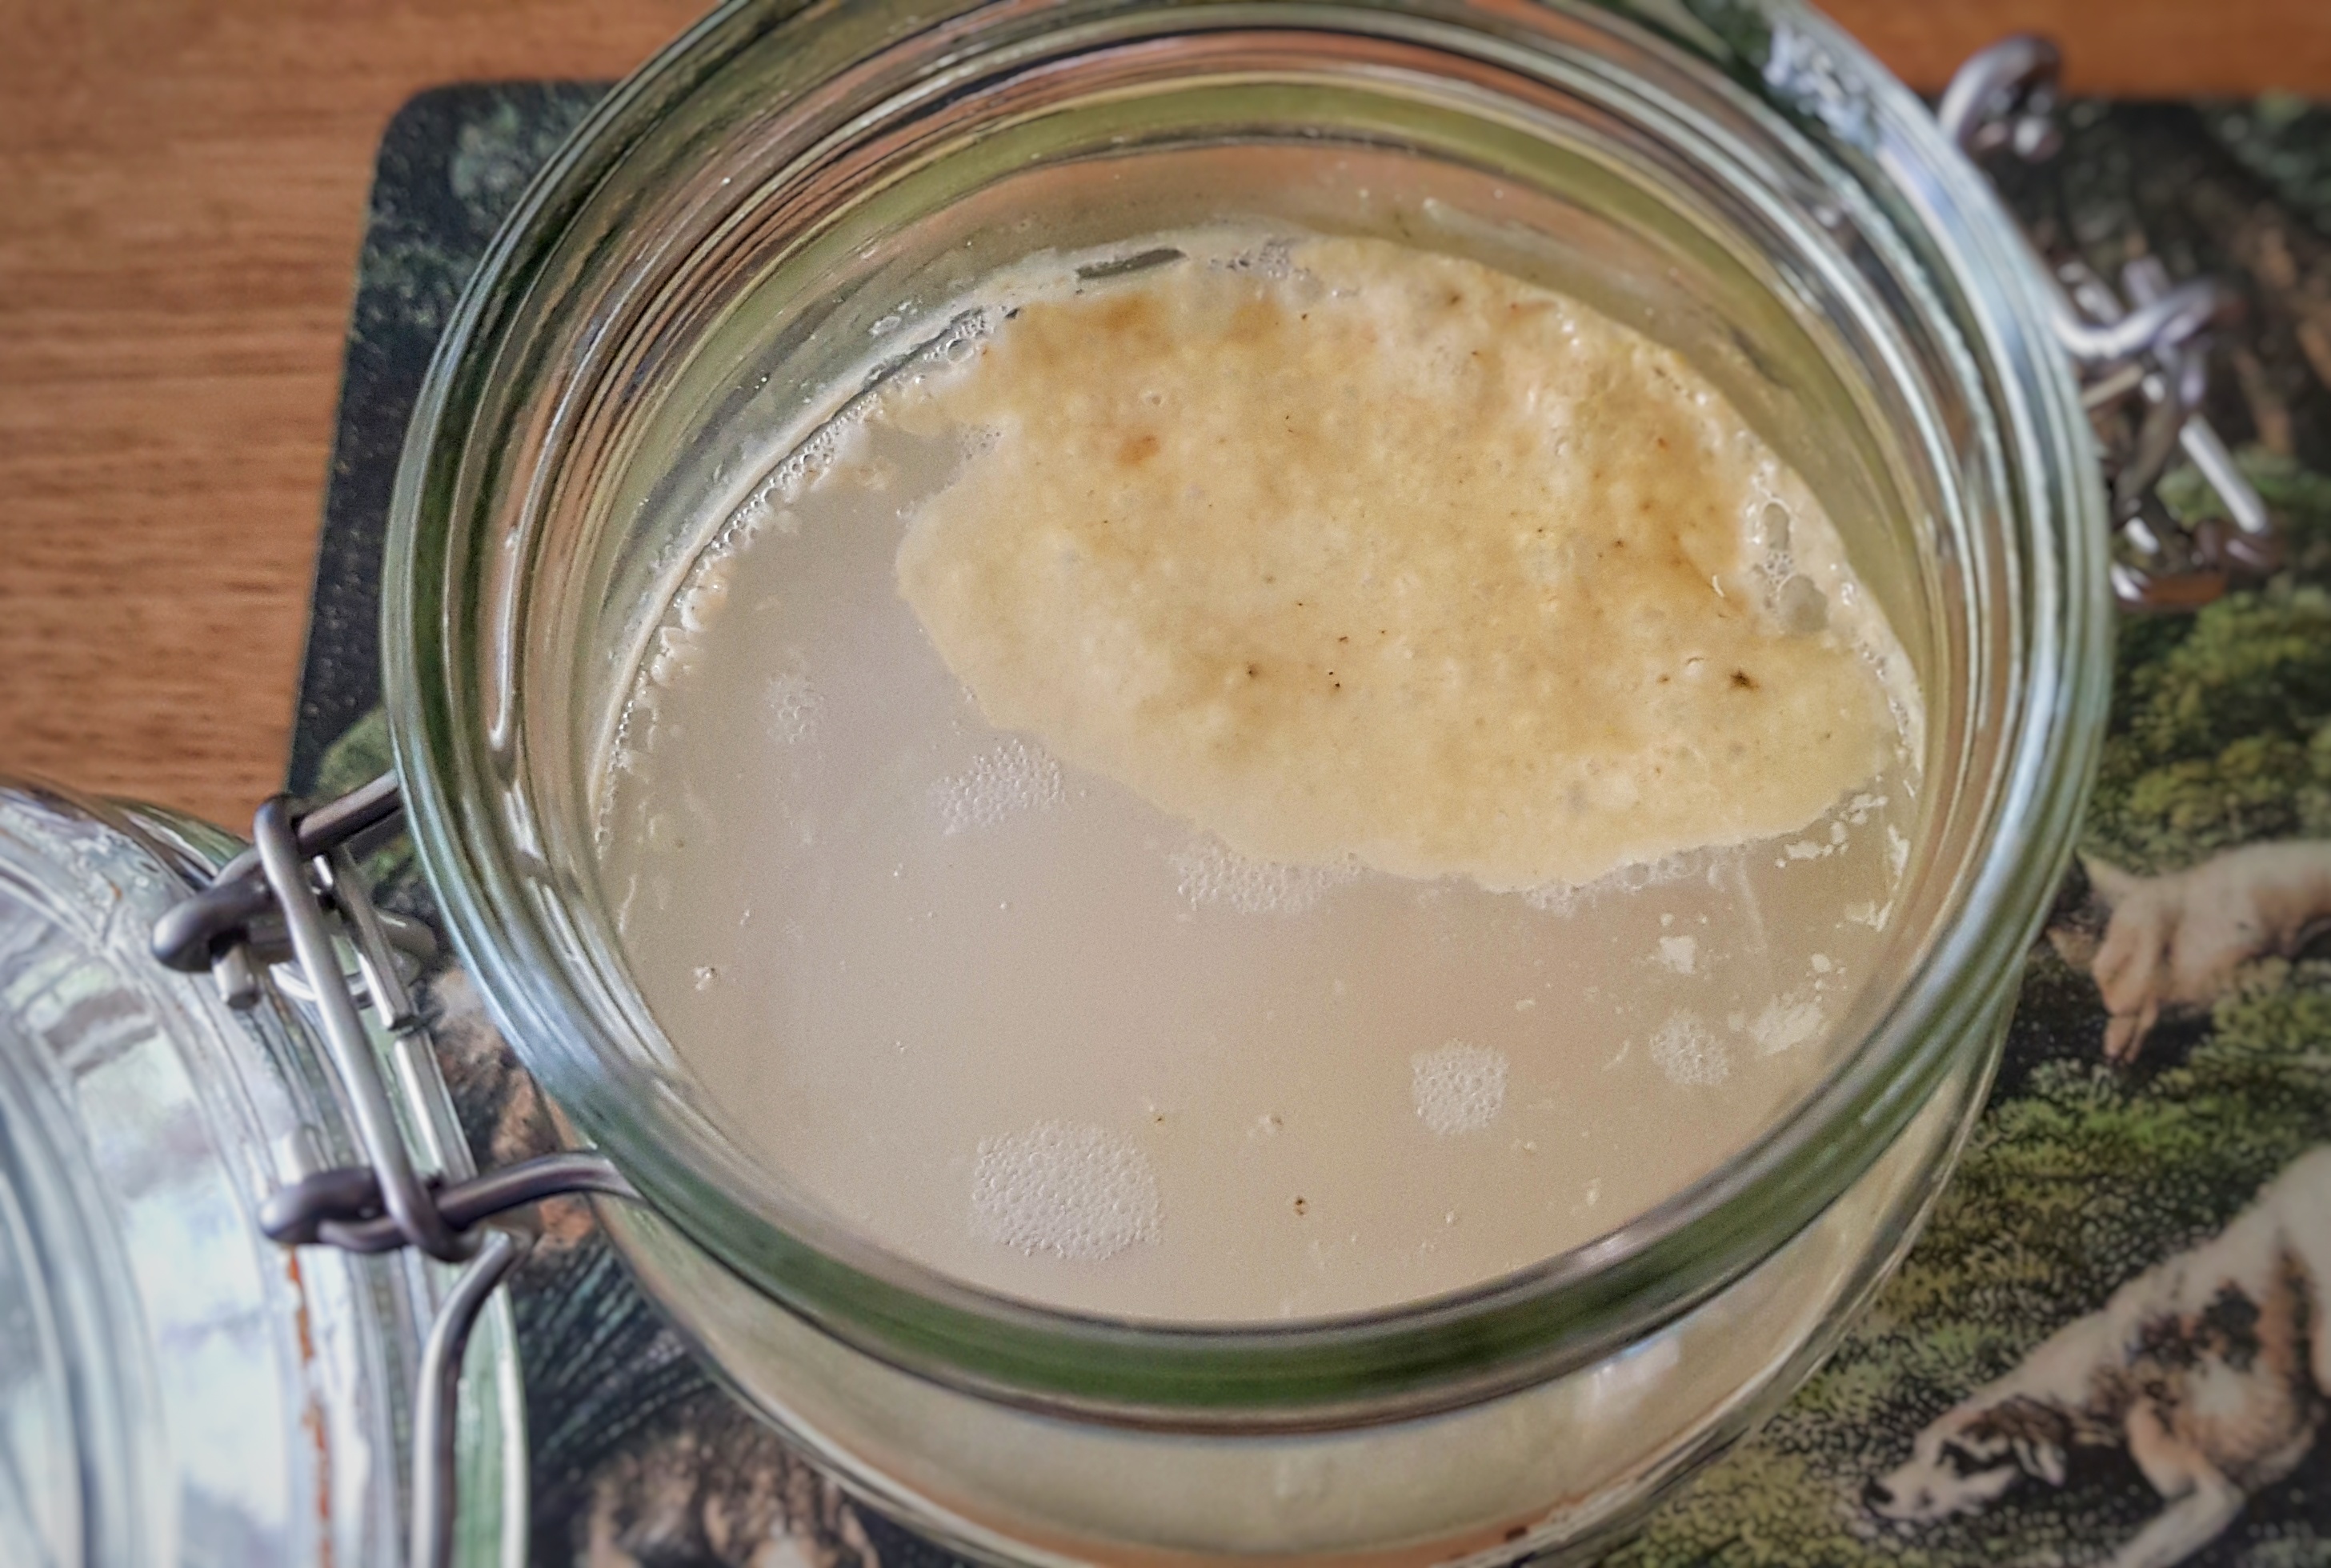
But the thing is, we did have a culture of eating live-fermented foods, we have simply lost it; but the more I read old cookery books or manuscripts, the more I come across examples of these types of foods and drinks. One of these foods has recently captured my imagination, and that is the Scots fermented oat ‘milk’ or porridge called sowans (sometimes spelt sowens, and pronounced ‘soo-ans’). Sowans goes by a couple of other names; it is called subhan or súghan in Gaelic, and is known as virpa on the Shetland Isles.1
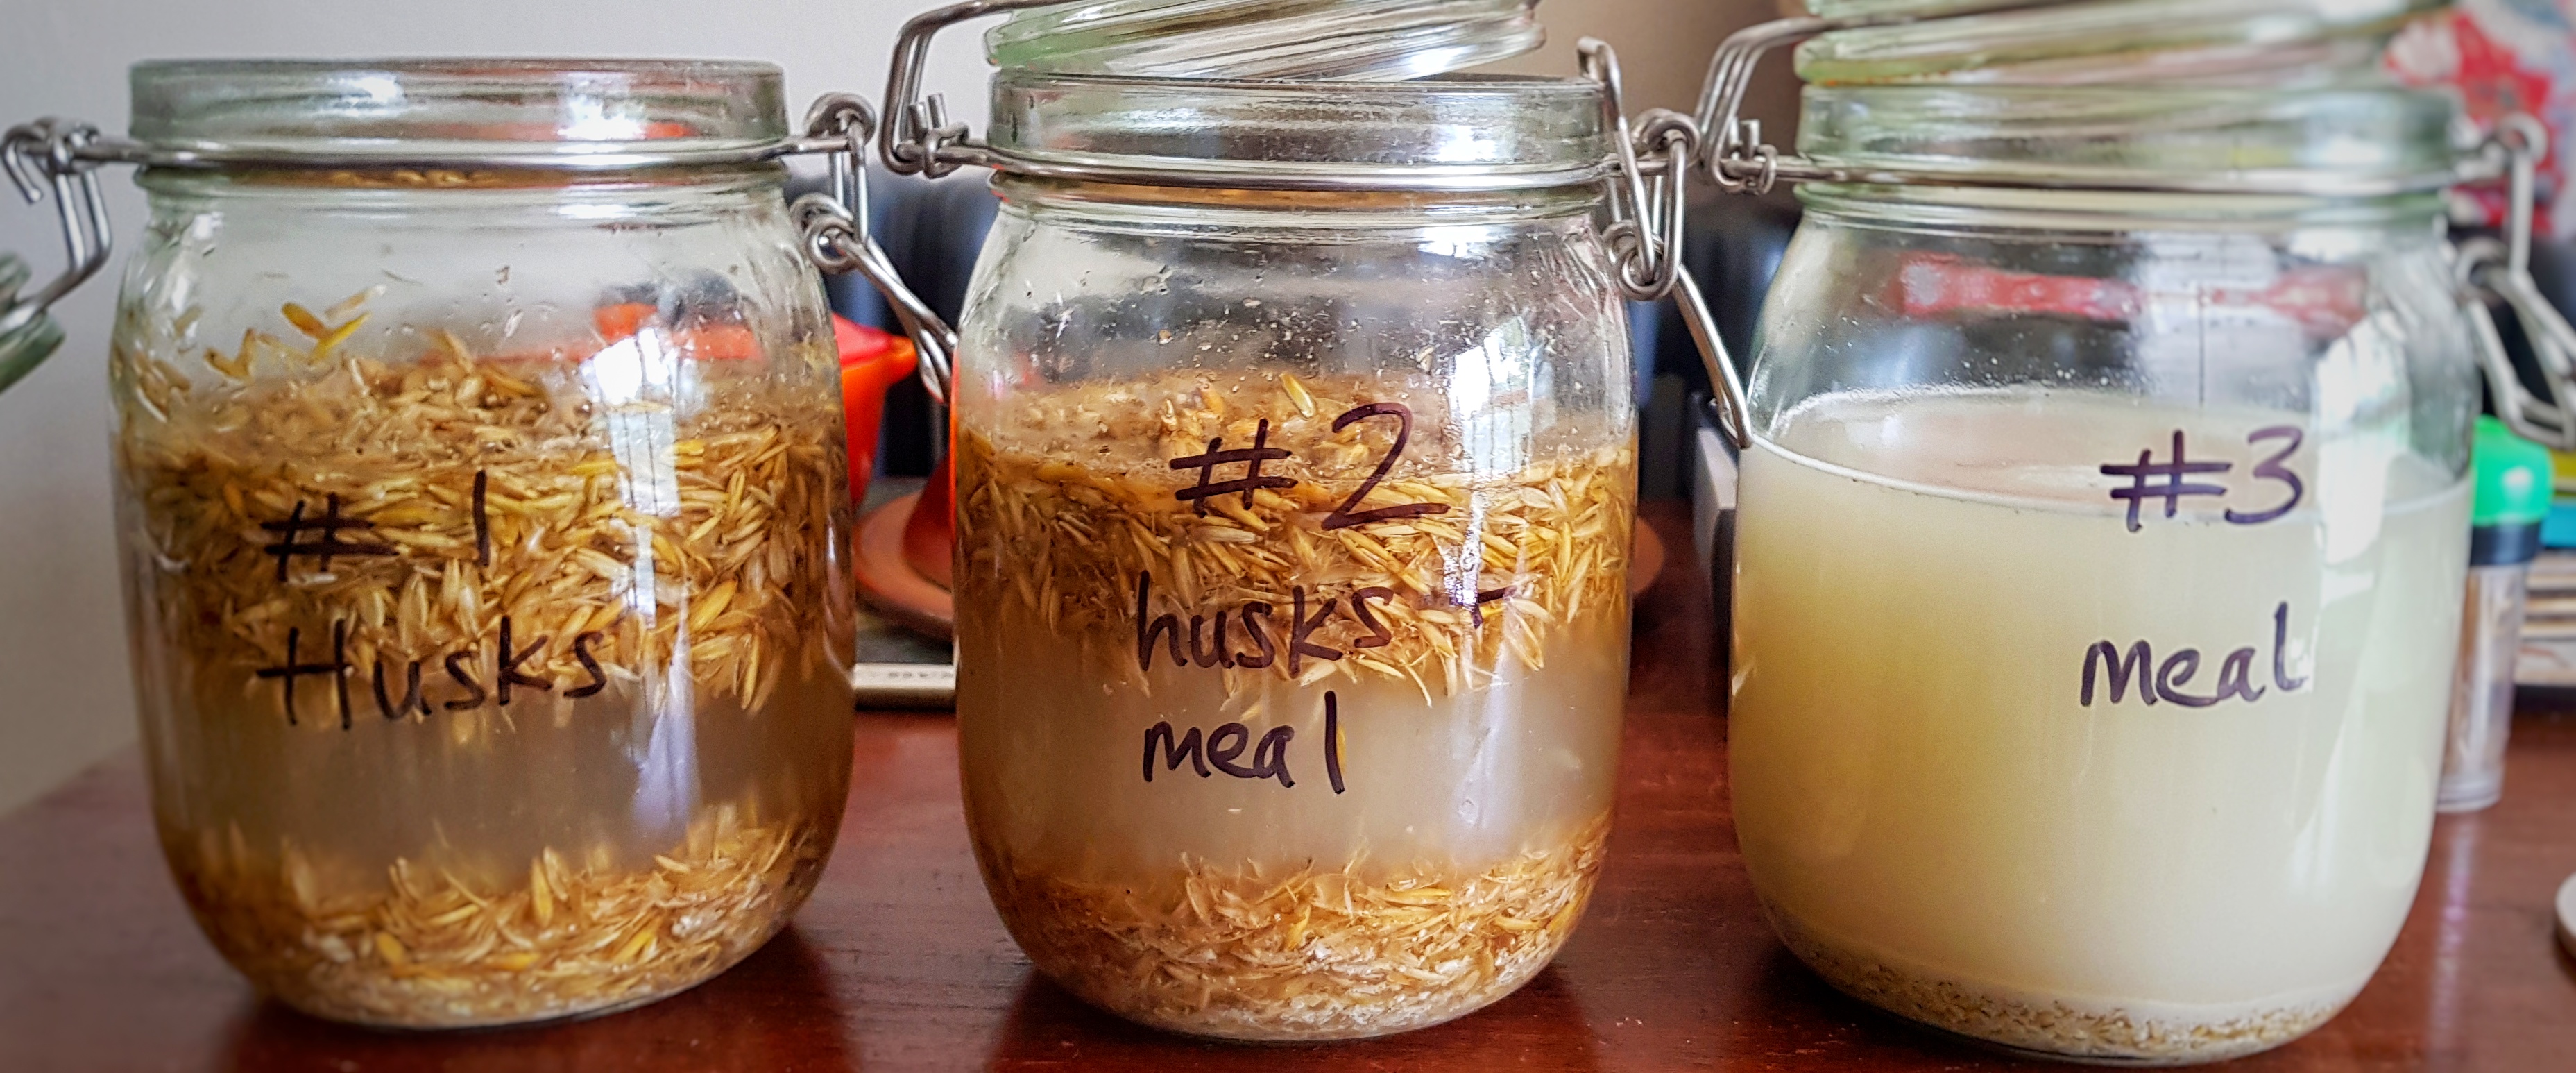
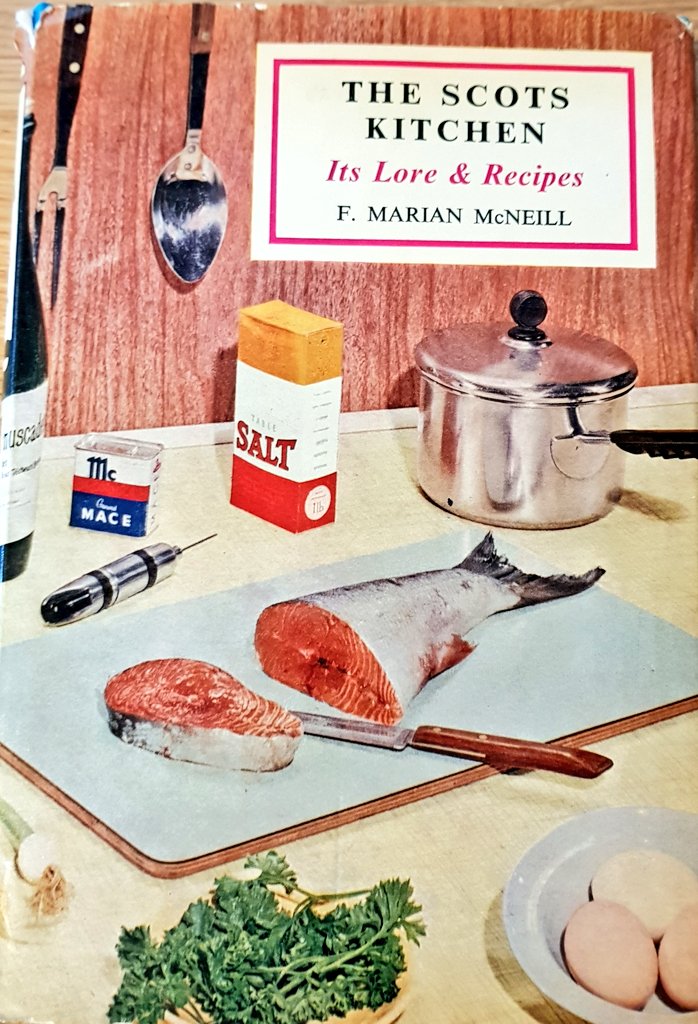
I discovered it leafing through the classic The Scots Kitchen by F. Marian McNeill.2 She describes how it was made: steeping the inner husks of the whole oat grains in water for several days in a large jar called a sowans-bowie until it soured, before being passed through a sieve.3 The resulting liquid would be left to settle for a day or so, where there would be a layer of white starch at the bottom. The liquid would be decanted off, and the starch cooked and eaten like porridge. Reading it, I simply could not understand how a foodstuff could be made just from the oat husks, known as sids in Scots.2 The husks are obviously inedible so how could a porridge or oat milk be made from them?
After a little more detective work, I found that the husks do contain some residual starch. As the oats are threshed to remove their husks, which is a quite violent process, inevitably some of the seed would be left attached to the husks. By mixing the husks in water, the starchy seed residue becomes suspended in the liquid and the natural yeasts and bacteria present on the husks begin to ferment it. After a few days – anywhere between 3 and 14 days depending upon time of year – the mixture becomes sour, rather like, I suppose, a sourdough starter, and then passed through a fine sieve. The milky liquid was drunk as it was, or the starch was allowed to settle so it could be used to make a porridge and eaten with salt, treacle or sugar. The decanted liquid wasn’t wasted, by the way, it was used to make sowans scones, where it was used rather like the buttermilk in regular scones.2 The fermented husks would sometimes be formed into cakes and baked. More often, though, they were fed to pigs or chickens.4
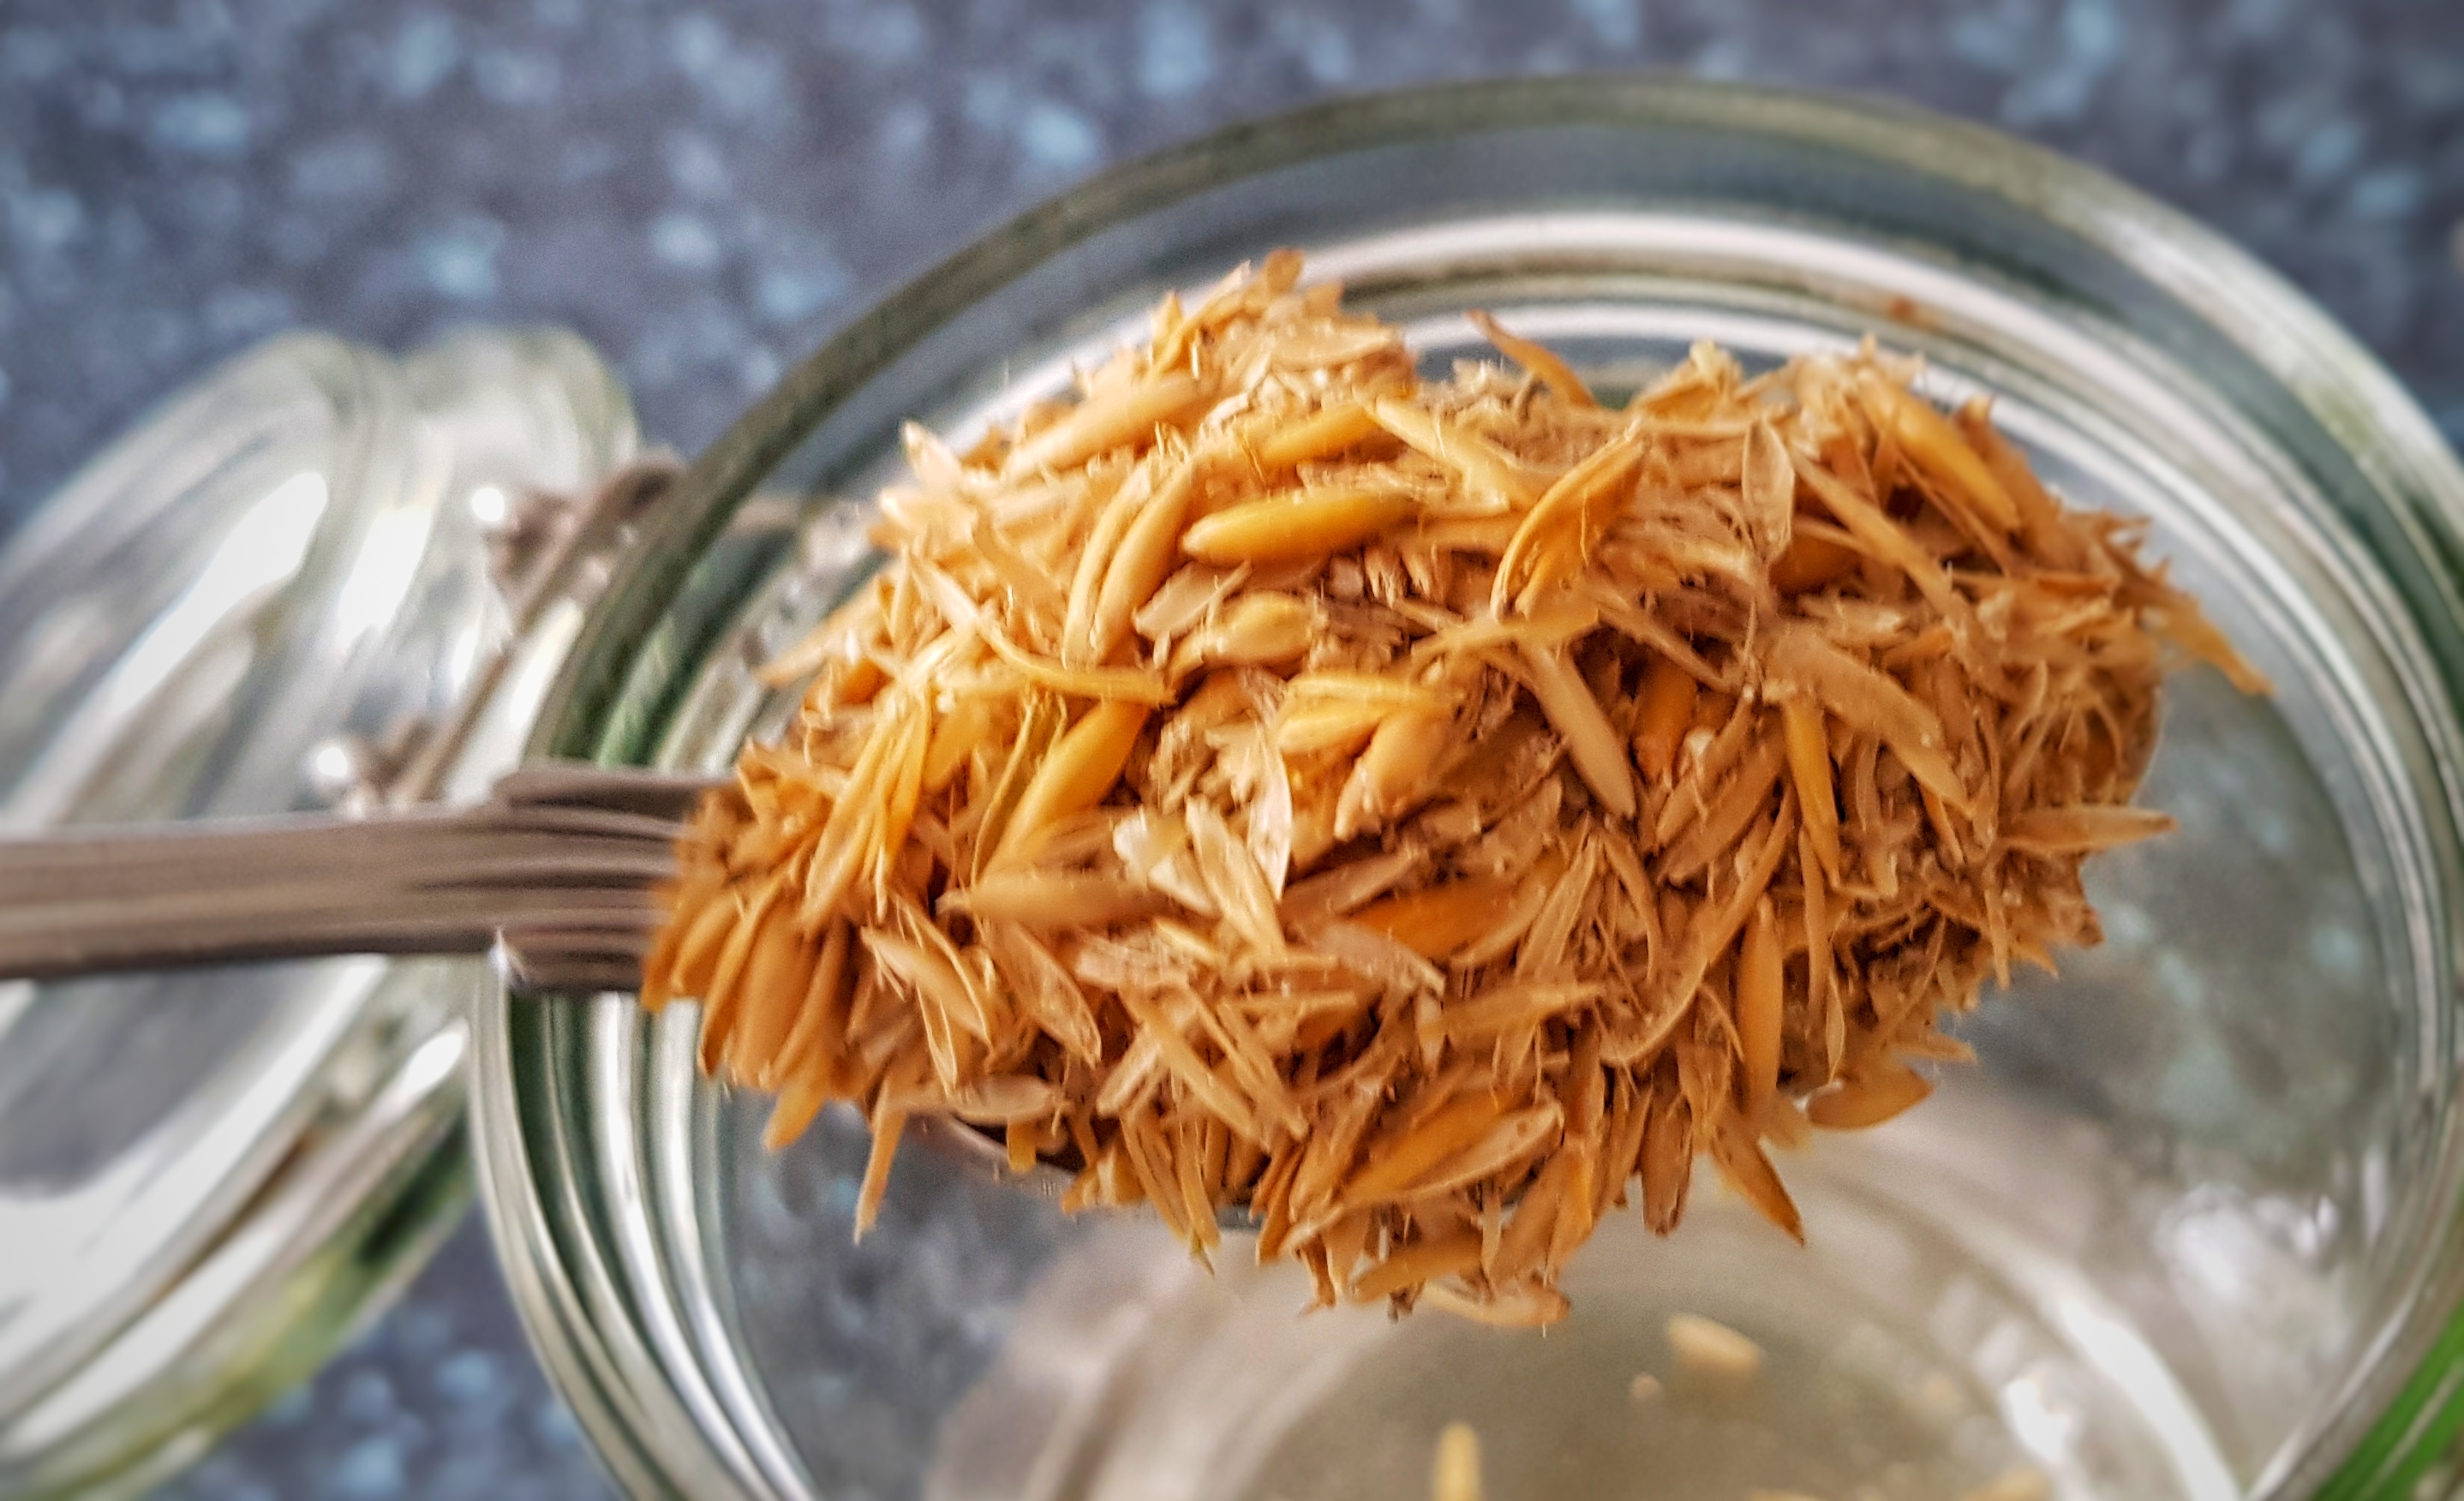
Oat husks
As a foodstuff, sowans is associated with harvesttime and commonly eaten by oat farmers. It is also associated with Hallowe’en, which falls not too long after harvest and the harvest festival. By making sowans, farmers were able to extract every scrap of carbohydrate from the sids that were left behind, after they had sold their crop. In Ireland, sowans was drunk or eaten in some parts of Ireland on St. Brigid’s Day in February.5
It was regarded as good for one’s health – and no doubt it was! The starch would be a precious source of energy and the microbes, and the products of the microbes’ metabolism, provided a whole suite of nutrients. ‘Some authorities claim it had sexual qualities.’ This seems to be because of its resemblance to semen when taken as a drink, which went by the name ‘Bull’s Semen’ or ‘White Bull’s Milk’ in some places. I’ve found one mention of farmlads teasing and goading young women, saying “I’ll be at you wi’ me sowans.”6,7
If you like the blogs and podcast I produce, please consider treating me to a virtual coffee or pint, or even a £3 monthly subscription: follow this link for more information.
Sowans was particularly associated with Christmas. I found an article in The Family Friend, published in 1861, describing sowans drinking on ‘Auld Yule morning’. The author is simply known as ‘A.H.’. It says it was enjoyed all year round, but at Yuletide it was consumed only as a milky drink. In fact it was customary, and everyone was expected to drink some sowans out of bickers (beakers), “[n]ot that any of us were immoderately fond of sowans”, said one. That said, folk did get a taste for it and ‘there was a good rivalry, too, amongst the sowans makers.’8
After finding all of this out, I hope you can see why I was so intrigued by this unusual food. Determined to make some, I managed to get hold of some oat husks – and they are not easy to get hold of these days! I am currently part way through having a go at making sowans. They are not quite ready to drink or eat, but things seem to be working well. I shall report back soon with the results of my little experiment and hopefully a usable recipe.
Fermentation is occurring!
References
Fenton, A. Sowens in Scotland. J. Ethnol. Stud.12, 41–47 (2013).
McNeill, F. M. The Scots Kitchen: Its Lore & Recipes. (Blackie & Son Limited, 1968).
Dawson, W. F. Christmas: Its Origin and Associations (Illustrated Edition). (e-artnow, 2018).
Macdonald, F. Christmas, A Very Peculiar History. (Salariya Book Company Limited, 2010).
Nic Philibín, C. & Iomaire, M. C. M. An exploratory study of food traditions associated with Imbolg (St. Brigid’s Day) from The Irish Schools’. Folk Life59, 141–160 (2021).
Douglas, H. The Hogmanay Companion. (Neil Wilson Publishing, 2011).
Asala, J. Celtic Folklore Cooking. (Llewellyn Publications, 1998).
A.H. Auld Yule; Or Christmas in Scotland. Fam. Friend Ed. by R.K. Philp (1861).
There is no hedgerow glory finer than the elderflower
John Wright
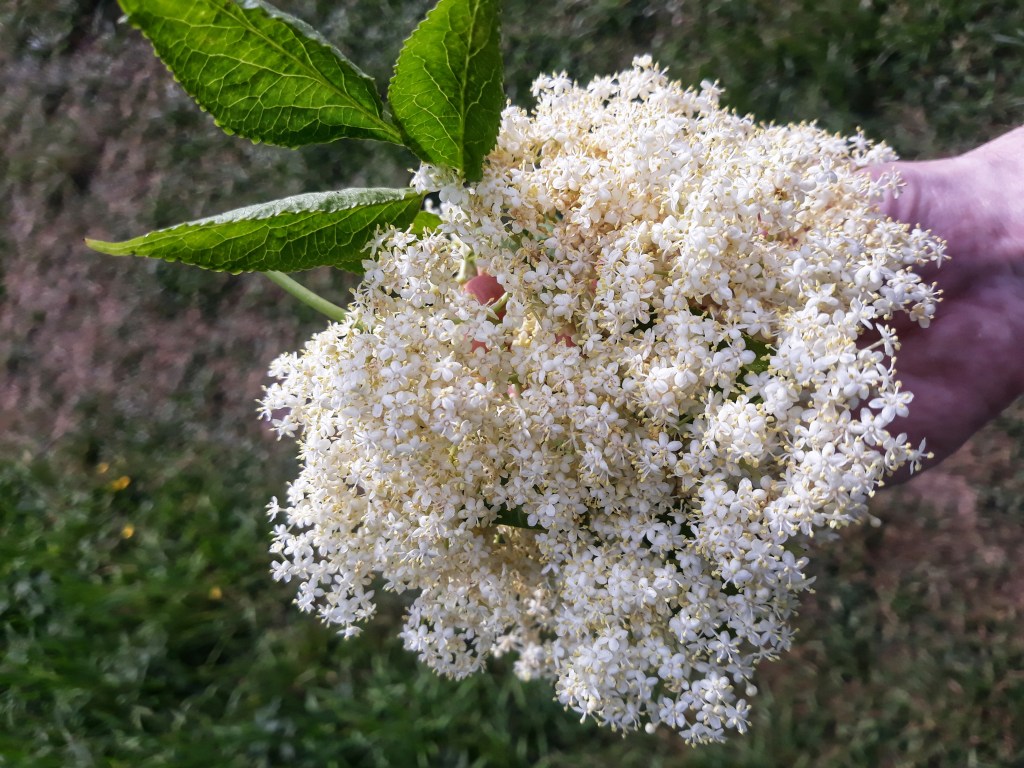
One benefit of lockdown life is my daily hour-long meander around the green areas of Levenshulme. And at this time of year there is a real treat for those who like to forage; all I needed to do was to wait for a few dry, sunny and hot days in a row – something not that common in Manchester – and I could get my paws on probably the best foraged food, the elderflower. Patience was a virtue and last week the planets aligned, and I filled my boots. Well, my tote bag.
A freshly picked ‘hand’ of elderflowers
I love the taste of them so much and I am always disappointed if I don’t get hold of some at least once per year. The smell is heady with that earthy Muscat fragrance, and is a potent addition to many foods, classically partnered with the gooseberry. Elderflower syrups and cordials stretch back to at least Tudor times, and classic elderflower champagne seems to have become popular in the late Victorian era, peaking in popularity in the 1920s. If you have never cooked with them then you are missing a treat, but don’t worry, there is a good few weeks left of the season if you want to get hold of some – all we need are some more sunny days.
The elder has been used for medicinal purposes for centuries and has a very interesting folklore; I plan to write a post on the Elder tree later in the year, so for now I’ll just talk about the flowers. Because the foliage and green stalks are mildly poisonous, elderflowers and leaves together have been used as a purgative since the days of Hippocrates. In Britain, it is traditionally used to sooth sore throats and reduce the intensity of flu symptoms. I don’t know if there is truth in any of that, but what I do know is that it has a positive effect on my mental health, so delicious is the uplifting aroma when introduced to all sorts of foods; and in these strange times we all need a mental health boost I’m sure you’ll agree.
A spindly elder tree
The elder is one of Europe’s most common trees and is an almost ubiquitous member of hedgerows and scrubland throughout Britain, only thinning out sparsely in the north of Scotland. It flowers between the months of late May and early July, the precise dates changing with latitude: the north being a good two weeks behind the south. At this time there are few trees you could confuse it with: the bark is pale, gnarly and often spindly and looks old beyond its years. At this time of year though, you smell it before you see it.
If you like the blogs and podcast I produce, please consider treating me to a virtual coffee or pint, or even a £3 monthly subscription: follow this link for more information.
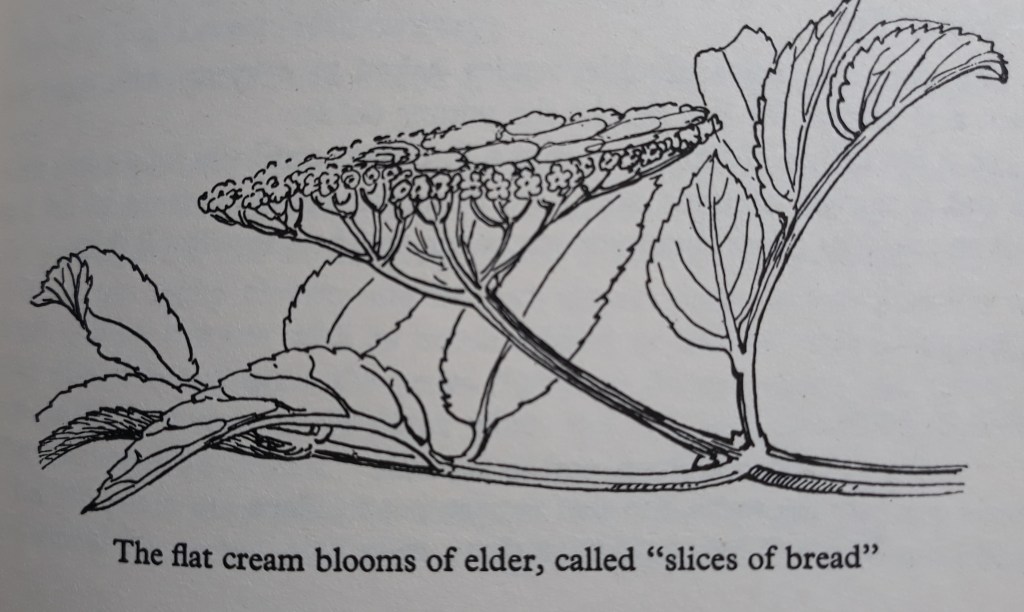
The flat arrangement of tiny cream coloured flowerheads are called ‘plates’ that also go under the name of curds, hands or (my favourite) slices of bread depending on where you are in the country. Pick them in the late afternoon after two or three days of dry sunny weather and give the flowers a good sniff to check they are full of fragrance. Snip the heads off with some scissors – aim to get between twelve and eighteen hands. Once collected, head on home and use them before their fragrance begins to dissipate.
Illustration of a flat plate of flowers, from Food in England, Dorothy Hartley
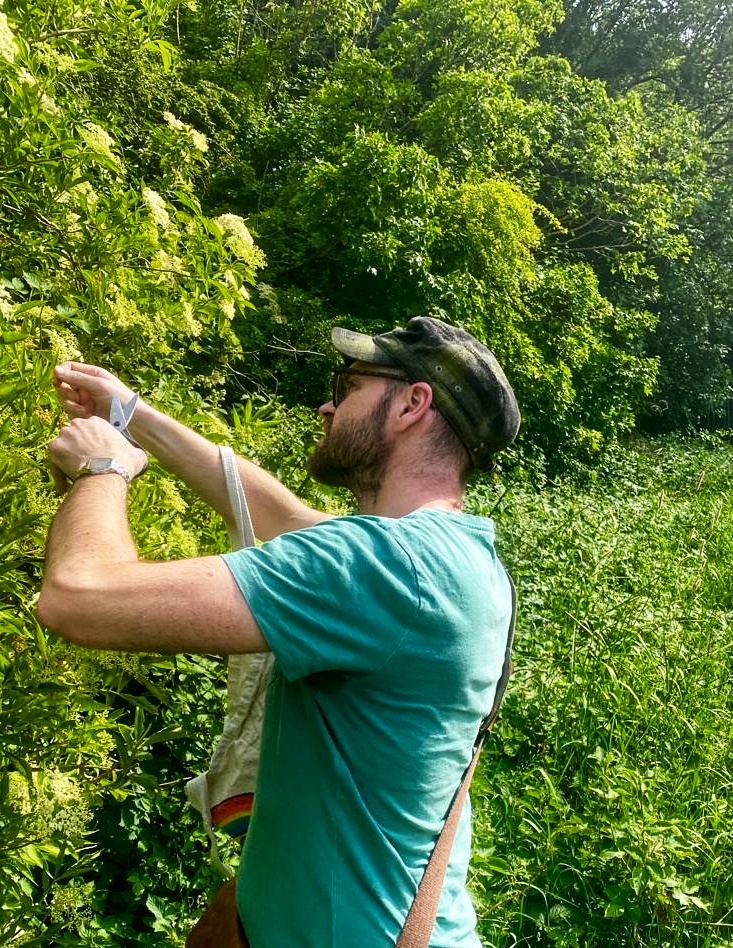
What you do with your elderflowers once home depends upon what you want to make. If they are not going to be heated up or cooked in any way, it’s important to snip away as much green stalk as possible because as mentioned the foliage is slightly poisonous. Whatever you do, don’t wash them; you’ll wash away the scent. Just check over them and pick off any insects that may be residing in amongst the blooms.
Picking elderflowers (pic: Stuart Kinlough)
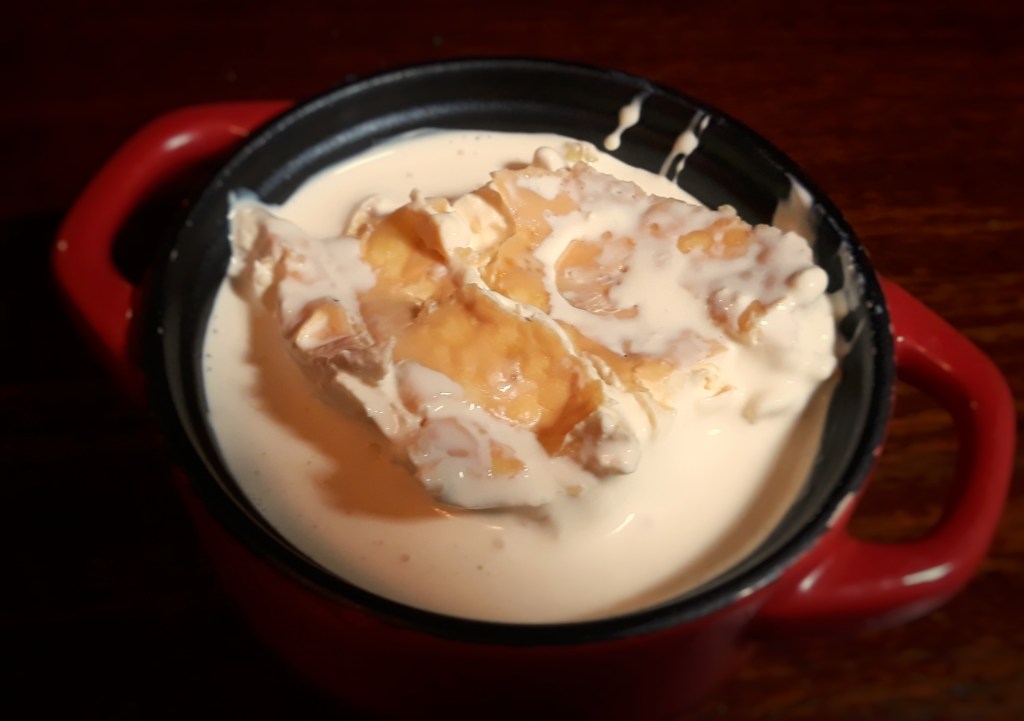
Elderflowers are normally used to flavour foods, rather than as a food themselves, the only example I can think of where they are actually eaten is the elderflower fritter. When introducing them to hot liquids, snip away the stalks and tie the flowers up loosely in muslin and use it to flavour scalding hot cream or milk to make a delicious elderflower custard to pour over gooseberry pudding – or freeze it to make ice cream. I have made elderflower syllabub, blancmange and even Irish carrageen pudding, which once made it onto a seaside-themed pop-up restaurant back in the day. You can add it to cooking gooseberries if making a crumble, or pop some in toward the end of the cooking time when making gooseberry jam.
Making elderflower gin
Elderflower Gin
The best thing you can make by a country mile is elderflower gin and it is the simplest and quickest of the cold infusions. Because it doesn’t require any cooking, the true taste of the springtime hedgerow is perfectly preserved.
Snip between 12 and 18 elderflower heads into a large jar with a two tablespoons of caster sugar and a litre of gin. Seal the jar and give it a good swirl twice a day to dissolve the sugar. After three days, strain through a muslin-lined sieve into bottles and you are done. You can then enjoy the best gin and tonic of your life.
Elderflower Tom Collins:
We have now reached the pinnacle of deliciousness. This was not my idea, but my ex-business husband Mr Brian Mulhearn’s and it is very delicious. For one drink, you will need:
Ice
2 shots of elderflower gin
1 shot fresh lemon juice
½ – 1 shot gomme (stock sugar syrup)
Soda water
Place some ice in a cocktail shaker with the gin, juice and gomme to taste. Shake well and strain into a glass generously filled with ice. Top up with soda water. Bliss.
Variations:
For a liqueur far superior to St Germaine, make as for the gin, but use vodka and add between 120 and 150 g of sugar, depending upon the sweetness of your tooth.
For elderflower vinegar, make as for gin, using 500 ml of cider vinegar. Leave in a sunny spot for a week, swirling regularly. For a great salad, dress some rocket leaves and a few halved or quartered strawberries with the vinegar plus salt and plenty of black pepper. It makes an excellent accompaniment for poached salmon.
Elderflower Tom Collins
References:
Collins Tree Guide (2004), Owen Johnson & David More
Elinor Fettiplace’s Receipt Book: Elizabeth Country Cooking at Home (1986), Hilary Spurling
Food in England (1954), Dorothy Hartley
River Cottage Handbook No.7: Hedgerow (2010), John Wright
There’s nothing more Cornish than a good blob of clotted
cream on a lovely cream tea. Unless you are from Devon of course, then there’s
nothing more Devonian than a good blob of clotted cream on a lovely cream tea.
For those not in the know, clotted cream is a very thick
cream with a much higher butterfat content than double (heavy) cream; weighing
in at 64% and 48% respectively (for comparison, single cream is 18% fat, and
full-fat milk is around 4%).
Clotted cream has a long history in Devon and Cornwall, and
it is reckoned that it was first introduced to England by Phoenician settlers around
2000 years ago. Phoenicia was on the eastern Mediterranean coast in, what is
now Syria, Lebanon and northern Isreal. The clotting of cream was a way of
preserving buffalo milk. By removing the watery liquid, leaving mainly
butterfat, the growth of spoilage organisms is retarded. The folk of Devonshire
knew of its efficacy in this area; it was said that not even a witch’s breath
could turn it sour.
If you have ever tried it, you will know that clotted cream
– aka clouted cream or scalded cream in older books – is absolutely delicious
and is well worth buying. It is possible to make your own and there is a recipe
at the end of the post of you would to try your hand at it.
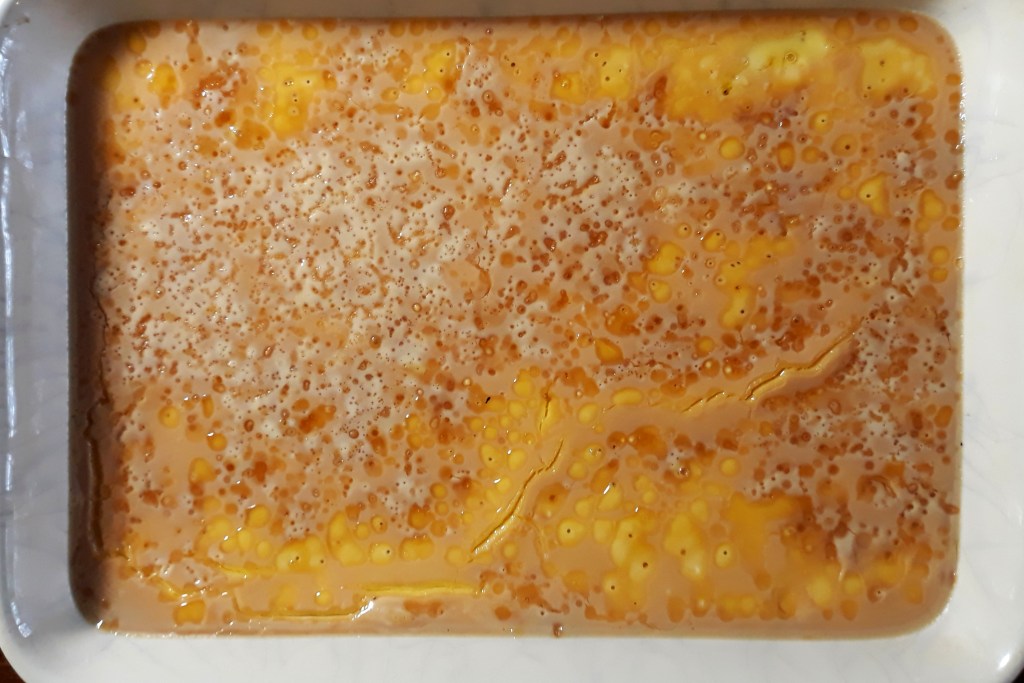
The best thing about it is the buttery, nutty crust that
forms on the top as part of the manufacturing process. It is made by gently
heating rich milk or cream in large shallow pans to a temperature of 80 to 90°C,
the heat traditionally coming from cinders or charcoal. Once the buttery crust
had formed, it was carefully but quickly moved to a cool place and sat upon
some slate so make the cooling process as rapid as possible; the cold shocking
the thin skimmed milk into sinking quickly and making a layer underneath the
thick cream. These days, it’s all done with centrifuges, which is rather less
romantic.
Once completely cooled, the clotted cream was lifted away
with cold, wet hands and mixed in cold, wet wooden bowls to remove the last of
the watery milk. It was then layered up in pots. I found a 1755 home recipe
from an Elizabeth Cleland who recommended sprinkling rose water and sugar
between the layers – the result must have been delicious!
The left-over skimmed milk, by the way, was taken away and
either drank or used to make scones or Devonshire splits.
From the point of view of butterfat extraction, clotted
cream is a much more efficient method than basic skimming techniques. The
reason it is not the standard technique, I assume, is that double skimming requires
no heating or centrifuges, tipping the balance of economy in double cream’s
favour. Couple this with the fact that modern refrigeration and pasteurisation
is doing the lion’s share of the preserving today means that the process of
clotting cream is no longer required for that purpose. We eat it for the sheer
love of it (ditto smoked fish and meat).
Mrs Beeton’s Book of Household Management says that
there are two types of clotted cream: Devonshire and Dutch. She goes on to
explain the difference – Dutch clotted cream is thick enough to stand a spoon
up in. Now, in my (humble) opinion, it ain’t clotted cream unless you
can stand a spoon up in it, so I can only conclude that English clotted cream –
at least from a Victorian Londoner’s point of view – was relatively runny
compared to that of today’s
Clotted cream is used to make ice cream, some biscuits and as a topping to the old-fashioned pudding Devonshire junket, a sweetened milk dessert set with rennet, producing curds and whey. It can be used to enrich sauces and soups too but use with caution – things can end up too rich.
Rodda’s is the largest producer of clotted cream and is based in Cornwall. There is much debate between the folk of Devon and Cornwall as to whether the cream should be added before or after the jam. Nick Rodda reckons his grandfather knew why:
We always put our cream on top because we are proud of it, Devonians are slightly ashamed of theirs, so they cover it up with their jam.
I must confess to siding with the Devonians on this one.
It’s all down to what you think the buttery cream’s role is. The argument goes
something like this:
The Cornish: it is the cream, and you wouldn’t put cream under
your fruit salad/trifle/fruit tart etc, now would you?
The Devonians: it is the butter, and you wouldn’t spread
butter over the jam on your toast/crumpet/muffin etc, now would you?
Your choice.
If you like the blogs and podcast I produce, please consider treating me to a virtual coffee or pint, or even a £3 monthly subscription: follow this link for more information.
Home-Made Clotted Cream
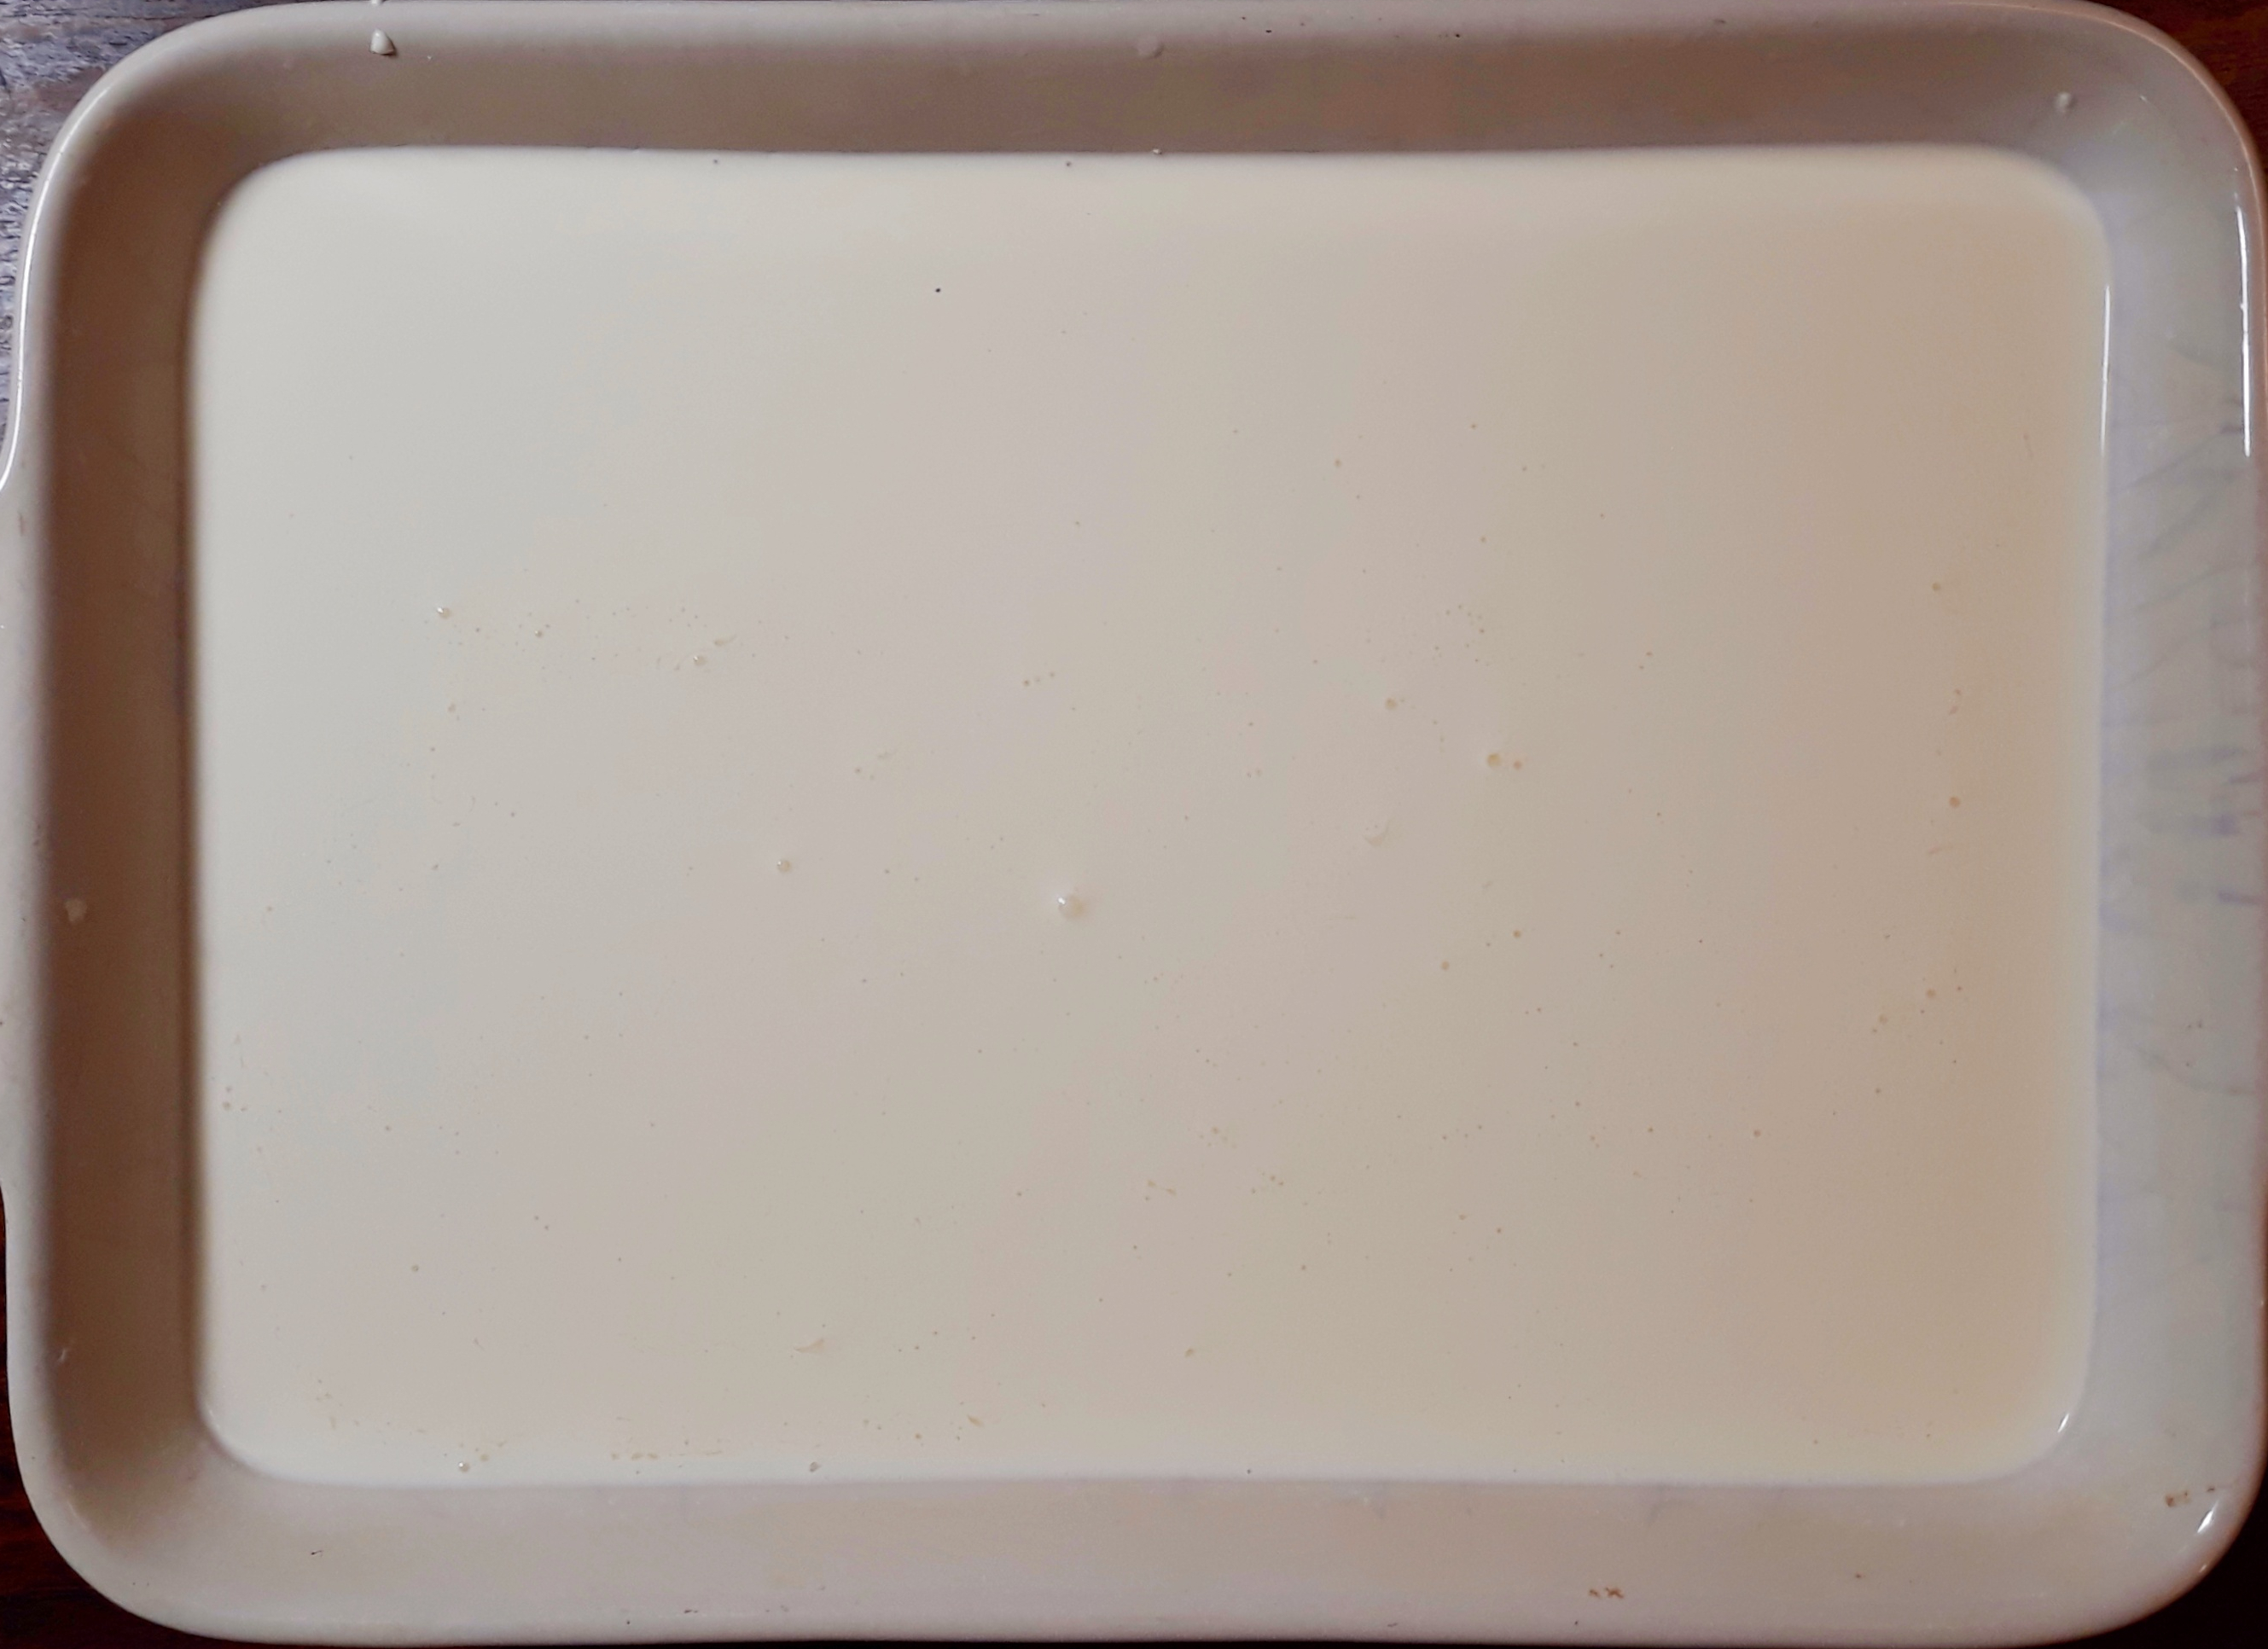
All you need to make your own is some double cream, an oven
and patience.
Before…
Preheat your oven to 80°C. Pour around 1 litre of
double cream into a wide, shallow ovenproof dish, place it in the oven and
leave in there for 12 hours. If you are really patient, leave for 18 hours to
achieve a darker, more delicious caramel-flavoured crust.
…after
Carefully remove from the oven, cover with kitchen foil and
pop straight into the fridge to cool quickly and undisturbed.
Once fully chilled, lift the clotted cream from the dish and
layer up in pots. I filled three good-sized ramekins with mine. The amount of
skimmed milk at the bottom will vary depending upon how long you left the cream
in the oven for.
The cream keeps for 7 days in the fridge.
References:
Clotted Cream, RS Chavan, A Kumar & S Bhatt,
2016, In Encyclopedia of Food and Health
If you like the blogs and podcast I produce, please consider treating me to a virtual coffee or pint, or even a £3 monthly subscription: follow this link for more information.
I was kindly given part of a large crop of gooseberries by my friends Kit and Ellie, their two bushes have been prolific this year. Earlier in the summer, I used some of their underripe berries to make a sauce to accompany mackerel, but now they were large and quite sweet.
I made the lion’s share of them into gooseberry jam and
thought I would give you a recipe, as it is so easy to make, and you are
unlikely to find it in the shops. If you don’t know of any gooseberry bushes,
try a greengrocer – I have spotted them in quite a few shops this year.
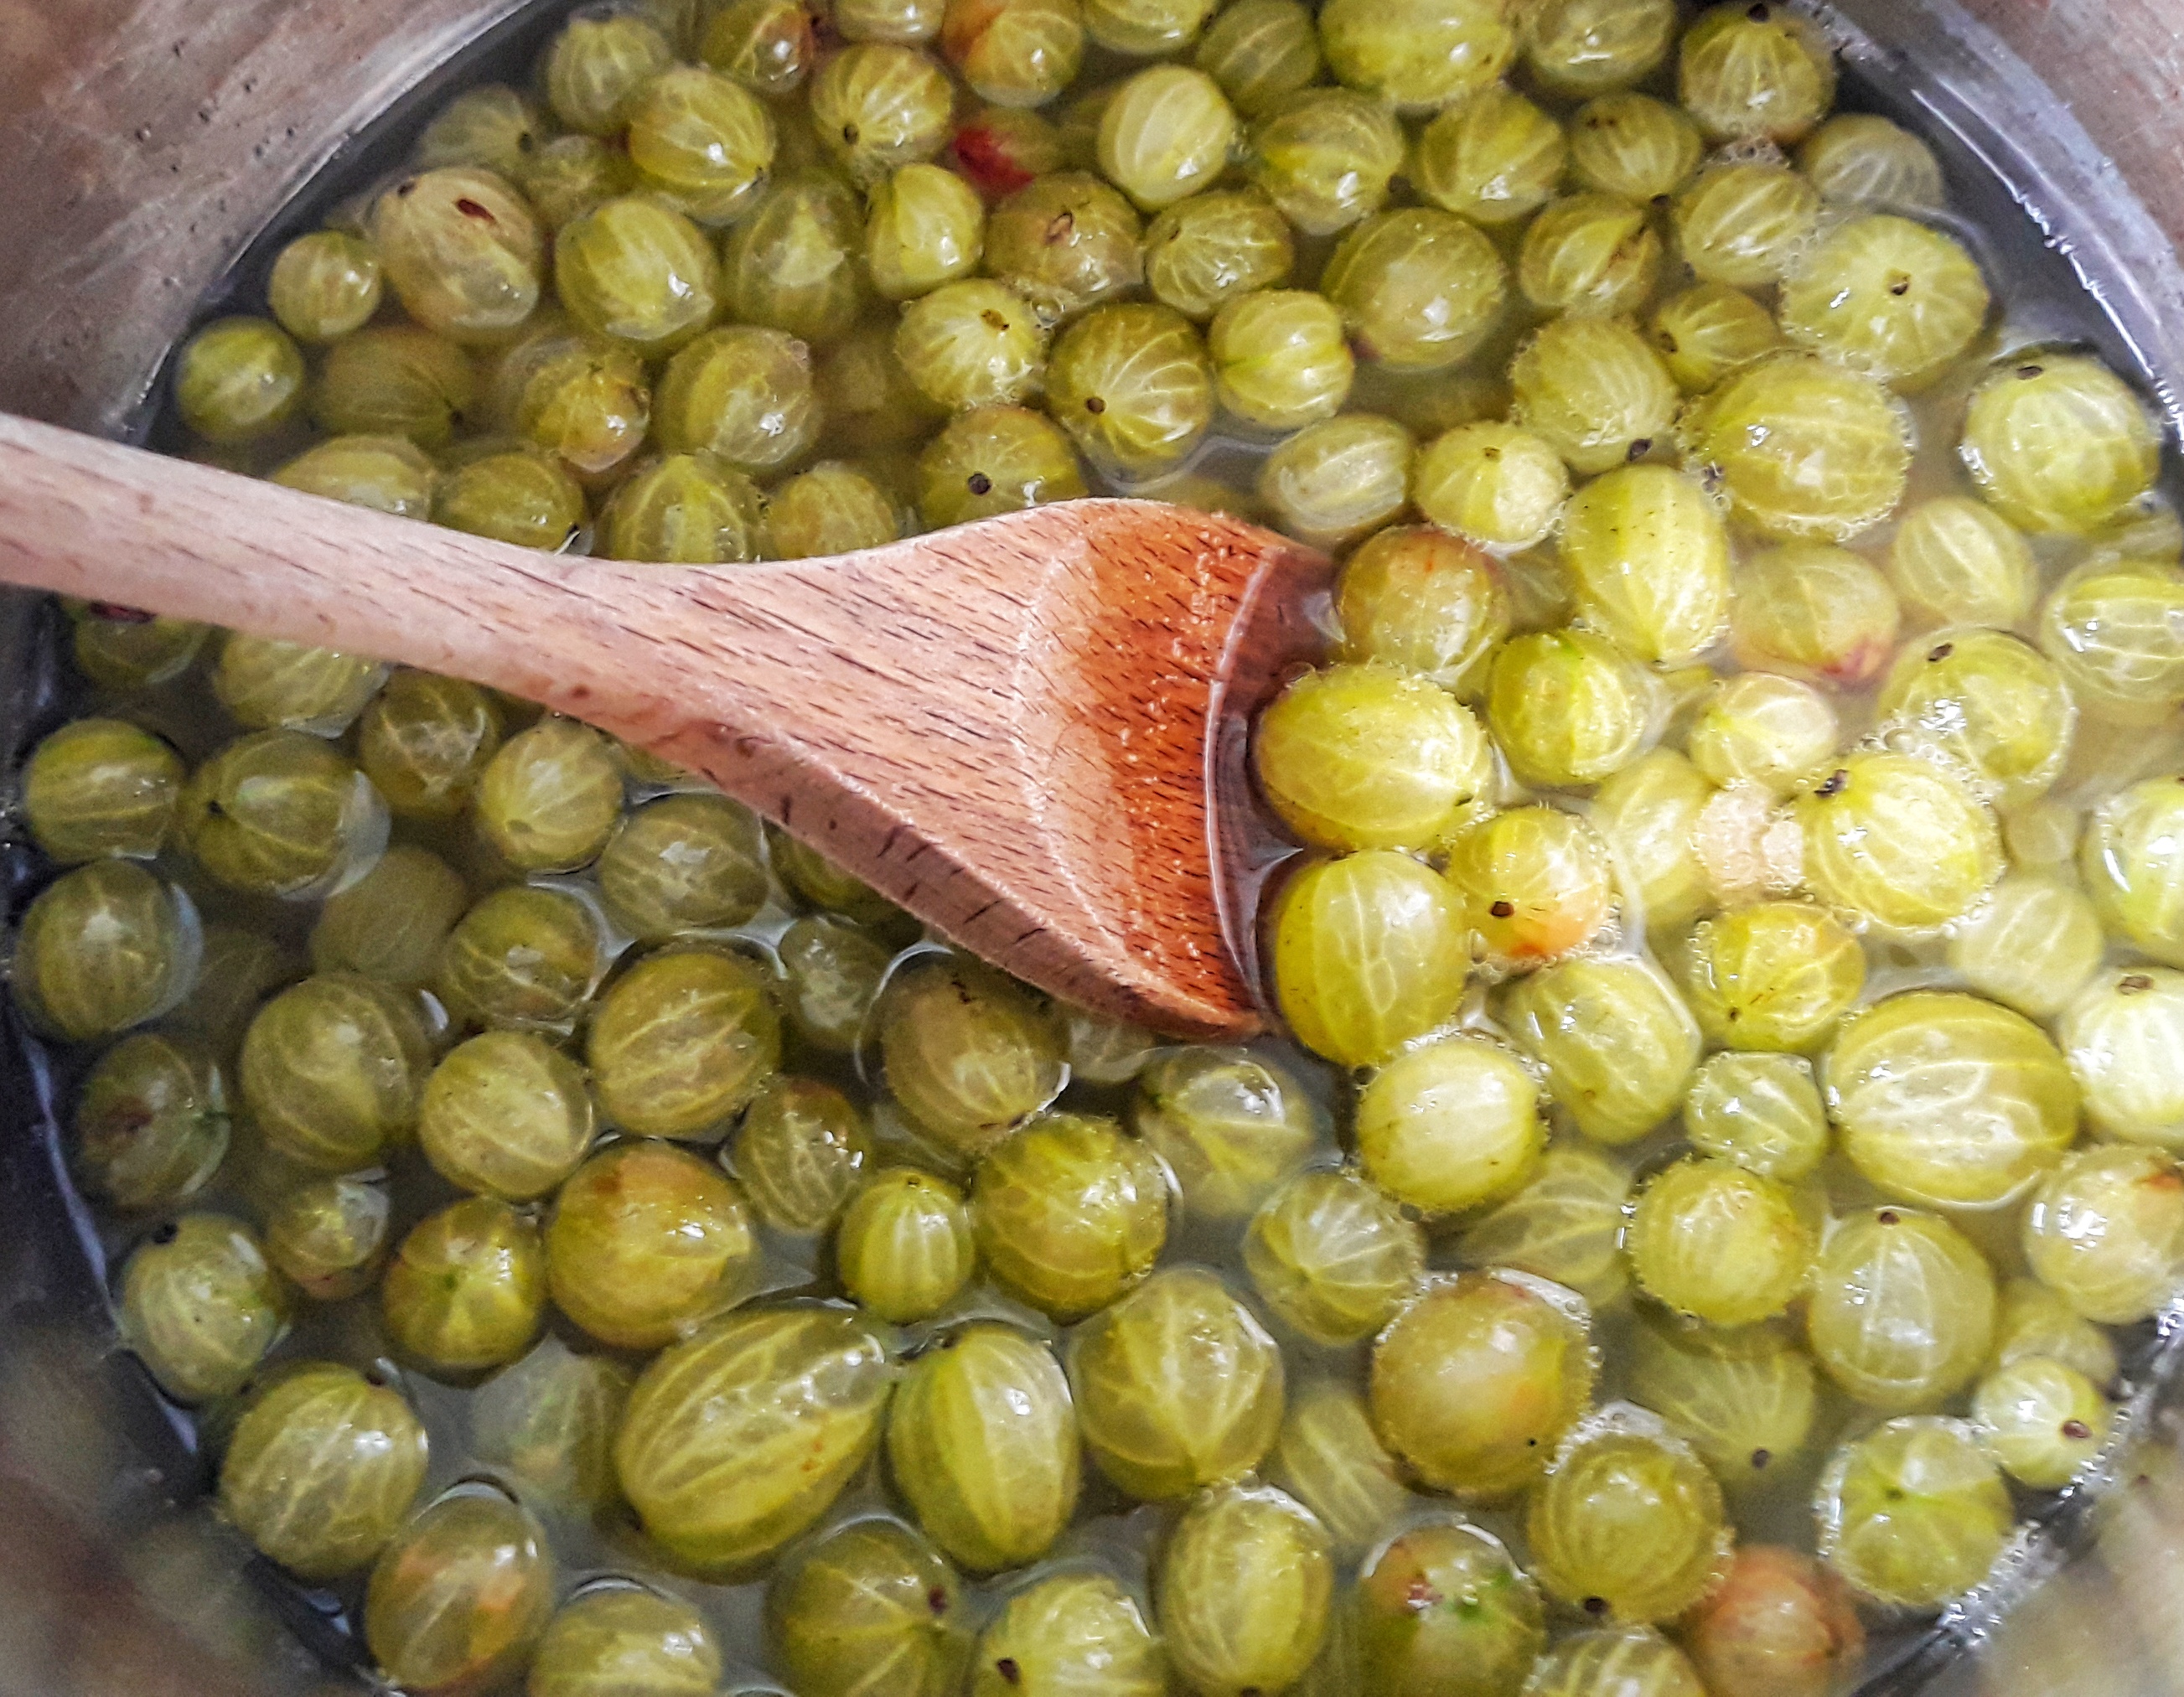
The great thing about gooseberry jam is that the
gooseberries change in colour, adopting an appetising warm pinkish hue with the
intense heat of jam-making. This change is apparently due to the anthocyanins
in the gooseberries interacting with metal ions leached from the cooking vessel
itself.
Gooseberries are not as juicy as their red, white and blackcurrant relatives so they need a bit of extra added water to help dissolve the sugar. Gooseberries are high in pectin, especially when young, so there should be enough to set the jam. However, if they are late season and ripe, you might want to replace a small proportion of the sugar with jam sugar, which contains pectin, to give them a helping hand.
The jam I made is simple: gooseberries, sugar and water, but
if you have any of the extras in the ingredients list below, feel free to add
them if you like.
The jam makes a great roly-poly or Victoria sponge filling.
The quantities below makes around 1 litre of jam, and it is
easy to scale up or down depending upon the amount of gooseberries you have to
hand.
1 kg gooseberries, washed, topped and tailed
1 kg granulated sugar (or 800 g granulated and 200 g jam
sugar, if the gooseberries are ripe
500 ml water
Optional extras: A dozen elderflower heads wrapped in
muslin, a good bunch of sweet cicely tied with twine or replace 250 ml of the
water with Muscat wine.
Before you start, place a saucer in the freezer.
Place all the ingredients in a large, heavy based saucepan on a medium heat.
Stir occasionally and when all of the sugar has dissolved, turn the heat up to bring the gooseberries to a really good boil. After around 15 minutes – by now they should have a pinkish tinge about them – test to see if you have got a set. Either take the jam’s temperature with a temperature probe and see if it is 105°C, or take a teaspoon of the mixture and place a few drops on your very cold saucer you had stored in the fridge, let it cool for a minute and see if the drops wrinkle when you push them with a finger.
You can use a candy thermometer instead of a probe, but I
find them imprecise. However, if you have a trusty one, by all means slot it
down the inside of jam before you start to boil it.
Leave the jam to cool for 15 minutes and skim any scum with
a large spoon or ladle.
Have some sterilised jars ready and ladle in the jam. A jam
funnel is helpful here. Alternatively, pour the jam into a Pyrex or stainless-steel
jug rinsed out with scalding water and carefully fill your jars. Seal when
still very hot.
I have written at length about setting points and sterilisation, so if you are unsure, have a look at this post here for a walk-through.
My previous post on pickling went on a bit, so I’ve added these two simple recipes as a separate one. The methods are not particularly comprehensive, so if you haven’t pickled before read the previous post for hints and tips.
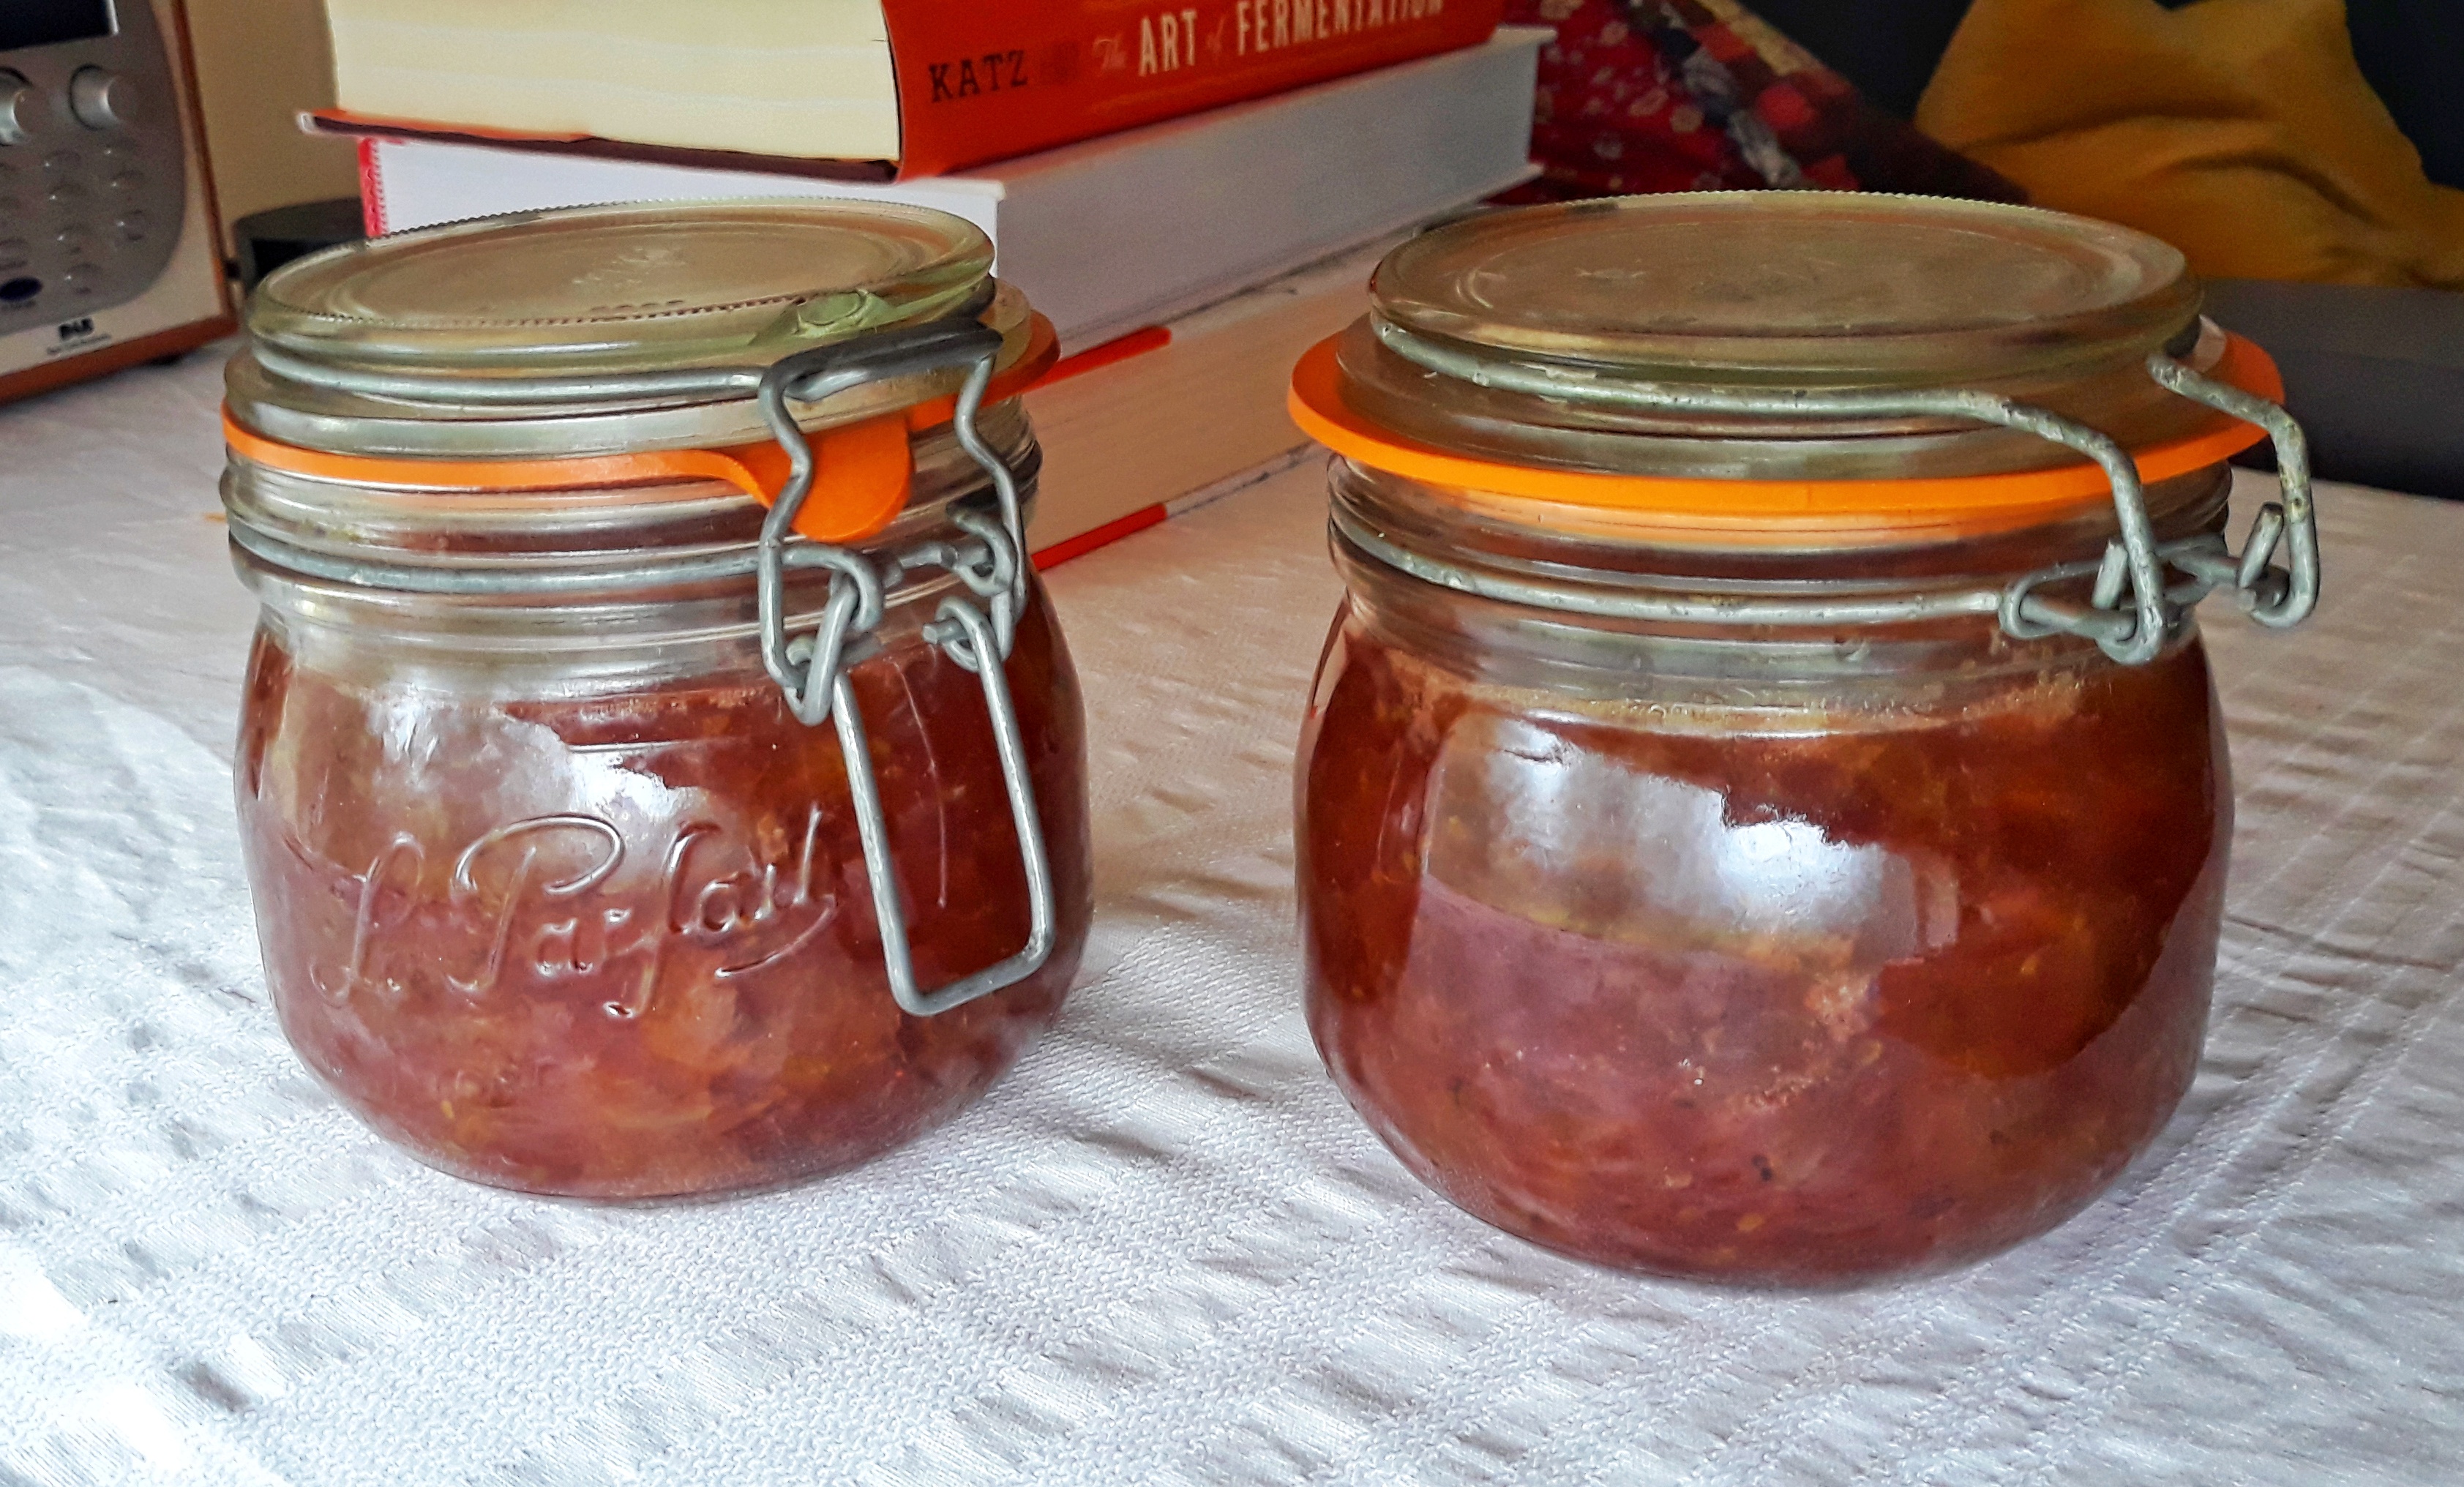
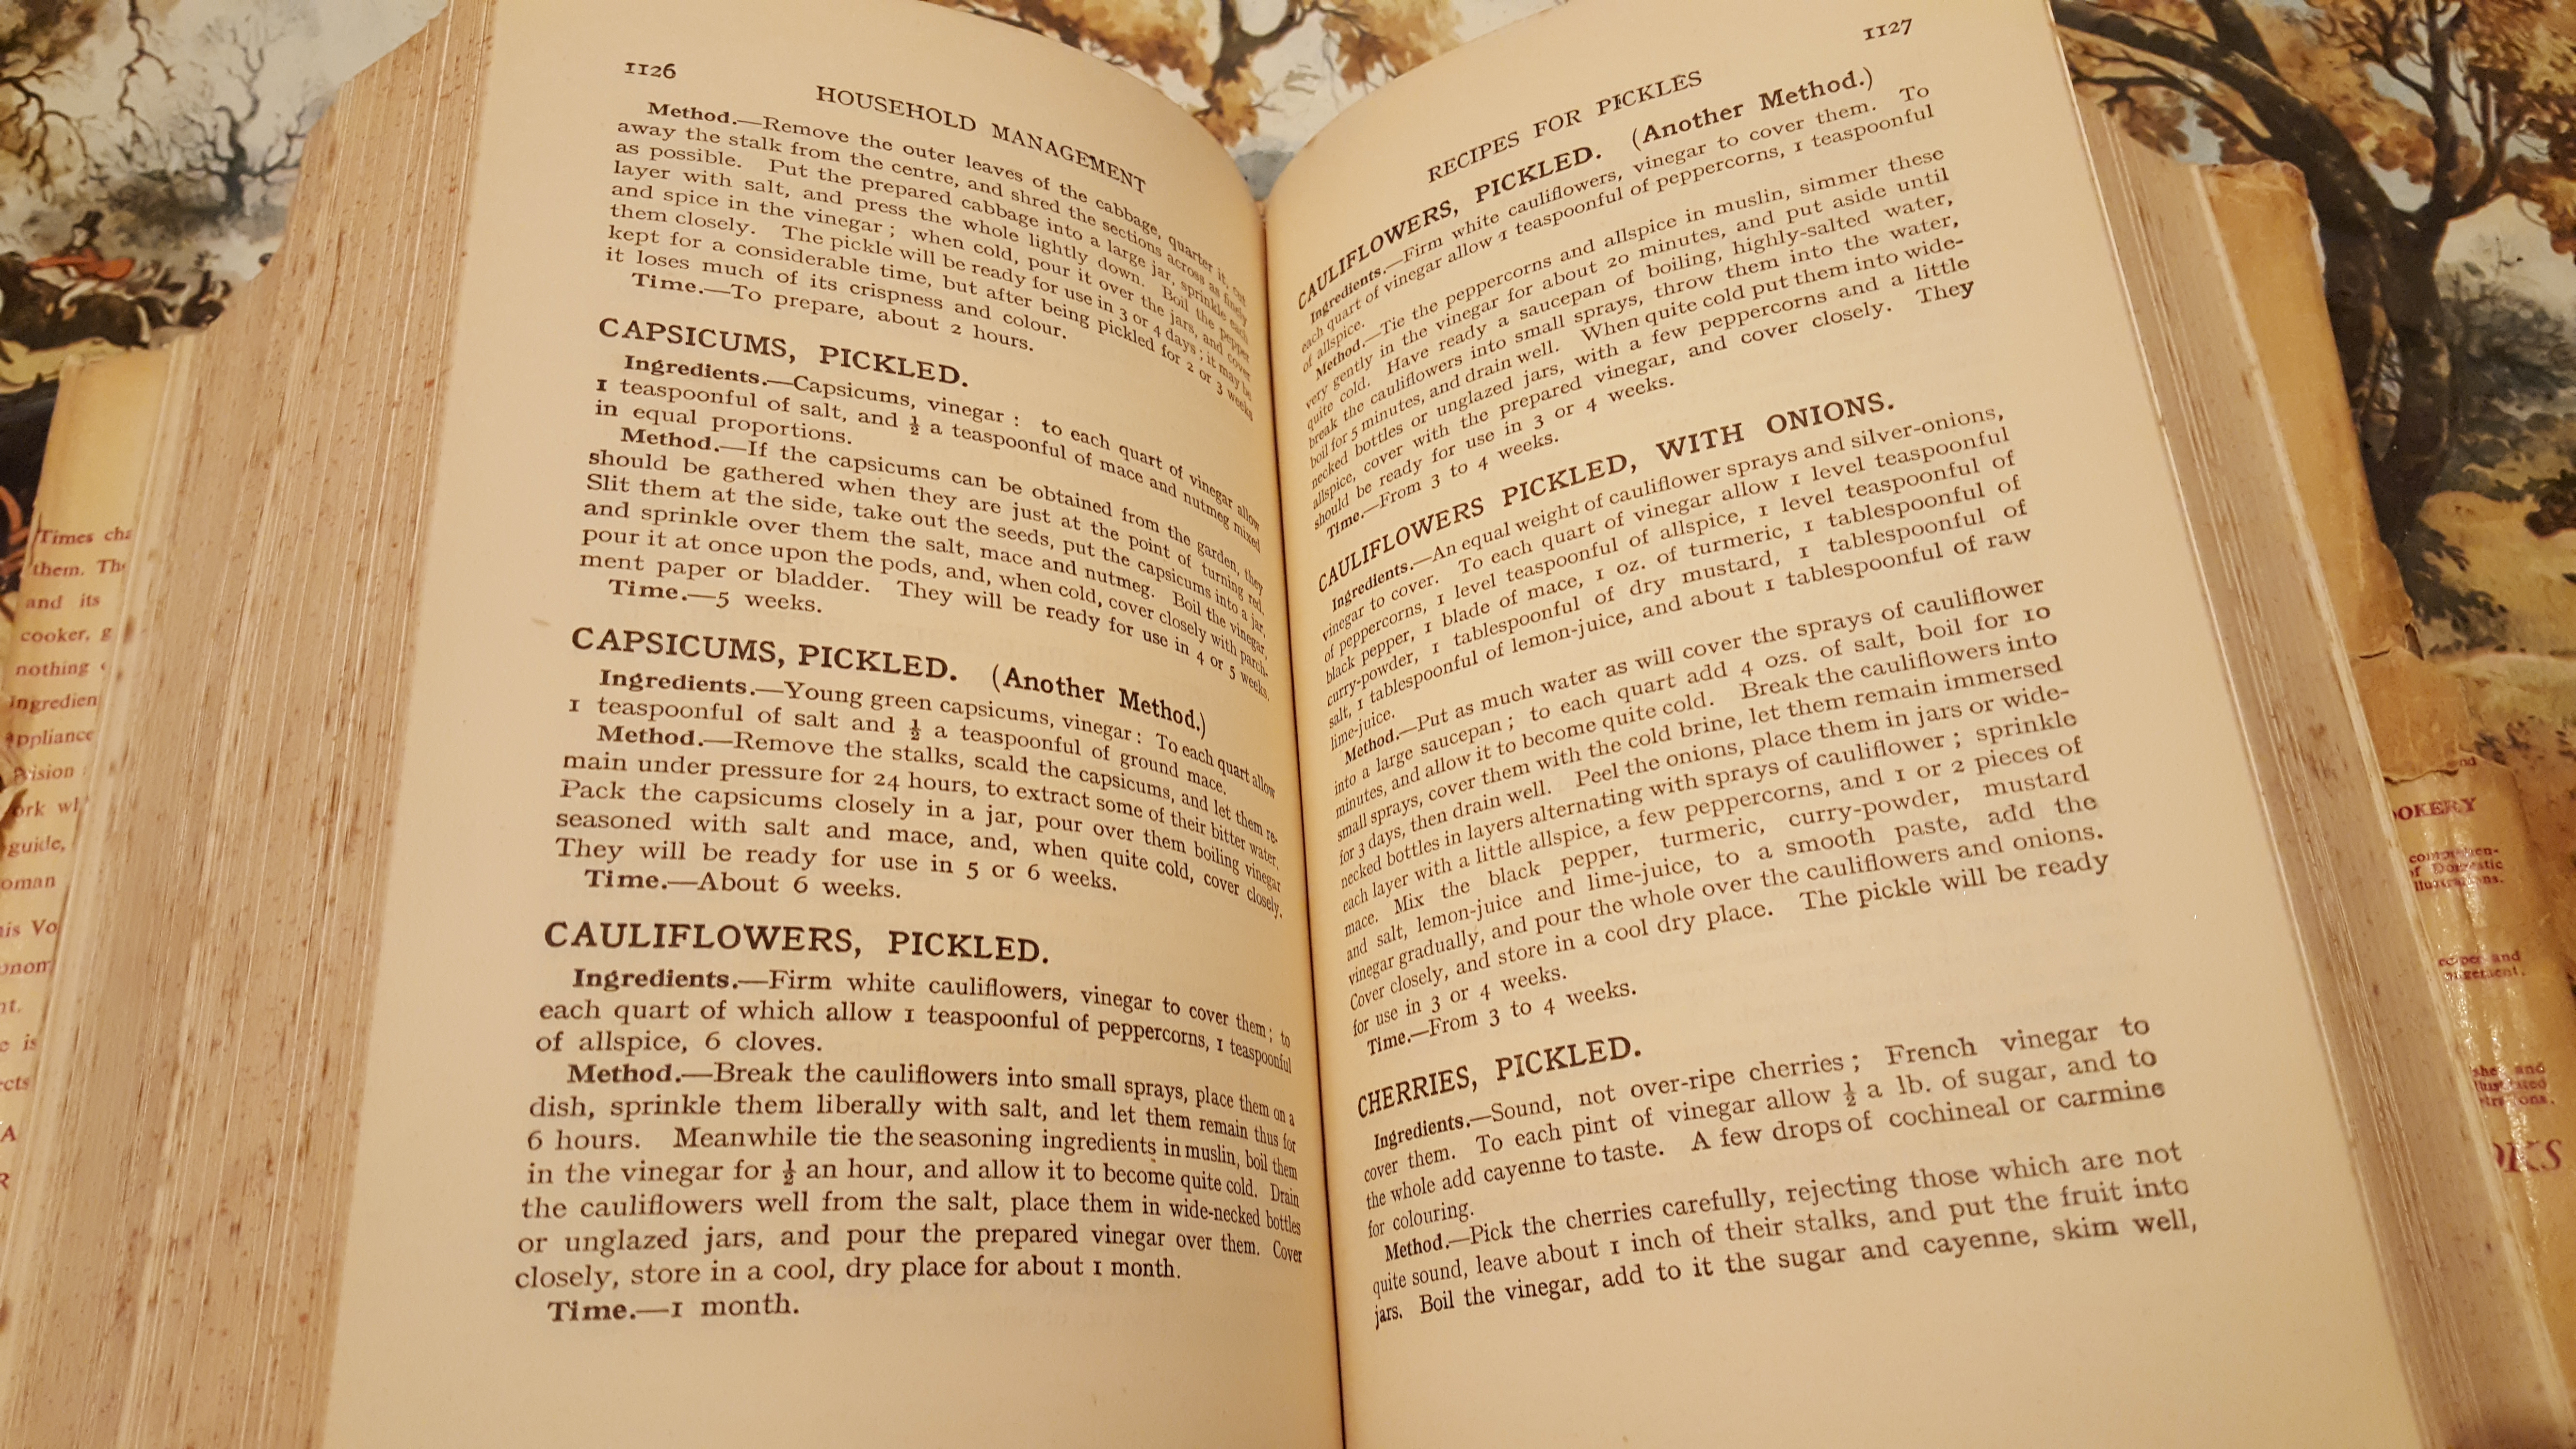
Pickled Red Cabbage
As with many recipes for preserving, it’s difficult to come up with precise amounts. It all depends upon how much produce you have and the size and shape of your jars . A certain amount of guesswork is required. If you don’t make enough pickling liquor, you can quickly make more, and if you make too much, keep it in a sterilised jar; you can always use it pickle something else, or use it in salad dressings.
It is a good example of a system rather than of a recipe, but I reckon a good-sized red cabbage will need a litre of liquor. Oh and it’s a two-day affair, so don’t start this the day before a fortnight’s holiday or something:
Day 1:
1 red cabbage, sliced thinly, centre removed
Sea or rock salt
Scatter your sliced cabbage into a colander placed on a deep plate or large bowl and strew with plenty of salt. Cover with a tea towel and leave overnight for the water to drain.
Day 2:
1 litre of cider, wine or distilled vinegar
1 tsp peppercorns
1 chilli
1 tsp Allspice berries
50 g sugar
1 star anise
1 tsp Mustard seeds
Boil the vinegar with the spices and sugar, simmering for 5 minutes. Rinse the salt from the cabbage and pack into sterilised jars. Strain the hot vinegar and fill the jars with the piping hot liquor. Pop the chilli and star anise into the jars and a few of the seeds and berries (for prettiness). Put on lids and leave to mature for four weeks.
Cover cabbage with salt for 24 hours.
Next day, rinse away the salt and pack into sterilised jars.
Boil up the remaining ingredients. Simmer 5 minutes and pour over the cabbage.
If you like the blogs and podcast I produce, please consider treating me to a virtual coffee or pint, or even a £3 monthly subscription: follow this link for more information.
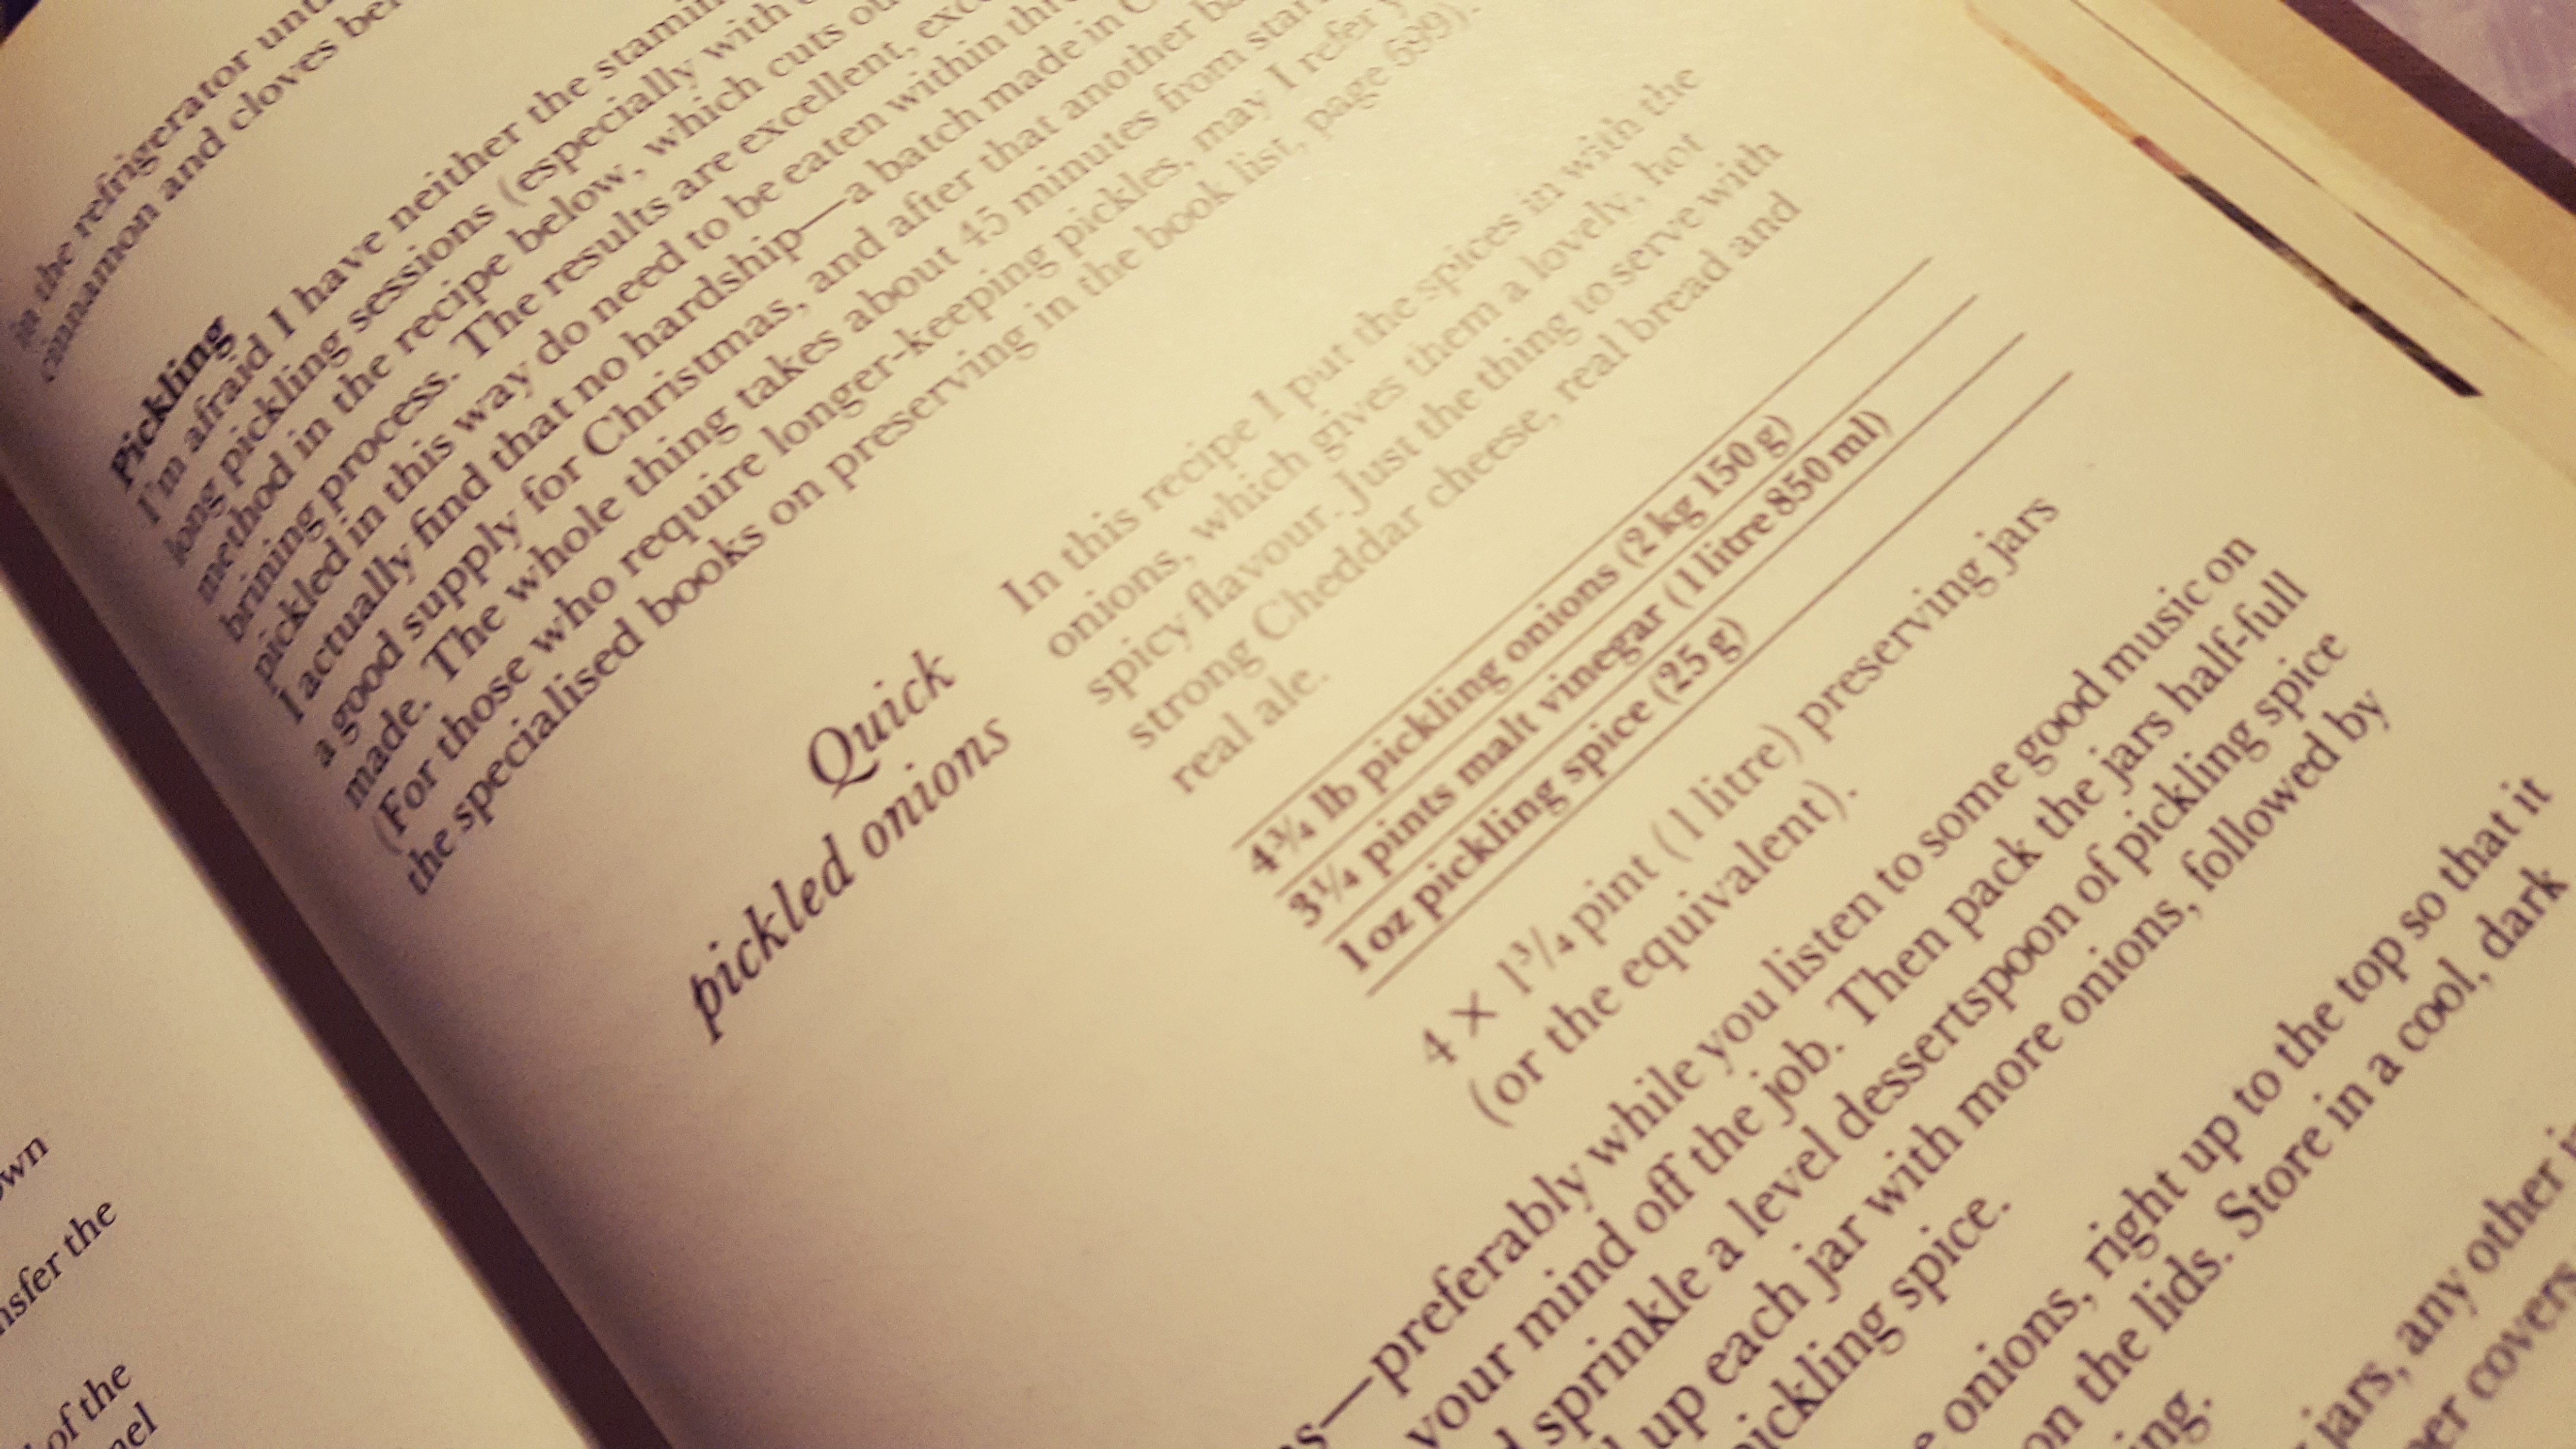
Delia Smith’s Quick Pickled Onions
from her Complete Cookery Course, 1982
“I’m afraid I have neither the strength nor the patience of endure long pickling sessions…so I always use the method below” says Delia.
No faffing about with this one: onions usually need brining or dry-salting. Delia skips this stage, but be warned: they don’t keep as long as regular pickled onions as the excess water isn’t drawn out by the salting process. They’ll keep 4 months maximum.
In her recipe, Delia asks for pickling spice, which you can buy already blended, but have a go at making your own; a keen cook will probably have most of the spices needed anyway! See the previous post for an example.
The first task is to peel the onions. Put them in a bowl and cover with boiling water straight from the kettle, drain and get peeling. The skins should now be relatively loose from their hot water treatment.
Half-fill your jars with onions – 4 1-litre jars will be enough – and share out half of the pickling spices between them, scattering nicely. Top up with the remainder of the onions, and then the rest of the spices. Pour the vinegar in (no need to heat it) and screw the lids on tightly. Leave the onions 8 weeks before eating them.
Pickling is a form of food preservation that uses either vinegar or brine to keep food from spoiling. Good cooks in all households, rich or poor, throughout history had to know what they were doing if they were to get maximum yield and minimum waste from their home-grown produce, whether a tiny veg patch or a large kitchen garden. Therefore, if we’re to cook historical recipes, we too need to know what we’re doing.
Pickling in brine is essentially curing with salt and I’ll tackle that subject in a different post (this is not be confused with the brining some veg goes through before being pickled in vinegar (see below).
I thought that I’d go through how to make your own pickles at home as I got some good feedback on my previous preserving post: fruit jelly preserves. Pickling is easy and doesn’t require any expensive specialist equipment, so if you have never tried your hand at home-preserving, give it a go. A similar method is used to make flavoured vinegars, so I’ll write a little post on those too.
If you like the blogs and podcast I produce, please consider treating me to a virtual coffee or pint, or even a £3 monthly subscription: follow this link for more information.
The ingredients
Vinegars: any vinegar can be used, however for long-term preservation a vinegar that is 5% acetic (ethanoic) acid is required. When it comes to choosing the correct, go for your personal preference. Malt vinegar packs the strongest punch and goes best with onions and shallots in my humble opinion. The cider and wine vinegars have a fresher, subtler flavour and are pretty much universal. Distilled or spirit vinegar is vinegar in its purest form, essentially just acid and water and can be used to pickle anything. It can be a little harsh so requires flavouring with aromatic herbs and spices.
Balsamic, Champagne and sherry vinegars can do the job of pickling perfectly well but are far too expensive for your glut of allotment red cabbage, though a touch of balsamic vinegar added to another does work well.
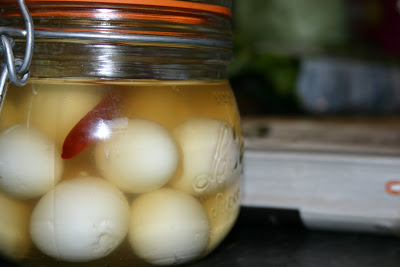
Pickled quails’ eggs
Herbs & Spices: Though not strictly essential, herbs and spices do give your pickles an extra aromatic dimension and take the edge off that often harsh vinegar astringency. Most herbs can be used with great effect: thyme, rosemary, bay, savory, oregano, dill and fennel all work very well.
Pretty much any whole spice can be used successfully here: fresh ginger, peppercorns, mustard seeds, allspice berries, cinnamon sticks, fennel seeds, dried or fresh chillies and dill seeds are the usual suspects. Use whatever you like, but a general rule for spice mixes is to add up to 25g of spice to each litre of vinegar. A good general spice mix:
1 tbs allspice berries
1 tbs mustard seeds
1 cinnamon stick
2 tsp black or white peppercorns
1 tsp fennel seeds
1 or 2 dried chillies
I’m going a little mediaeval and including sugar as a spice: the deliciousness of a pickle can be heightened immensely with a seasoning of sugar. This is especially important when pickling fruit such as pears or strawberries.
Salt: Many vegetables need to be salted in some way before pickling. The salting process draws water from the veg both firming it up and taking away water that would otherwise leach out and dilute the vinegar. Use either rock or sea salt for this, never table salt; it is far too harsh and inevitably some salt ends up in the final pickle, so a nice complex salt is best.
There are two types of salting: dry salting is where salt is sprinkled over vegetables and left overnight to drain. The other way is by brining, where the veg is immersed in a strong salt solution for 12 to 24 hours. A typical brine contains 85g of salt per litre of water.
The produce: these are the fruit, vegetables or eggs you want to pickle! They need to be a good size, unbruised and not overripe. Some vegetables need to be salted or cooked, some neither! When preparing your produce, make sure the pieces are a good size for when you come to eat them, and that they of a good size and shape to be packed well into jar. It’s important to remember that the produce needs to be completely covered and that there needs to be a decent space, around one centimetre, between the vinegar and the jar rim.
The Equipment
Aside from your regular kitchen pots, pans and jugs, there is little specialist equipment required.
Muslin & string: used to tie herbs and spices to infuse into the vinegar. Not essential though, as you always pass the vinegar through a sieve.
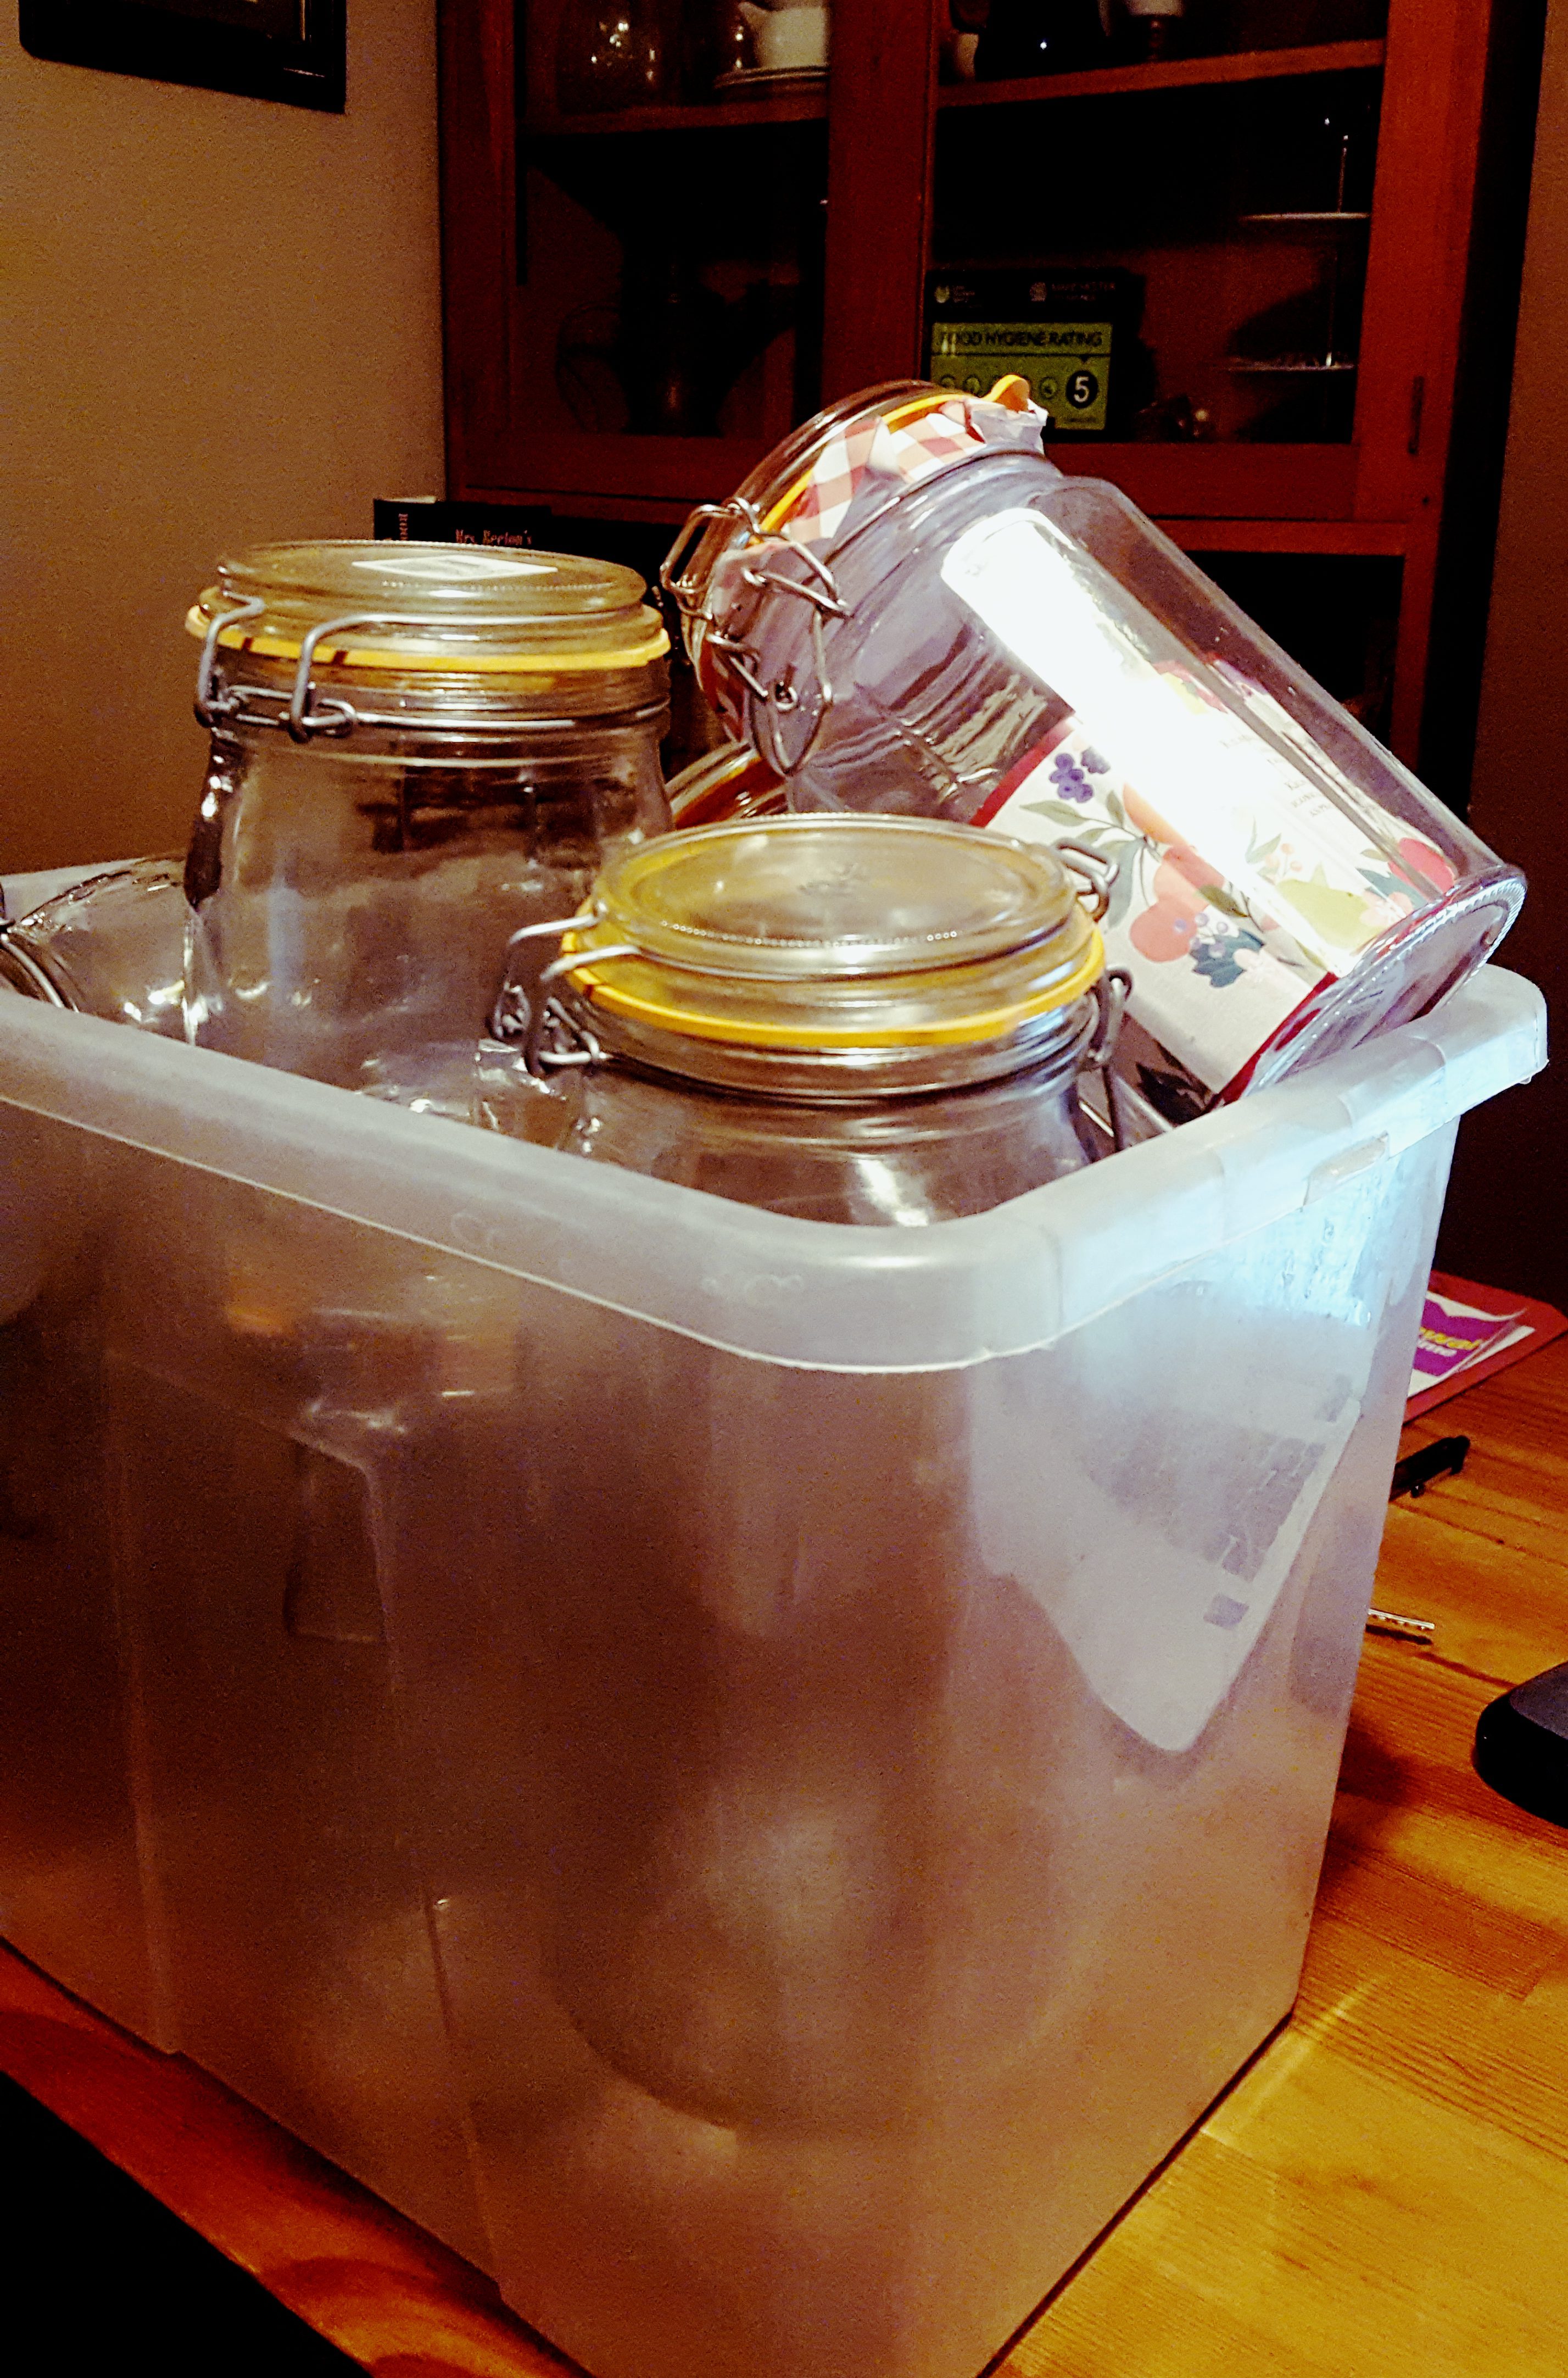
Jars & lids: obviously this is a must-have. I tend to use stocky hardwearing Kilner jars where I can, but I also hang on to any decent-sized jars that come my way. Make sure the metal lids of jars have a layer of white plastic under them; this makes them vinegar-proof.
Just part of my jar collection!
How to Pickle
This is a four-stage process:
Preparing the produce: Sometimes there is no prep, sometimes there’s cooking or salting. Check the recipe before you embark on your preserving as some veg needs a full 24 hours salting!
Preparing the pickle: The vinegar is simmered with its herbs and spices for 5-10 minutes, depending on the pungency required. This can be strained if a muslin bag wasn’t used. The pickling liquor is used hot or cold depending upon the recipe.
Potting: sterilised jars need to be packed quite tightly with your produce before the vinegar is poured in. Make sure everything is covered and pop the lid on tightly. Give the jar a jiggle to remove air bubbles. See this post if you don’t know how to sterilise jars.
Maturing: Leave your pickles for a month before eating them so that the vinegar can penetrate the veg. Waiting also matures the flavour making it more rounded and less harsh. Patience, dear readers, is a virtue.
Alright, that’s the basics…I’ll post recipes soon. If you can’t wait for me to post, see this previous pickled egg and this pickled beetroot recipe.
A couple weeks ago I was invited by the iconic British condiment company, Sarson’s, to have a look around their factory and see the process of vinegar-making. They contacted me as they had noticed my little blog and thought I might be interested in seeing what they do because they make vinegar in the traditional way; and we’re all about tradition here at British Food: A History.
The word vinegar comes from the French words vin meaning wine of course, and aigre meaning sour or sharp, so when we talk about British malt vinegar, it’s actually a bit of a misnomer. What is in your bottle of Sarson’s used to be called alegar: sour ale! I think the word should be brought back (I’ll pop a note through to Mr and Mr Sarson).
Vinegar – aka ethanoic or acetic acid – is produced when specialist bacteria called acetobacteria metabolise normally deadly alcohol (ethanol) and harness energy from it. It takes a real specialist to use this killer chemical as a food source. Vinegar is, of course, an excellent preservative itself.
It is thought that vinegar and alcohol fermentation were discovered and refined in tandem, and the earliest example of vinegar-making goes right back to the ancient Babylonians who were brewing it from their beer and wine in 4000 BC! The ancient Romans refined methods somewhat, using wooden barrels to age and develop flavour.
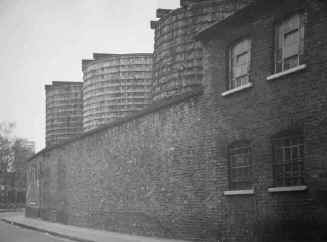
The rear of the original London factory (Southwark Local Studies Library)
There are there are many types of vinegar, but malt vinegar, which is made from barley, is uniquely British, although these days it does travel a bit. Barley was a very important crop in Britain as it was grown to eat, but also to make ale. The average person in mediaeval England would drink around a litre of ale a day and it was the main source of calories for many (and much safer to drink than the water). Our love of ale meant there was plenty spare knocking about to transform into alegar. Sarson’s are the only company still making it in the traditional way and they have been producing it since 1794.
Before I had even arrived, I was greeted a delicious sweet and sour malt smell, and when the taxi pulled up outside the Manchester factory I was greeted again by the lovely folk who run the place. I donned my lab coat, safety glasses, hard hat and beard snood, and looking altogether pretty damn sexy I headed over the see the initial steps in the process.
I had always assumed that when malt vinegar was made, ale would be bought in and then fermented, but this is not the case! Sarson’s do the whole process from start to finish, including making the ale itself. It is truly made from scratch.
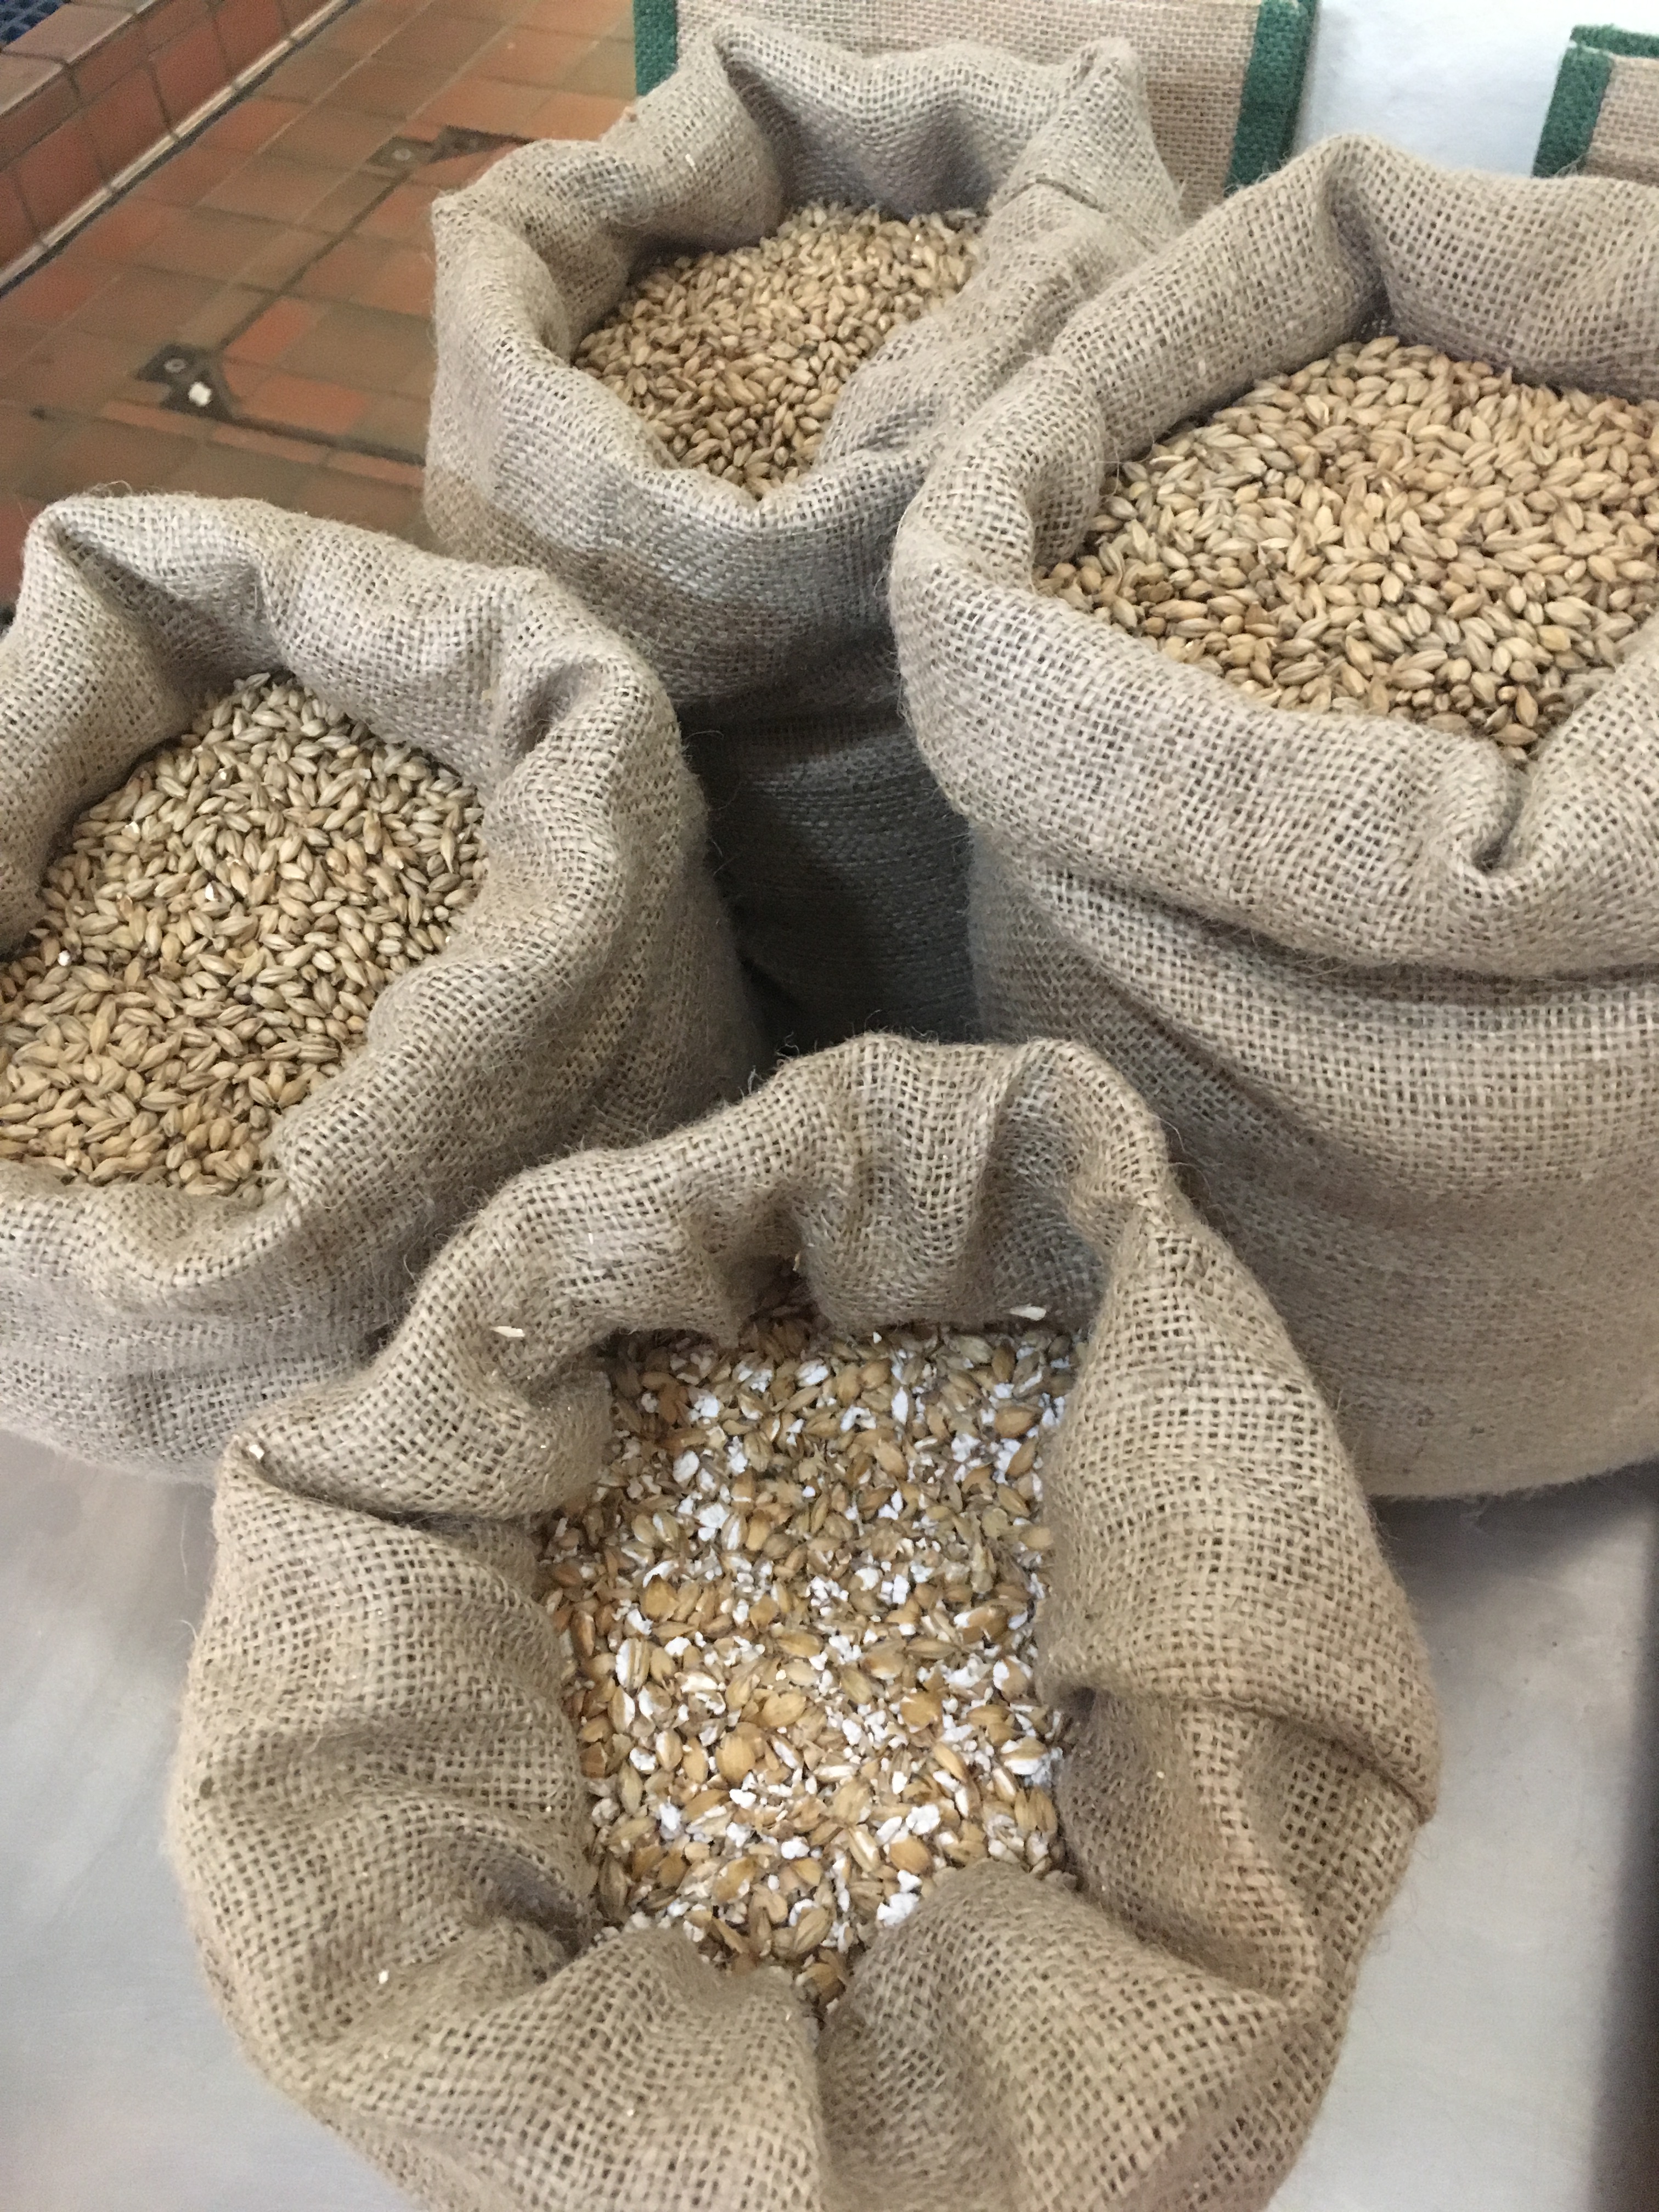
Barley grains
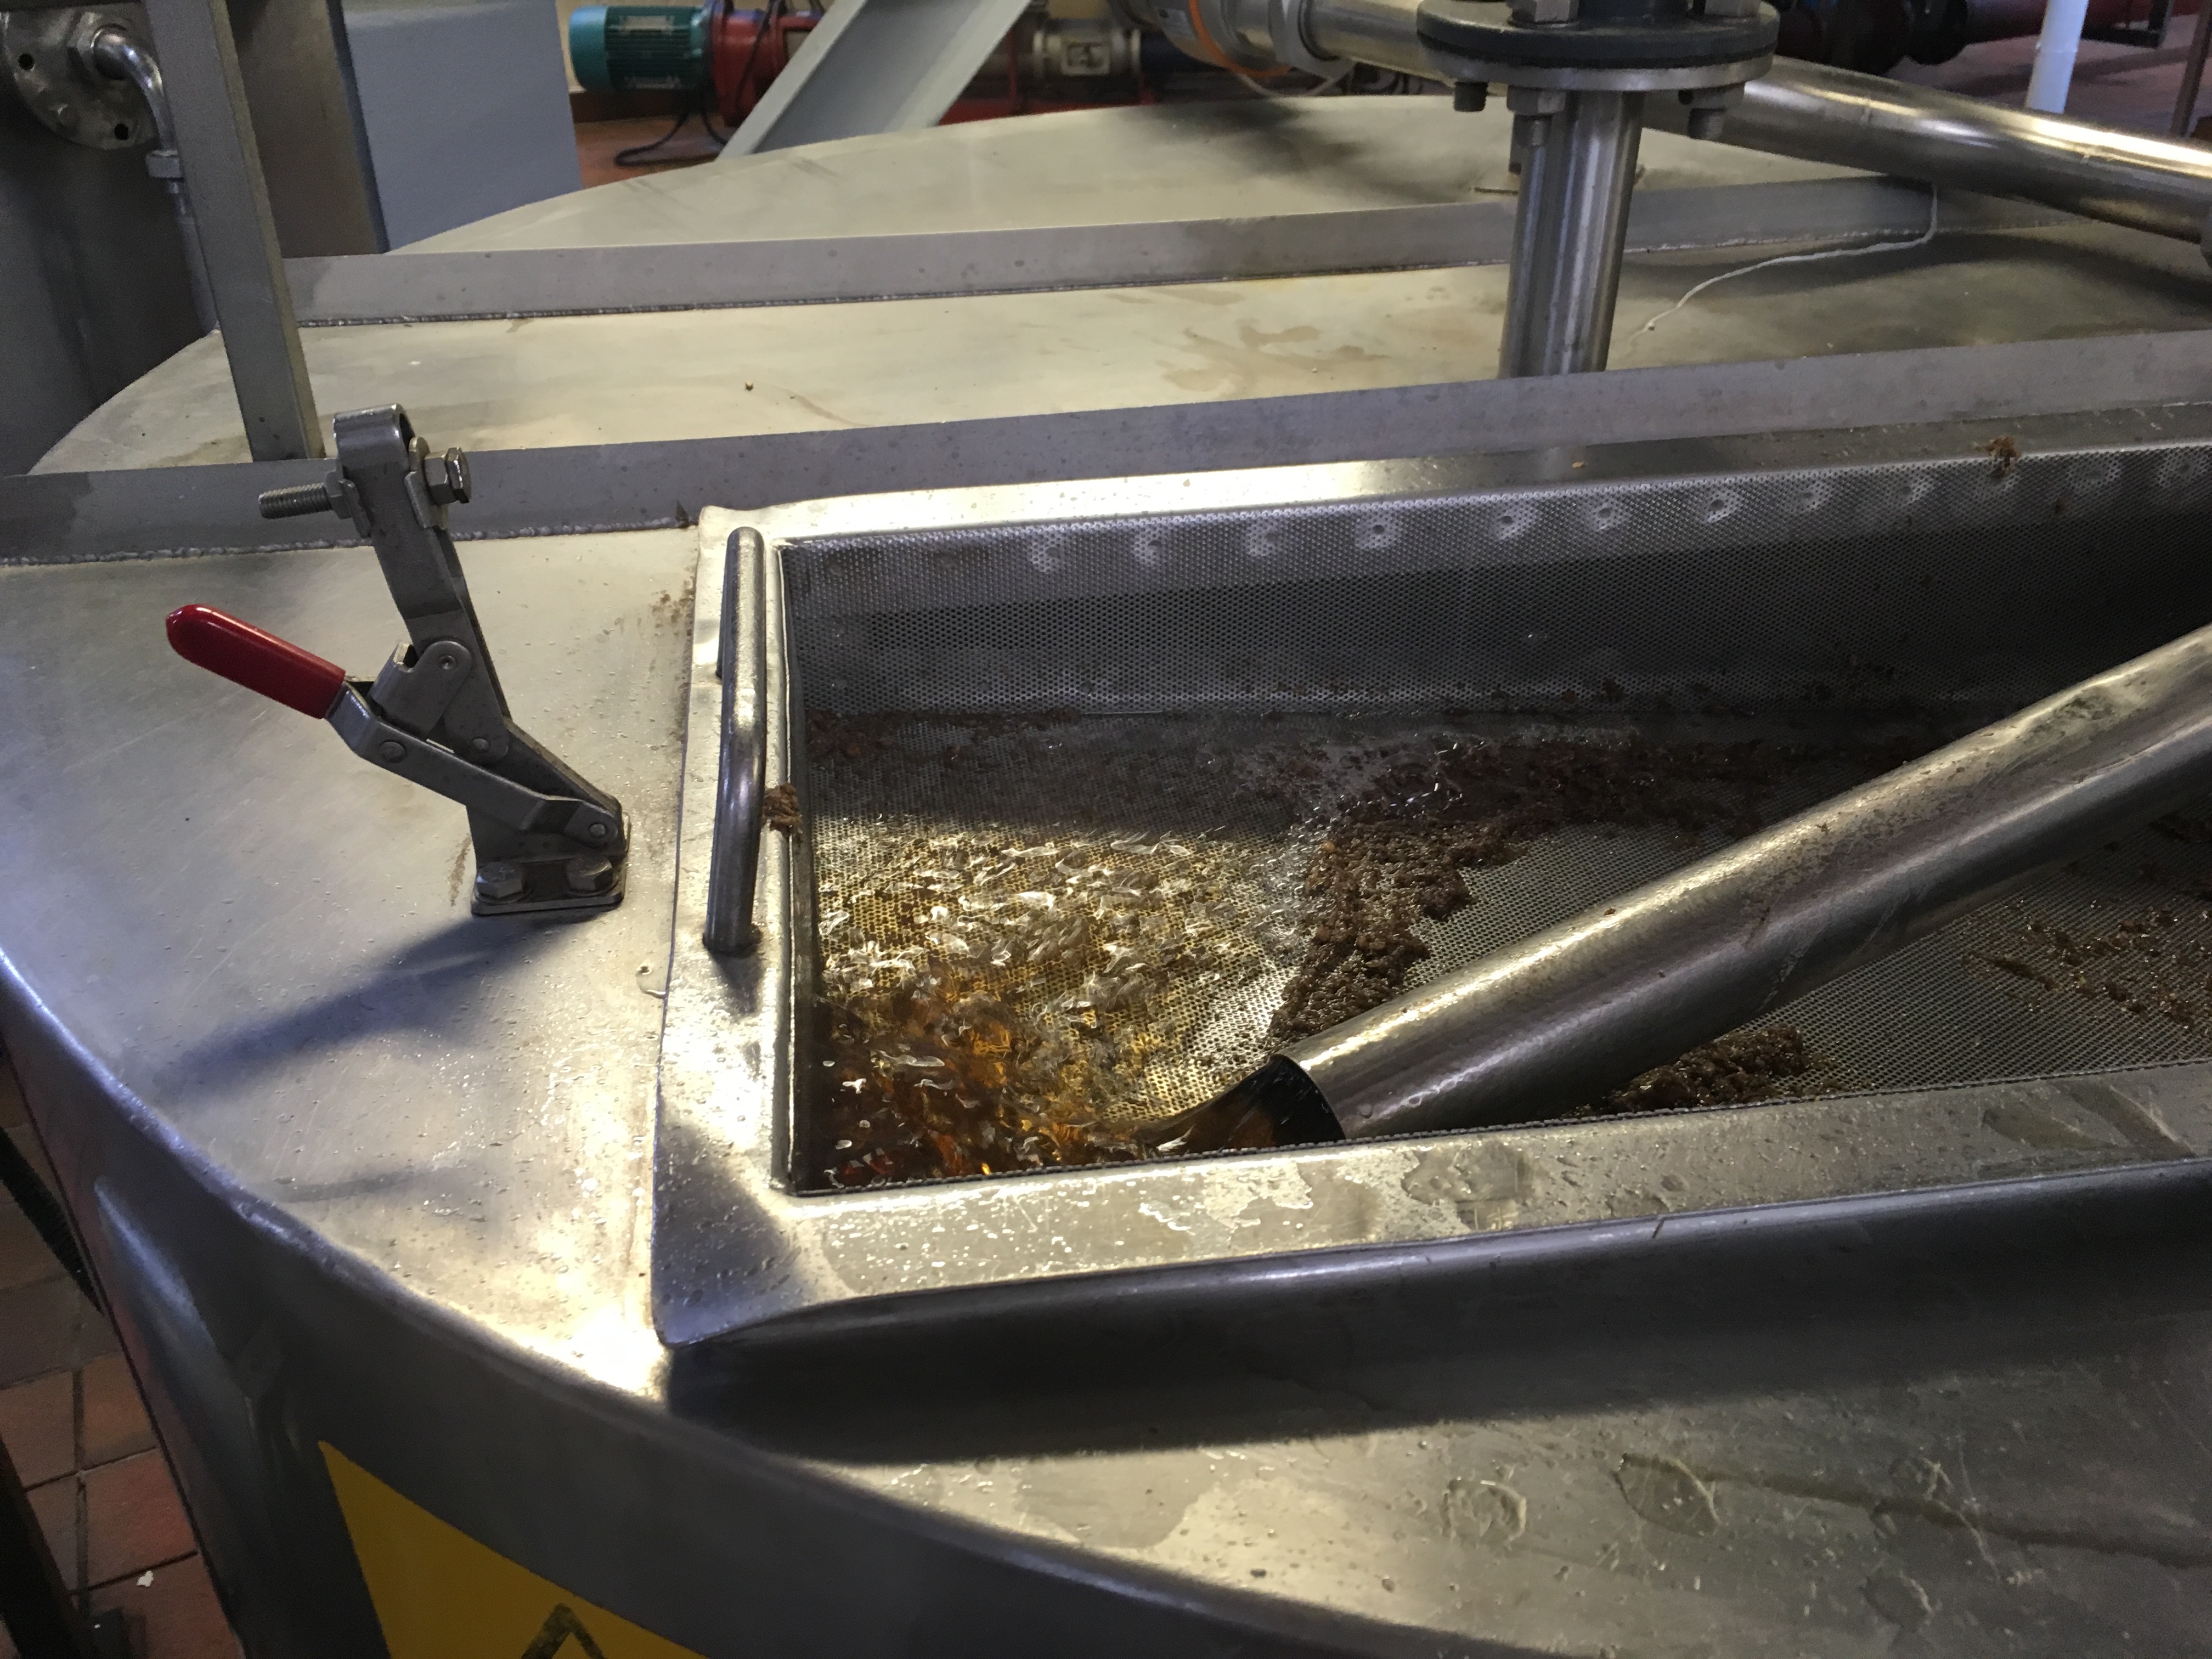
The first step is to lightly mill the barley so that the grains can crack open. It is then soaked in spring water and heated up in mash tuns: huge metal vats that constantly stir the barley and the water is collected. This process of mashing extracts the sugars.
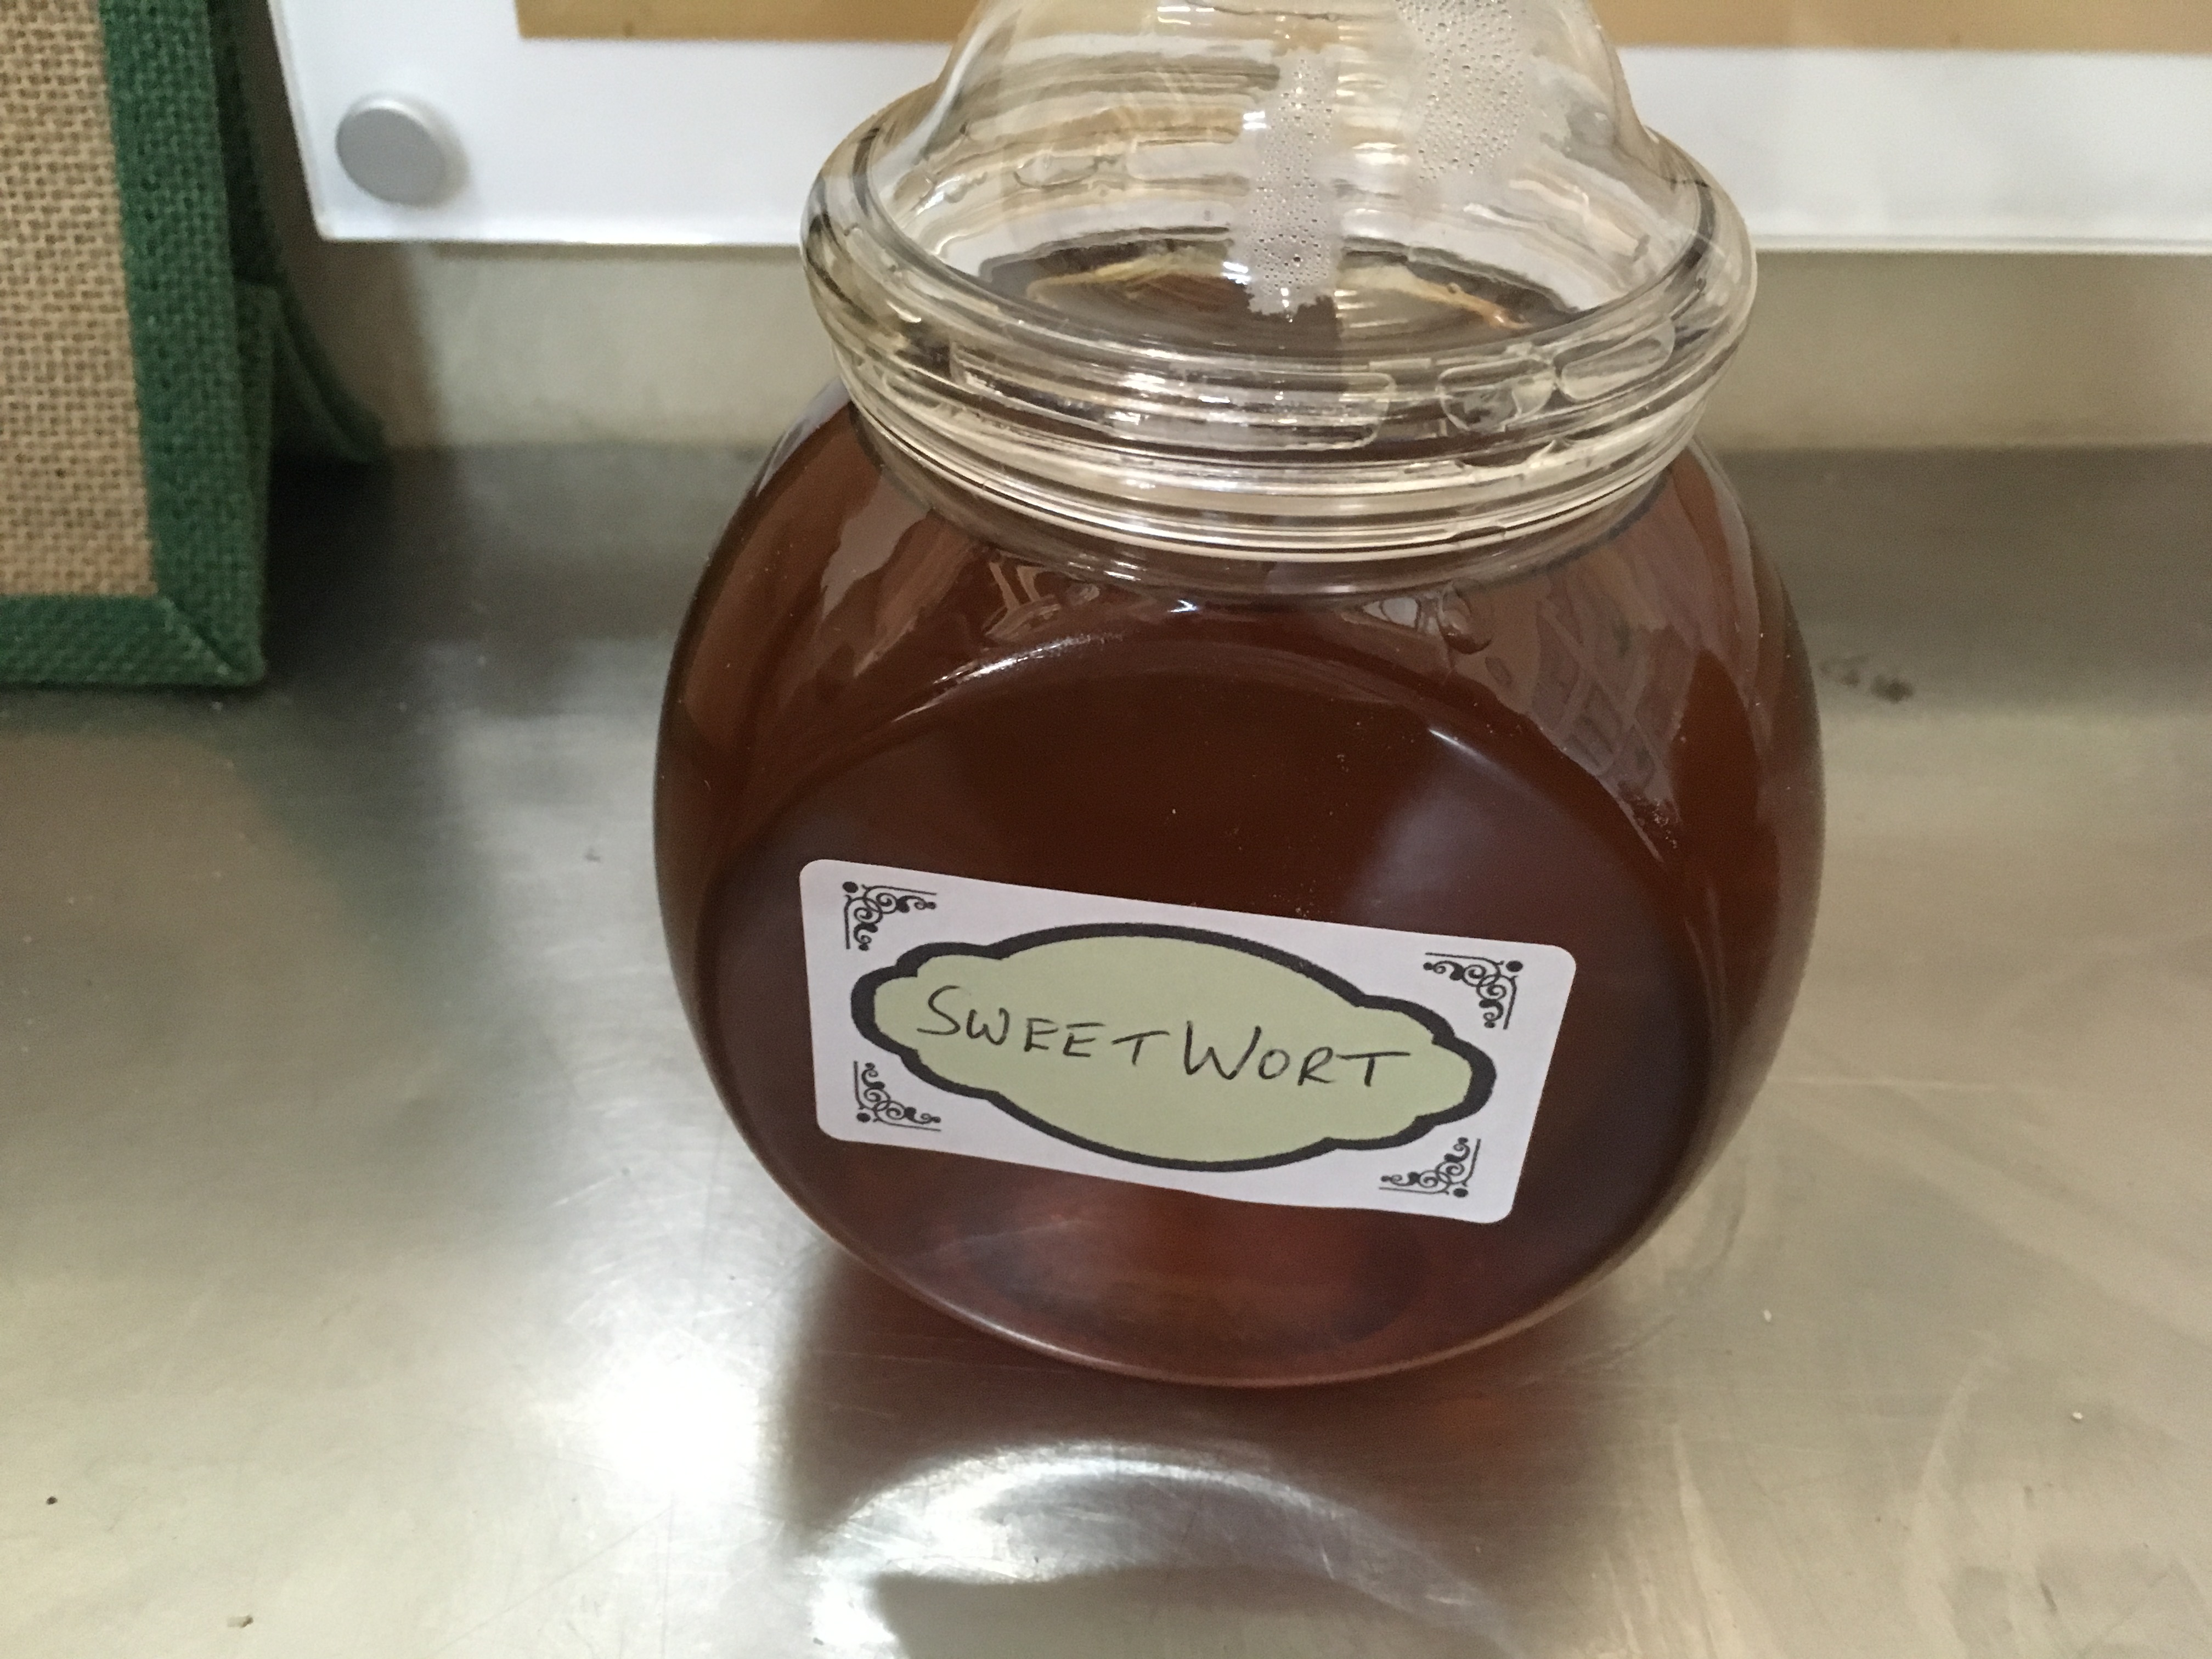
Swishing away the sweetwort
I was allowed a little taste of the sugary liquid – or sweetwort – and couldn’t believe how sweet and delicious it was (when I got home, I looked in a few old books and found that home-made barley water was produced in essentially the same way).
The cooled sweetwort now enters the first round of fermentation: yeast is added so it can get to work anaerobically turning sugar into alcohol. This six-day process produces a barley ale that is a whopping 9.5% alcohol.
Now the alcohol can be converted into vinegar in the second round of fermentation. It was this part of the process that I found to be truly amazing: I assumed that to make a product and attain perfect consistency between batches, Sarson’s would have to seed the ale with a mother (or mother-of-vinegar to give her full title, a of plug acetobacteria) that had been carefully selected over years or even decades, to produce a unique strain (wine and beer makers do this with their yeasts). What Sarson’s actually do is simply add the shavings of the bark from the larch tree, which naturally harbours a community of acetobacteria species. This all happens in wooden tubs called acetifiers and it takes seven days for the larch bacteria to do their magic.
The huge physics-defying oak barrels!
For the last stage, the vinegar is stored in huge 40 000 litre barrels – some 100 years old – to be standardised to the correct strength (5% ethanoic acid).
Standardising the final product
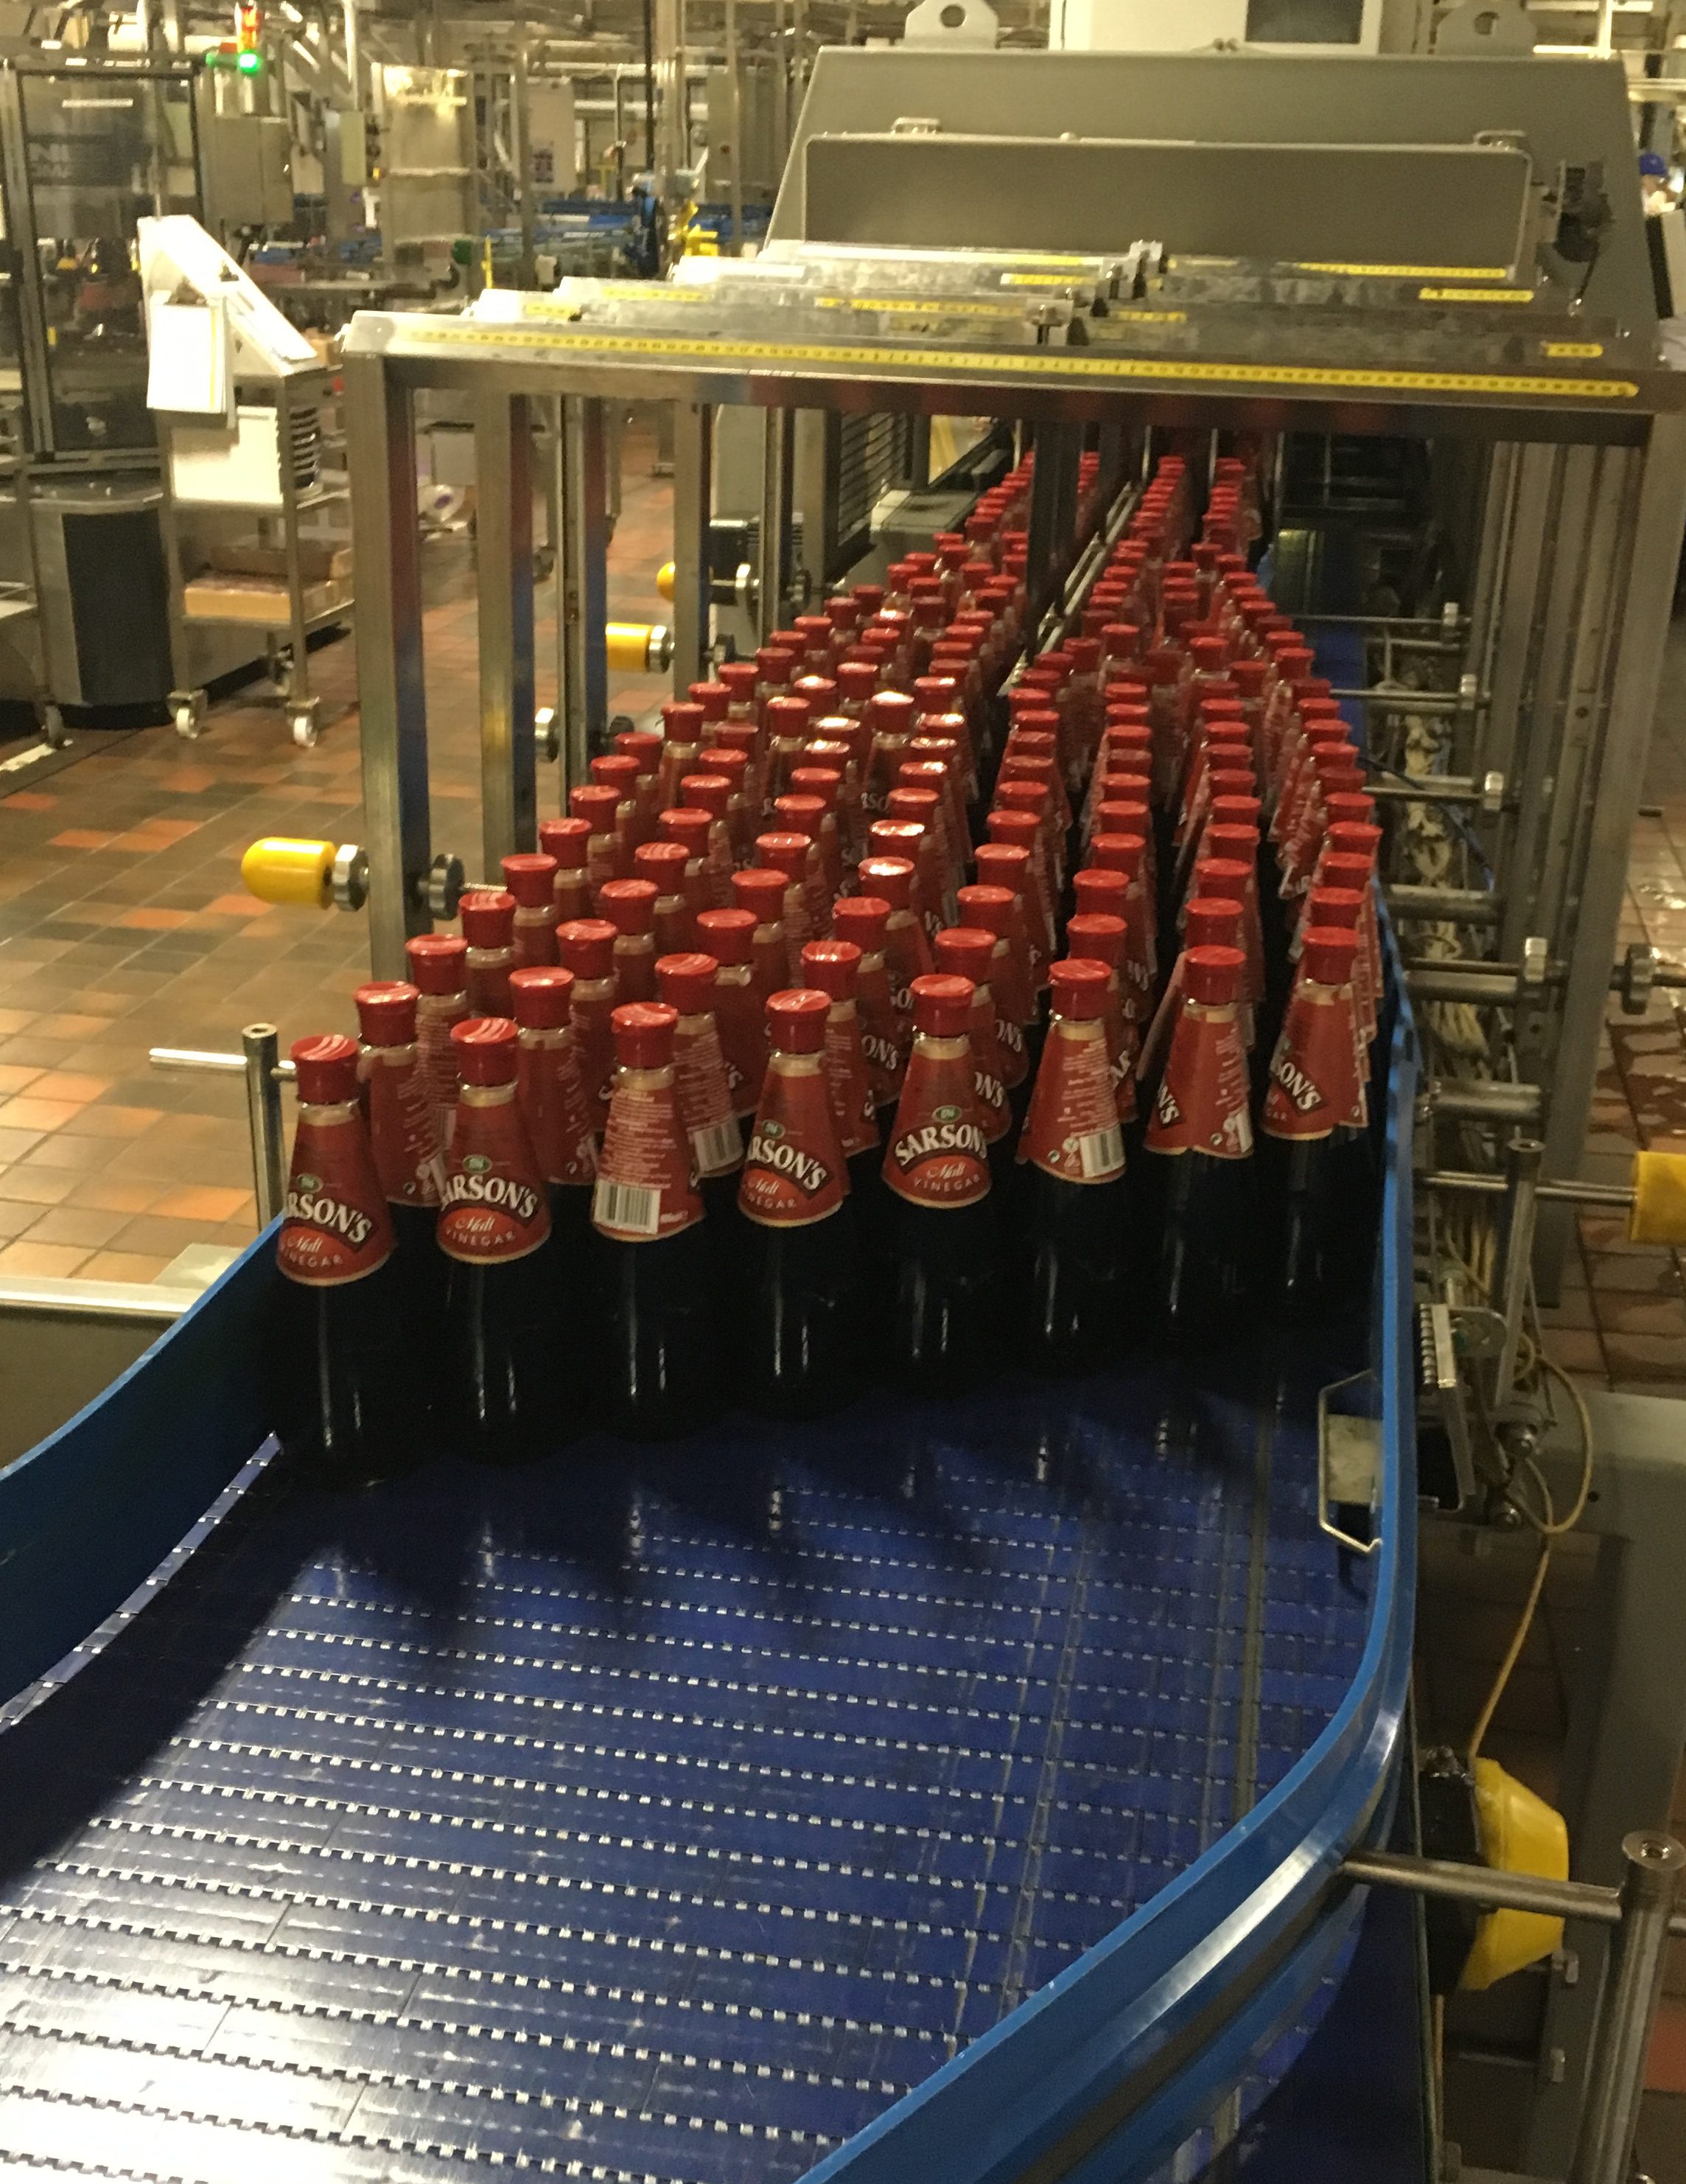
The vinegar is heated up to kill the bacteria and it is piped through to the very noisy and exciting bottling room. I loved watching the bottles rattling around on the conveyor belts. It was as though I had literally stepped through the arch window on Playschool!
Then, to top it all off, they handed me my very own personalised bottle of malt vinegar!
Many thanks to Sarson’s for asking me to come to their place and let me be a nosey parker for an afternoon – I will certainly be paying the malt vinegar I put on my fish and chips in even higher regard from now on!
Next post, I’ll write a little bit about how we use – and used vinegar in the home.
If you like the blogs and podcast I produce, please consider treating me to a virtual coffee or pint, or even a £3 monthly subscription: follow this link for more information.
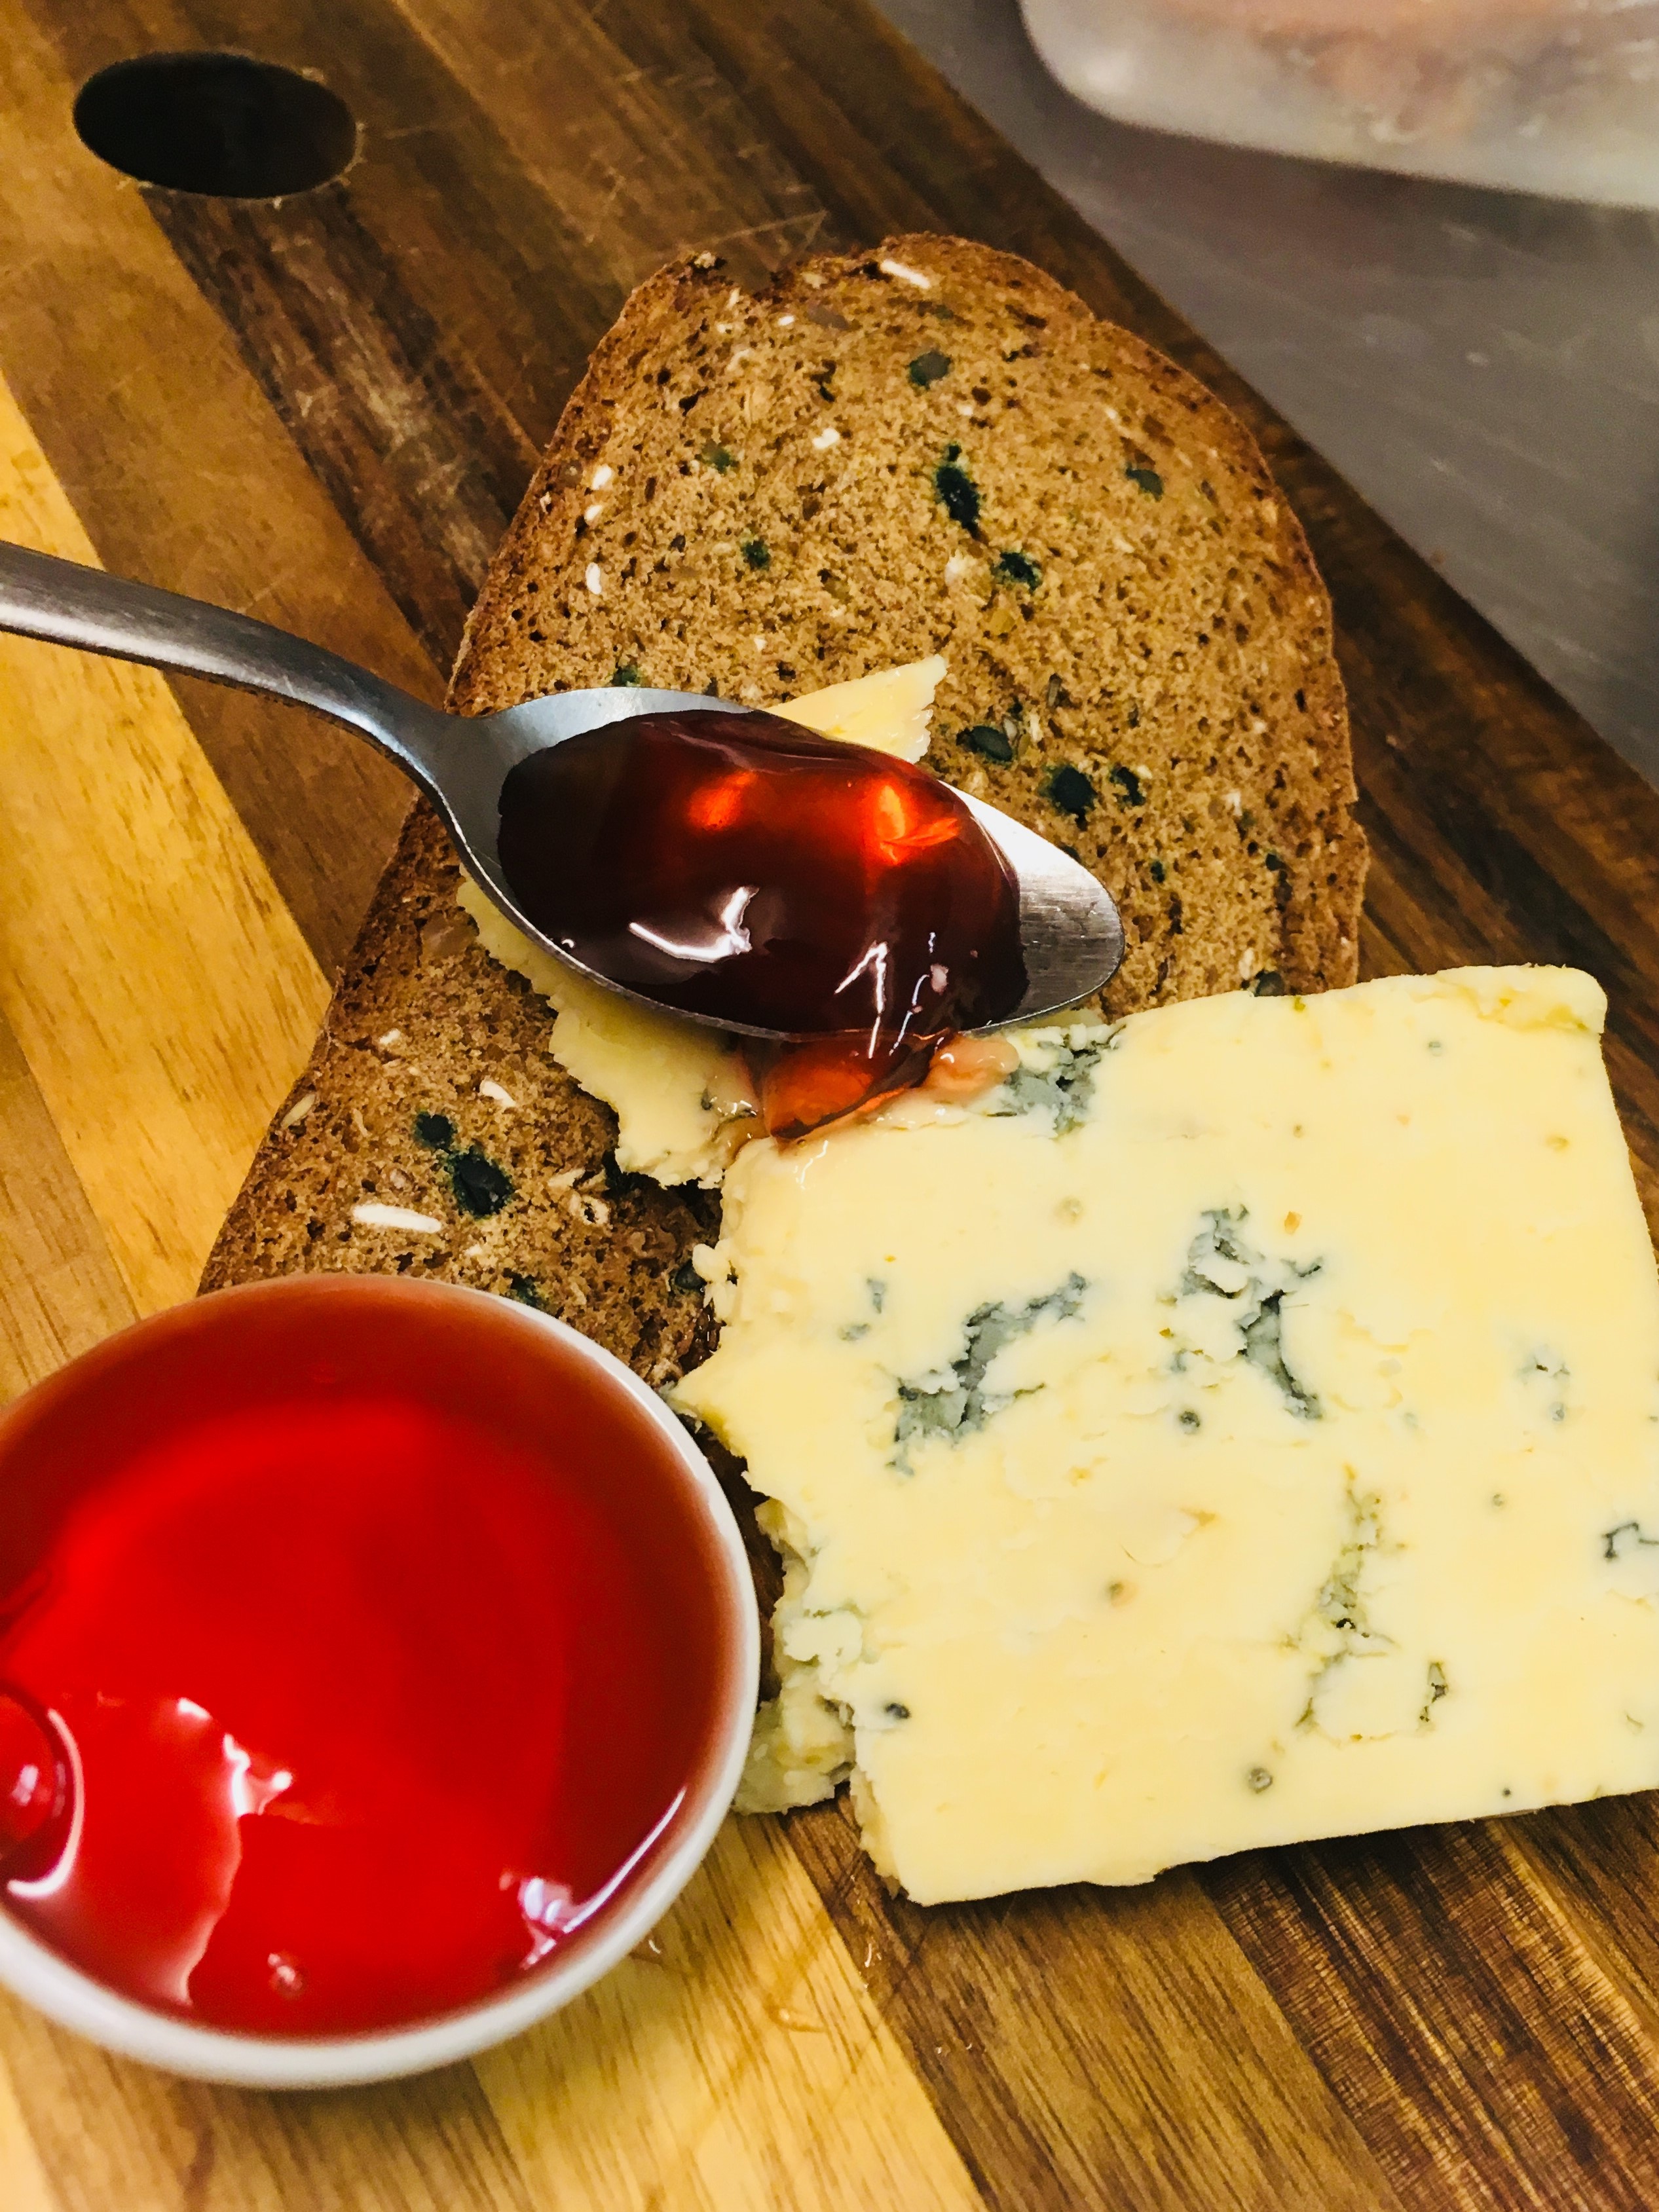
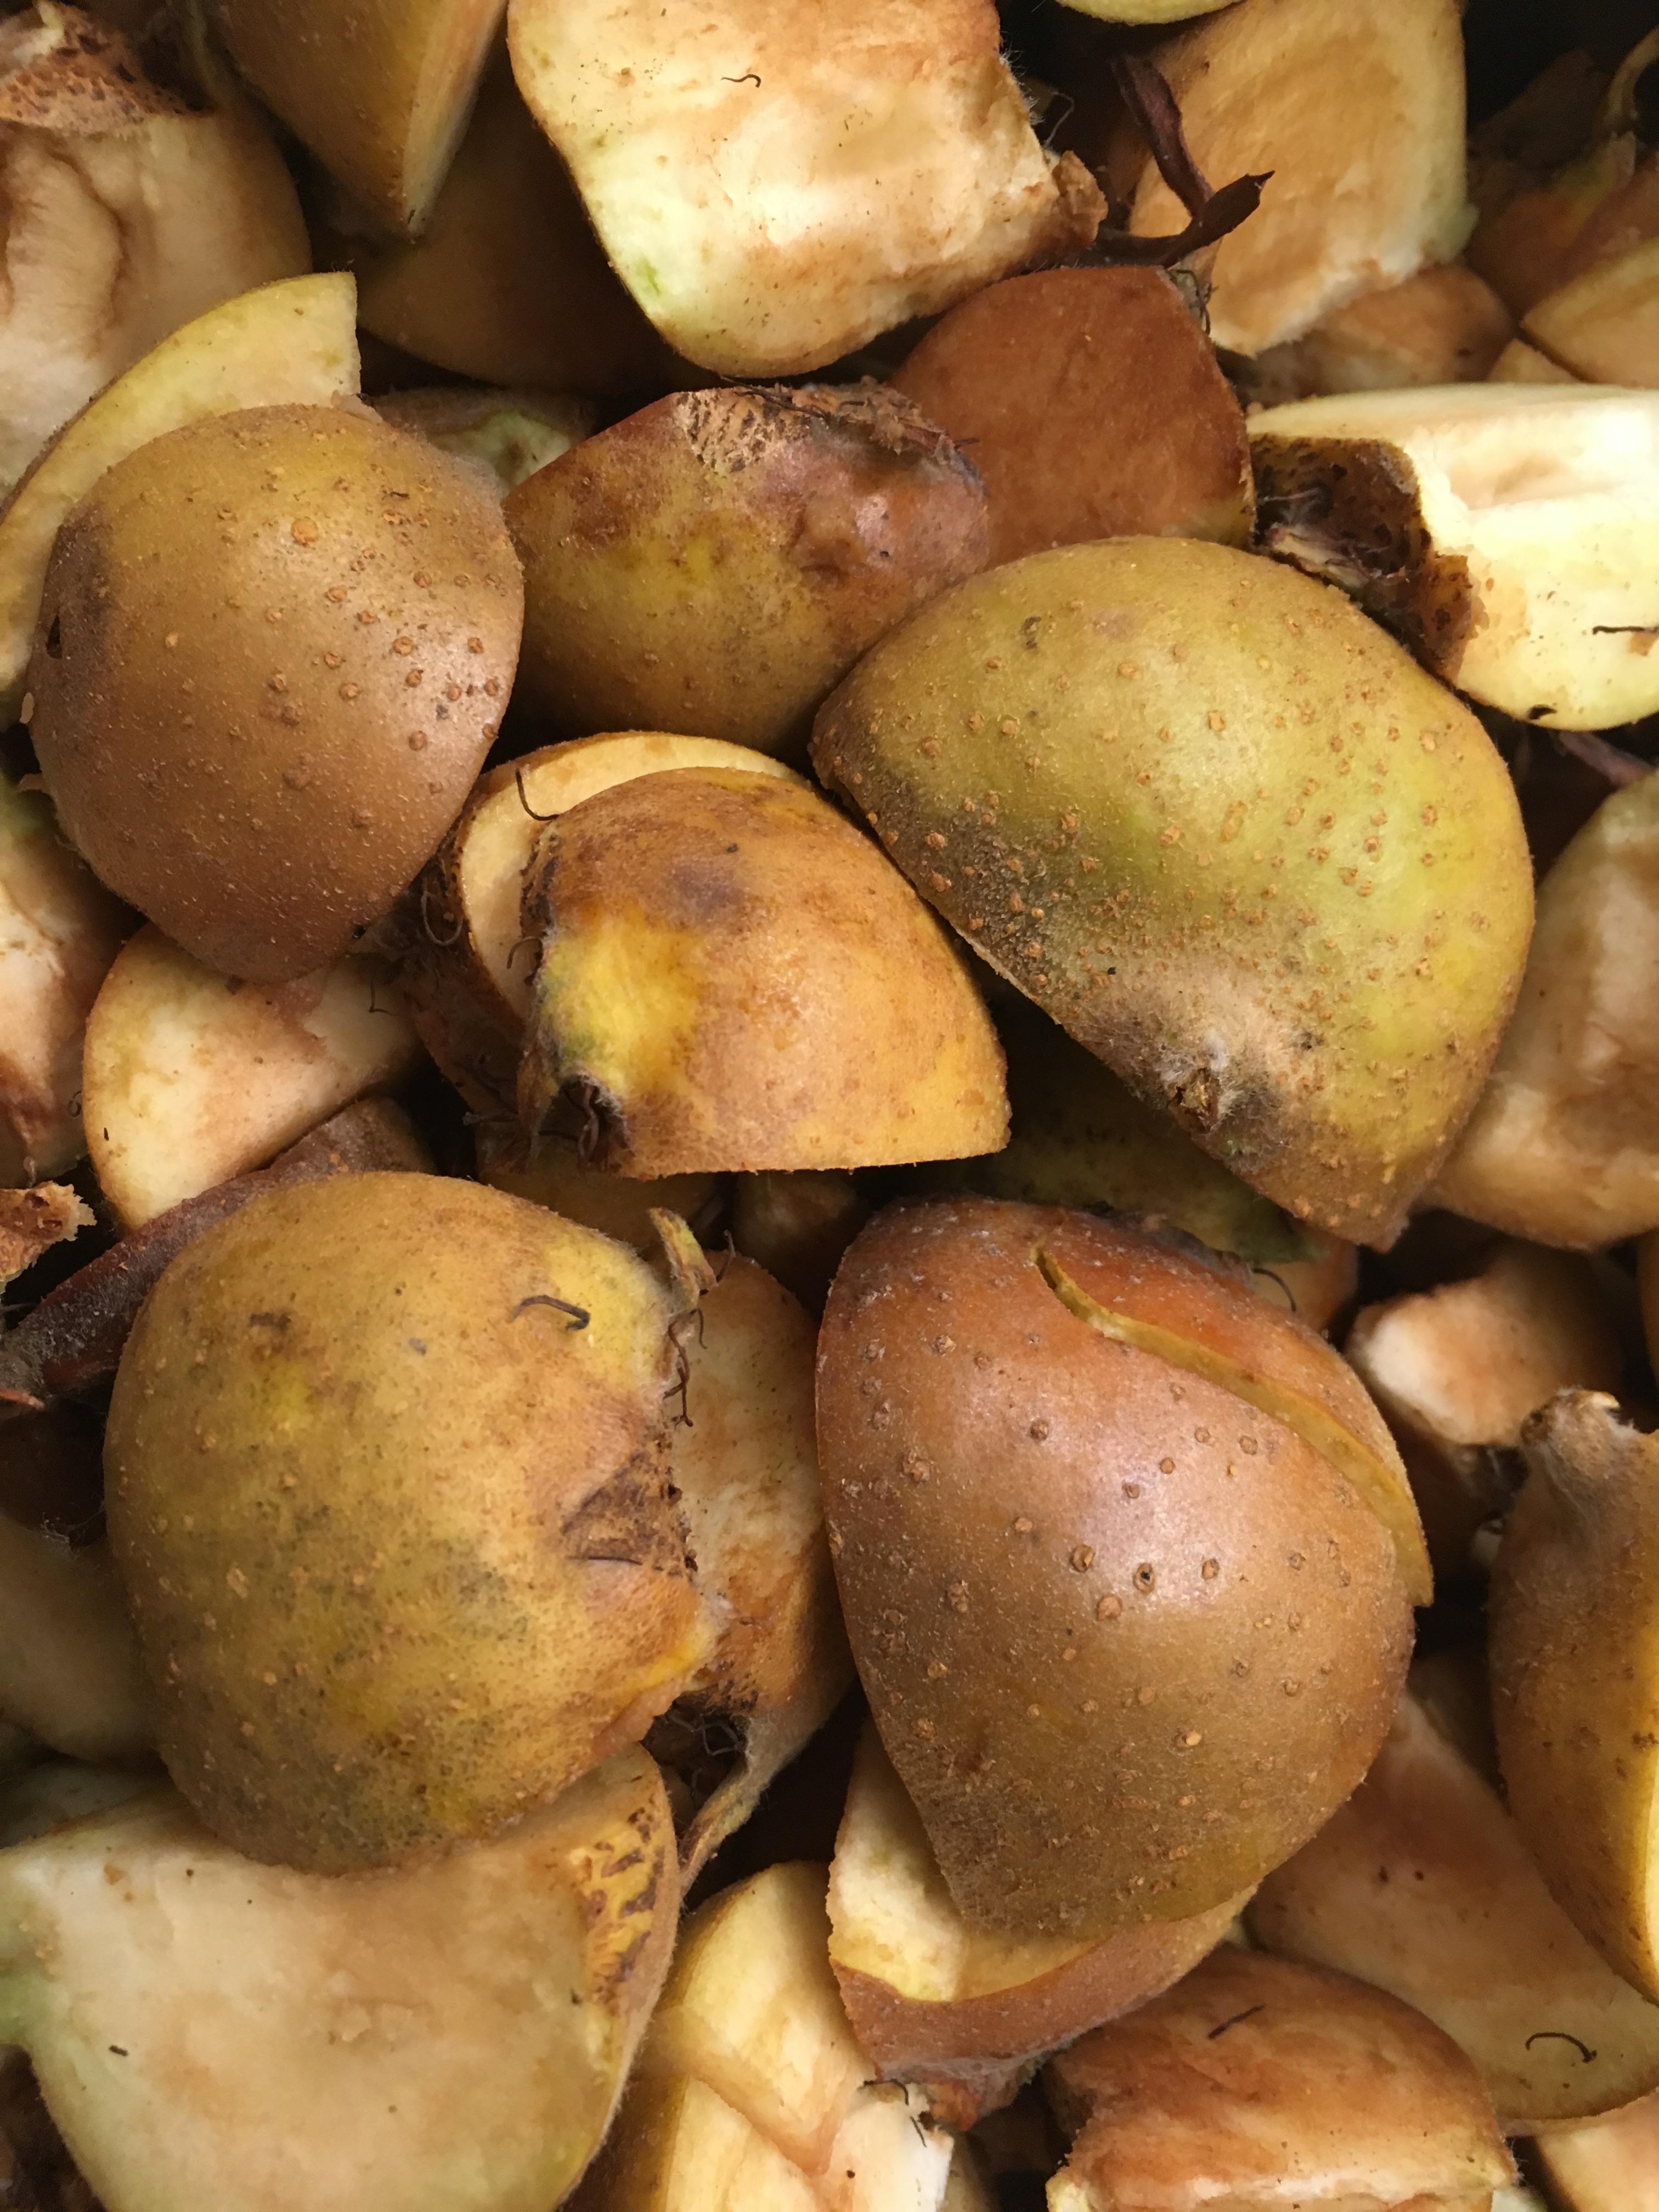
Last post I told you all about the overlooked fruit the medlar (or openarse). It’s a tricky one as it can’t just be picked and eaten like most dessert fruits. The way to get the most of any medlars you do get your hands on is to make a jelly, a beautiful deep vermillion preserve which makes an excellent accompaniment to game, roast or cured meats and cheese.
I thought it would also be a good opportunity to go through the process of making a jelly preserve; something I have been threatening to do for a while. This recipe works well with the close relations of the medlar: the quince and the crab apple.
If you like the blogs and podcast I produce, please consider treating me to a virtual coffee or pint, or even a £3 monthly subscription: follow this link for more information.
Choosing the fruit:
There is a bit of disagreement as to how ripe your medlars should be; some say only unripe medlars should be used, others that ¼ to ½ of them should be bletted (soft and brown). I have only ever used unripe ones – these produce a clear, bright jelly with an astringency comparable to strong tea. Next time, I’ll be patient and wait for a good proportion of them to blet.
Medlars are high in pectin, a chemical glue that sticks plant cells together. As fruit ripens, the pectin is broken down by enzymes making the fruit soft. When making a jelly, one needs to release the pectin by boiling the fruit until pulpy so that it can set the jelly. If using a lot of ripe fruit, I would suggest adding some crab apples or tart eating apples such as Cox’s orange pippins or russets. Alternatively, a proportion of the sugar can be replaced with jam sugar, ensuring a decent set.
Quince and crab apples do not have this problem and you should be okay.
It’s worth mentioning that if you only have a few medlars, quinces or crab apples, you can supplement with some regular apples and the resulting jelly will be still be great. I’ve made quince jelly with 50% apples before and it was delicious!
Ingredients and equipment:
Aside from the fruit, all you need is water, granulated sugar and some optional cider vinegar. I think a little vinegar cuts through the sweetness very well, but you can leave it out if you prefer.
I don’t add herbs and spices to medlar or quince jelly, but crab apple jelly can benefit from some subtle flavouring: things like rosemary and thyme work well as do cinnamon, cloves and black pepper.
Specialist equipment is easy to get hold of and inexpensive: you’ll need a good-sized sheet of muslin or a jelly bag (though a tea towel or pillowcase will also do the job), a sugar thermometer or temperature probe, and some jars with lids.
Method:
Day One
Scrub the fruit(s), chop roughly – there’s no need to peel or core the fruit – and place in a large pot along with any herbs and spices if using. Just cover the fruit with water and bring to a good simmer and add some cider vinegar, around 50 ml per litre of water.
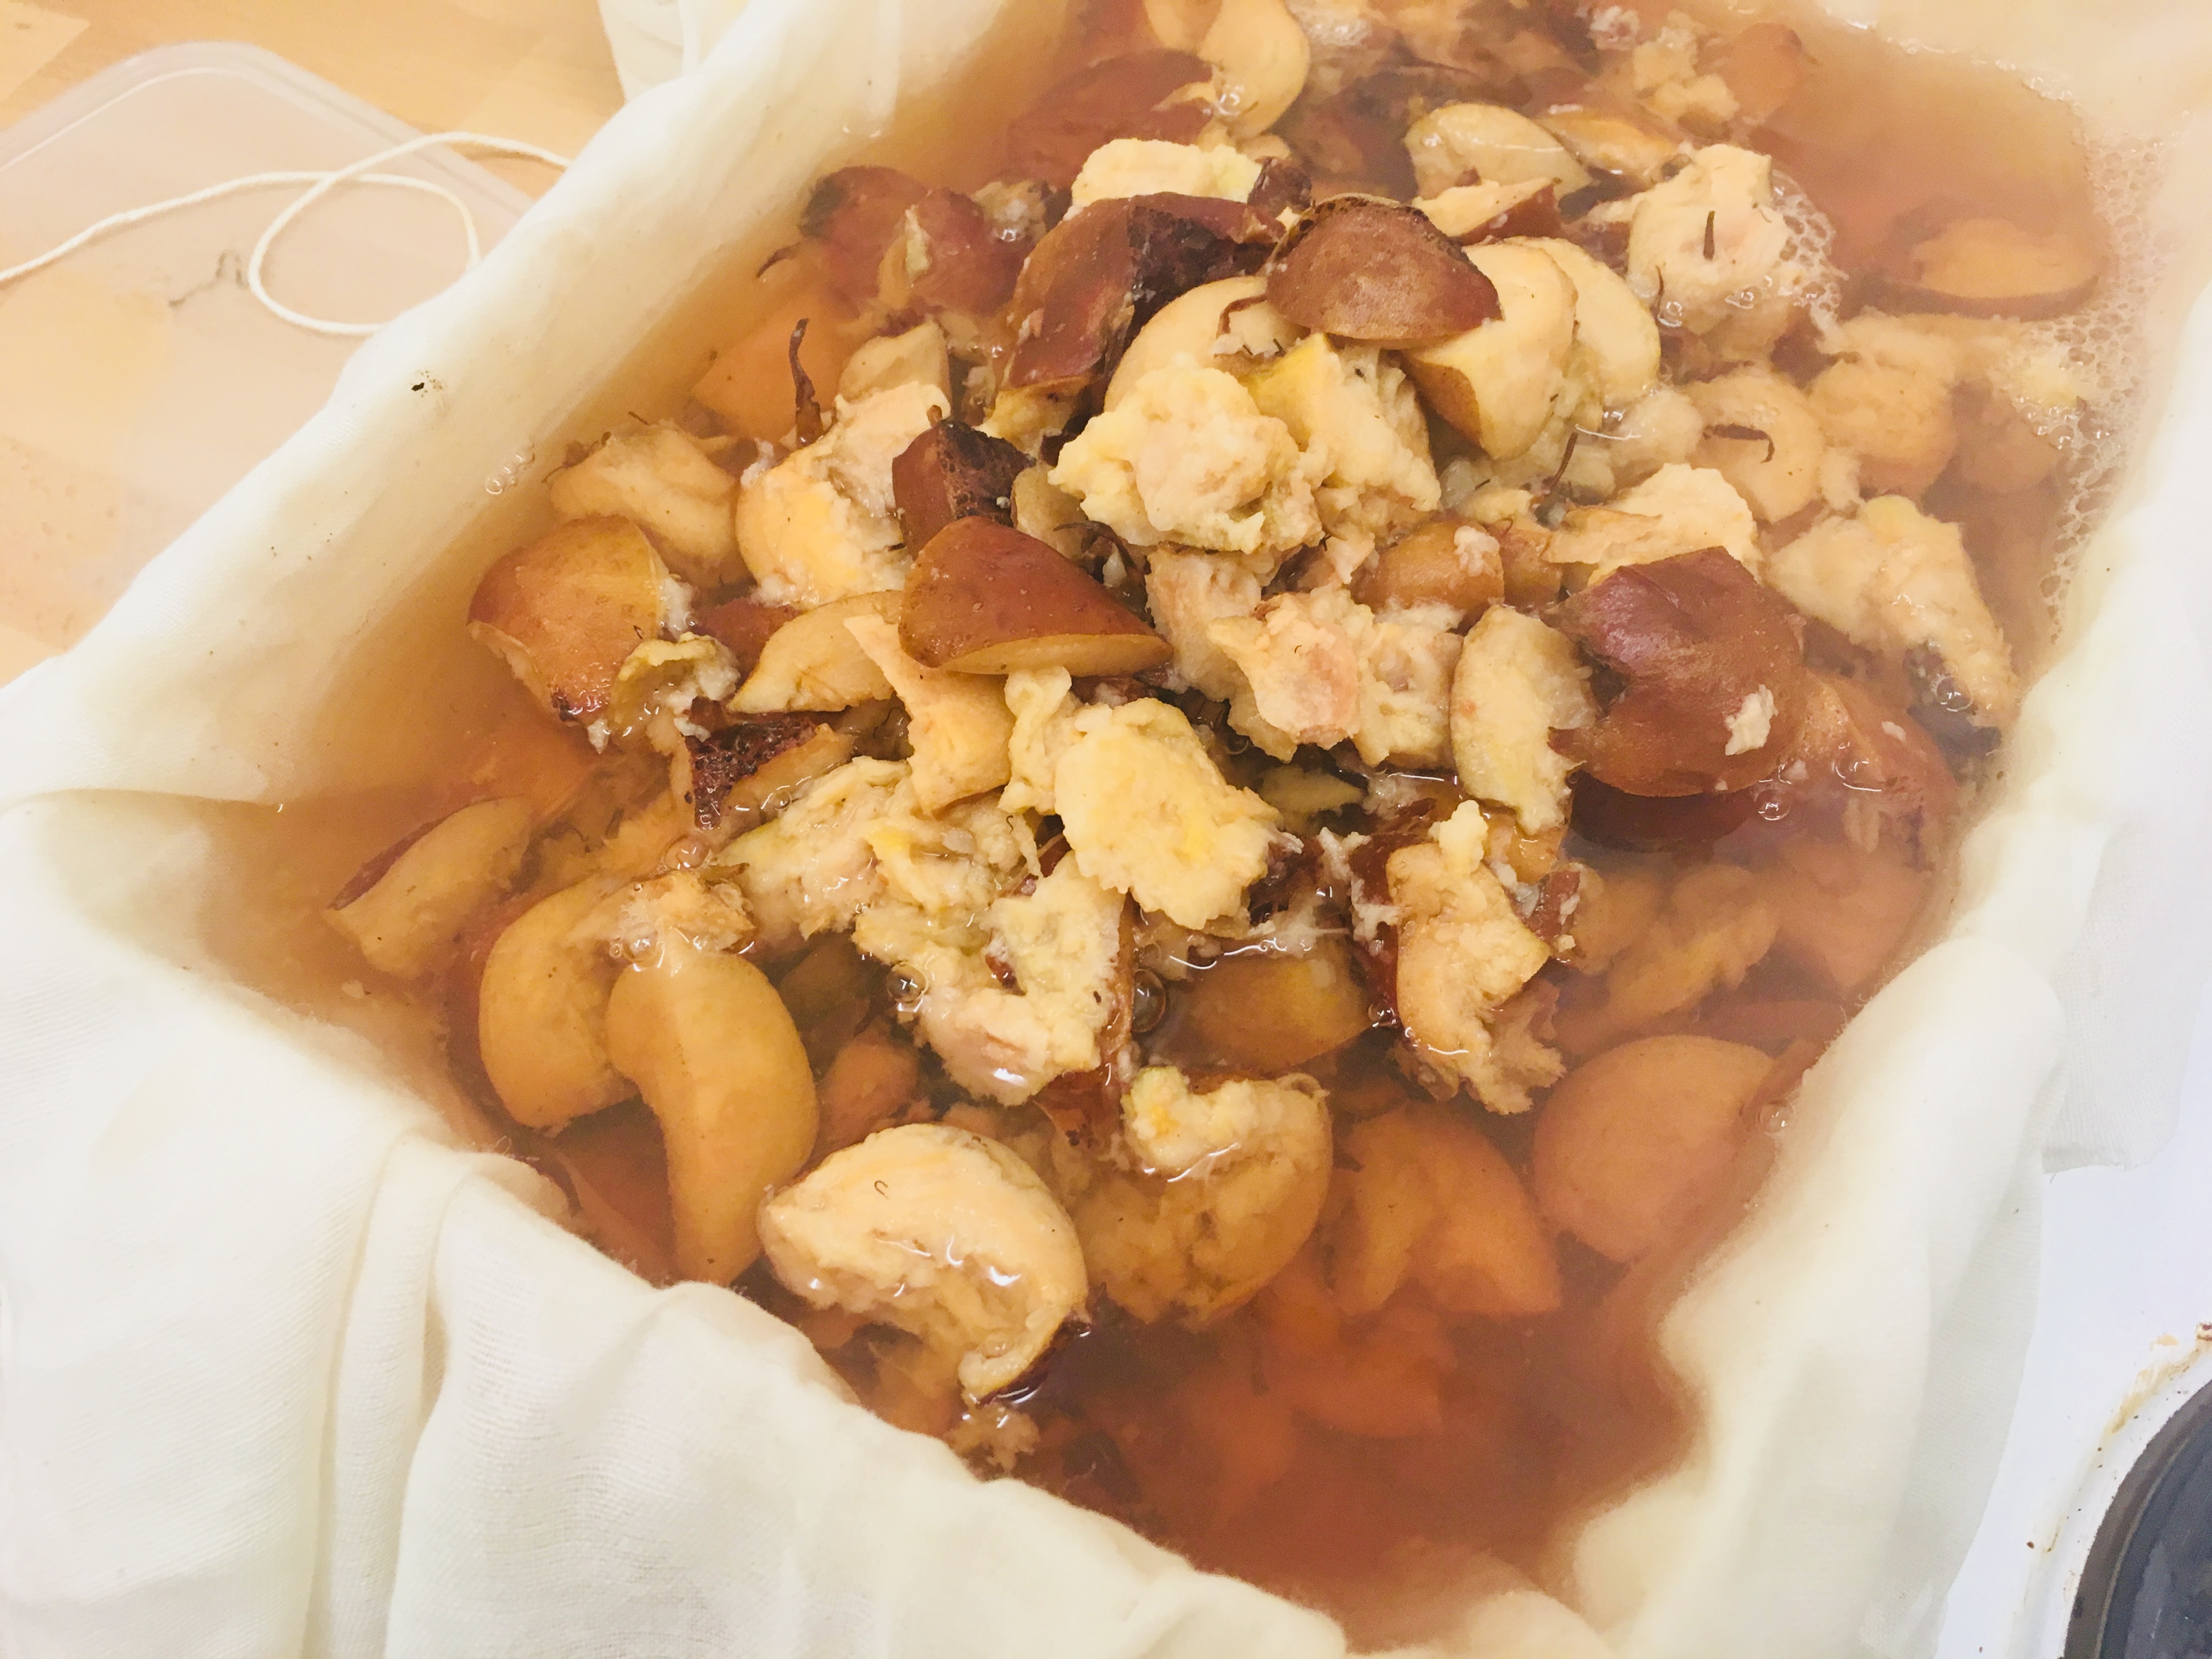
Turn on the heat, cover and simmer until very soft. Very hard fruit can take an hour, though I do give things a helping hand by squishing the fruit against the side of the pan with a wooden spoon.
When the fruit is ready, scald your muslin or jelly bag iwith hot water. If using a jelly bag, place it on its stand with a bowl beneath it, if using muslin, use it to line a bowl. Carefully, ladle the fruit and cooking liquor into the bag/lined bowl – be careful.
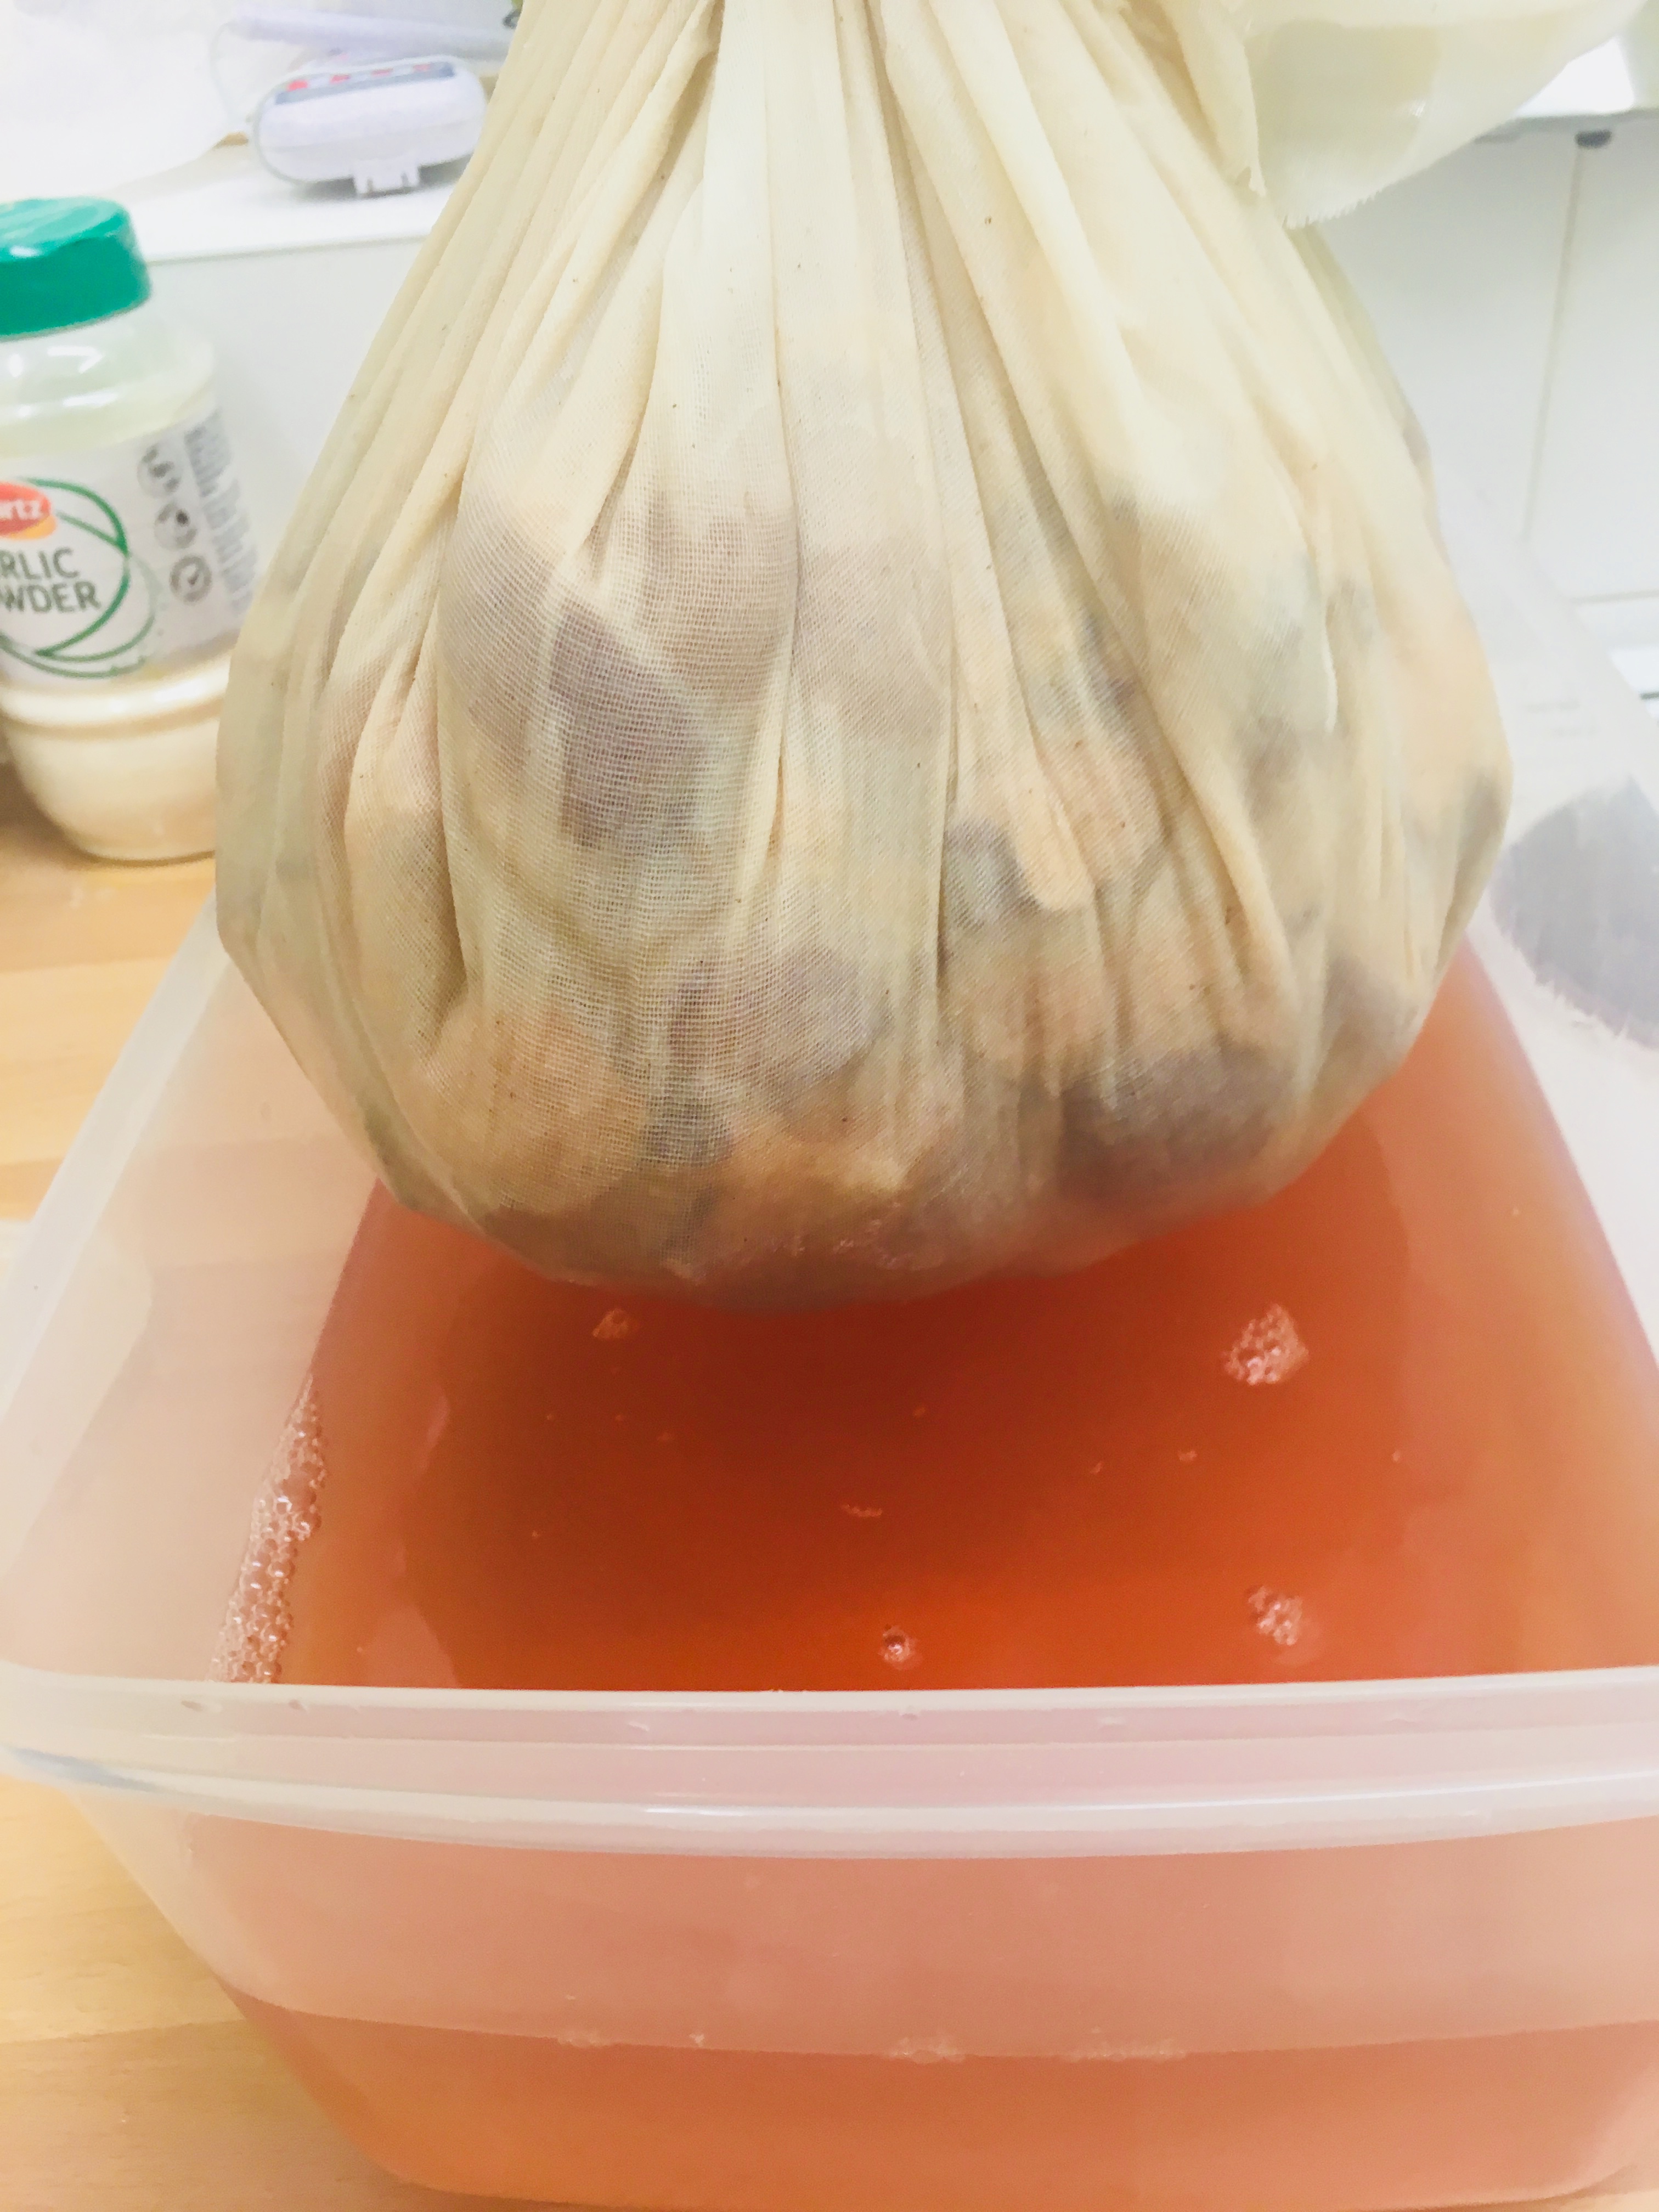
The jelly bag can be left to do its thing, but if just using muslin, a little extra work is required: collect up the edges and tie them well with string. You now need to hang this hot haversack of pulp over the bowl to drip overnight. I hook it over a cupboard handle and then in the fridge to keep the fruit flies off. However you do it, make sure things are securely tied – those bags can be pretty weighty.
Day Two
By now, the liquor should have stopped dripping, but give it a squeeze just to see if you can get any more out. Don’t worry of the juice has gone cloudy, this is common with medlars.
Measure the volume of juice and pour into a heavy based stockpot. To this, add your granulated sugar in the ratio of 500g sugar for every 600ml of juice. Turn the heat on and stir until the sugar has fully dissolved. At this point, clip on your sugar thermometer, if using. Turn up the heat so that the syrupy mixture can boil hard. As you wait for this to happen, pop a saucer into your freezer. Skim away any scum that is thrown up.
Let the syrup boil for at least twenty minutes and check the temperature – pectin sets at 105°C. Sometimes jellies don’t always set, so it’s best to double-check with the wrinkle test. Remember that sauce in the fridge? Take it out and drop some of the jelly onto it. Let it cool for a couple of minutes. If it wrinkles when you push it with your finger, all is well and the jelly is ready to be potted into sterilised jars.
(Sterilising jars is easy: place on a baking tray and pop into an oven preheated to 125°C for at least 25 minutes. I usually put mine in as the jelly is coming to a boil. Any rubber seals can be scalded in boiling water closer to the time.)
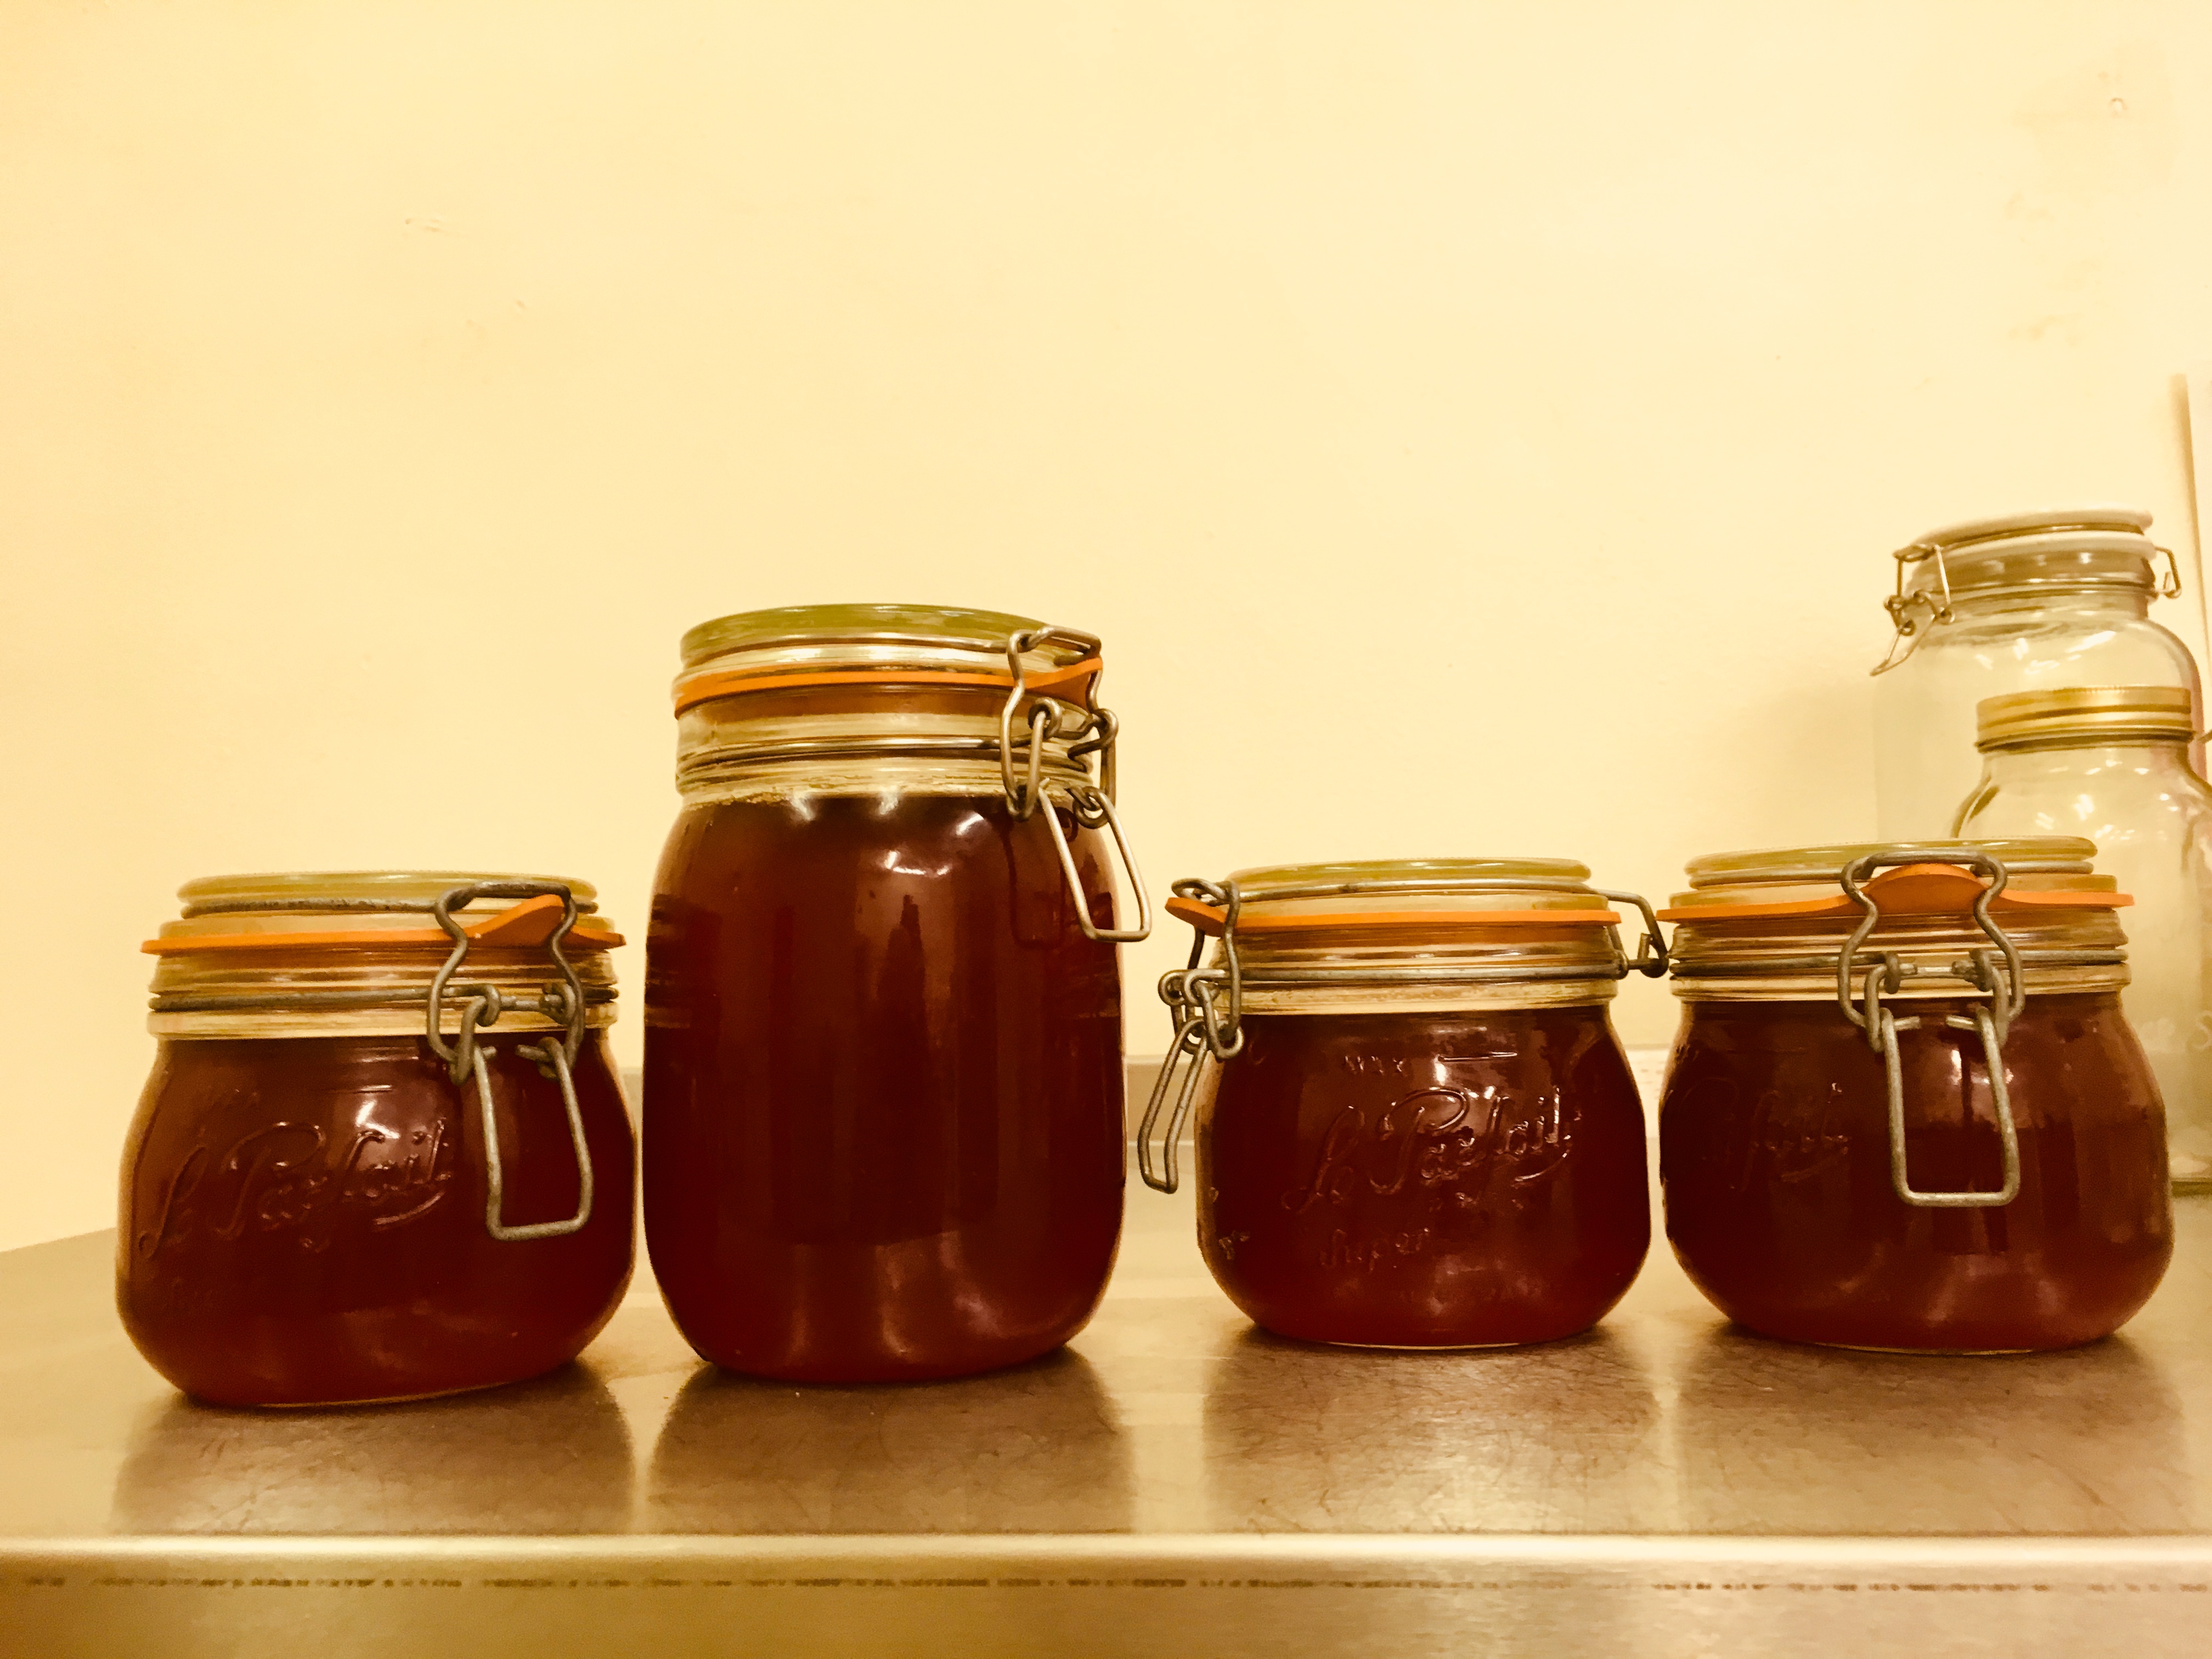
Use a jug to pour the jelly into jars, don’t overfill here, a gap of one centimetre below the rim is good. Some jars have a helpful maximum fill line on them. Seal with the lids as soon as you can. Be very careful here!
The next day, the jelly should be set, but sometimes it takes a few days, especially if vinegar was used.
The jelly will keep for 6 months unopened, once open keep in the fridge.