Happy 4th of July to my listeners in the USA…and all of those around the world who also celebrate the day!
It’s a big one because the US is celebrating 250 years of independence this year. And to mark this special day, I have a special guest, Professor Nancy Siegel, and we are going to talk about the roles food and drink – especially tea and cake – played.
Nancy Siegal is Professor of Art History and Culinary History at Towson University, Maryland. She specialises in American landscape studies, underrepresented women artists of the 19th century, print culture, and culinary history of the 18th and 19th centuries. Lucky for me, Nancy was in London, visiting the British Library at the same time I was in London, so we got to record this conversation in person in the breakfast room of Nancy’s hotel, the Harlingford Hotel – a big thank you to them.
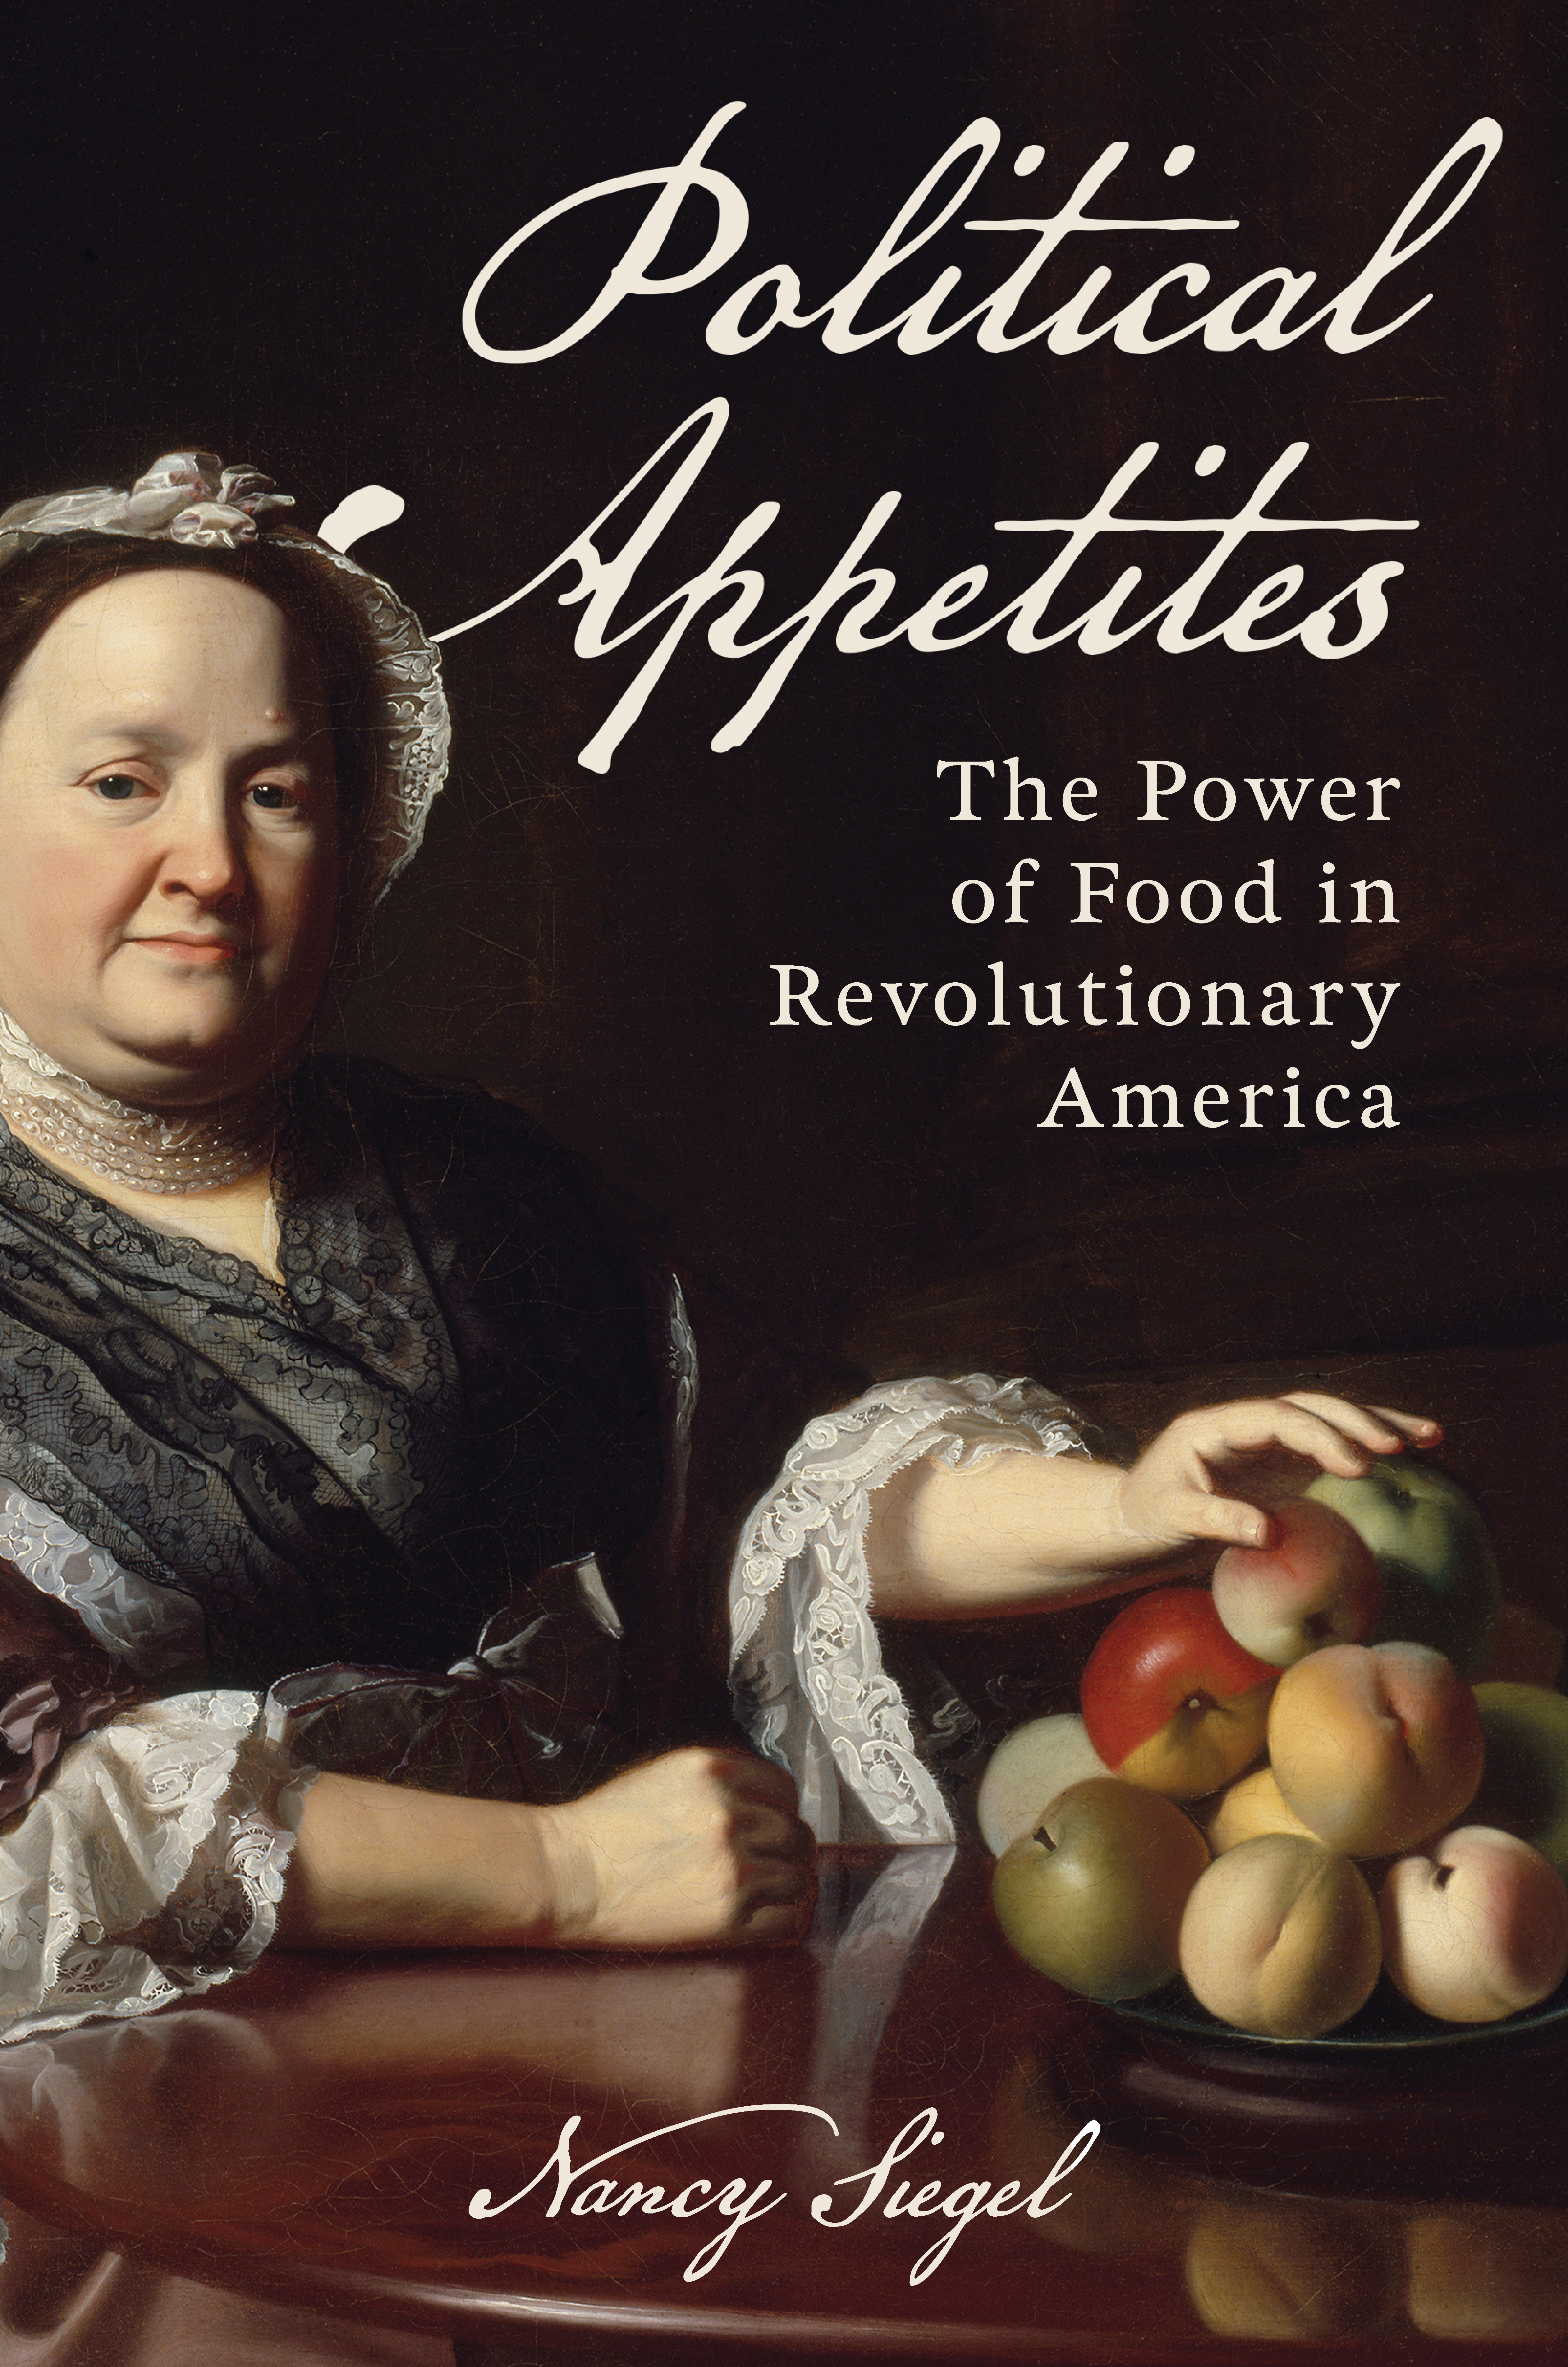
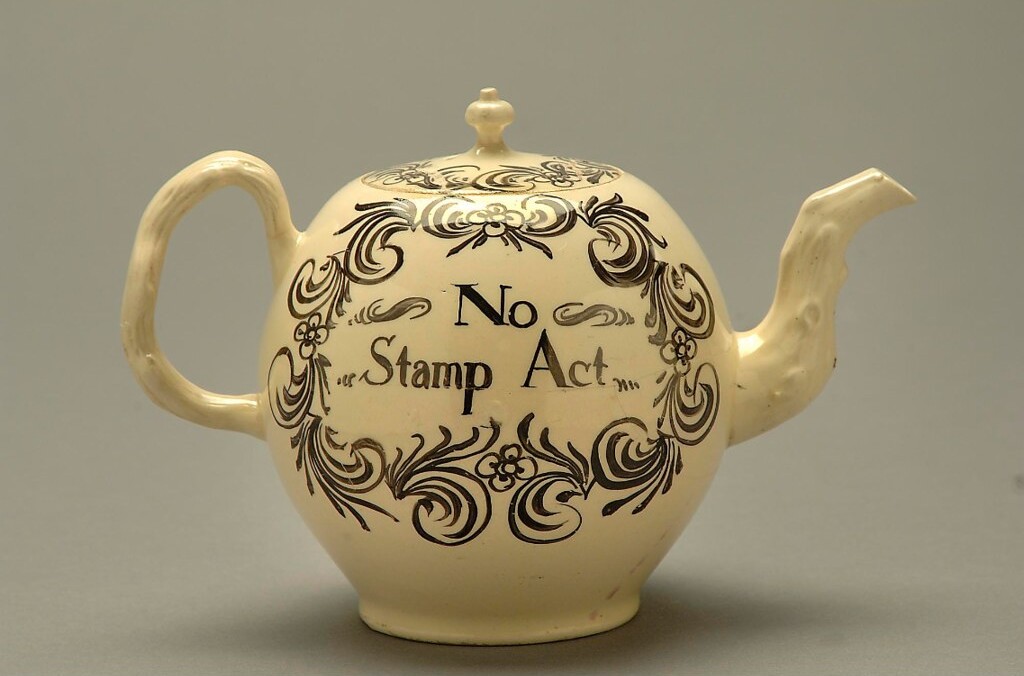
Nancy has an excellent book that isn’t out until the autumn, but I was lucky enough to get a sneak peek at it, called Political Appetites: The Power of Food in Revolutionary America, published by Johns Hopkins University Press. In that book, Nancy documents the roles food and drinks, especially tea (and its trappings) played in the colonists of North America wanting to sever their ties with Britain, and how food was used to help distance themselves culturally from the British – at first the colonists very much identified as British.
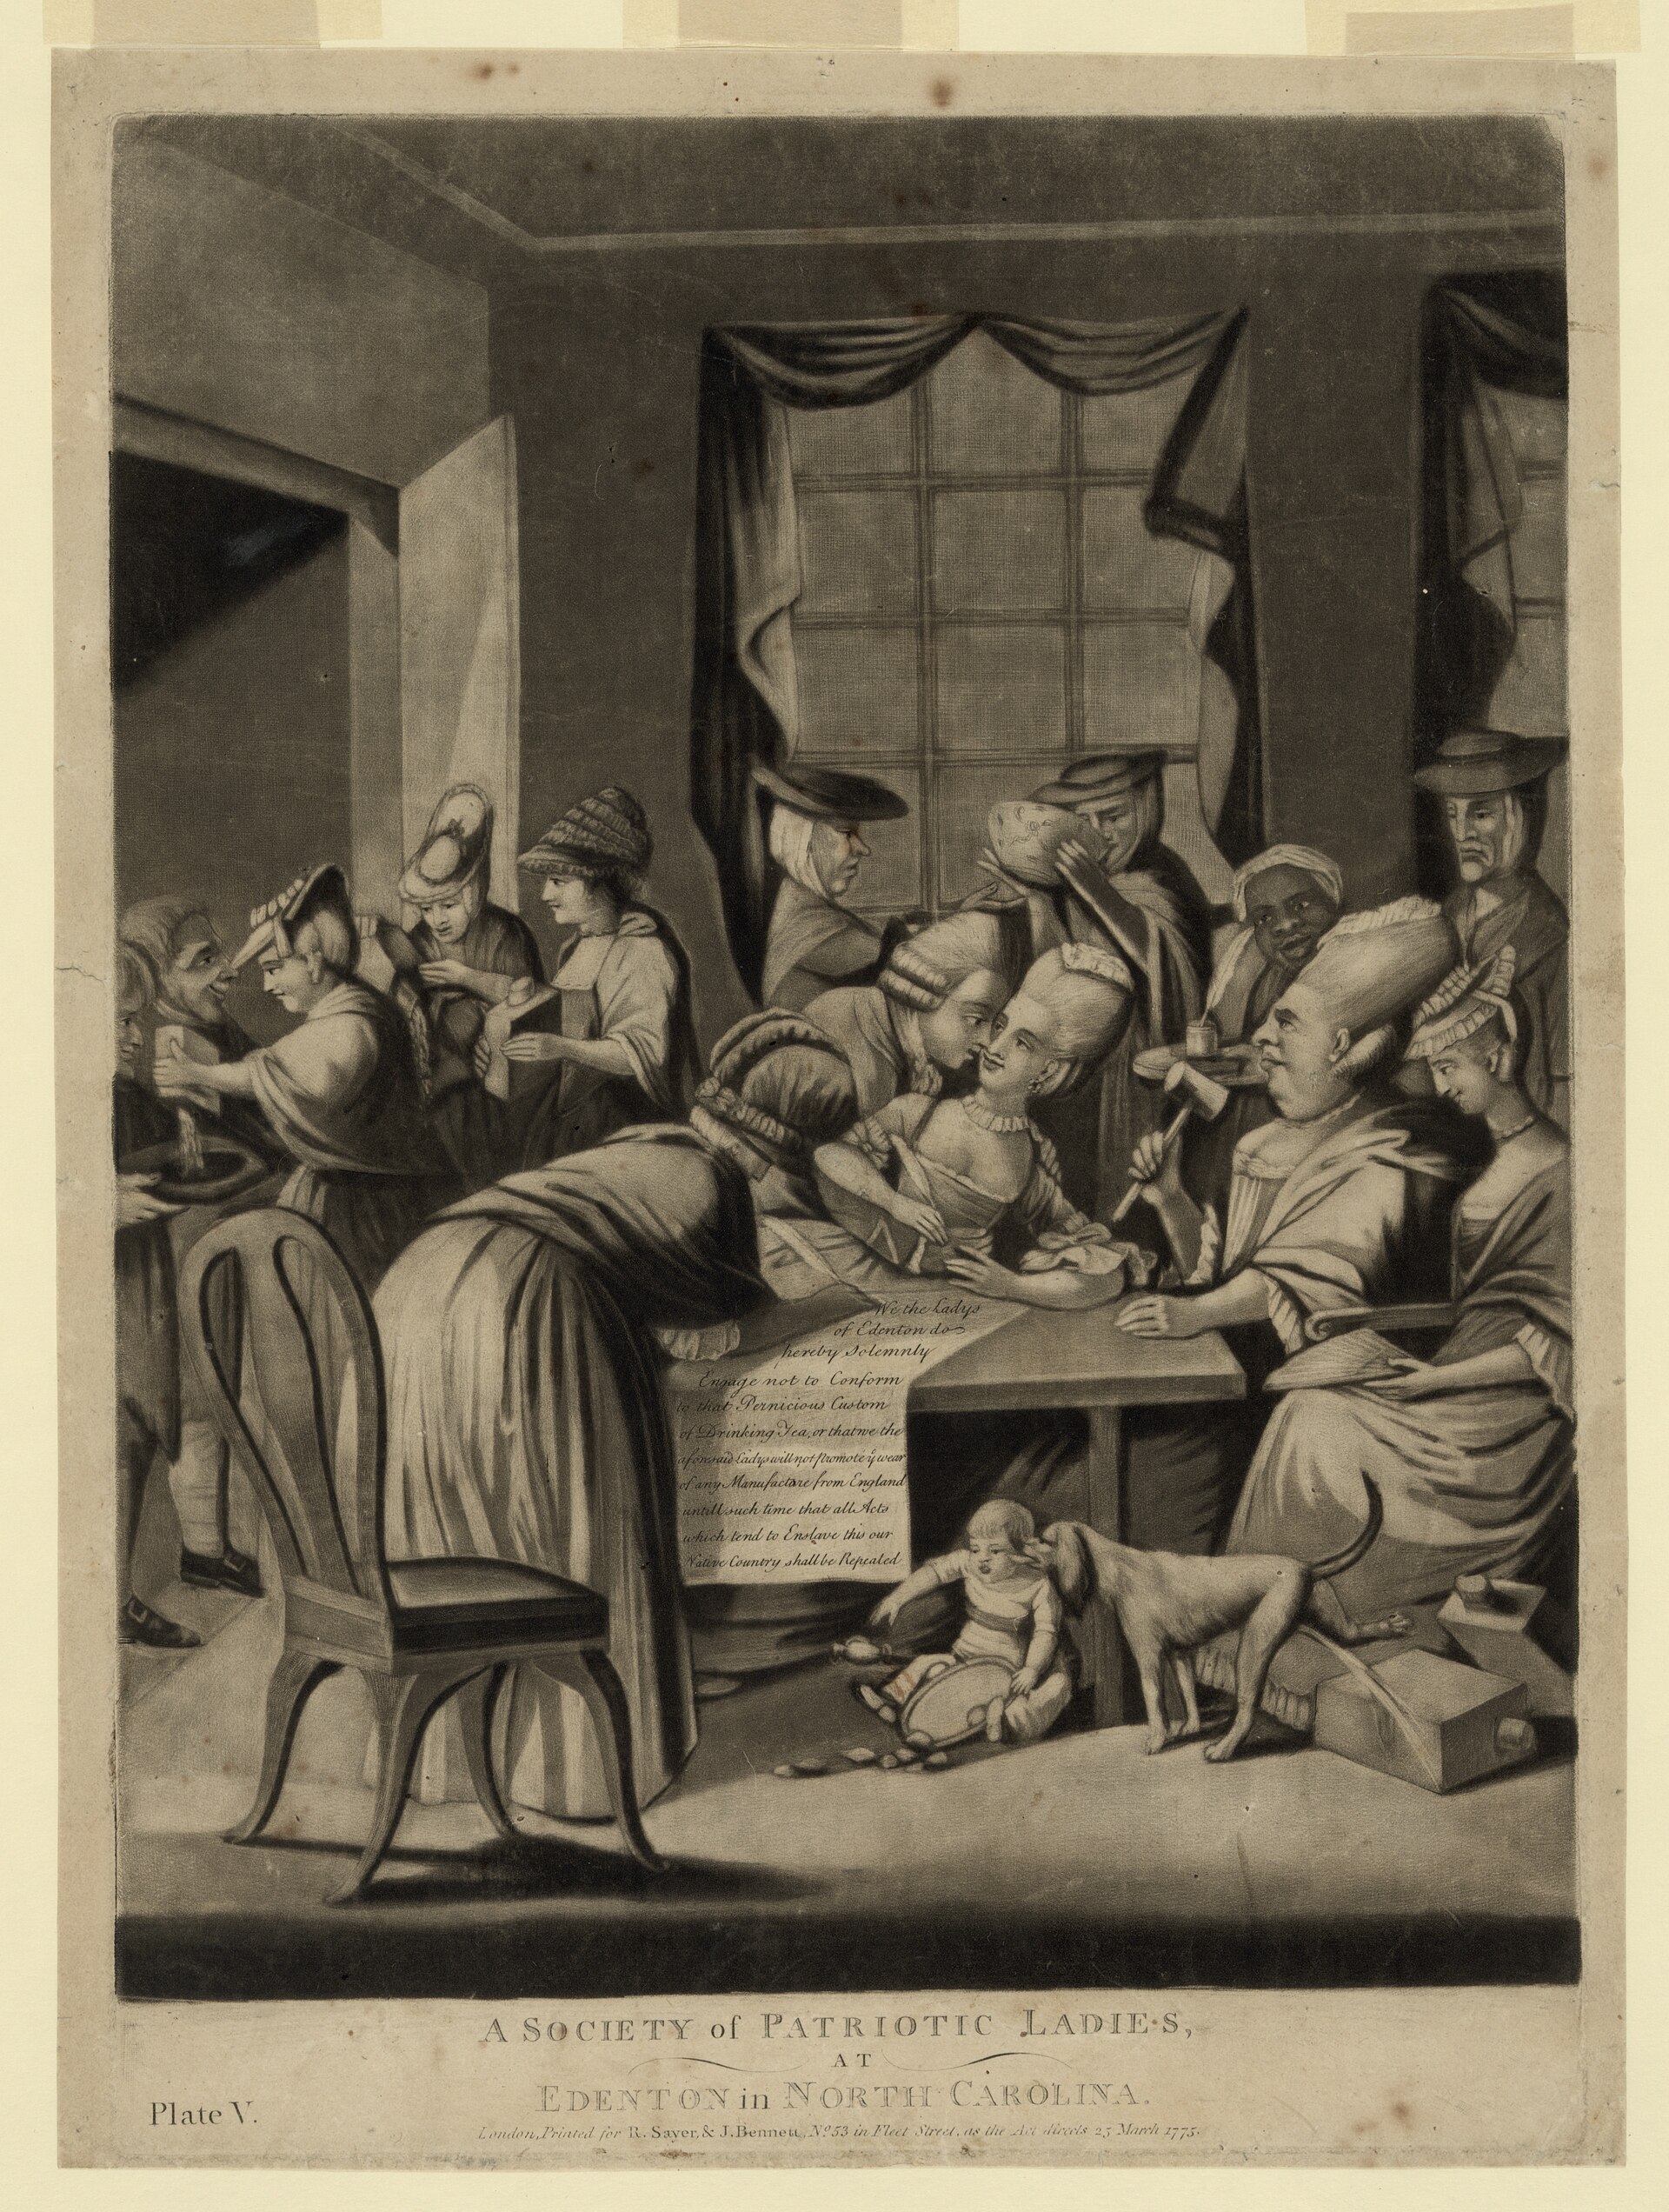
We talk about the tax on tea and the Boston Tea Party, tea alternatives, culinary activists such as the women of Edenton, giant independence cakes, Amelia Simmons, and how the people of the new USA used food and drink to culturally distance themselves from the British – amongst many other things.
Those listening to the secret podcast get LOADS of bonus material where we discuss George III’s botanist, pride in abundance, the value of hunting out original documents, baking fails, the all-American apple pie, and the function of satire – plus more.
The British Food History Podcast is available to download on all podcast apps. Alternatively, you can stream the episode via this Spotify embed:
Nancy’s page on the Towson University website
Political Appetites: The Power of Food in Revolutionary America
Season 10 of the podcast is sponsored by Netherton Foundry, makers of high-quality kitchen and outdoor cookware. Netherton Foundry ships to several countries outside of the UK, including the USA and Canada. Visit www.netherton-foundry.co.uk to find out more about their wonderful products – approved not just by me but by folk such as Tom Parker-Bowles, Diana Henry and Nigella Lawson.
The mixing and sound engineering were done by Thomas Ntinas of The Delicious Legacy podcast
If you can, support the podcast and blogs by becoming a £3 monthly subscriber, and unlock lots of premium content, including bonus blog posts and recipes, access to the easter eggs and the secret podcast, or treat me to a one-off virtual pint or coffee: click here.
Things mentioned in today’s episode
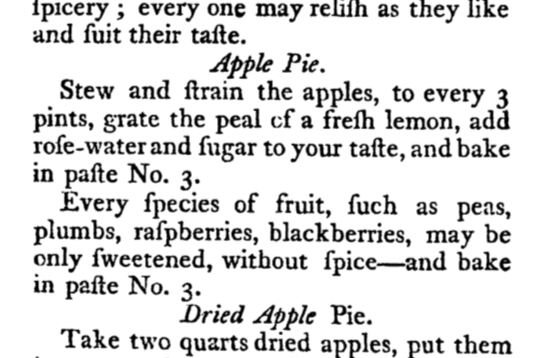
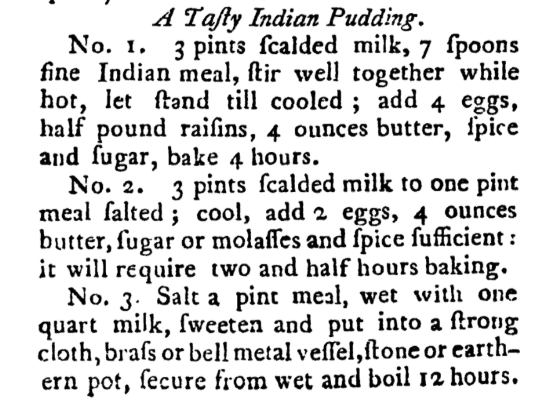
American Cookery by Amelia Simmons (1796)
The Hasty Pudding by Joel Barloe (1793)
Serve it Forth Food History Festival EARLY BIRD TICKETS AVAILABLE NOW!
Previous pertinent podcast episodes
Feeding the Georgian Kings with Adam Crymble and Rachel Rich
Worcester Porcelain with Paul Crane
Don’t forget, there will be postbag episodes in the future, so if you have any questions or queries about today’s episode, or indeed any episode, or have a question about the history of British food please email me at neil@britishfoodhistory.com, or leave a comment.