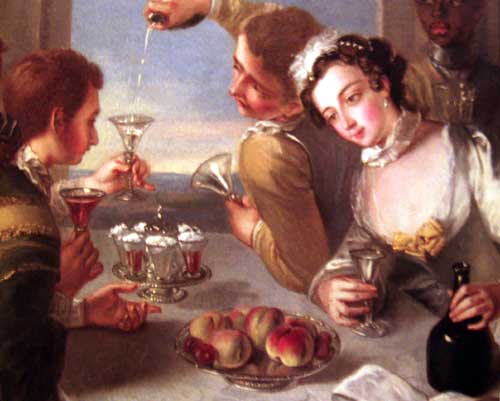
Today I am talking with returning guest Peter Ross who was, until recently, the Principal Librarian at the City of London’s Guildhall Library. His fantastic book called Insatiable Appetites, Eating Out in Georgian London, published by the Bodleian Library, was published last month, May 2026. Today we are talking about the collections in the Guildhall Library, which is a staggering 600 years old.
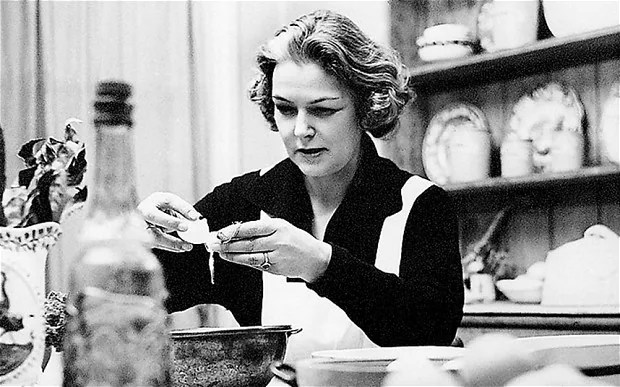
We talk about the history of the library and how it got some of its collections such as the Elizabeth David collection, but also some of the lesser known ones such as the Robert Miller collection, the splendiferous feast put on for James I by the Merchant Tailors, the importance of the author’s voice when it comes to writing popular cookery books, Hannah Glasse’s sauerkraut, and Elizabeth David’s Fanny Cradock avoidance techniques, amongst many other things.
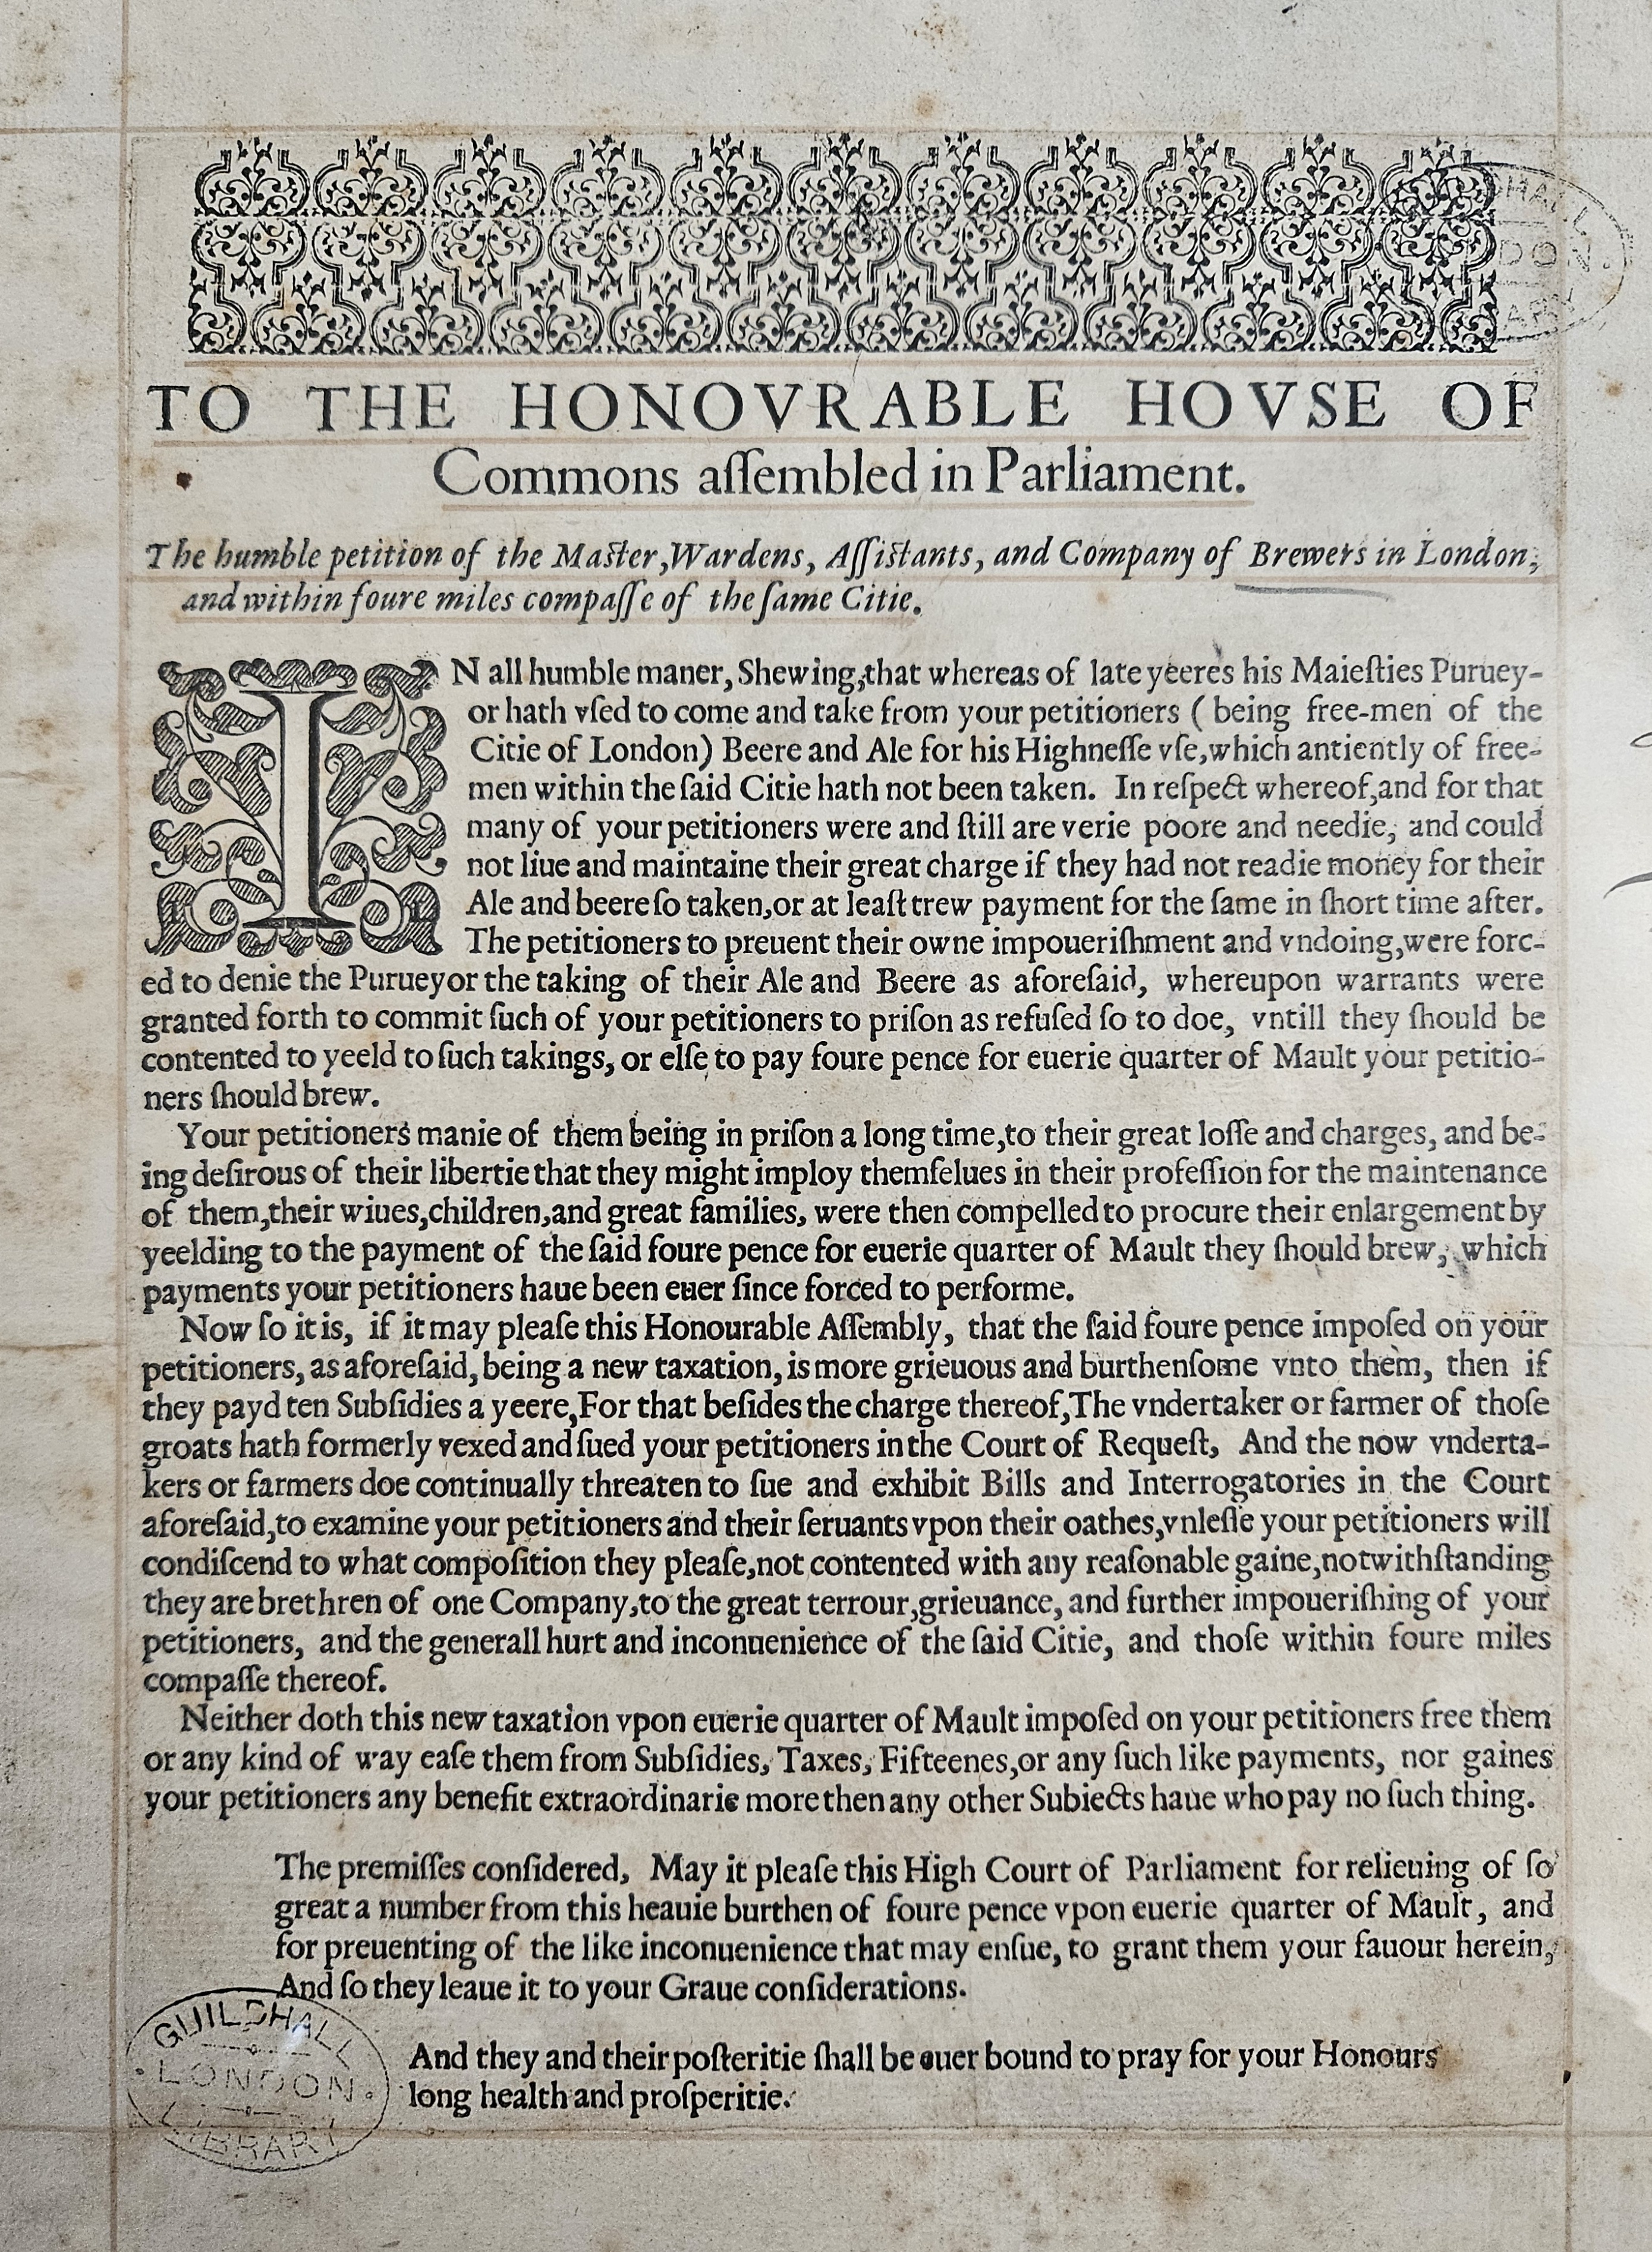
Those listening to the secret podcast get some bonus material where we discuss the Hannah Glasse recipes that don’t work, the Worshipful Company of Brewers, poisonous pears in pewter pots and more.
The British Food History Podcast is available to follow and download on all podcast apps. Alternatively, you can listen to this episode via this Spotify embed:
Insatiable Appetites, Eating Out in Georgian London by Peter Ross
Peter will be at the Chalke History Festival on 27 June 2024 talking about Georgian Feasting
Season 10 of the podcast is sponsored by Netherton Foundry, makers of high-quality kitchen and outdoor cookware. Netherton Foundry ships to several countries outside of the UK, including the USA and Canada. Visit www.netherton-foundry.co.uk to find out more about their wonderful products – approved not just by me but by folk such as Tom Parker-Bowles, Diana Henry and Nigella Lawson.
The mixing and sound engineering were done by Thomas Ntinas of The Delicious Legacy podcast
If you can, support the podcast and blogs by becoming a £3 monthly subscriber, and unlock lots of premium content, including bonus blog posts and recipes, access to the easter eggs and the secret podcast, or treat me to a one-off virtual pint or coffee: click here.
Things mentioned in today’s episode
The Guildhall Library Collections
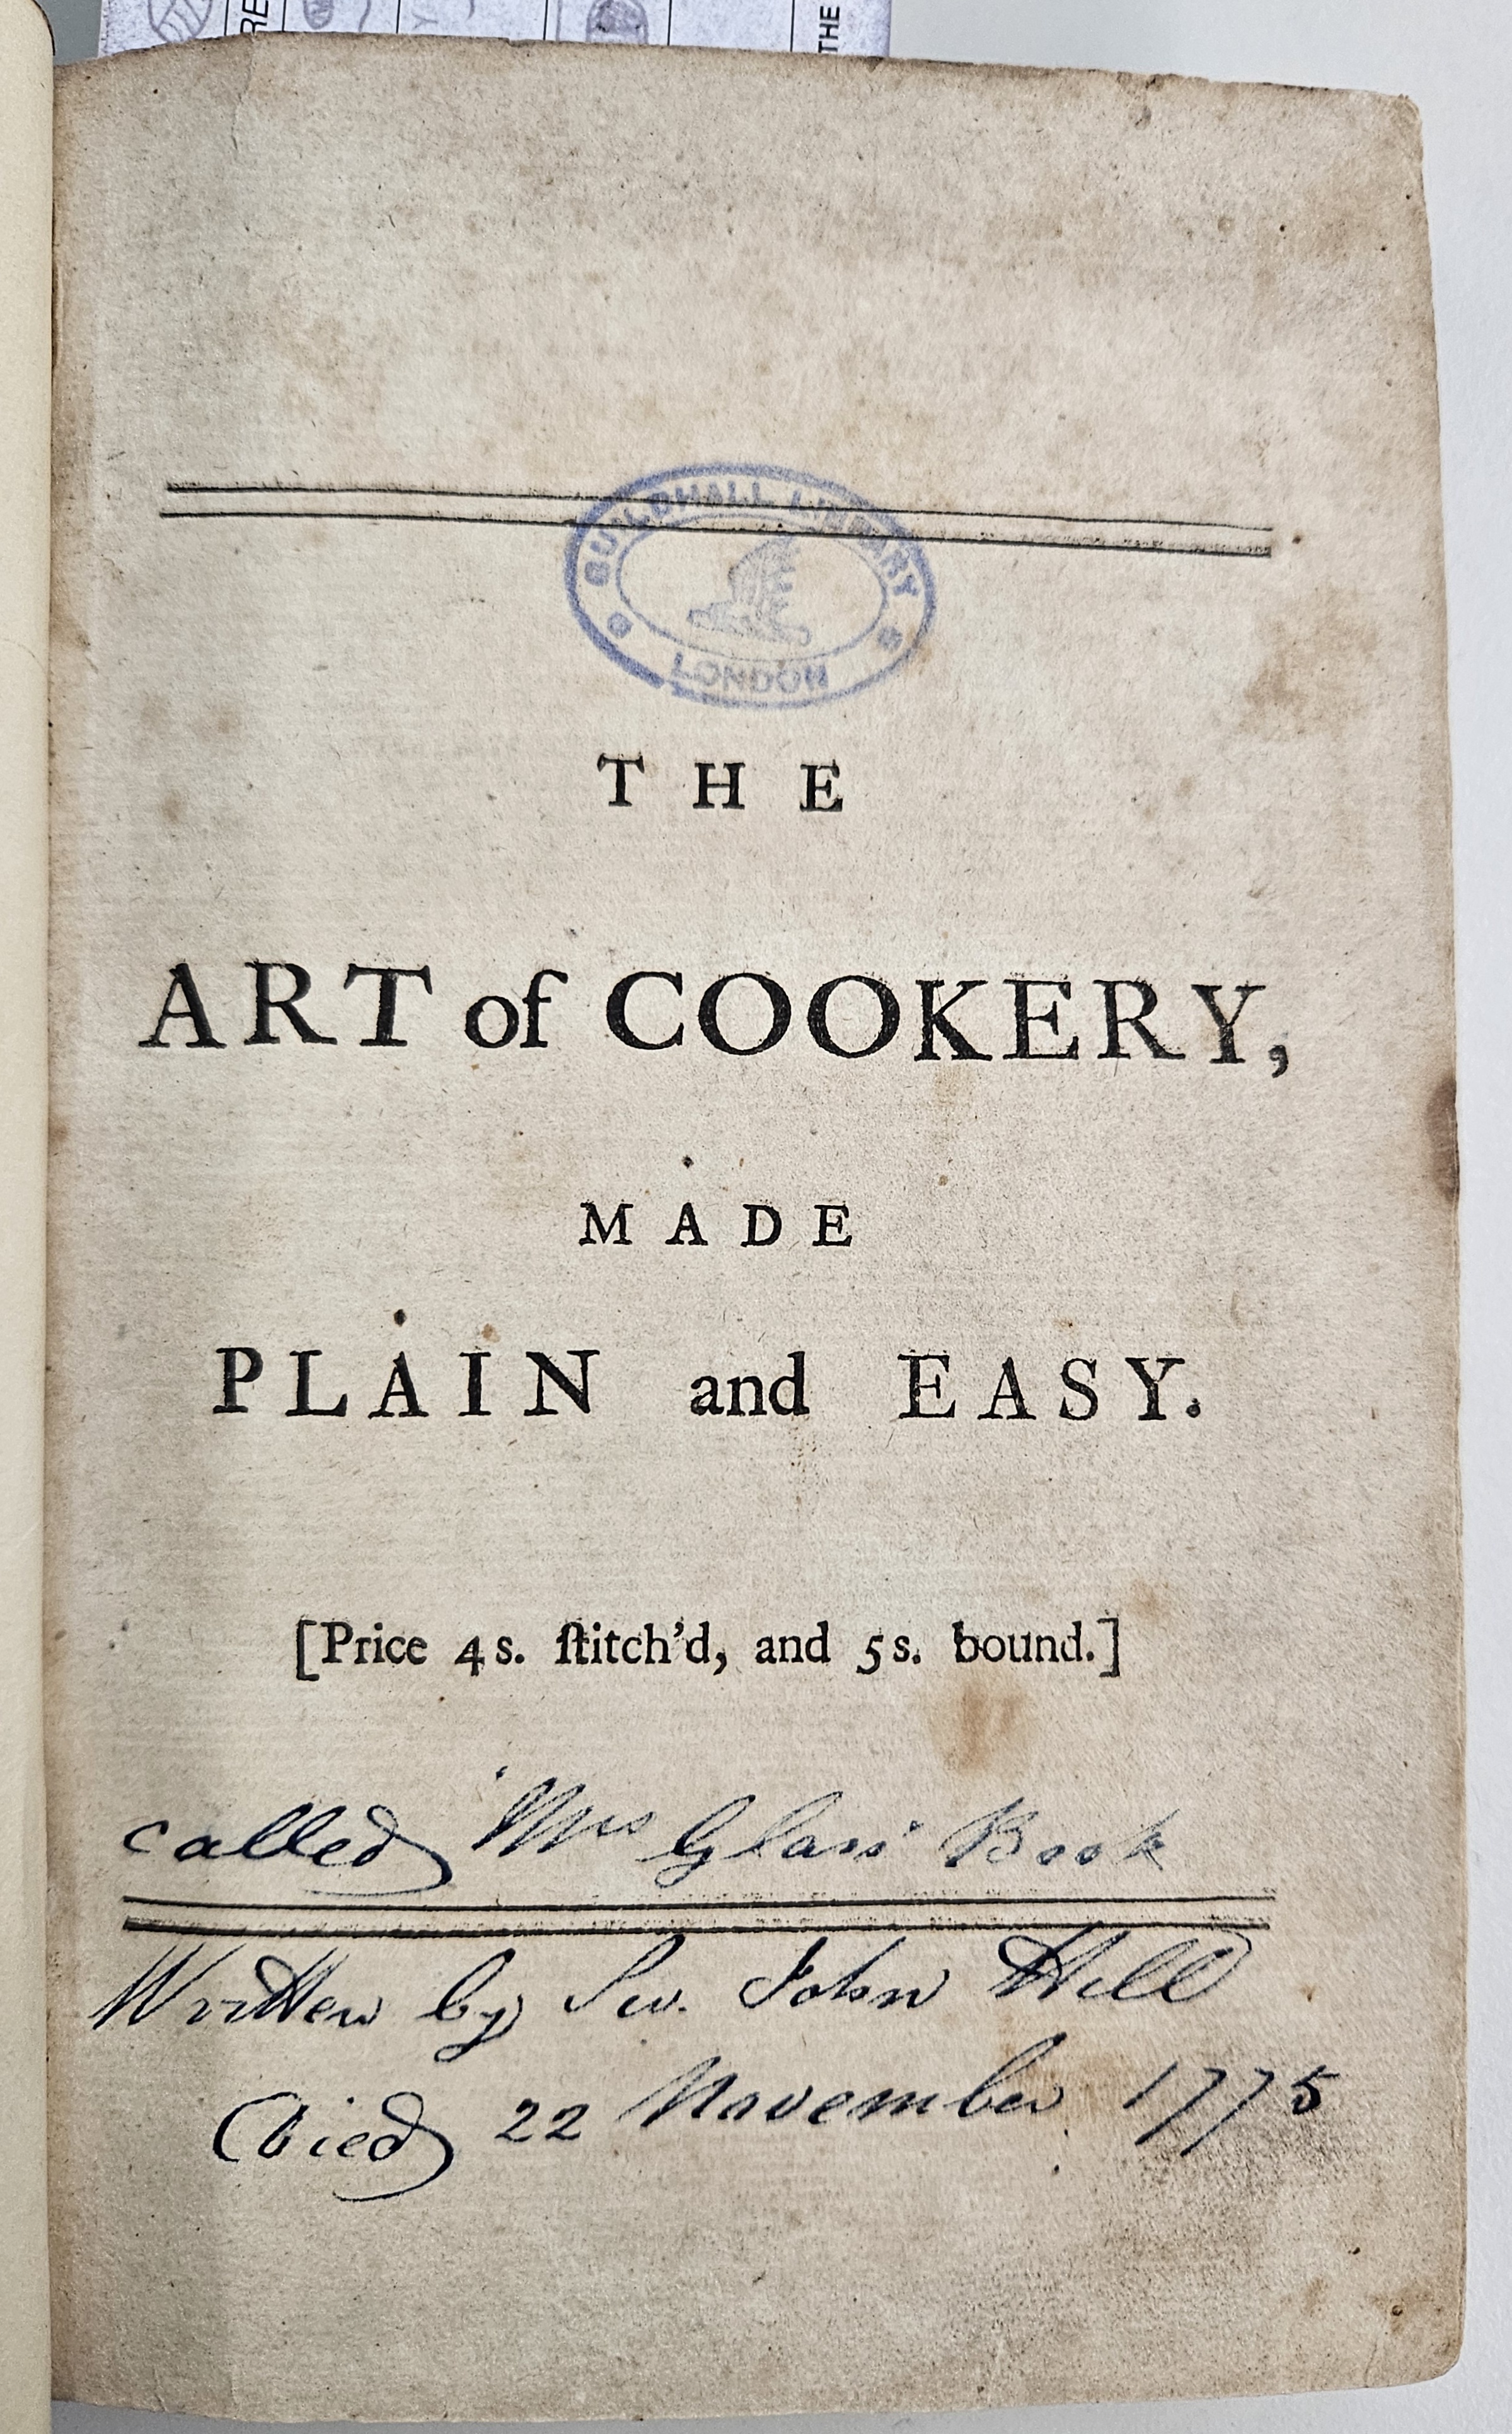
The Art of Cookery Made Plain and Easy by Hannah Glasse
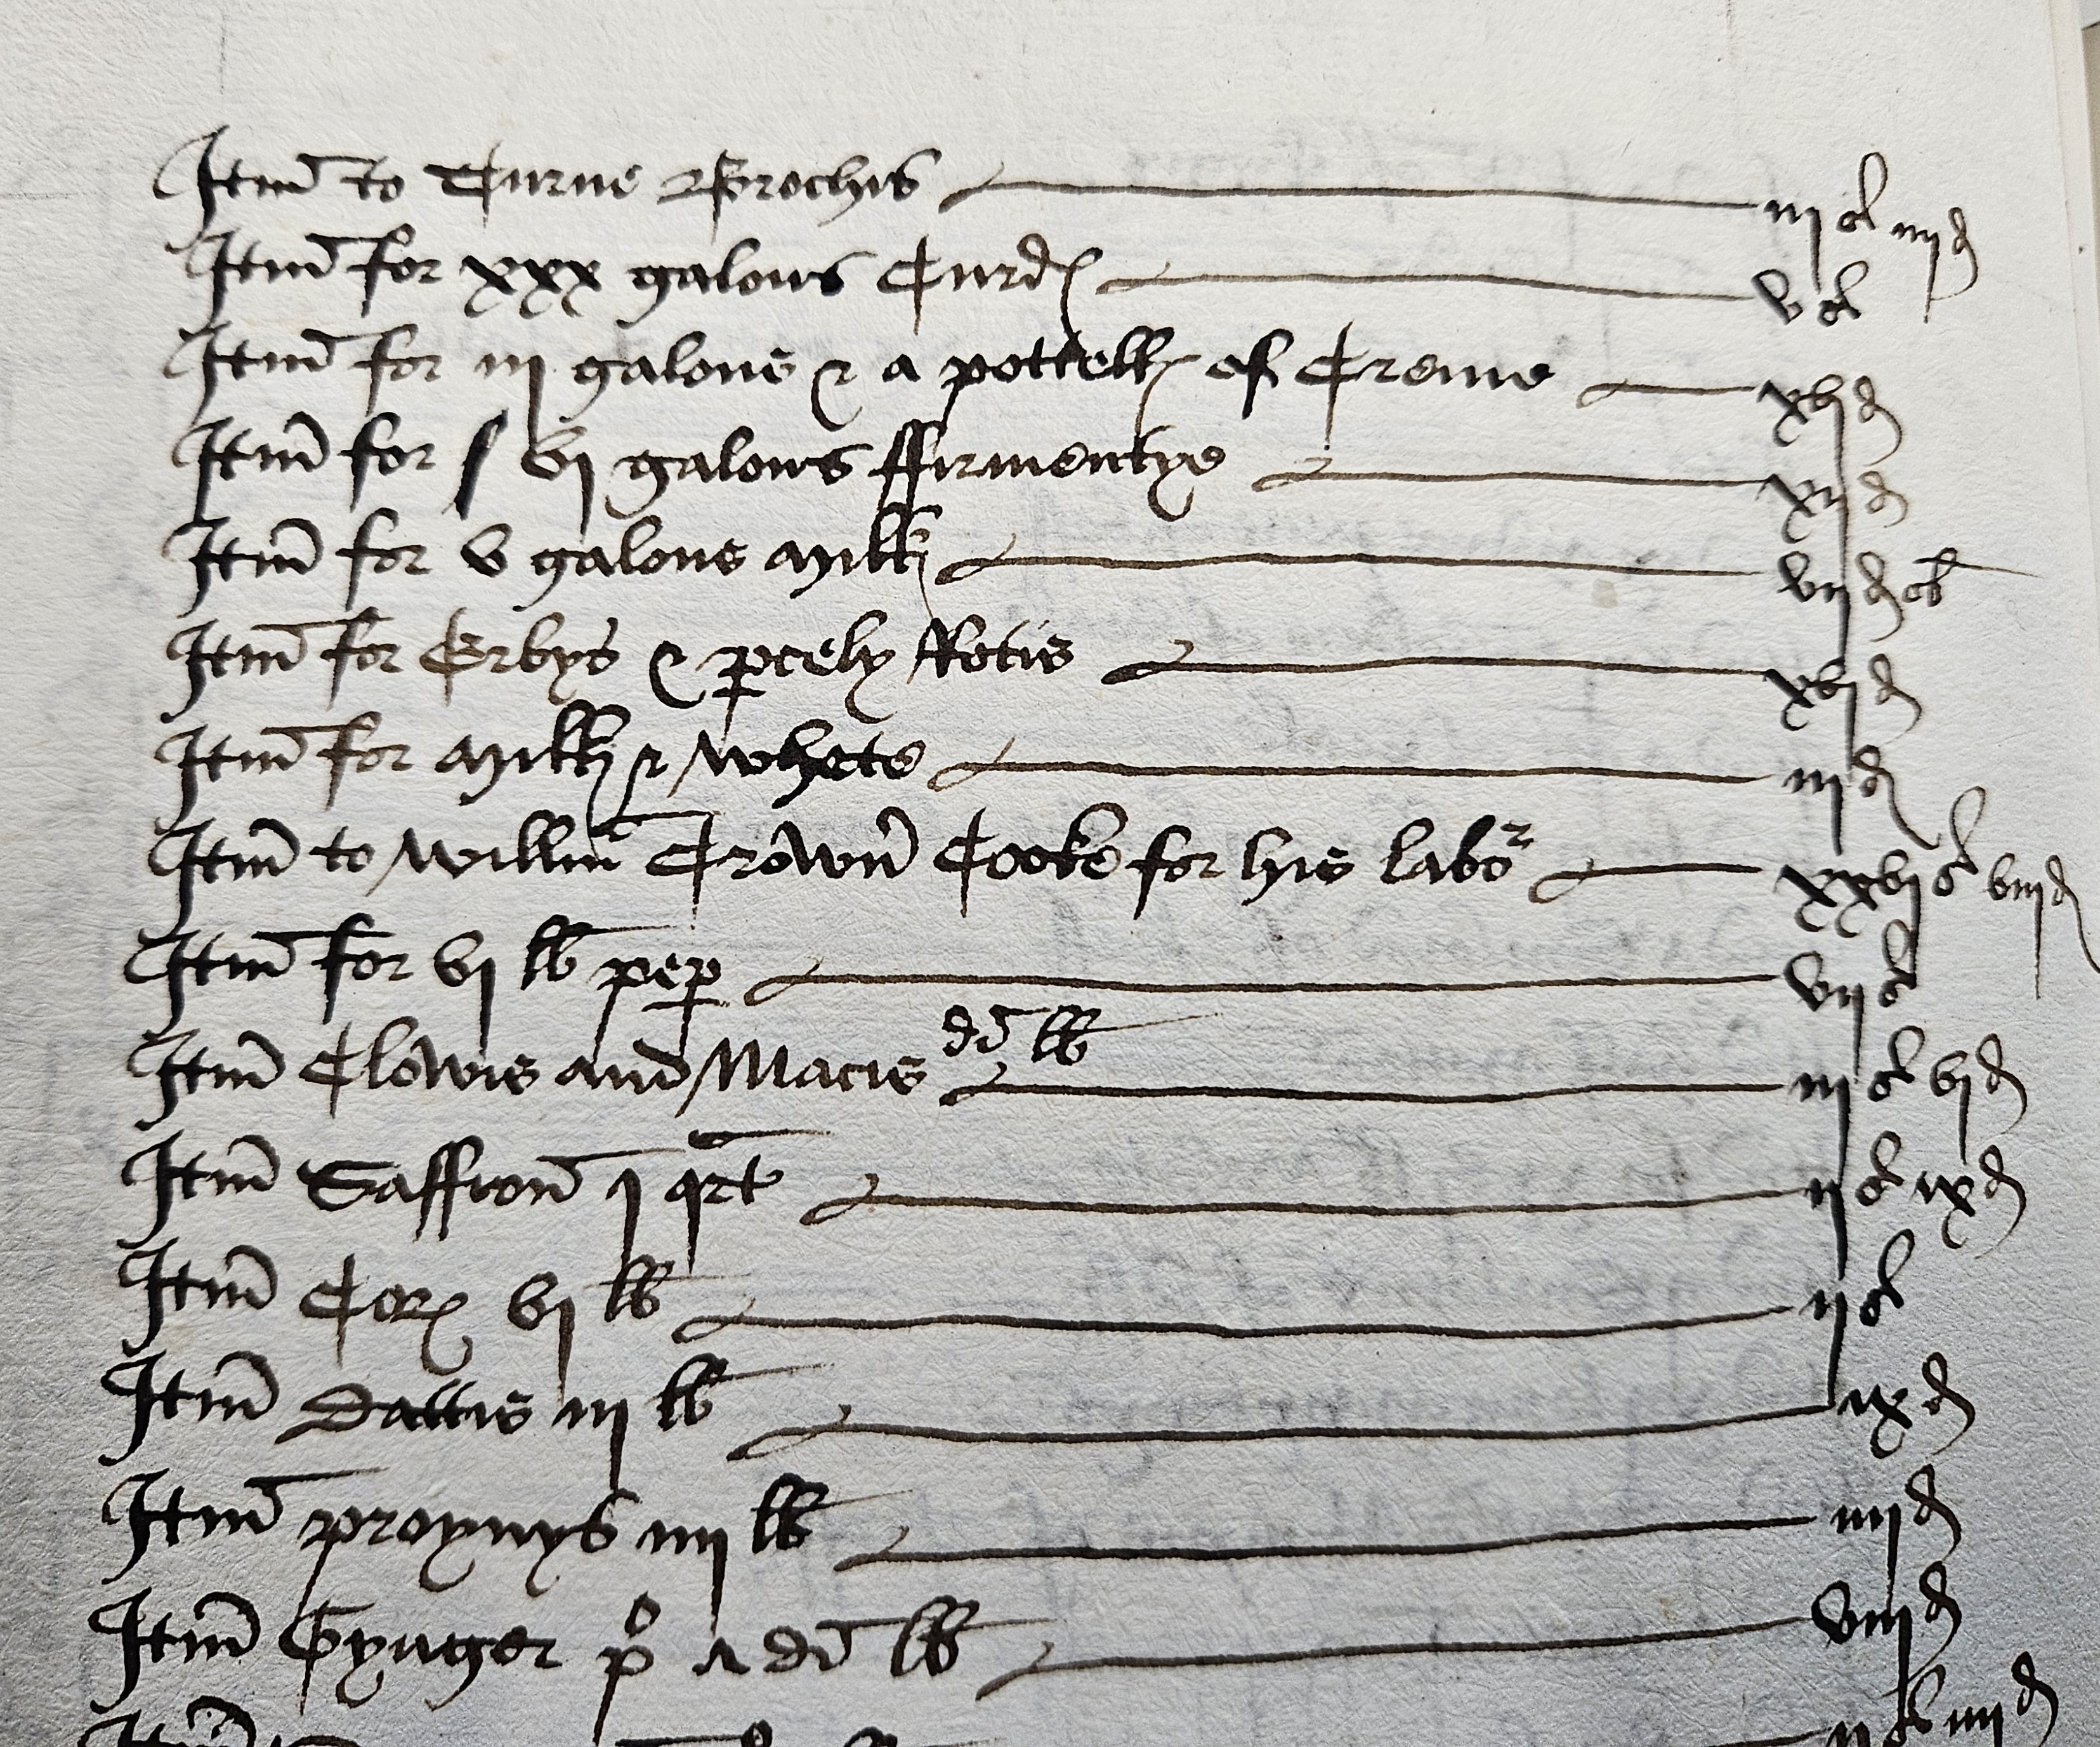
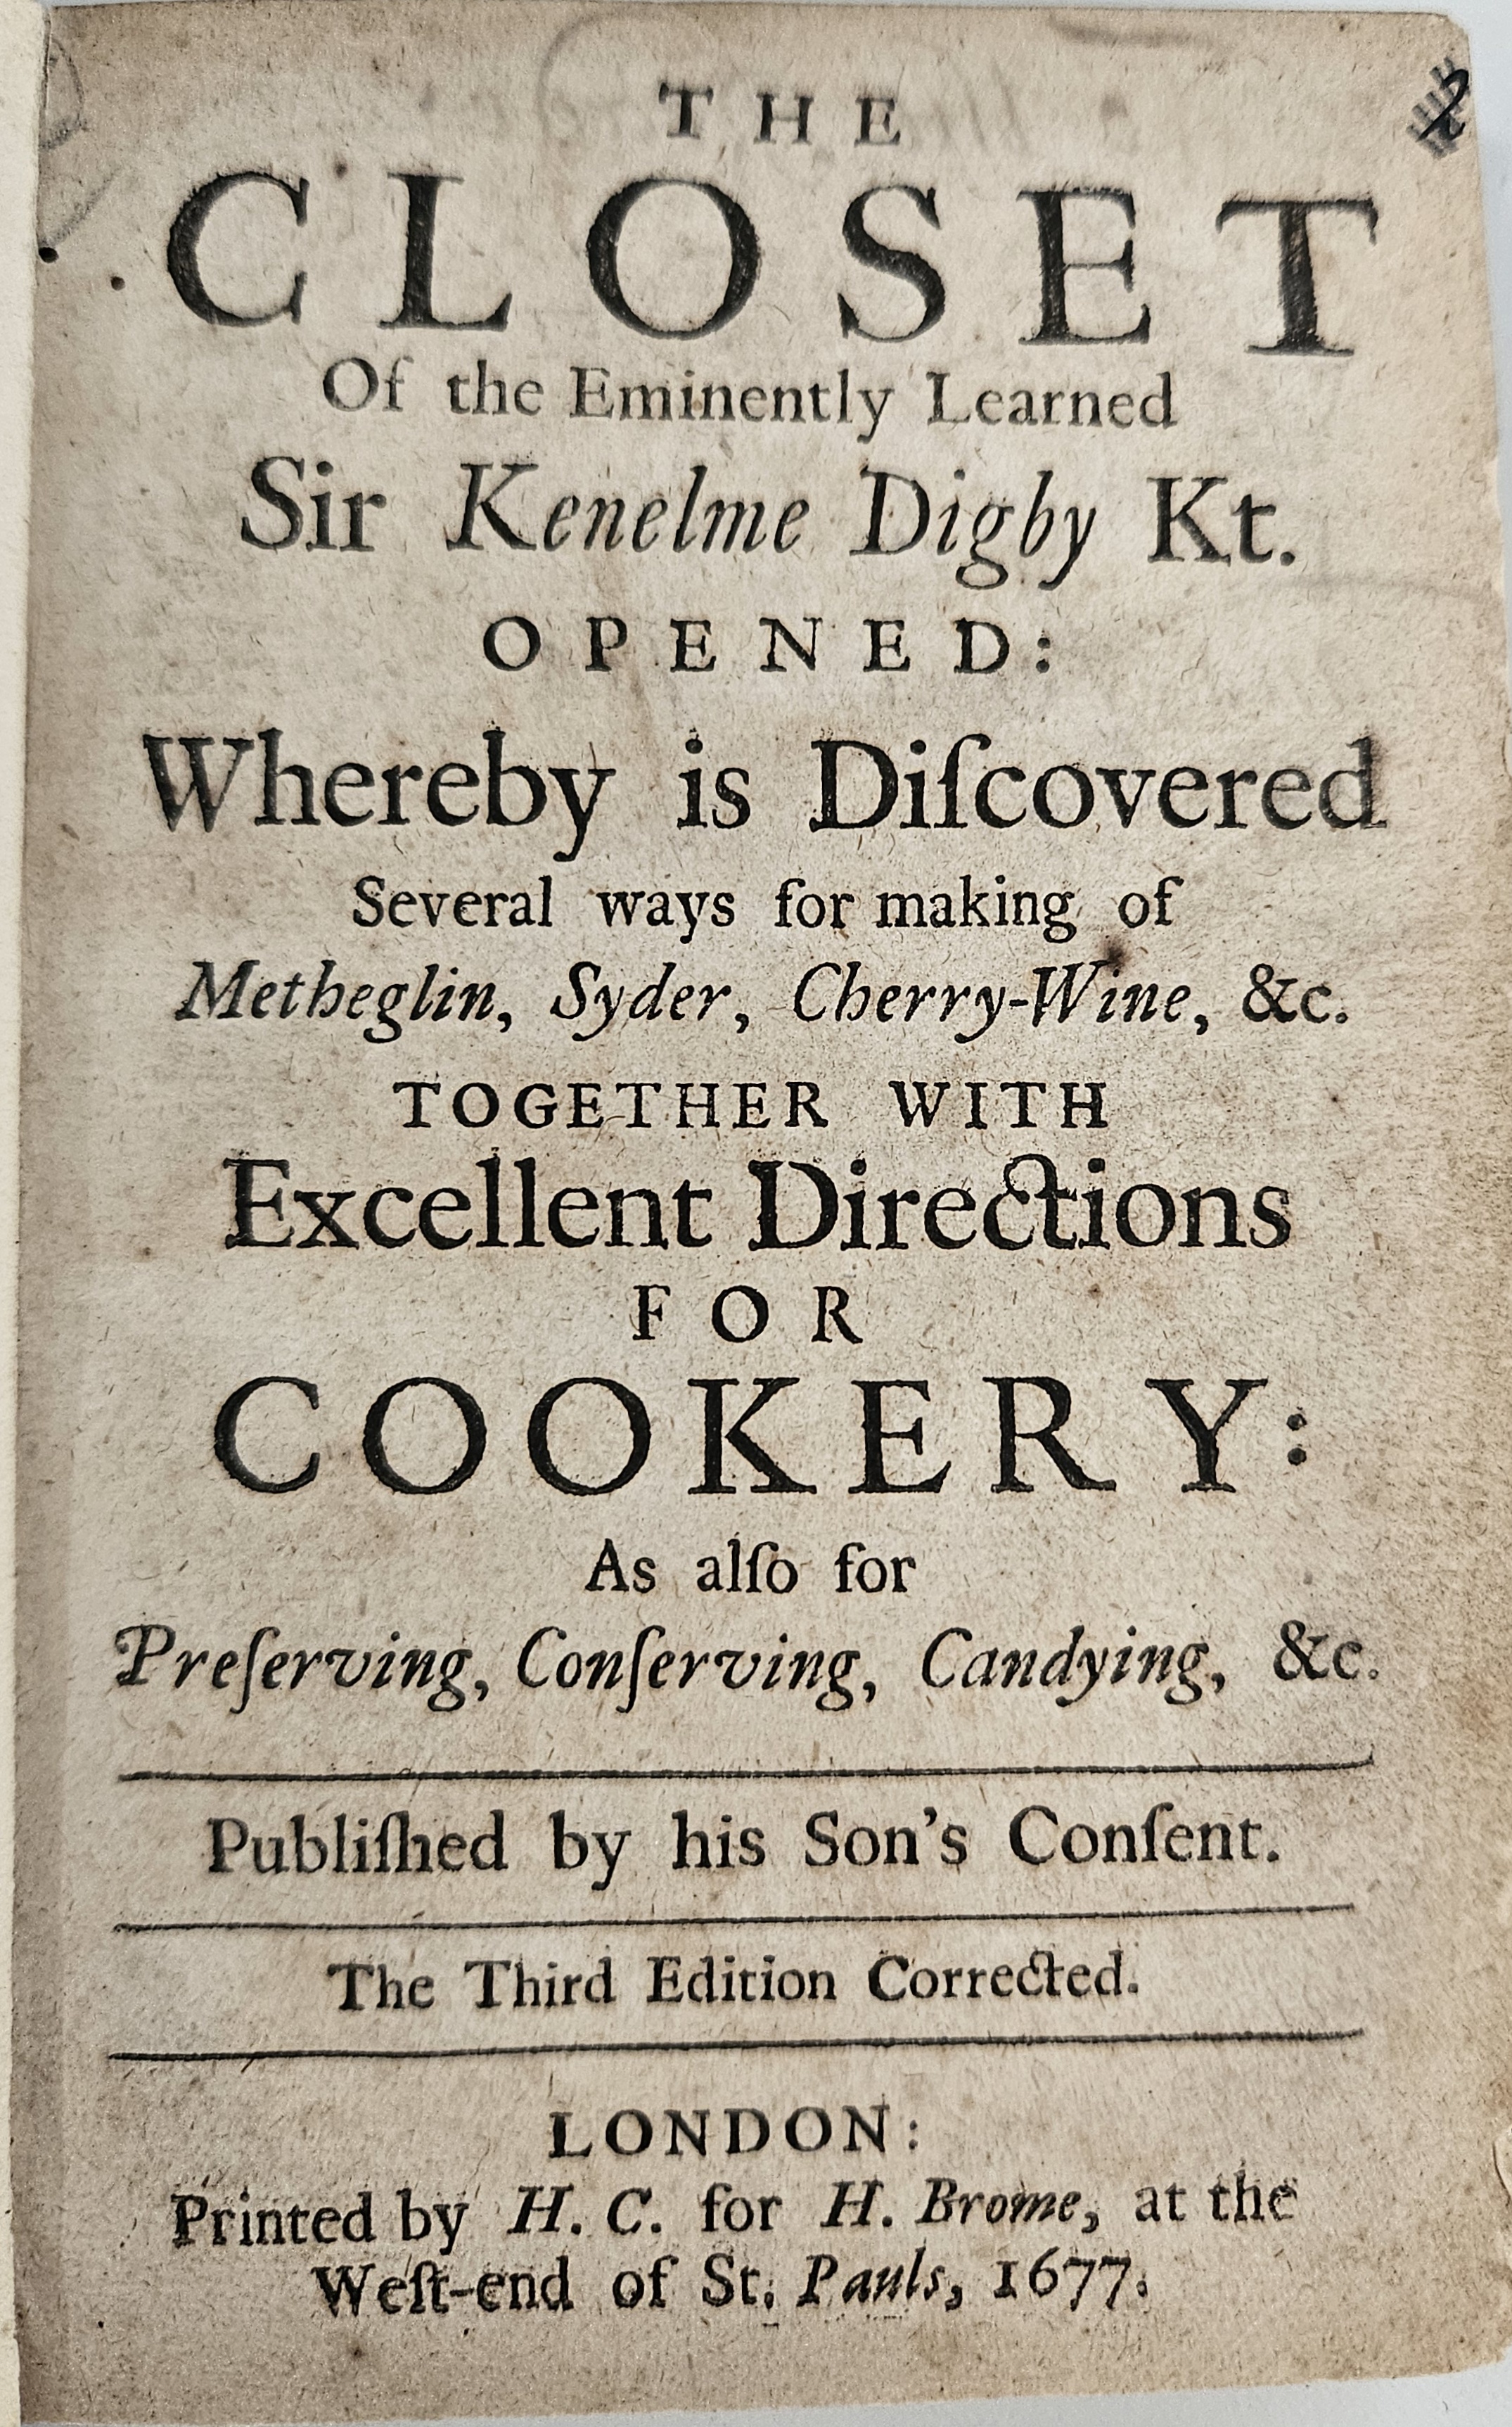
The Closet of the Eminently Learned Sir Kenelme Digby kt. Opened
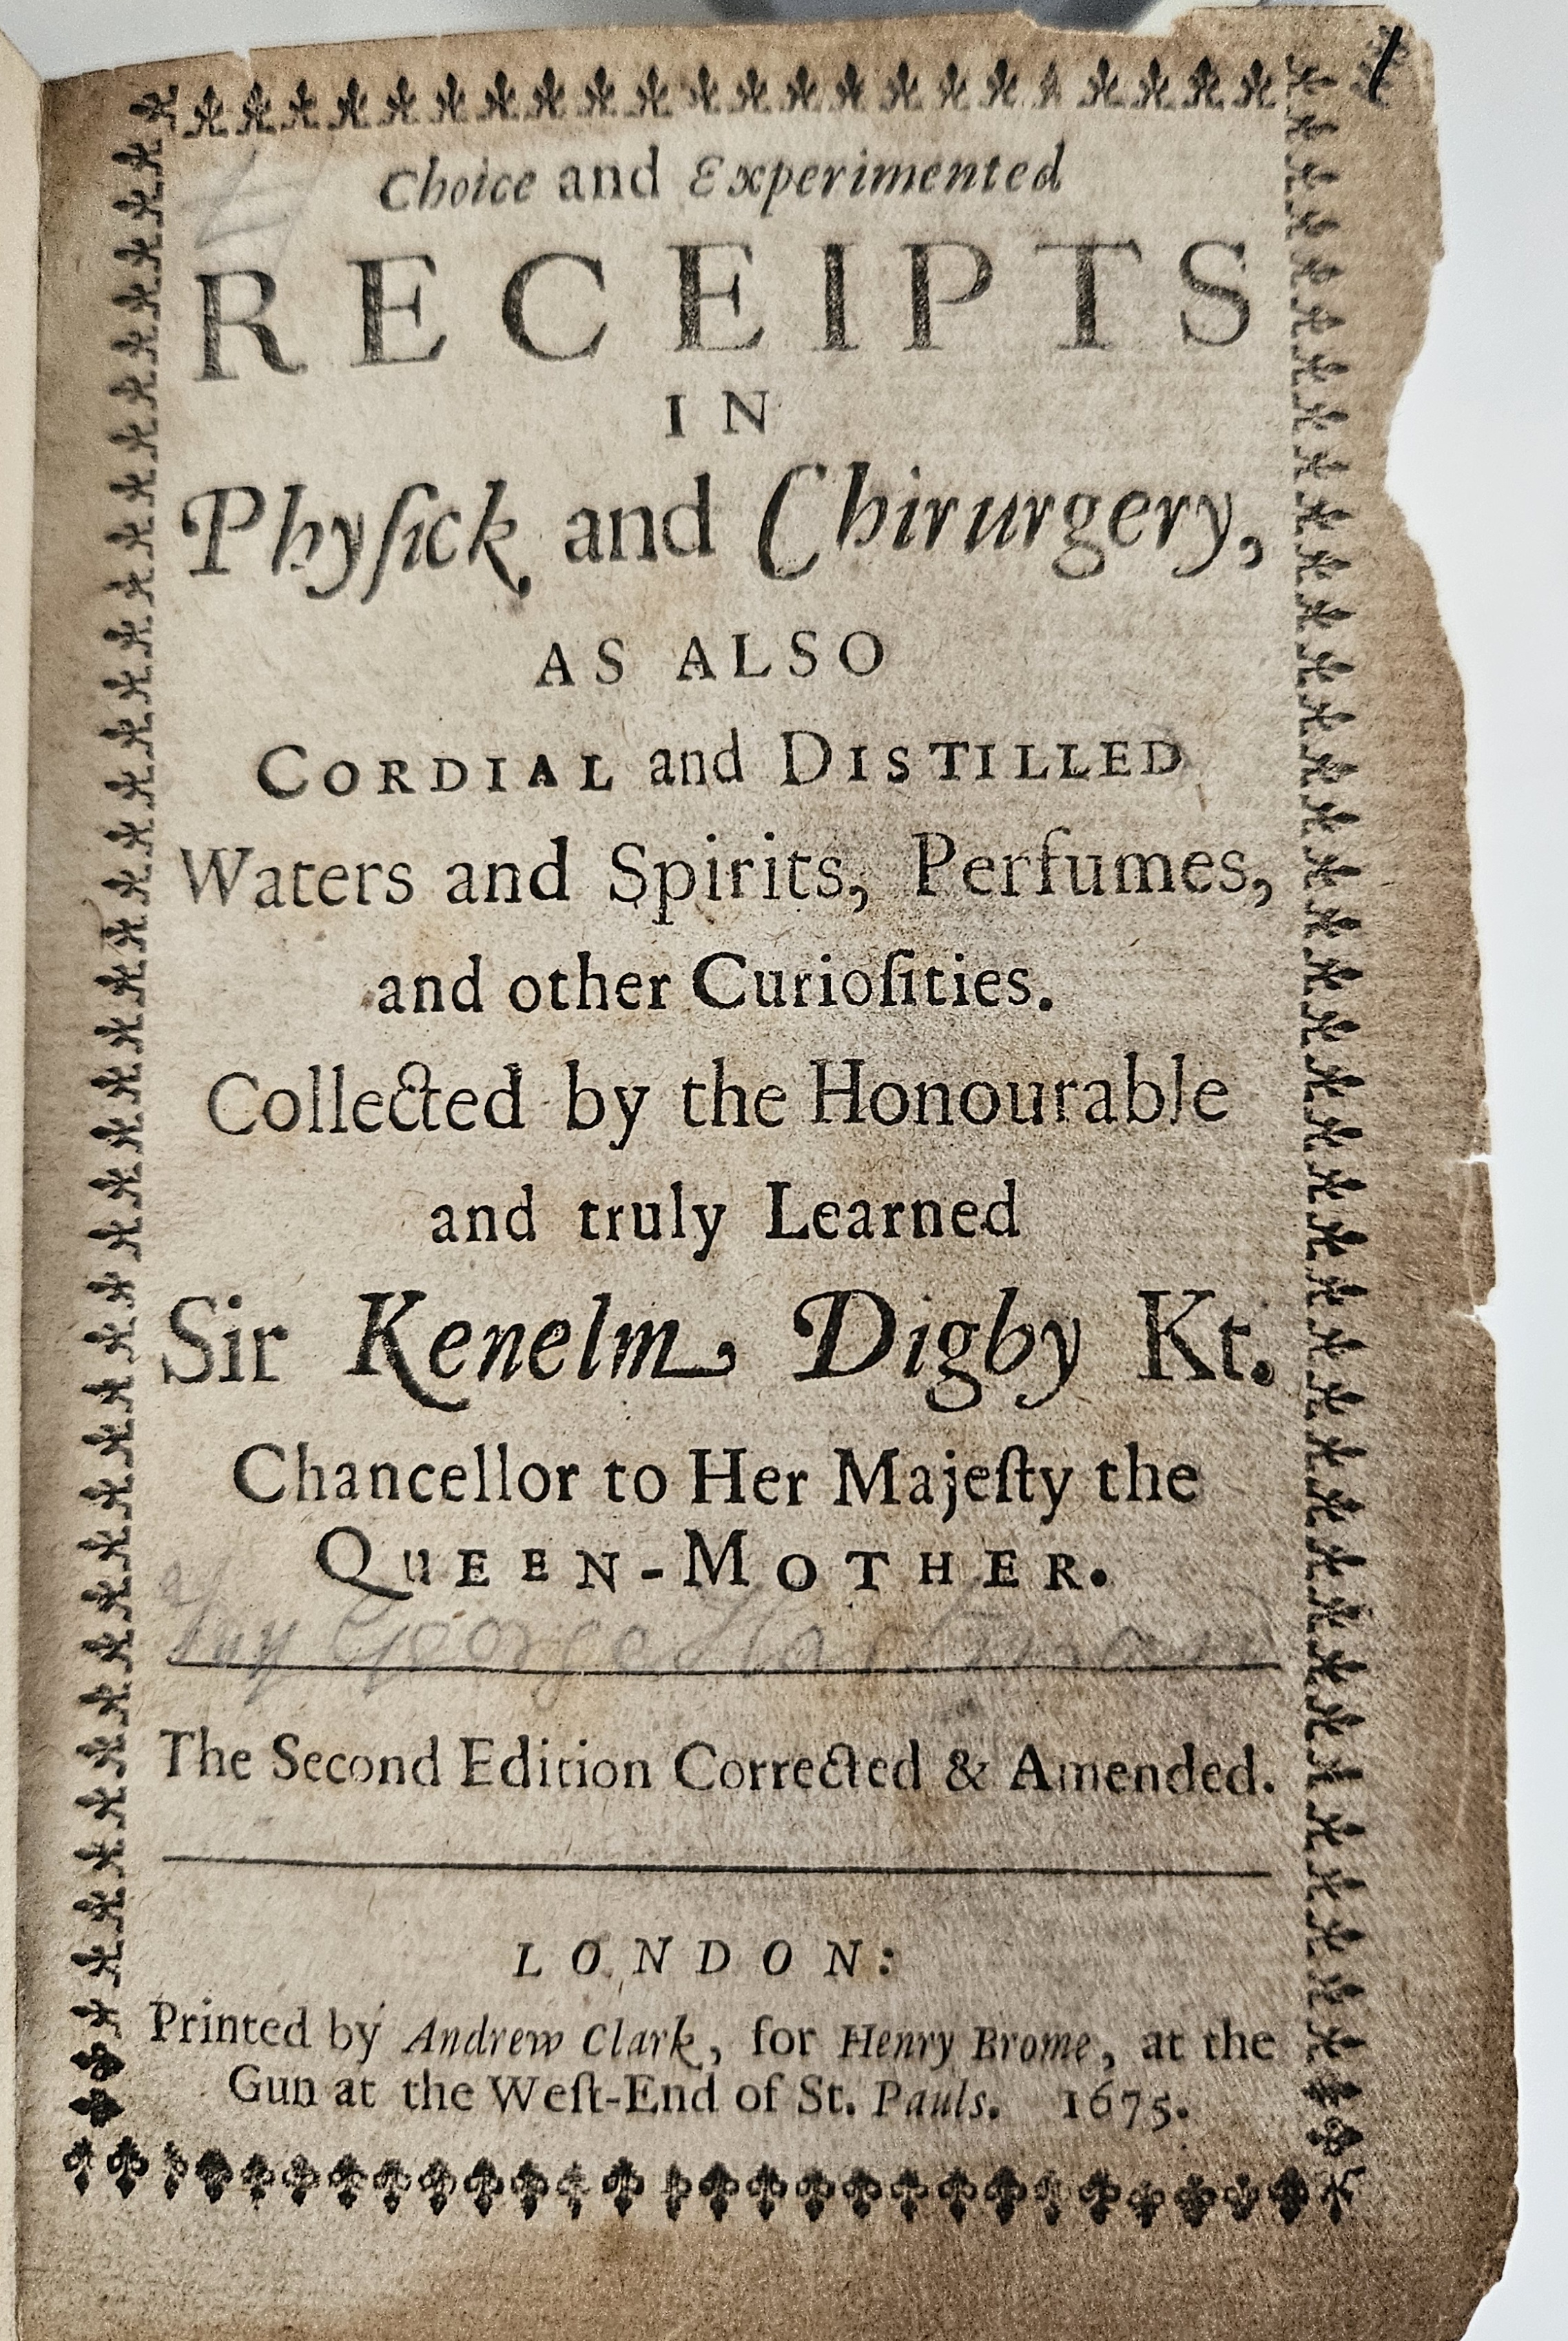
Choice and experimented receipts in physick and chirurgery by Kenelm Digby
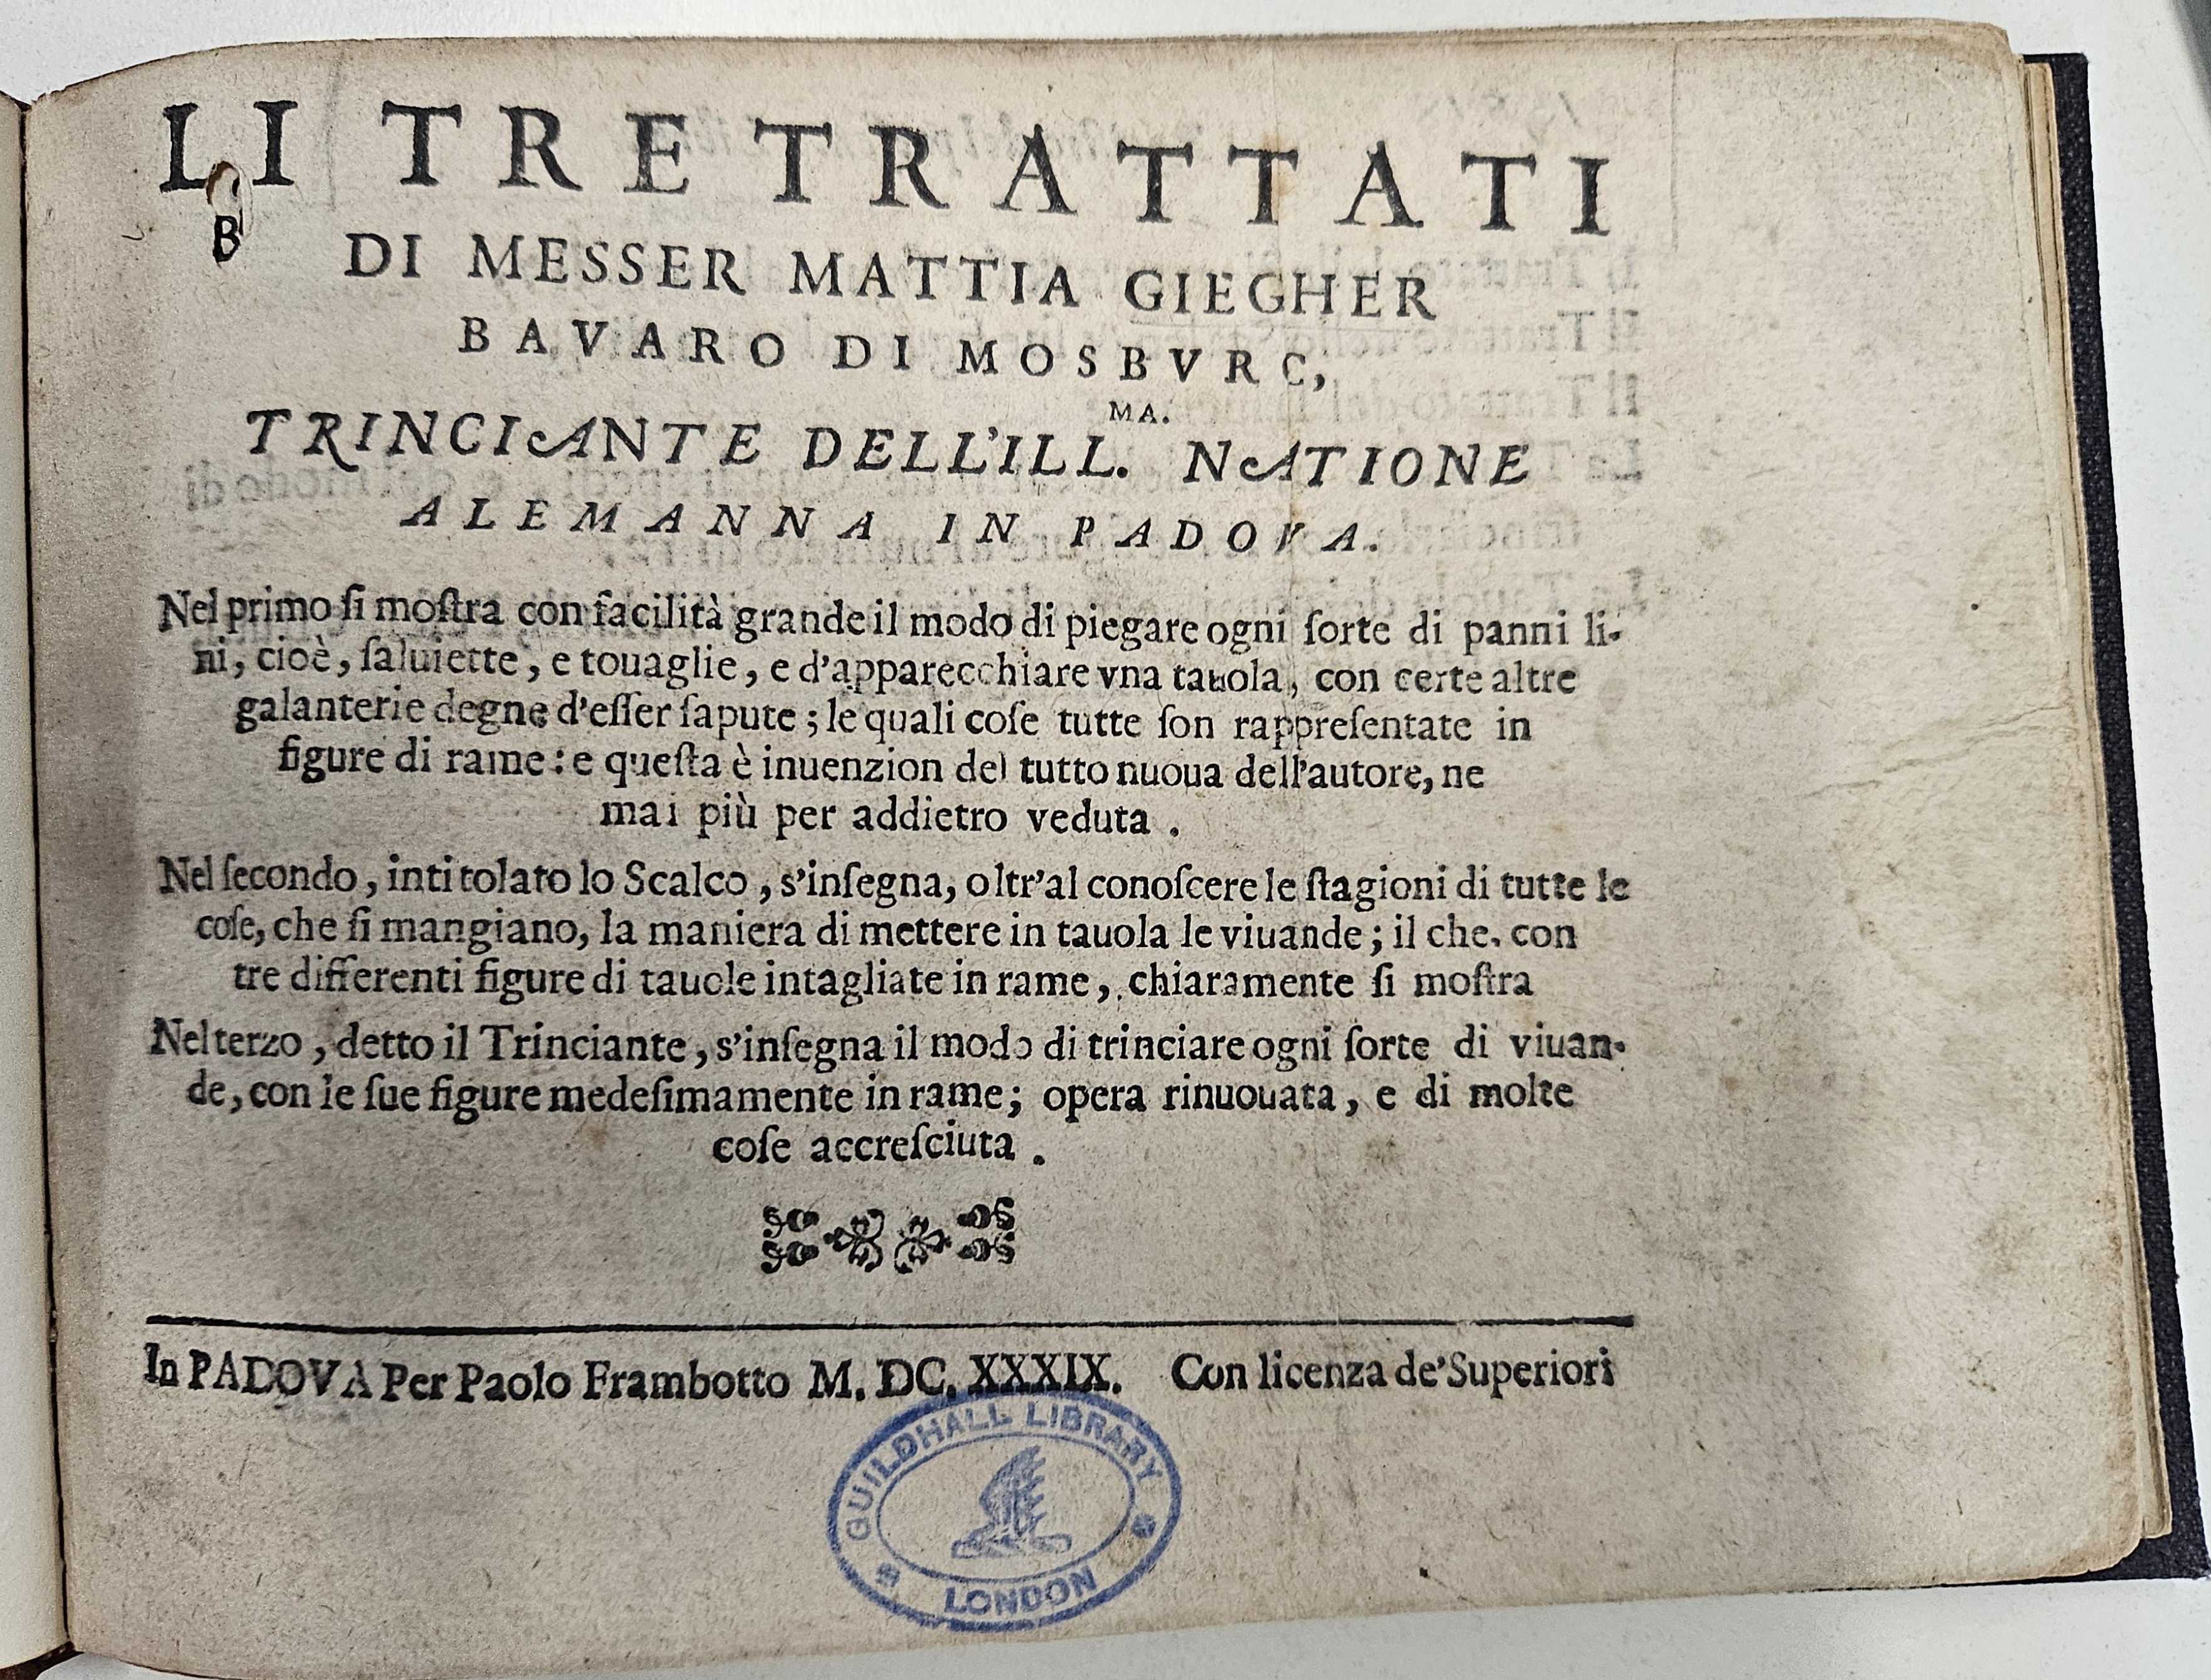
Li tre trattati on Abebooks for a mere £12,500
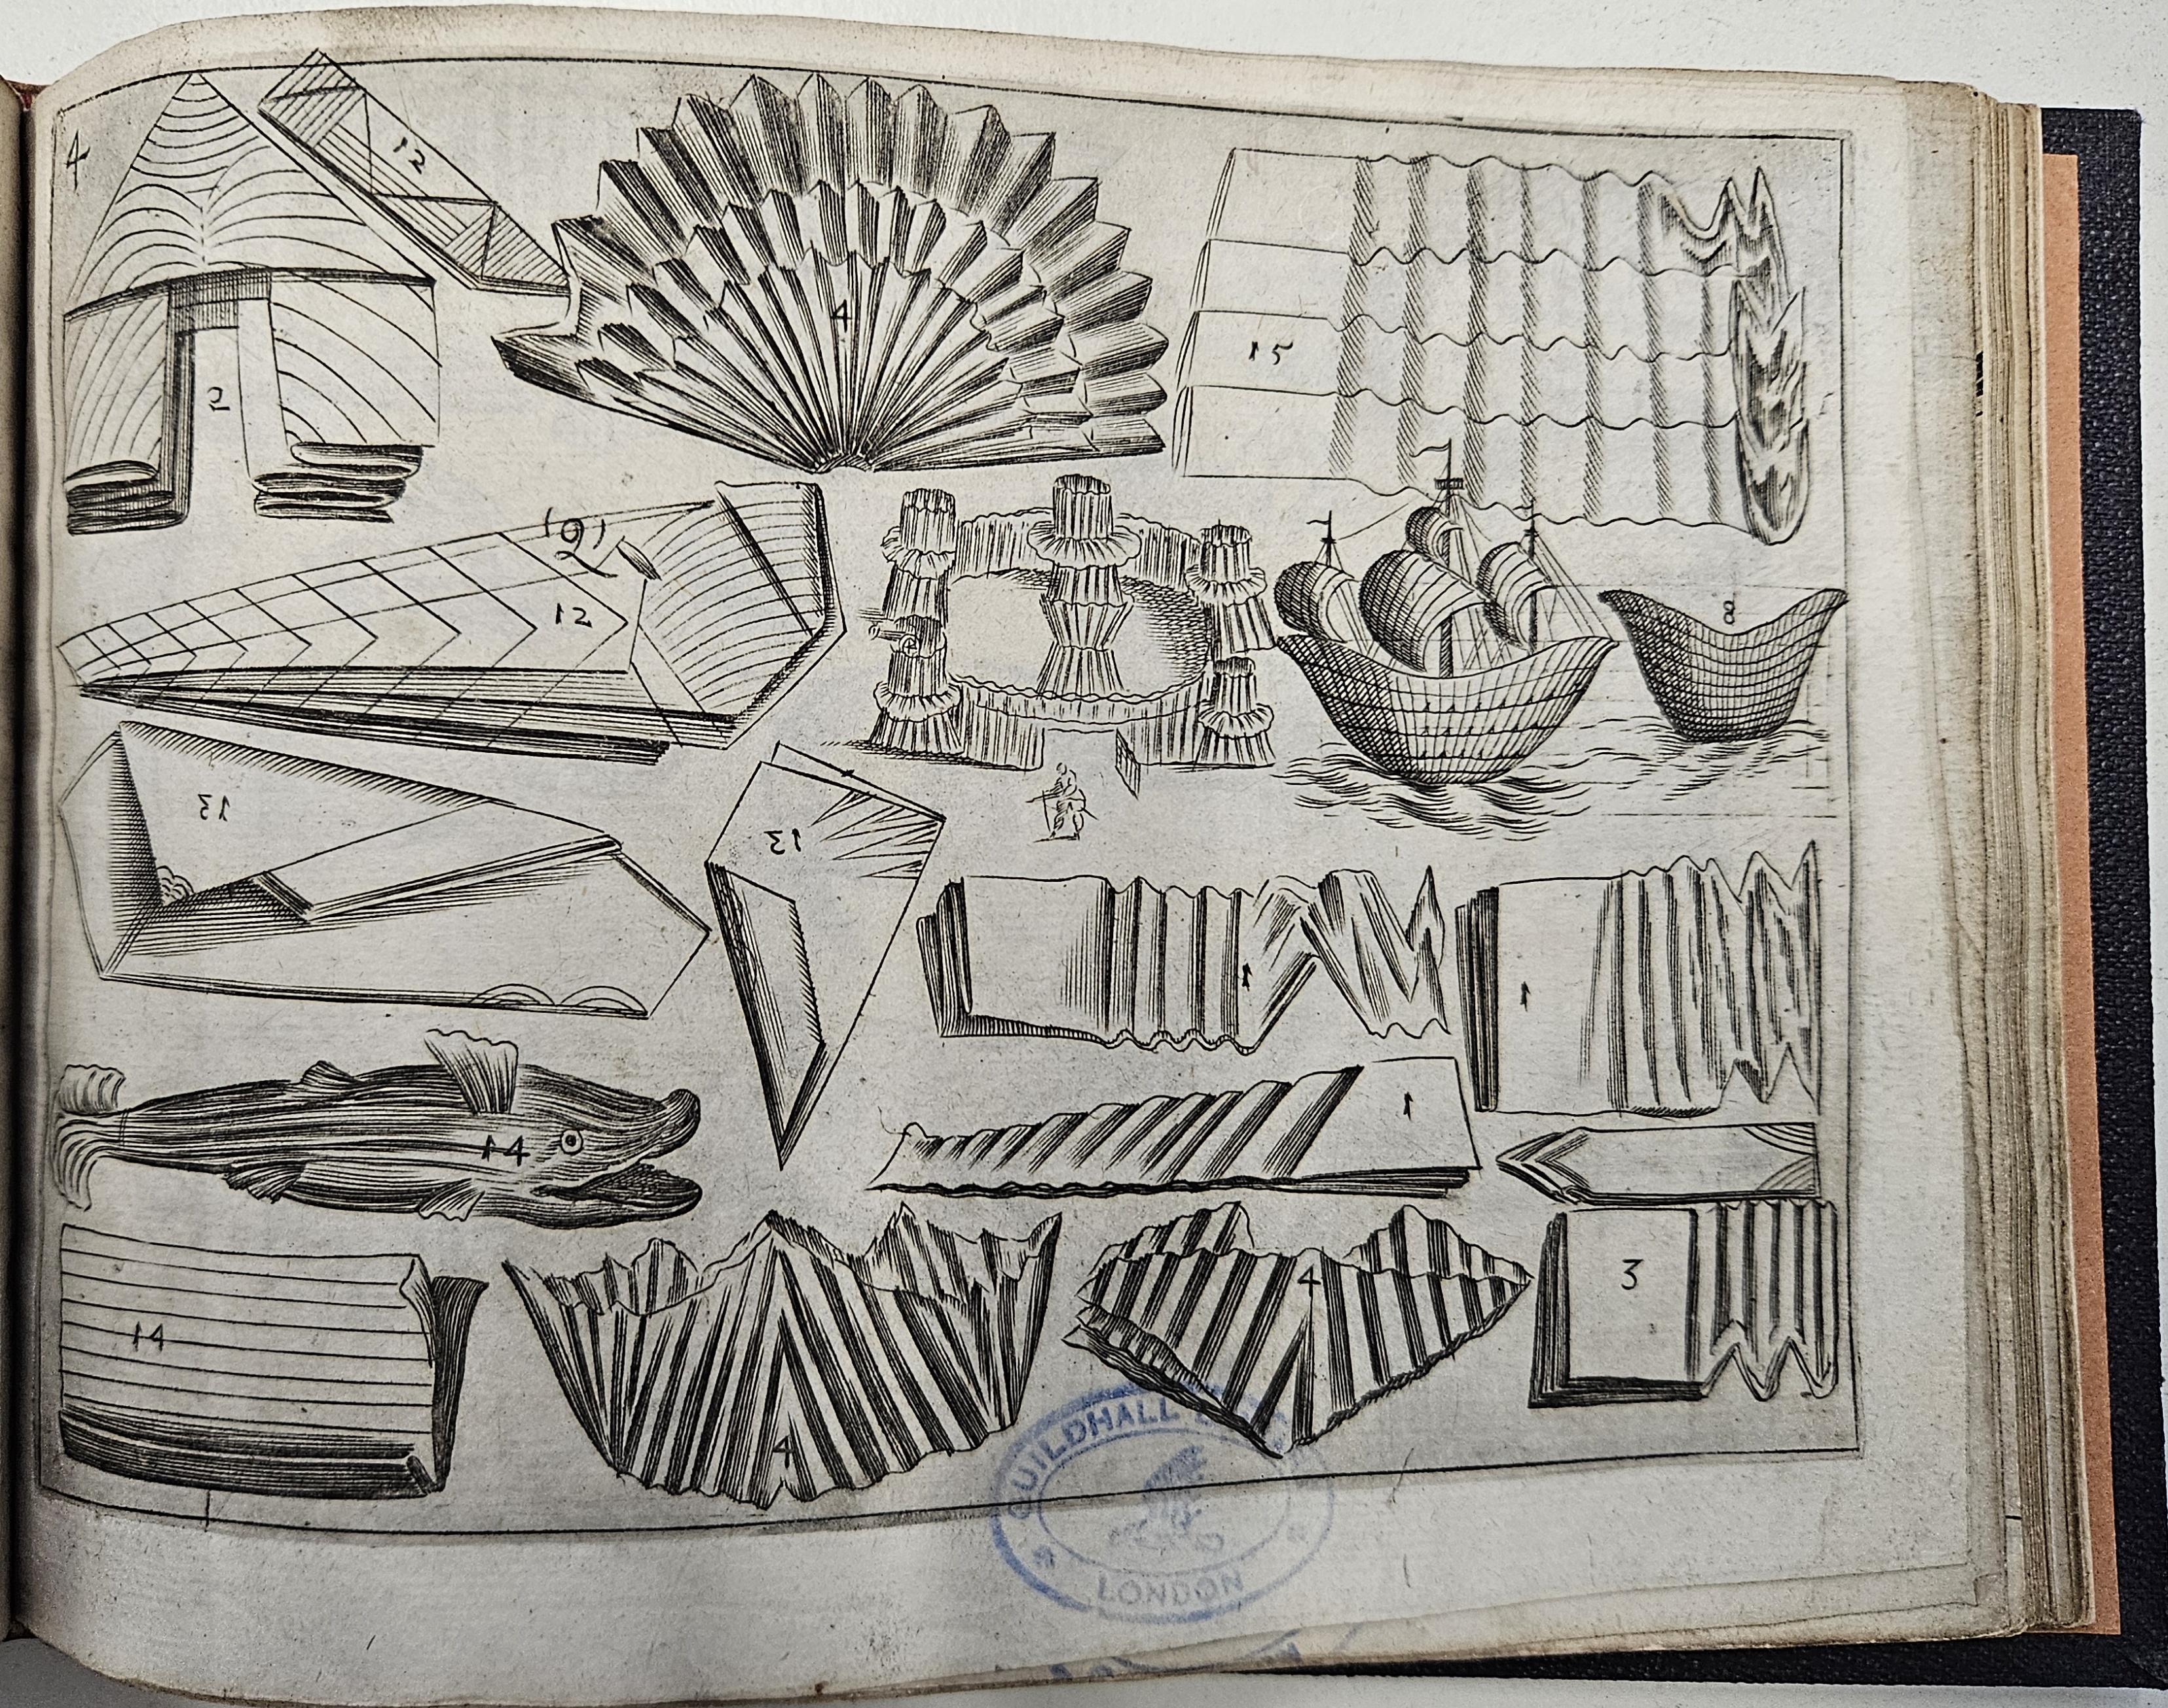
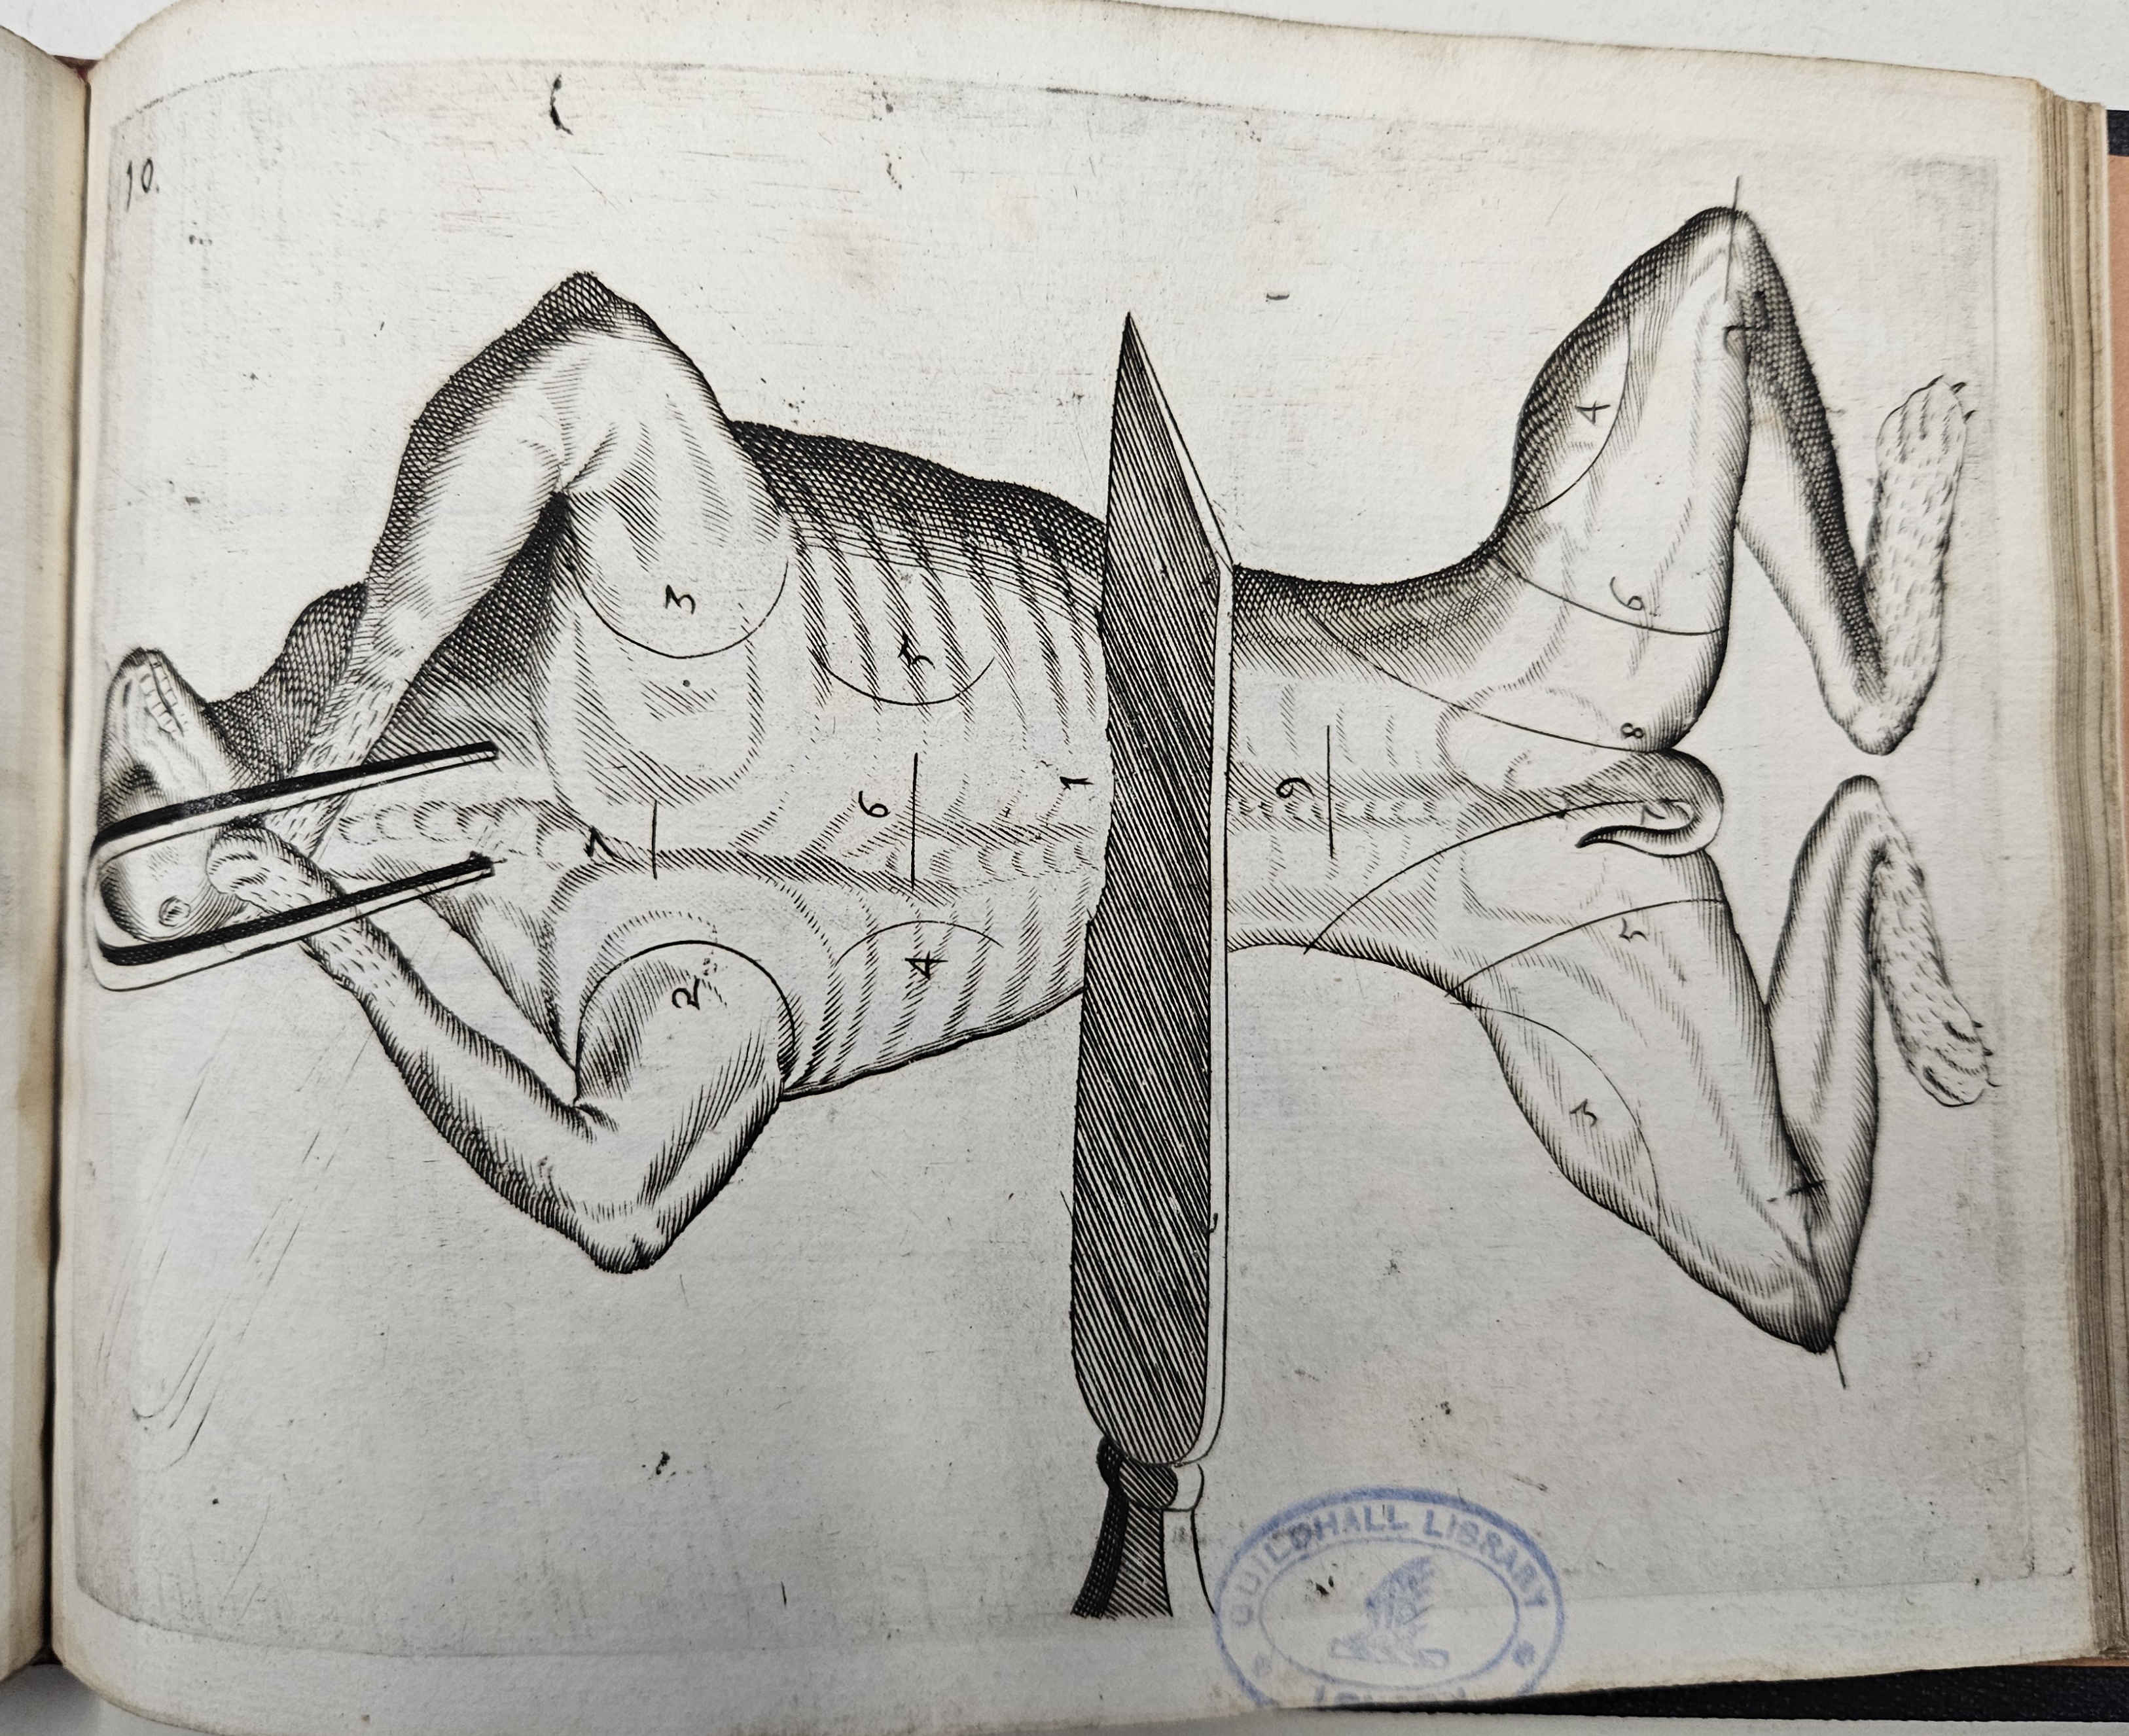
A Creative List of Meat Carving Terms from the Middle Ages
Previous pertinent podcast episodes
Eating Out in Georgian London with Peter Ross
Fanny Cradock with Kevin Geddes
Early Television Cookbooks and Tie-ins with Kevin Geddes
The English Table with Jill Norman
50 Years of ‘English Food’ by Jane Grigson with Sam Bilton, Annie Gray, Ivan Day & Jill Norman
18th Century Female Cookery Writers with the Delicious Legacy Podcast
Previous pertinent blog posts
Neil’s blogs and YouTube channel
The British Food History Channel
Neil’s books
Before Mrs Beeton: Elizabeth Raffald, England’s Most Influential Housekeeper
Knead to Know: a History of Baking
Don’t forget, there will be postbag episodes in the future, so if you have any questions or queries about today’s episode, or indeed any episode, or have a question about the history of British food please email me at neil@britishfoodhistory.com, or leave a comment.
You can also join the British Food: a History Facebook discussion page: https://www.facebook.com/groups/britishfoodhistory