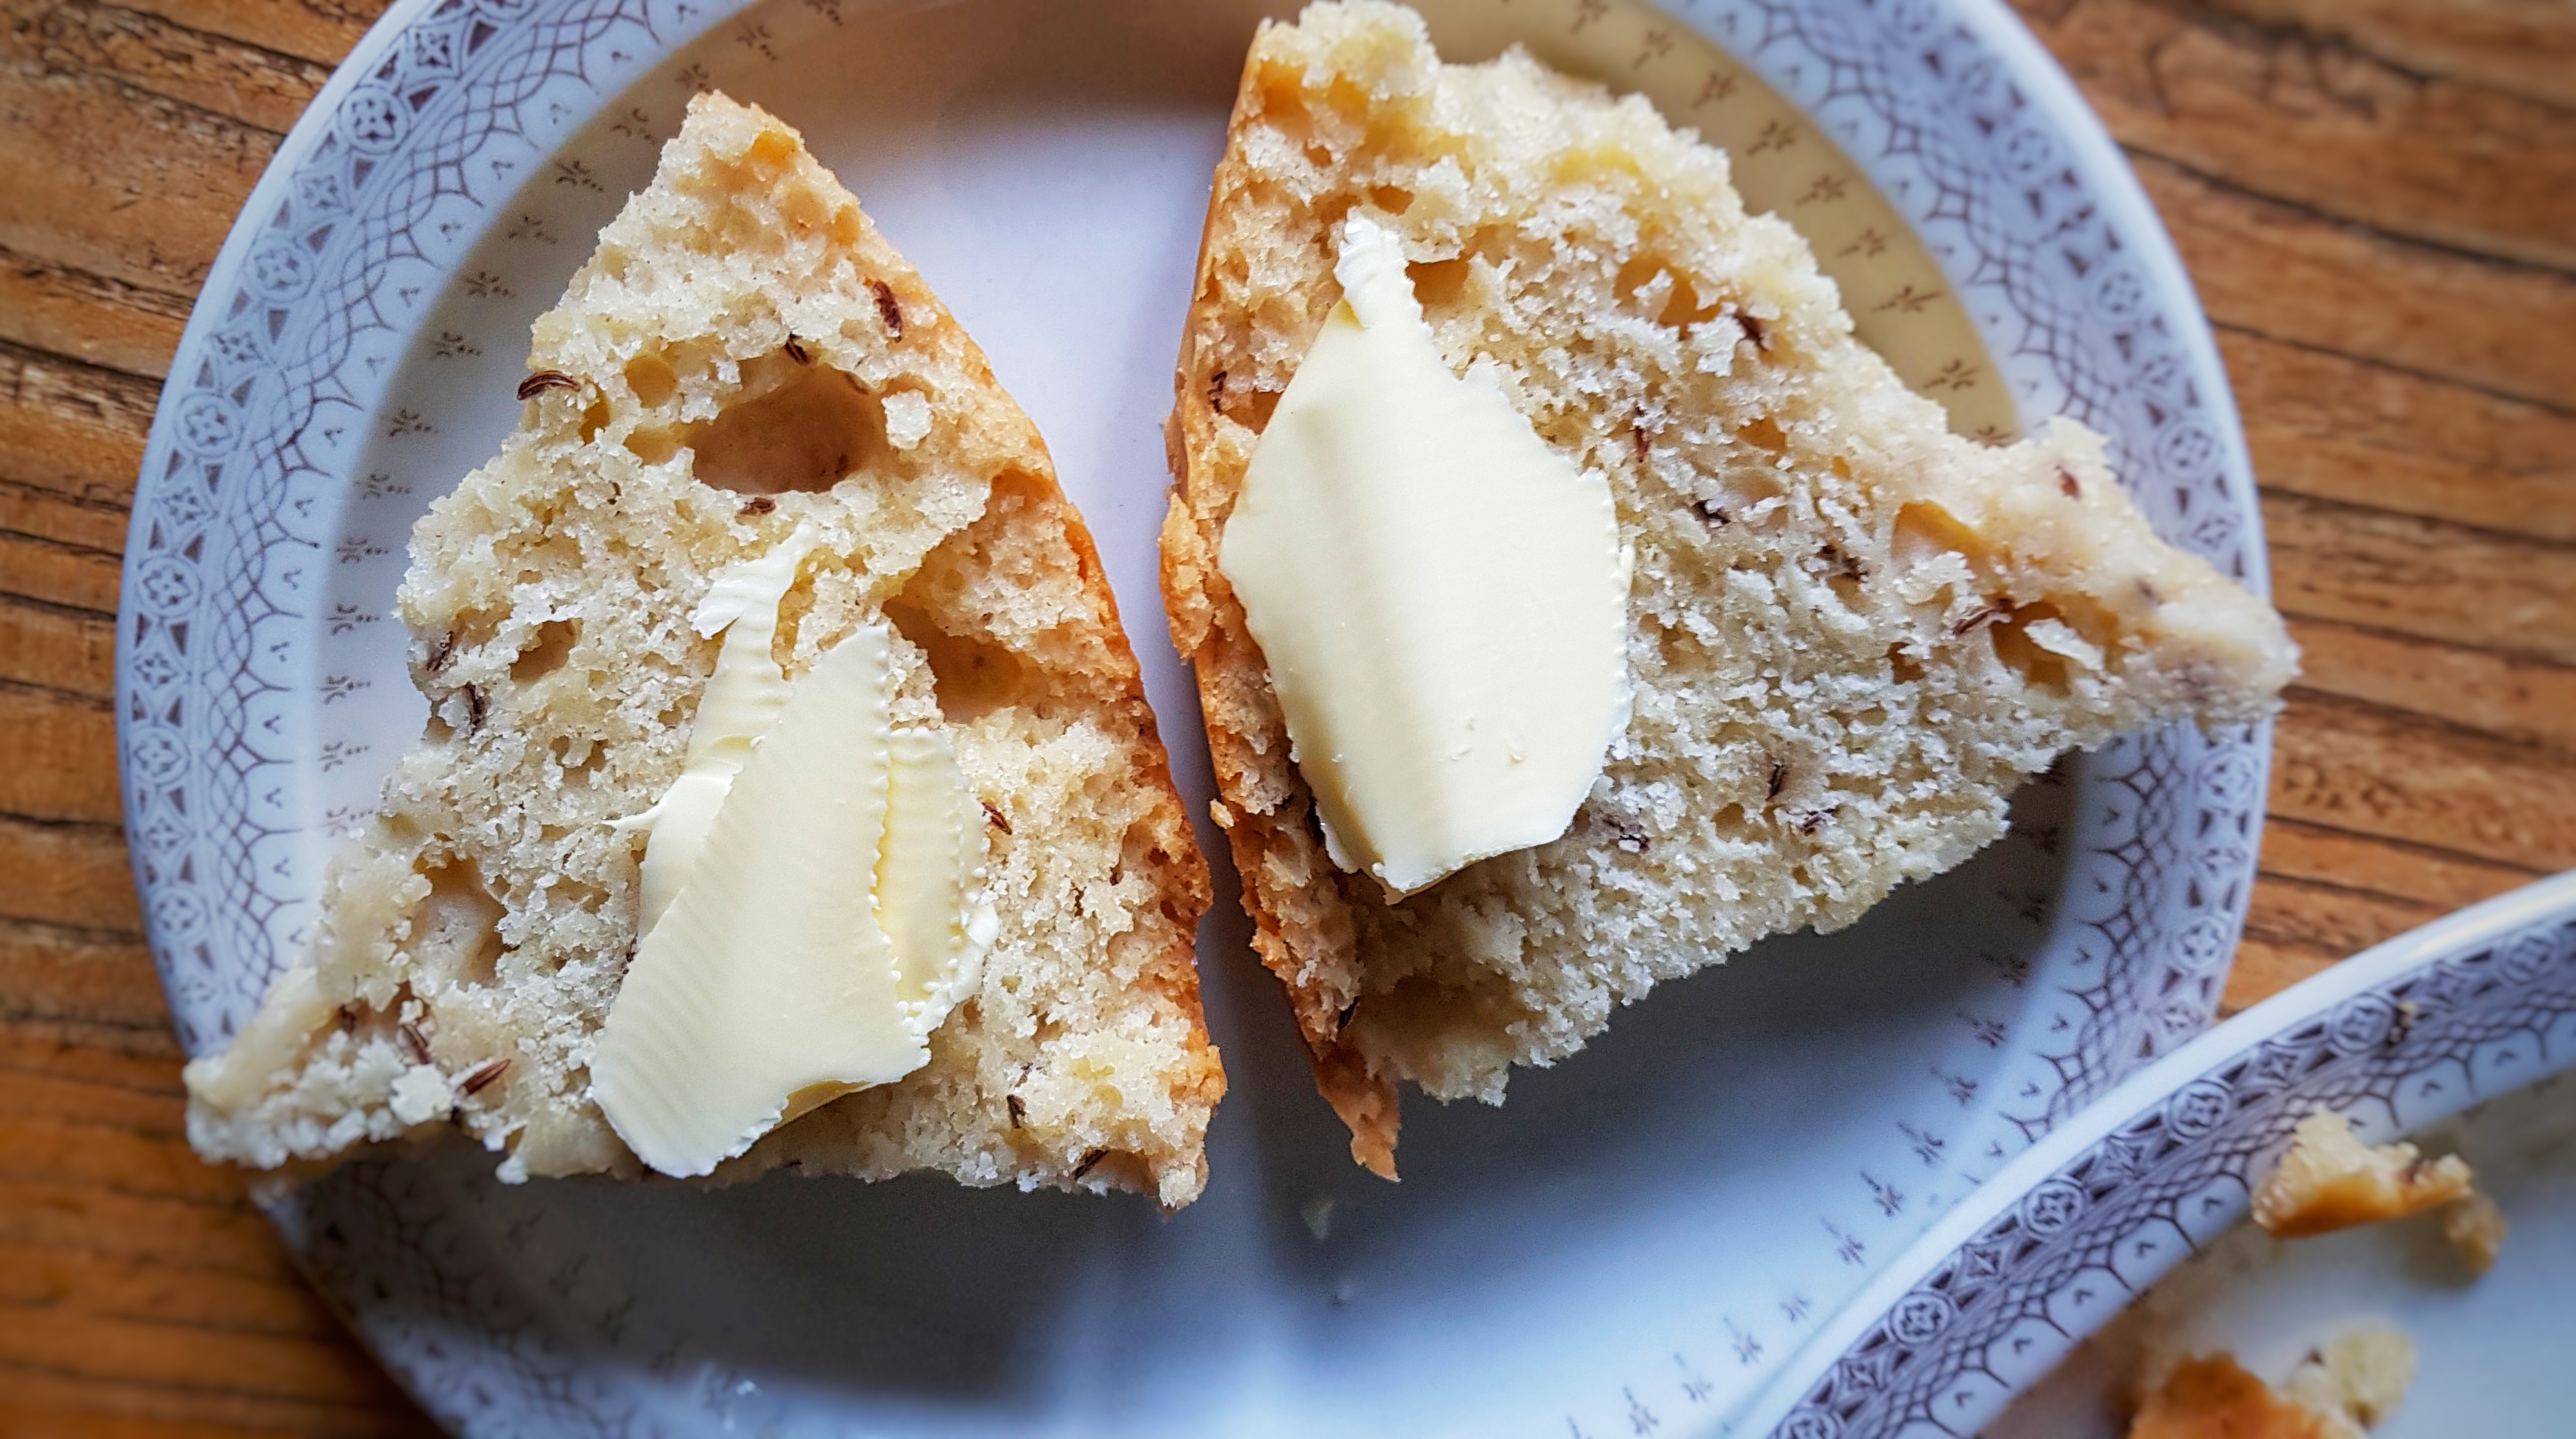
I have been thinking and reading about baked goods rather a lot this year, having written Knead to Know: A History of Baking (out 12 September, preorder here). One thing I mention in the book is the activity we in Britain no longer partake in: dipping little sponge cakes in sweet alcoholic drinks. The closest we get to this is when we soak them in booze for a trifle, but fewer and fewer of us are making traditional trifles these days, I’d say.[1] Cakes made especially for dipping are well known: financiers, madeleines, boudoir biscuits (which are actually dry cakes). We used to dunk cake in wine though, and even came up with one of our own (the ones listed above are all French in origin); the now rather passe Madeira cake. It’s dismissed as a rather dry, plain sponge cake,[2] and perhaps it is, but that’s because we are no longer consuming it in the way it was designed to be, as Jane Grigson tells us in English Food, ‘this cake was served with Madeira and other sweet wines in the nineteenth century.’[3]
Madeira is a sweet wine made on the island of the same name (sugar was made there in the early modern period[4]), and it was a popular export to Britain from the seventeenth century.[5] The first time recipes for cakes specifically made for dipping in wine pop up in handwritten manuscripts from the eighteenth century, and the first printed recipe for Madeira cake (according to Laura Mason and Catherine Brown) appears in Eliza Acton’s 1845 classic Modern Cookery for Private Families.[6]
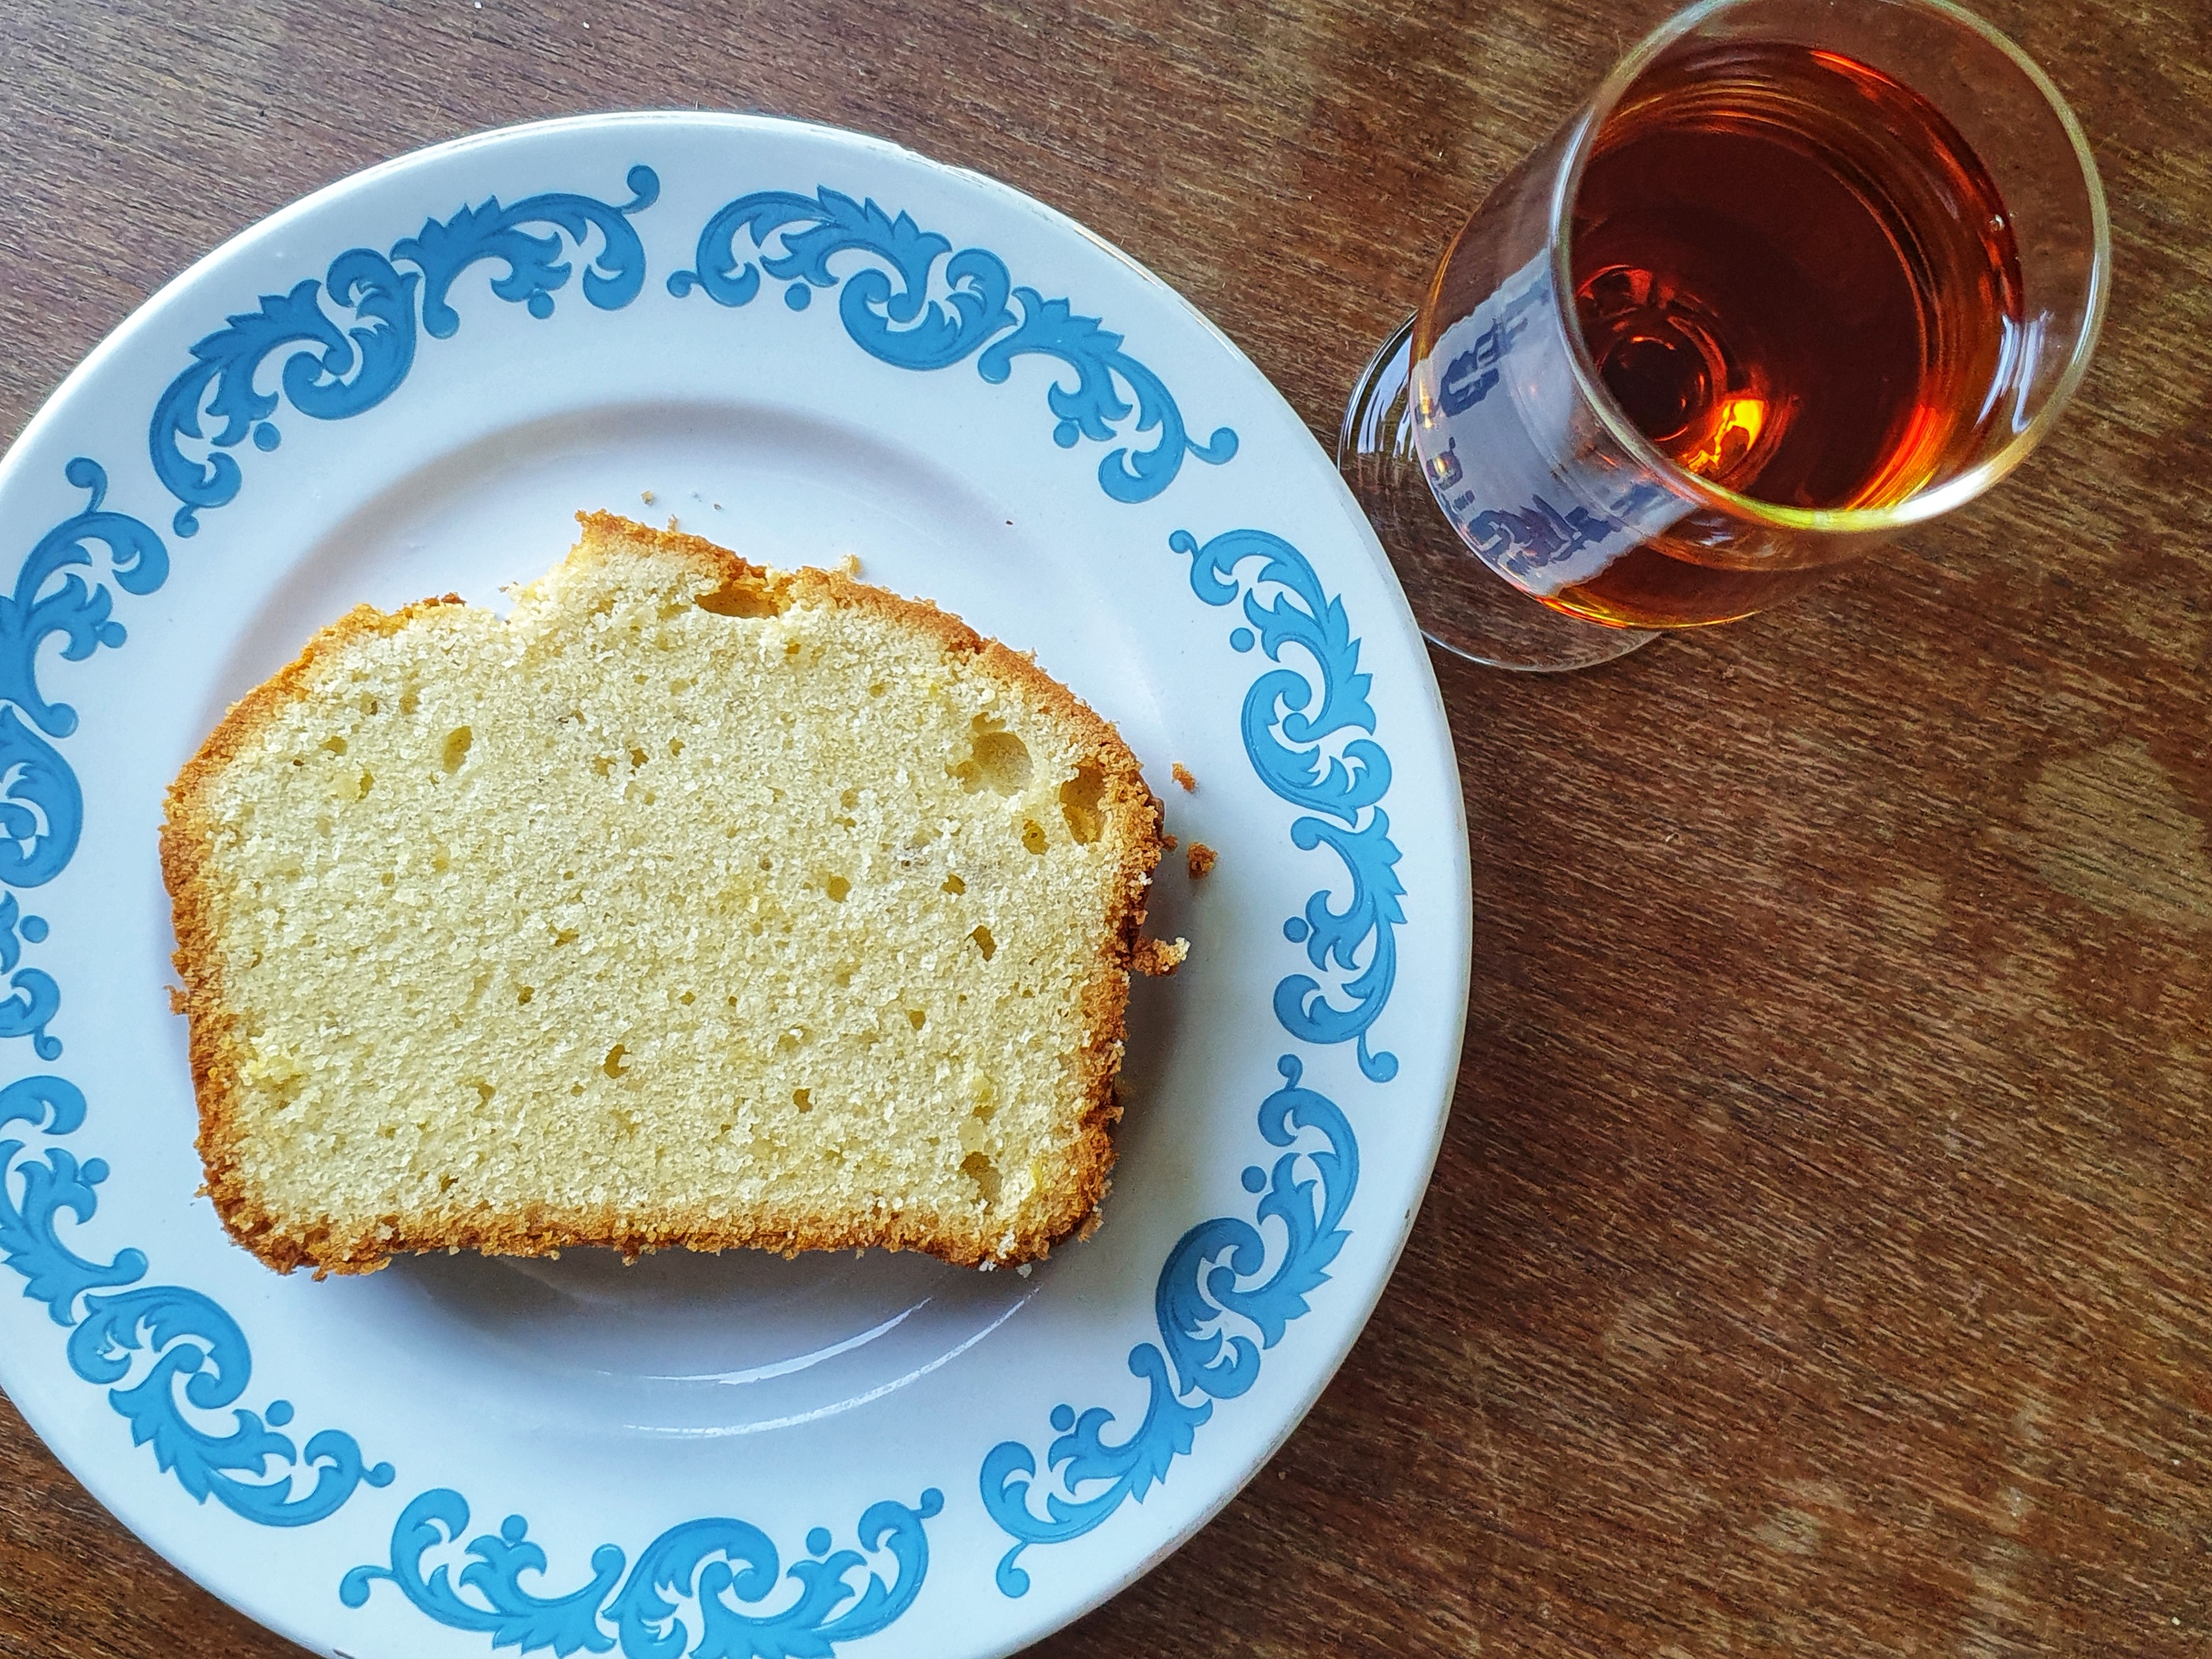
To produce a cake that can be successfully dipped without breaking up, it must be made on the dry side compared to, say, a pound cake or Victoria sponge: more flour is used, and no extra liquid is added (there’s no dropping consistency here). Whilst searching the internet for recipes, I spotted that people commonly search for ‘moist Madeira cake’ recipes. Well there is no such thing, it isn’t supposed to be moist. Yes, there are recipes to be found on the internet for apparently moist Madeira cakes that include additional ground almonds, milk and/or a reduced amount of flour. Well, you can do that, of course – be my guest, it will be delicious I’m sure – but it will no longer be a Madeira cake.
Creating lift is very important when it comes to sponge cake-making, and in Eliza Acton’s recipe, it is achieved by whisking eggs and sugar until frothy, before folding in flour mixed with a little ‘carbonate of soda’, and then cold, melted butter.[7] We’d call this a genoise-style cake these days. Recipes today use the more familiar creaming method and more raising agent, but don’t be tempted to use self-raising flour – that would give the mixture too much of a boost; we’re aiming for small, densely packed, bubbles here, so a more restrained amount of baking powder is required.
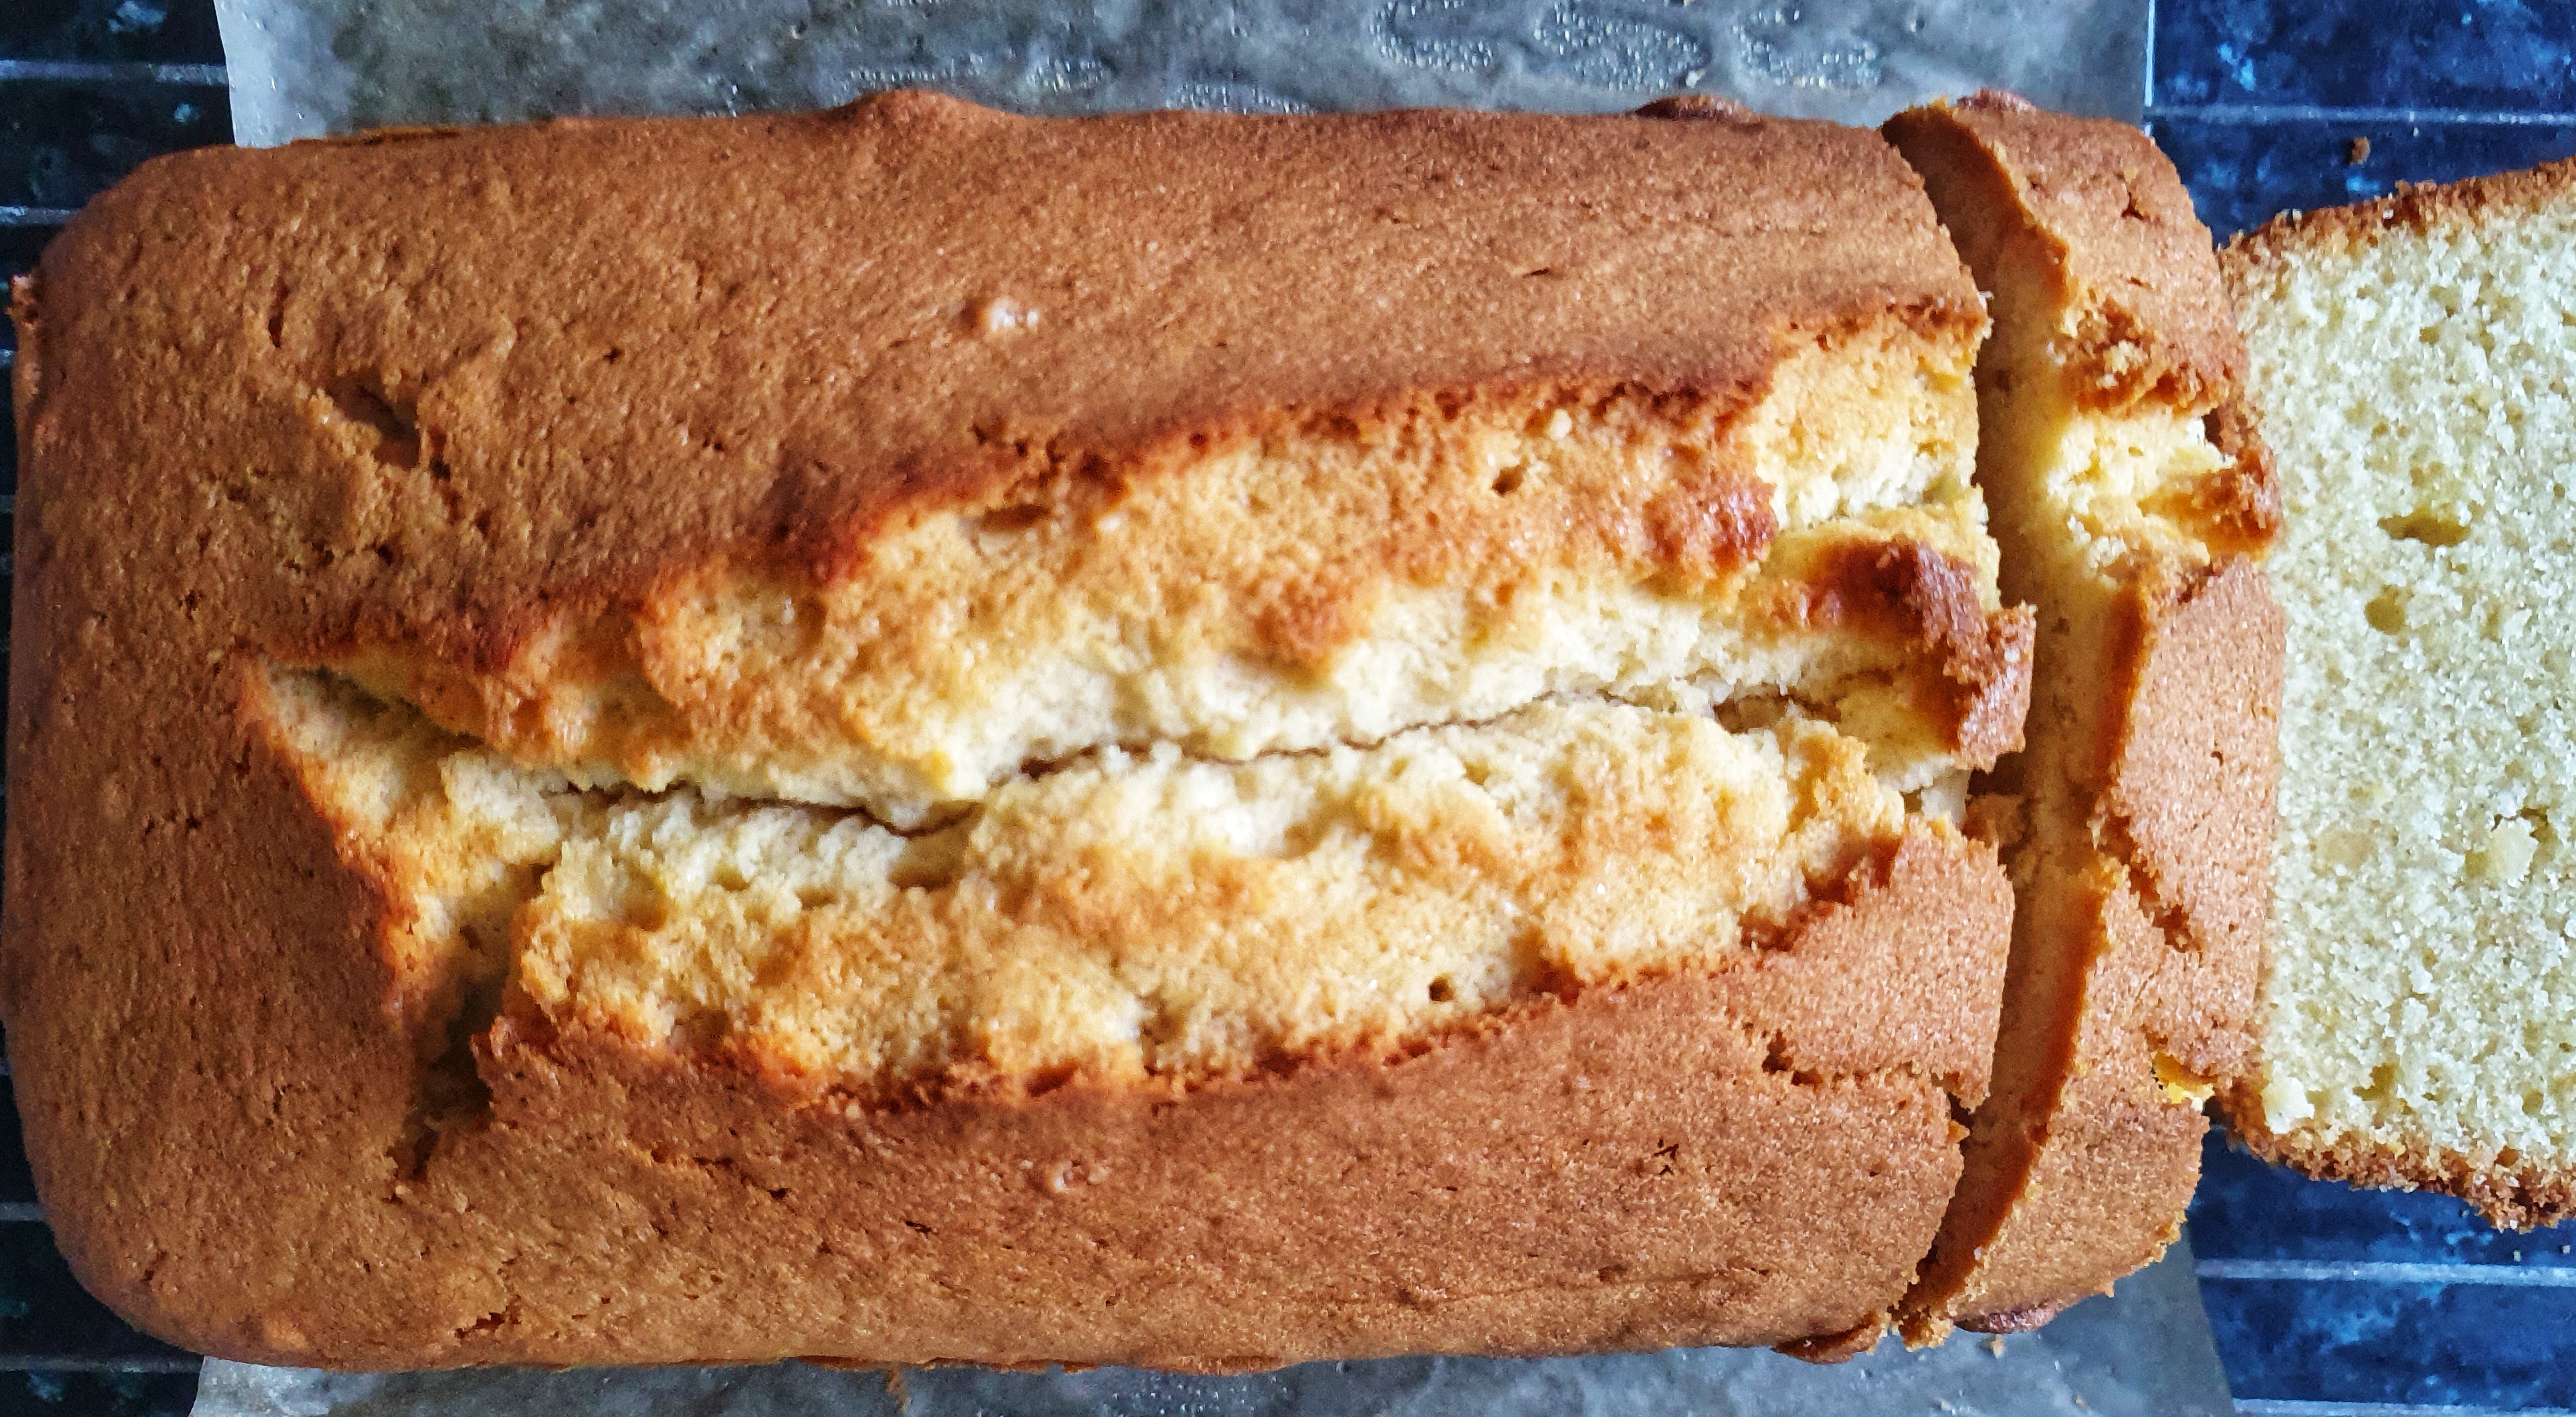
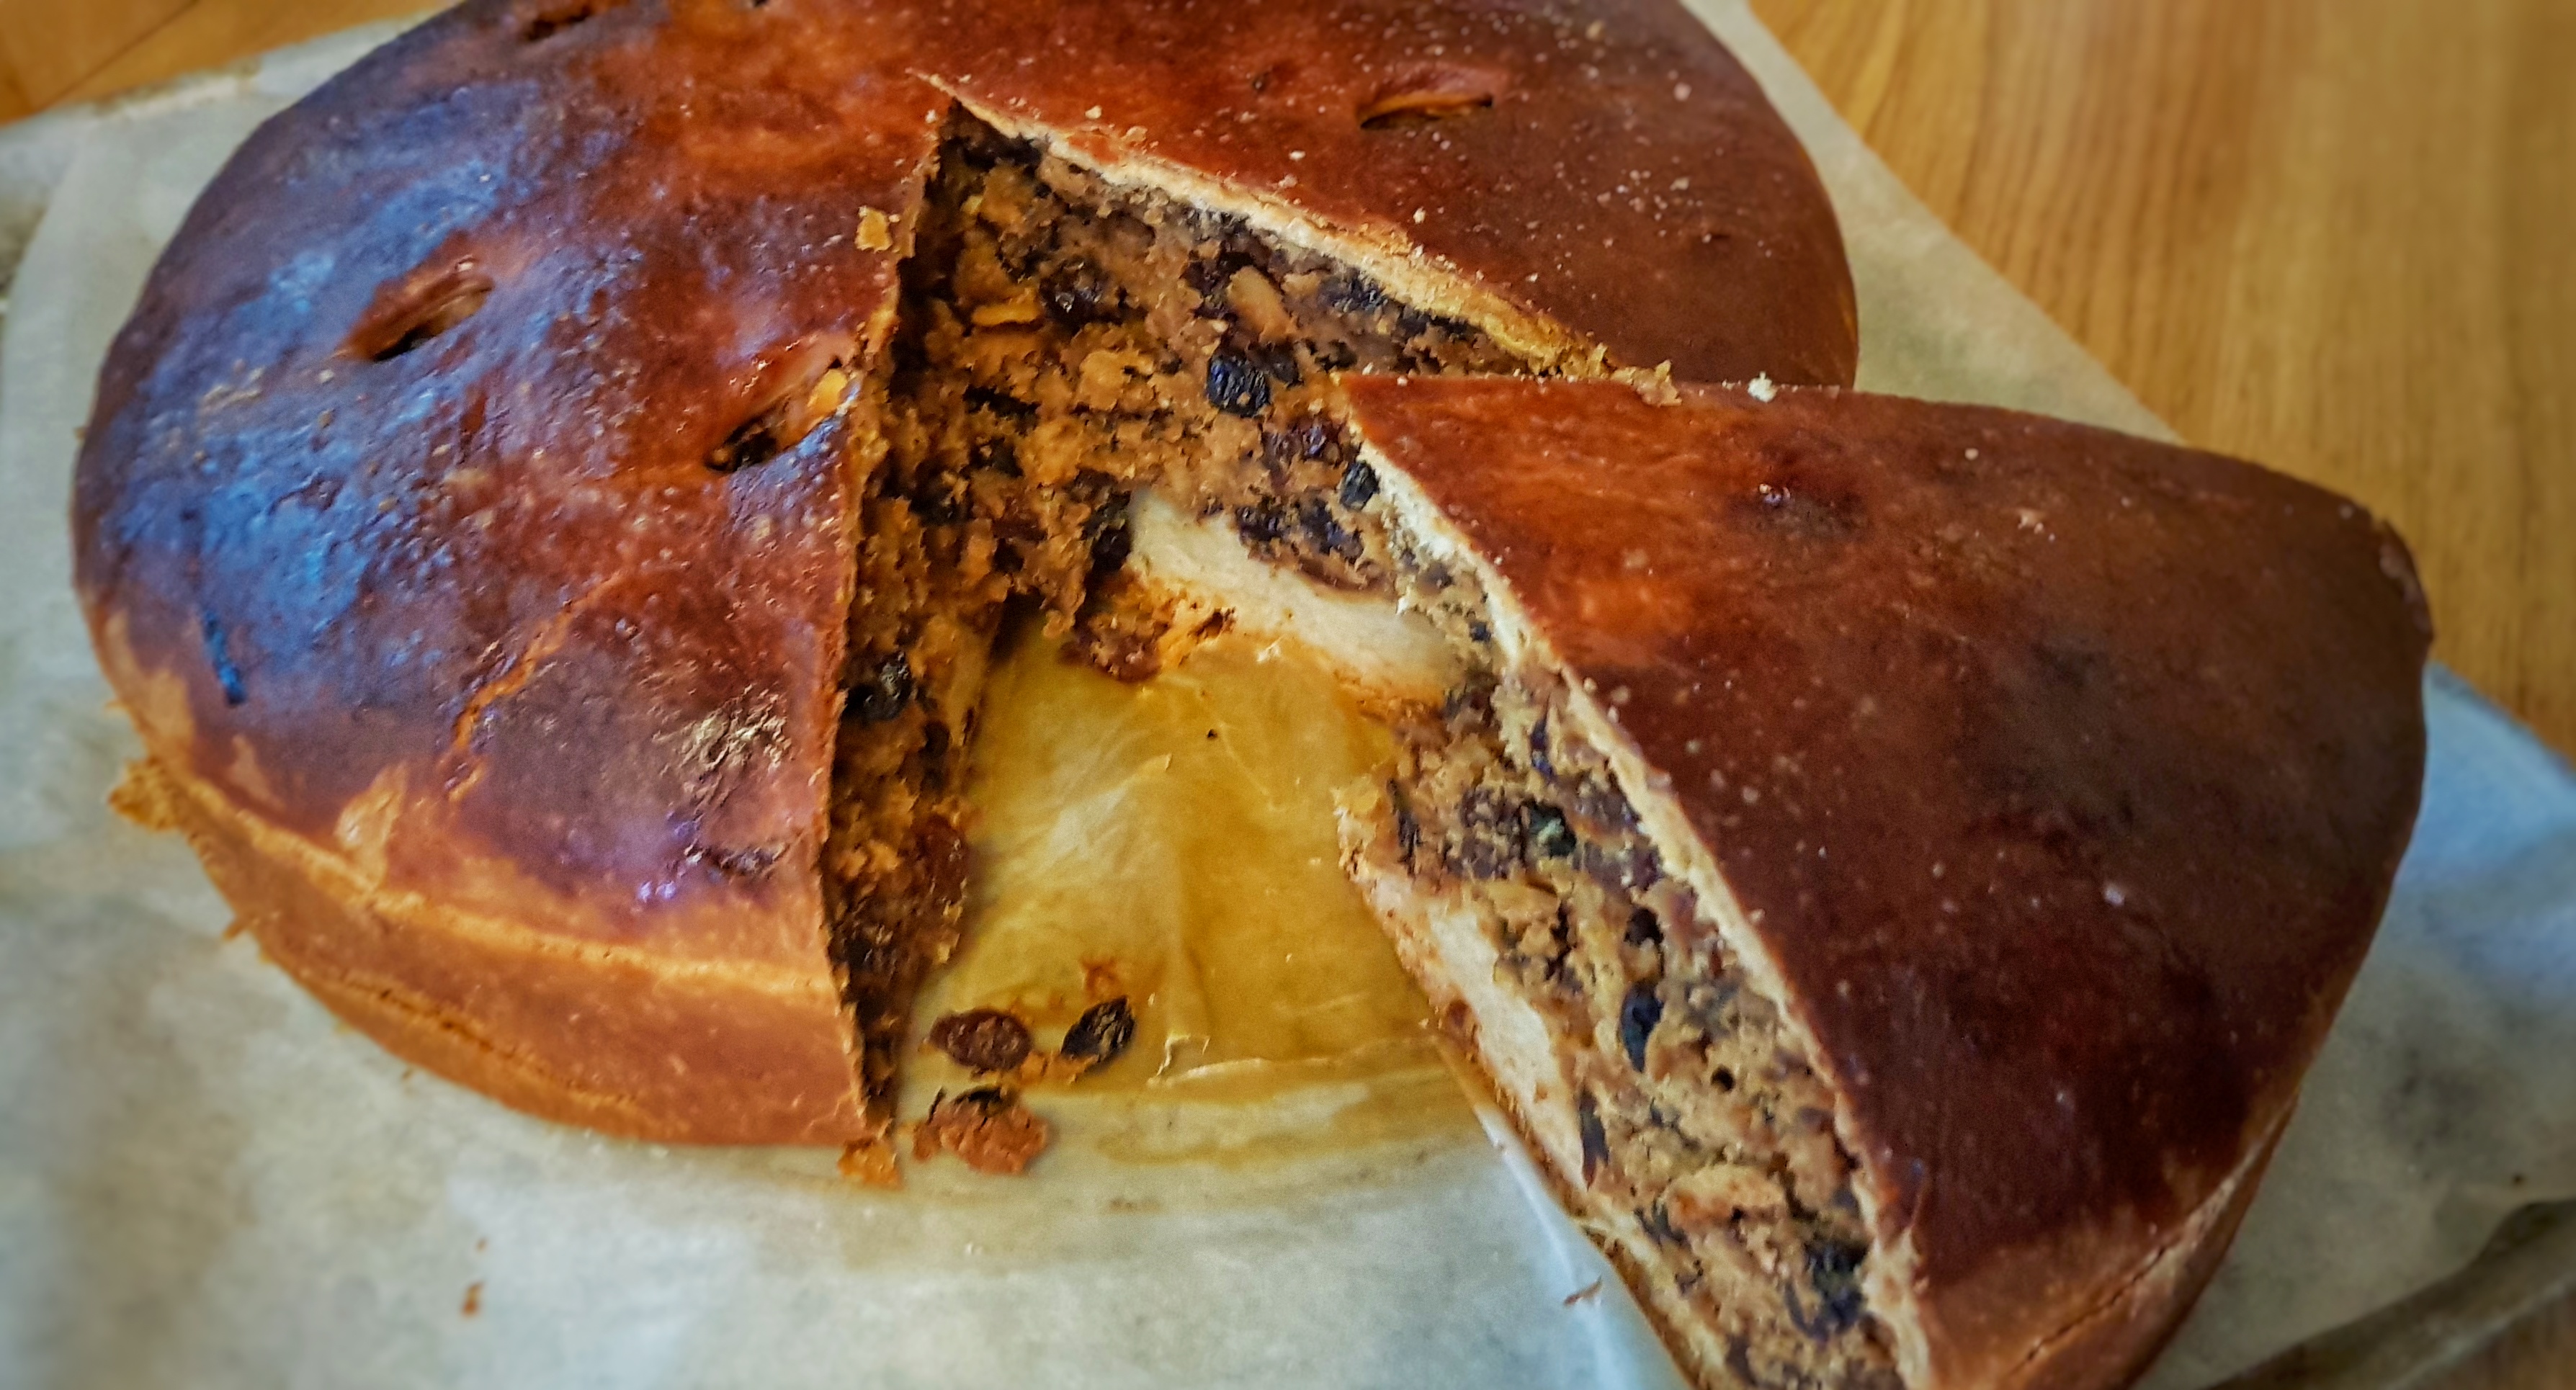
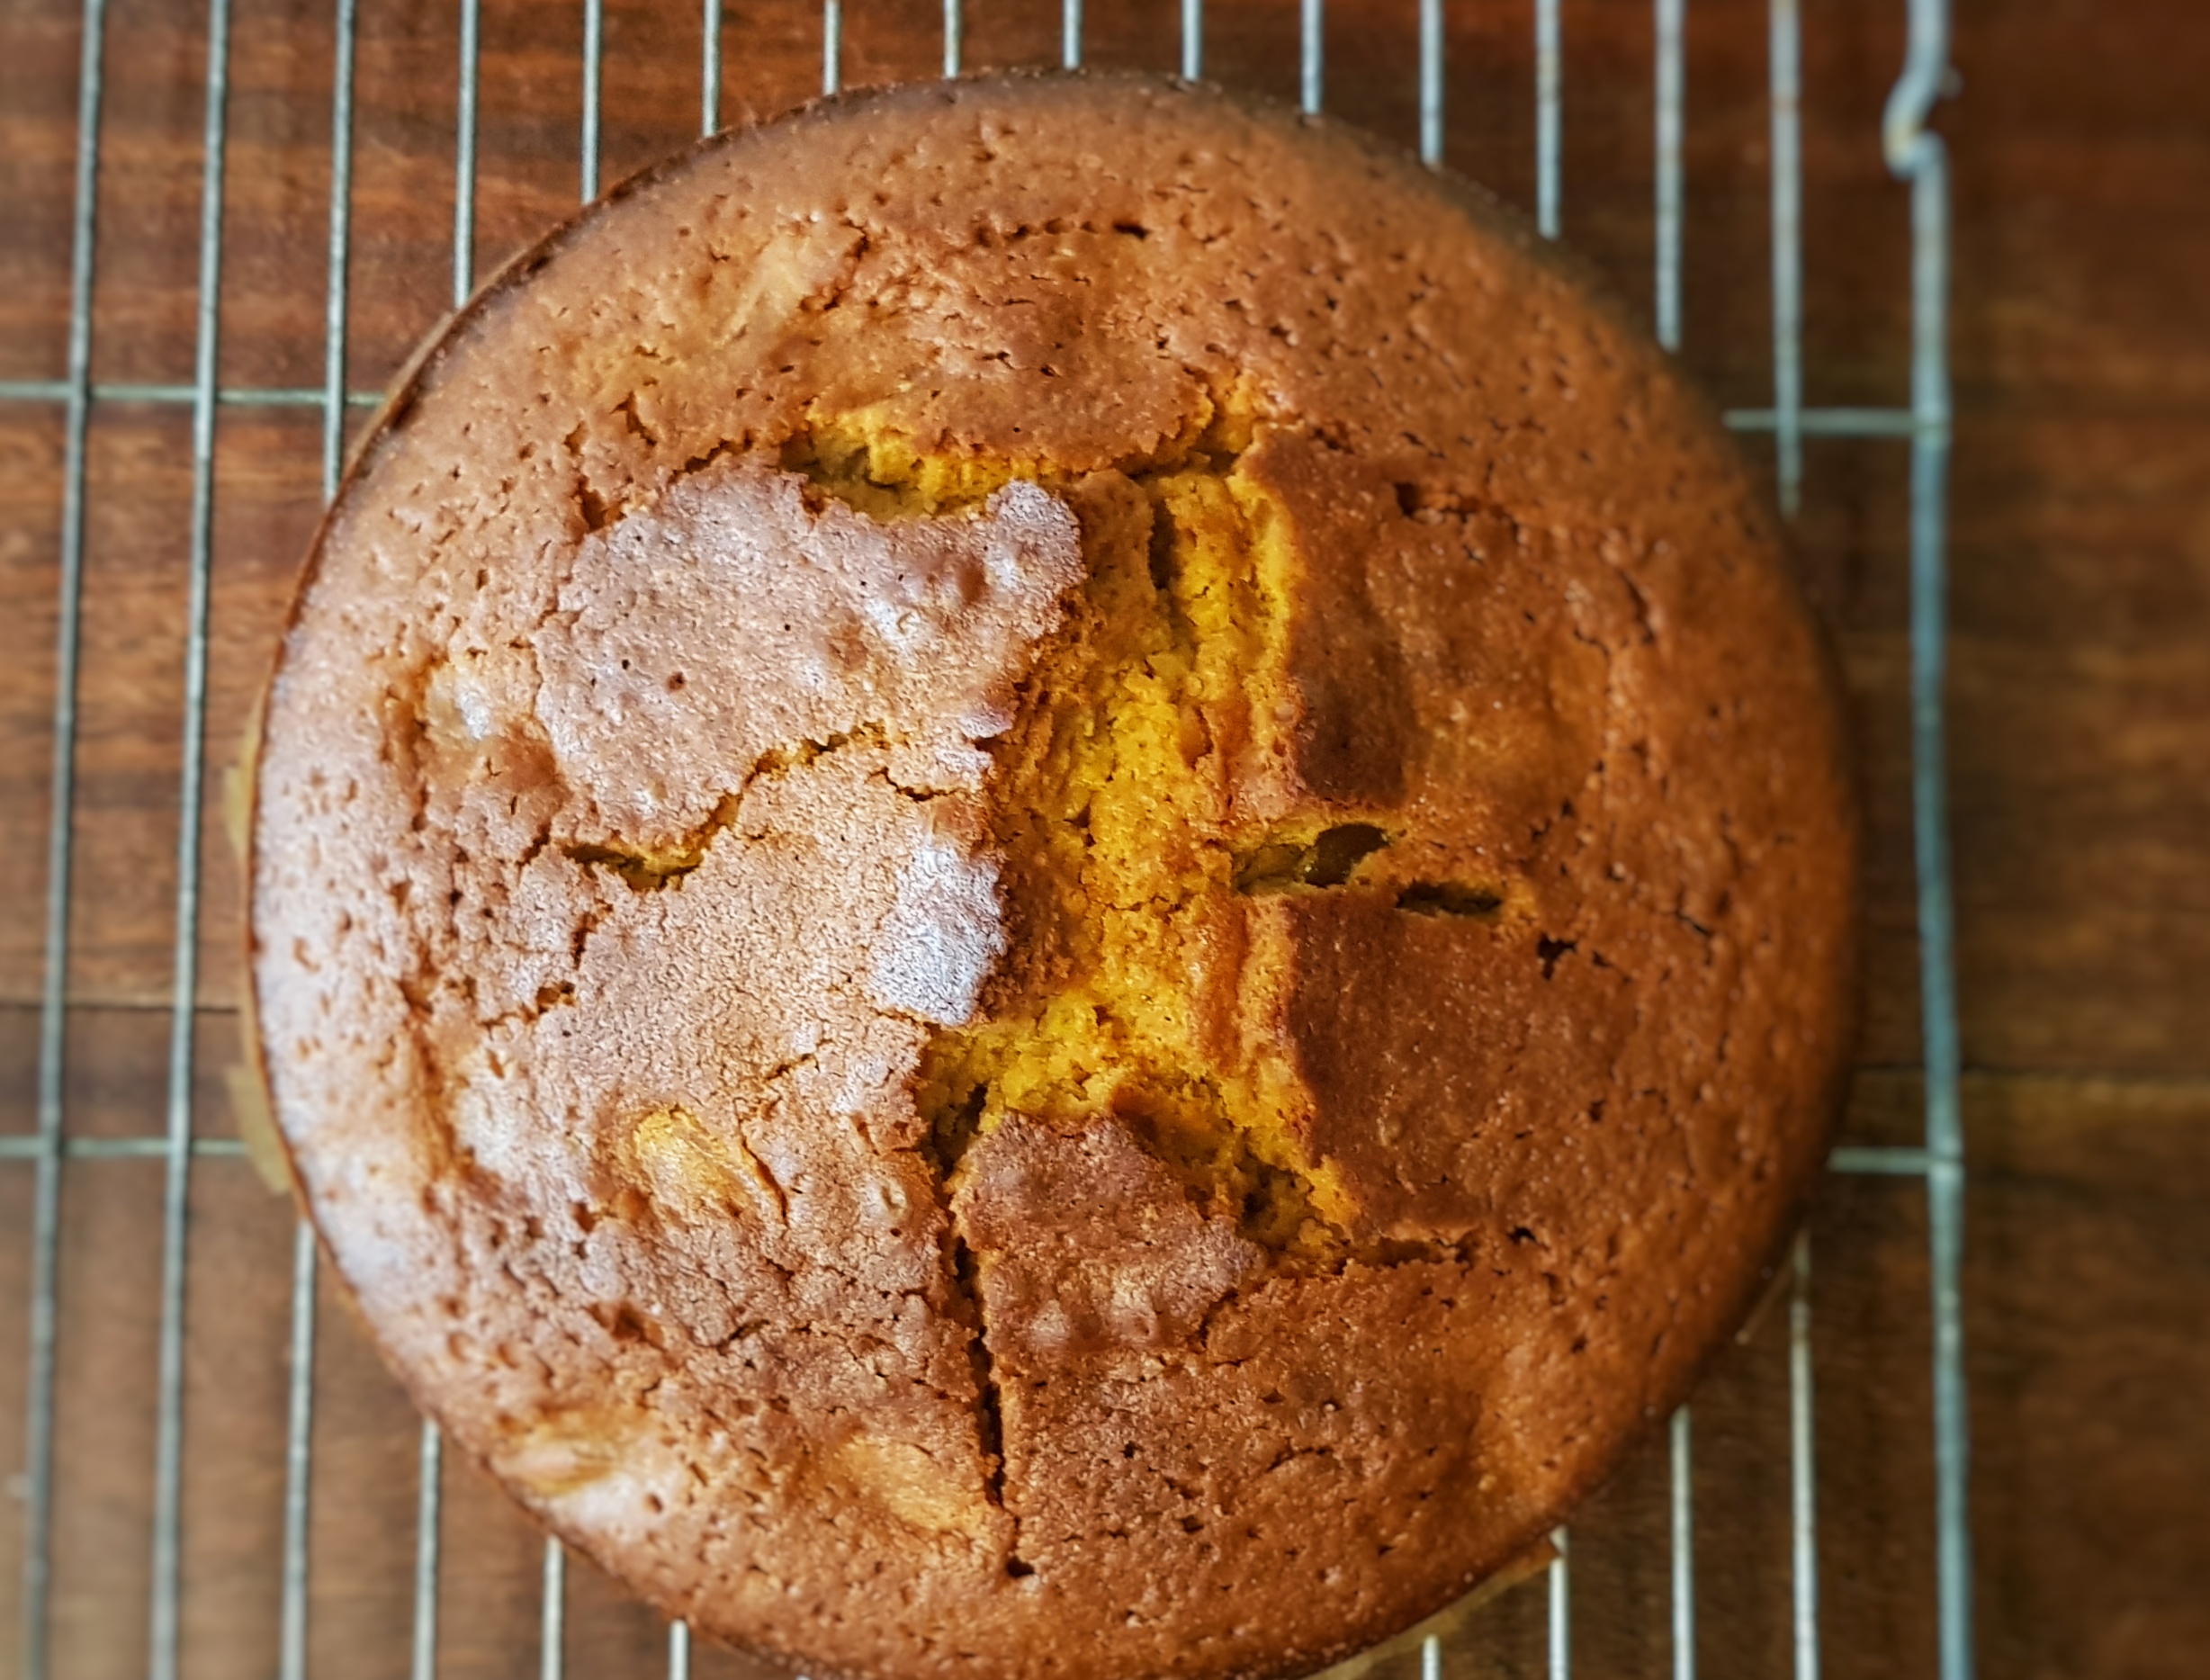
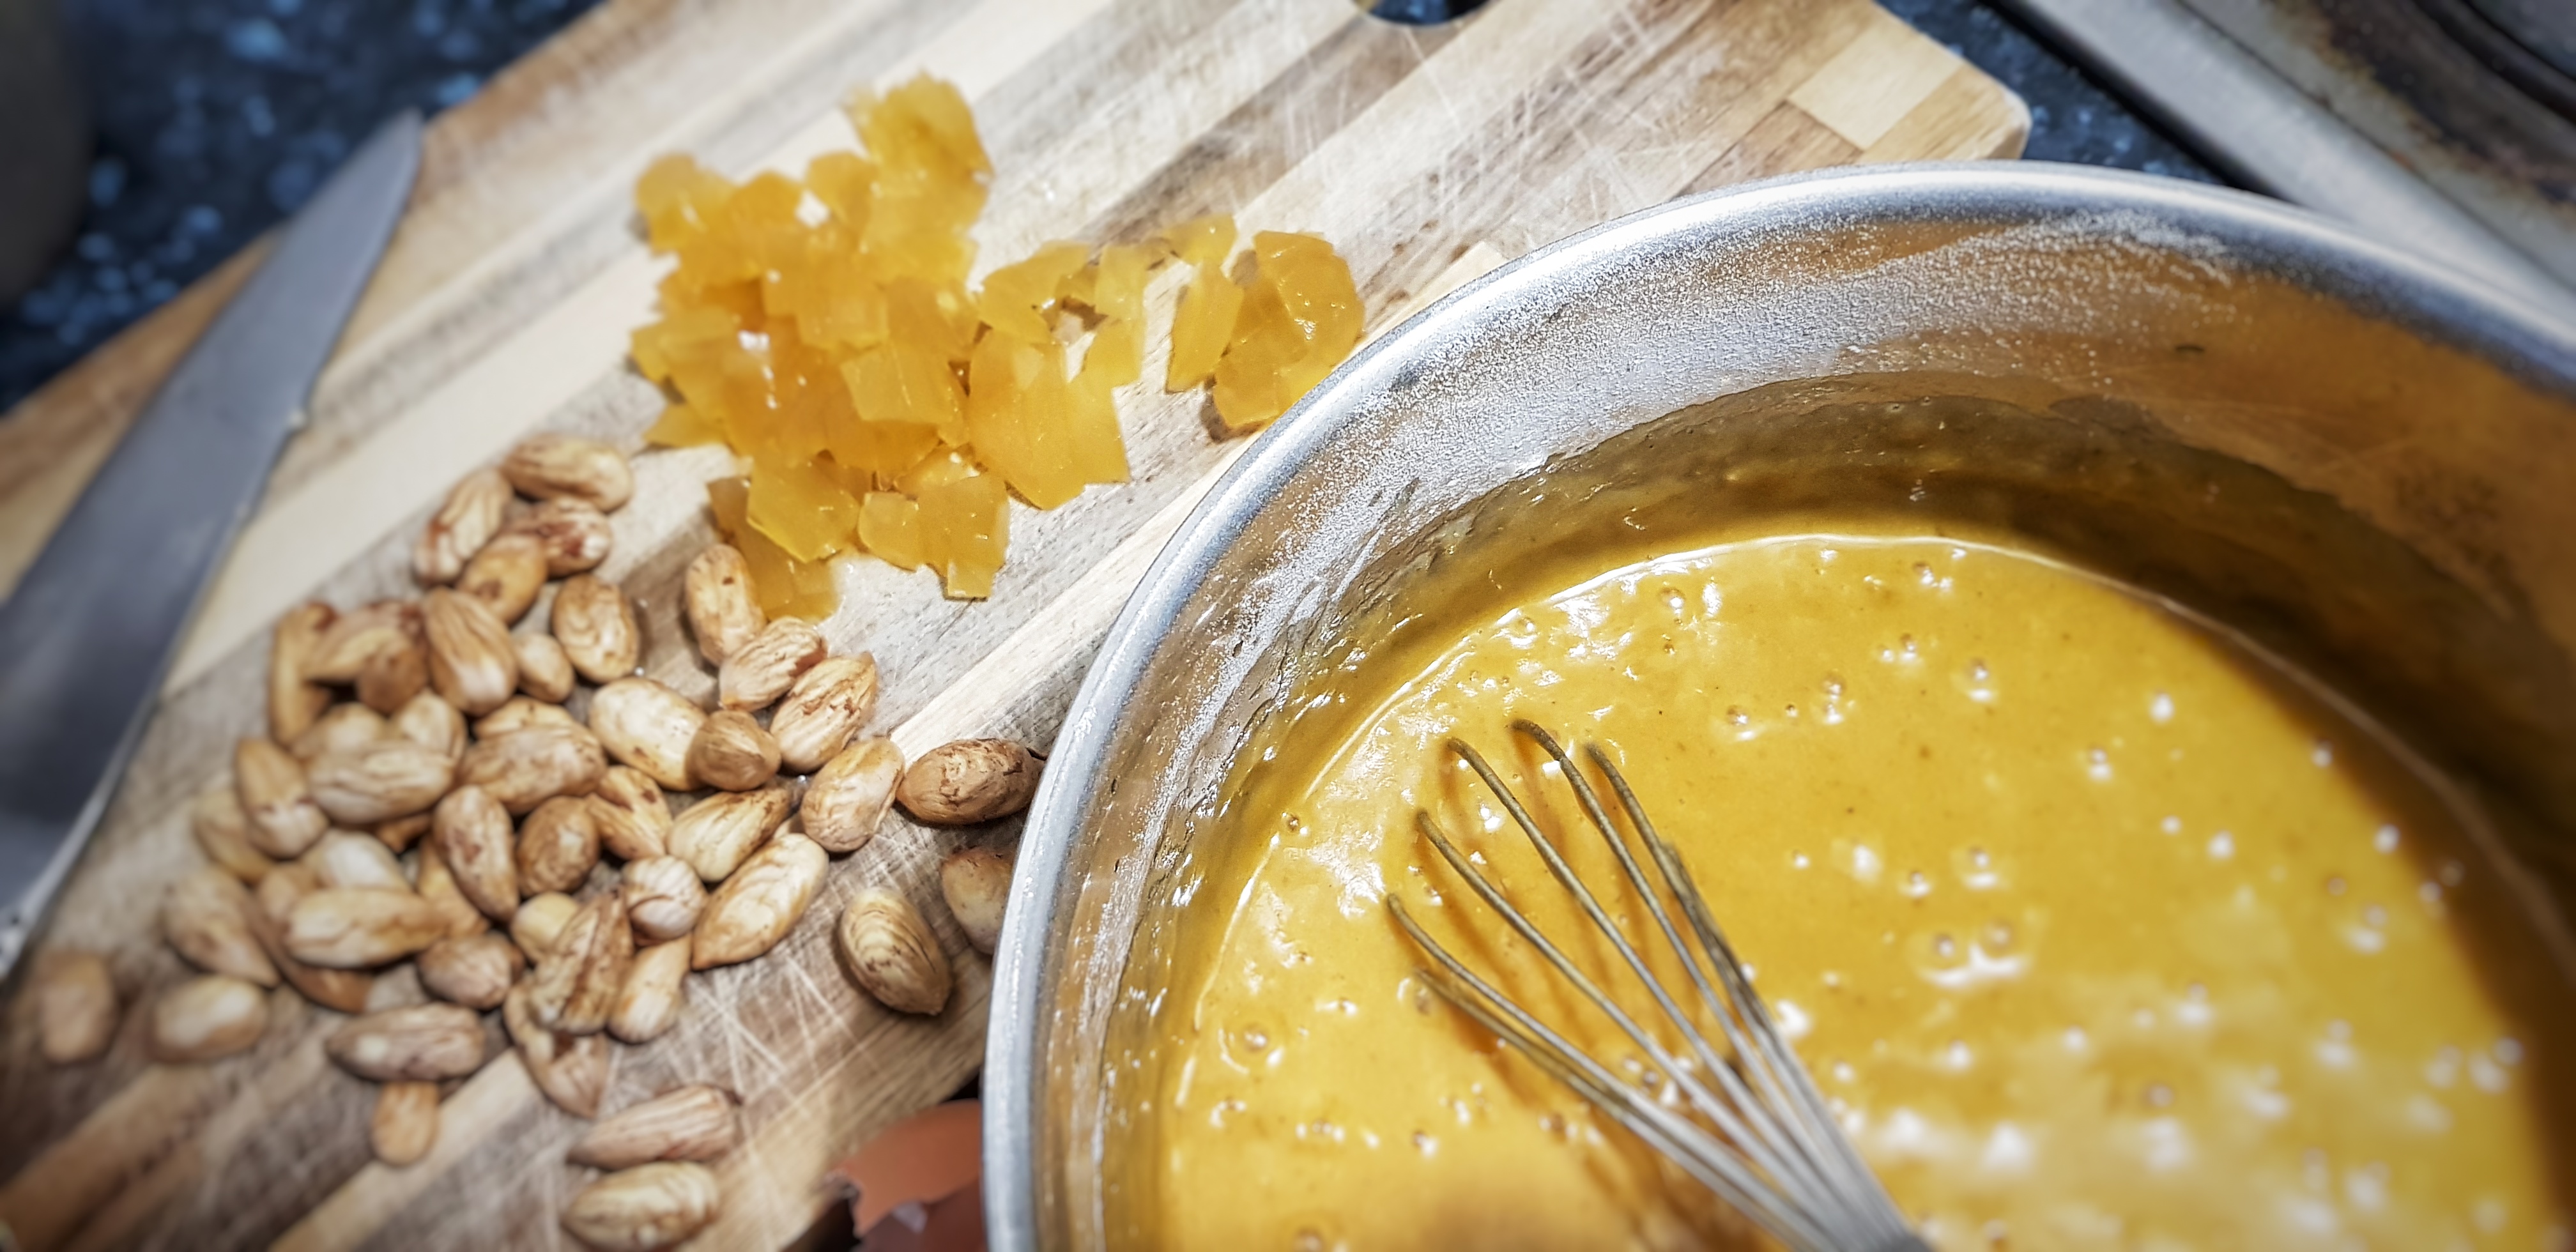
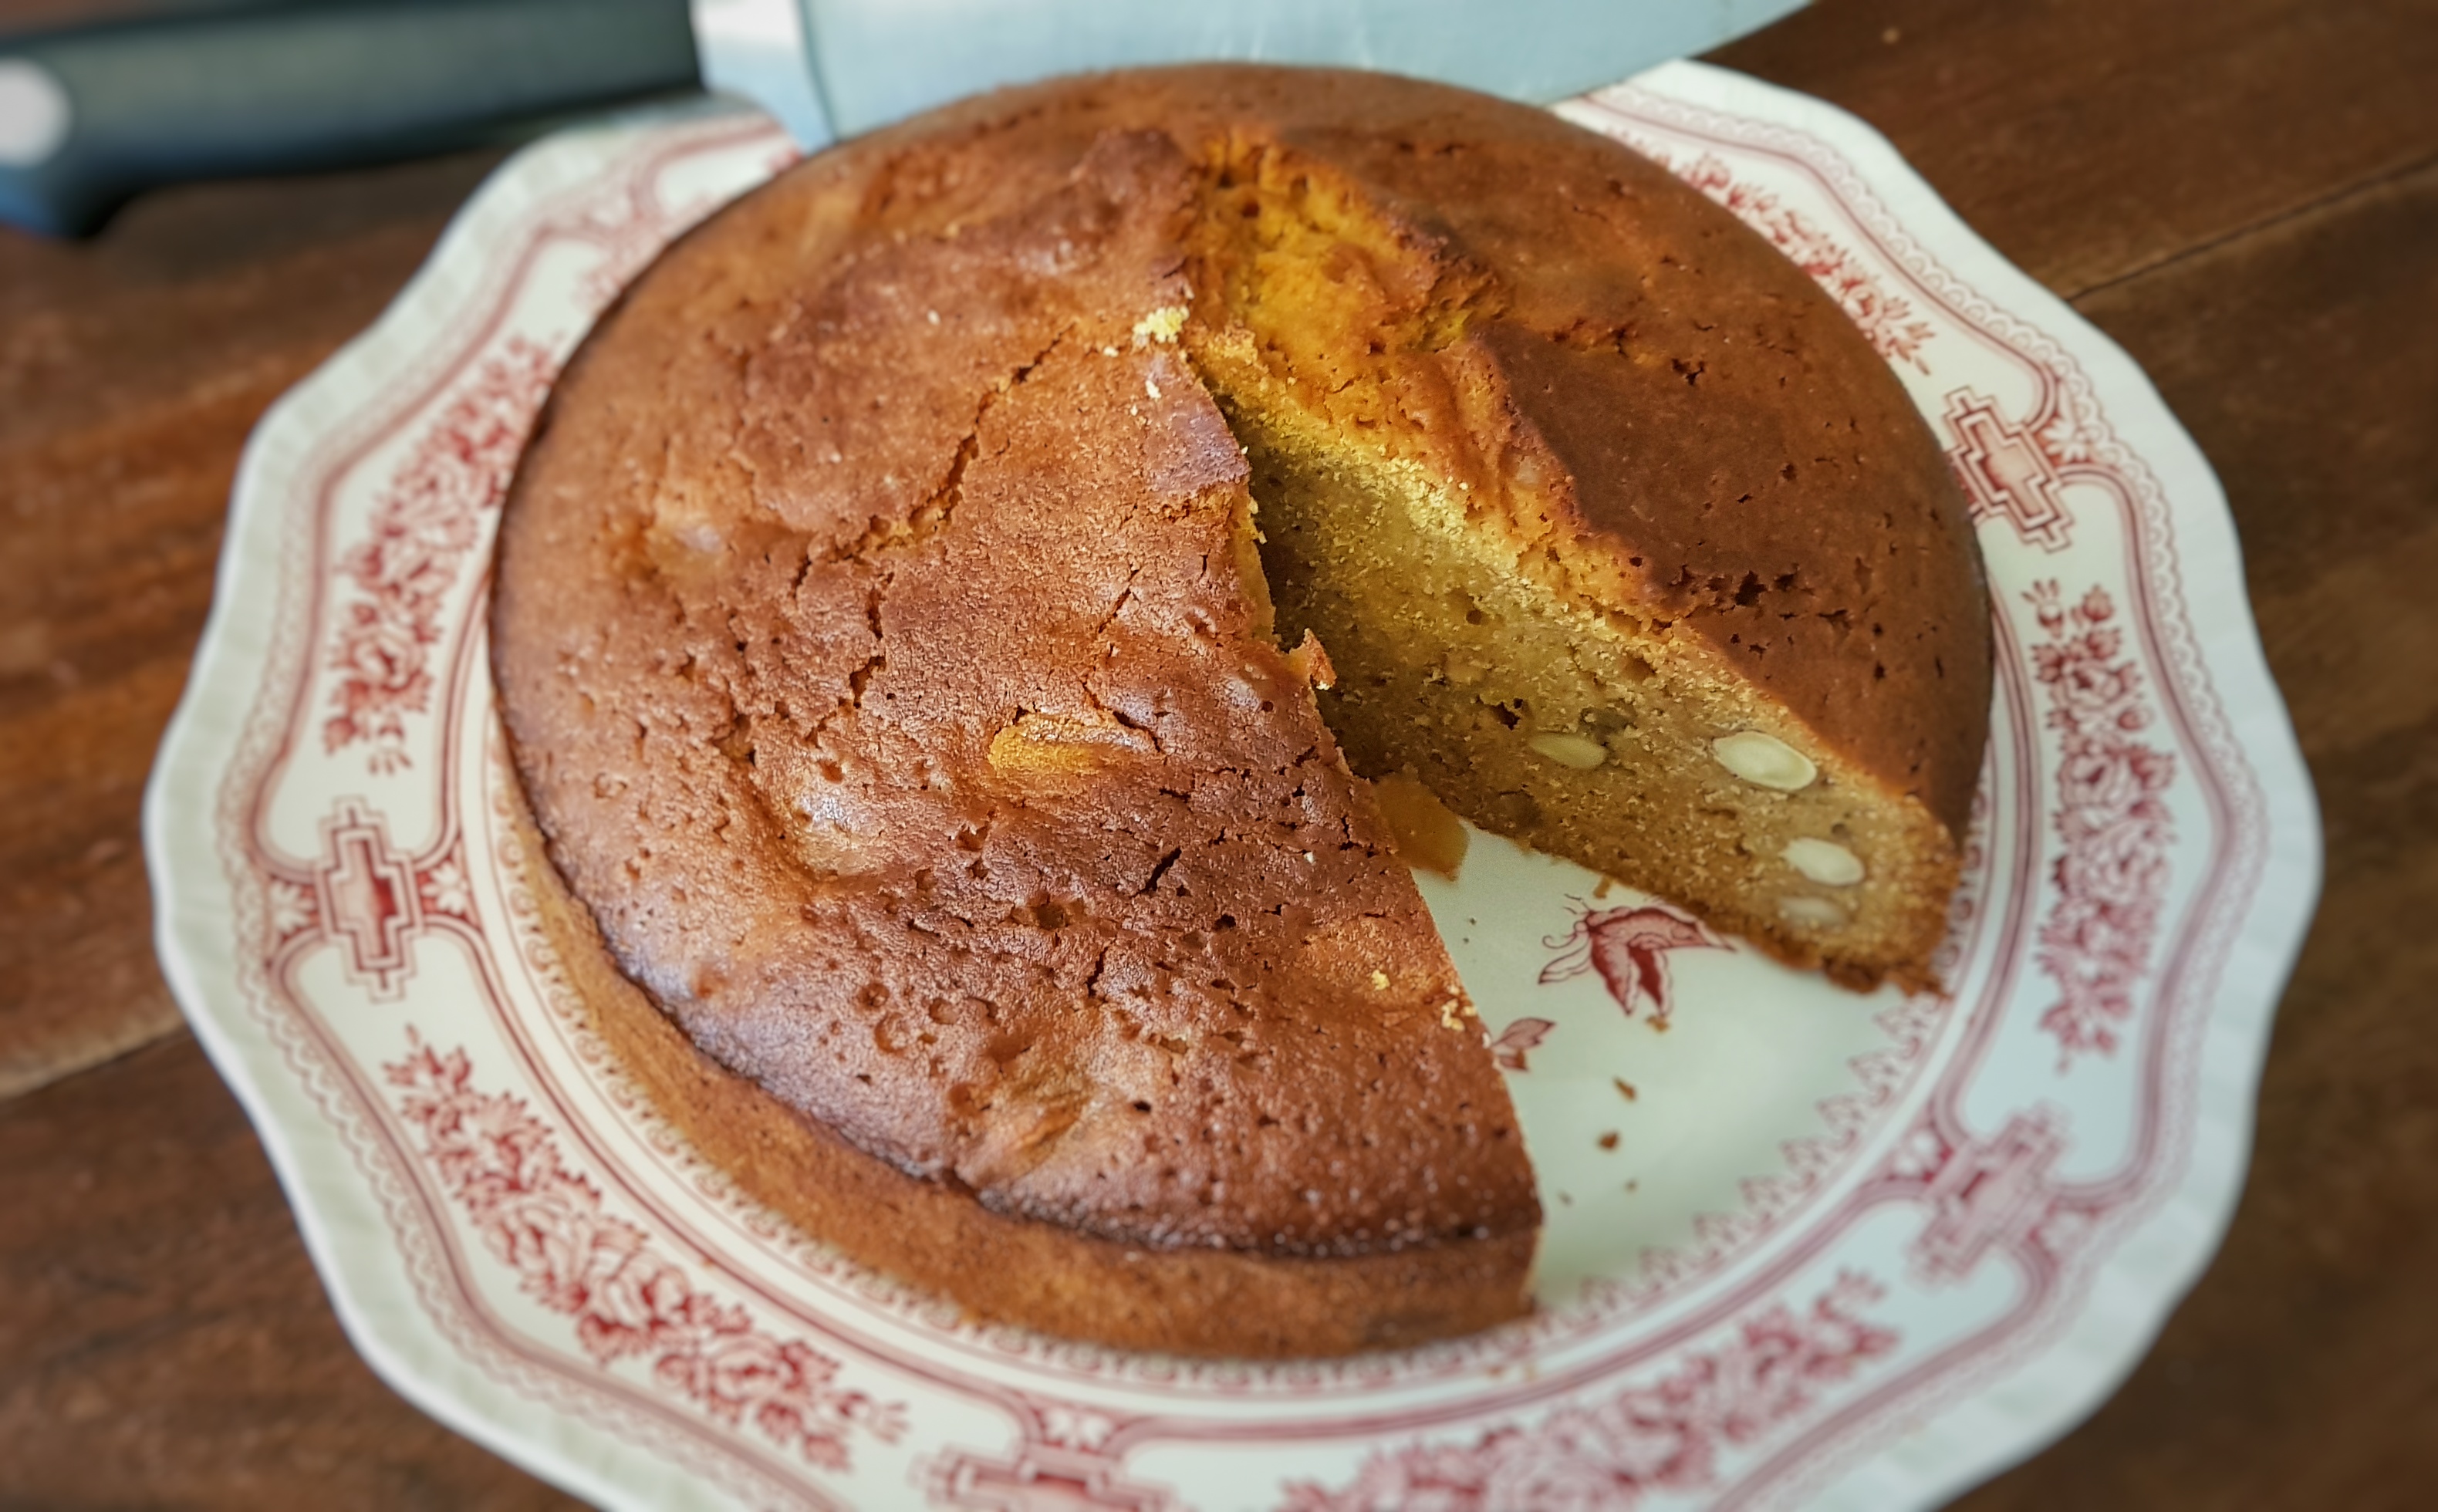
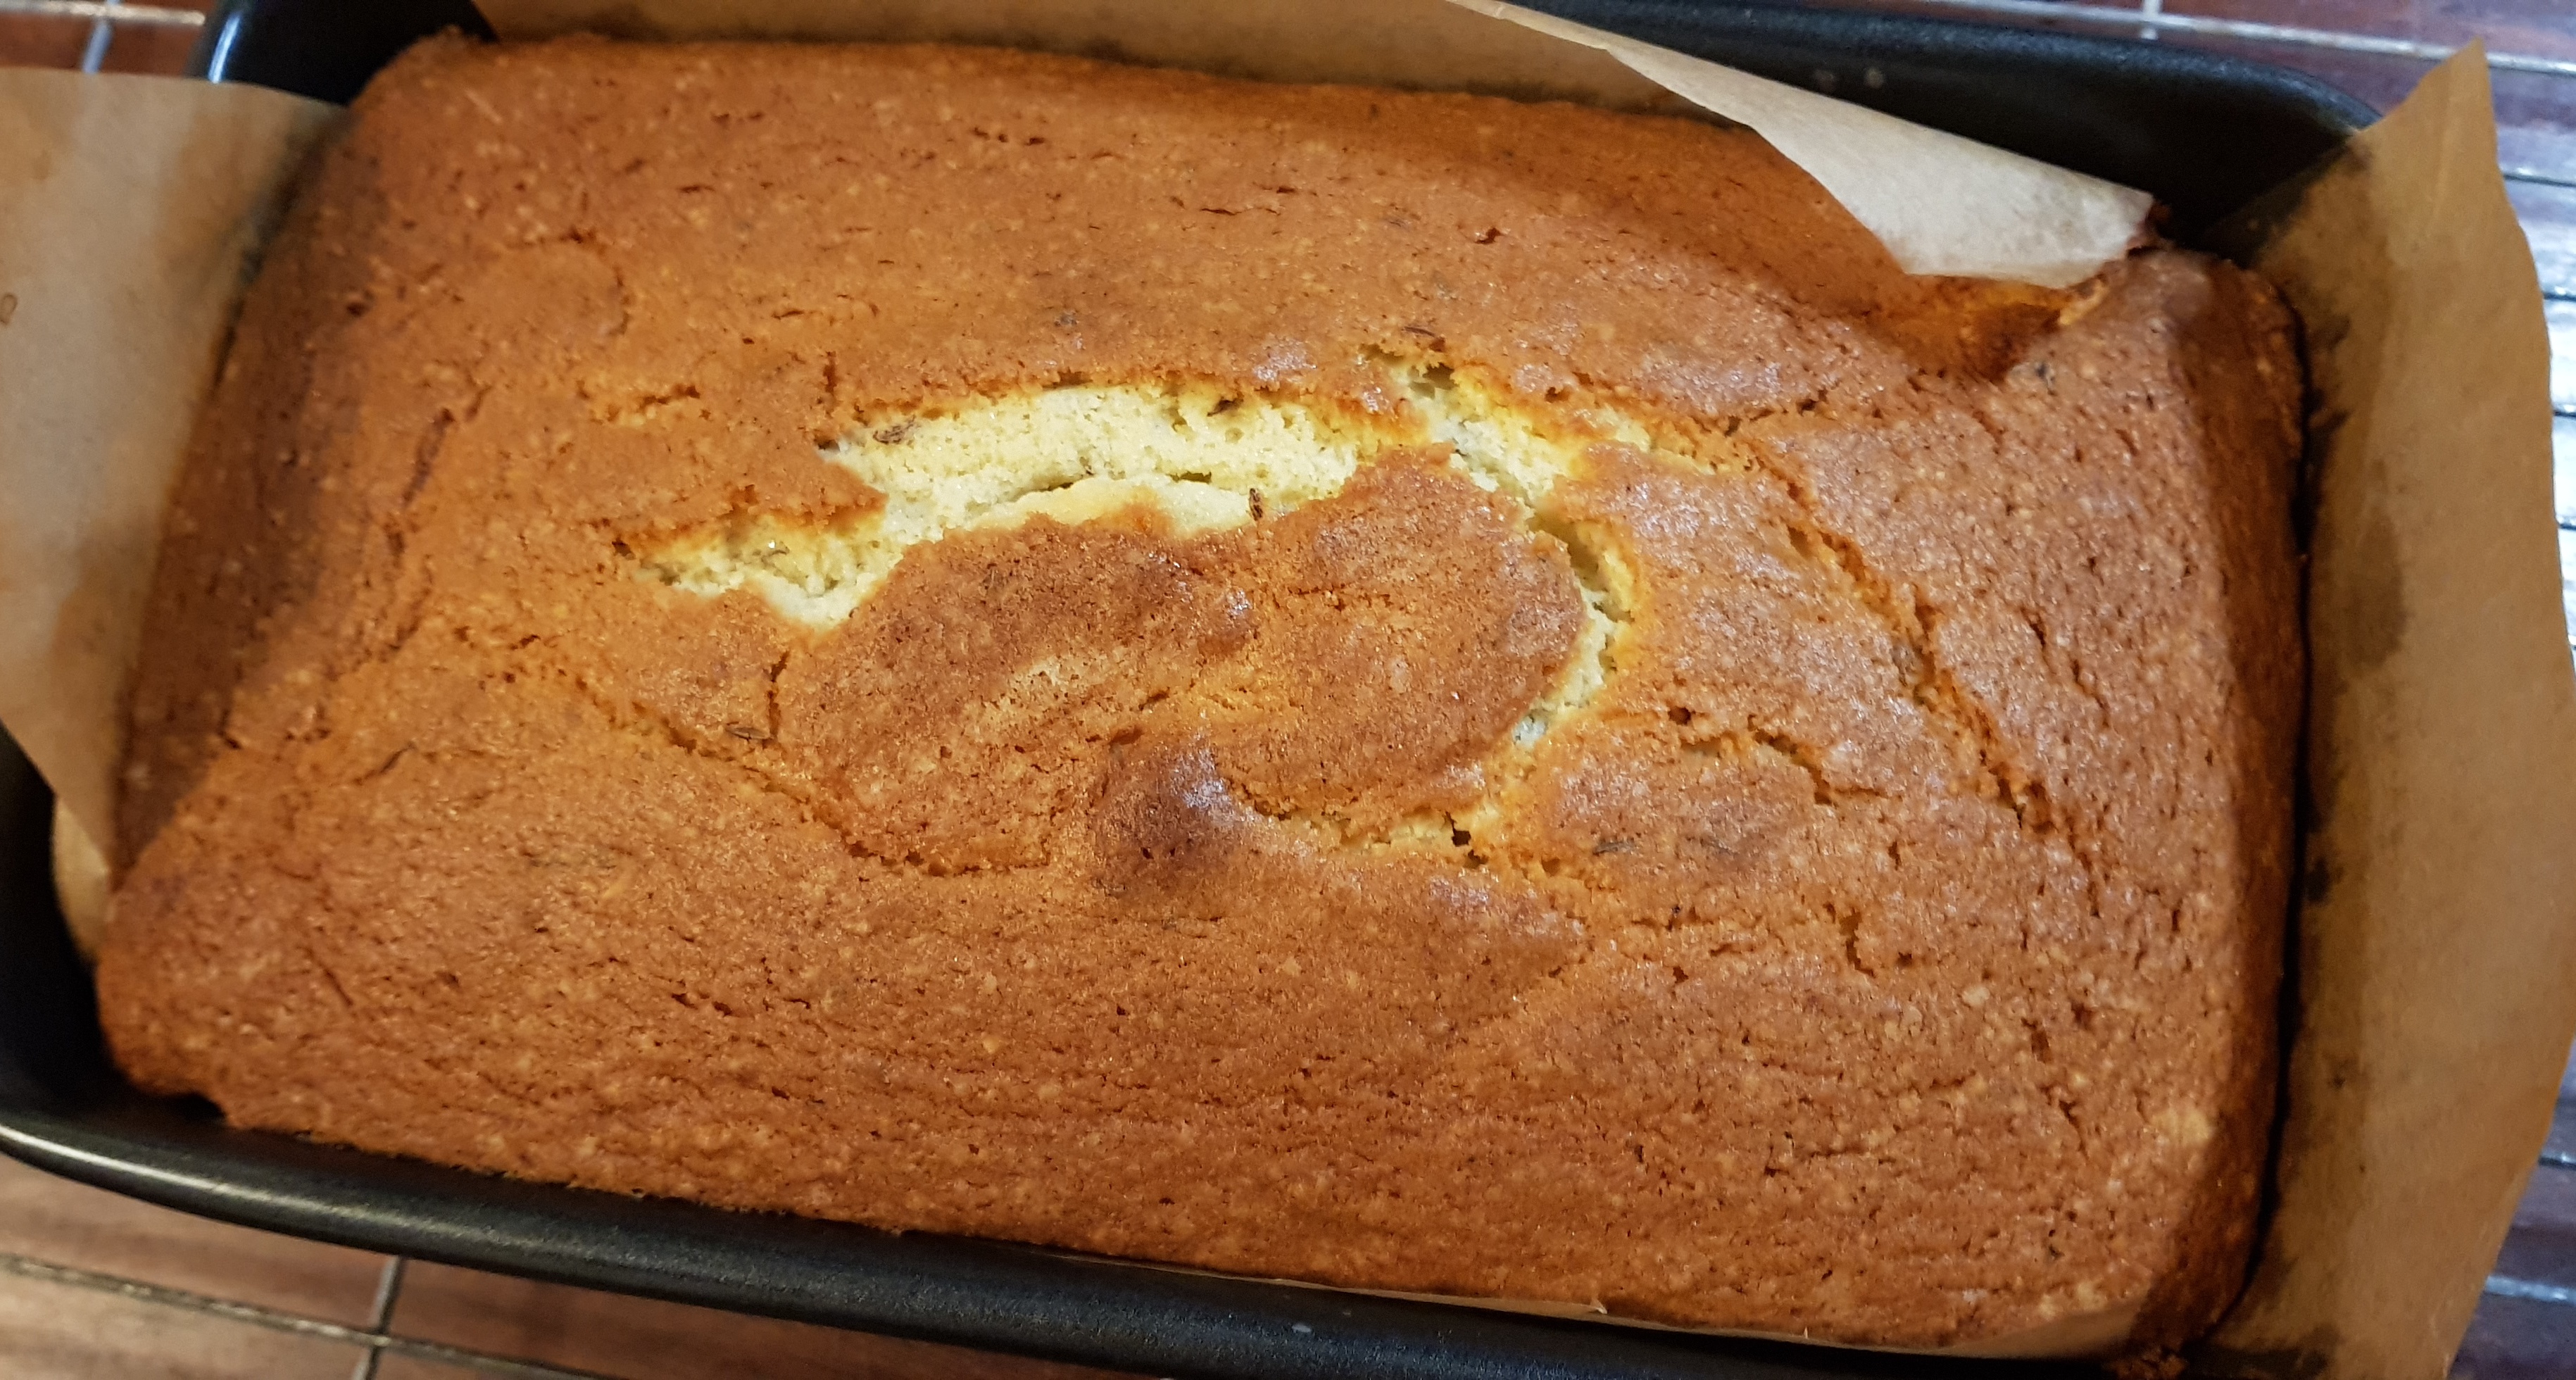
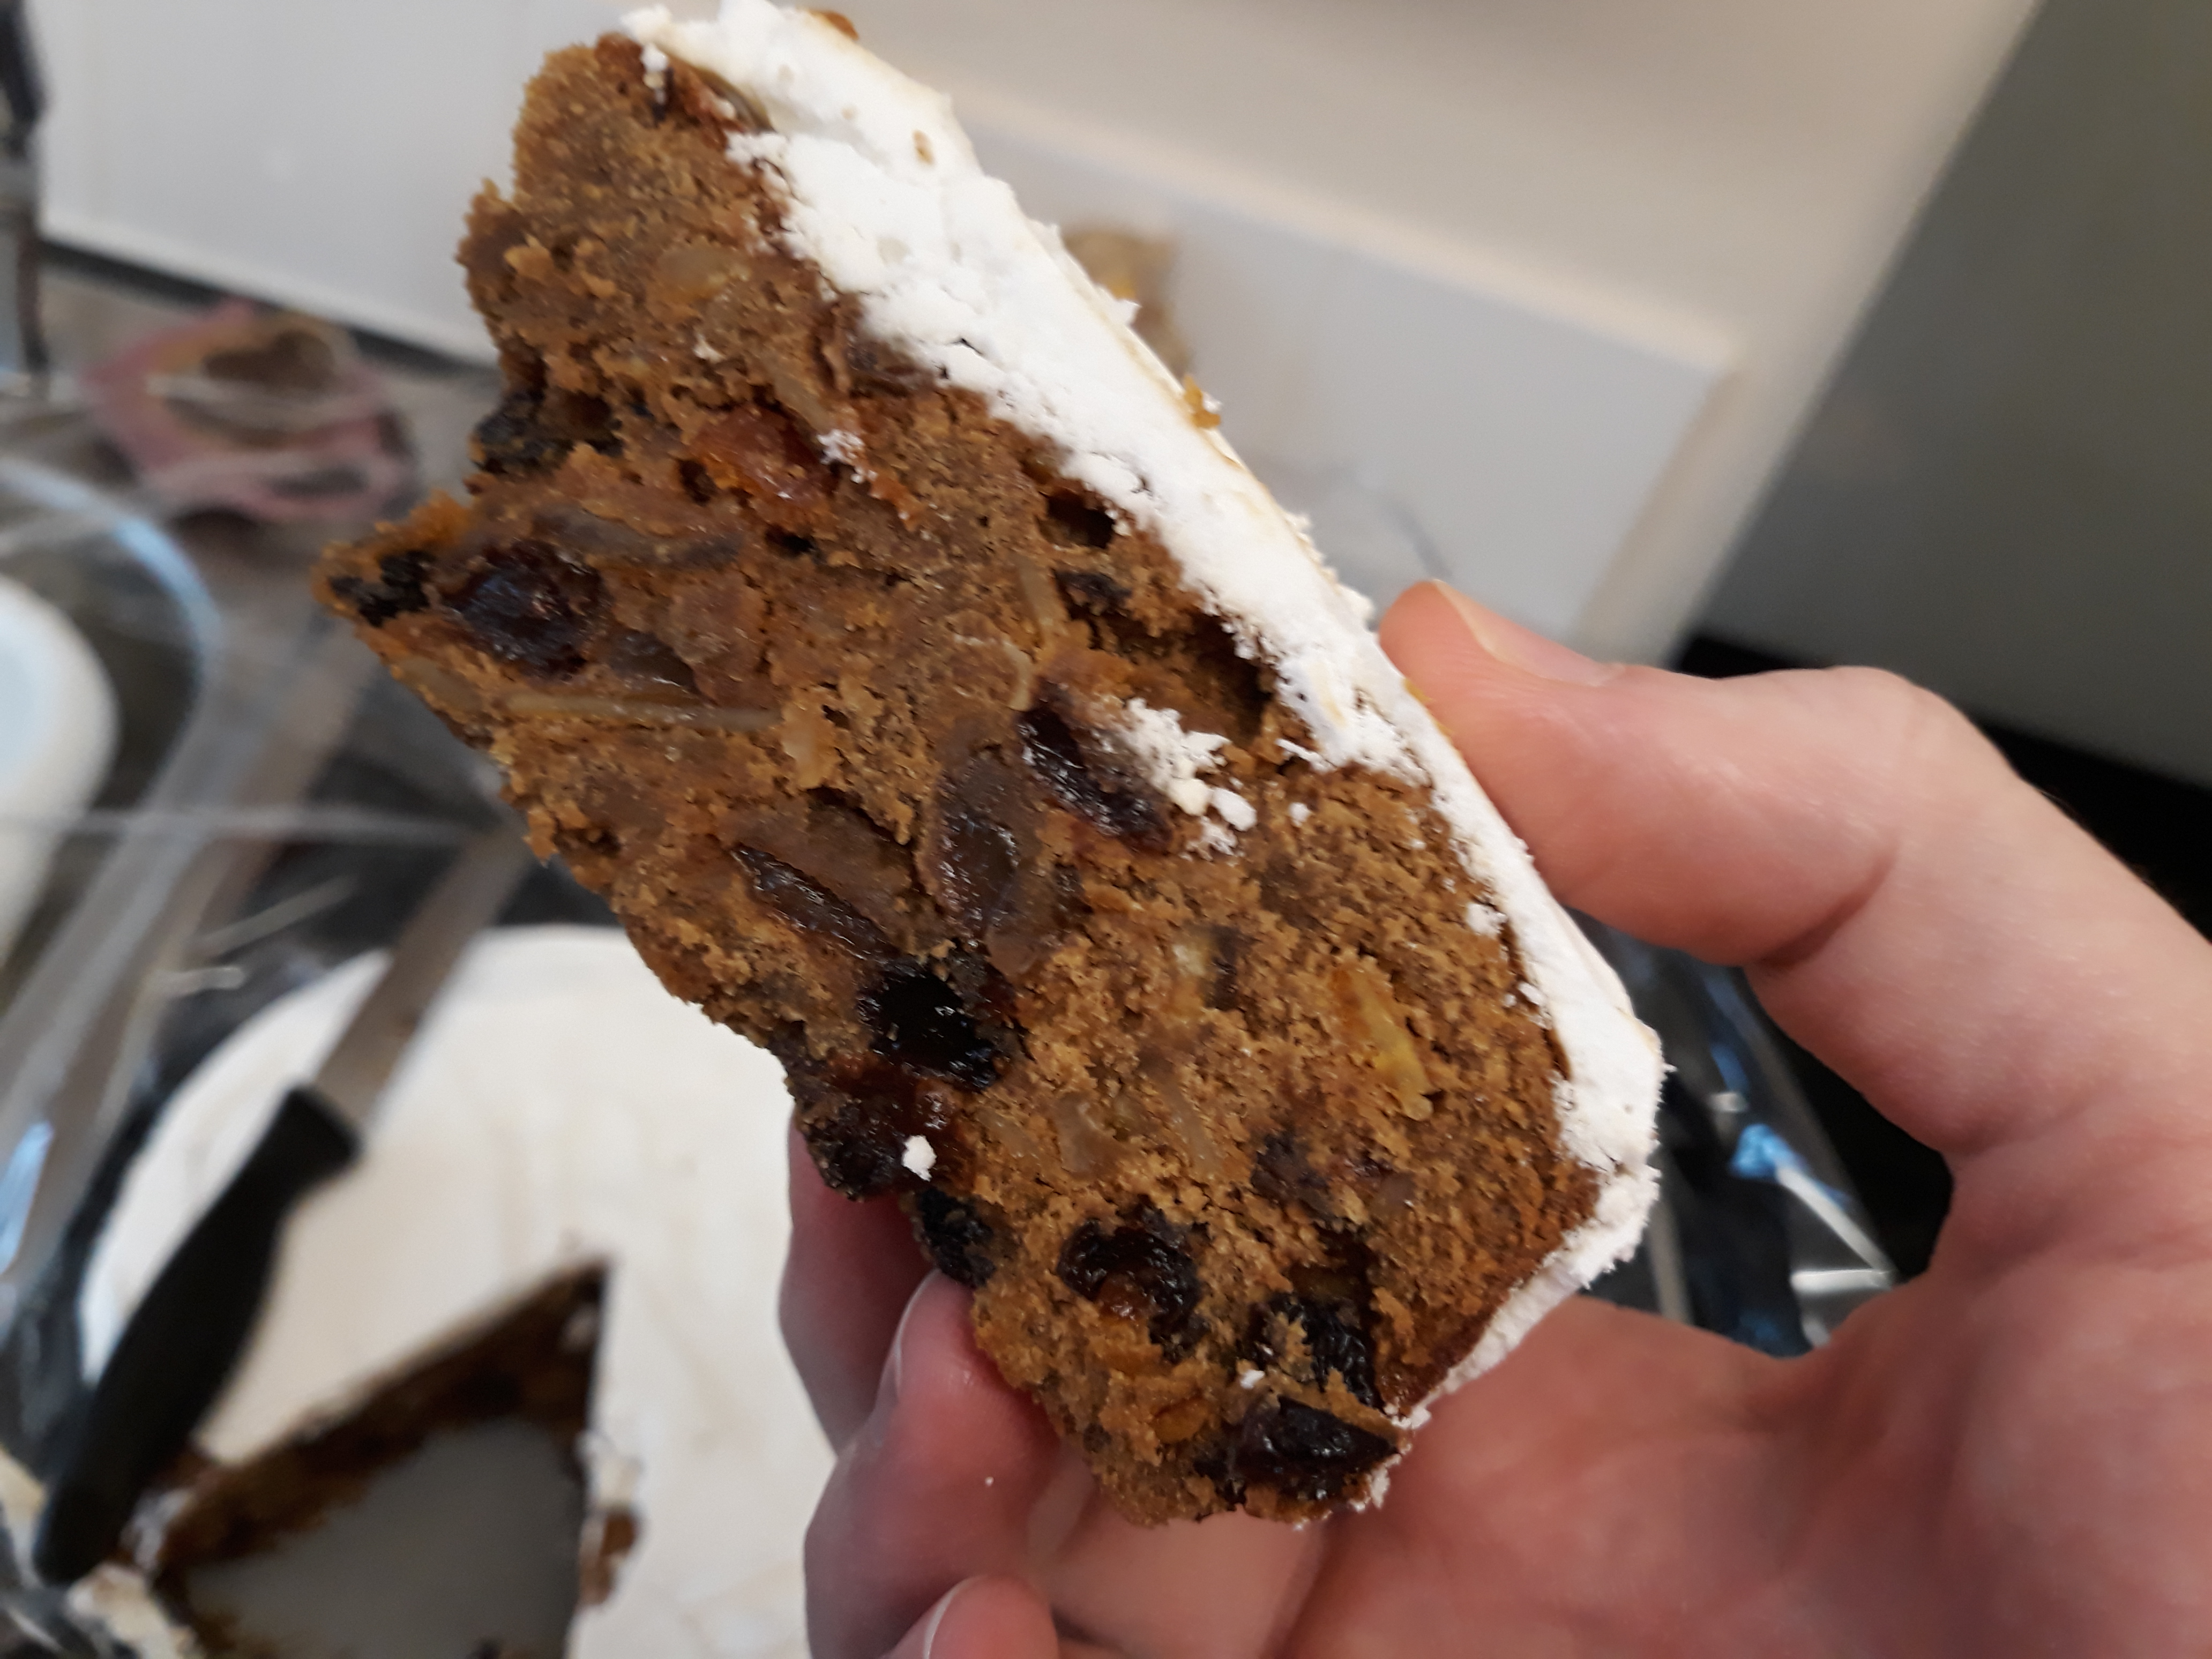
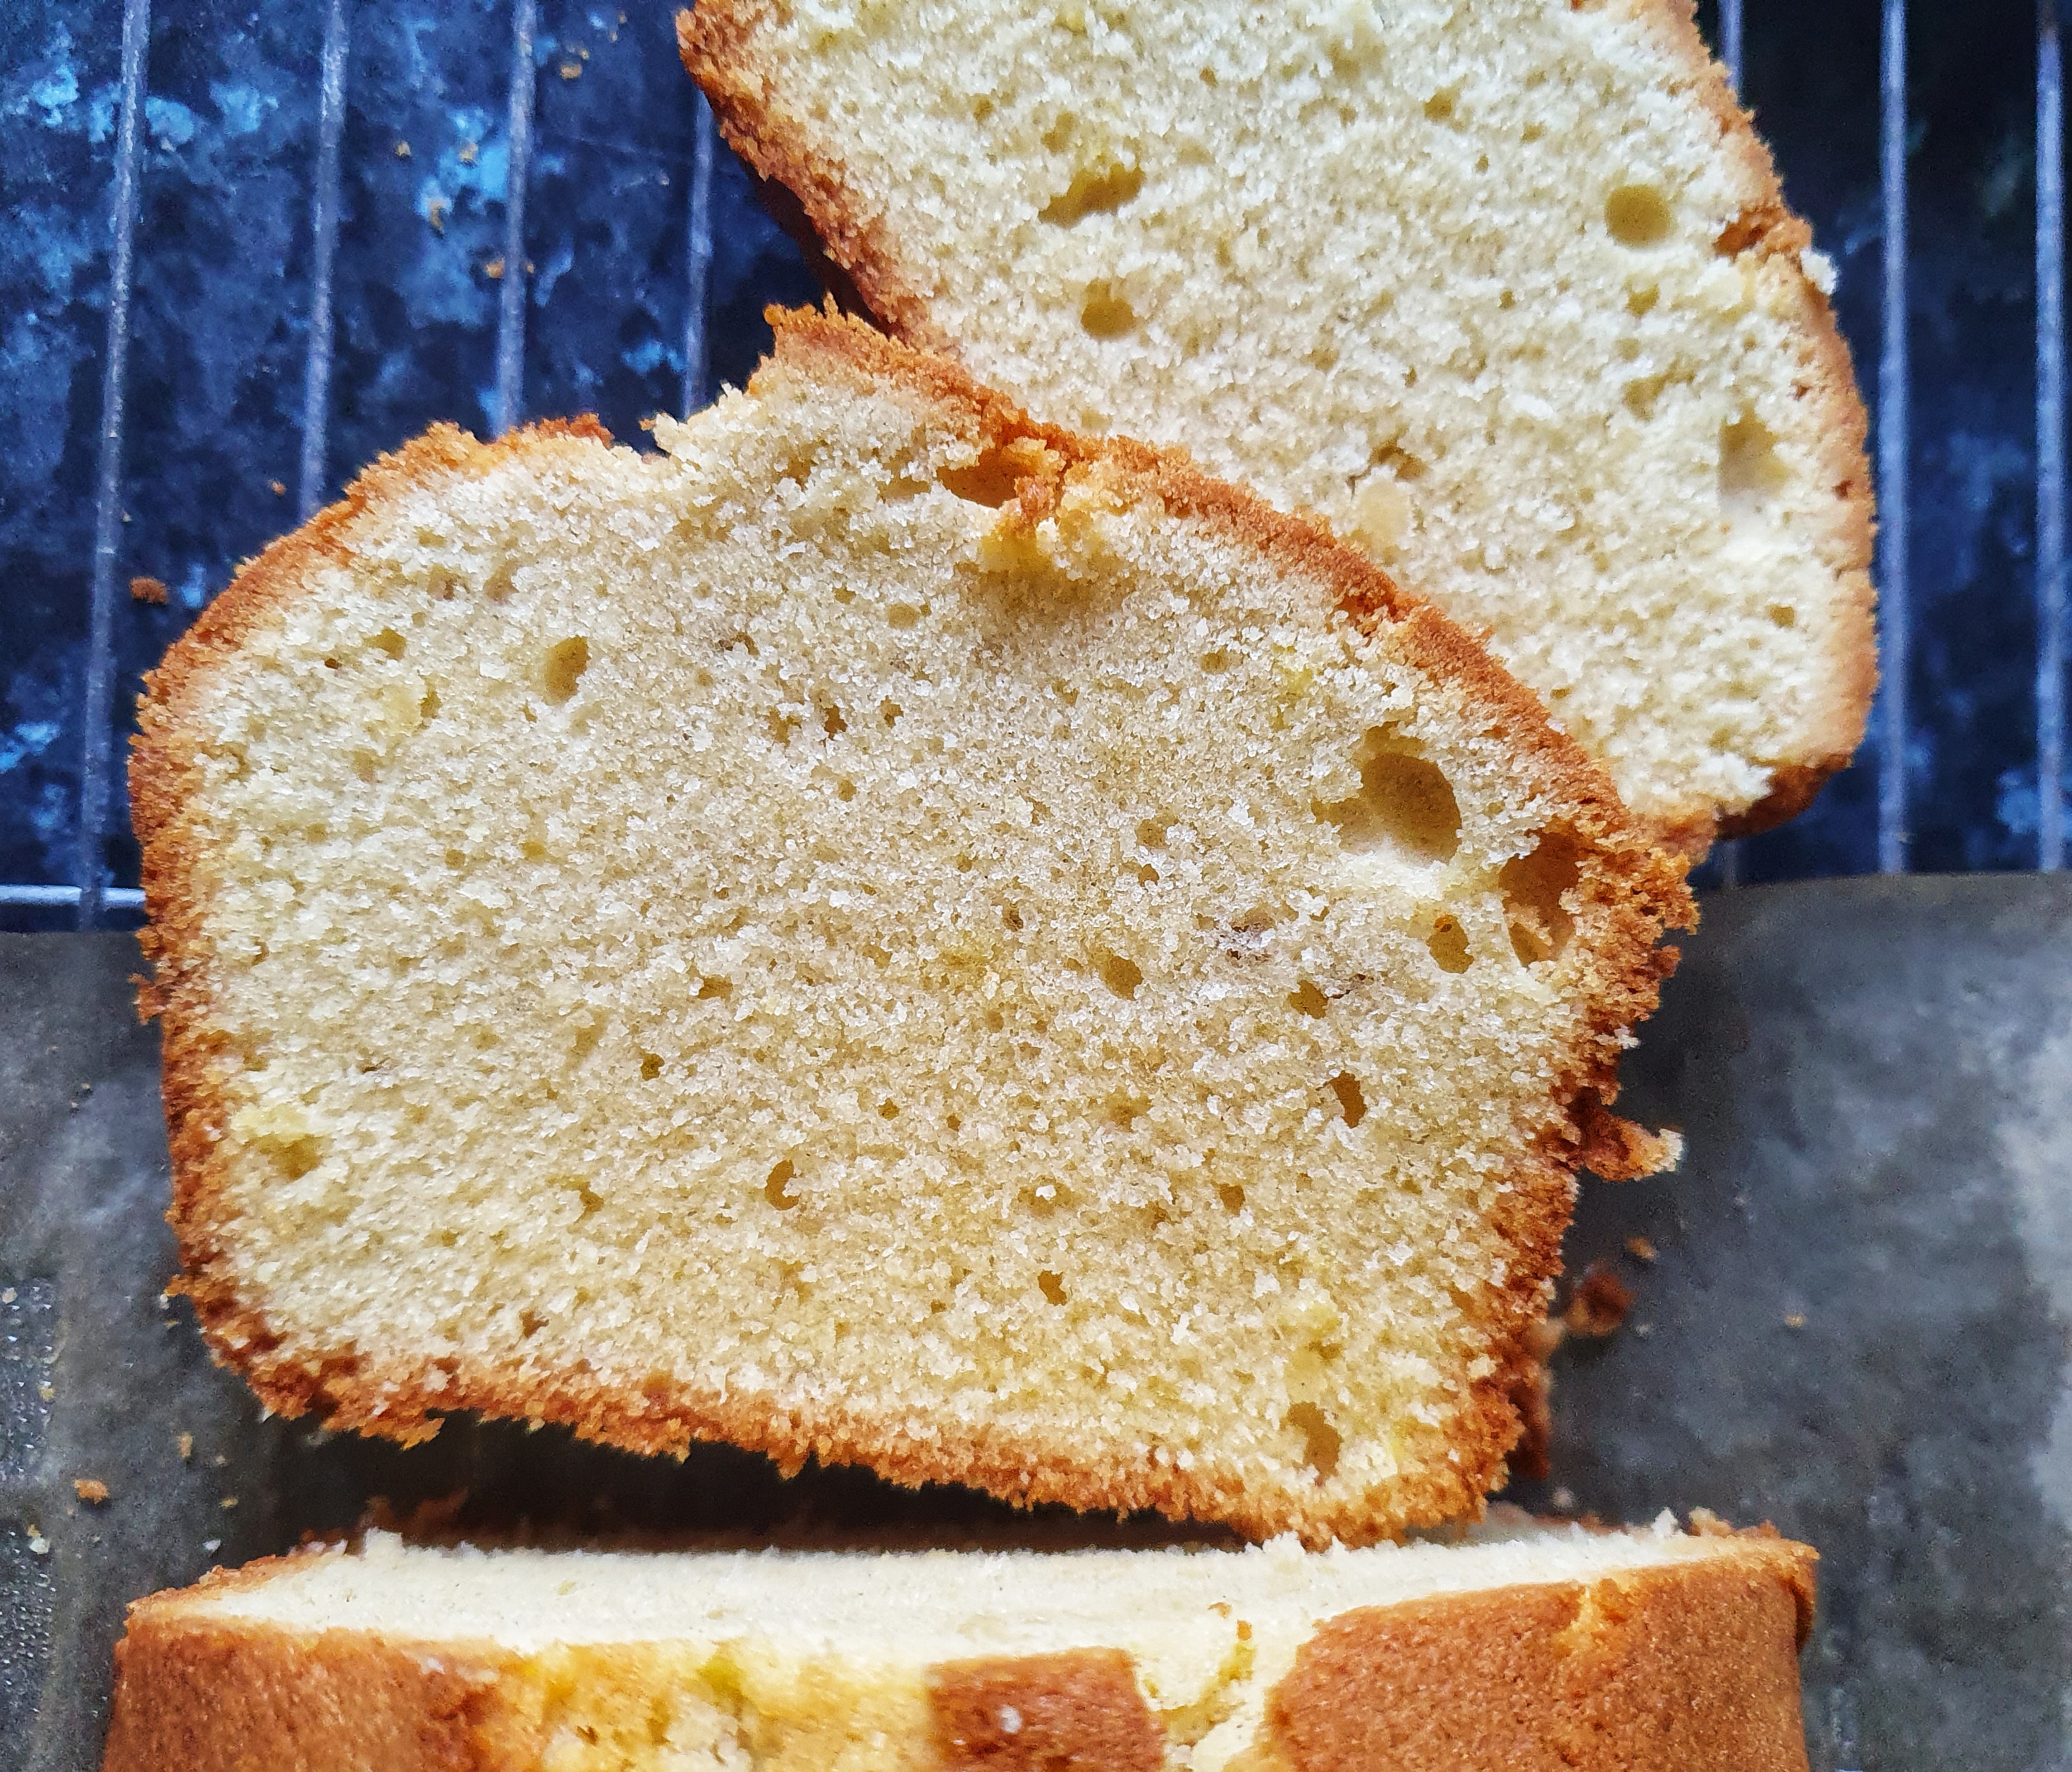
Older recipes ask for Madeira cake to be cooked in a round tin (or hoop), but I prefer baking mine in a 900 g (2 lb) loaf tin.[8] I like the characteristic crack you get that runs down the length of the baked cake. Very pleasing. When it comes to flavouring, just a little lemon zest is traditional. Some ask for a decoration of candied citron strips, but I don’t think it’s necessary.
This recipe is adapted from the one given by Jane Grigson in her classic tome English Food,[9] first published in 1974, making it 50 years old this year!
If you like the blogs and podcast I produce and would to start a £3 monthly subscription, or would like to treat me to virtual coffee or pint: follow this link for more information. Thank you.
175 g softened, salted butter
175 g caster sugar
275 g plain flour
1 level tsp baking powder
4 large eggs (or 4 medium eggs + 1 tbs milk)
Grated zest of a lemon
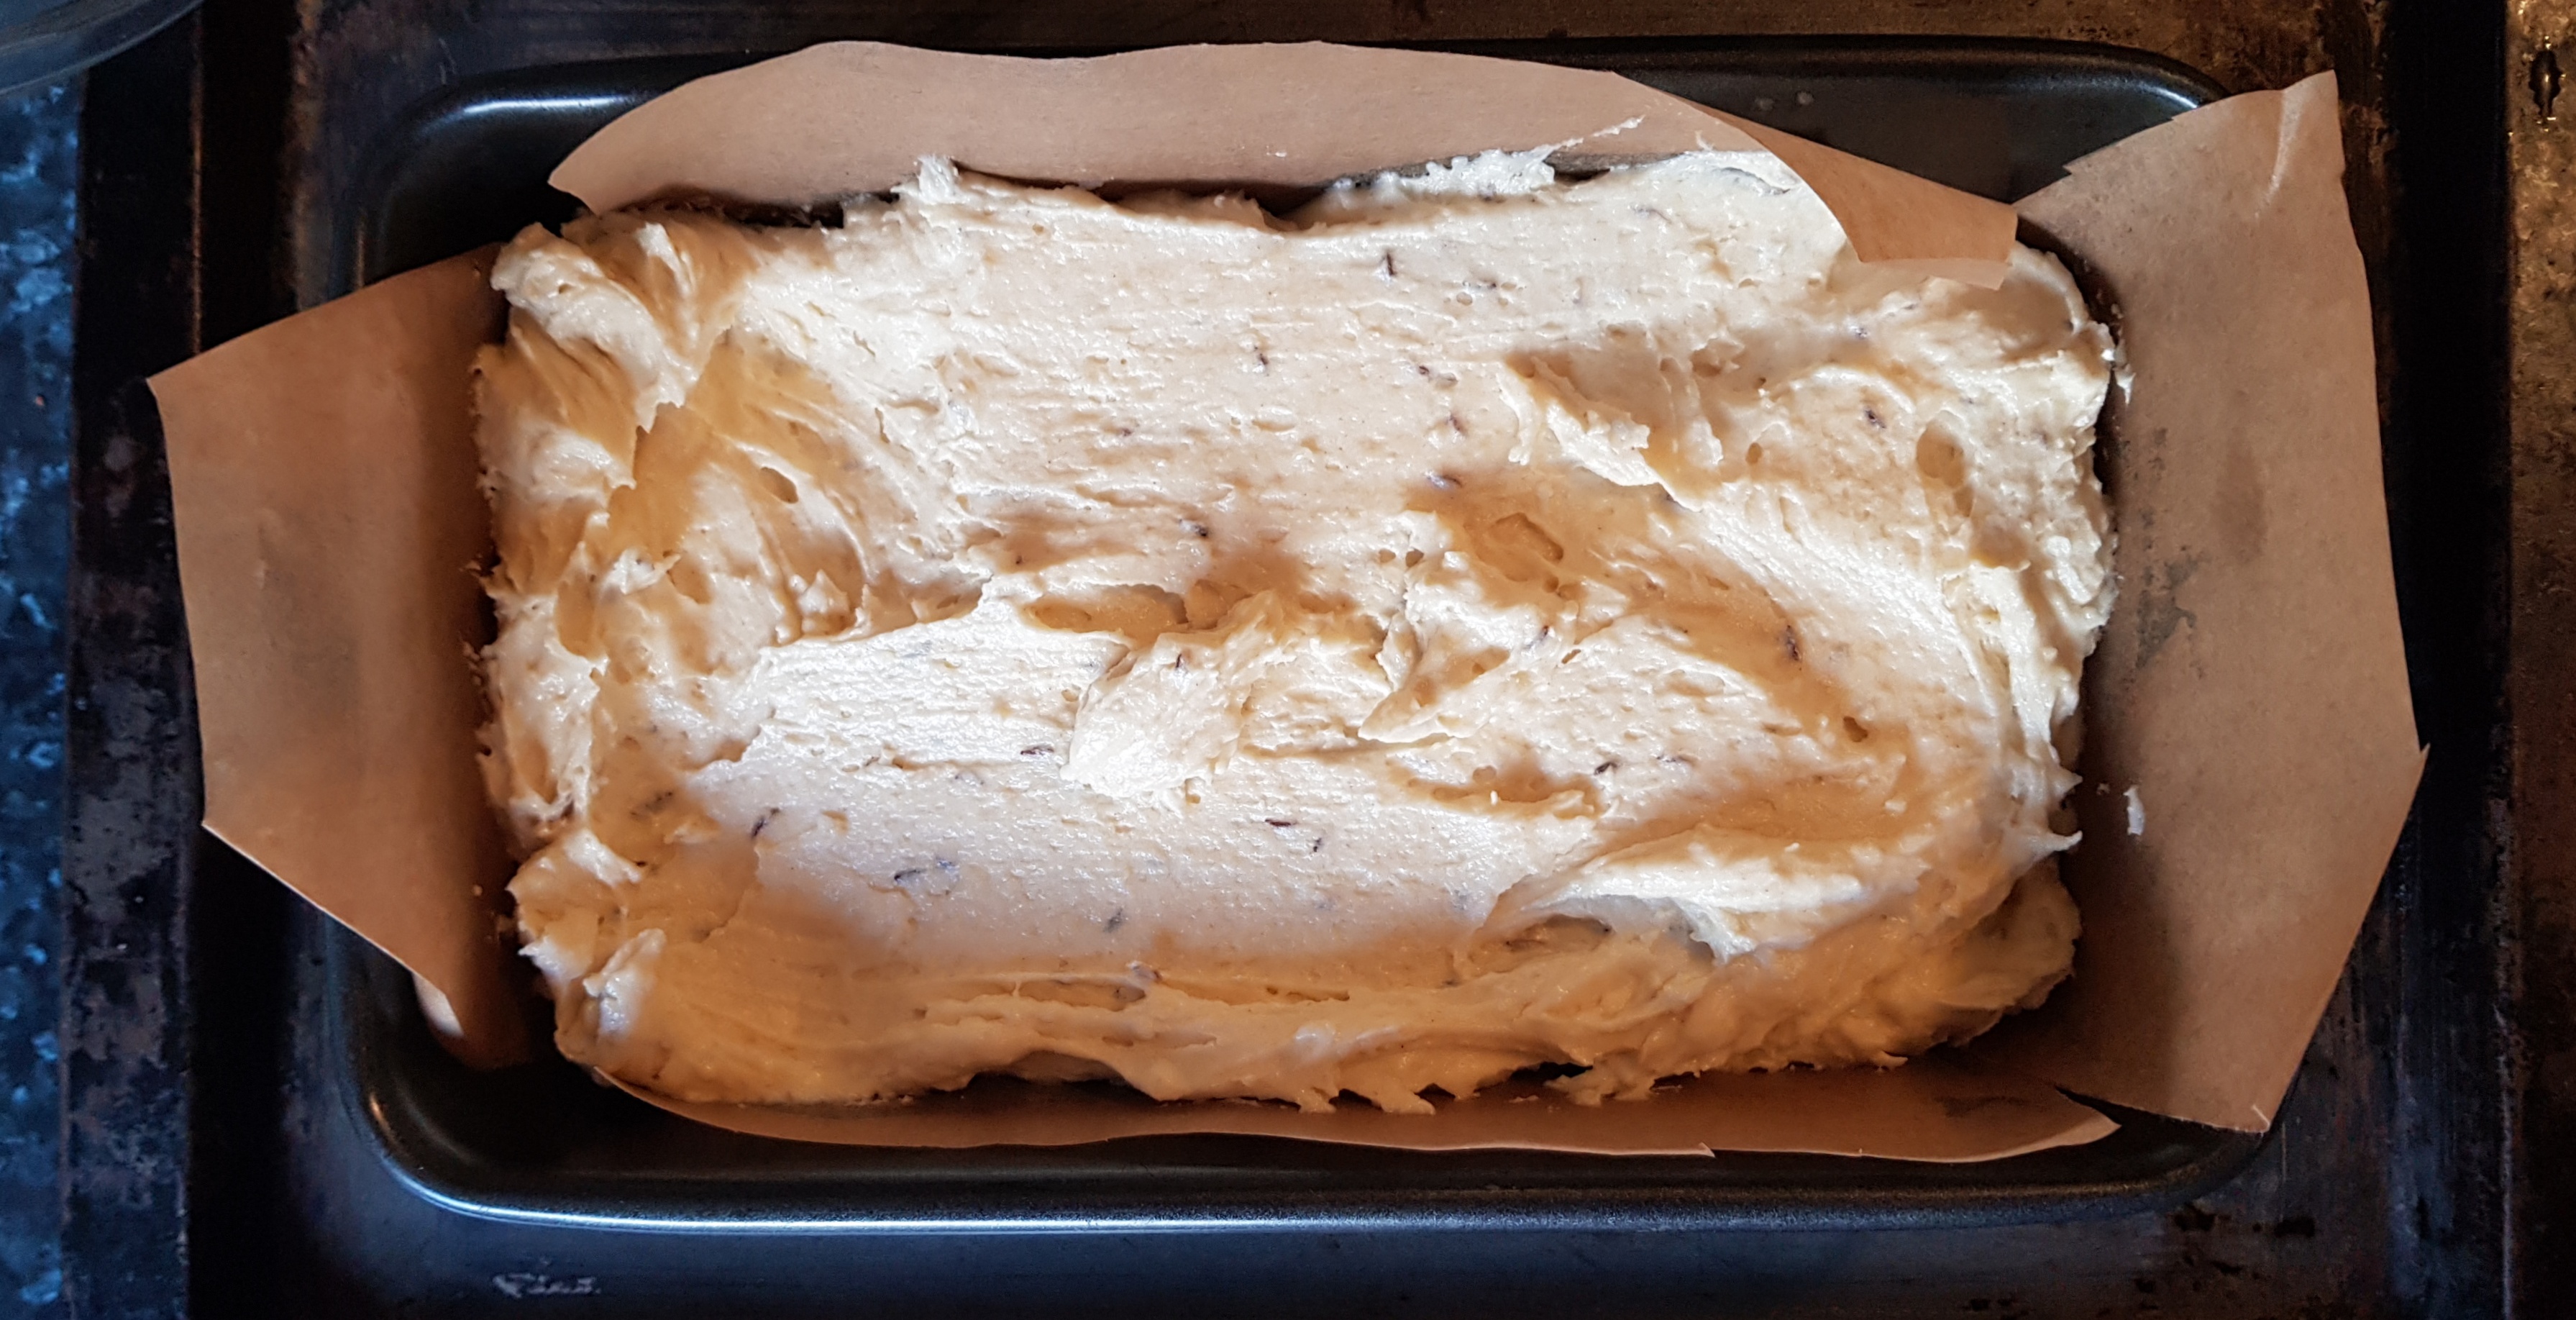
Preheat your oven to 160°C, then line a 900 g (2 lb) loaf tin with baking paper.
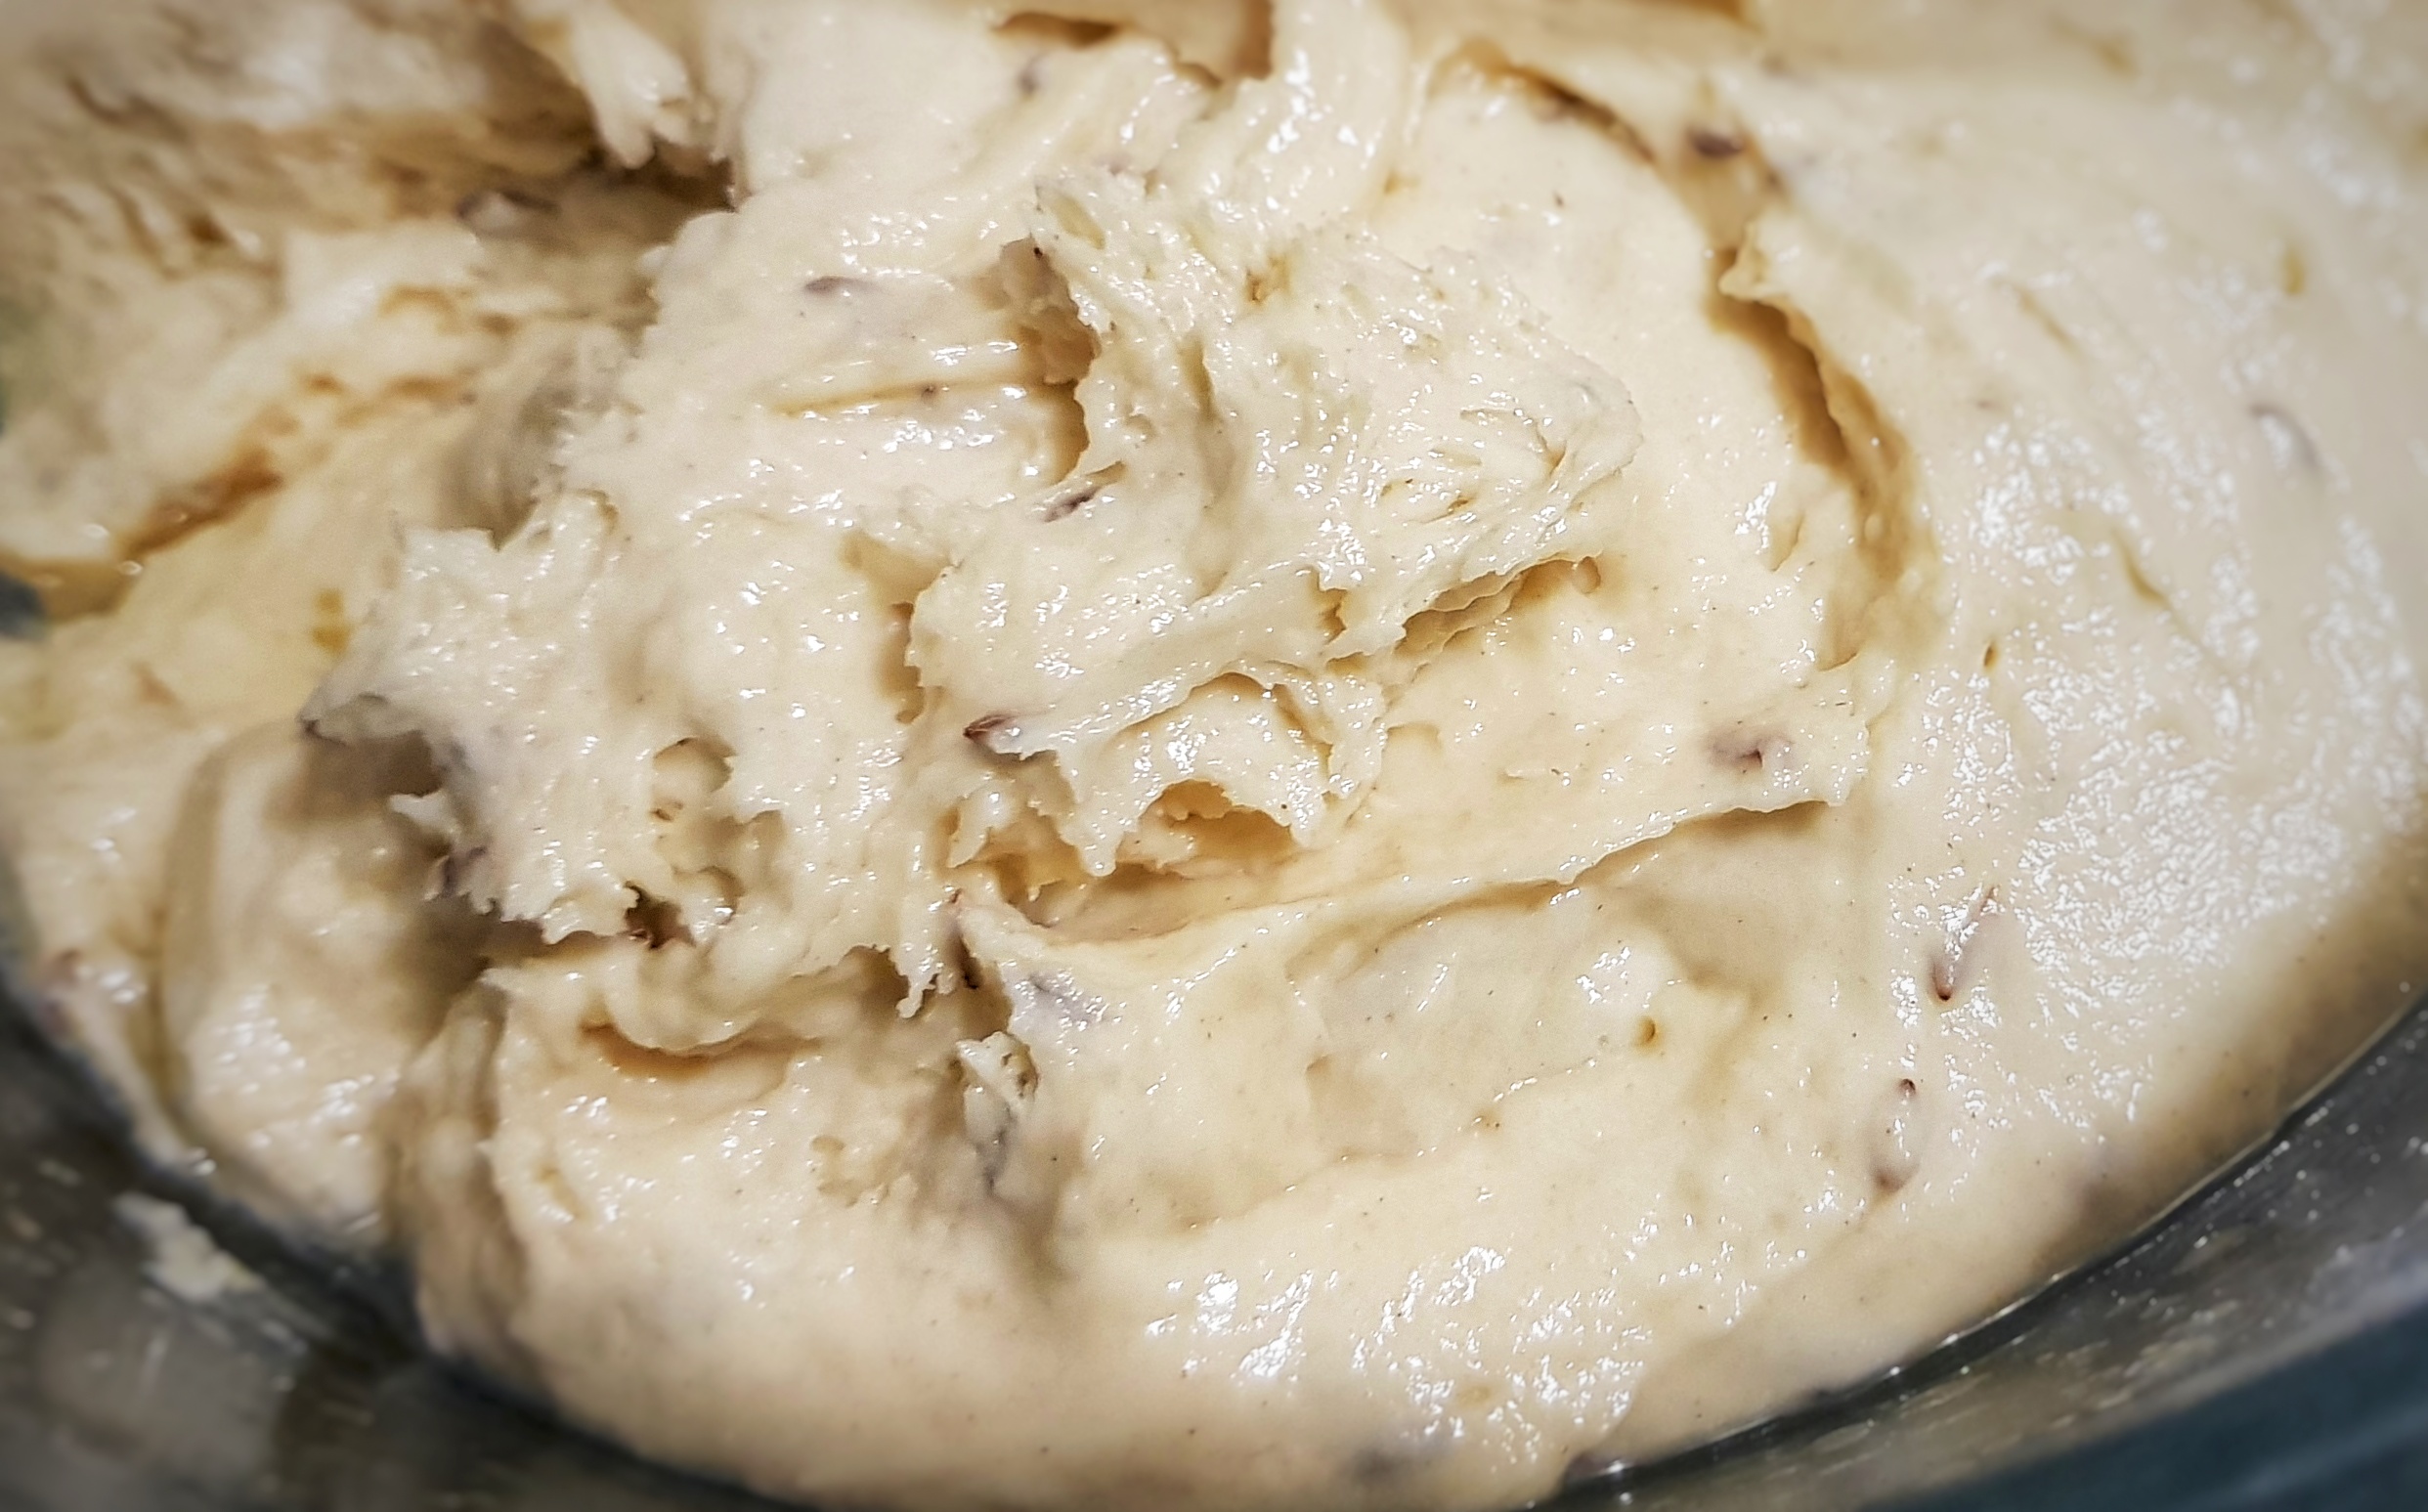
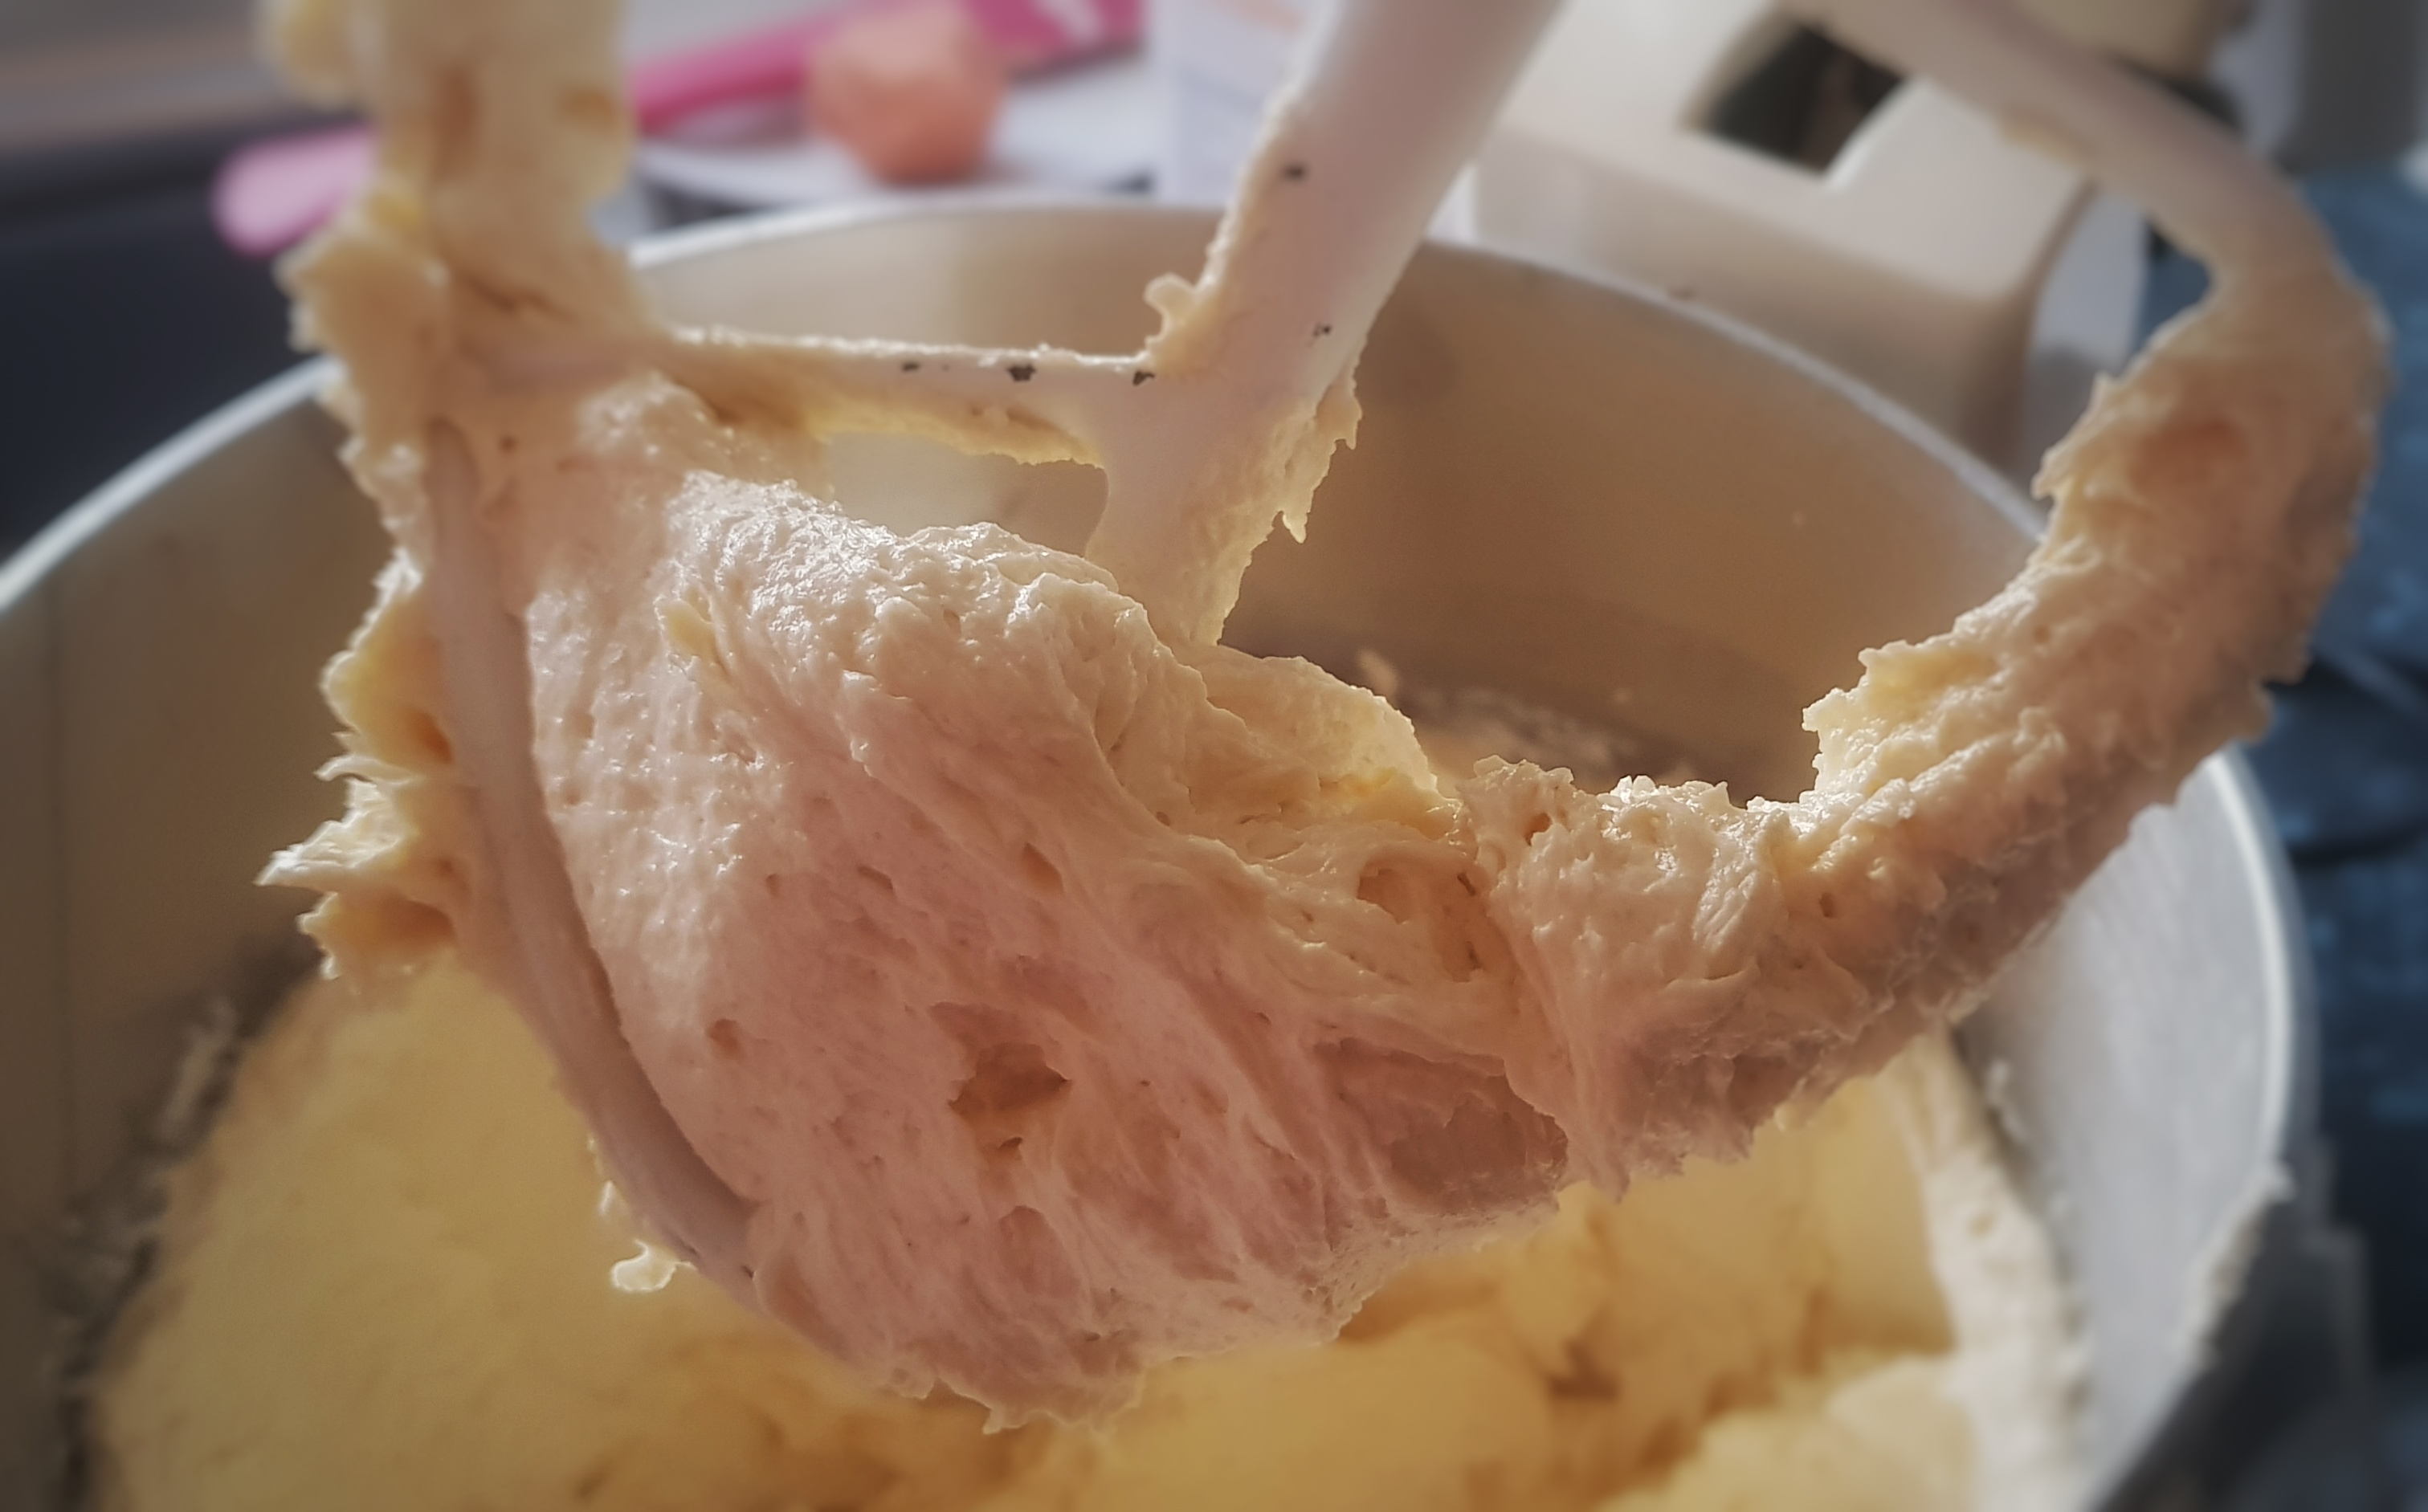
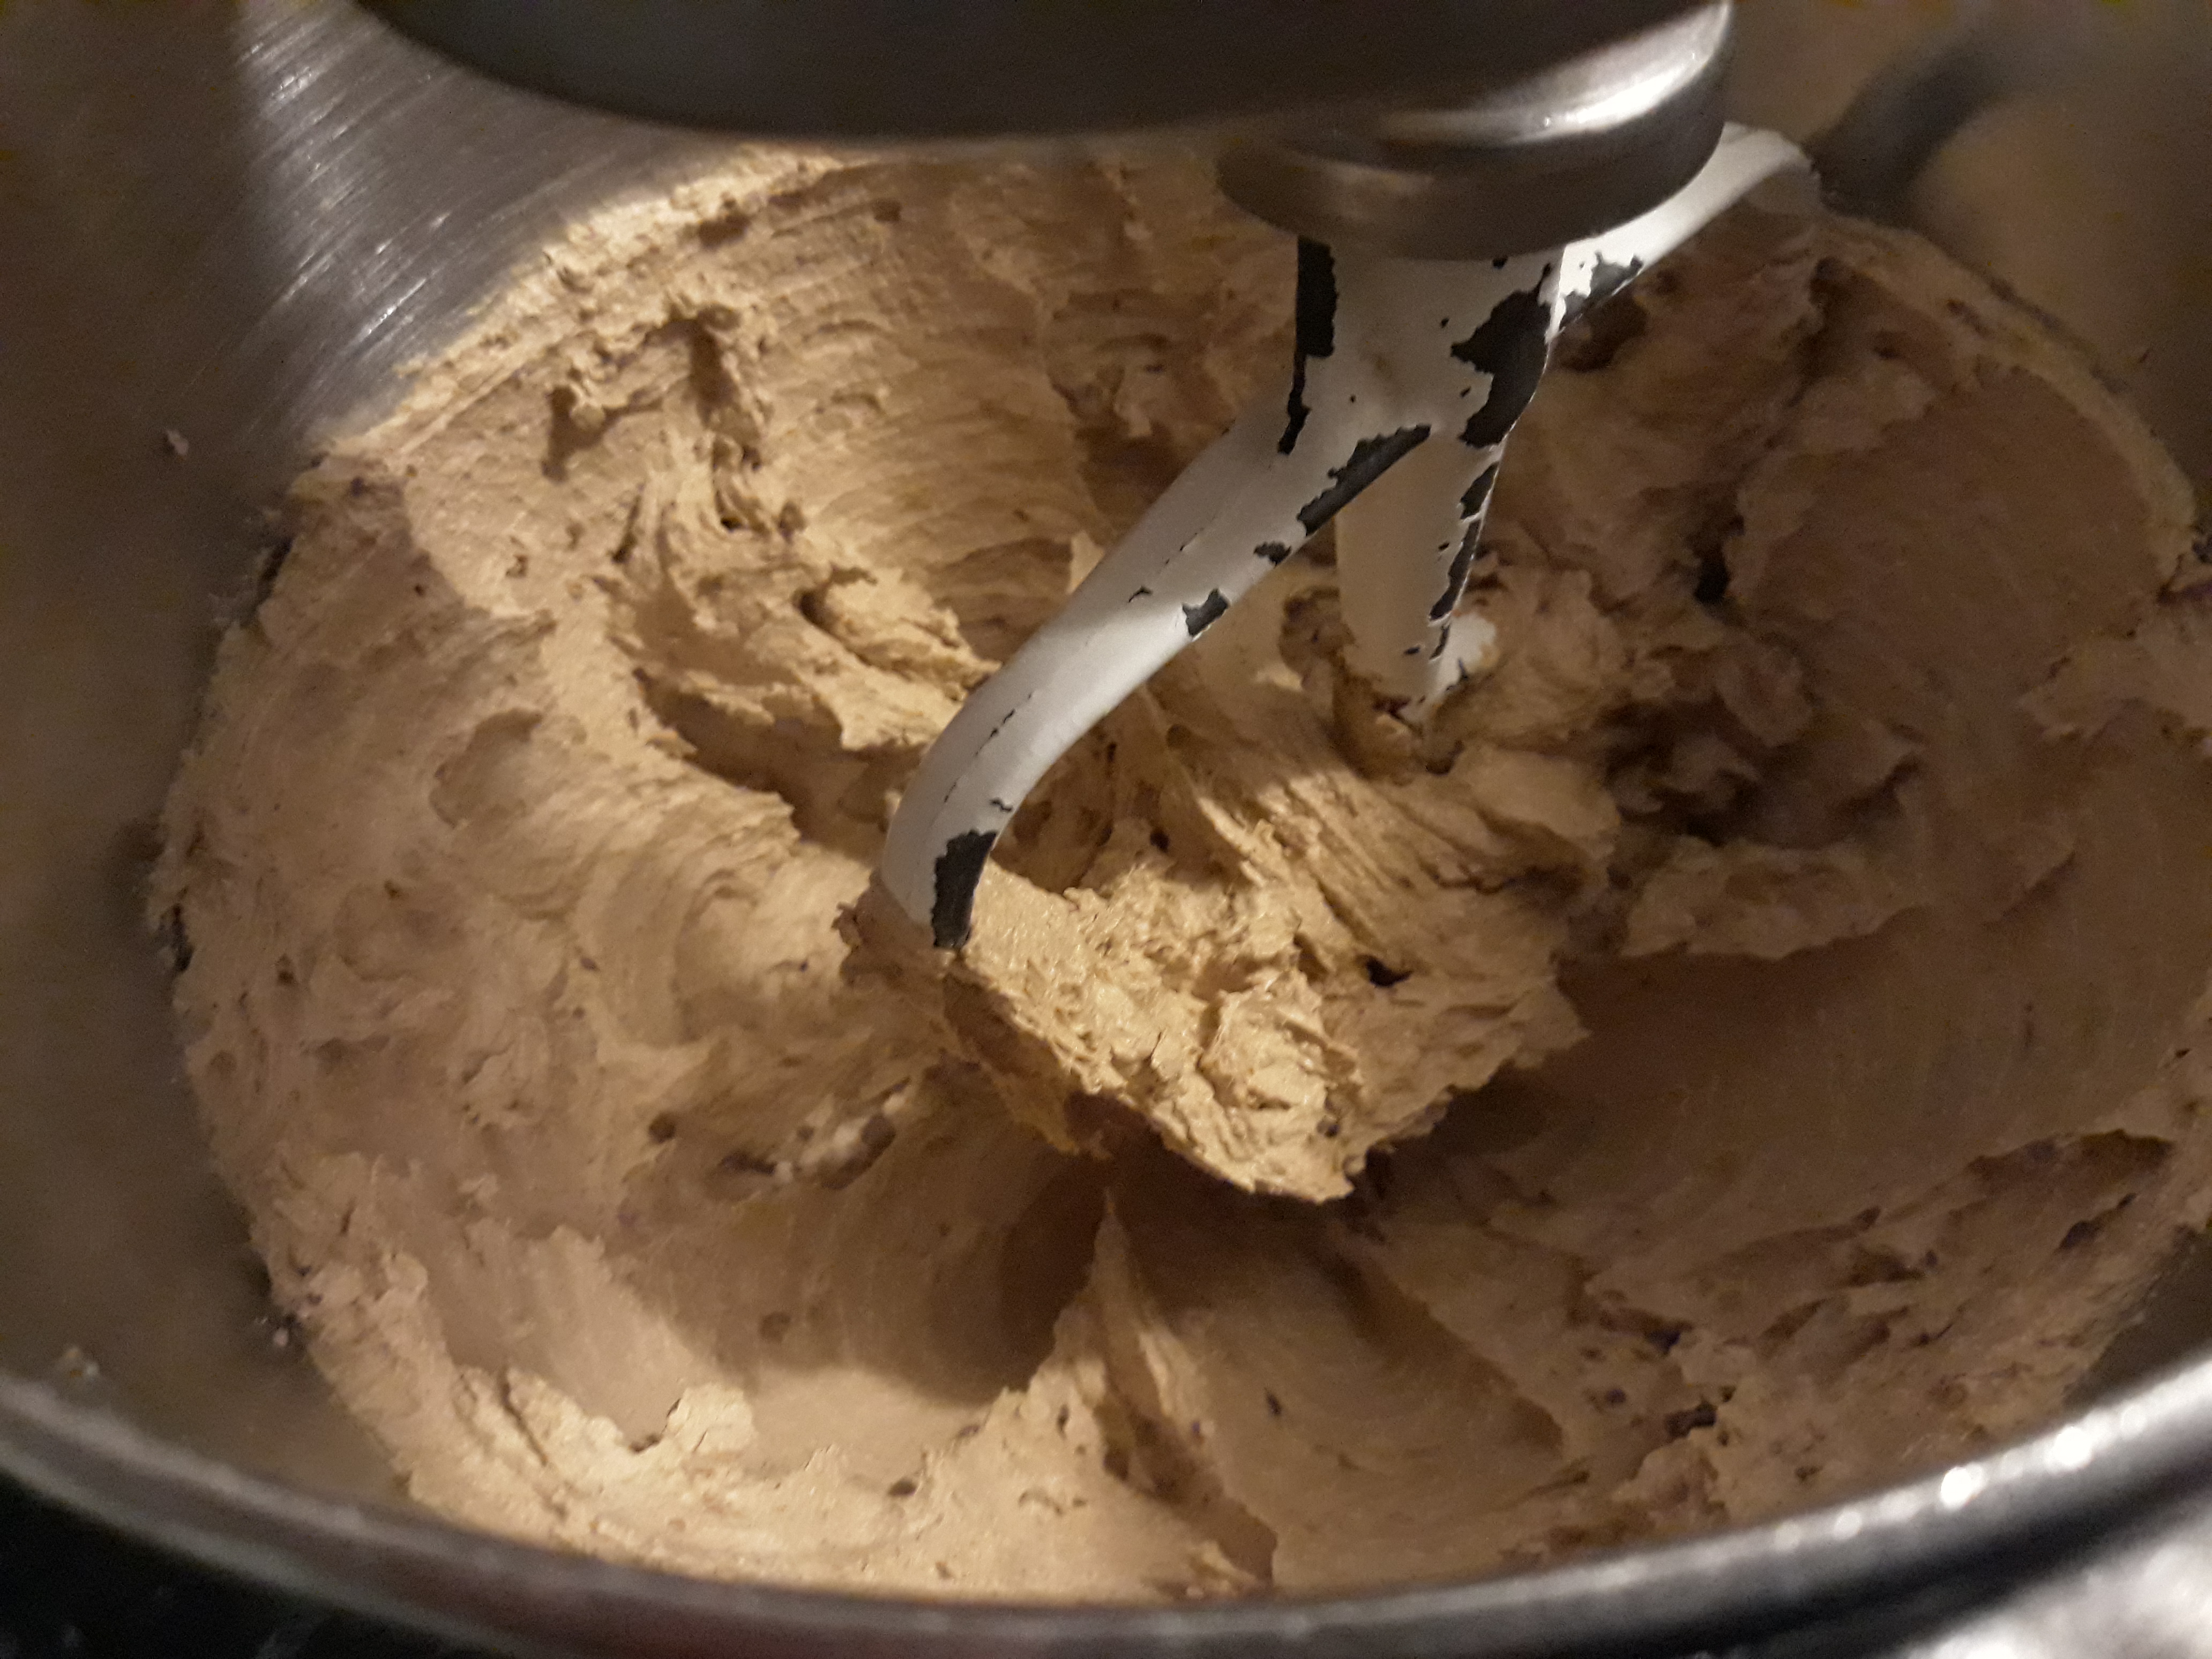
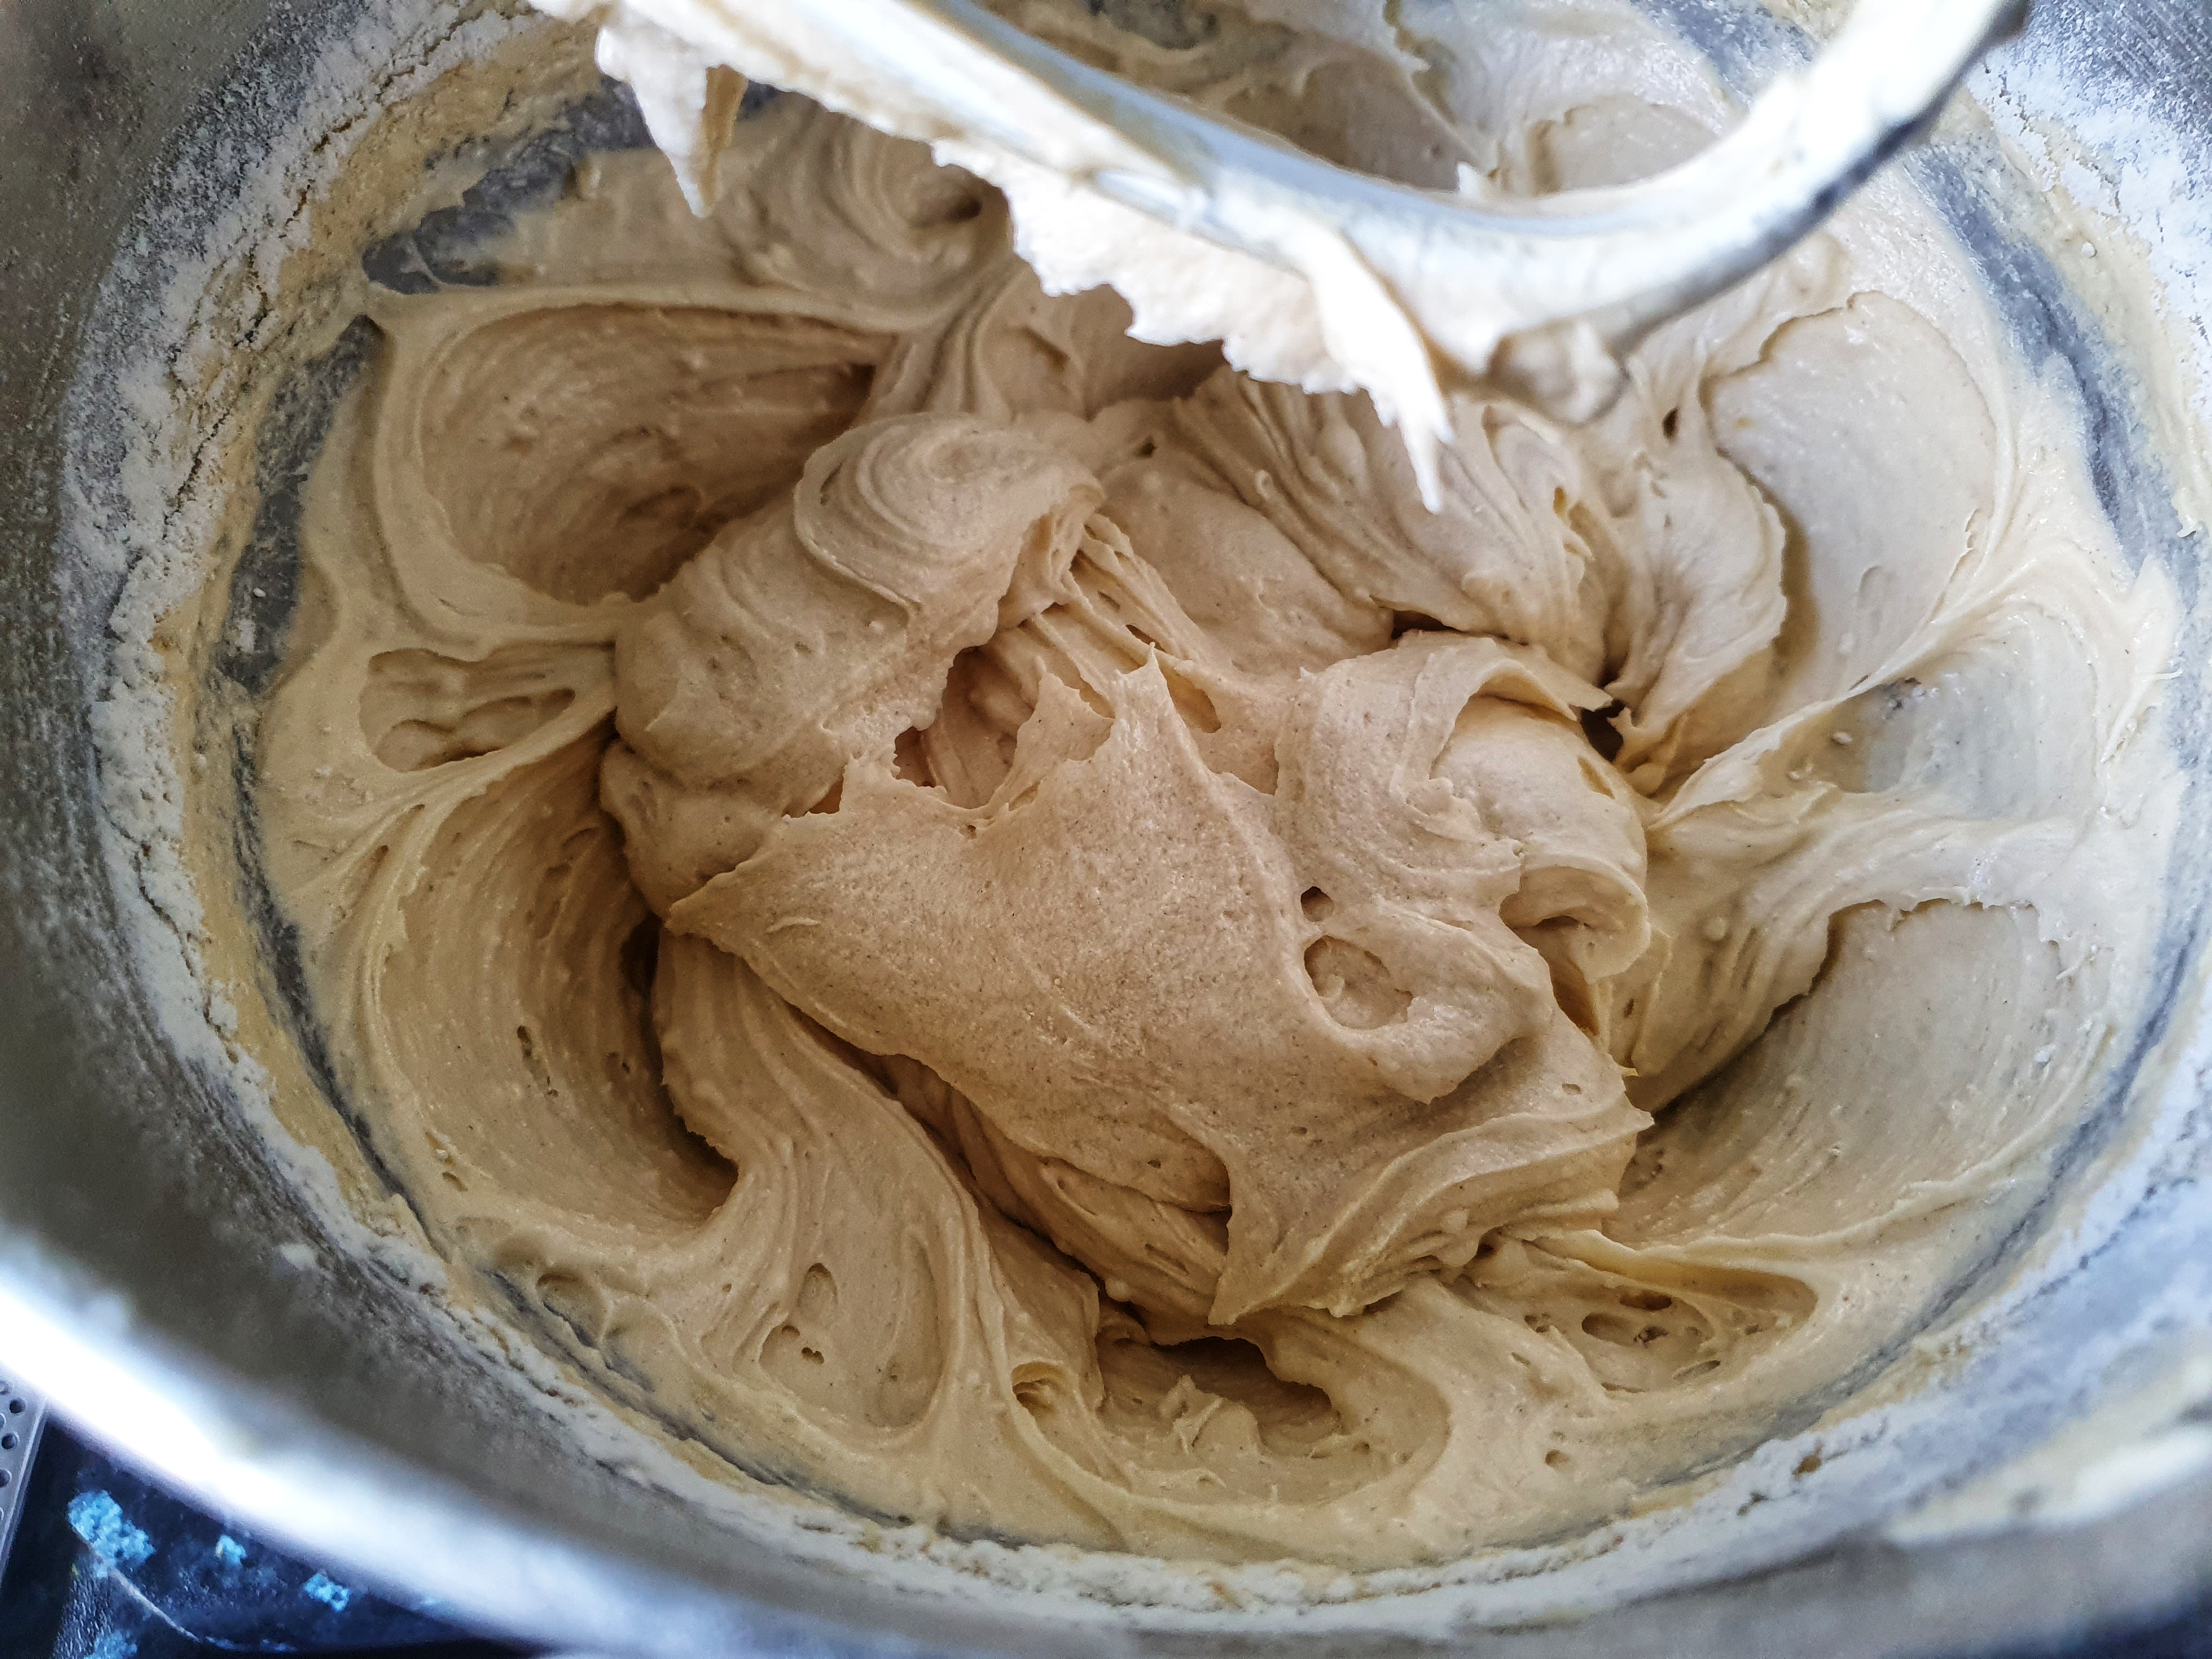
Beat the butter and sugar until light and fluffy with your beaters, a most important stage as it seeds lots of air bubbles in the batter, making for a lighter cake. Now crack the eggs into the mixture one at a time: put the beater on a medium speed, add your first one, and when fully combined, add the next. If the egg and butter mixture begins to curdle (and it probably will after egg number two), add a spoonful of flour and beat on a medium-high speed until incorporated fully, then continue until all of the eggs are used up.
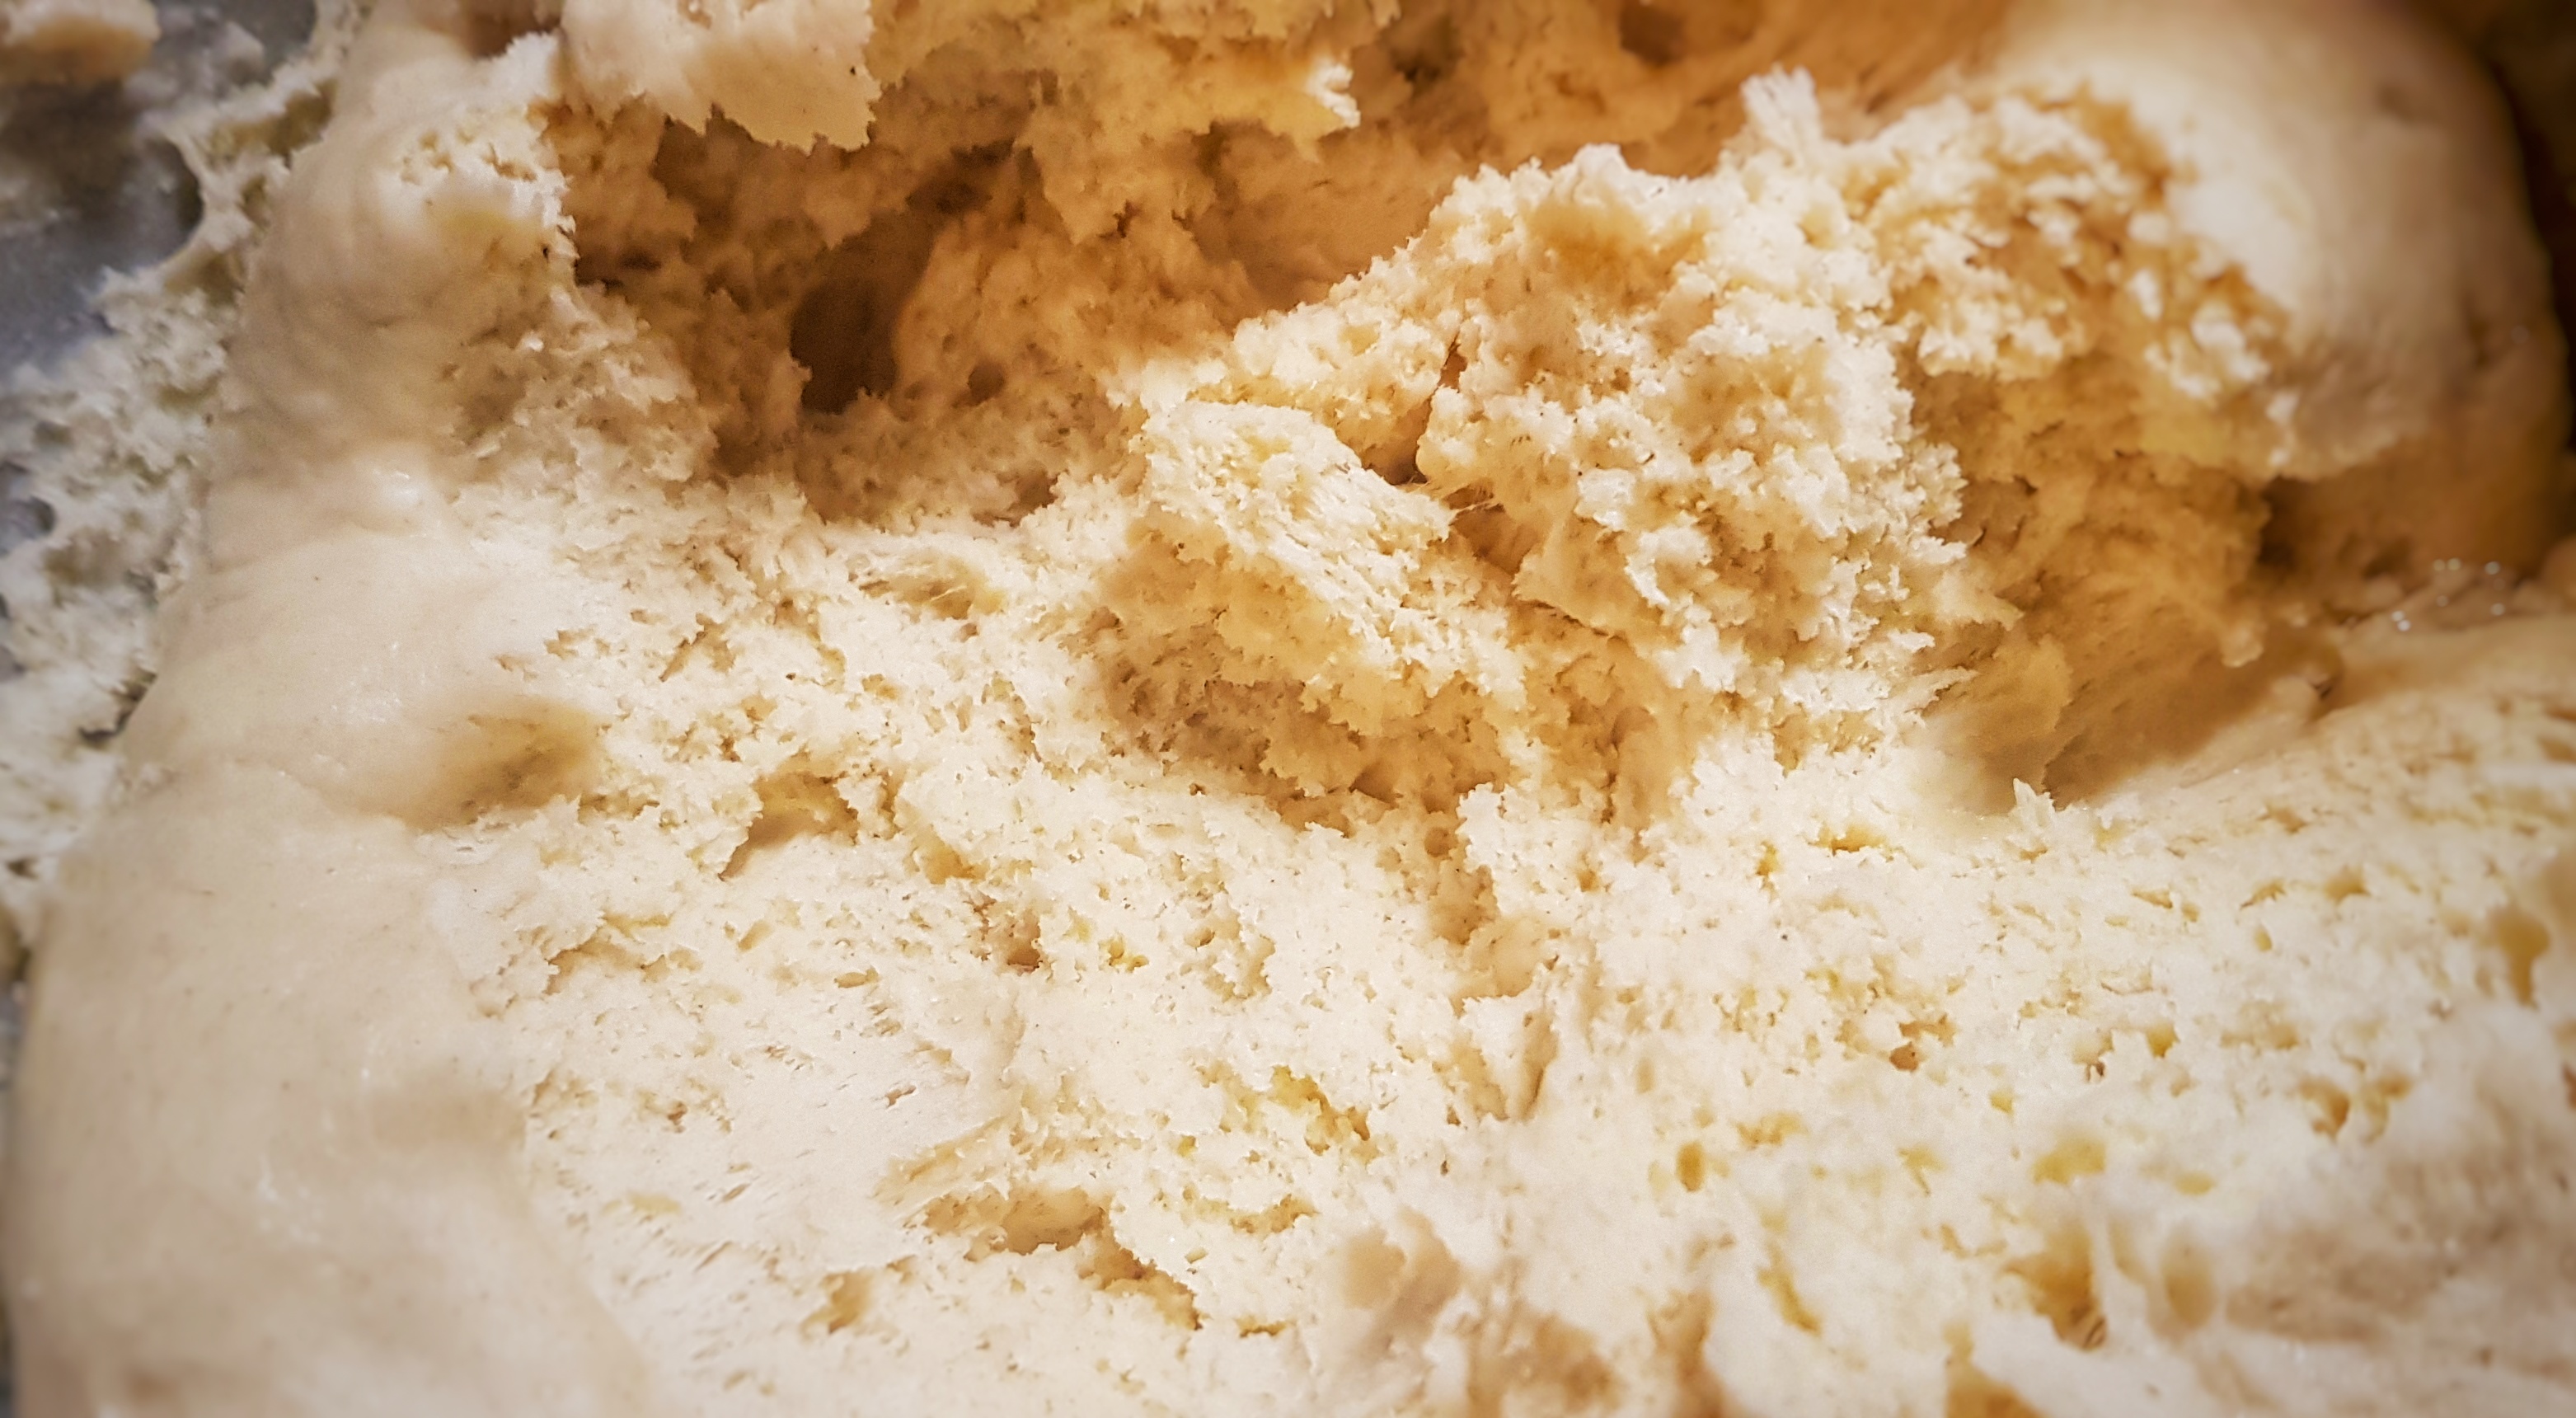
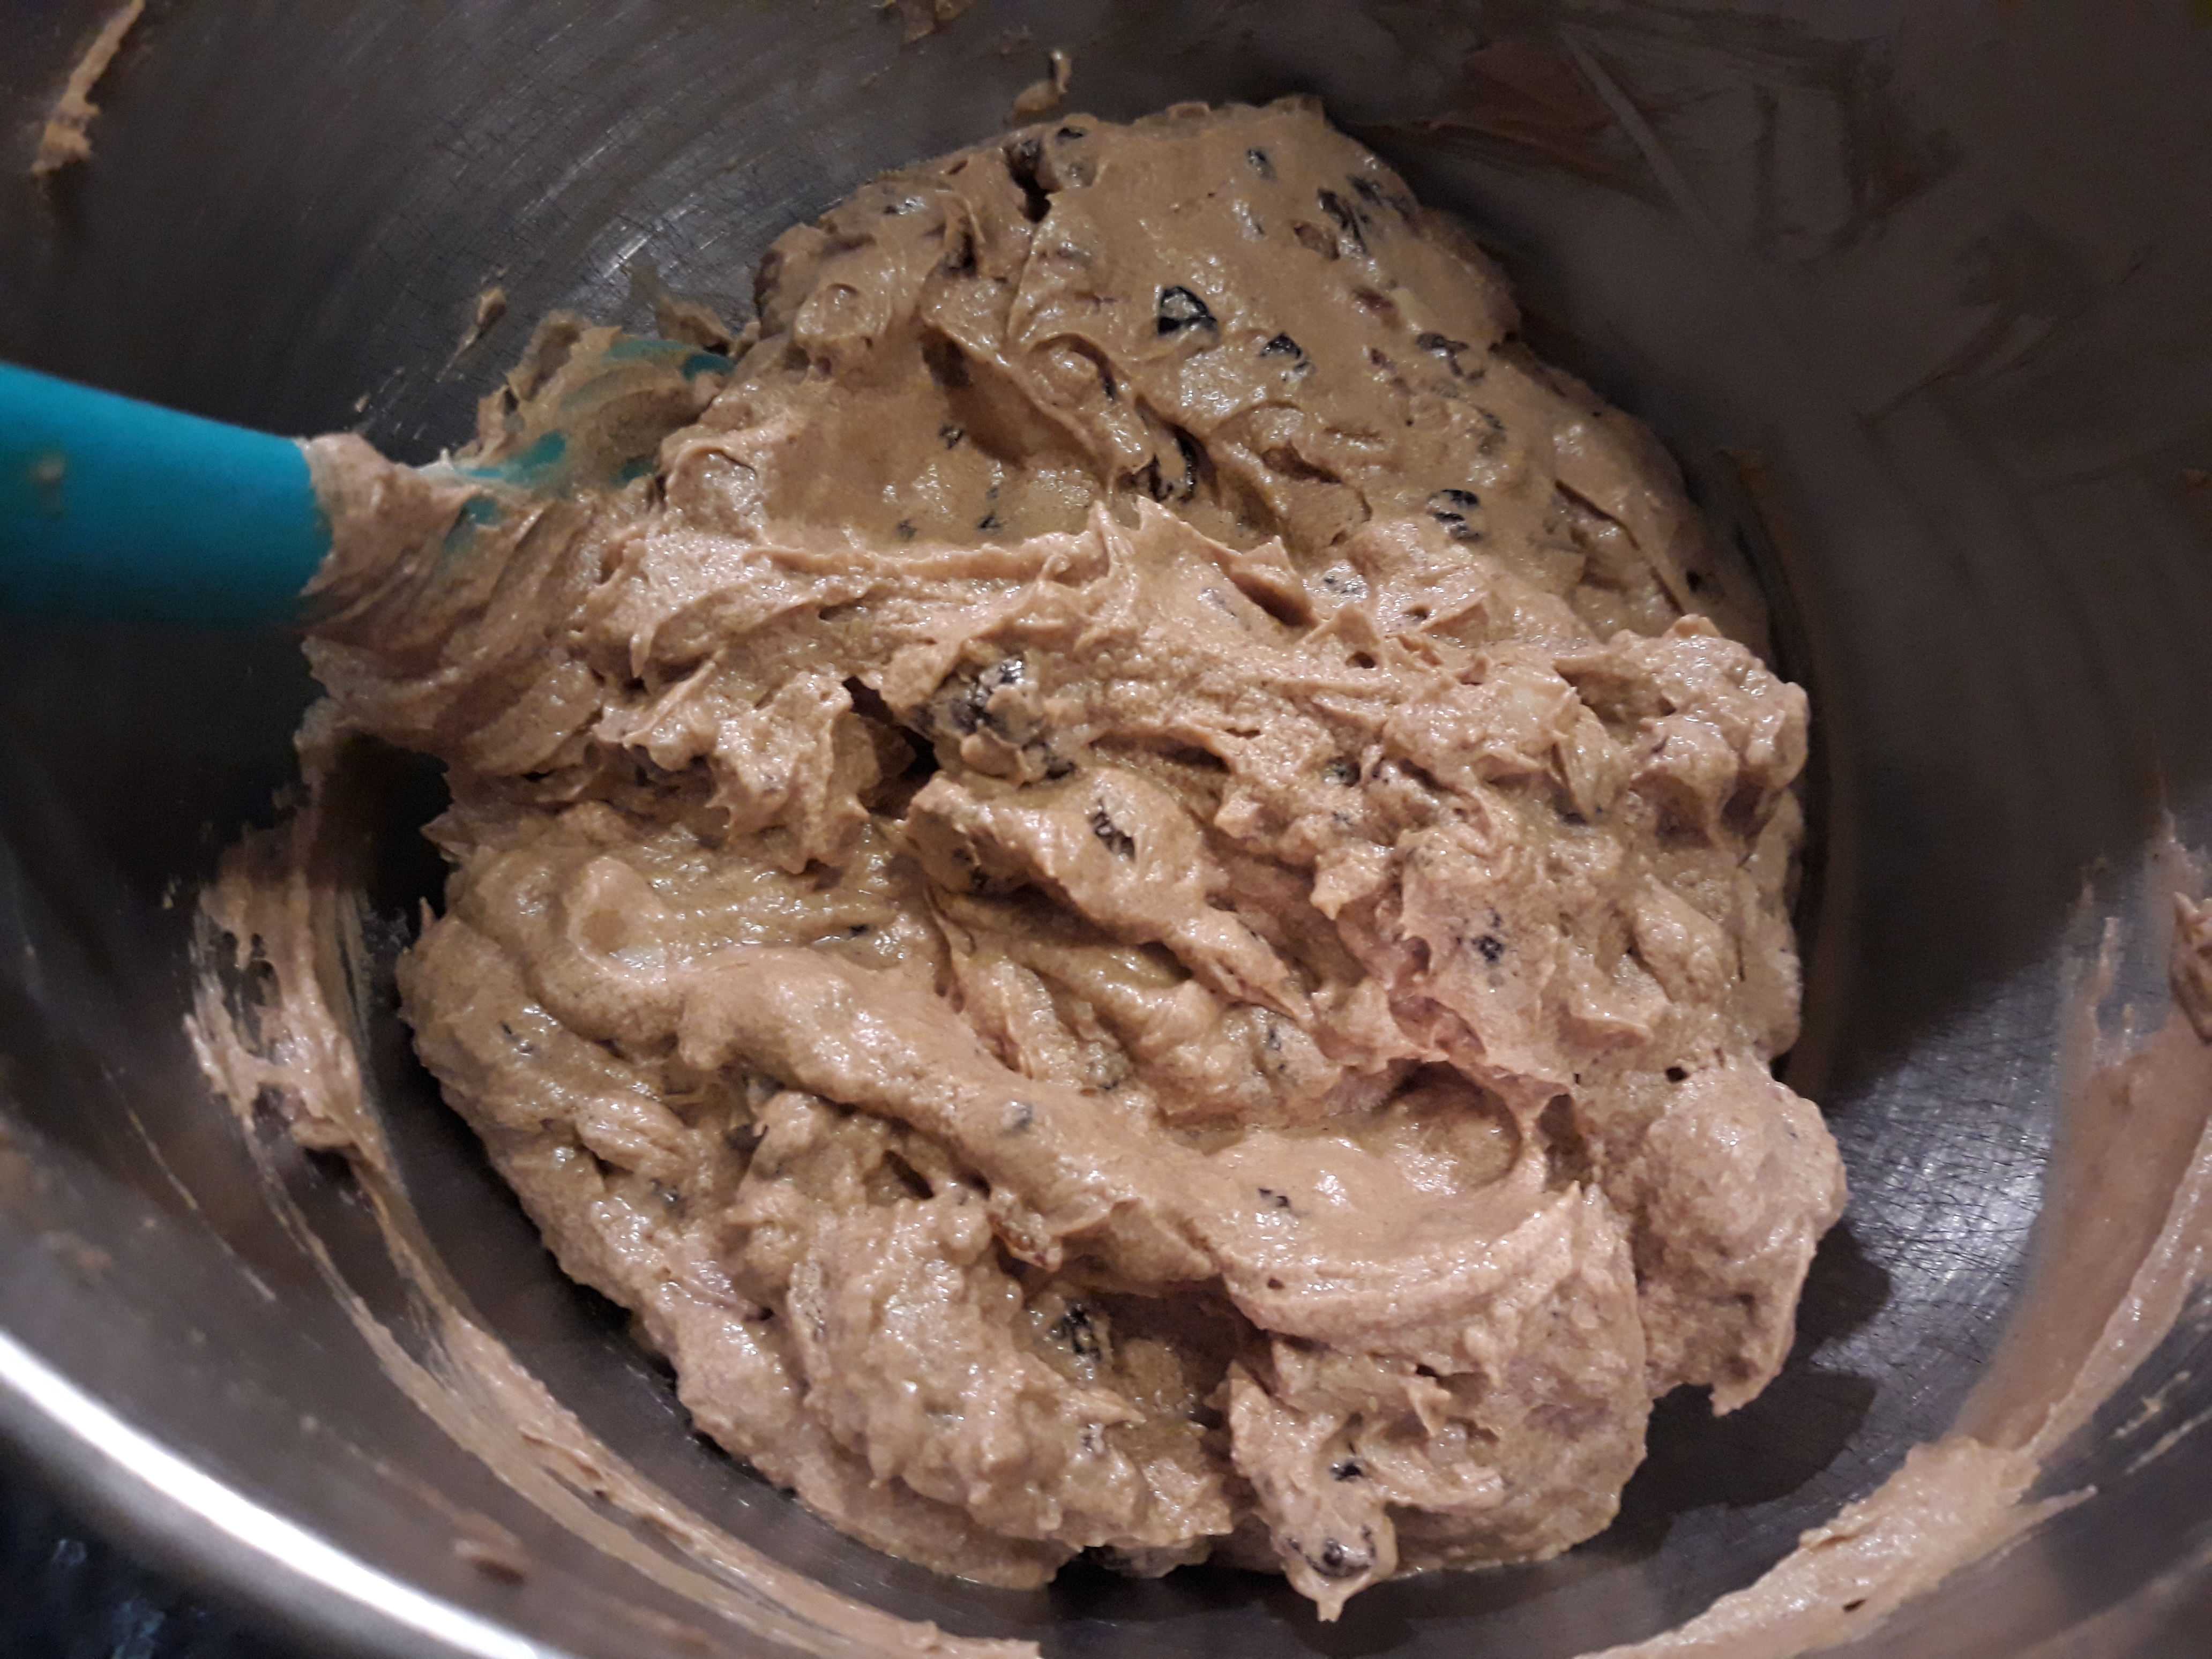
Mix the flour and baking powder, and tip into the mixture along with the lemon zest. Stir on a slow speed until the mixture is smooth. If your beater’s slow speed isn’t that slow, it is better to mix in the flour by hand. If you used medium eggs, add the milk at this point and mix into the batter.
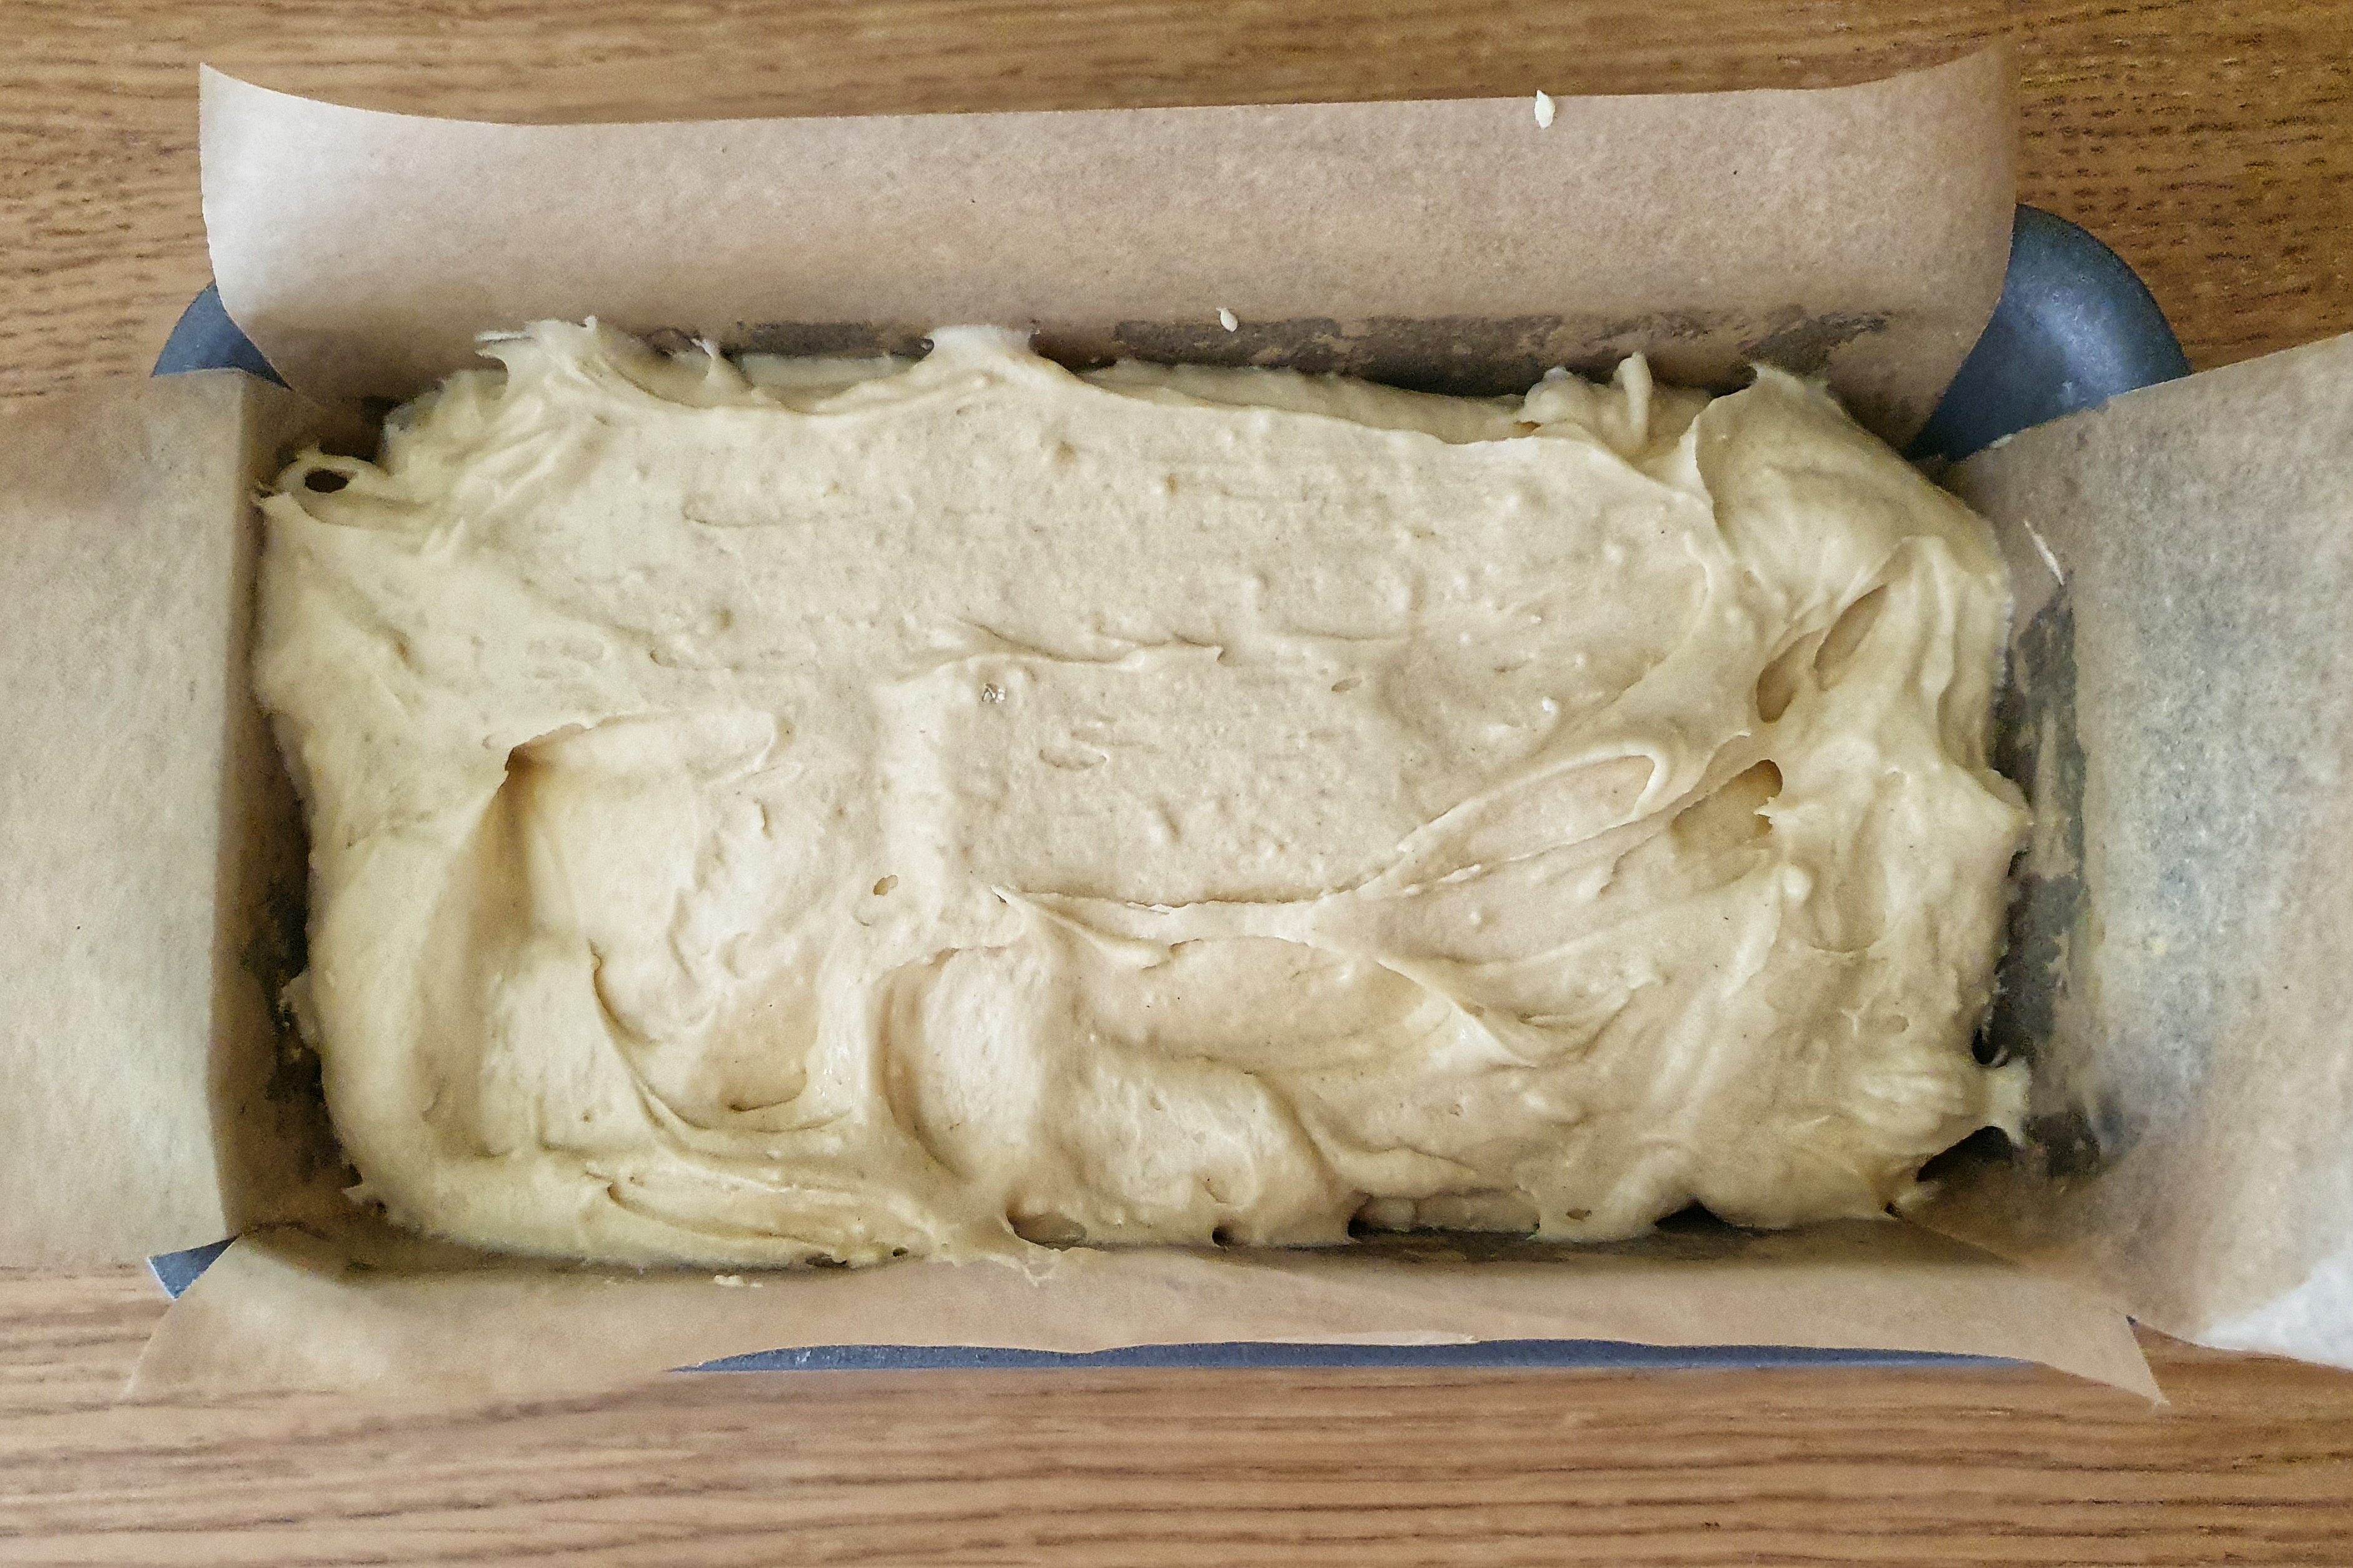
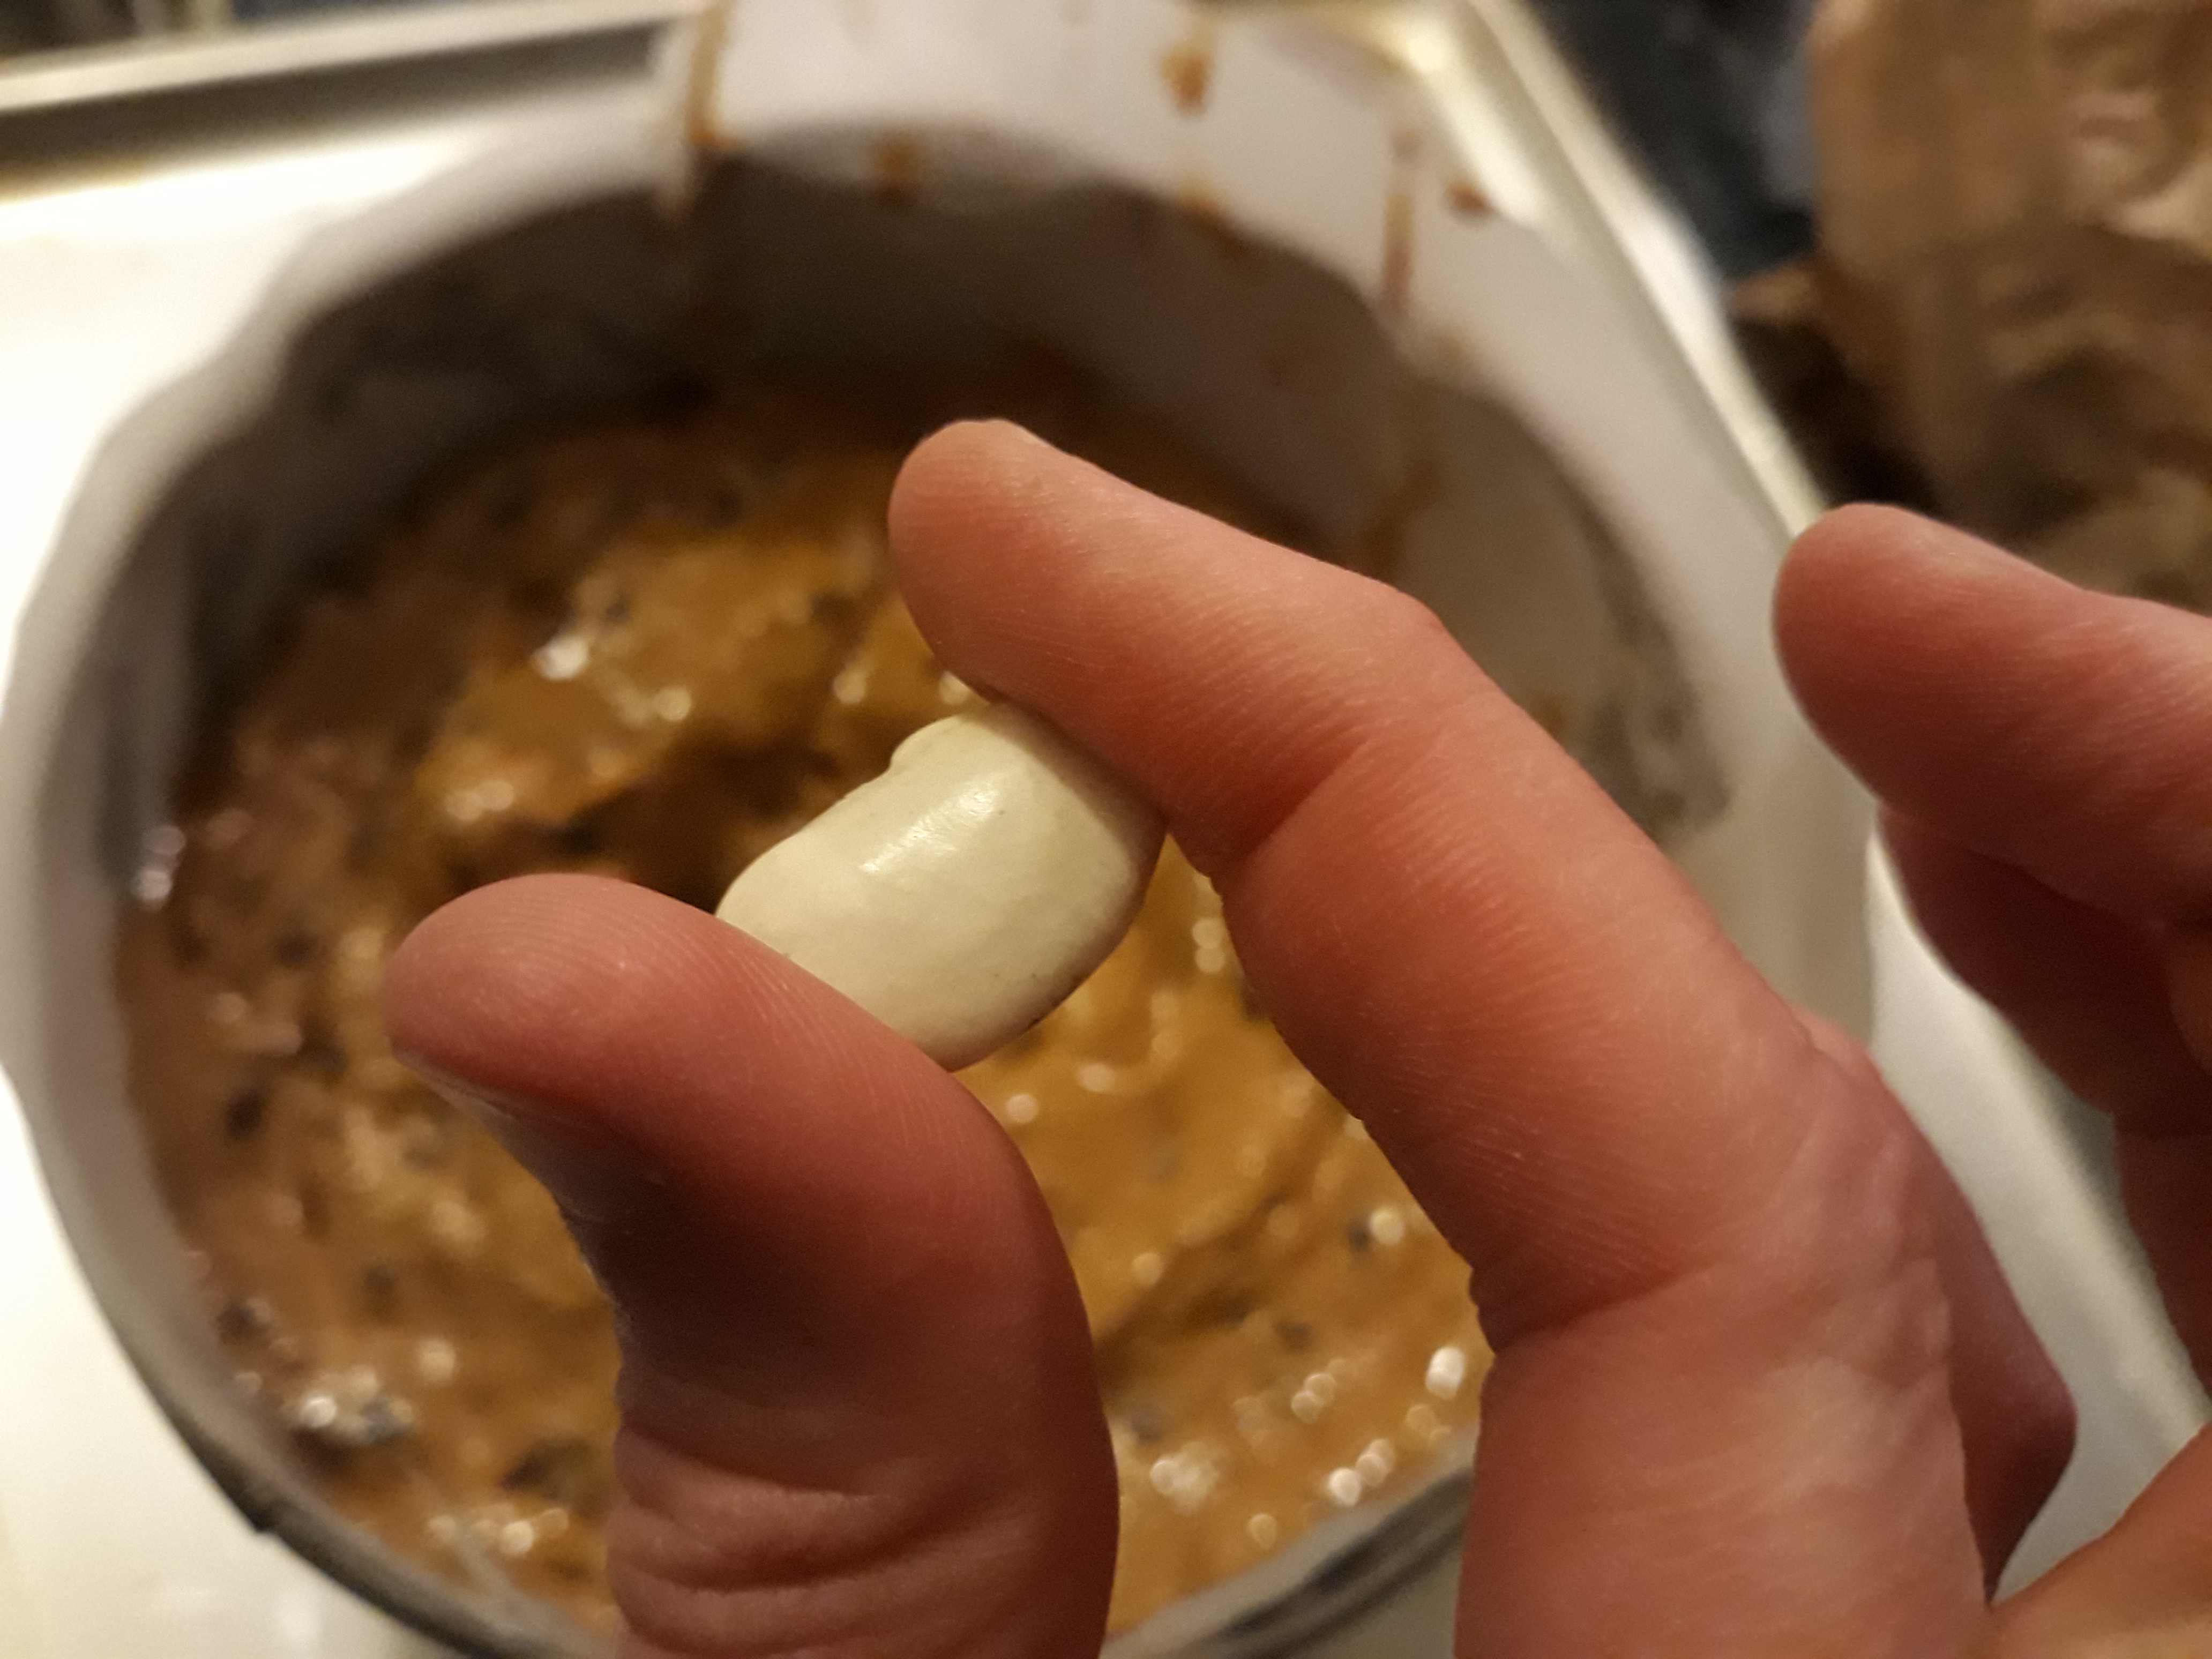
Spoon the mixture into the lined loaf tin and level off. Bake for 1 hour (though check after 50 minutes) until cooked through. Do the good old test of pressing the cake with a finger: if it springs back, it is ready. You can always skewer the cake with a wooden toothpick to see if it comes out clear of any uncooked batter.
When ready, cool in the tin on a wire rack. Best eaten within the first 24 hours of baking.
Notes
[1] In Britain, the only thing we’re dunking is our biscuits in our tea.
[3] Grigson, J. (1992). English Food (Third Edit). Penguin.
[4] This is covered in Buttery, N. (2022). A Dark History of Sugar. Pen and Sword History.
[5] Mason, L., & Brown, C. (1999). The Taste of Britain. Harper Press.
[6] Ibid. I searched too and could not find an earlier example.
[7] Acton, E. (1845). Modern Cookery For Private Families. Quadrille.
[8] Most recipes, even modern ones, describe loaf tins by the weight of bread dough they are designed to bake: 450g (1 lb) or 900g (2 lb). Exact dimensions vary, but in the case of a 900g (2lb) tin, the dimensions are around 21 cm long x 11 cm wide x 7 cm high.