Tag Archives: left-overs

Summer Pudding

Summer pudding is one of the best and one of the most surprisingly versatile puddings there is. It’s also great fun to make and seeing as the first soft fruits crops are coming in, I thought I’d share my recipe with you. Before I do though, I should get the uninitiated up to speed on this quintessentially British dessert.

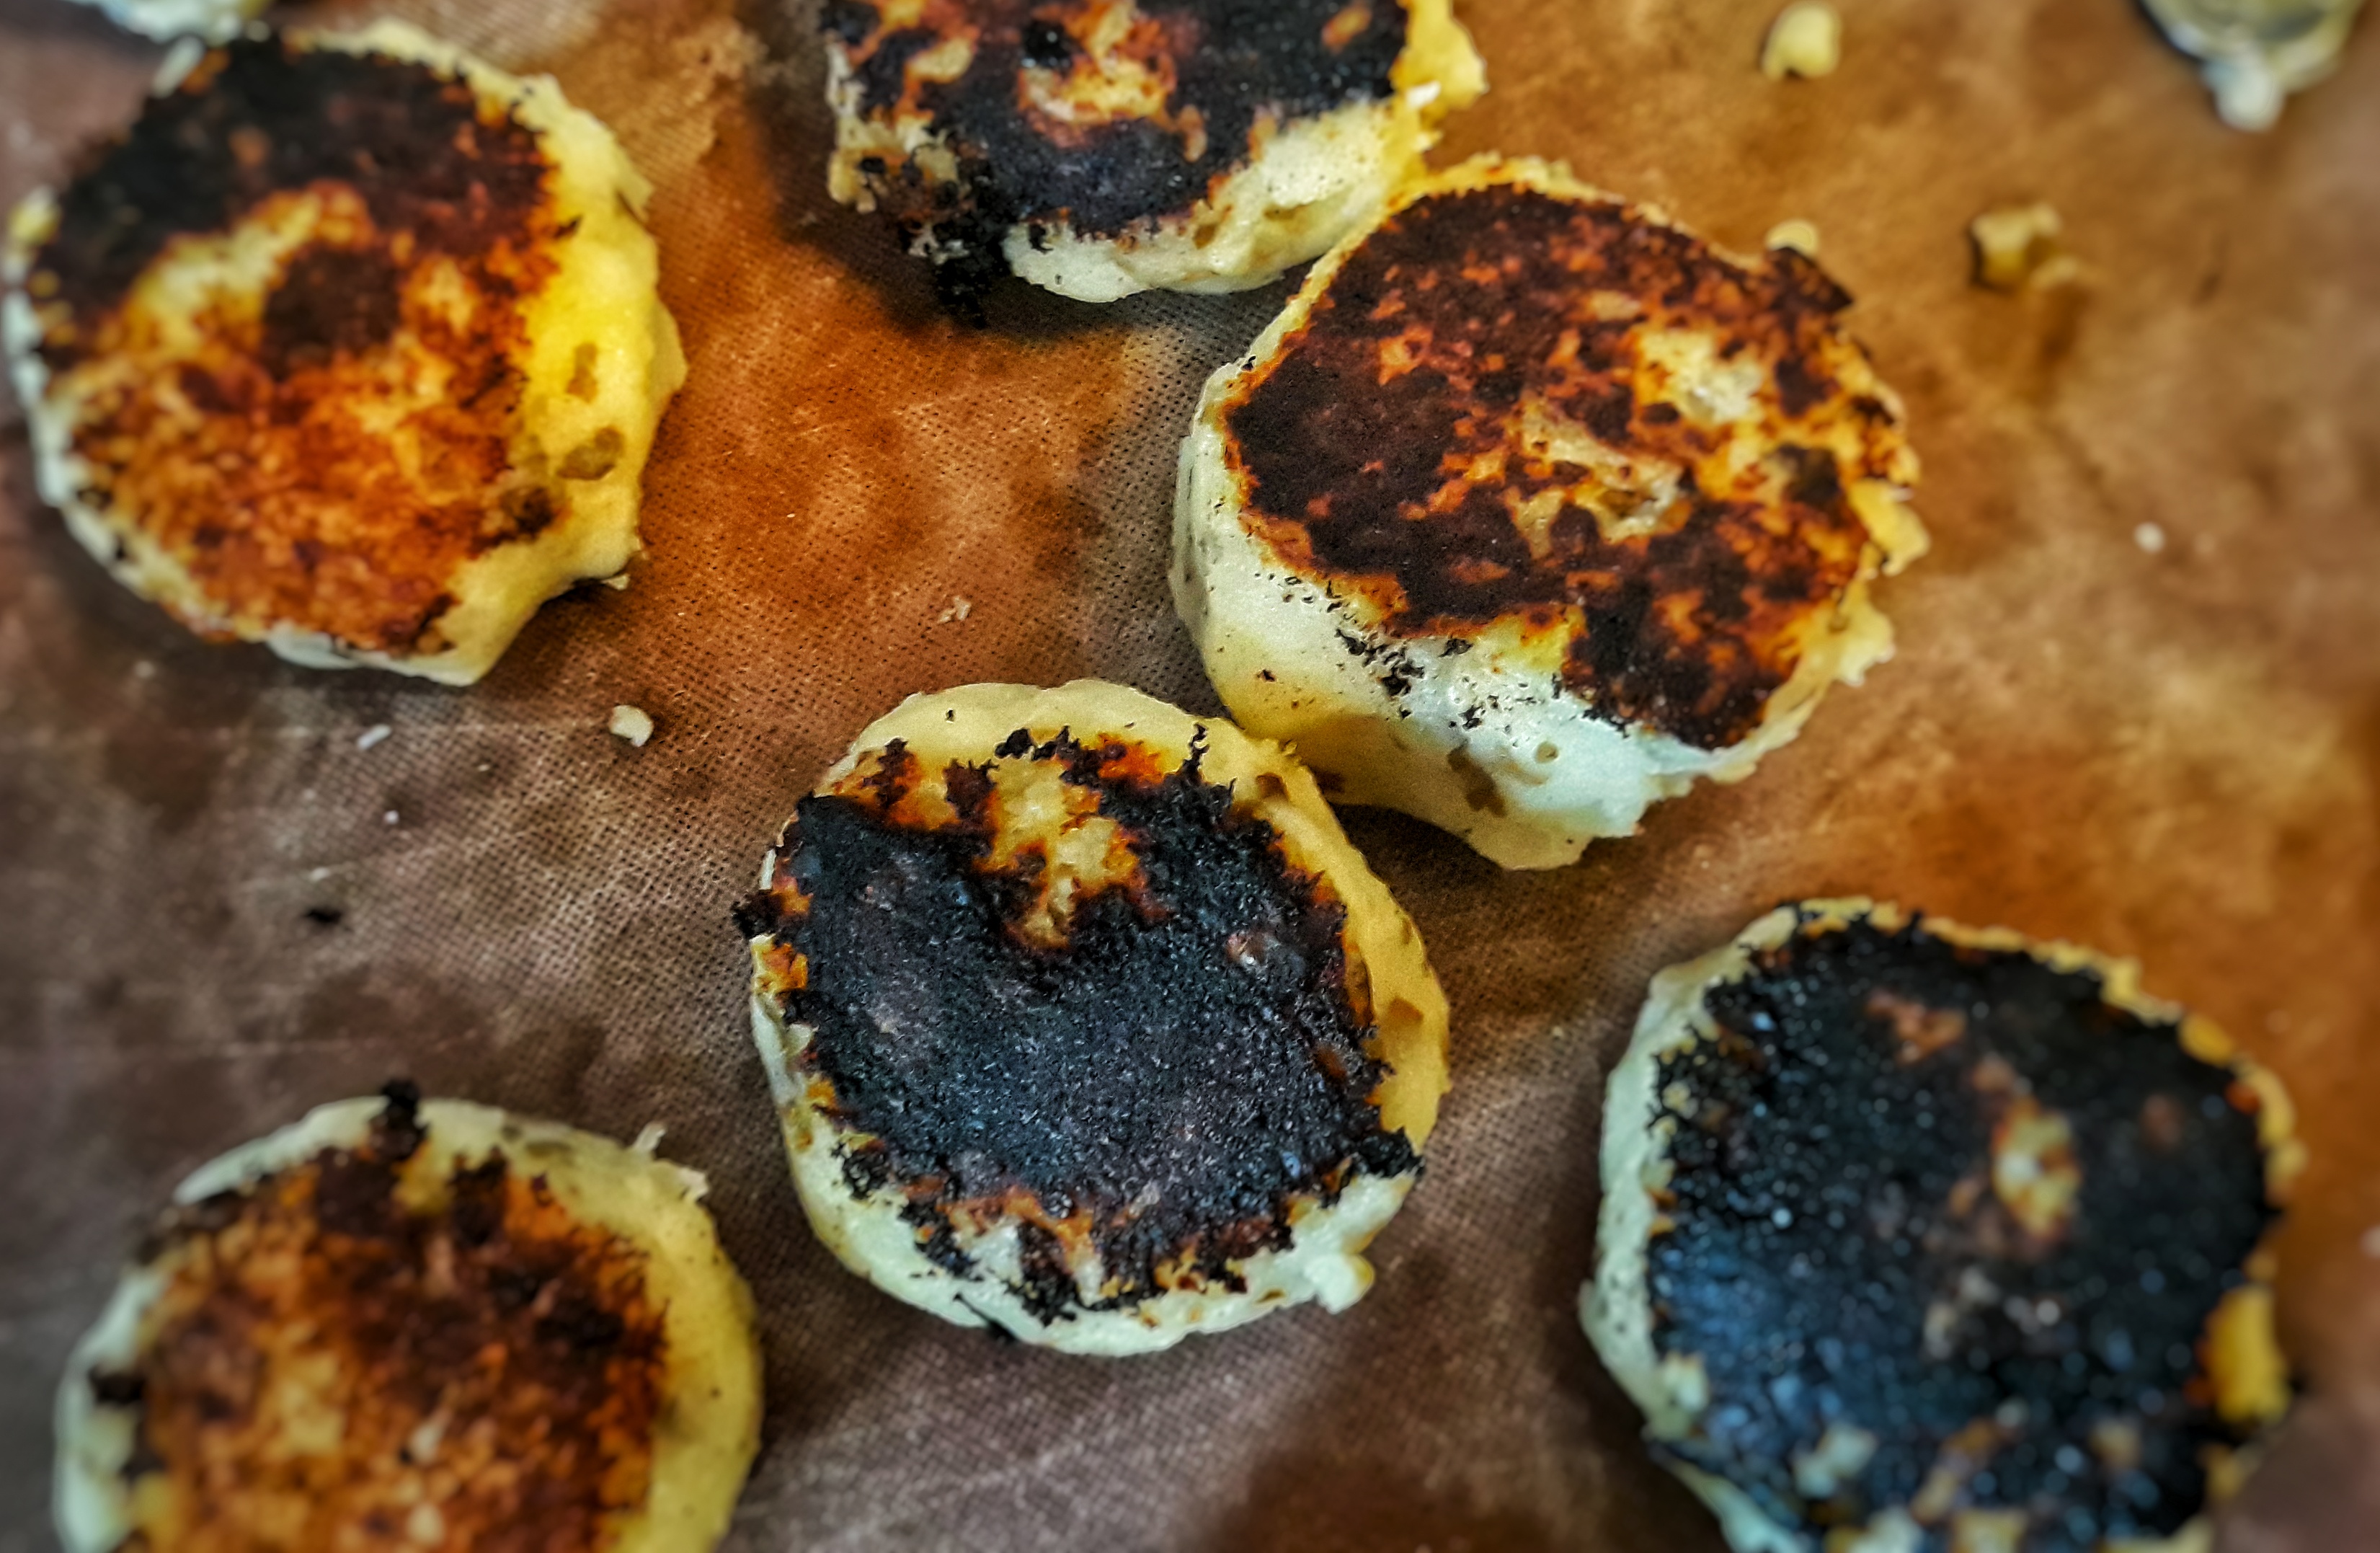
Summer pudding is typically a mix of red summer soft fruits lightly poached and set in a pudding basin that has been lined with berry juice-soaked white bread. For many, the thought of cold soggy bread makes them feel a little queasy, but they shouldn’t because the texture is not as one would expect; it is soft and giving and nothing like the texture of soggy bread in hot broth, for example. One way it is versatile, however, is that you can use other things in place of the bread, such as slightly stale slices of madeira or pound cake. Indeed, this is the way I prefer to make it because this way, you quickly dip the cake in the juices (otherwise it just breaks apart) unsoggy and much more pleasing in texture, rather like the base of a trifle, though a less vibrant colour. It’s swings and roundabouts isn’t it.

The other way in which it is versatile is in the fruit you can use. There are many who are purists who insist you use 100% raspberries, for others there must be at least 50% redcurrants, and some think there is no place for the strawberry. These people are all pudding fascists. I’m not picky and I go for what’s in season at the time: gooseberries, red, white or blackcurrants, blueberries, blackberries, strawberries, whatever.

The summer pudding goes back to the nineteenth century as far as I can see, the earliest mention of something resembling it popping up in an American publication from 1875. It describes a hot pudding consisting of currants and sugar steamed in a basin lined with bread. I’ve also found a British ‘midsummer pudding’ that is also hot but uses a suet crust and is – oddly – more recent. A cold pudding made in the manner we know and love today appears around the turn of the twentieth century under the curious name of ‘hydropathic pudding’, so called because it was introduced to ladies at health spas as a low-calory alternative to regular stodgy suet puddings.

I have also found other recipes for autumn pudding and winter pudding, that have swapped the summer fruits for stewed apples, pears and dried fruit or blackberries, sometimes switching white bread for brown.

This is my recipe and it makes just one small pudding, unlike most other recipes that make a giant one using a re-mortgage worth of redcurrants, so this is the recipe for those who do not grow their own. In fact, all you should need are two or three punnets of soft fruit.

Serves 4:

300 g ripe soft summer fruits (raspberries, blackcurrants, red or white currants, blueberries, strawberries, gooseberries etc)

80 – 100 g caster sugar

A shot of an appropriate liqueur such as Chambourd, optional

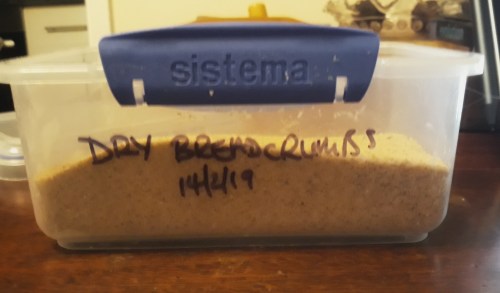
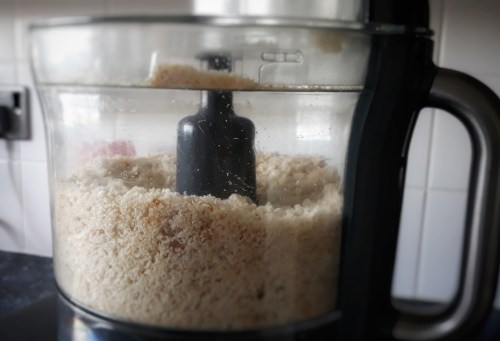
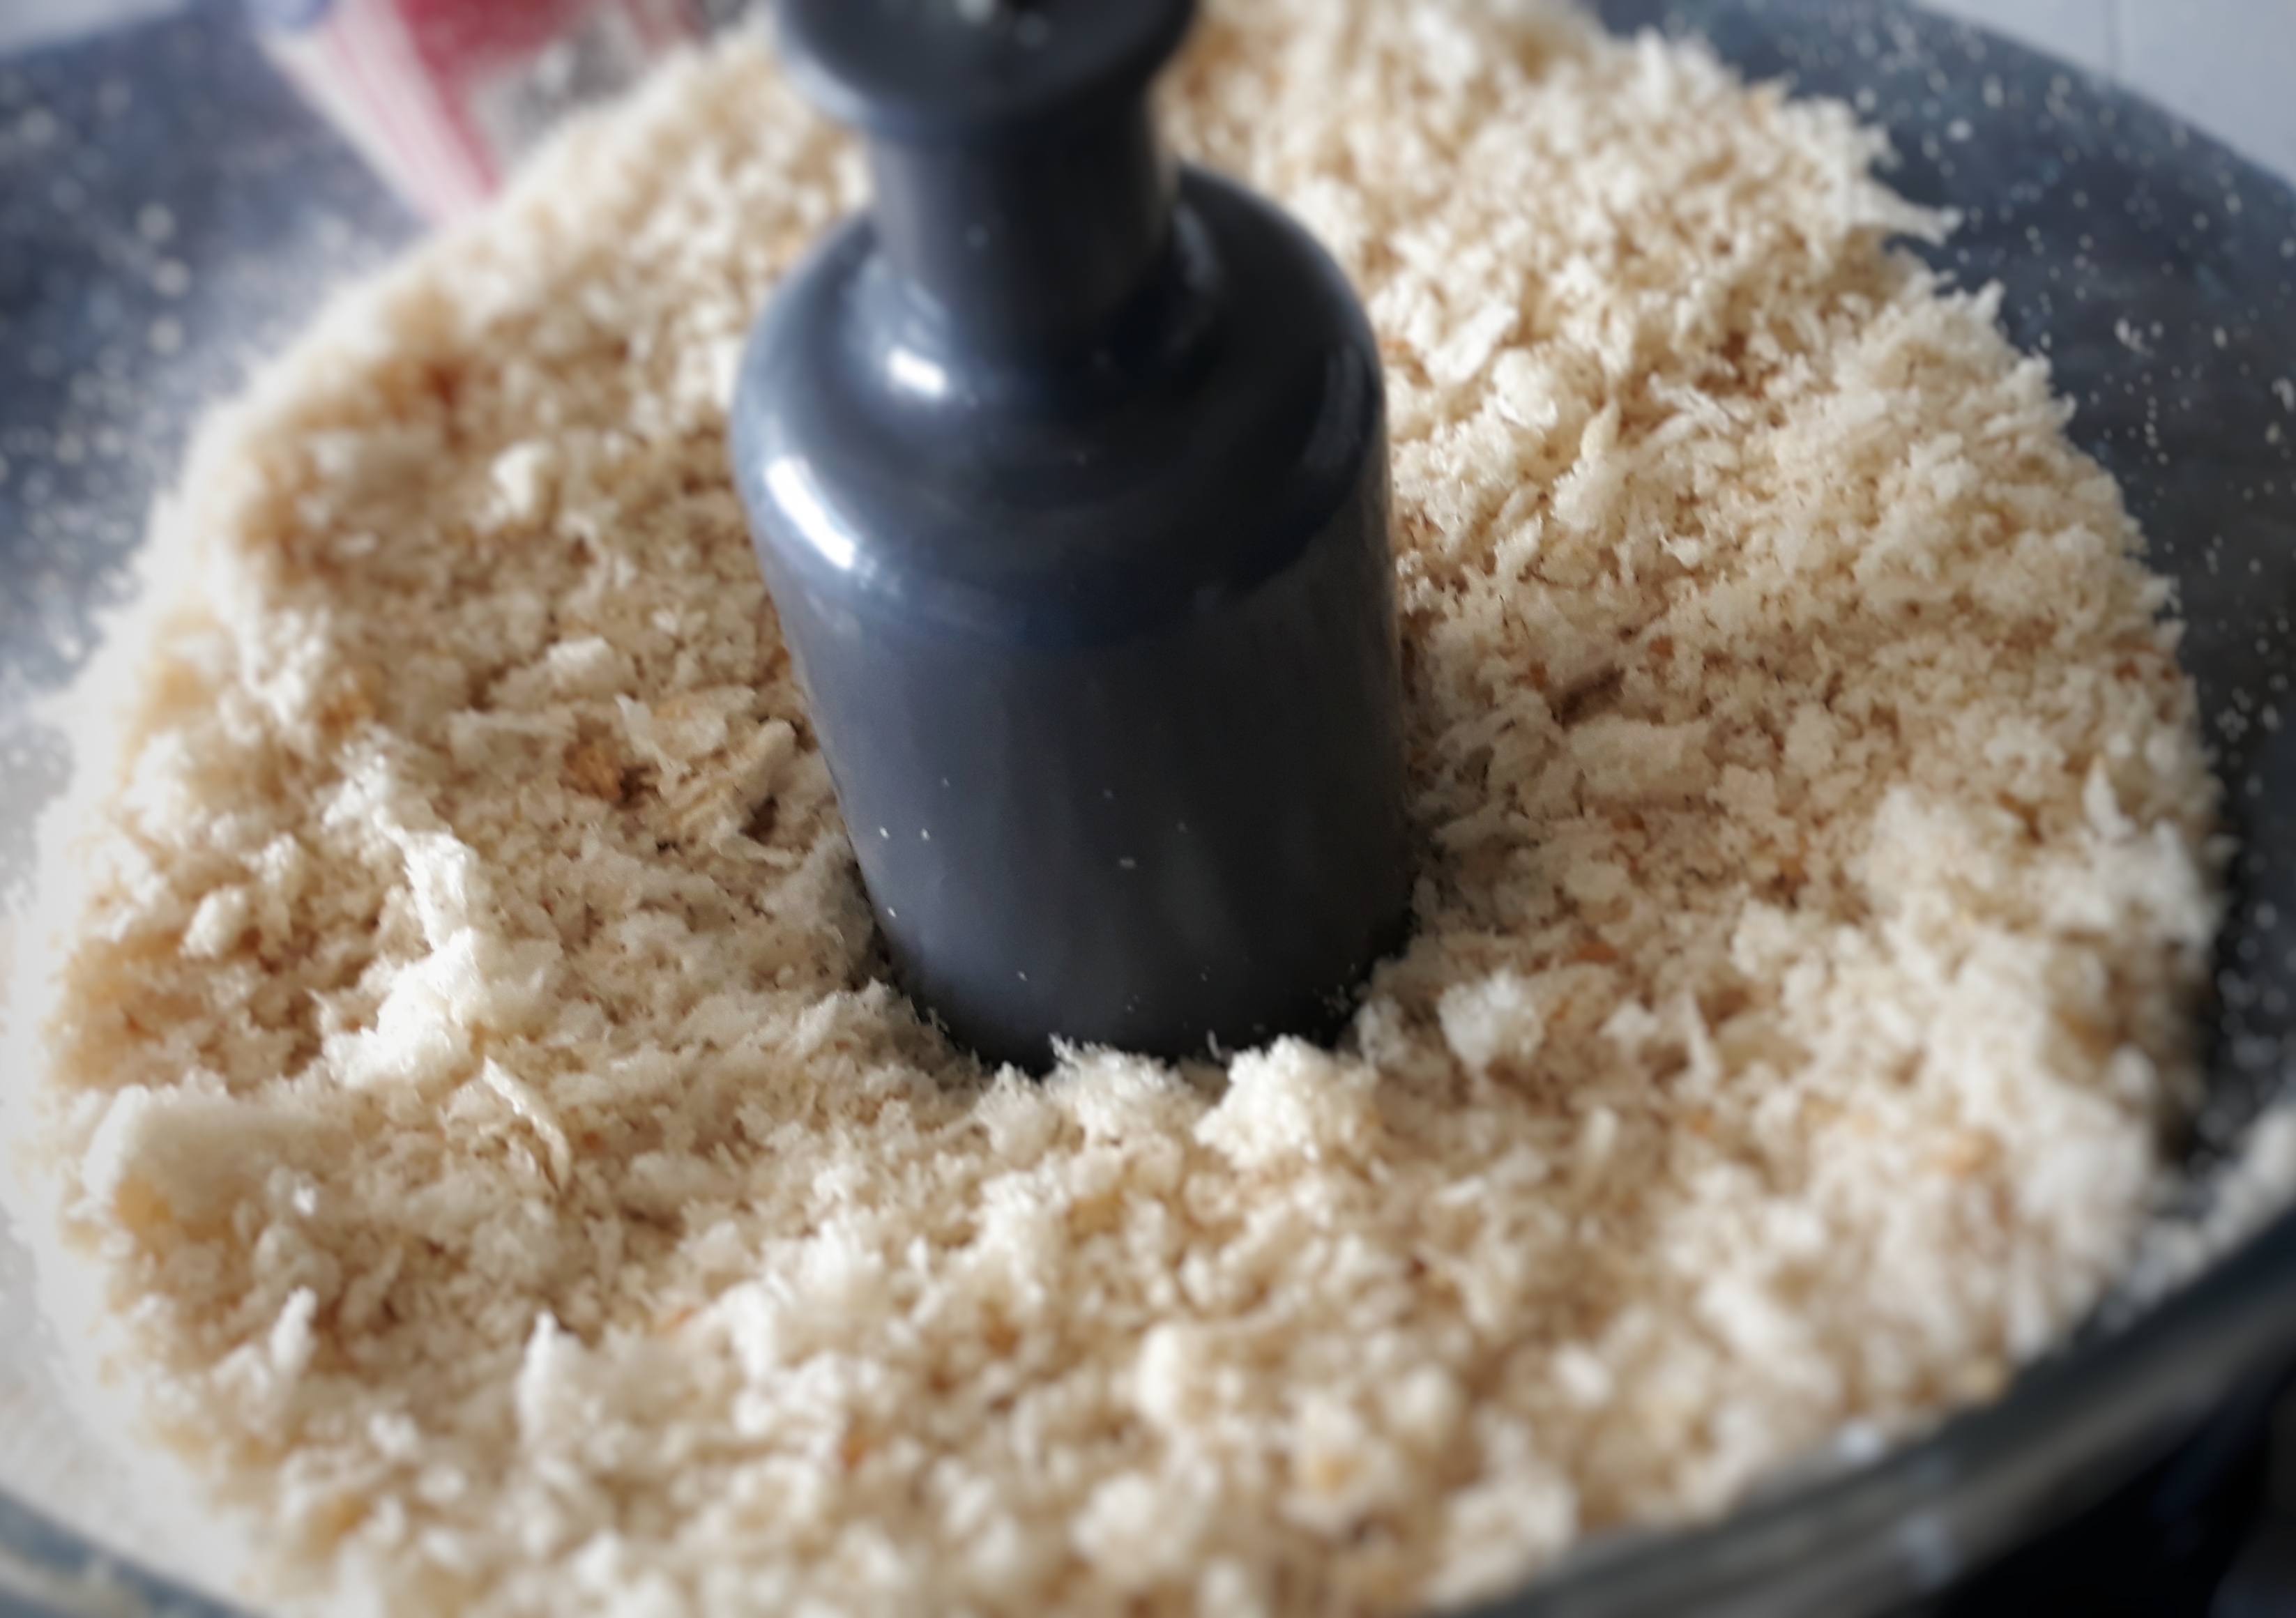
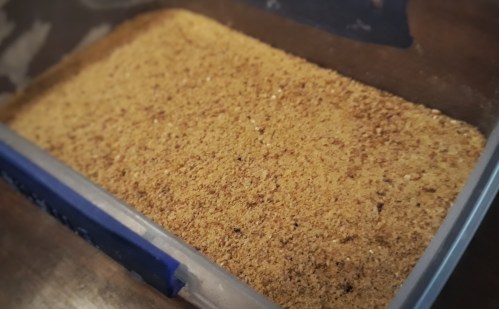
2 or 3 slices slightly stale bread, crusts removed, or one stale madeira or pound cake, cut into 7 to 10 mm slices

To serve: clotted cream or lightly whipped double cream

Rinse the fruit, cutting any large fruits such as strawberries and gooseberries into halves or quarters as appropriate. Scatter in the sugar, but don’t make things too sweet, especially if using cake rather than bread. However, if you are using green gooseberries you many want to shake in the full quota. Pour in the liqueur if using, stir, cover and leave to macerate overnight.

Next day, put the contents of the bowl in a saucepan over a medium heat. Stir gently to dissolve the sugar, trying not to squish the fruit too much. When dissolved, bring to a boil and simmer gently for two minutes, then turn off the heat. Set aside to cool down.

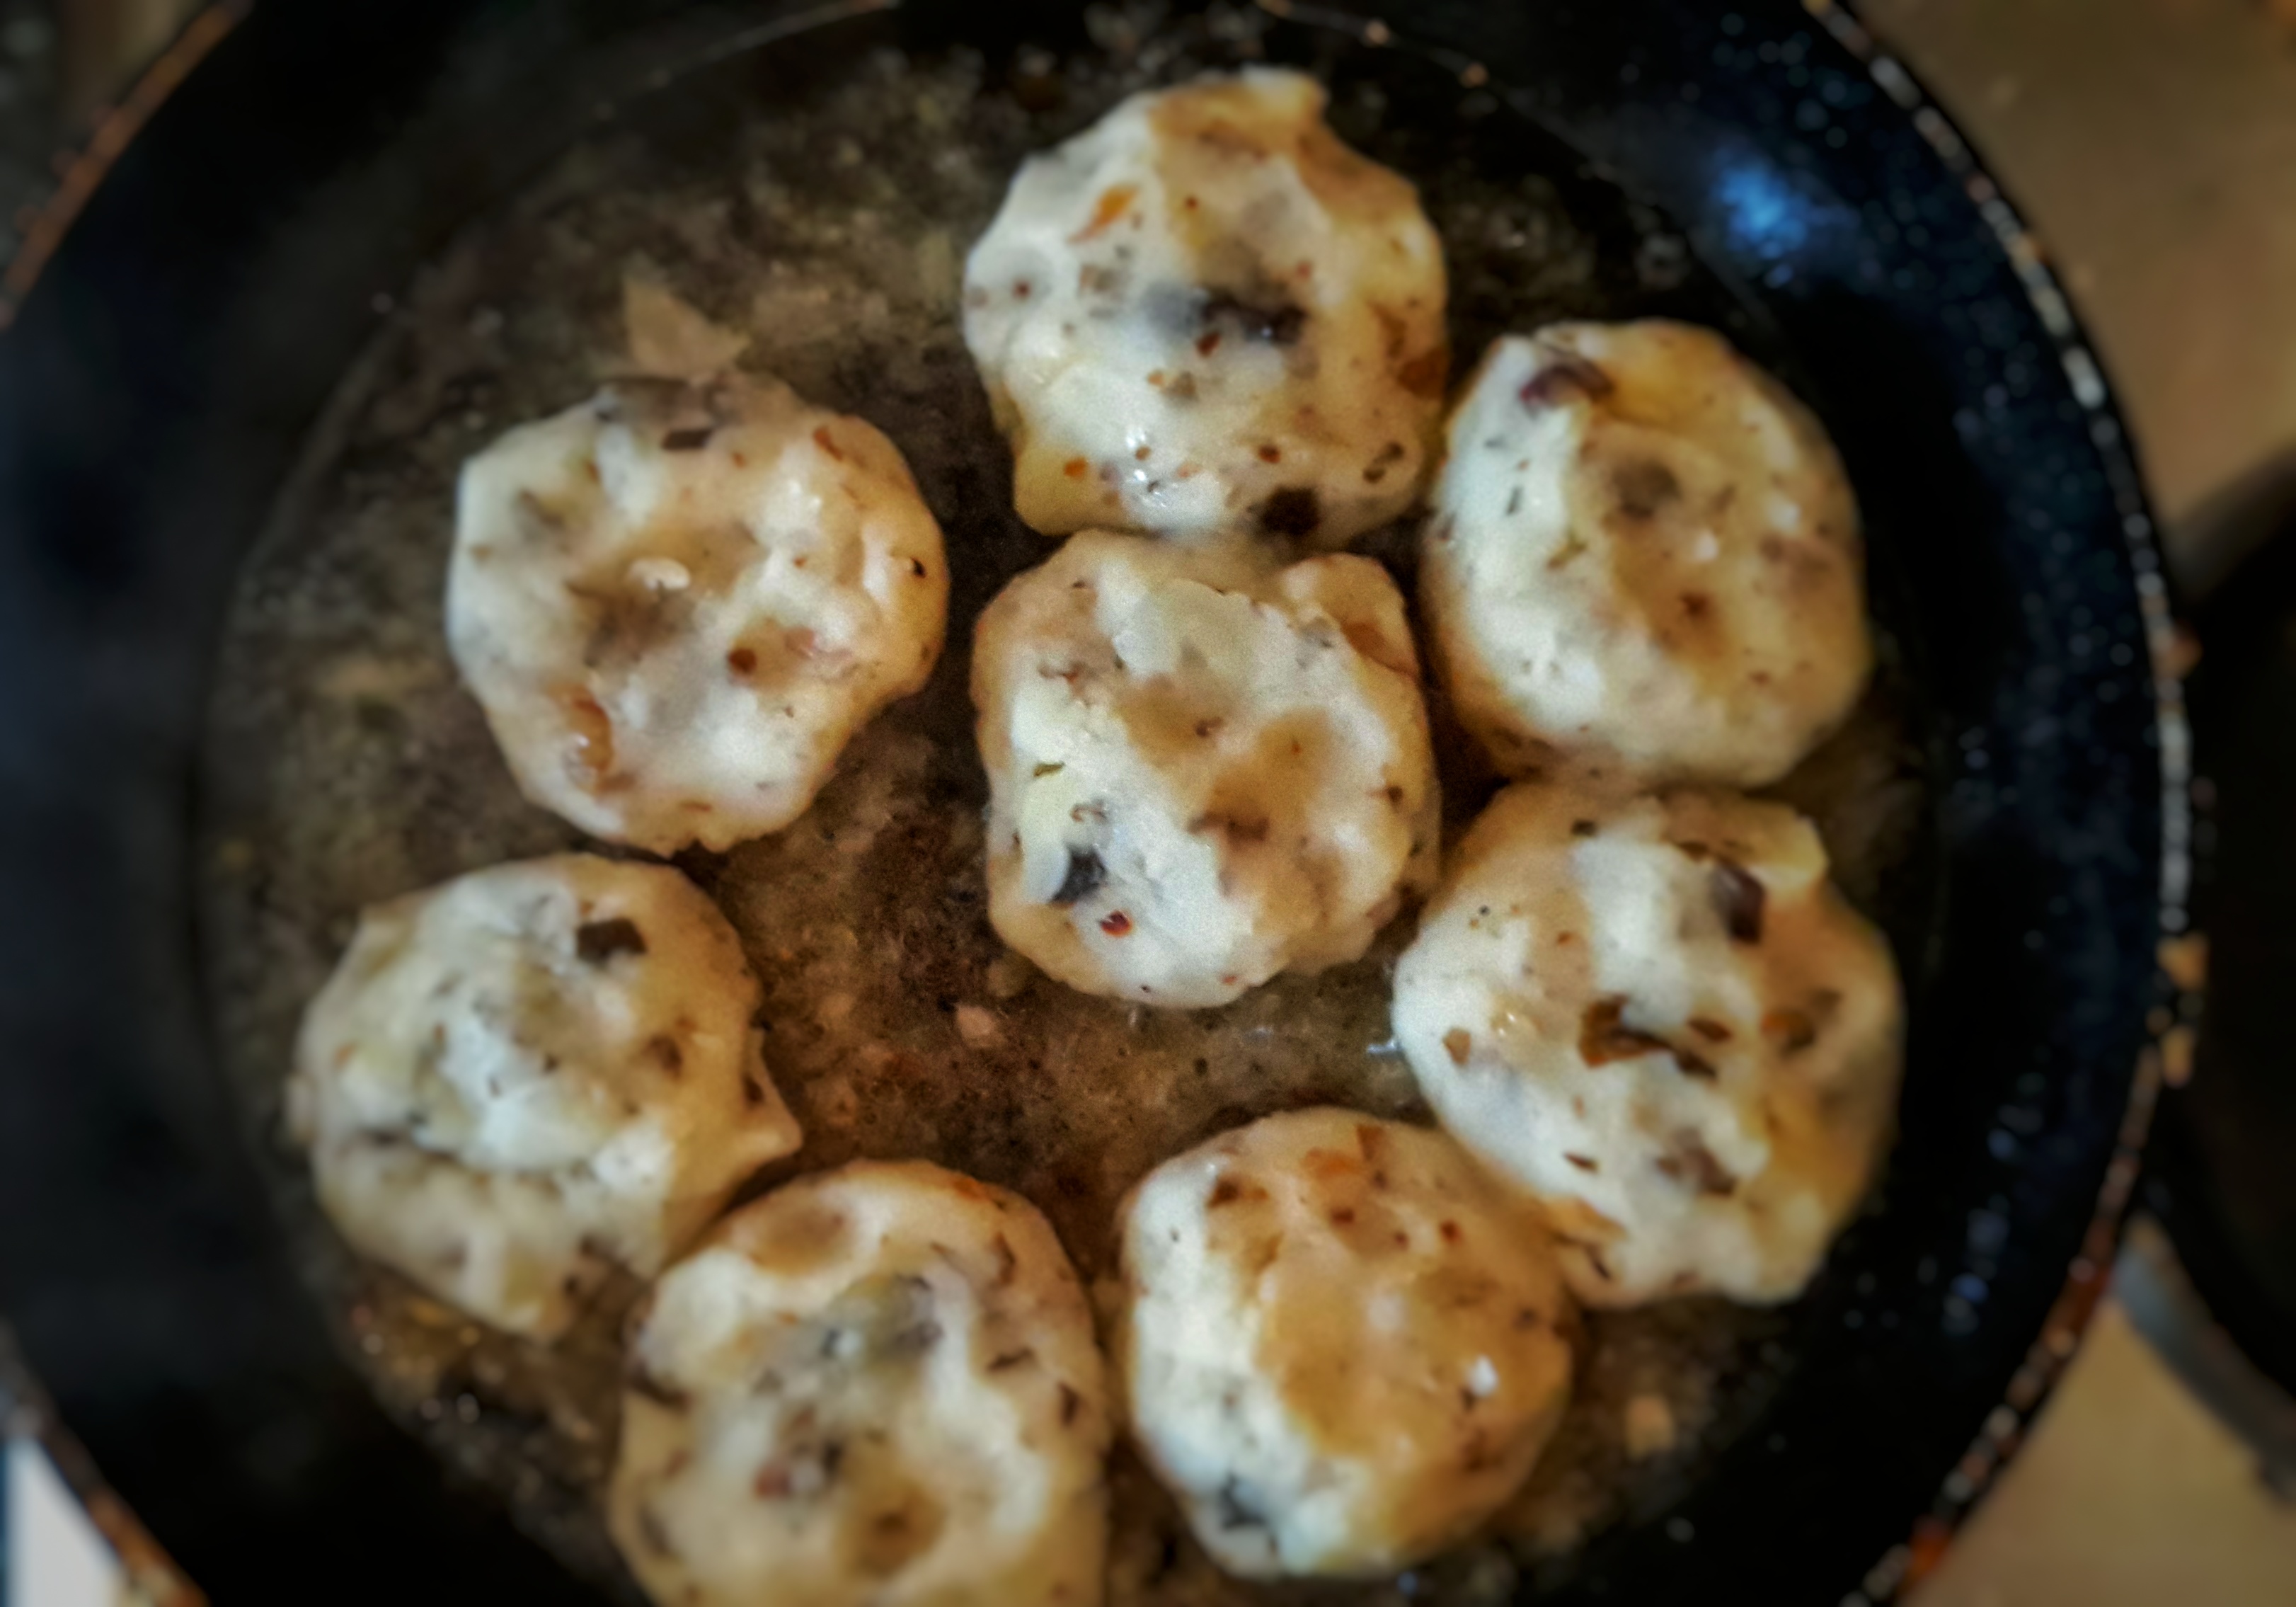
Cut your slices of cake into enough pieces to line a 450 ml / 1 pint pudding basin. I cut rectangles that taper slightly at one end so that they fit nicely.

Dip each piece of cake or bread in the juicy warm fruit and press into the inside of the basin. Repeat with more slices until you have covered the sides, then cut a circle to fit in the bottom. Be careful if using cake at this point as they are prone to break when soggy.

Now spoon the fruit mixture into the pudding, packing everything in well with the back of a spoon.

Cut more cake or bread to make a lid, press down hard with fingers, then place a saucer on top with a suitable weight and place in the refrigerator overnight.

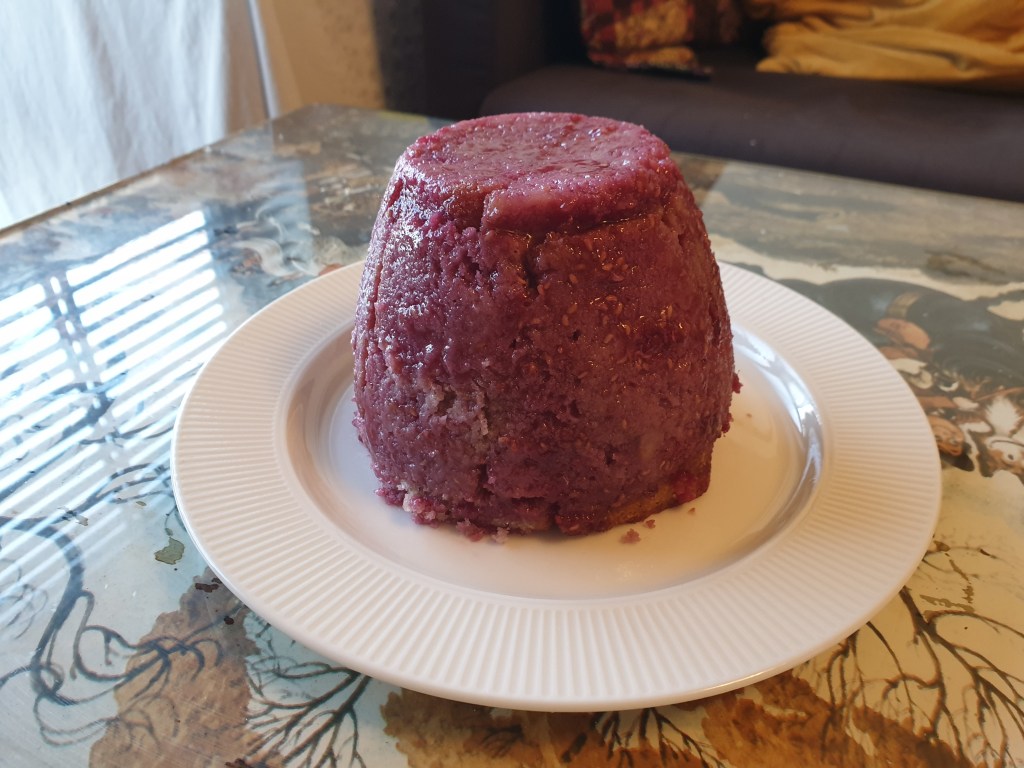
When ready to serve, loosen the pudding a little with a knife before inverting it on a plate. Be patient as the pudding leaves the mould – do not be tempted to hurrying things, lest disaster strikes. If using a plastic basin, massage it a little to help it along.

Serve with any remaining juice or fruit and the cream.


If you like the blogs and podcast I produce, please consider treating me to a virtual coffee or pint, or even a £3 monthly subscription: follow this link for more information.


References:

Cookery from Experience (1875) Sara T Paul

English Food (third edition; 1992) Jane Grigson

Pride and Pudding (2015) Regula Ysewijn

‘Summer Pudding’, Foods of England website http://www.foodsofengland.co.uk/summerpudding.htm

‘Winter Pudding’, Foods of England website http://www.foodsofengland.co.uk/winterpudding.htm

Advertisement

11 Comments

Filed under Uncategorized

Breadcrumbs – a Beginner’s Guide

Many traditional recipes require fresh or dry breadcrumbs; they are an integral part of many puddings and savoury dishes. They are present in small amounts in sausagemeat, terrines and other early meat puddings absorbing the fats, or may be the main constituent in the stuffing for a roast bird. They are also sometimes used in dumplings instead of wheat flour. In sweet puddings they provide body and structure to custards such as Queen of Puddings, or the cheese and egg mixture in a Yorkshire Curd Tart.

Dried breadcumbs can be sprinkled over the tops of dishes (such as my Macaroni Cheese) or used to coat something ready for deep or shallow-frying. I have memories of my mum buying those oddly-orange coloured packs of dried breadcrumbs to coat her fish before frying it. Well, needless to say, making your own will not result in everything it touches look like a Findus Crispy Pancake.

Making Fresh Breadcrumbs

Fresh breadcrumbs require stale bread, and I think that only real bread – i.e. a loaf made at home or in a real traditional or artisan bakery – makes decent breadcrumbs. Factory-made supermarket bread and tends to go mouldy before it goes stale due to its high-water content.

The type of bread is typically white bread, but you can use any you want, especially if there is only a small amount required, but wholemeal and sourdough breads will impart their own flavours if the main constituent. White bread and brioche are best for sweet puddings.

Unless the bread is very well-coloured, I don’t usually remove the crusts, even if the recipe says I should. Feel free to remove them yourself, I don’t mind the odd brown speckle in the final dish.

Making them couldn’t be easier. If you have a blender or food processor, simply tear the bread in small chunks and blitz. Usually slower speeds work best. Regular blenders can be a little tricky because they taper at the blades; however, dust off that Nutri-Bullet; they work excellently for breadcrumbing.

If you don’t have a food processor or blender, you can go old-school and grate the bread by hand with a large cheese grater with a good grip on it. Good quality bread will crumb easily, so it isn’t the chore you might expect it to be.

Your breadcrumbs can be used straight away or frozen for later. Whenever you have stale bread in the house, crumb it and freeze it and it’s there waiting for you the next time you have the uncontrollable urge to make a Treacle Tart!

Making Dry Breadcrumbs

If dry breadcrumbs are what you are after, just take your fresh crumbs and spread them on a dry baking tray and pop them in the oven set to around 110°C. Check them after 20 minutes and give them a mix around. Keep baking in bouts of 20 minutes until you are satisfied that they are completely dry. Let them cool and place in an airtight box. They will keep happily for several weeks.

If the crumbs are not fine enough, blitz in a clean but bone-dry food processor until they are as fine as you desire, and great for a posh Scotch Egg.


If you like the blogs and podcast I produce, please consider treating me to a virtual coffee or pint, or even a £3 monthly subscription: follow this link for more information.


8 Comments

Filed under baking, bread, food, Recipes

To make duck stock…

Here at British Food, we don’t like anything to go to waste, so apart from the history behind our food and the recipes that go alongside it, I am also going to provide recipes that use up the left-overs. We’re always being told of the mountains of food we are wasting and what we should do about it; in the past, of course, nothing went to waste, so I suppose by adding recipes for stock and things like that, I am still being historical. In the past, people didn’t want to waste money – that doesn’t just go for the average families, but also rich homes, where the cook really had to have a knack for meal planning and budgeting. We really need to look at our ancestors to see how our food can be better managed. I try and get as many meals as possible out anything I buy these days and have really cut down on my grocery bills, this way I can afford to buy meat from farmers markets and the like all the time now.

So, I have already told you about ducks and given a recipe for roast duck, so now here’s what to do with your left-over carcass. I made soup with my carcass, but duck stock also makes great risotto (but that is not very British, so there’s no recipe for that!).

The ingredients are not set in stone, so use whatever suitable veggies you have lying around that you think would be nice. Any road, here’s the recipe for a nice subtly sweet duck stock; it makes 2 pints.

Ingredients:

one duck carcass

a large carrot, roughly chopped

a celery stick roughly chopped

leek trimmings

two cloves of garlic, lightly crushed

bouquet garni: several sprigs of thyme, a bay leaf, parsley stalks, a strip of thinly pared orange zest, 6 peppercorns

any left-over scraps of jelly or gravy

2 1/2 pints of water

salt

Preheat the oven to 200⁰C (400⁰F). Put the broken-up carcass and stock vegetables in a roasting tin to brown and slightly caramelise in the oven for 25 minutes. Place the carcass and vegetables, along with the bouquet garni, peppercorns and the left-overs, into a pan. Put the roasting tin over the heat and deglaze it with a little of the water, using a wooden spoon to get off all the nice burnt bits. Add this to the pan with the rest of the water. Bring steadily to the boil and simmer for around 2 hours.

Pass the stock through a sieve into a bowl, jug or other pan. Season with salt and let it cool completely. Skim any fat that will have risen to the top. The stock can be used straight away or refrigerated or frozen for future use.


If you like the blogs and podcast I produce, please consider treating me to a virtual coffee or pint, or even a £3 monthly subscription: follow this link for more information.


6 Comments

Filed under food, Meat, Recipes

Bubble and Squeak

Bubble and squeak is one of my favourite left-over foods. It’s difficult to give a recipe for it as you just have to use whatever vegetables you have leftover from a nice roast dinner. It turns out it didn’t begin life as fried mashed potato patties, but as something quite different. In The complete economical cook, and frugal housewife: an entirely new system, Mary Holland – in 1837 – describes a recipe that makes use of leftover boiled beef, not potatoes. The beef should be thinly sliced and fried up with chopped boiled cabbage in butter and some salt and pepper. This recipe goes back as far as the mid-eighteenth century. Indeed recipes for it in this form run right up the mid-twentieth century. It cannot be a coincidence that the dish went from beef-based to potato-based at around the same time as the Second World War and rationing.

Well, here is my recipe for the more familiar – and surprisingly modern – bubble and squeak. It’s hard to give amounts as it is just left-overs:

You have to use some mashed potato as a base and then stir or mash in leftover boiled cabbage, broccoli, carrots or whatever you have. Good additions are kale or dulse that have been crisped up in the oven or frying pan before being crumbled into the spuds

I would say that you should keep the ratio of potatoes to vegetables at least 1:1.Though it is very delicious if all you have left is mashed potato (in my house growing up, we often had fried mashed potato sandwiches with brown sauce!).

If you like, you can stir in an egg; this is especially useful if the potato is dry and difficult to form. Season with salt and pepper.

Get some fat nice and hot in a frying pan. It is extremely important that you use an animal fat such as lard. I like to fry some bacon in the pan first and then use the fat to fry the bubble and squeak in.

You can add your mixture in a single layer or as separate patties. You don’t need any flour to help seal it as it will burn. Instead, add your mix and press it down firmly and then leave it undisturbed for at least 5 minutes. When a nice crust has formed, use a spatula to turn it over. Do this in parts – there’s no way you’ll be able to turn it in one piece.

When both sides have achieved a nice dark-brown crust, it is ready to serve up. I like it with bacon, poached eggs and a good dash of Worcestershire sauce.

The name of the dish comes from the noise it makes in the pan as it cooks – the super-hot and densely-packed vegetables create pressure that’s let out through any gaps. If you didn’t use animal fats, you can’t achieve the high temperatures that give you the bubbles and the squeaks, plus the crust isn’t quite as burnt and satisfying.

If you like, you can fry them one day, and warm them up in the oven a few days later.


If you like the blogs and podcast I produce, please consider treating me to a virtual coffee or pint, or even a £3 monthly subscription: follow this link for more information.


20 Comments

Filed under Eighteenth Century, food, history, Recipes