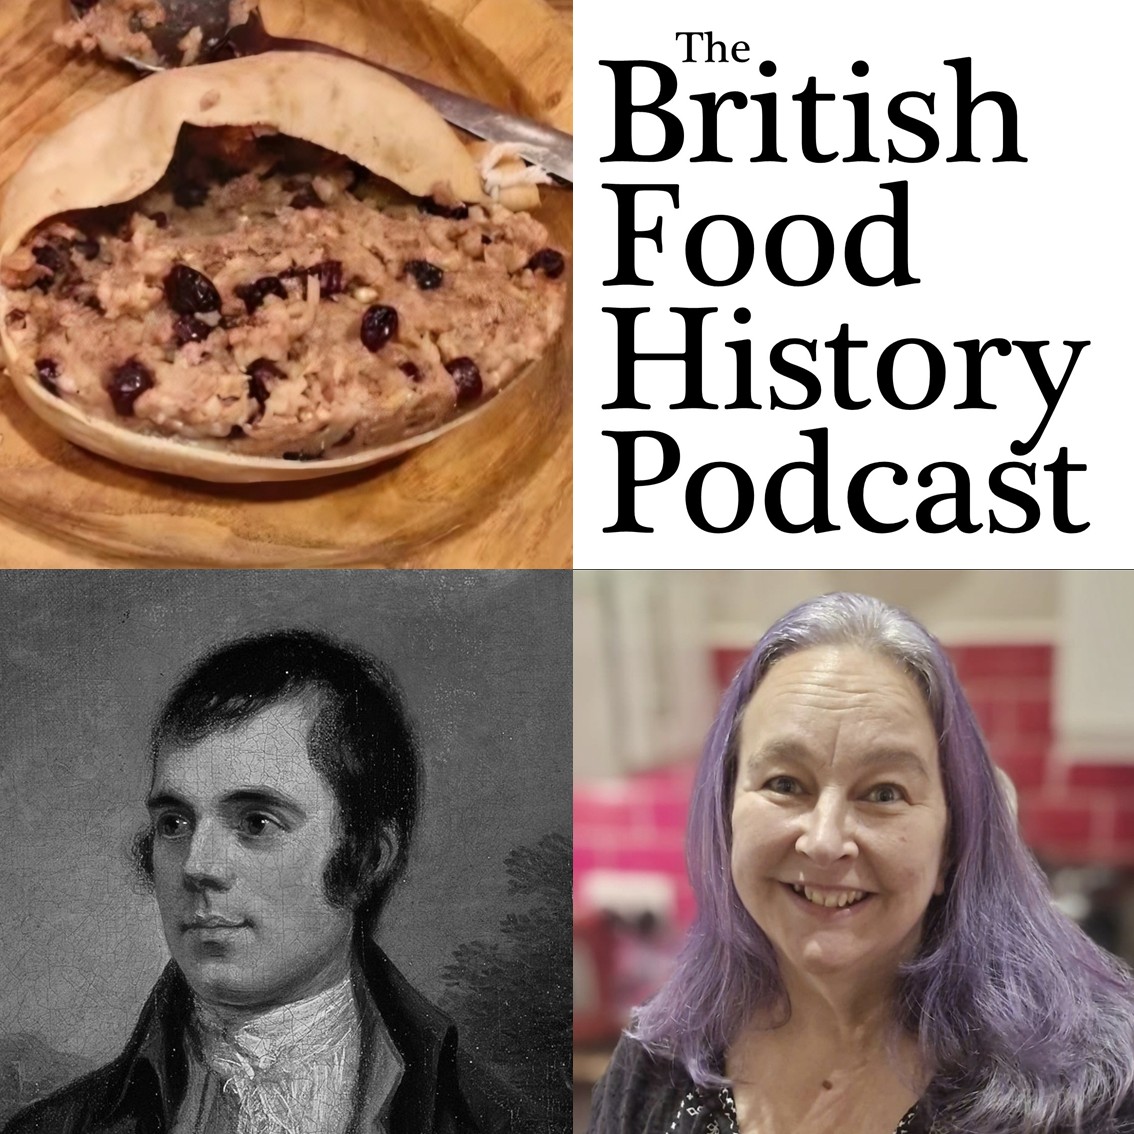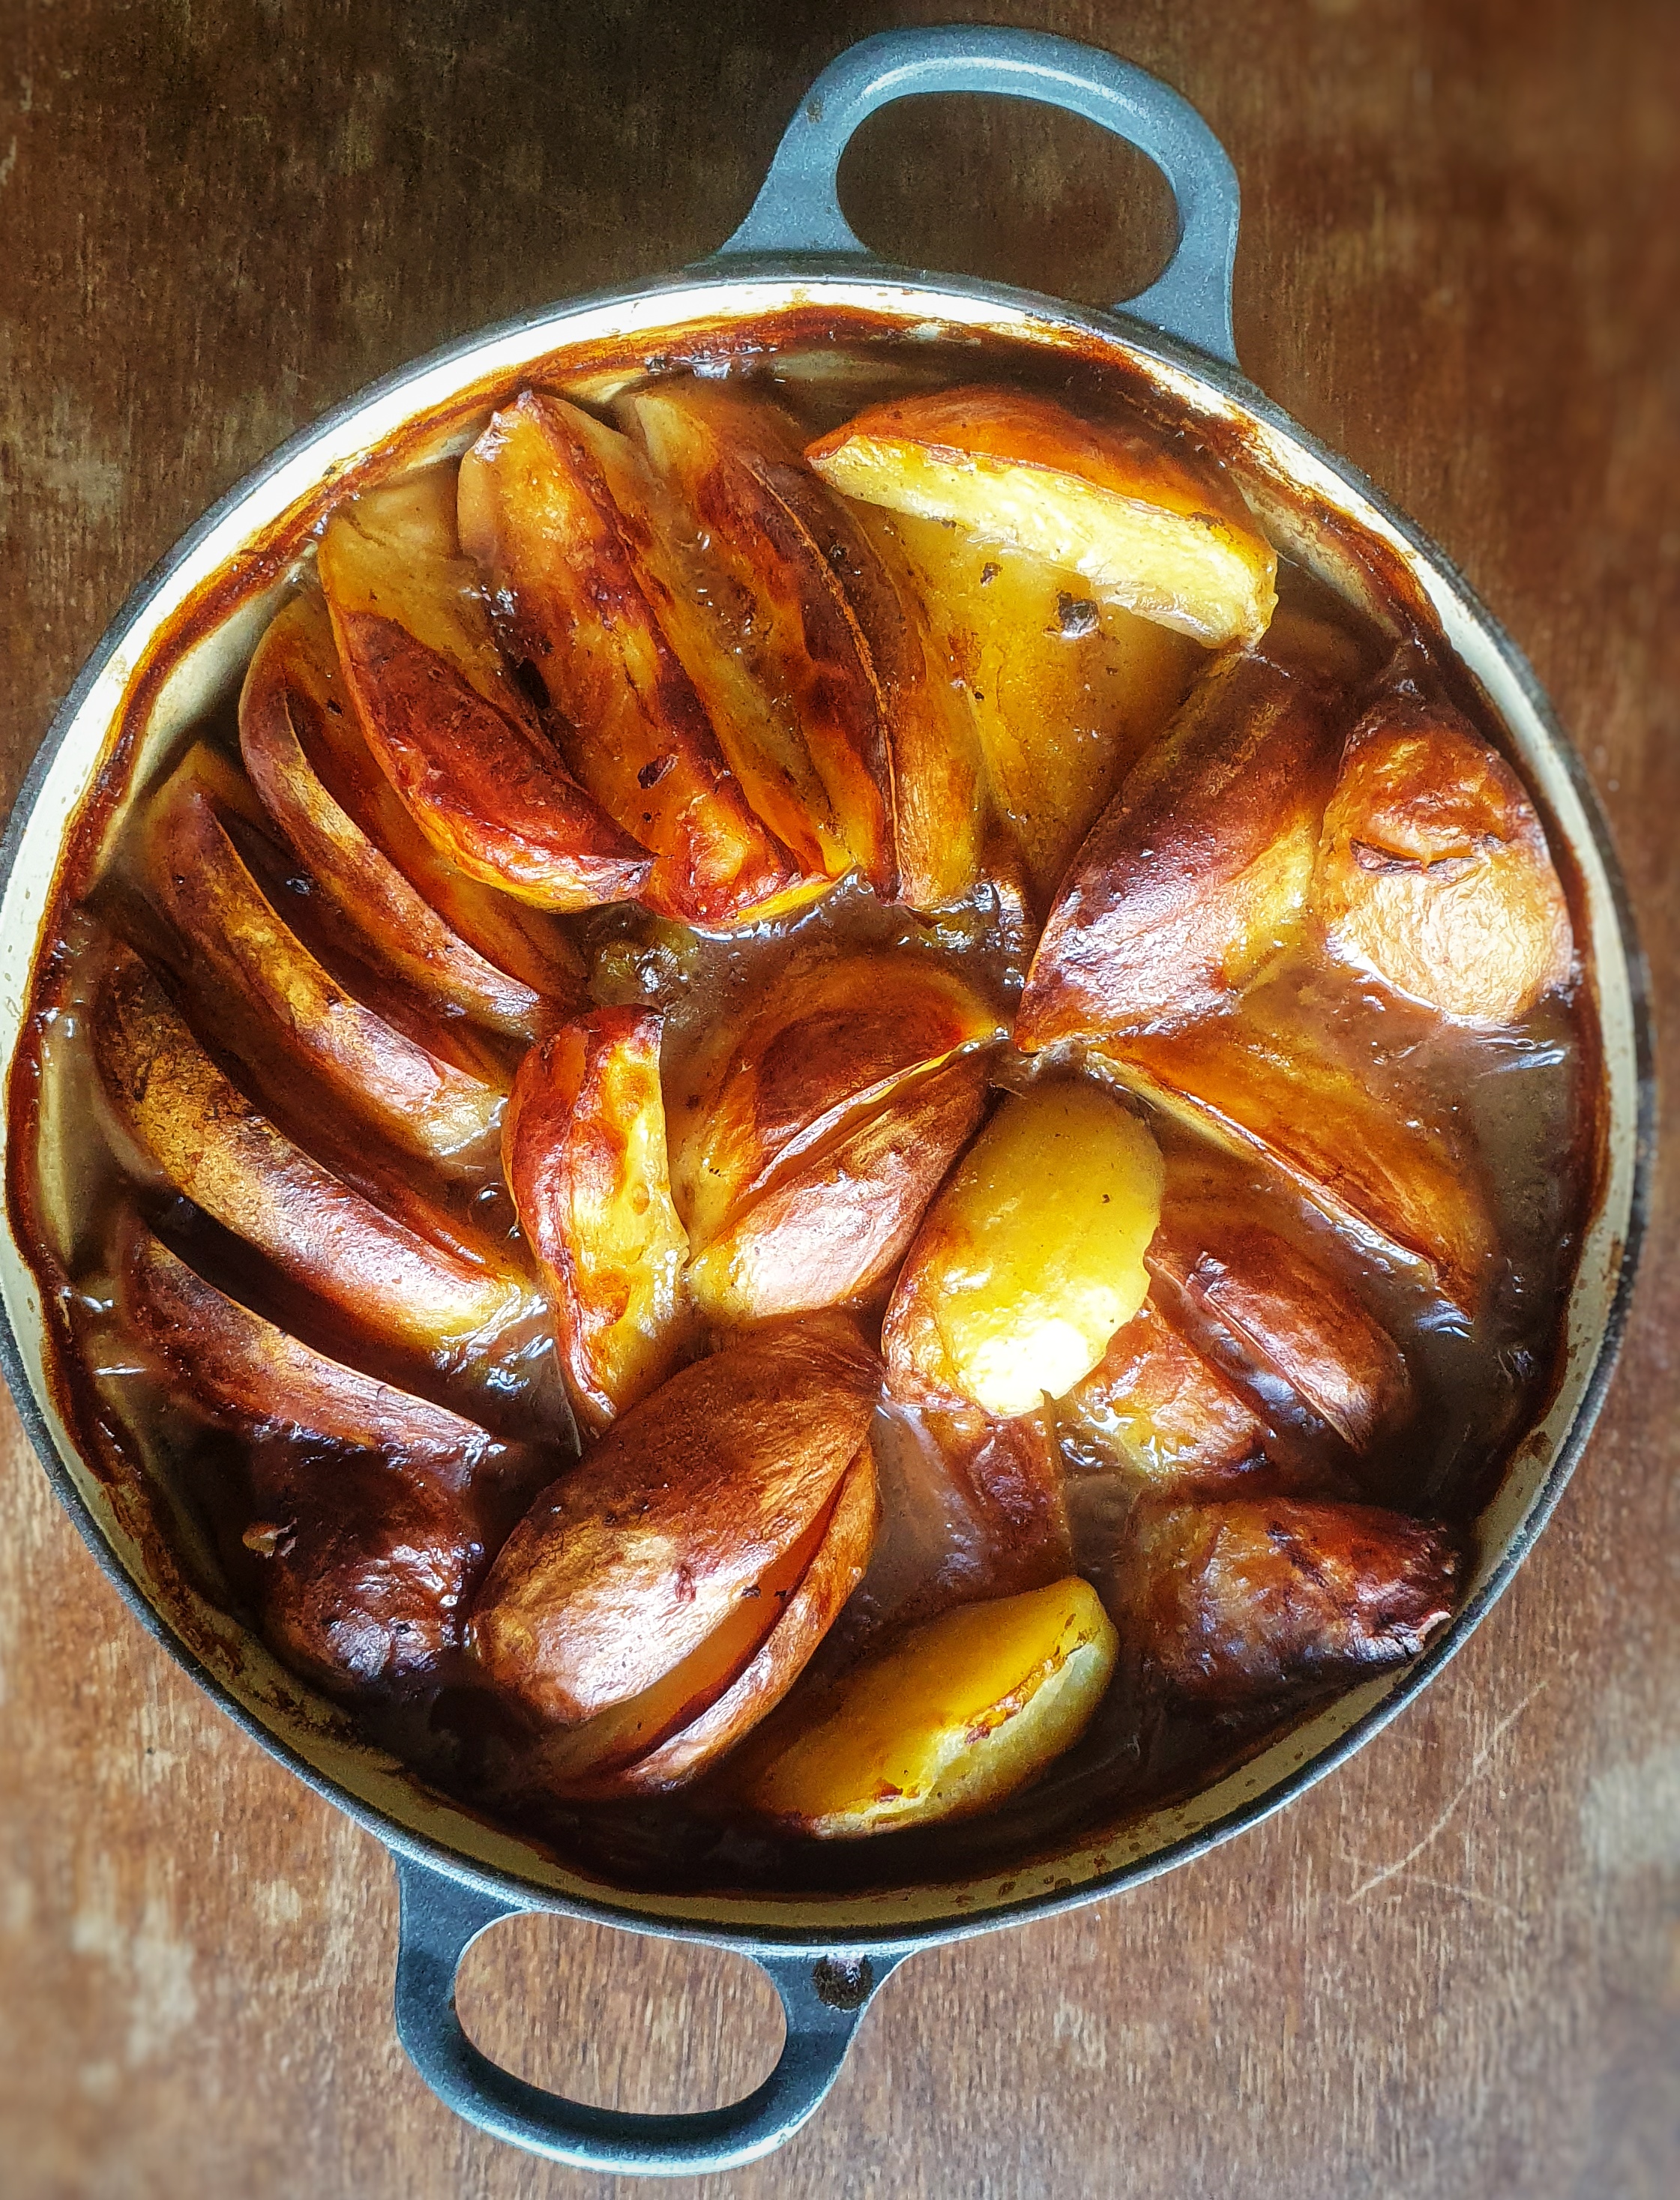
Toad-in-the-hole is a stone-cold classic British dish, and one I make often. It occurred to me recently that I’ve never written up my recipe, so I thought I should rectify this! It is considered by other nations to be one of those ‘weird’ British foods – I’ve no idea why, it’s roasted sausages in a Yorkshire pudding. What’s not to like? Do folk think there is a real toad in there?
Well, naysayers, don’t knock it till you’ve tried it: it’s a delicious, simple, hearty and economical pleasure, as most British food is, and I think it is a meal most Brits would rate very highly. It wasn’t always the case, as Jane Grigson points out in English Food, the ‘toads’ were pieces of leftover boiled or roasted meat or poor quality sausages which ‘gave Toad-in-the-Hole a bad name as one of the meaner English dishes.’[1] Economical should never be made equivalent to mean.
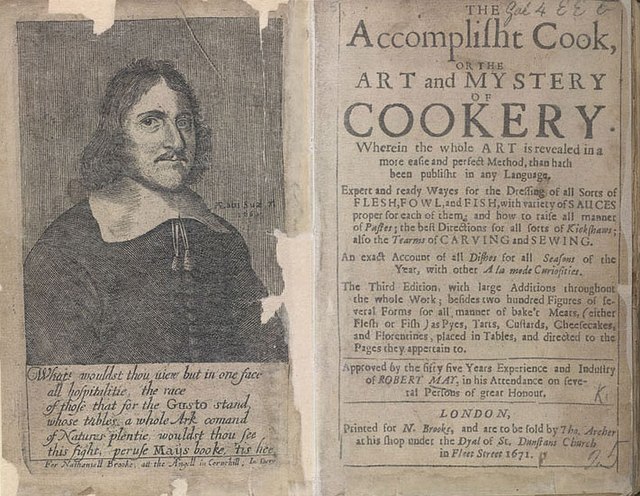
Looking into the history of toad-in-the-hole presents us with a quandary, because it is rather difficult to pin down when it first appears in print. Why? Well, it depends on your criteria. Let’s start with what is widely regarded to be the first recipe with that name (well, actually it’s called toad-in-a-hole, but let’s not split hairs), which crops up in Richard Briggs’ The English Art of Cookery, published in 1788:
Mix a pound of flour with a pint of and a half of milk and four eggs into a batter, put in a little salt, beaten ginger, and a little grated nutmeg, put it into a deep dish that you intend to send it to table in, take a veiny piece of beef, sprinkle it with salt, put it into the batter, bake it two hours, and send it up hot.[2]
So, here we have a single large toad in the form of a piece of beef. This makes sense; the dish is called toad-in-the-hole, not toads-in-the-hole. In The Tavern Cook, Marc Meltonville does make the point that it is baked,[3] which is important because the earliest mention of toad-in-the-hole actually comes the year before in Francis Grose’s Provincial Glossary, where it is described as ‘meat boiled in a crust’.[4] Are either of these really toad-in-the-hole recipes? There is a better contender in my book. It’s not a recipe, but a good description of one, and it can be found within the pages of the diary of shopkeeper Thomas Turner, dated Saturday, 9th of February 1765:
I dined on a sausage batter pudding baked (which is this: a little flour and milk beat up into a batter with an egg and some salt and a few sausages cut into pieces and put in it and baked)…[5]
This – I hope you agree – is a modern toad-in-the-hole in all but name!
We can go even further than this: some food historians think that the original recipe actually goes back another 20 years to Hannah Glasse’s 1747 classic The Art of Cookery Made Plain and Easy.[6] The recipe is for ‘Pigeons in a Hole’. Here, pigeons are buttered and seasoned, popped into a dish and a batter is poured over them and baked.[7] Is this the winner? Well it all depends what you are counting as toad-in-the-hole, of course, but I hope this gives you an overview of the dish’s evolution.
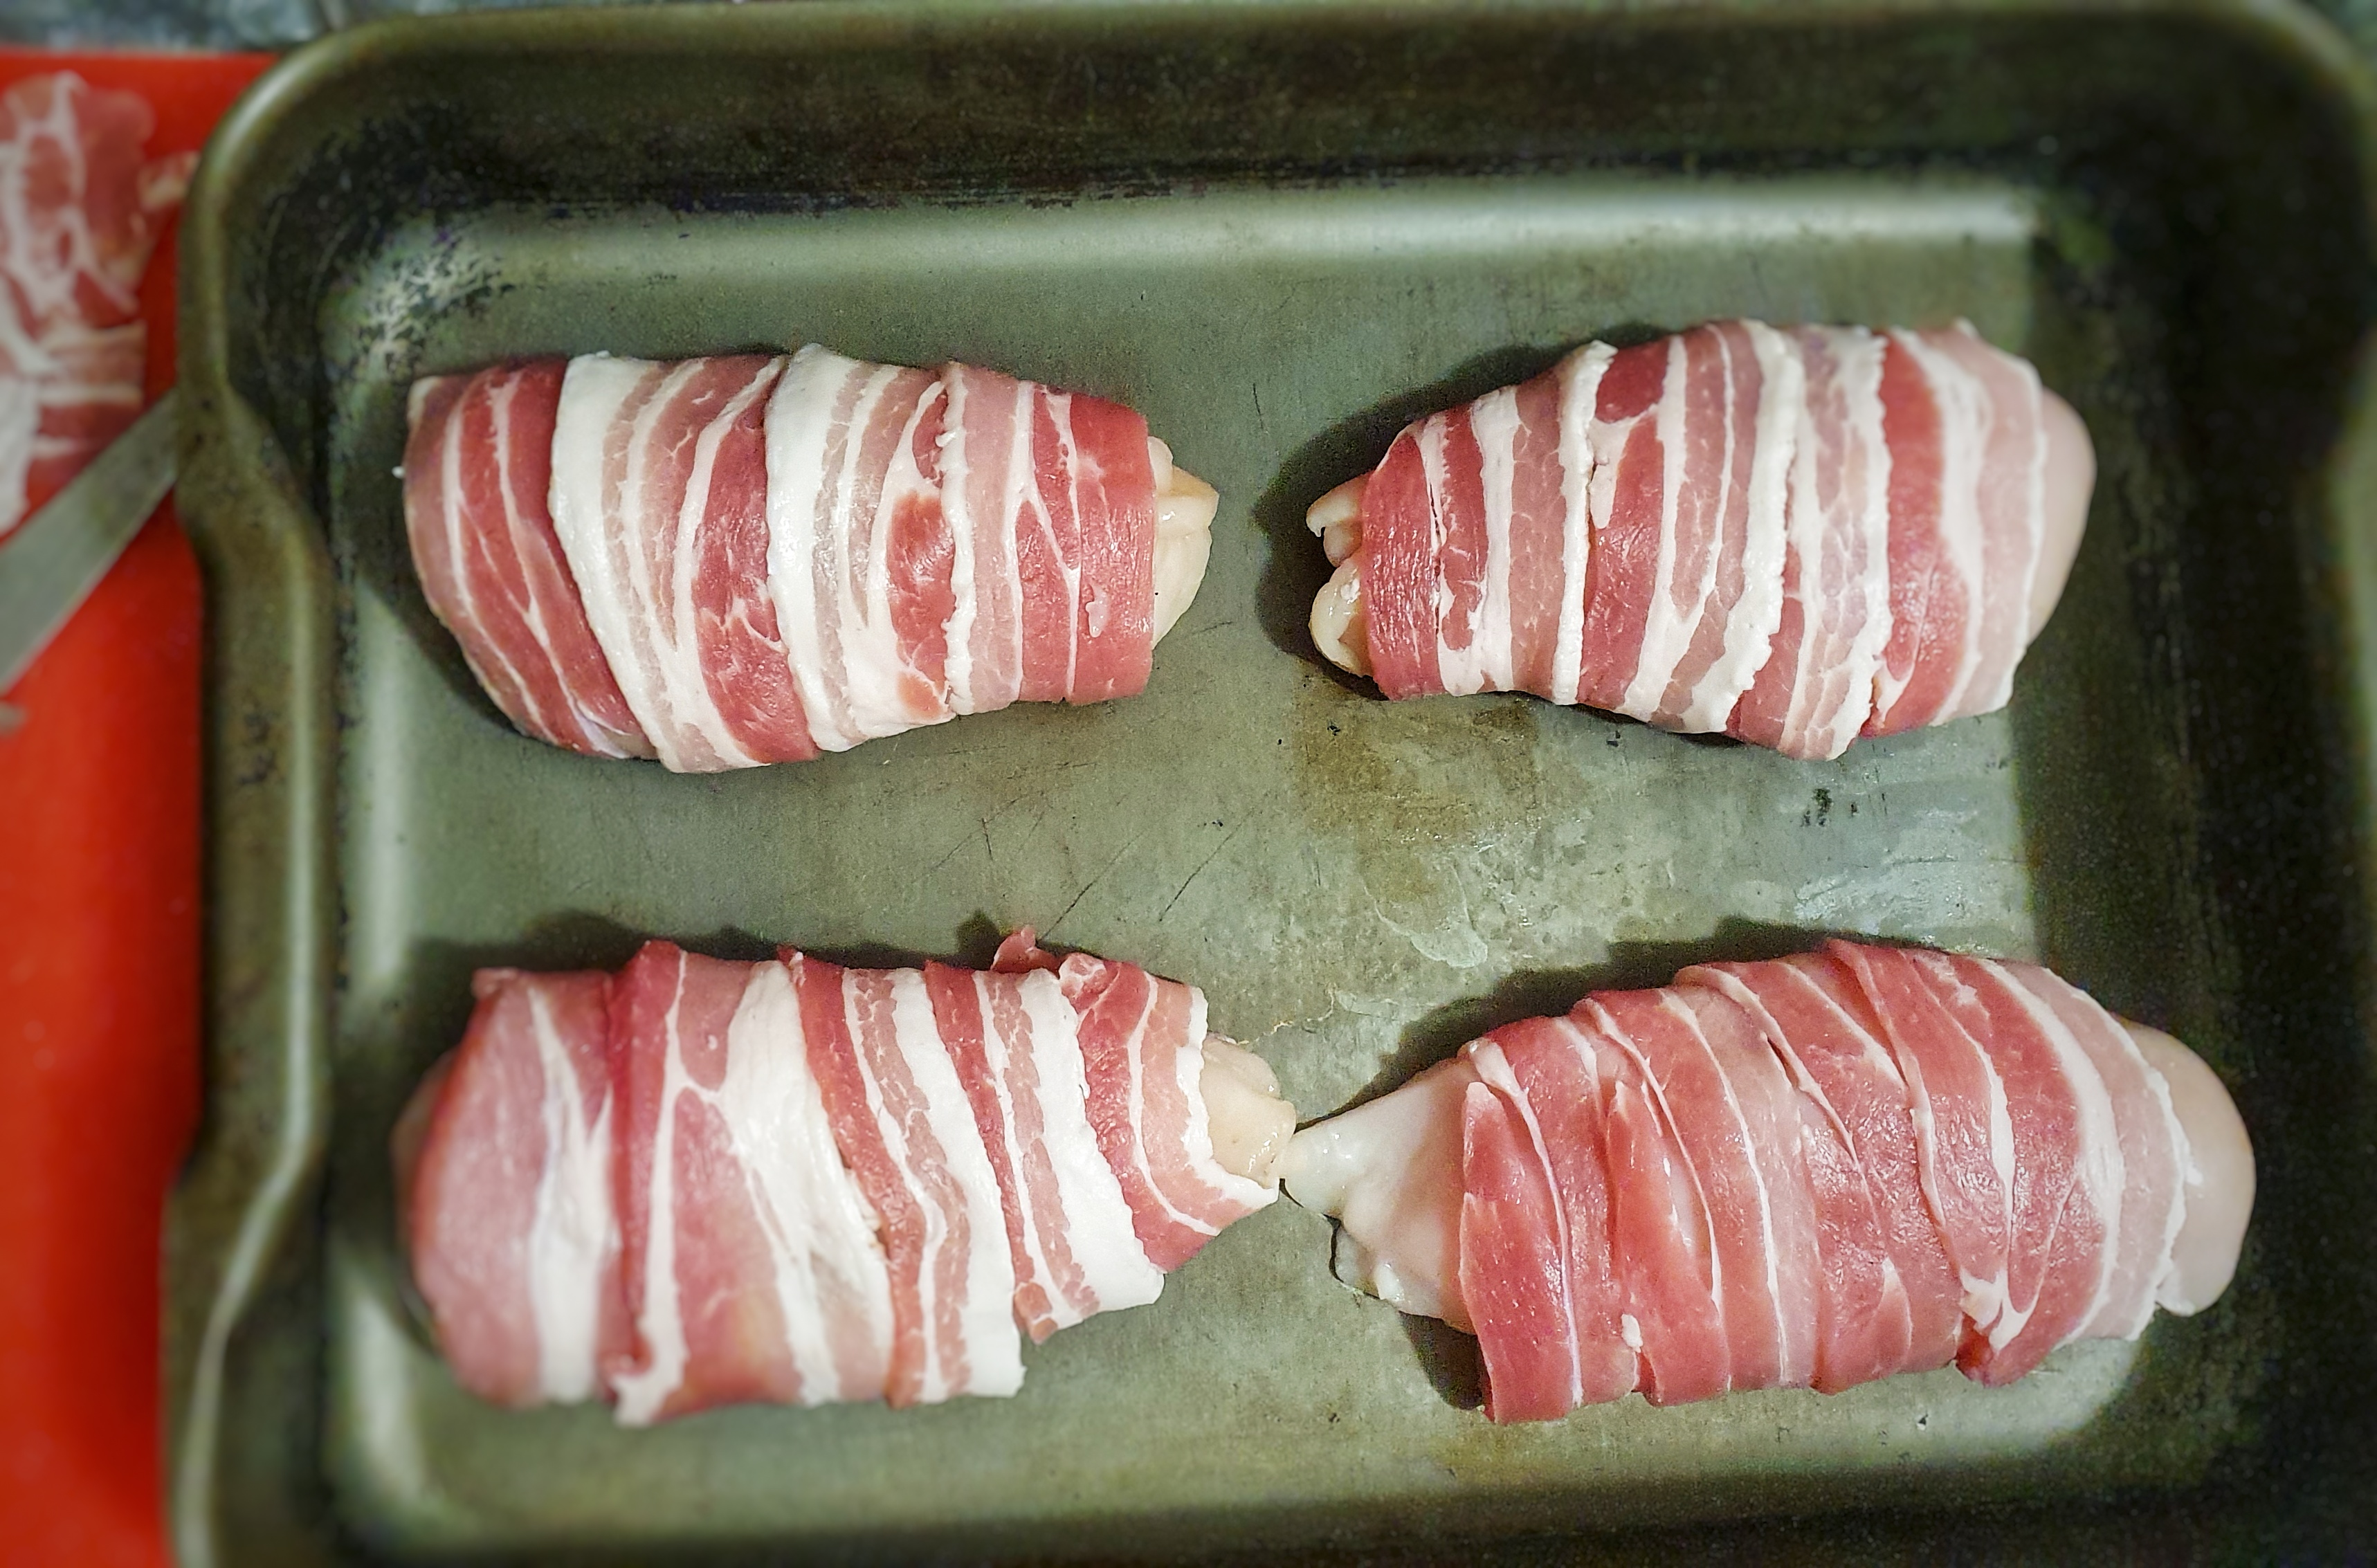
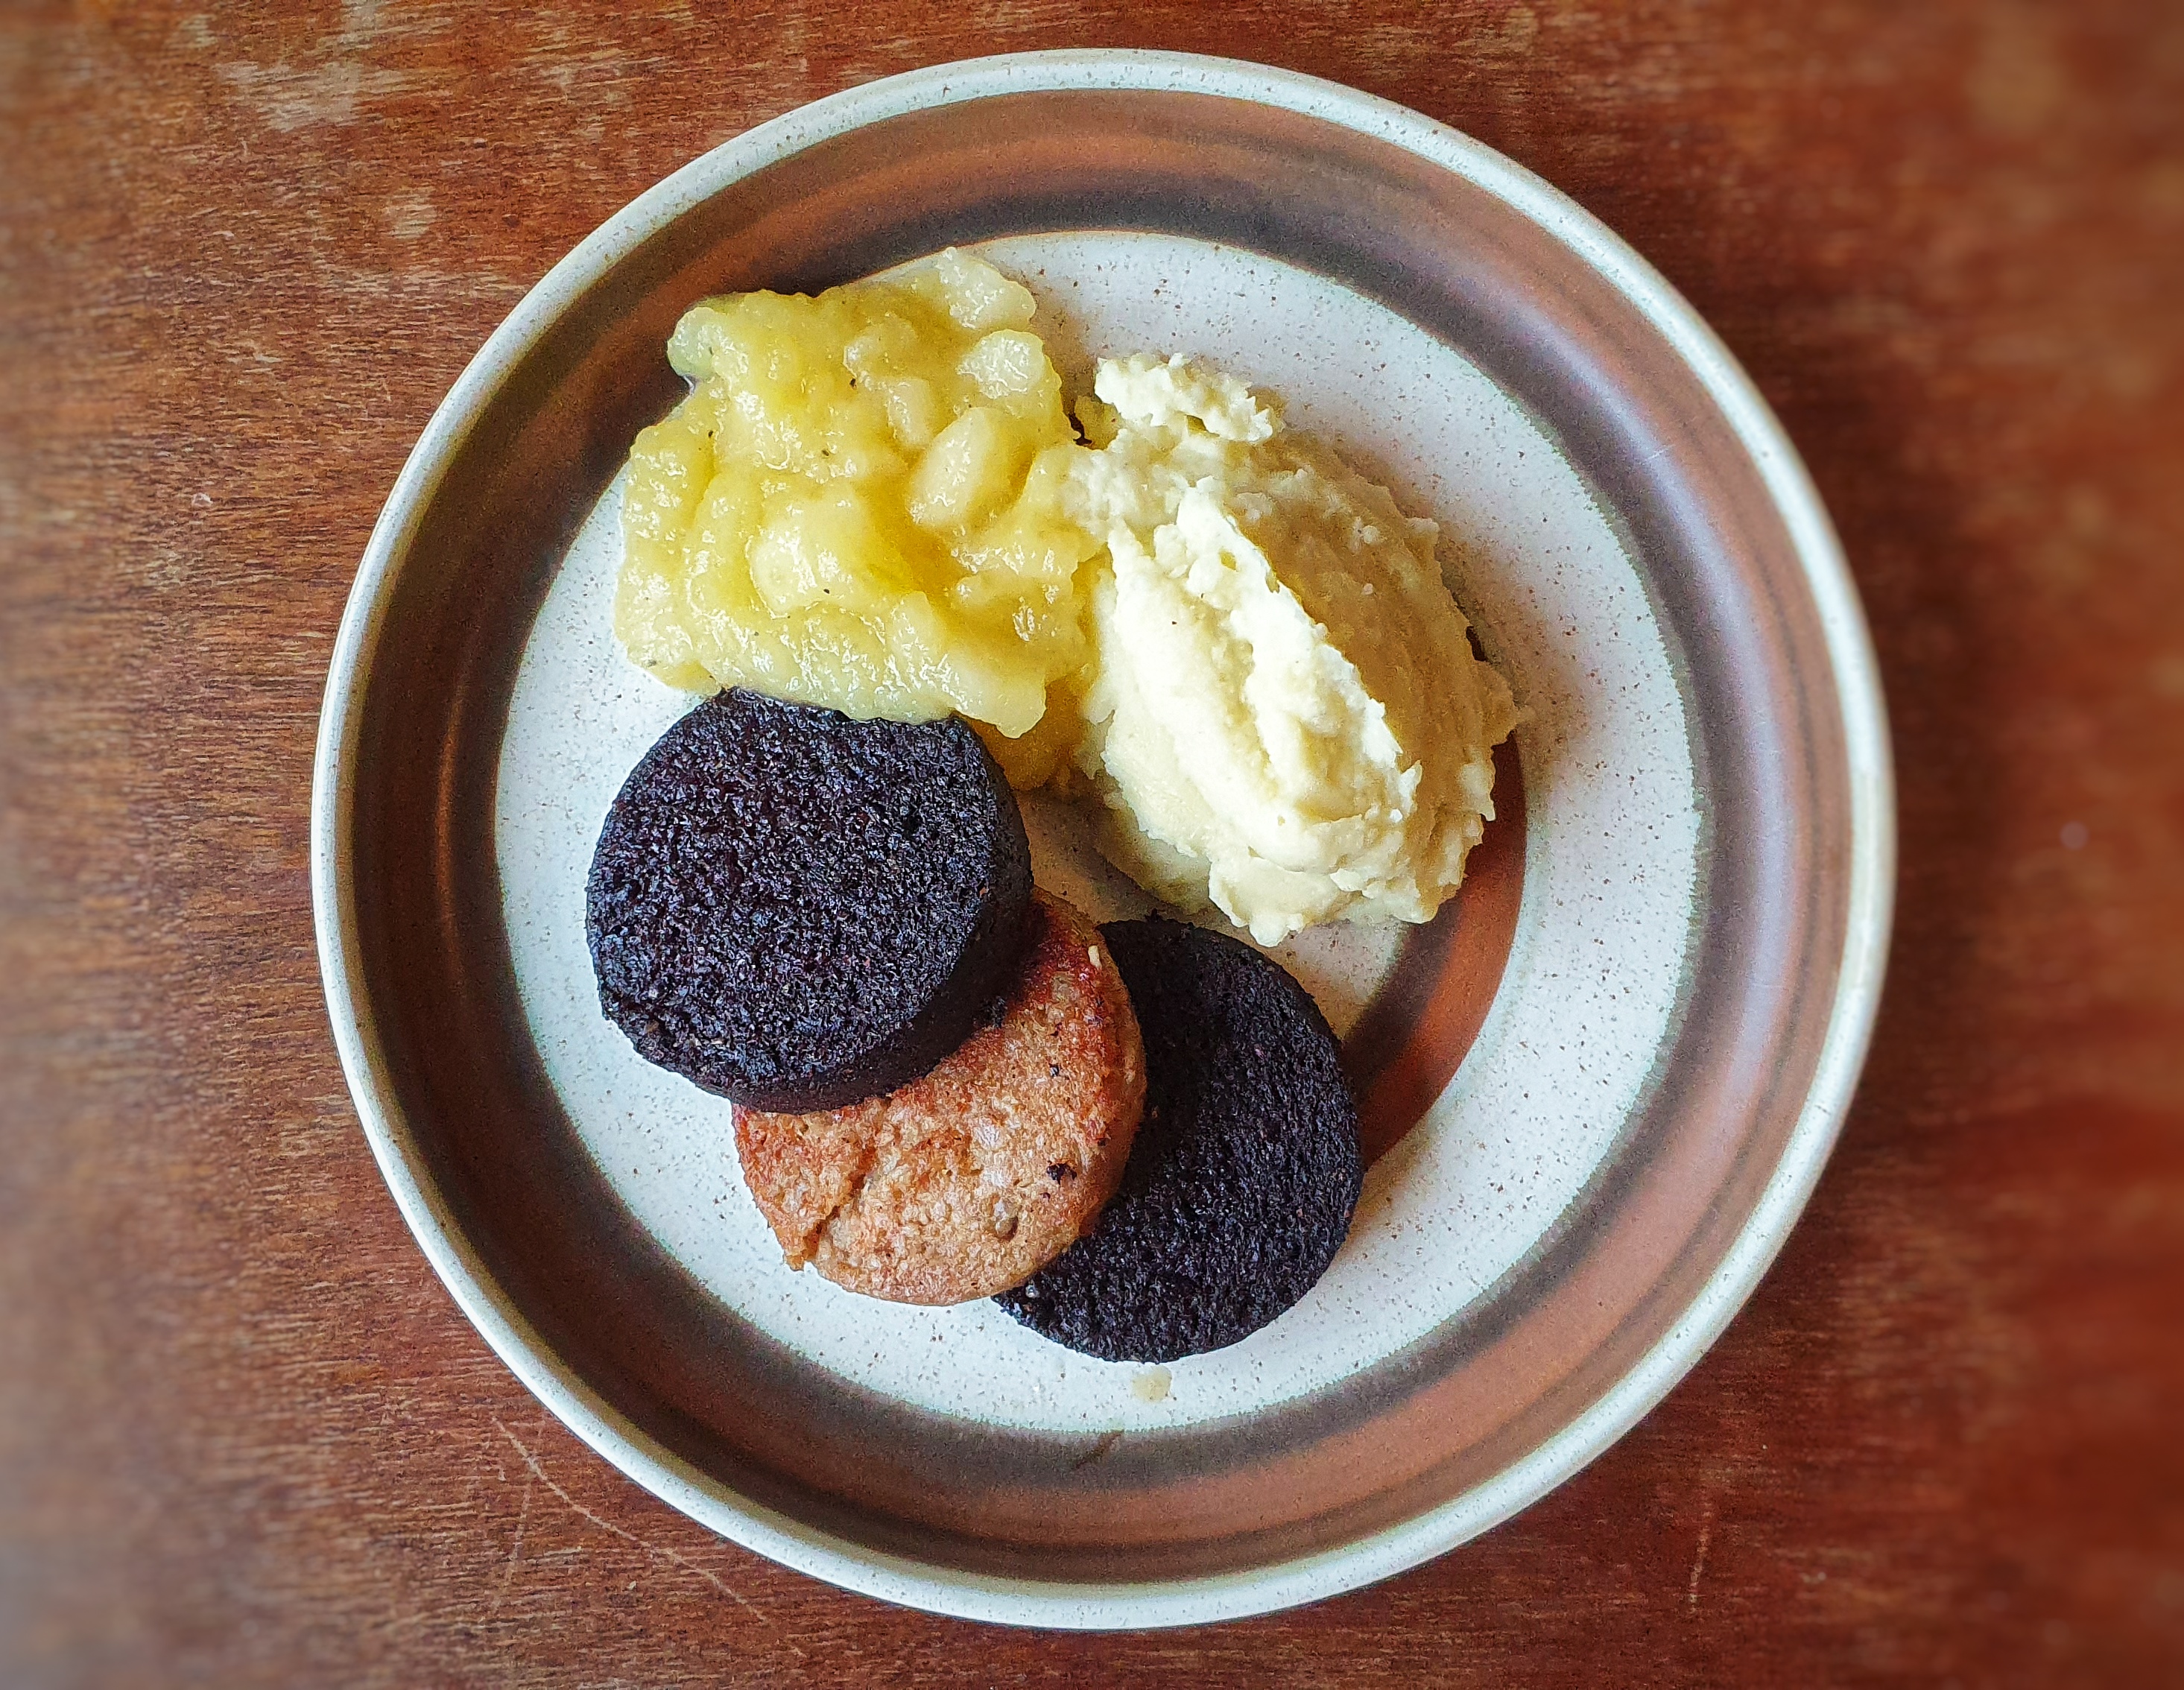
In the 19th century, various other ‘toads’ were used: Mrs Beeton gives recipes using beef steak and pieces of kidney. She also suggests adding mushrooms or oysters, and also recommends using leftover, underdone meat.[8] According to Sheila Hutchins, even whole, boned chickens have played the part of the toad.[9] I must say that this sounds most appealing!
If you can, support the podcast and blogs by becoming a £3 monthly subscriber, and unlock lots of premium content, including bonus blog posts and recipes, access to the Easter eggs, a monthly newsletter and the secret podcast, or treat me to a one-off virtual pint or coffee: click here.
Recipe
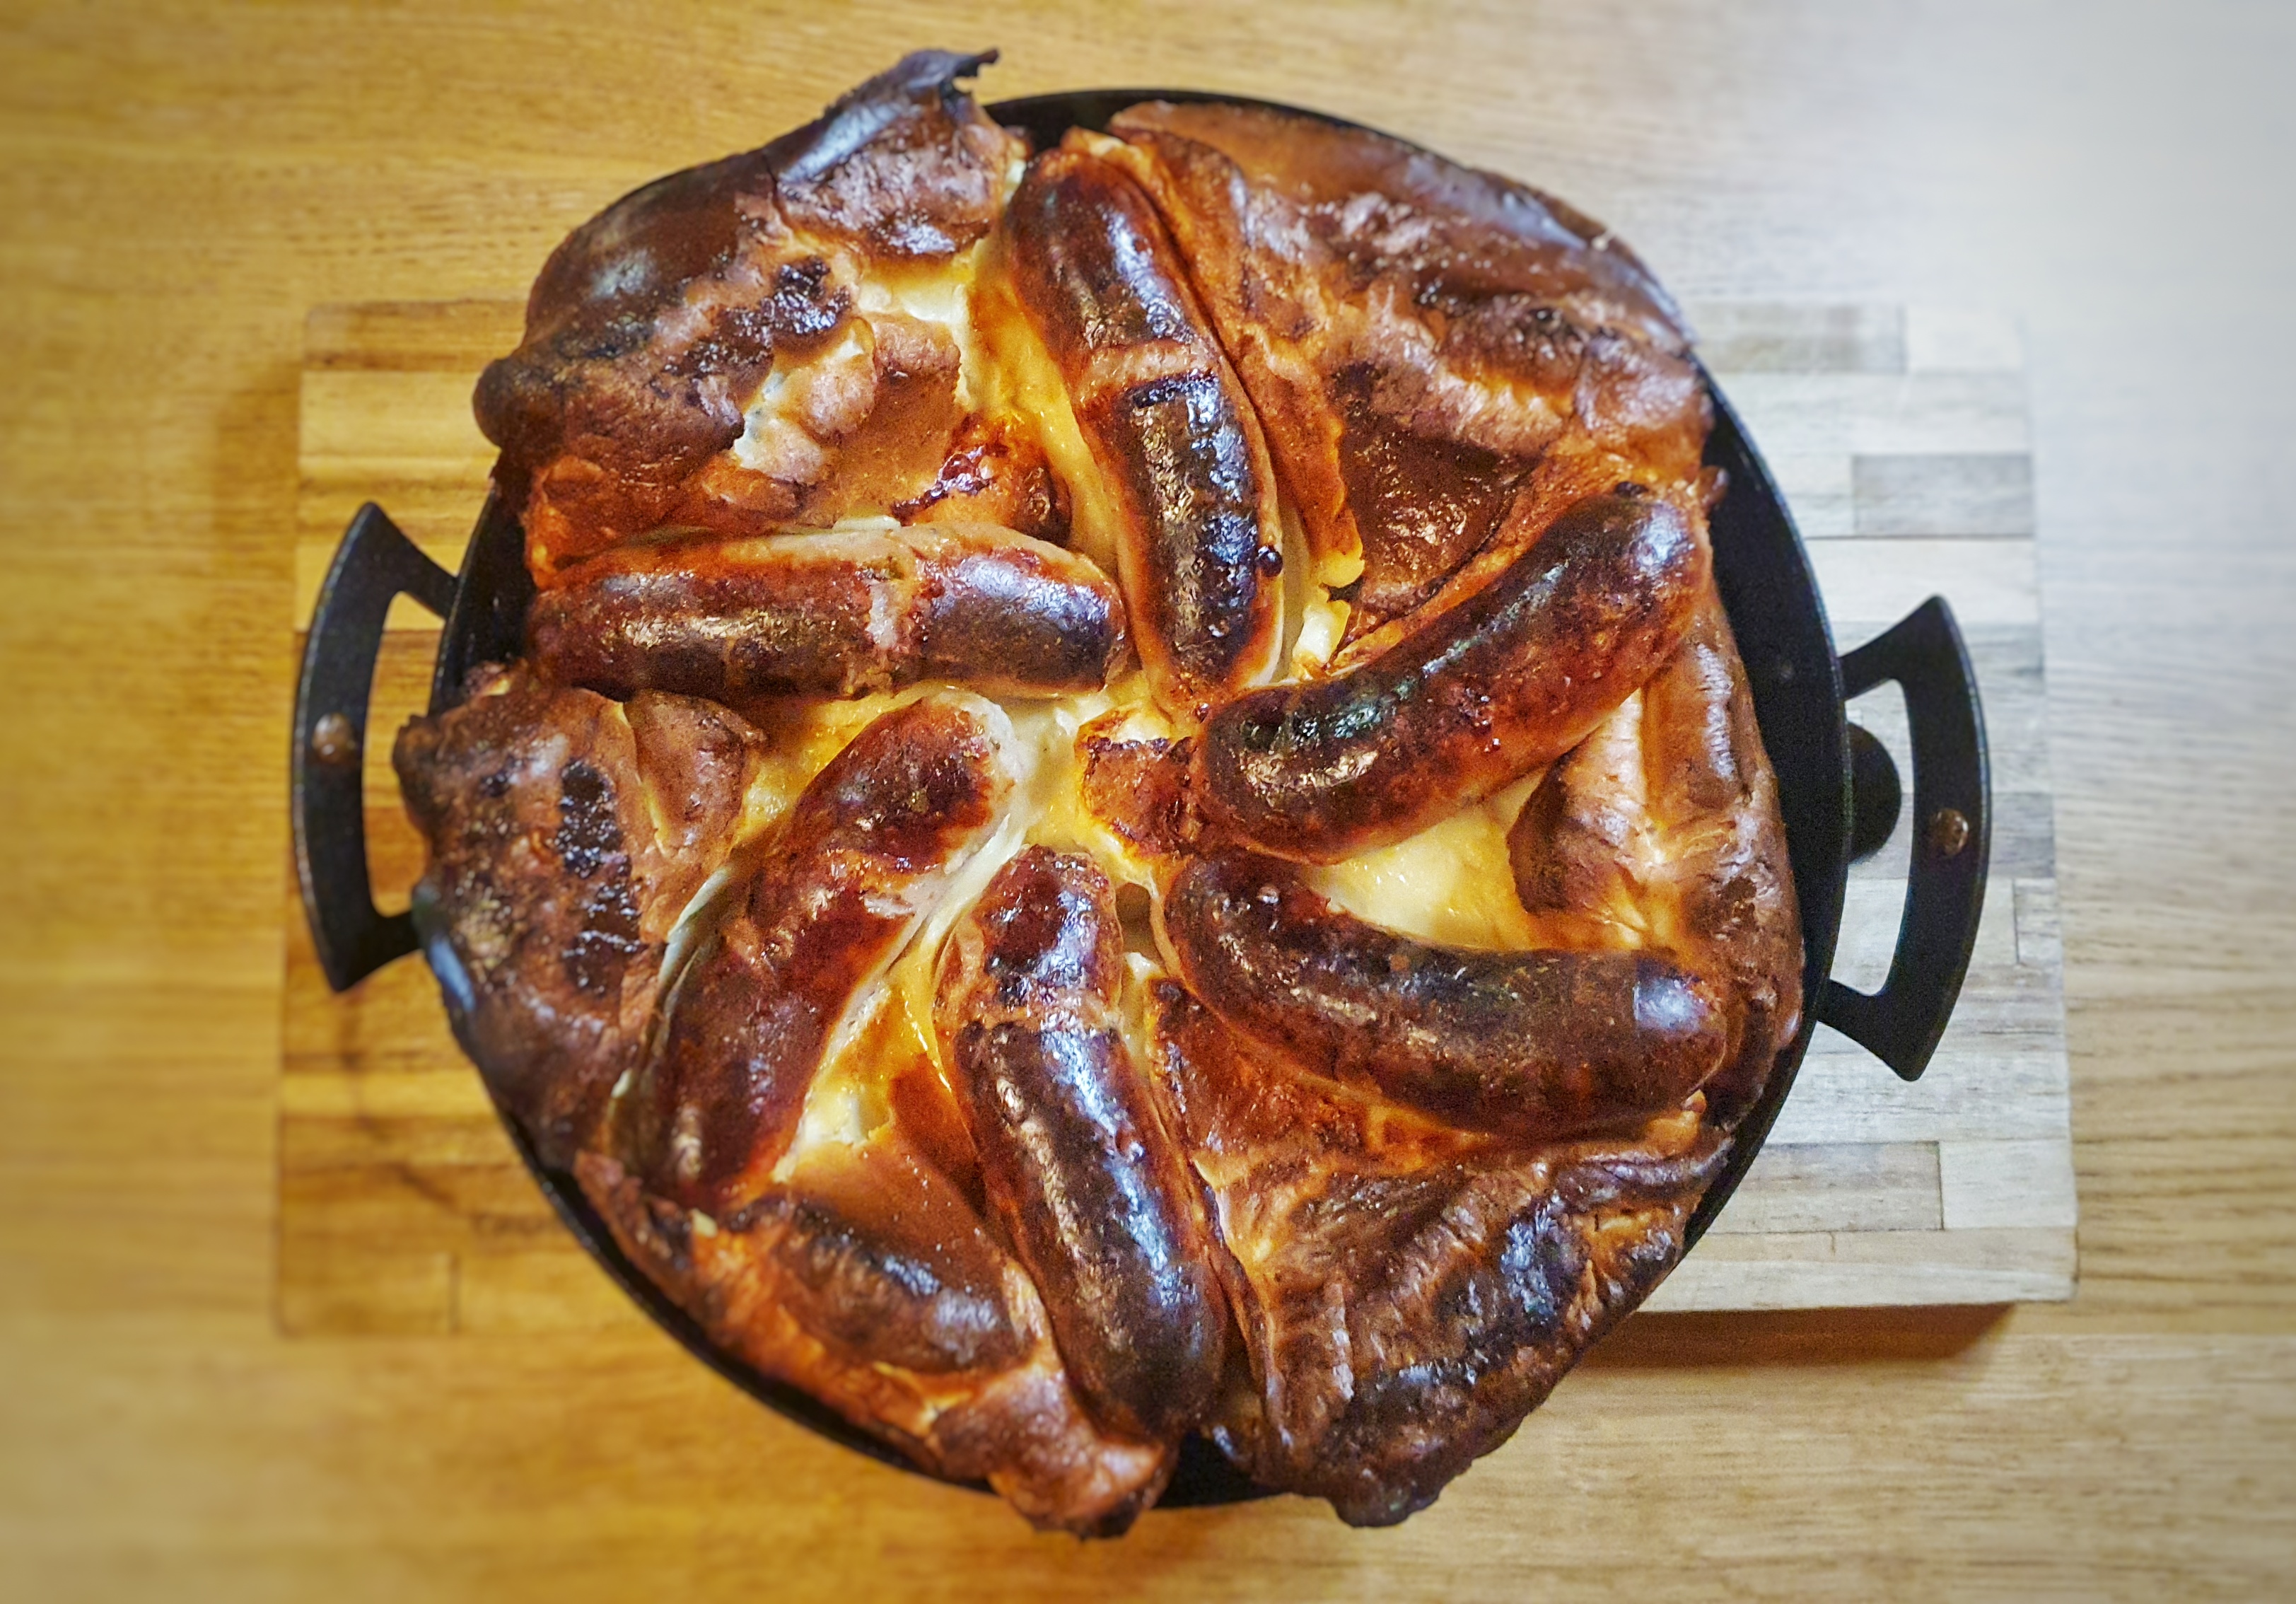
I used my 10-inch Netherton Foundry Prospector Pan throughout because it can be used on the hob and in the oven. It’s also round, which makes portioning much easier when it comes to serving time. The amounts given for the batter are the same as for my Yorkshire pudding recipe, so you could make the toad-in-the-hole in a rectangular tray or even a sturdy cake tin. Colour the sausages in a frying pan first and then transfer them to your chosen receptacle!
¾ cup/180 ml plain flour
½ tsp salt
¾ cup/180 ml eggs (around 4 medium eggs)
¾ cup milk
60 g beef dripping or lard, or 60 ml sunflower or rapeseed oil
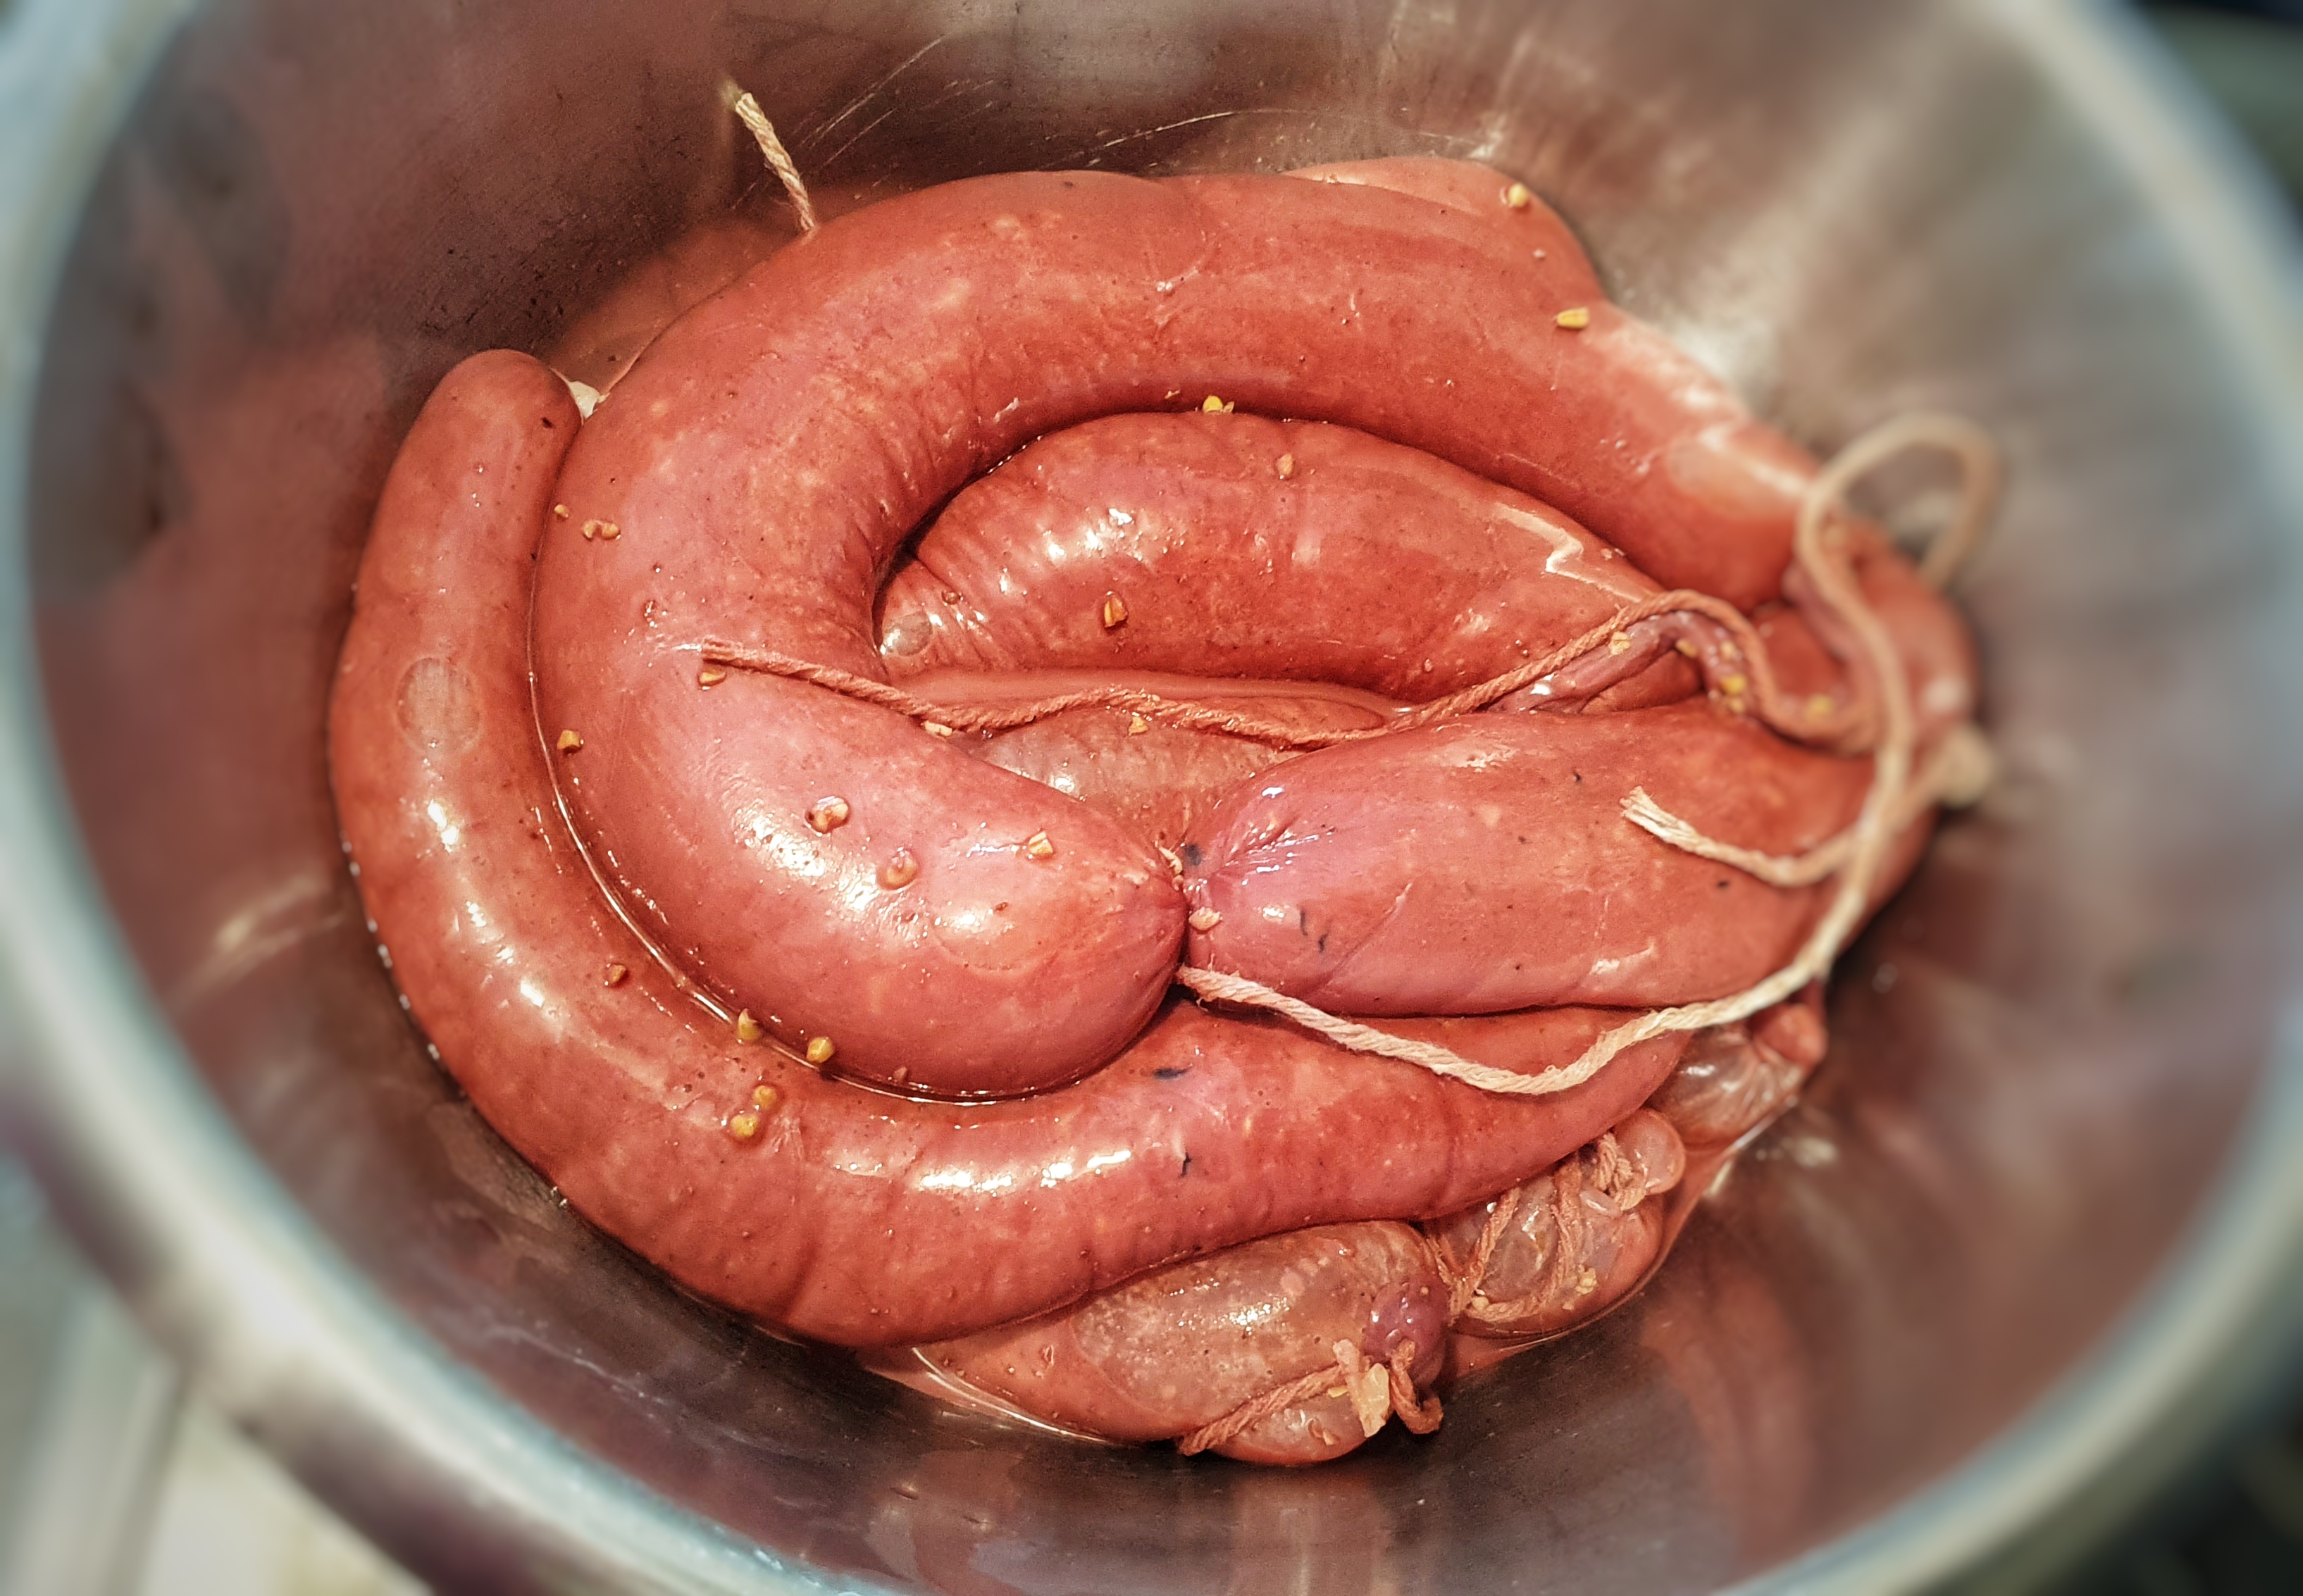
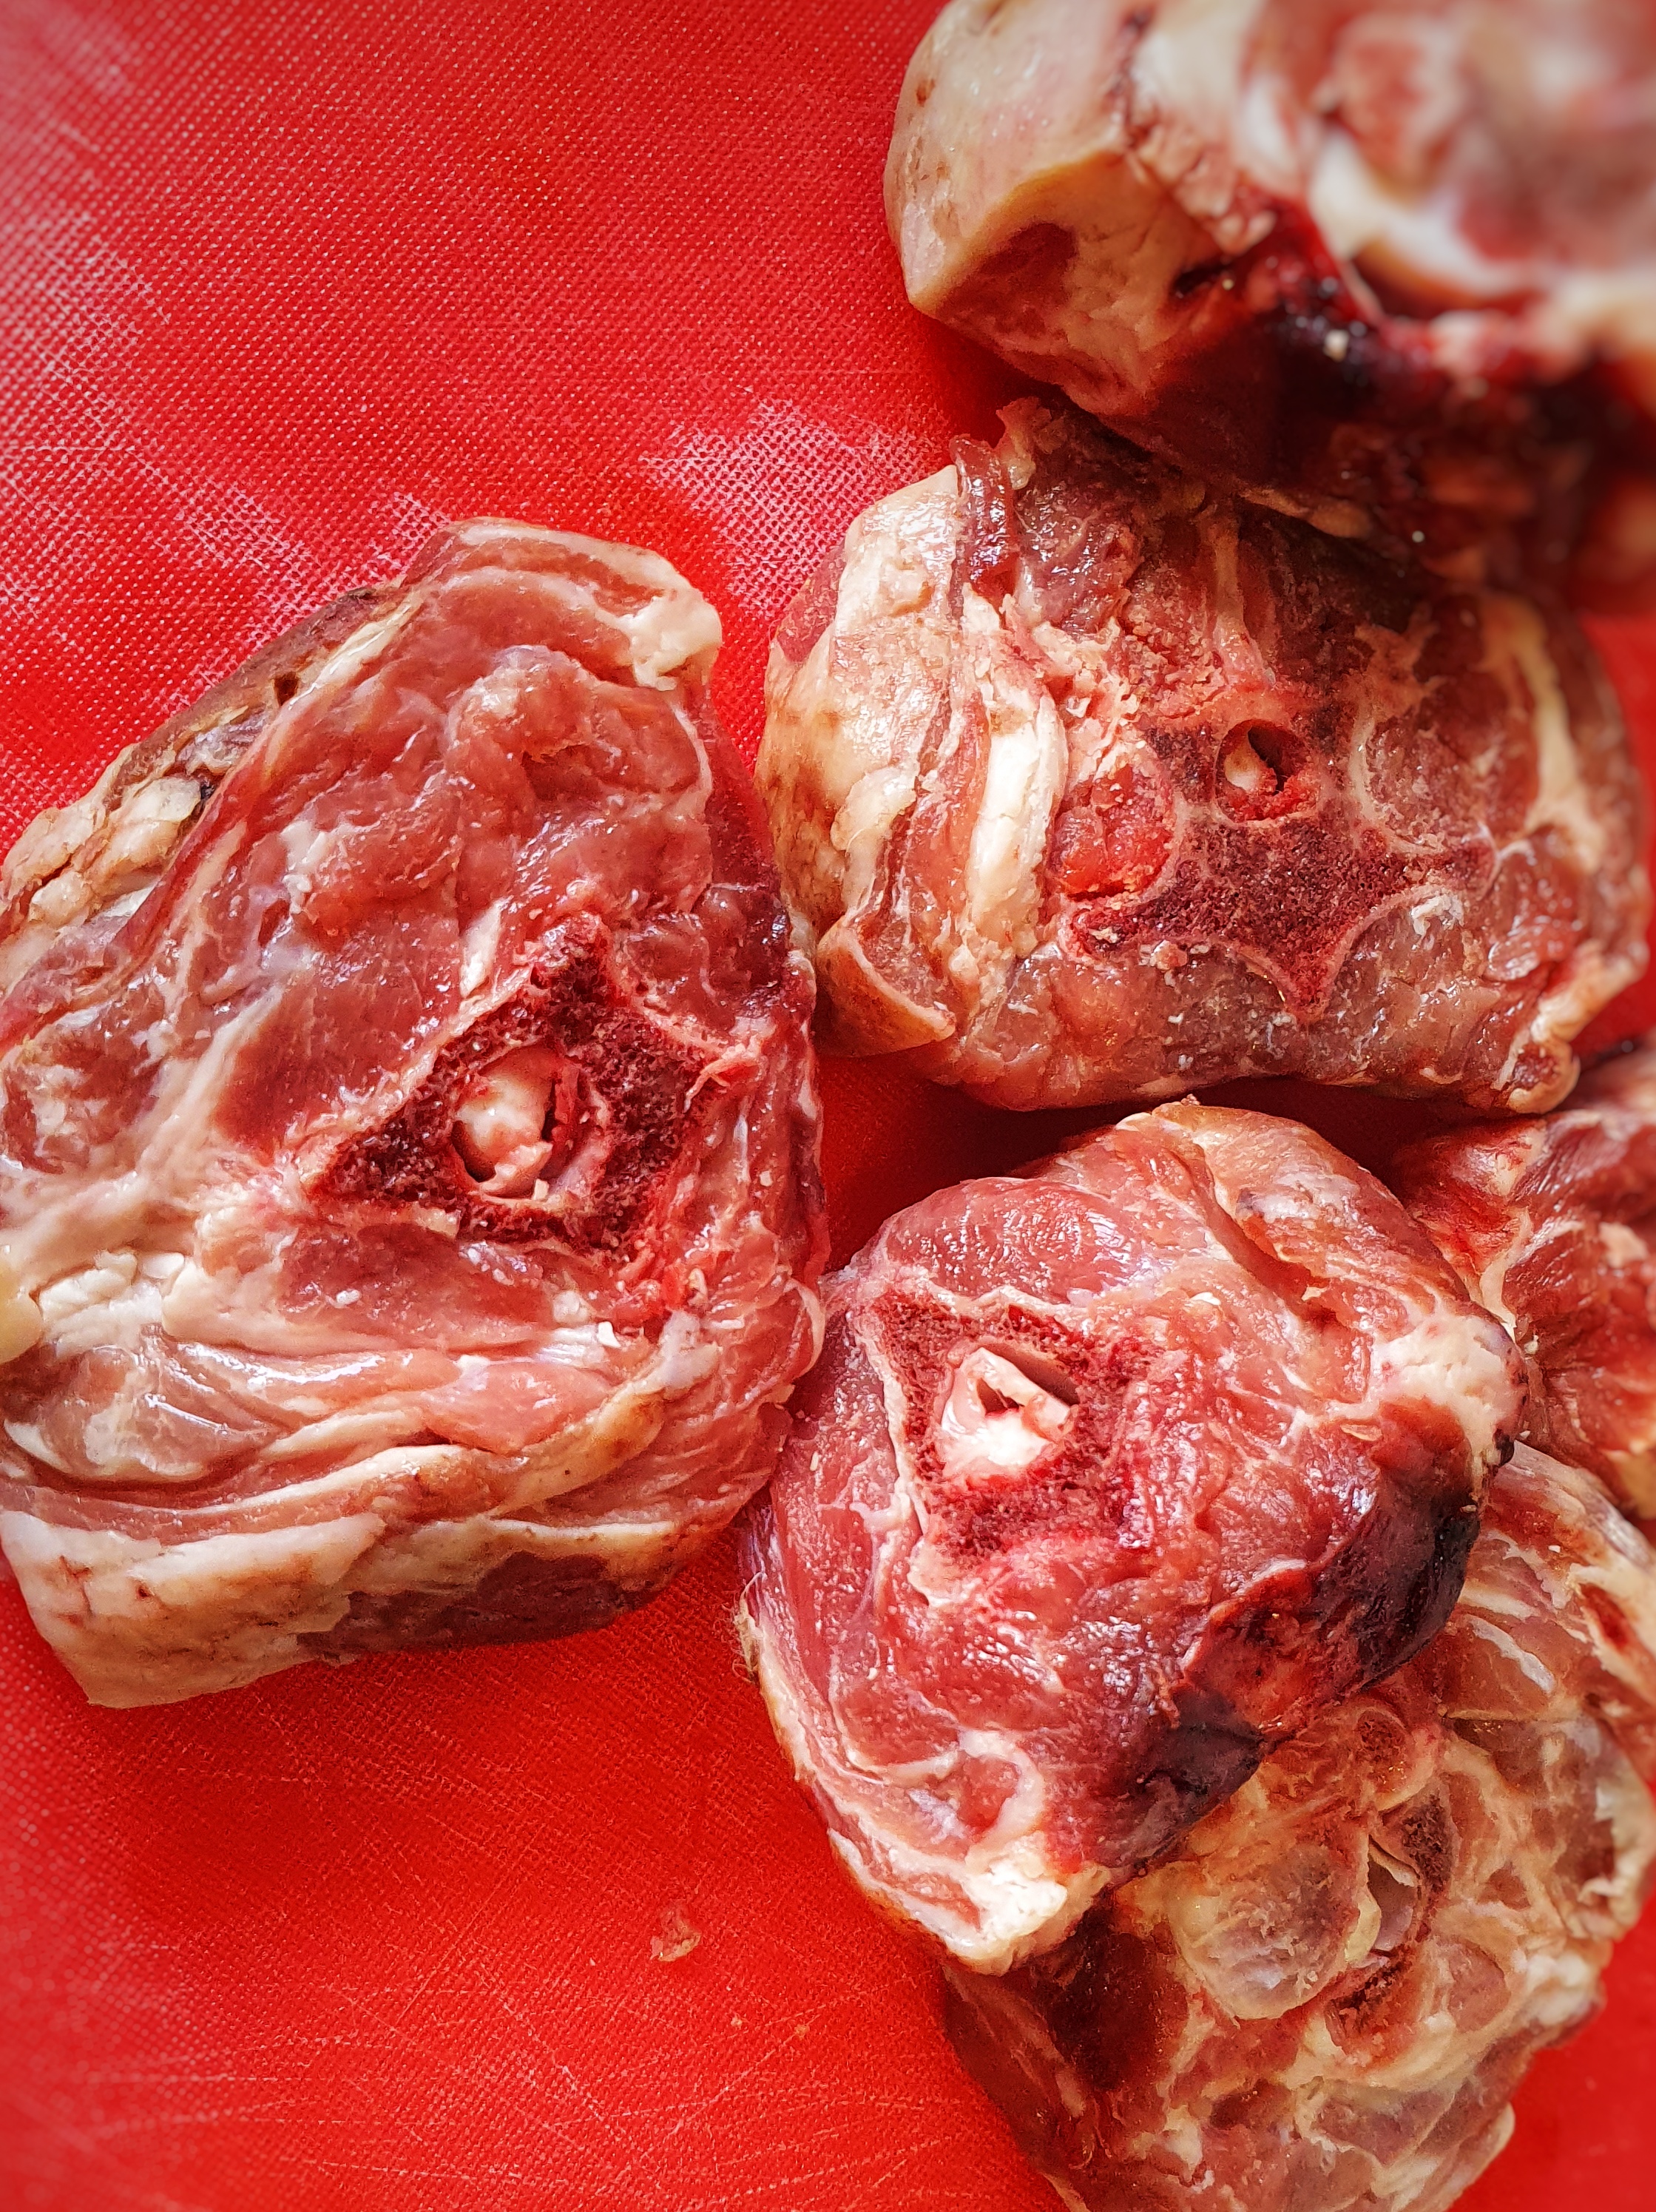
6 good quality sausages
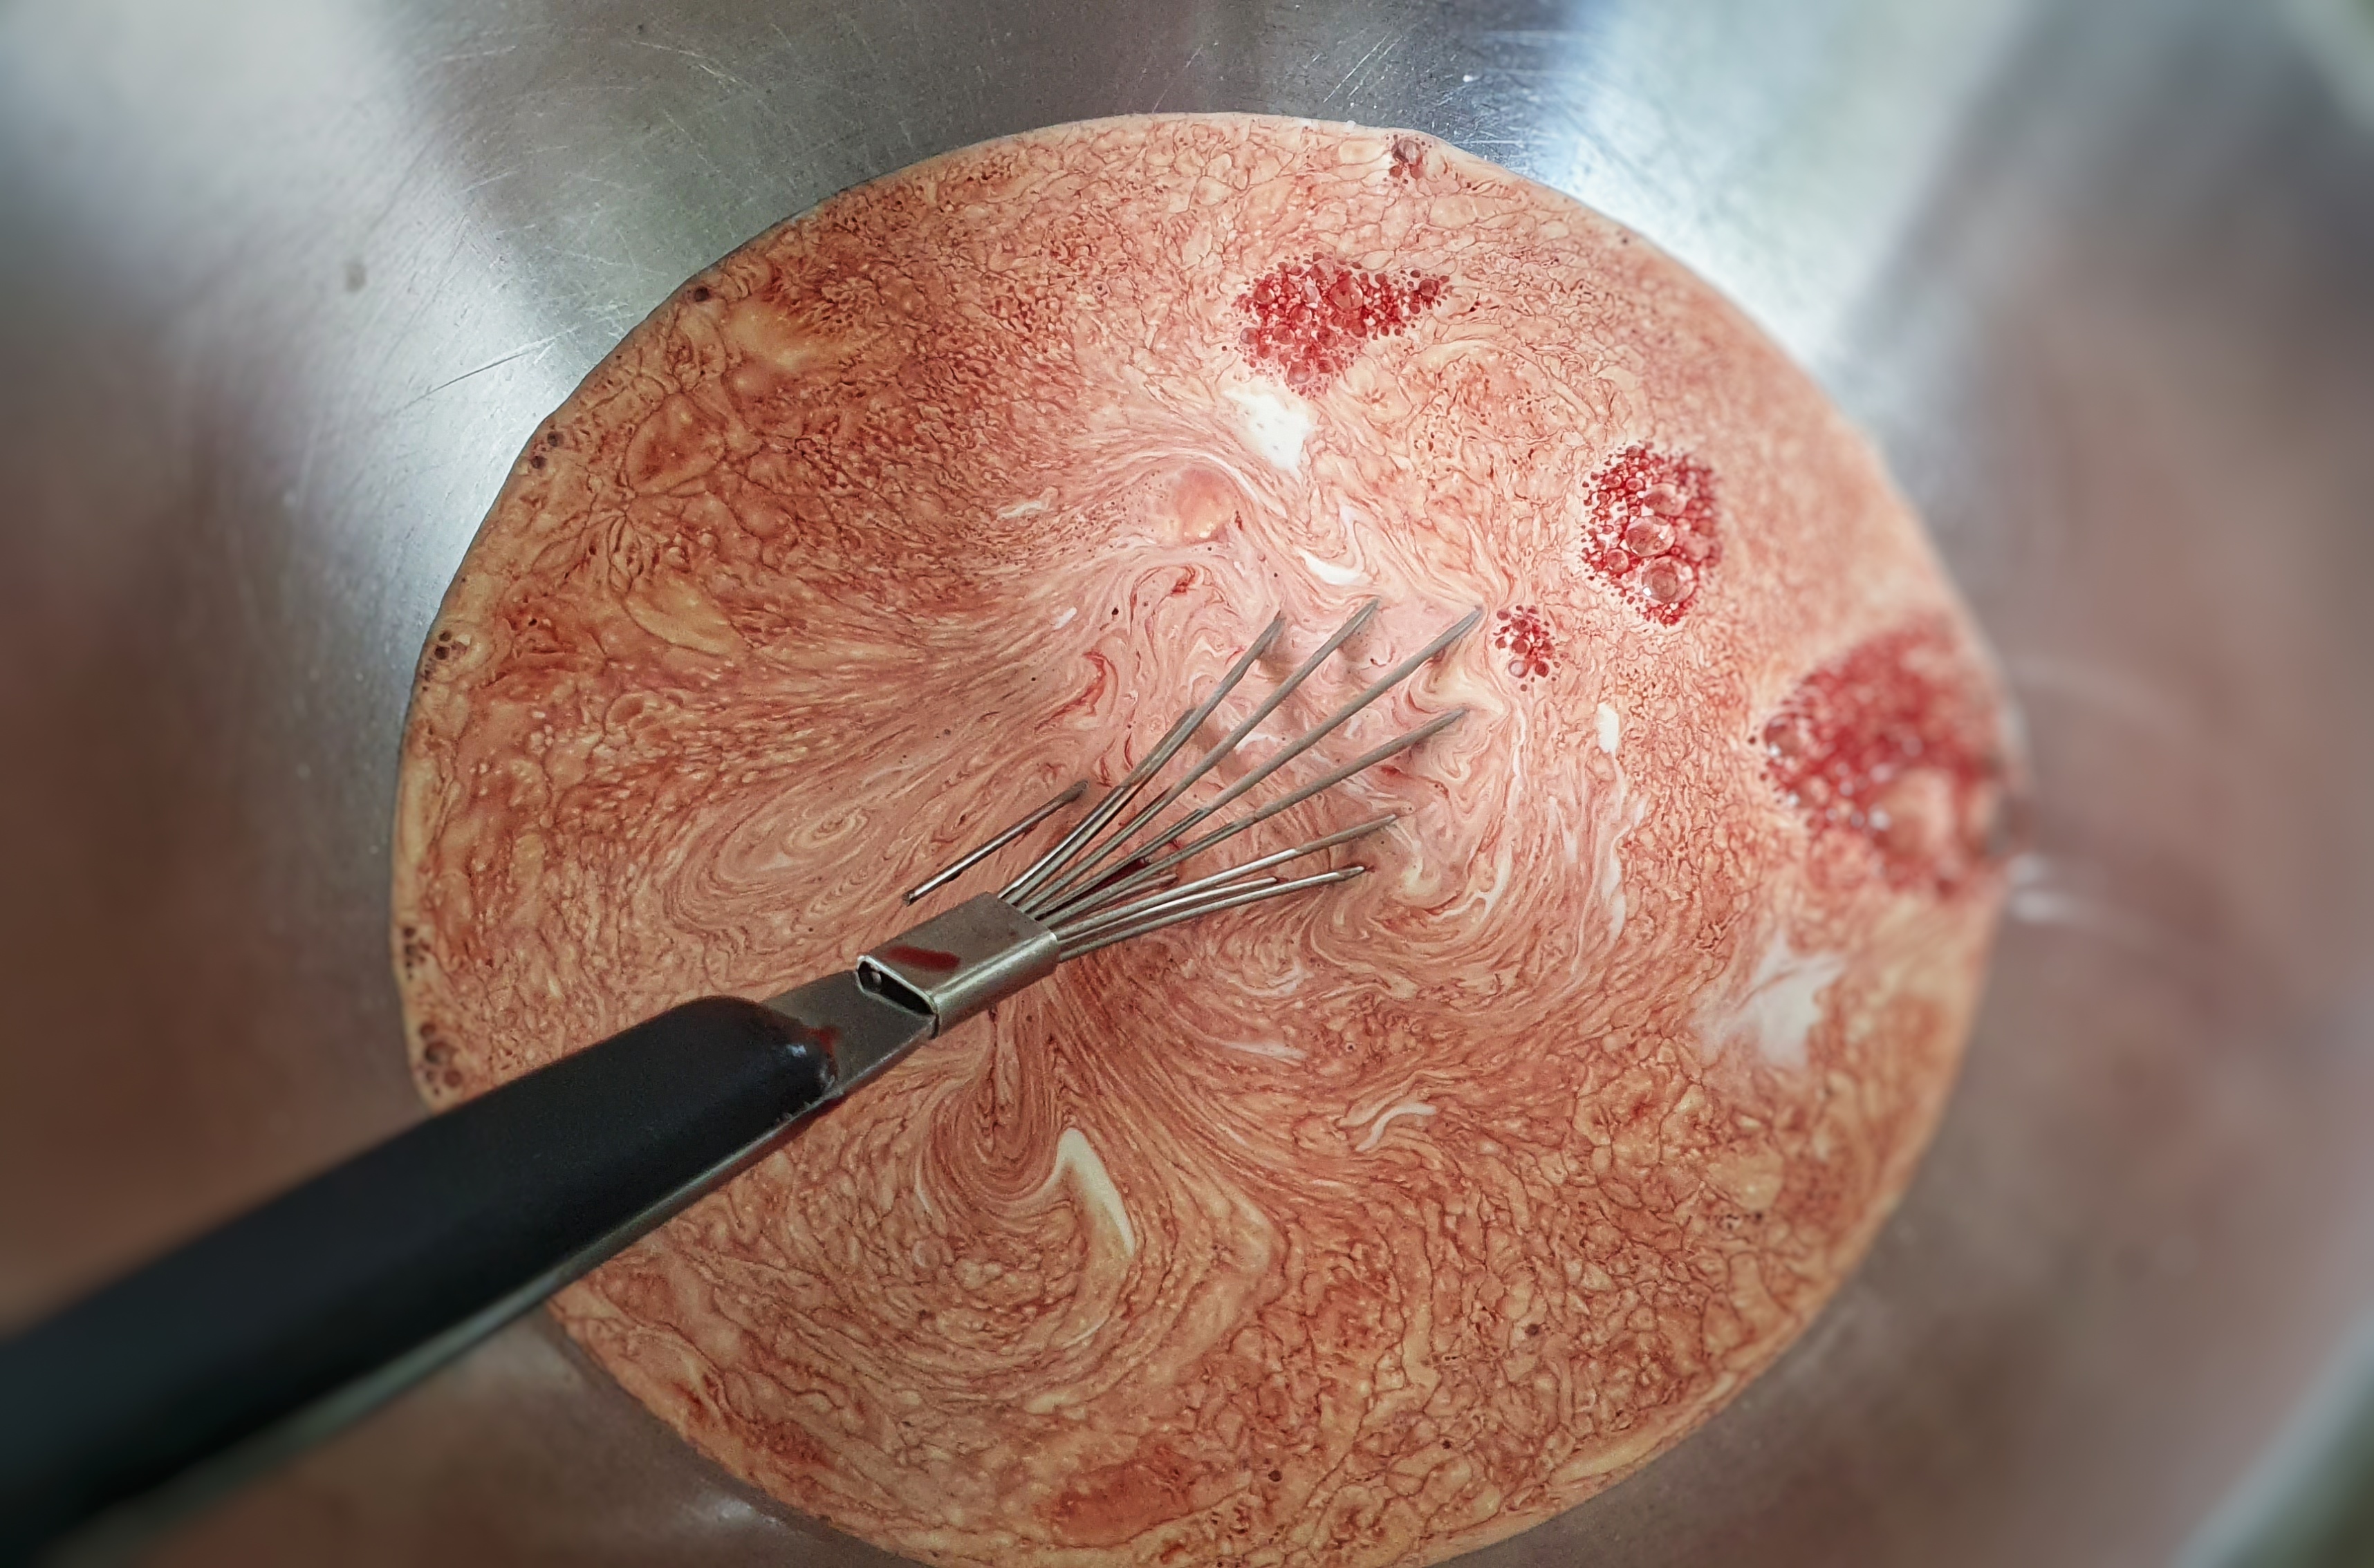
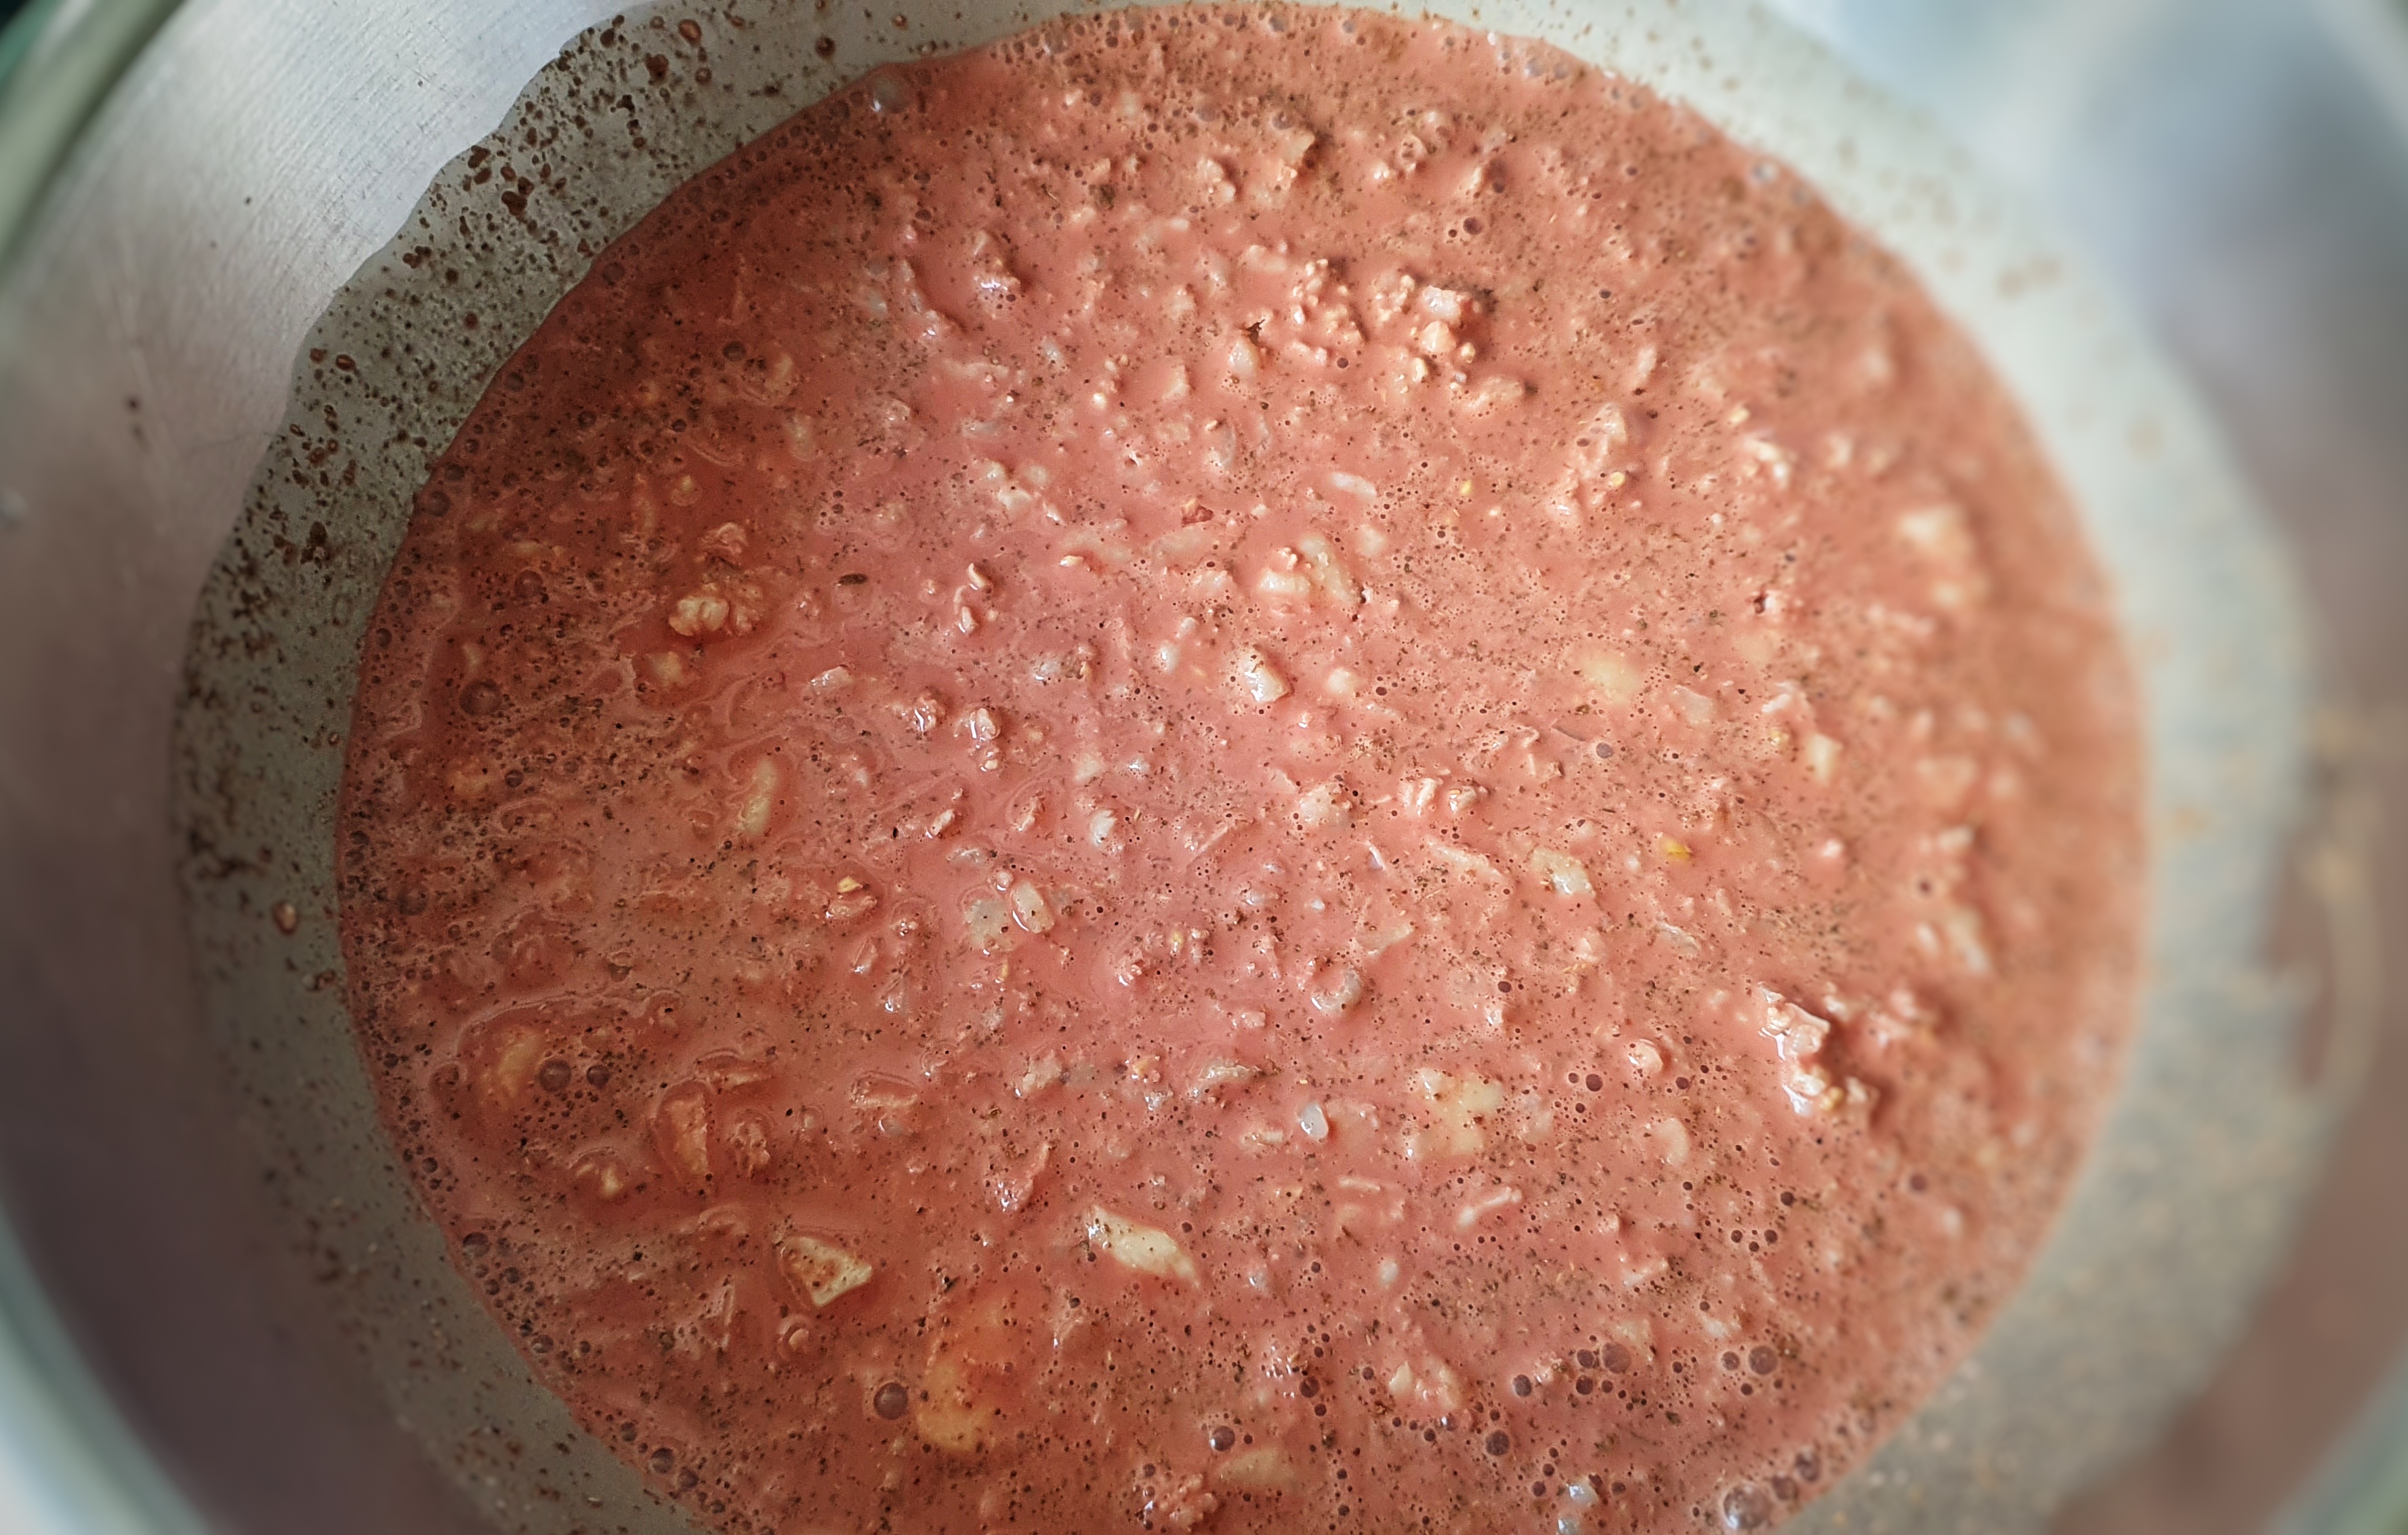
Mix the flour and salt together, make a well in the centre and add the eggs. Beat well until smooth, then beat in the milk. Set aside for an hour (you don’t have to do this, but you do get a slightly better rise this way).
Preheat your oven to 230°C.
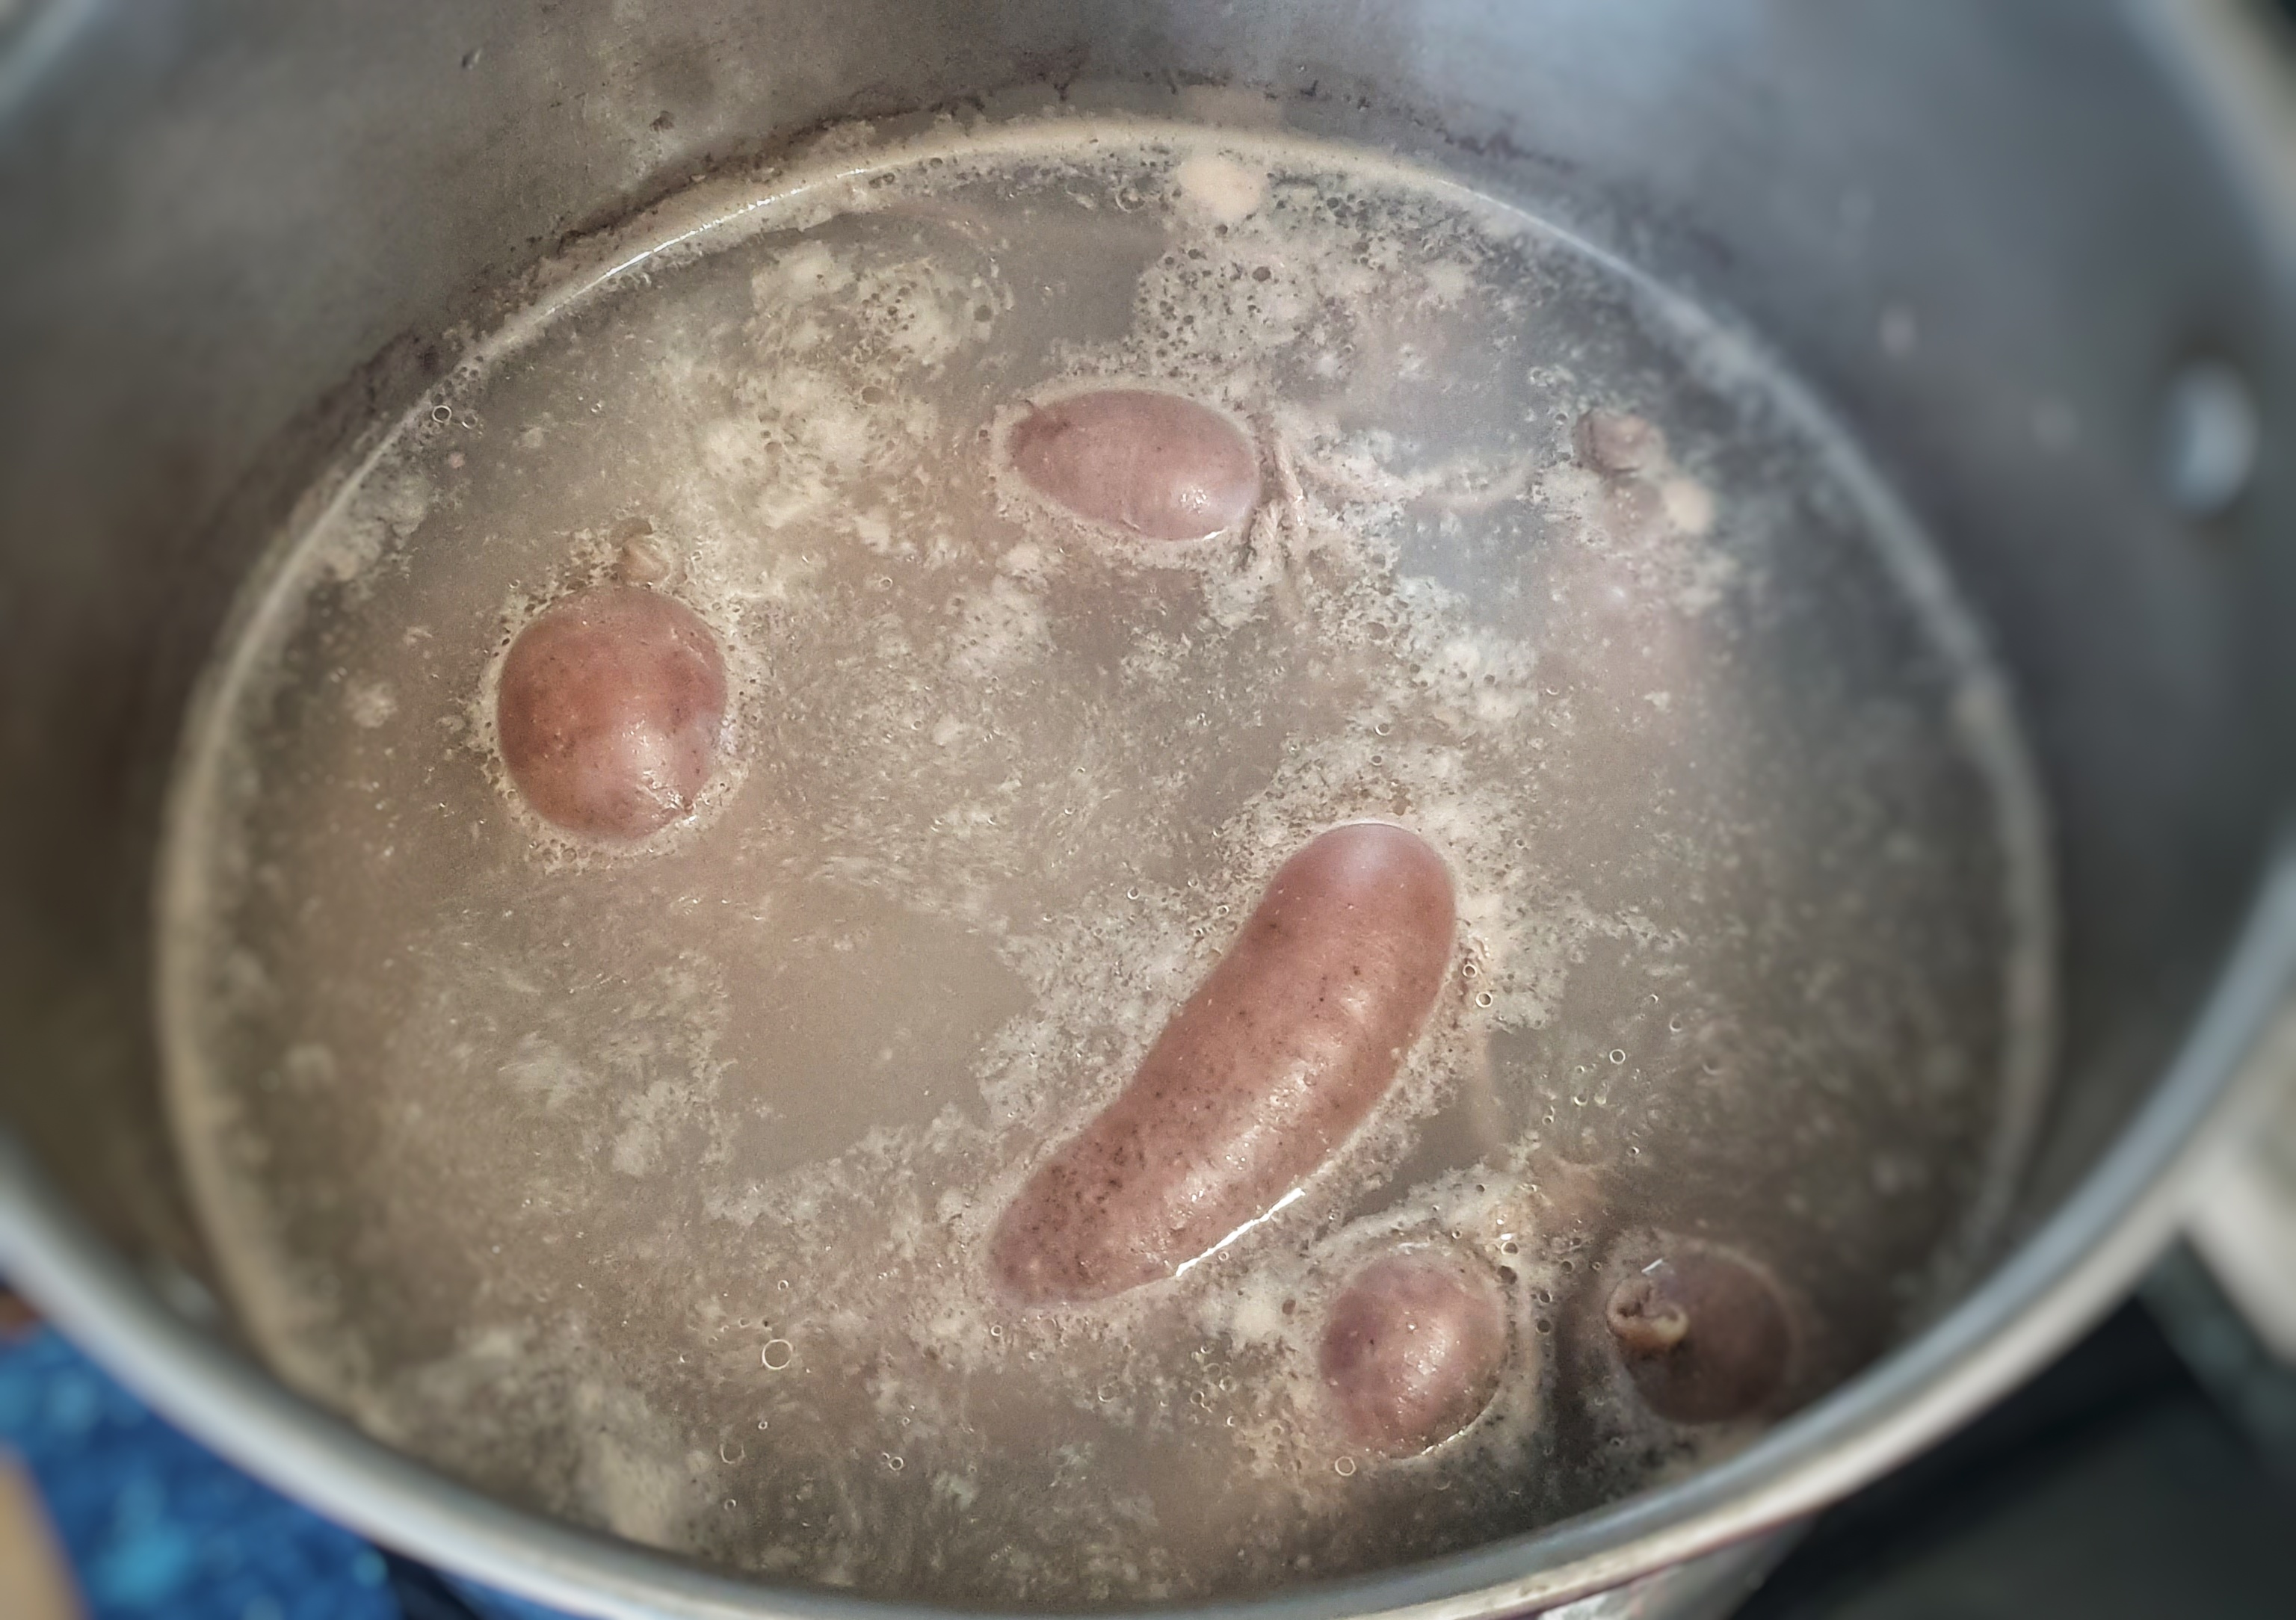
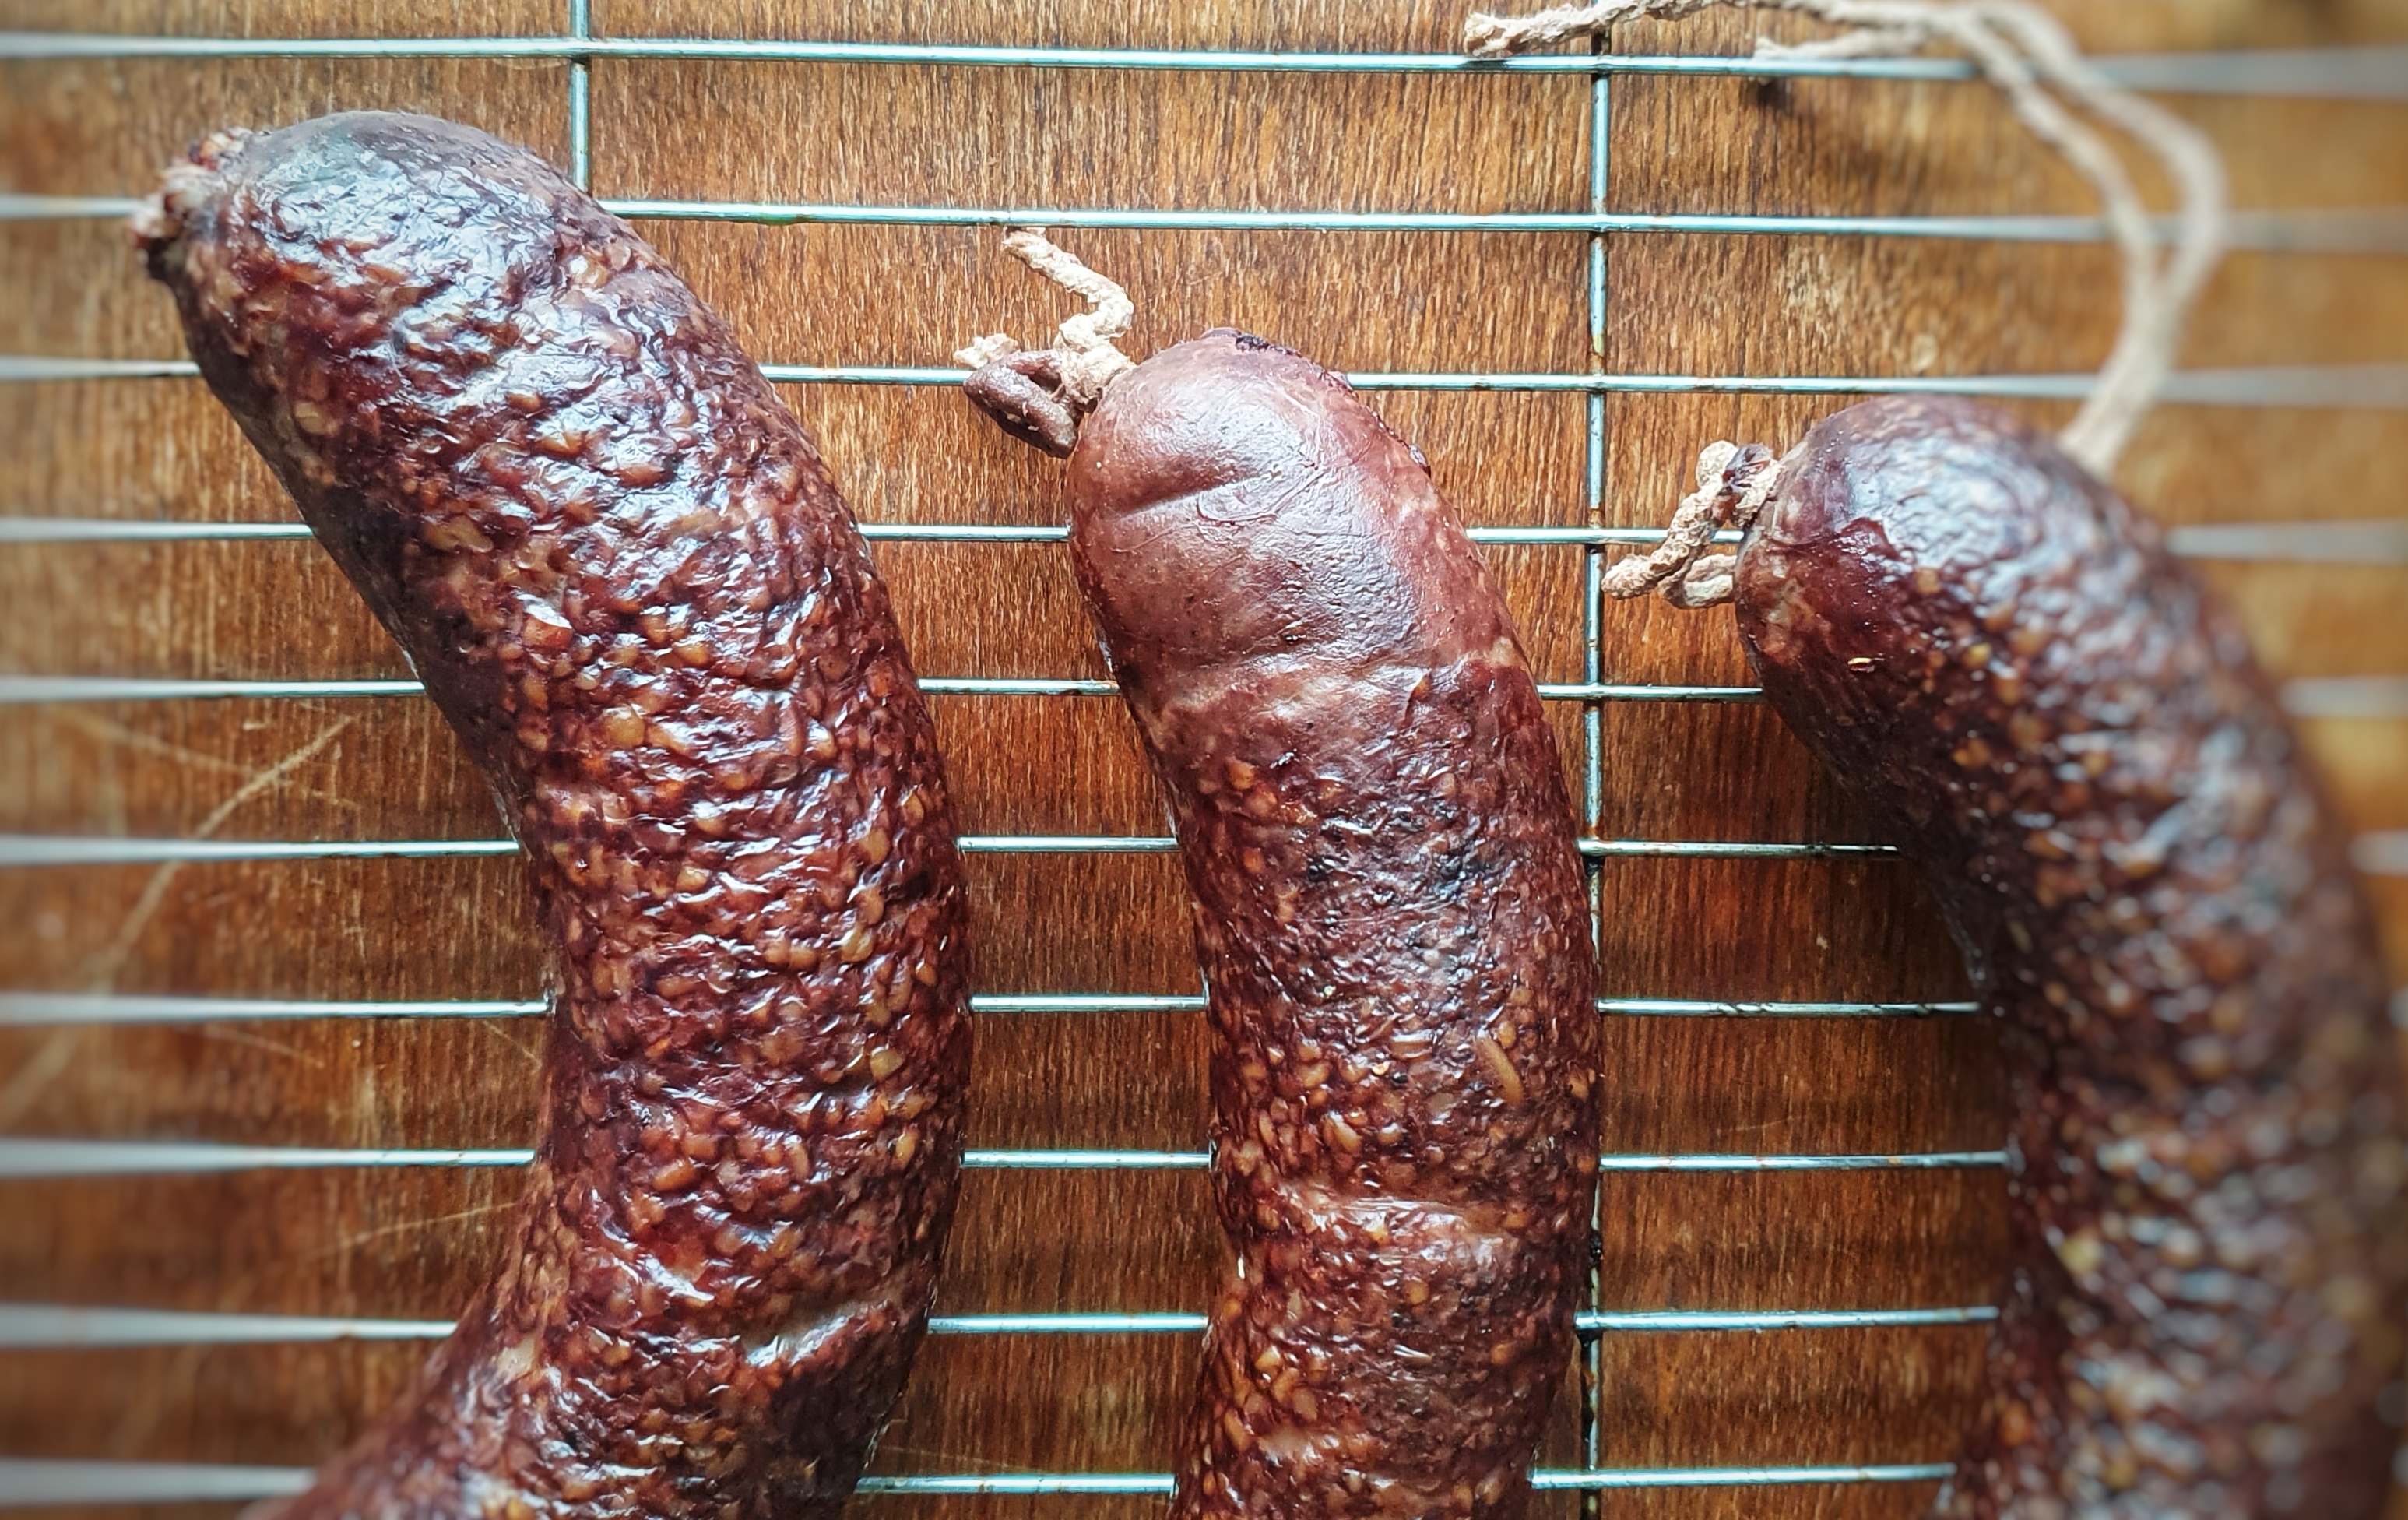
Heat a little of the fat or oil in your pan and brown the sausages on two sides: you’re not looking to cook them, just to sear them, as it were. Remove the sausages and set aside.
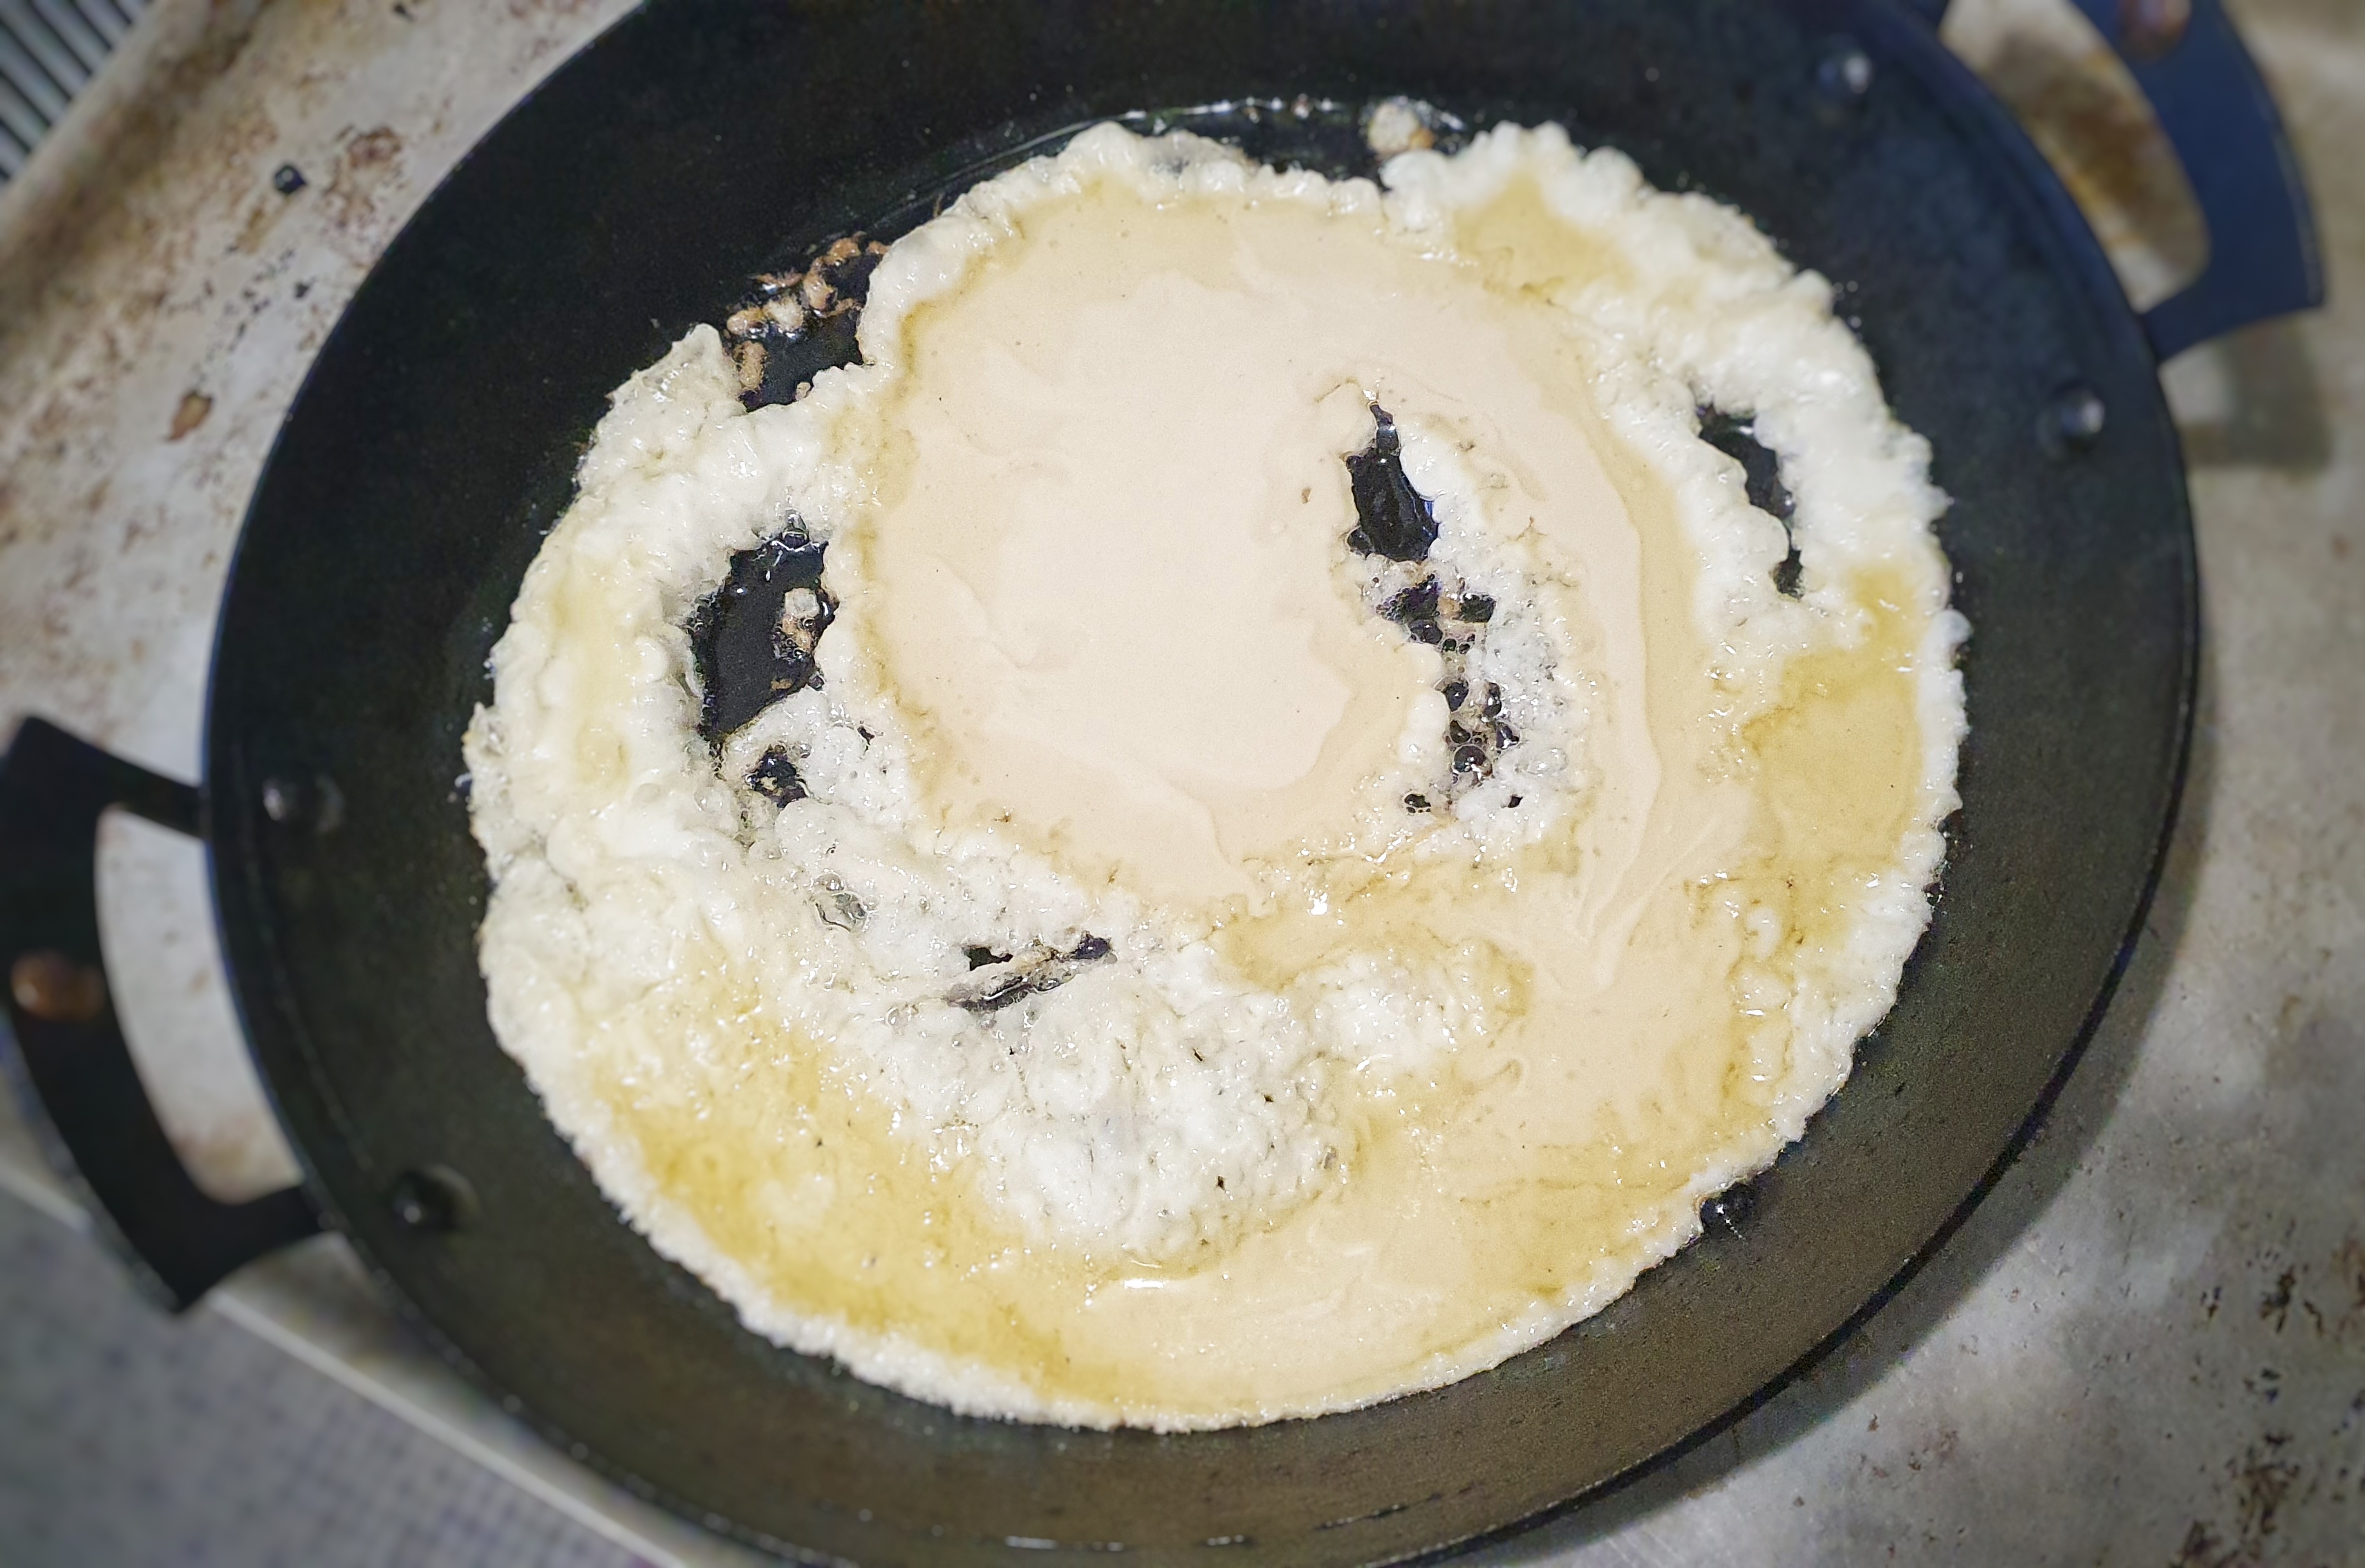
Add the remaining fat to the pan or tray in which you’ll be baking the toad-in-the hole (along with any juices from the frying pan, if used), place in the oven and allow it to become very hot and smoking– a good 15 minutes. Gingerly remove the pan or tray and add a ladleful of batter to it, and give it a quick swirl before returning it to the oven to cook and set for 3 or 4 minutes.
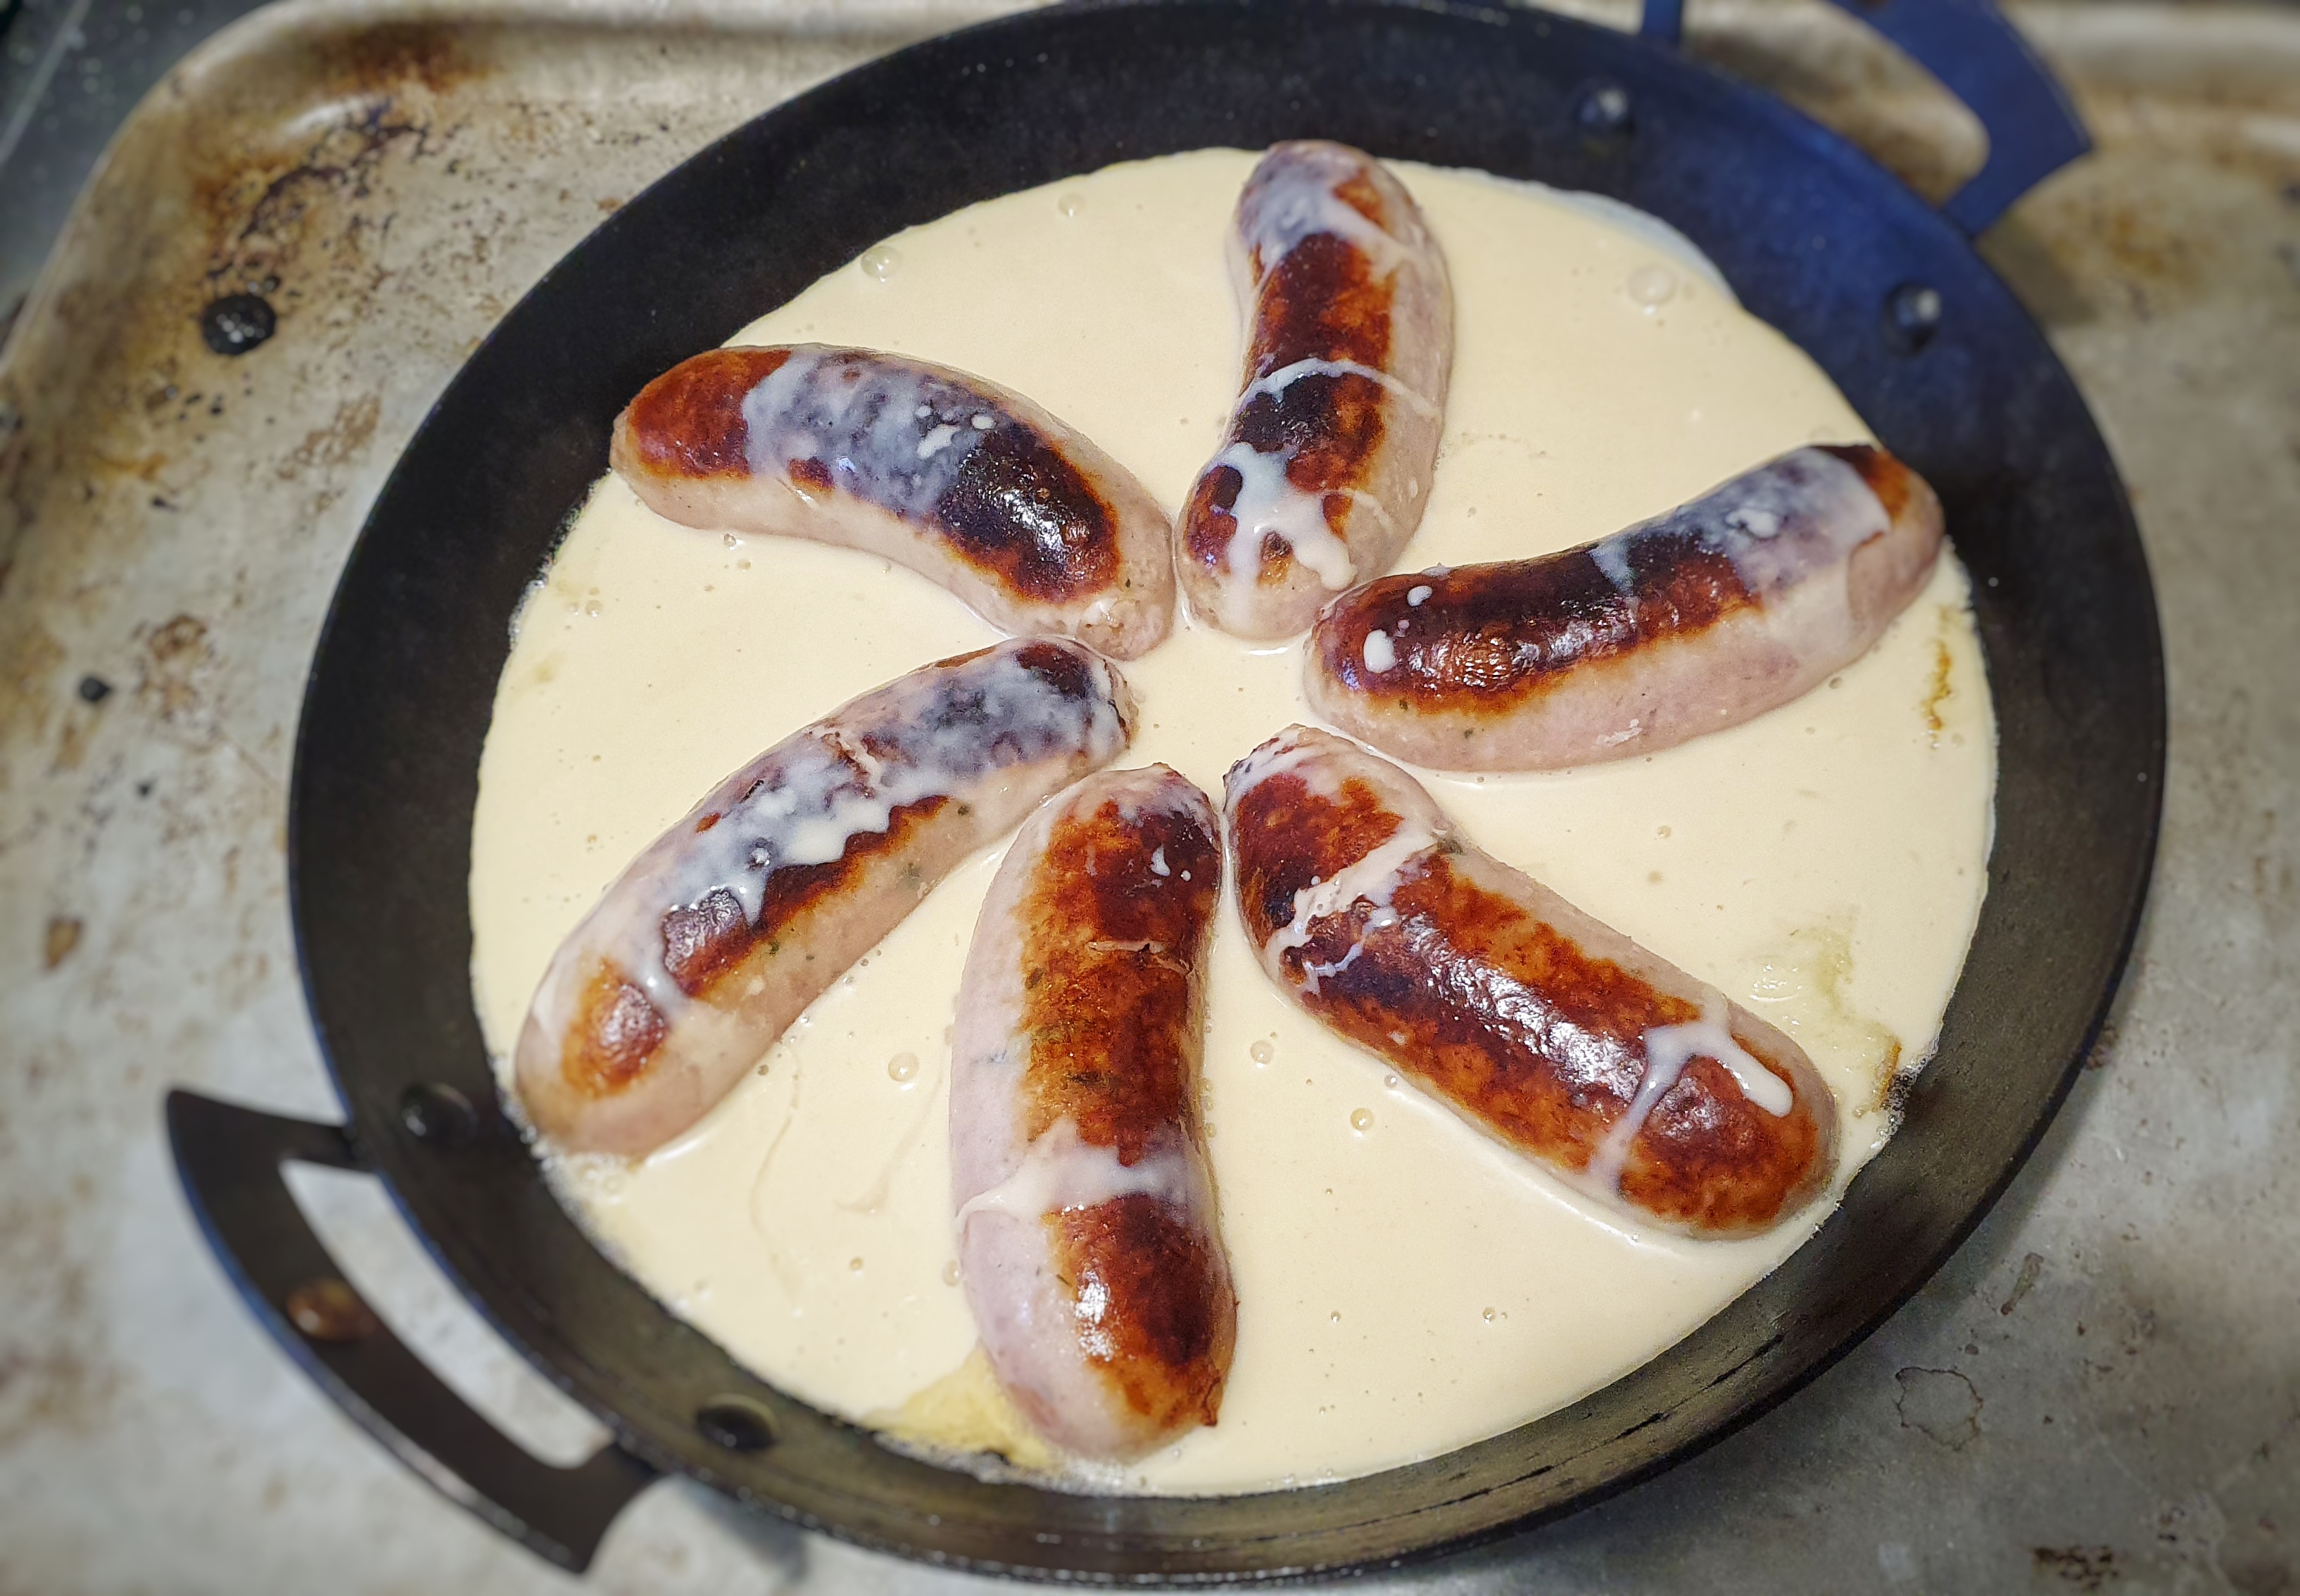
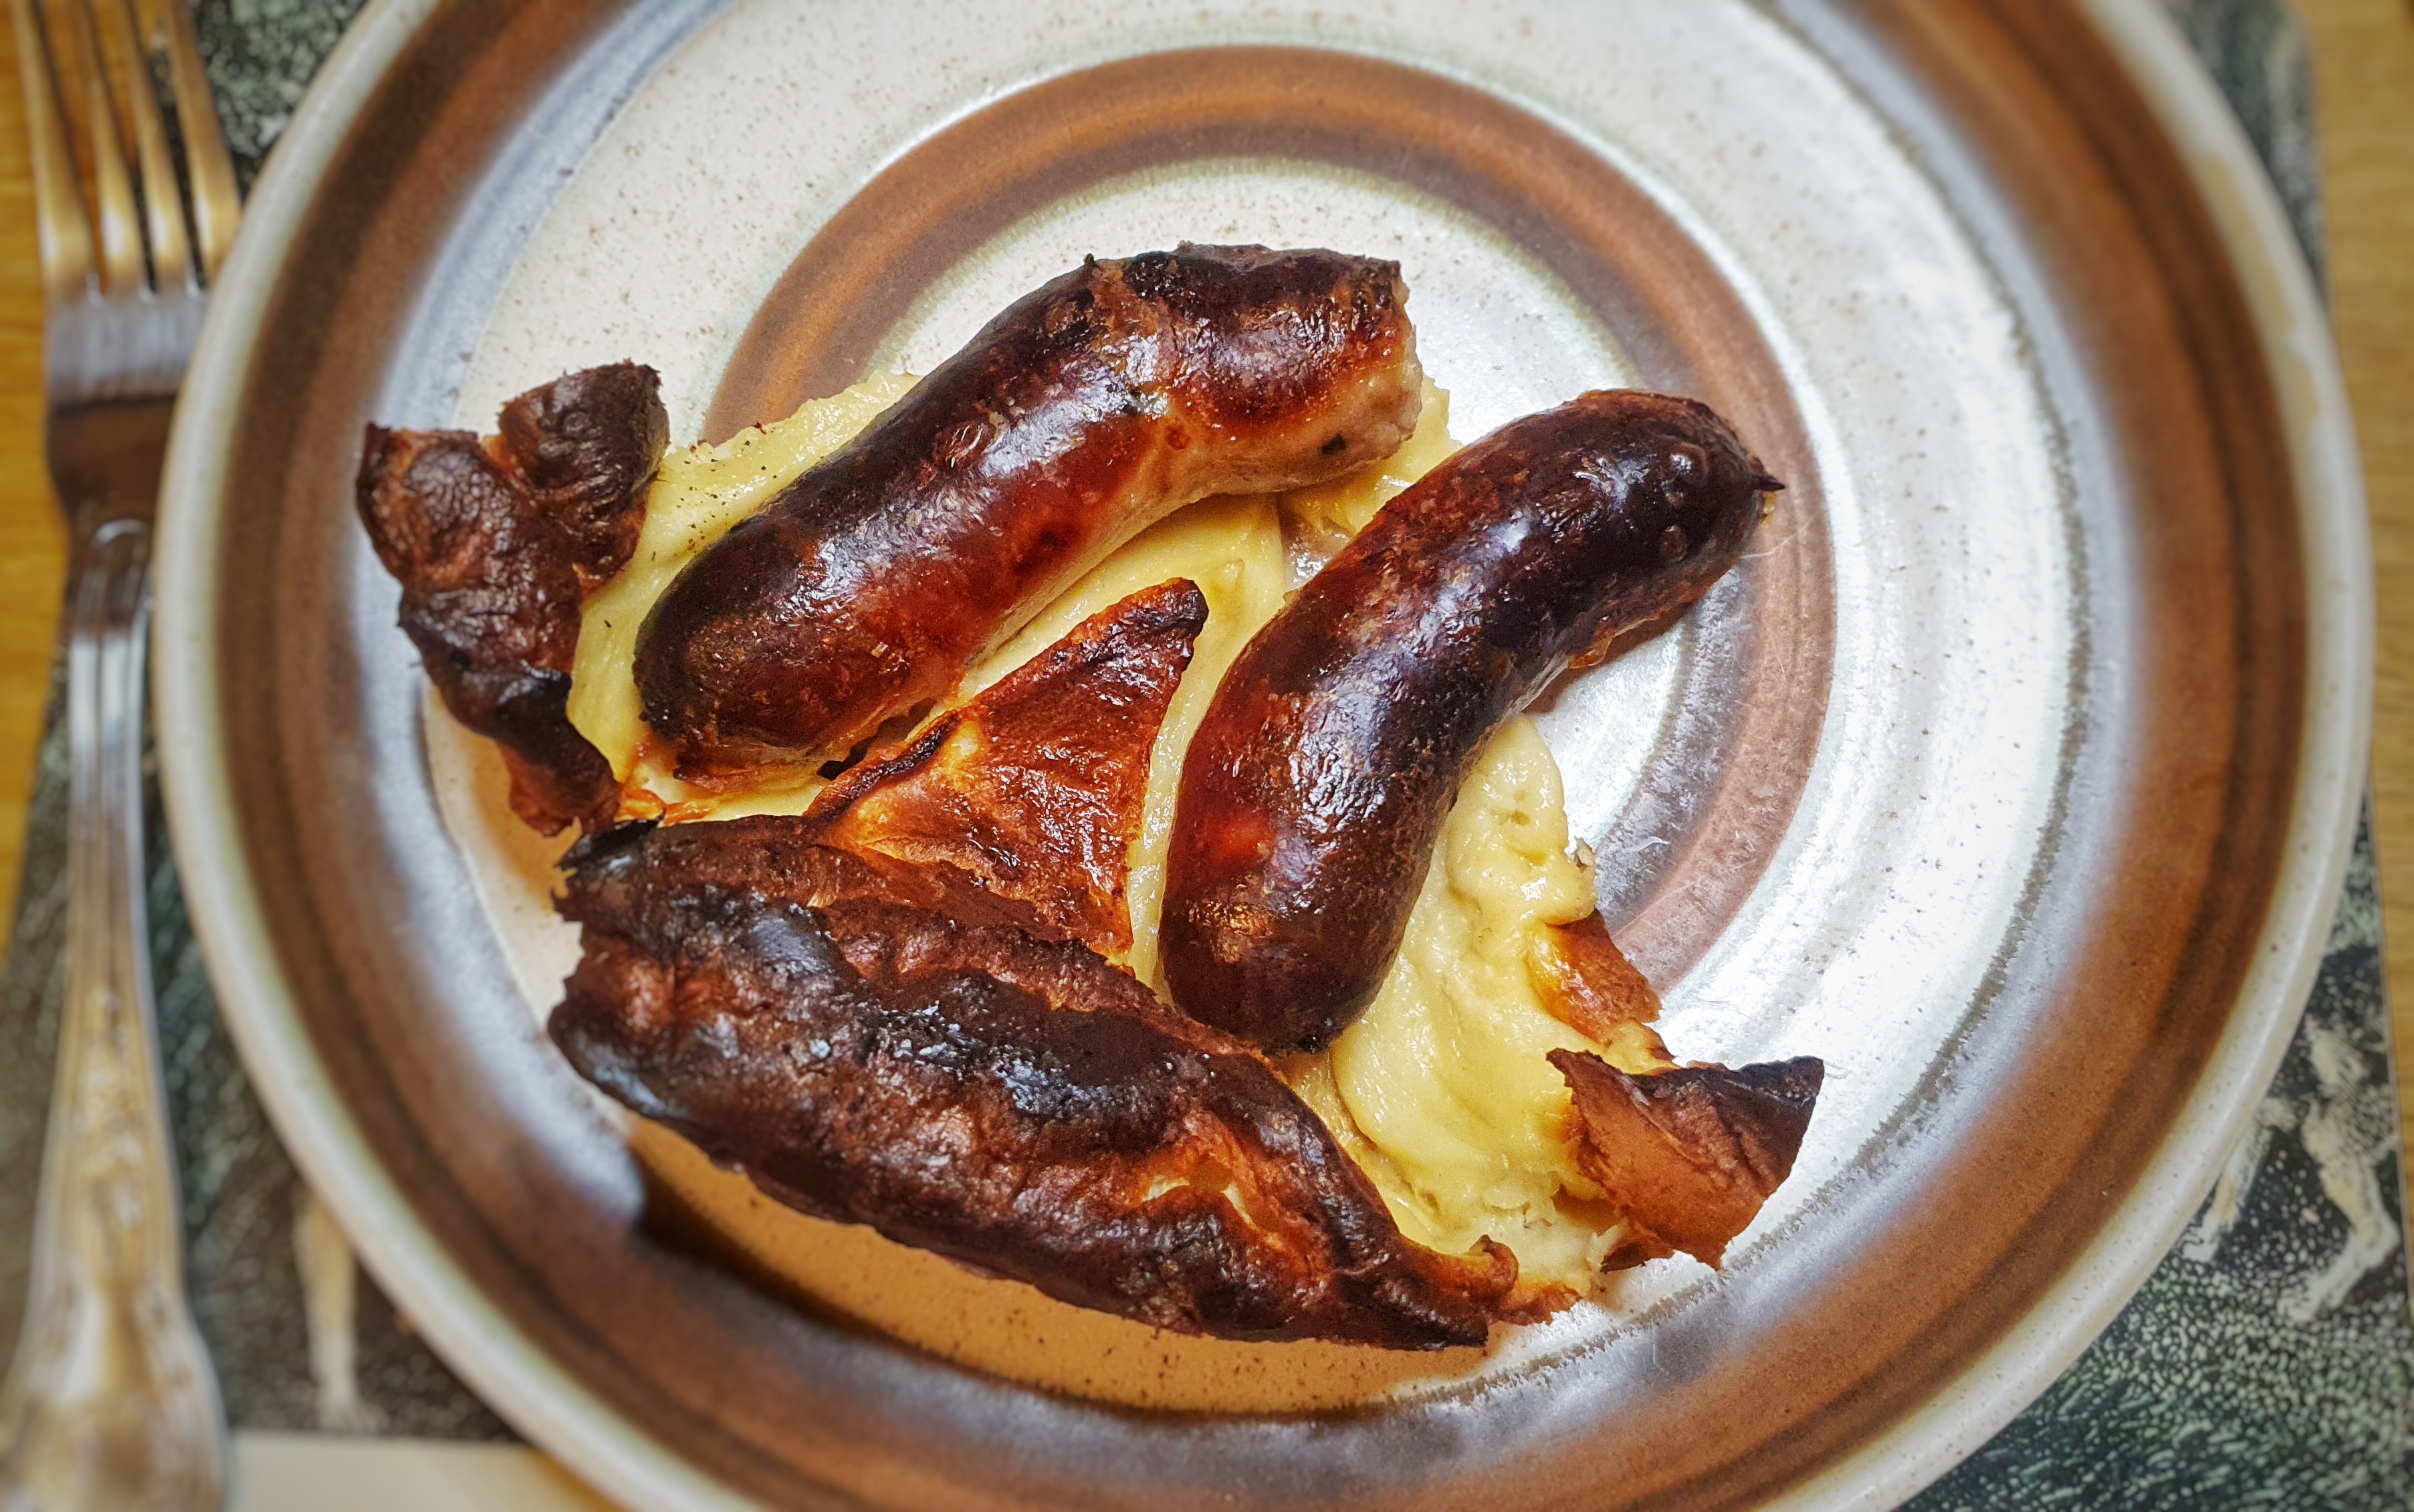
Remove the pan or tray, arrange the sausages evenly and neatly and pour over the rest of the batter. Return to the oven. Do all of this as quickly – and safely – as possible.
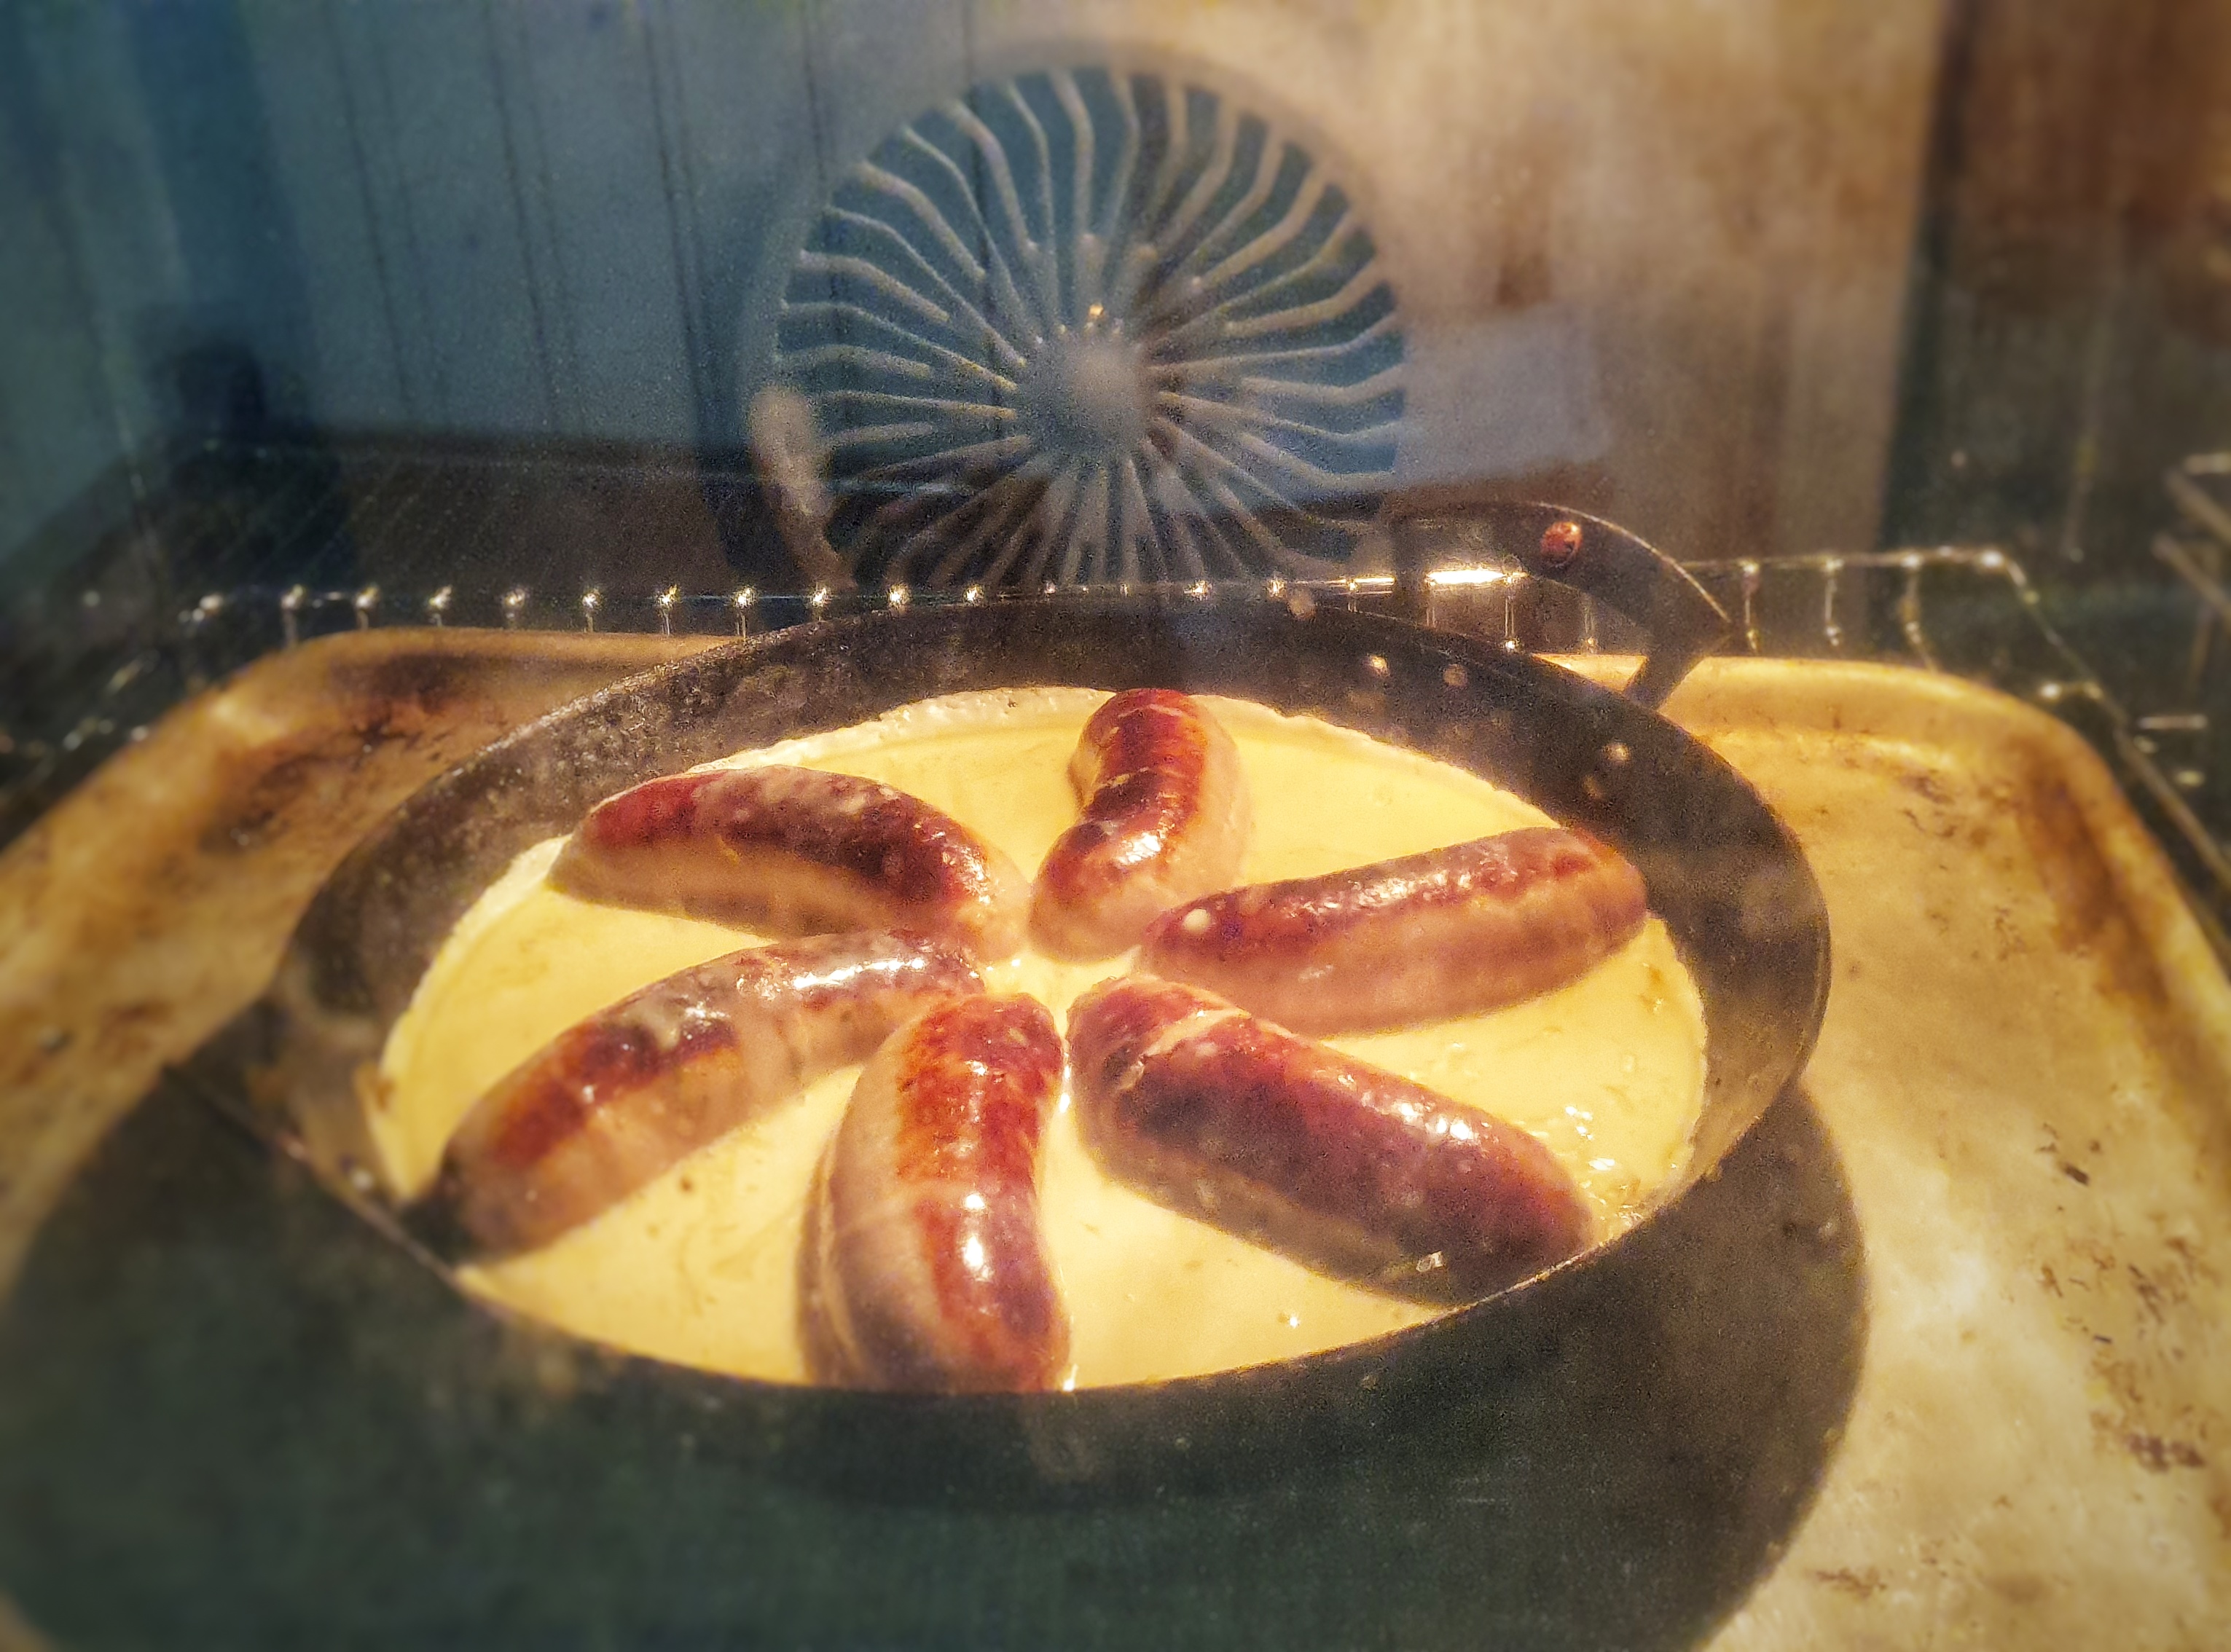
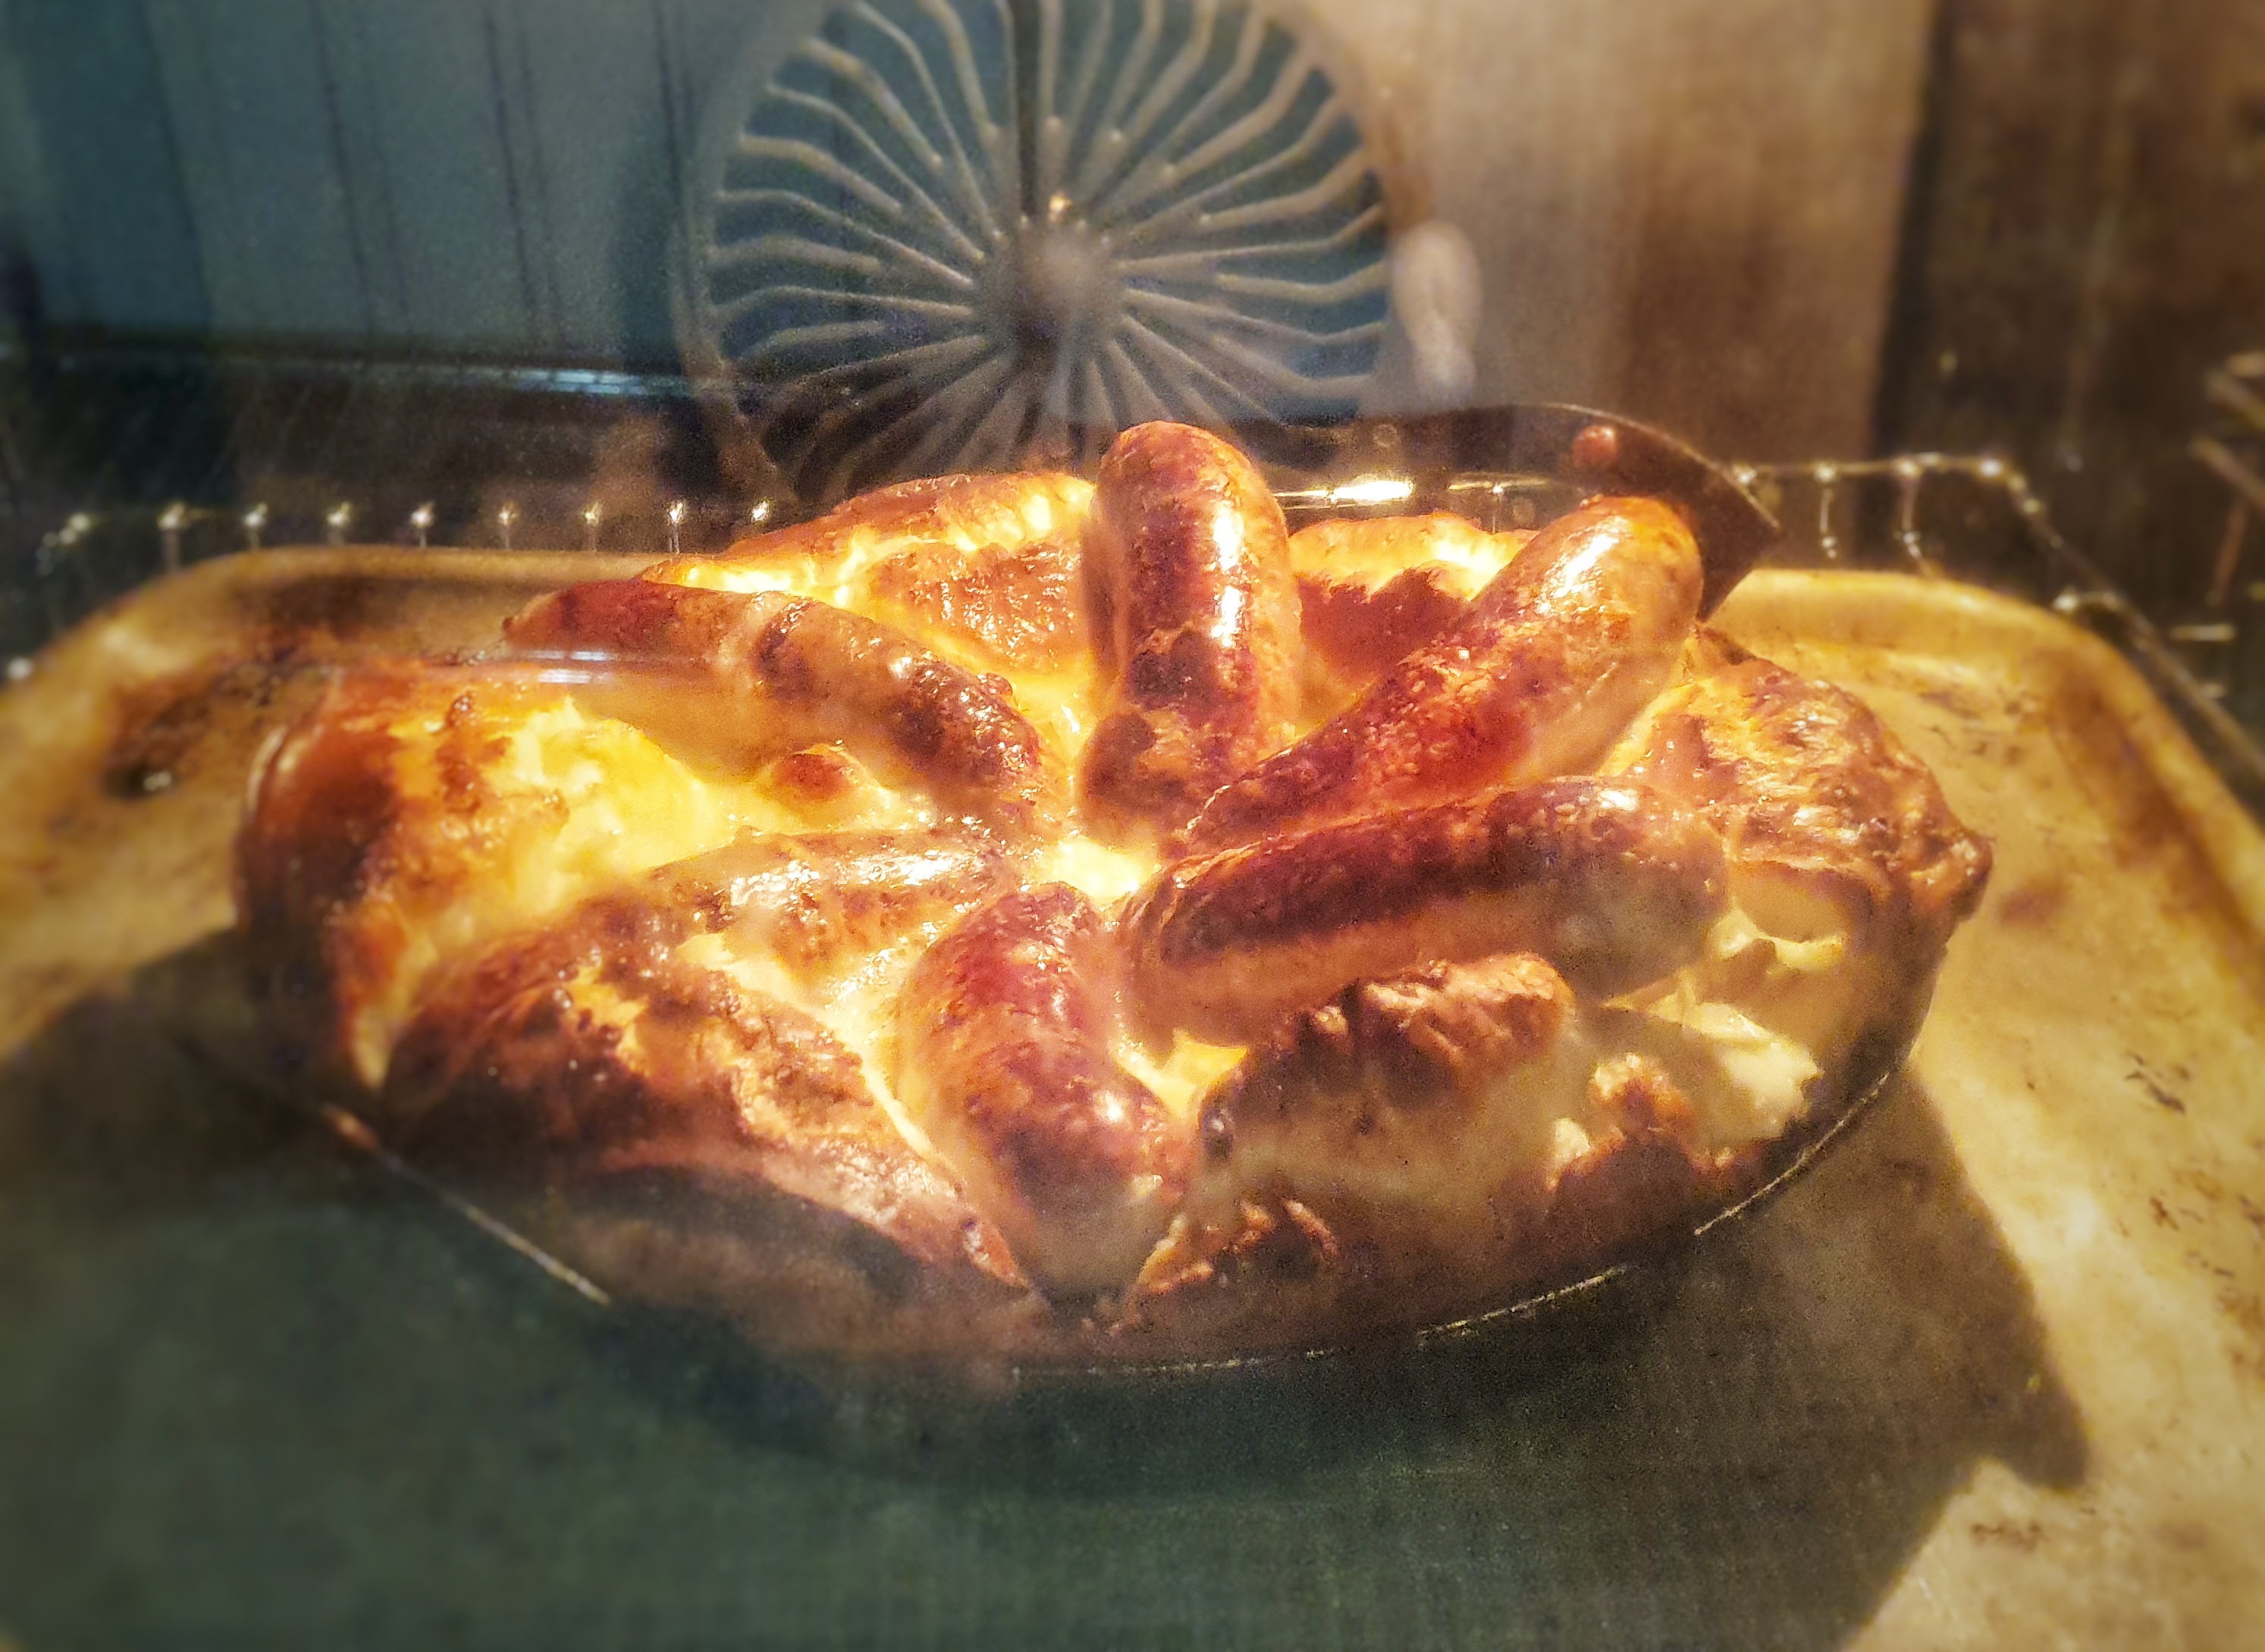
Bake for 30 minutes until well risen and a deep-golden brown. If the pudding and sausages are going a bit too brown for your liking, turn the heat down to 180°C.
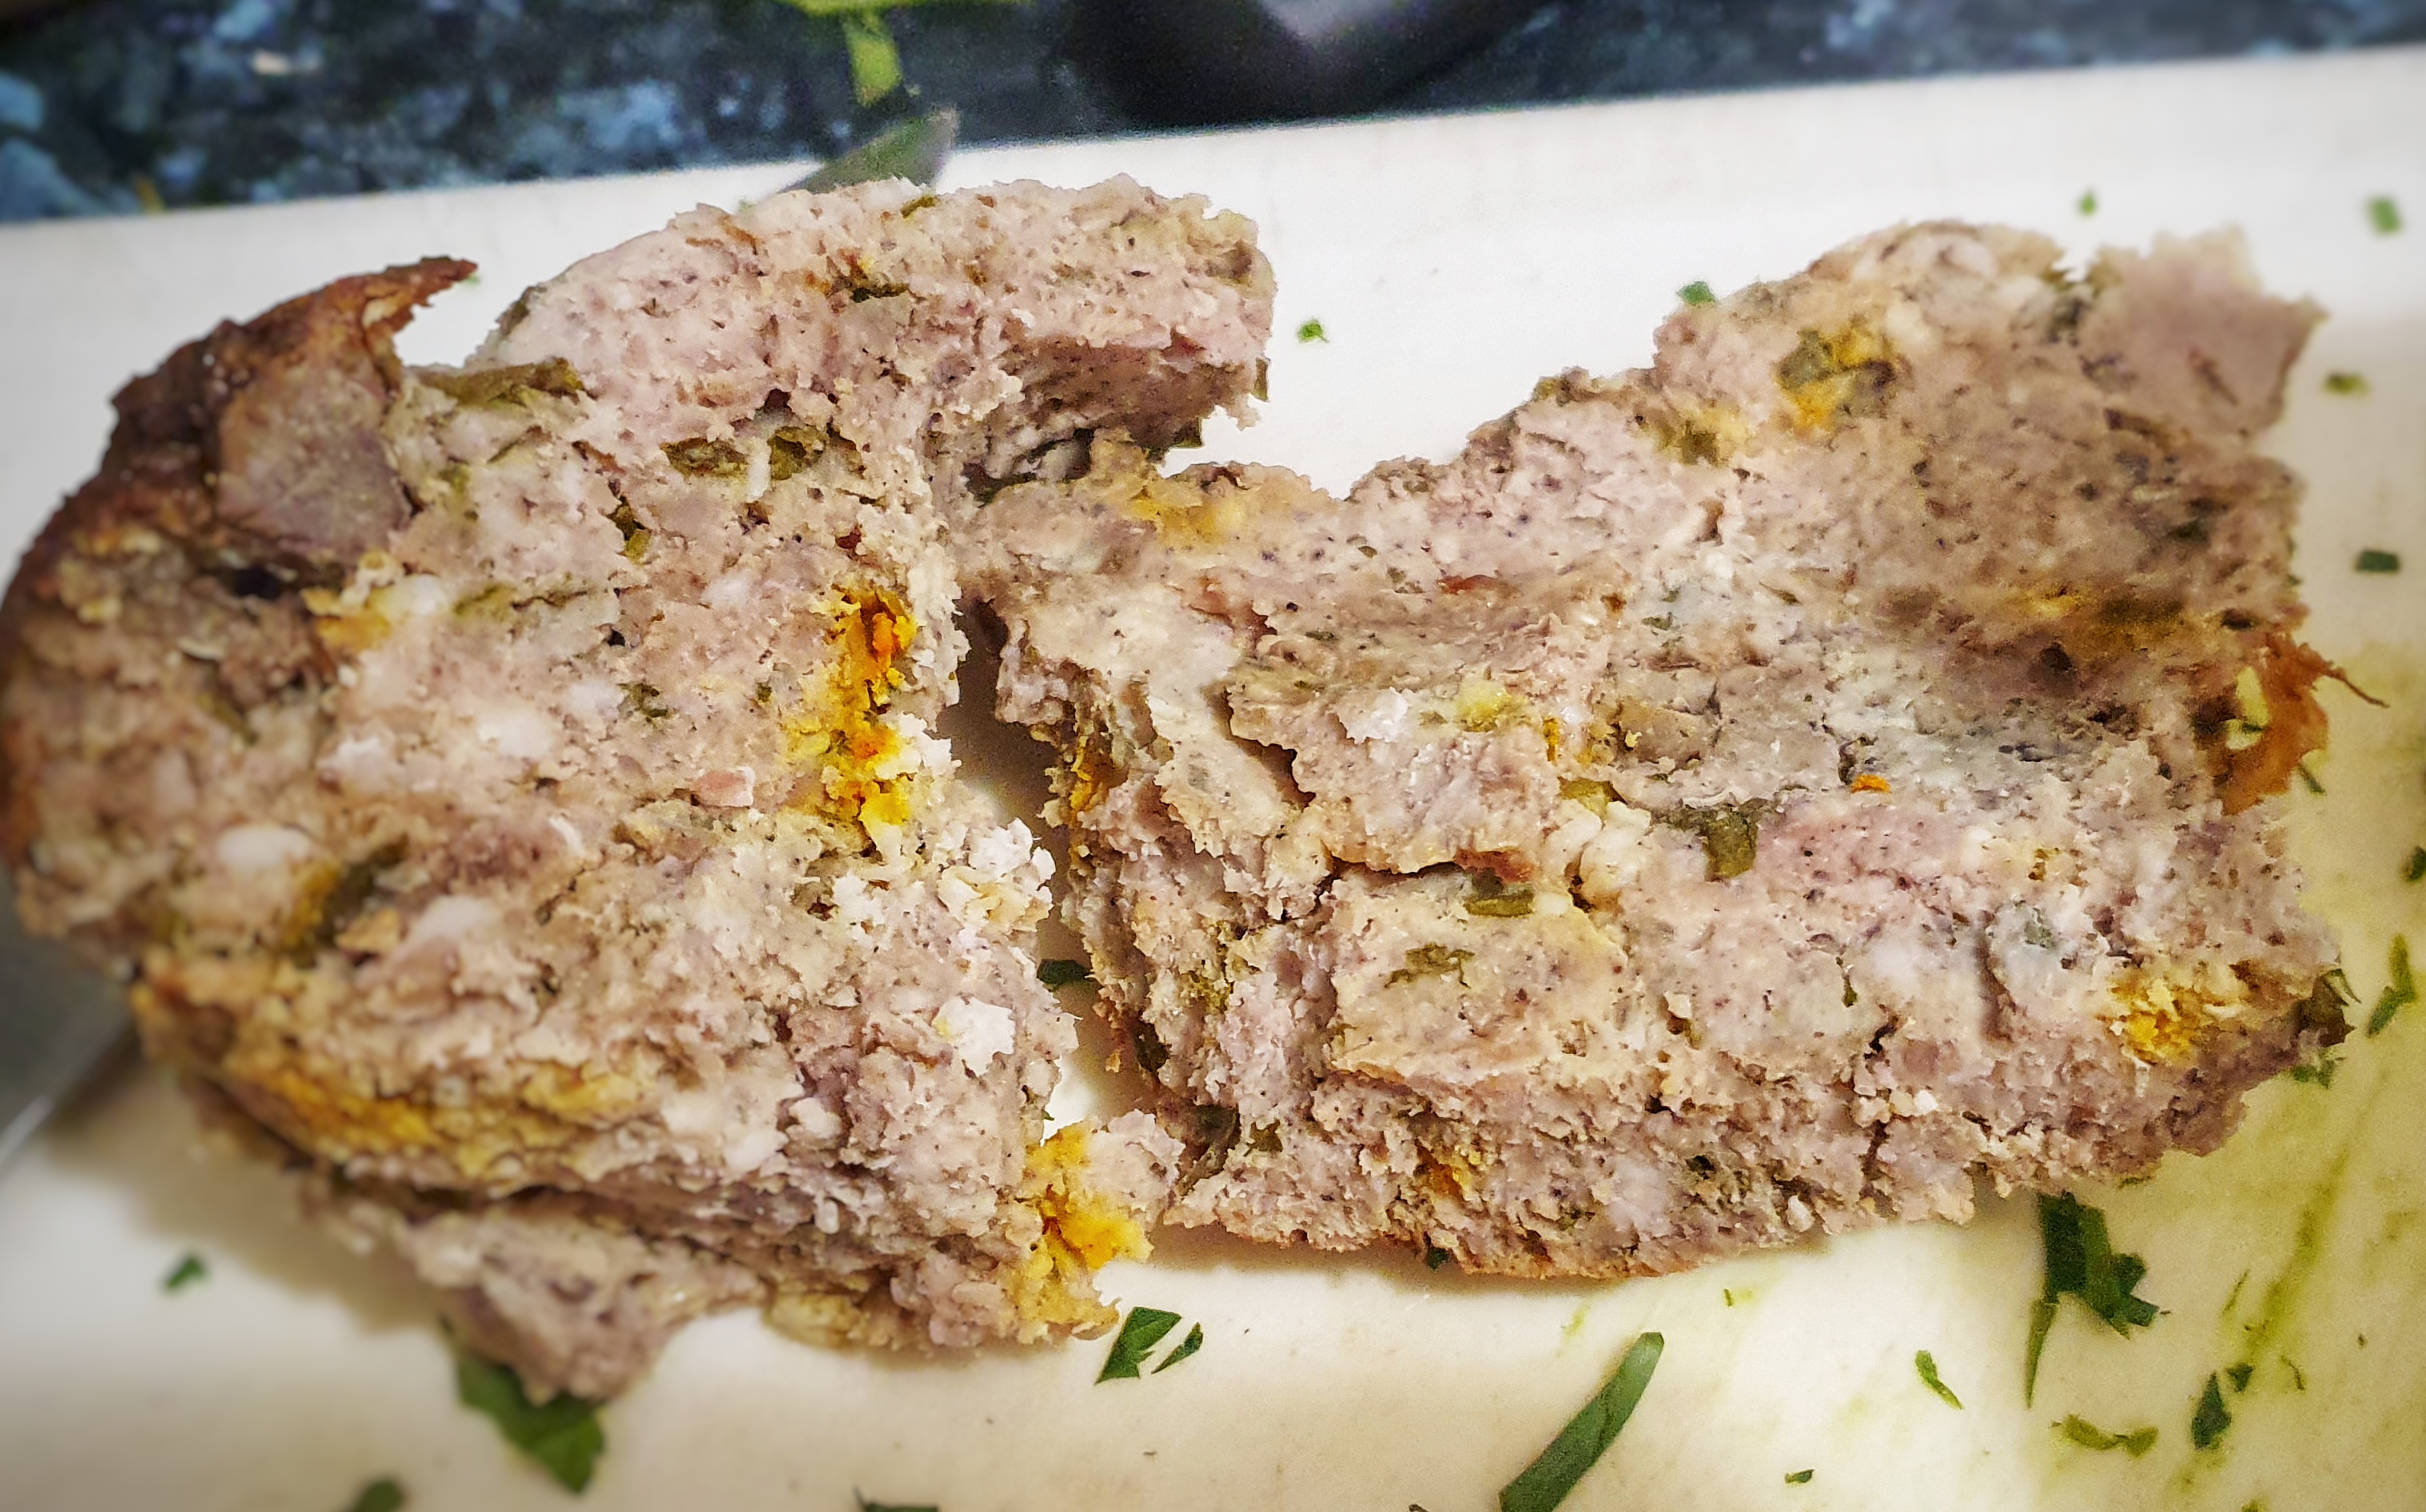
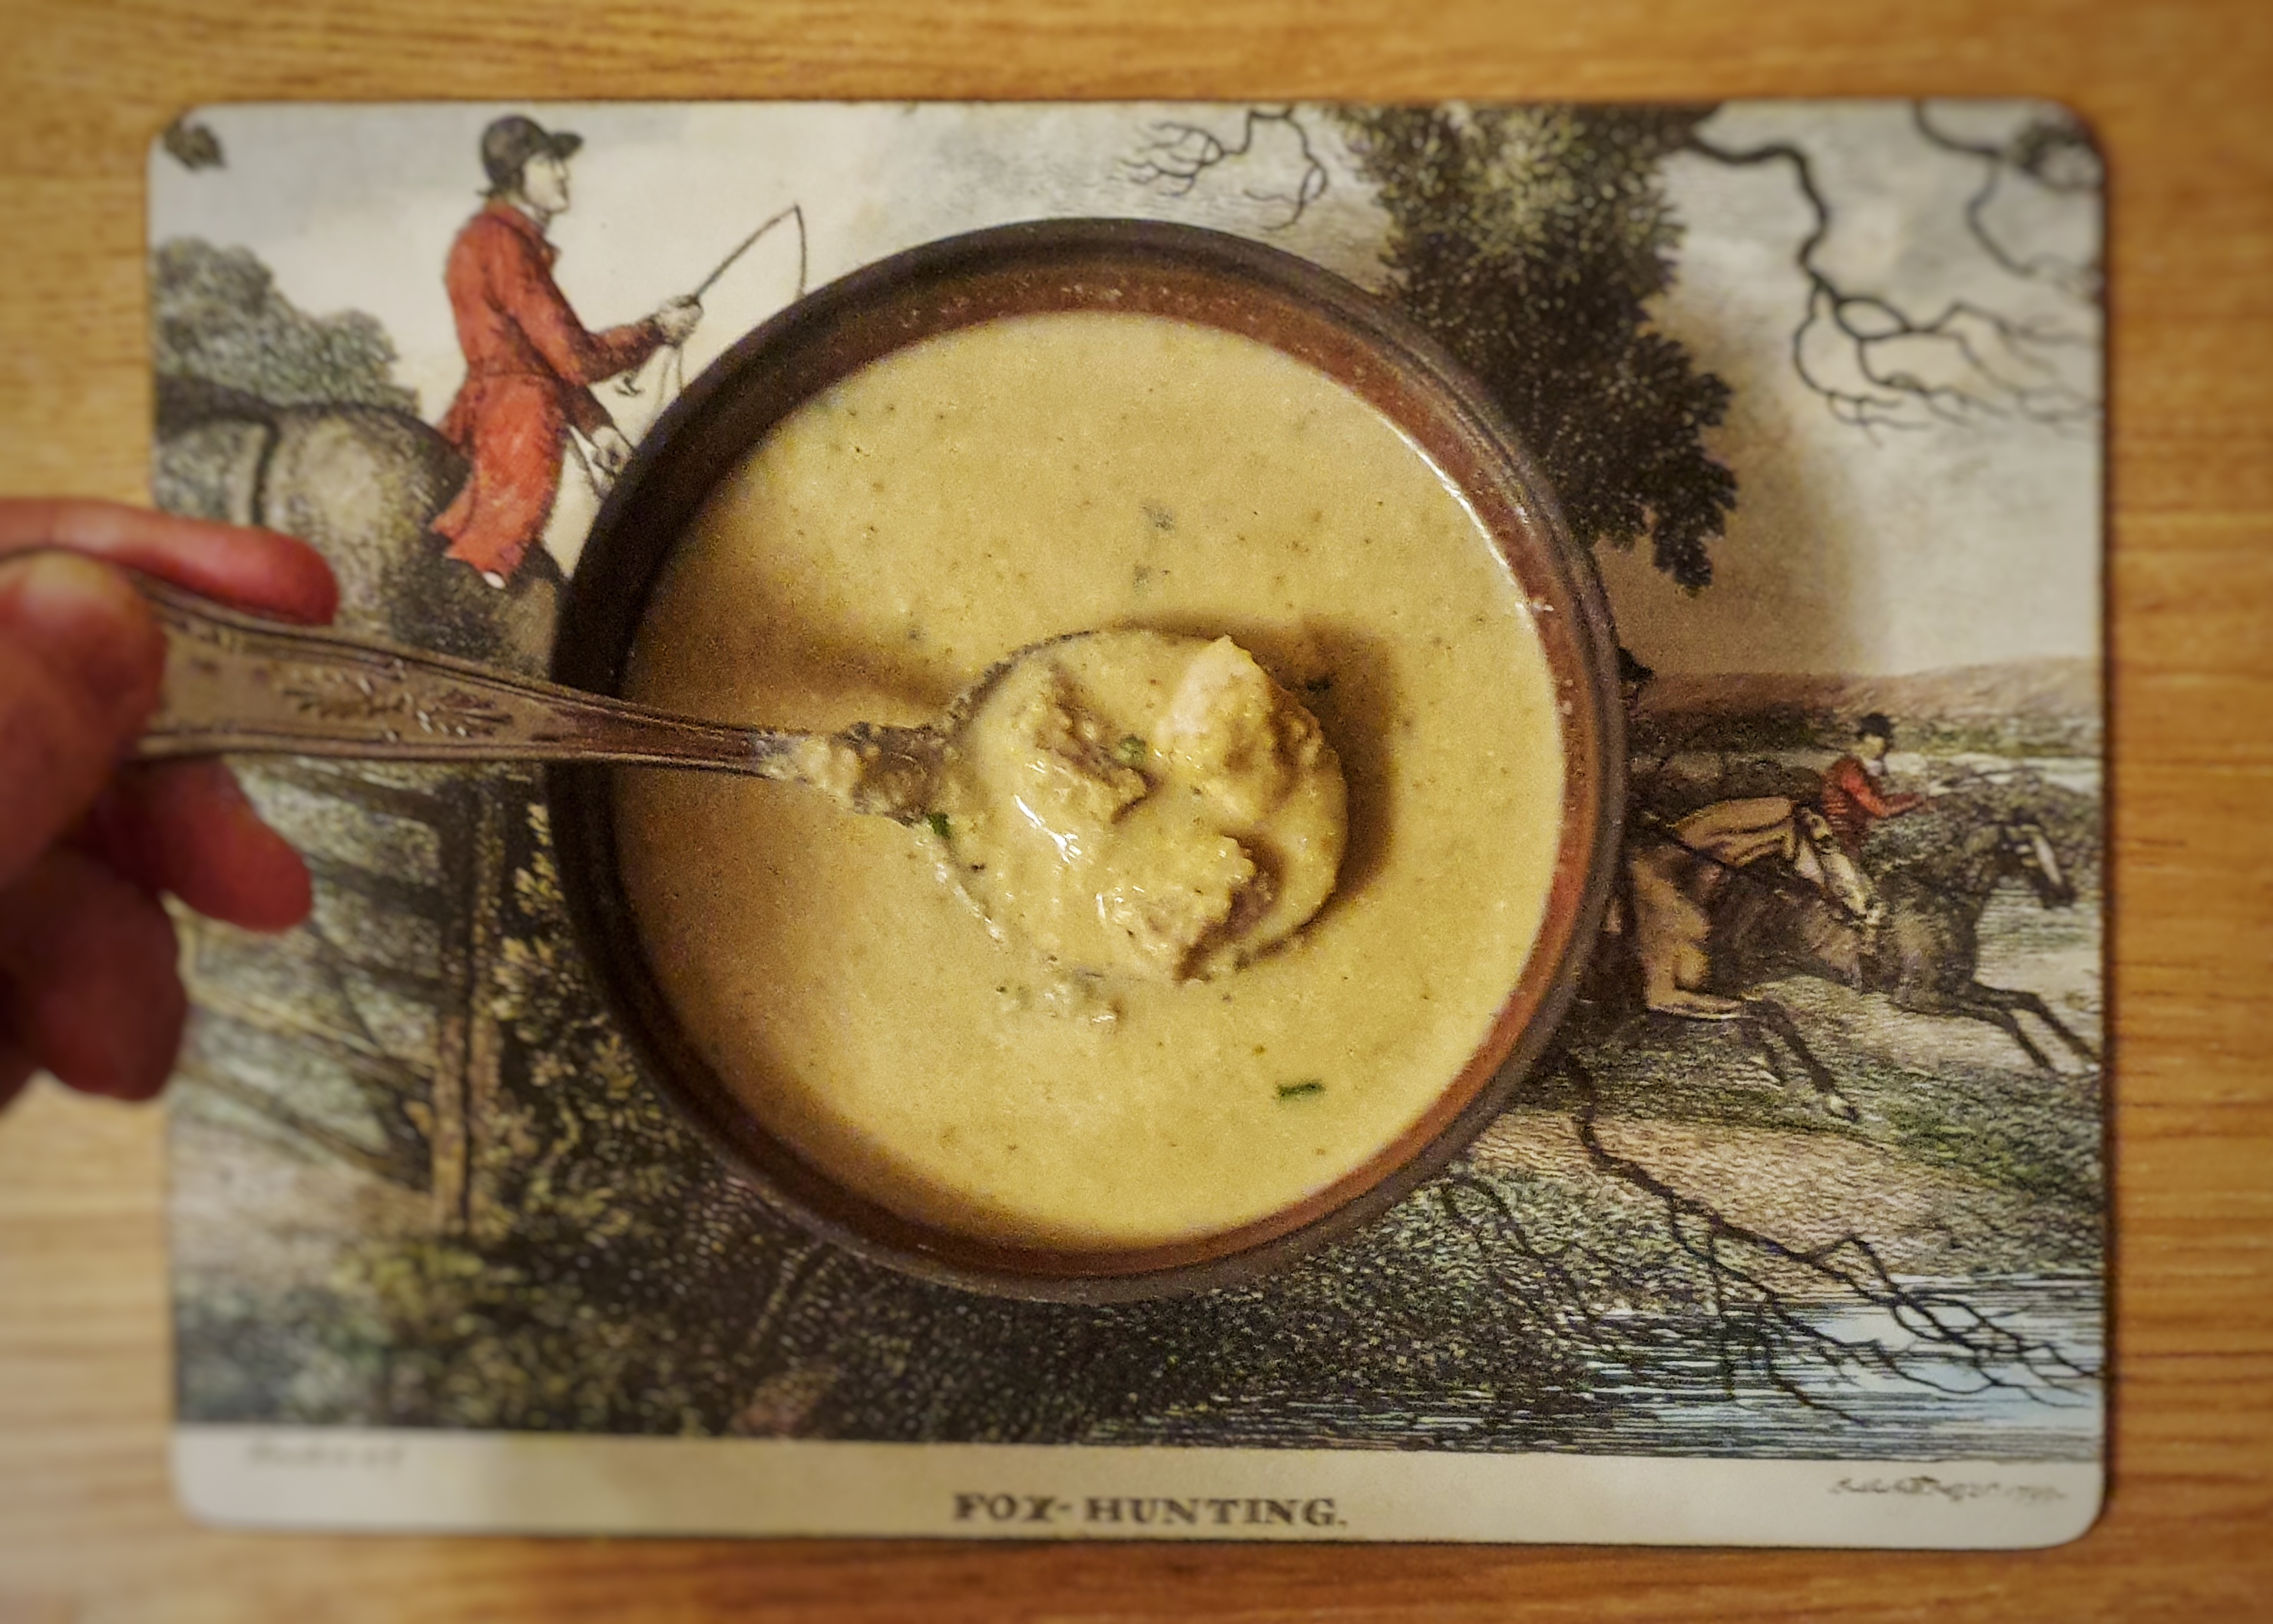
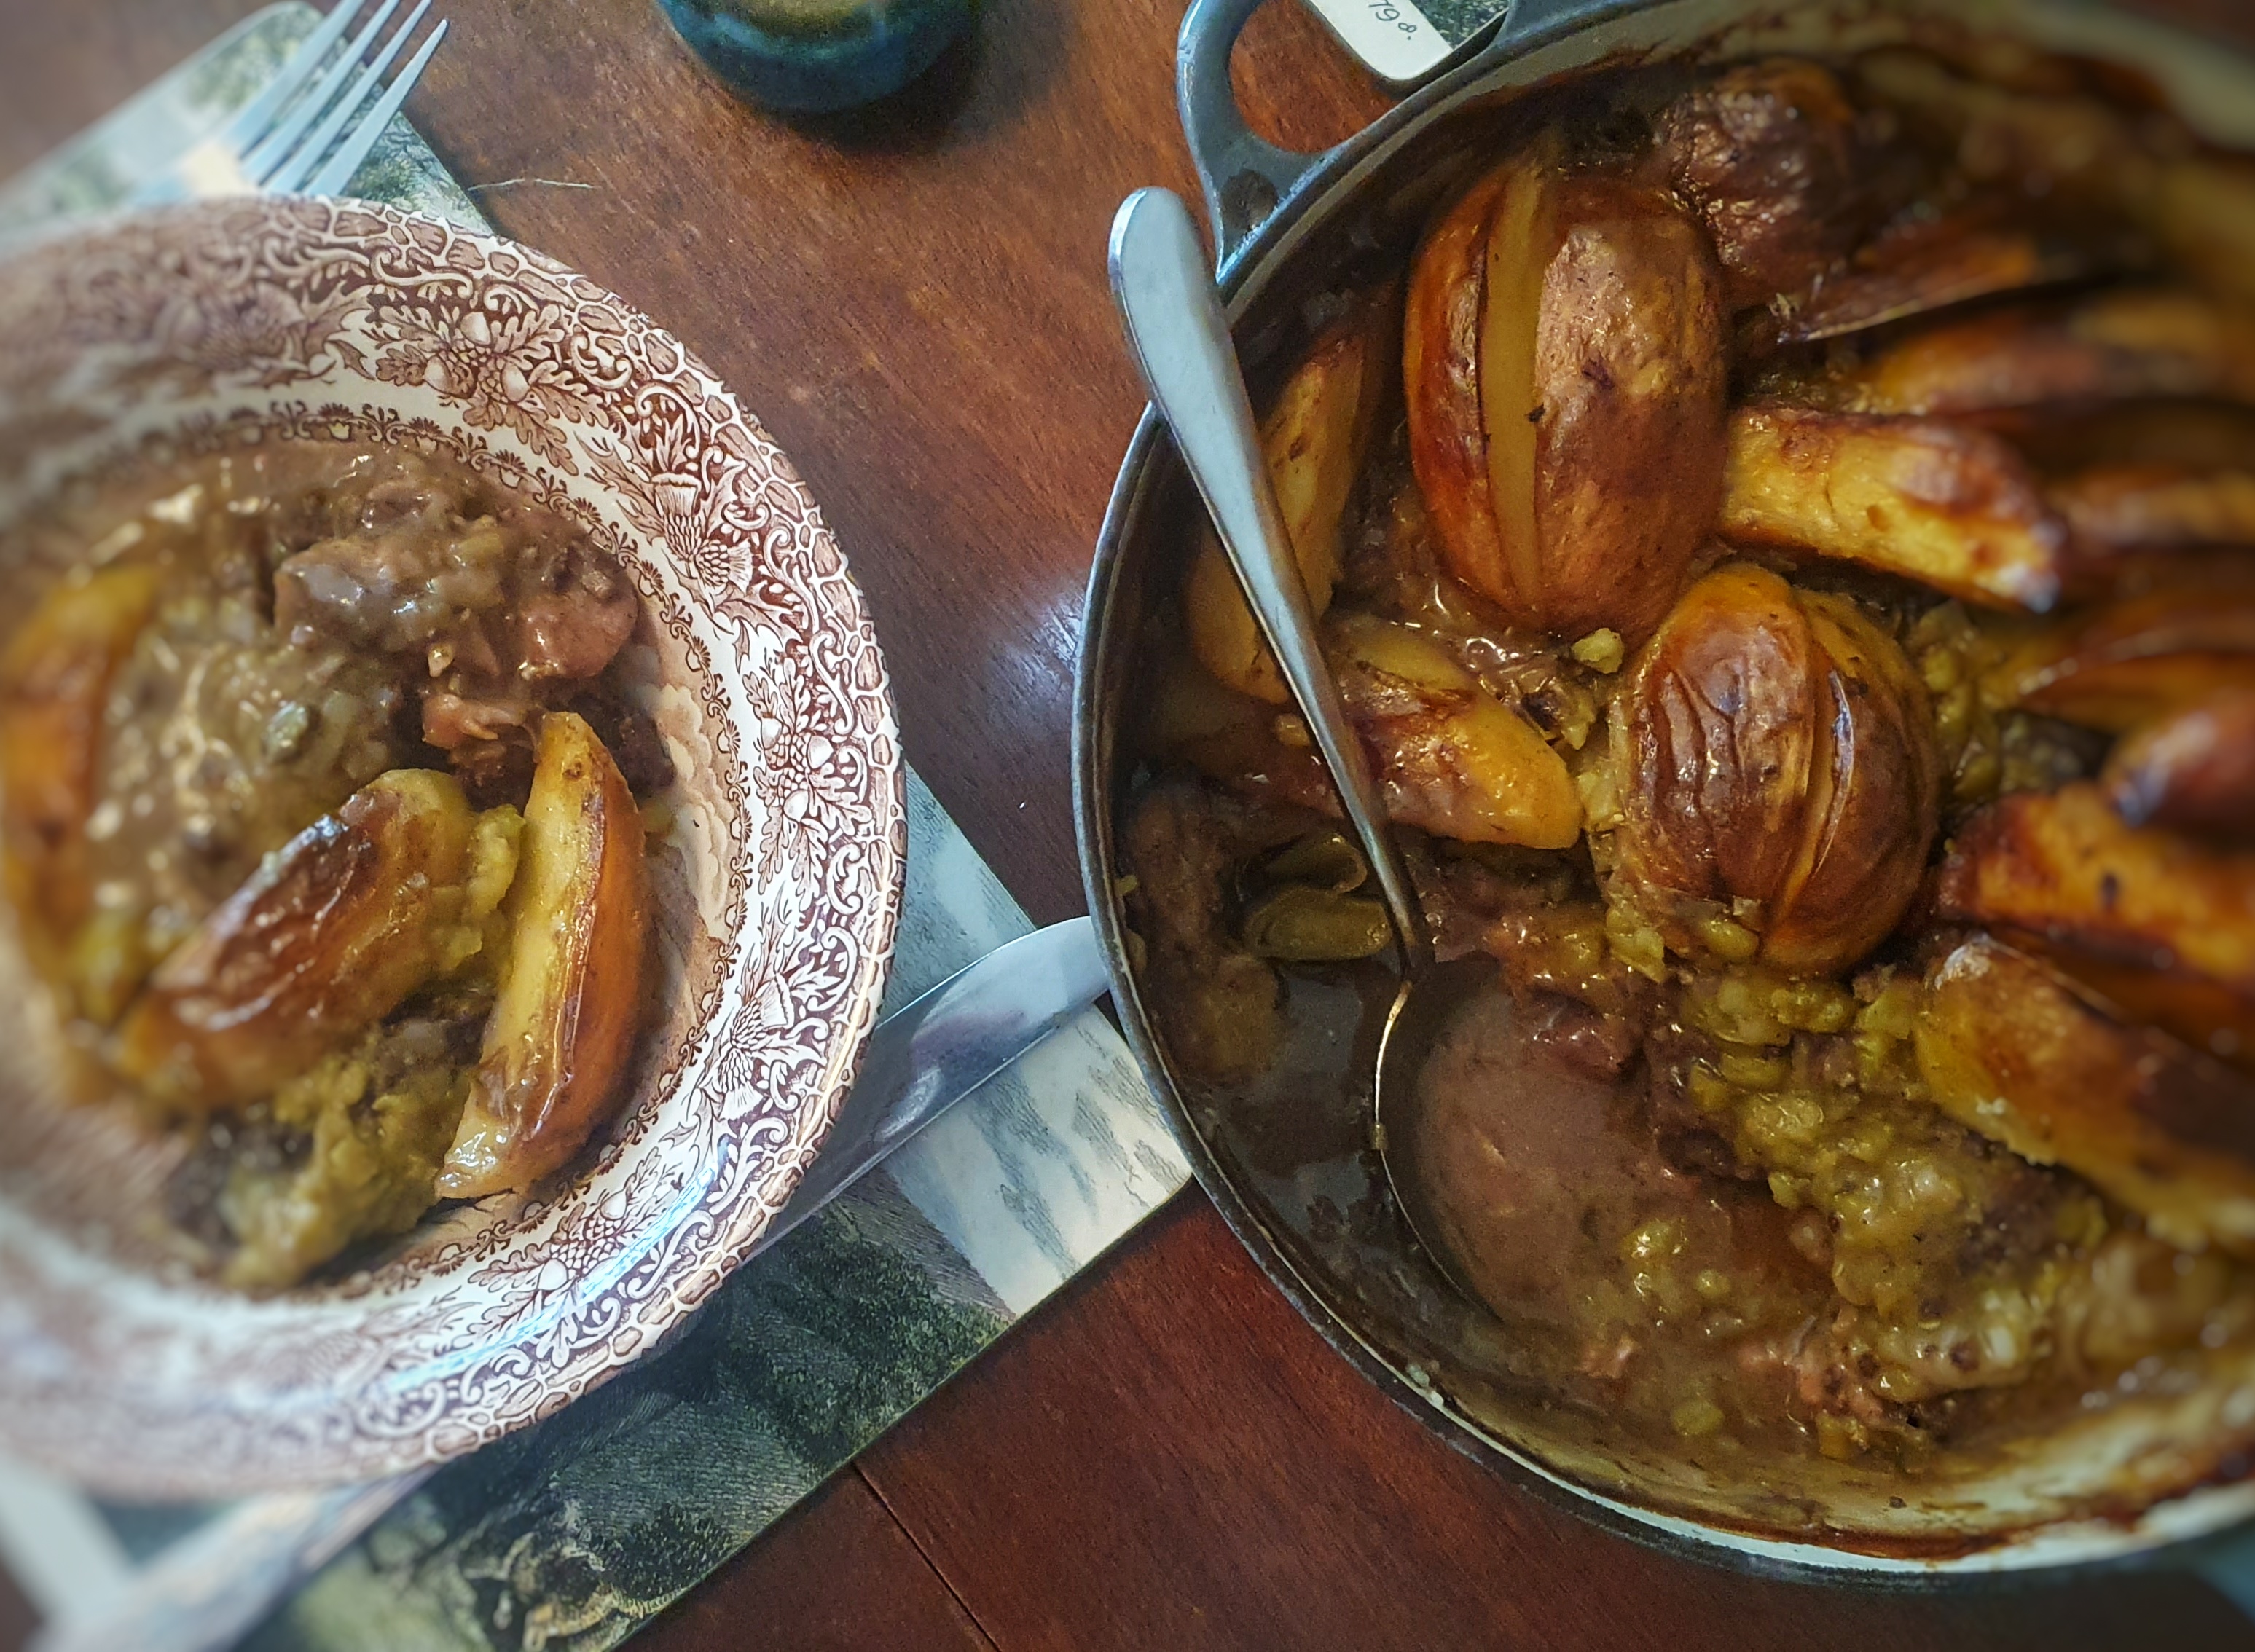
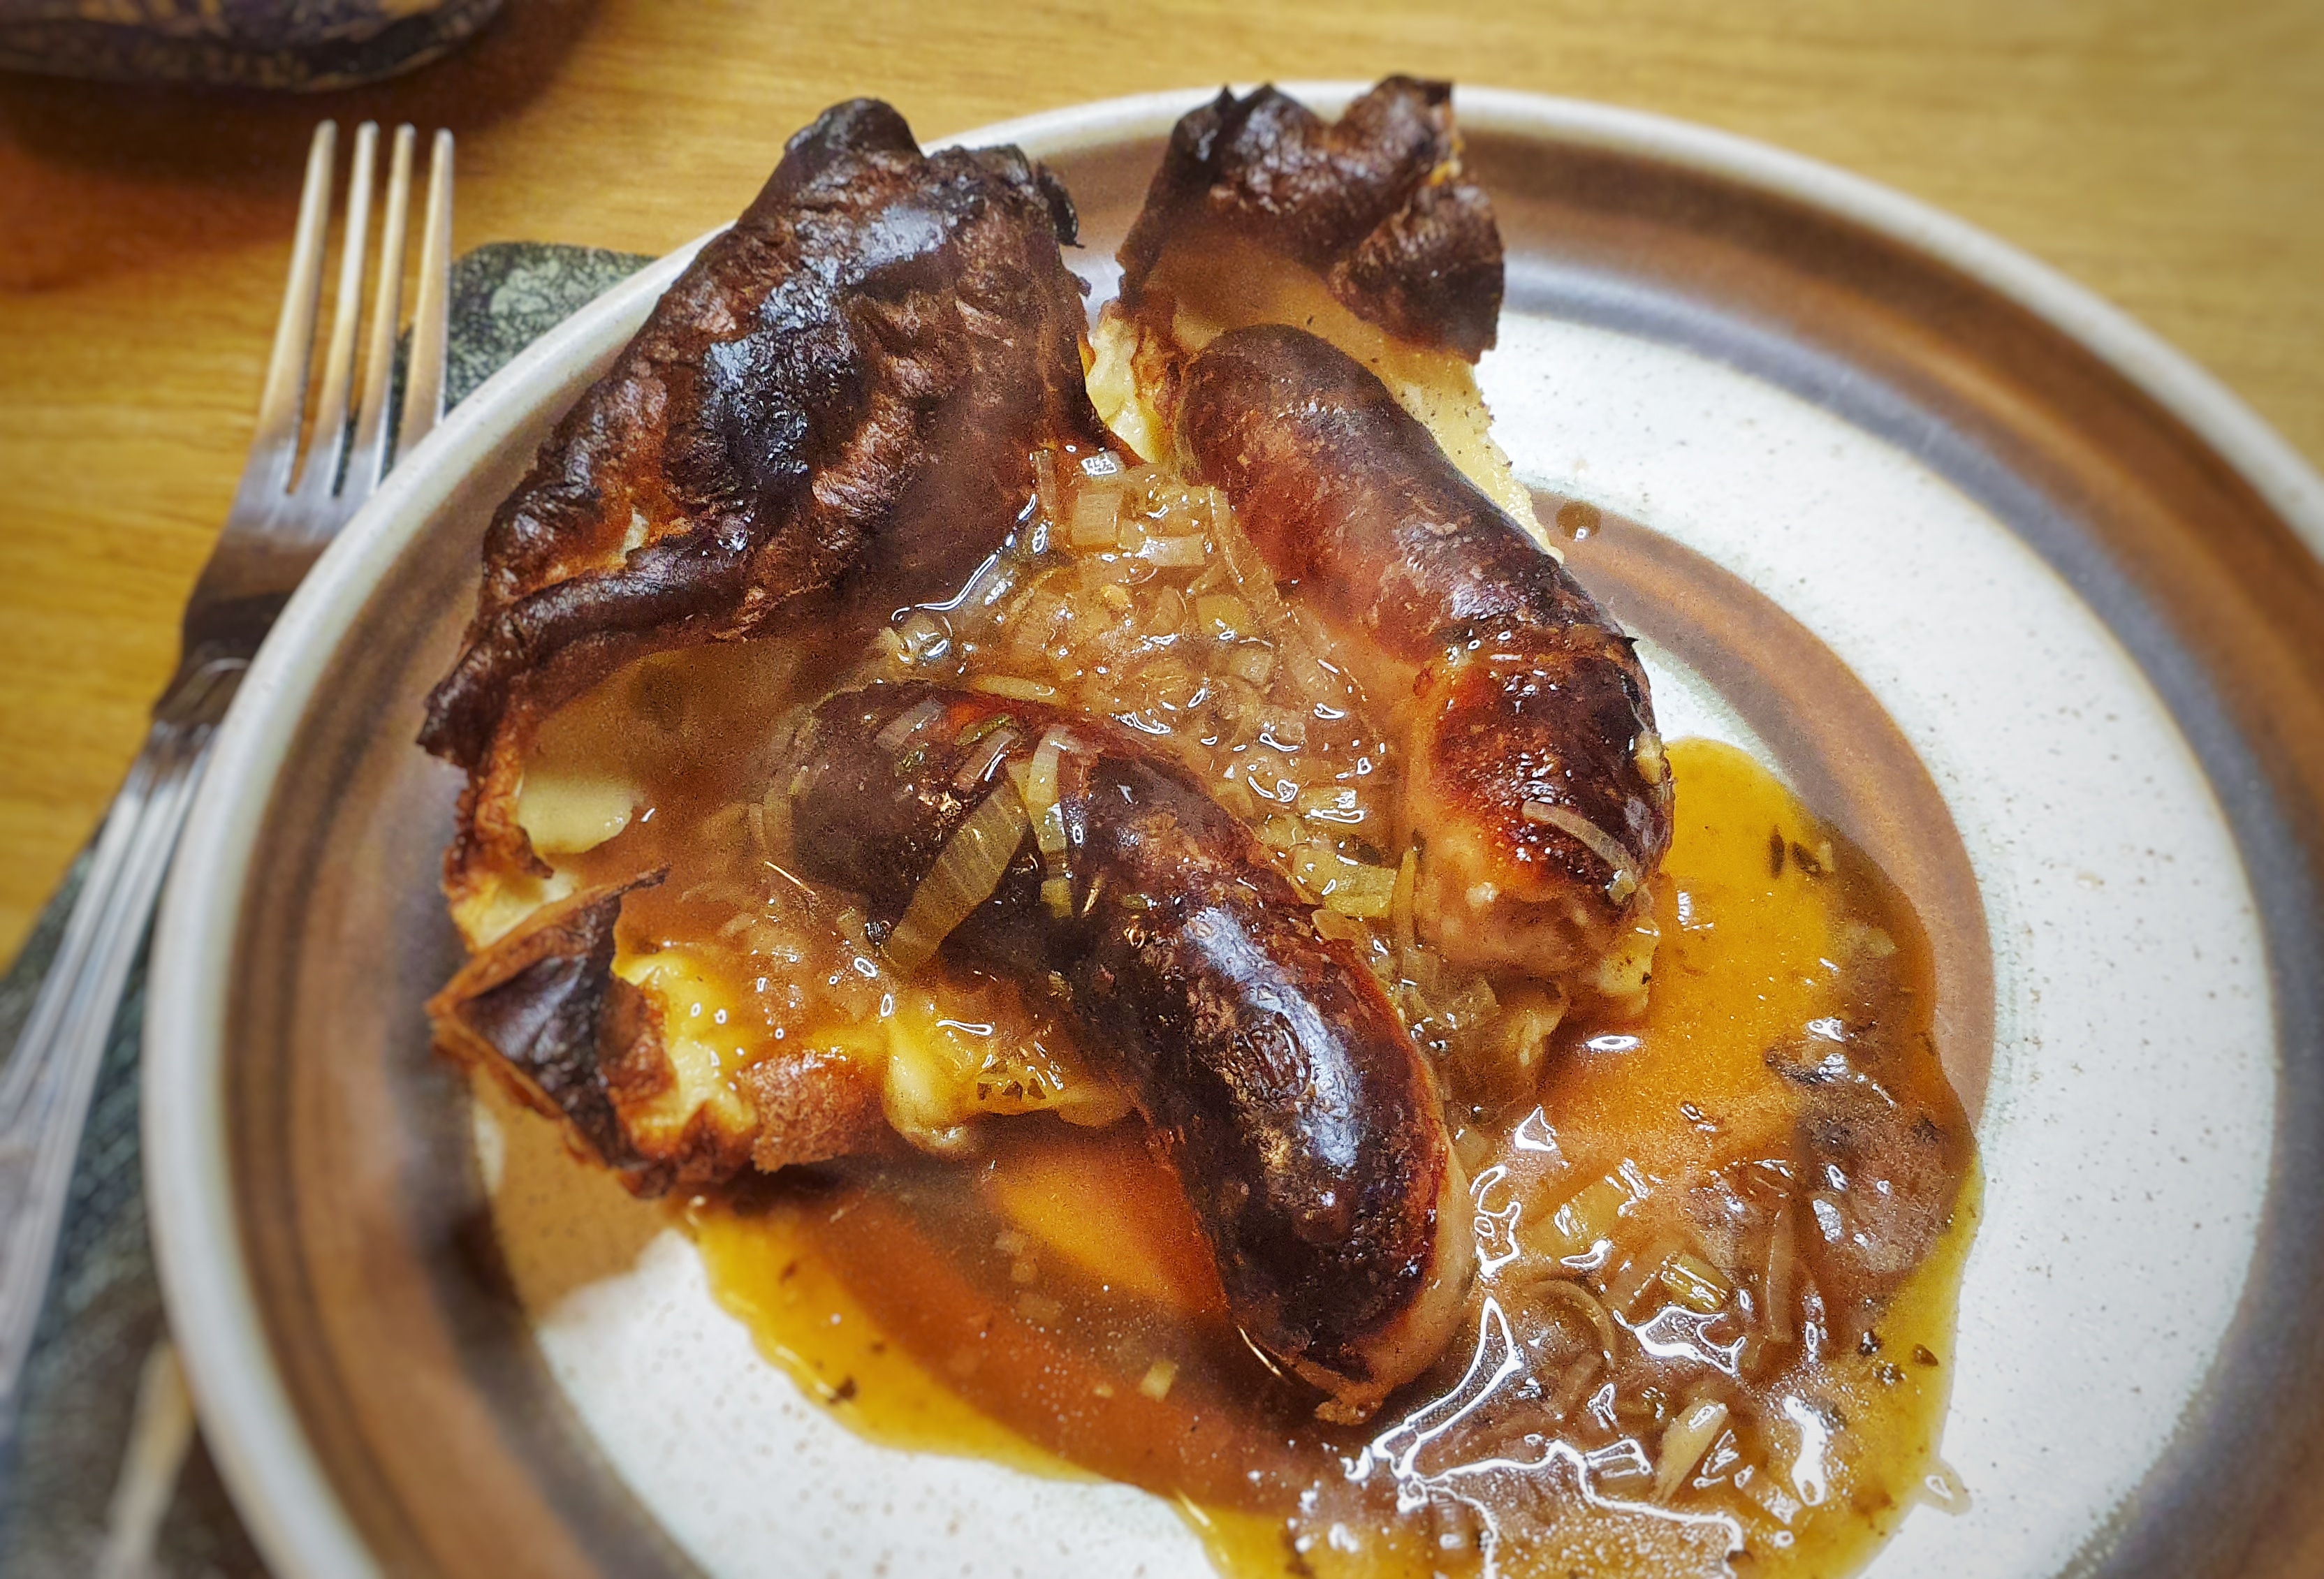
Serve with plenty of onion gravy, steamed vegetables and a blob of mustard.
Notes
[1] Grigson, J. (1992). English Food (Third Edit). Penguin.
[2] This is Marc Meltonville’s transcription from his 2023 book The Tavern Cook: Eighteenth Century Dining through the Recipes of Richard Briggs published by Prospect Books
[3] Ibid.
[4] Grose, F. (1790). A provincial glossary: with a collection of local proverbs, and popular superstitions (2nd ed.). S. Hooper.
[5] Turner, T. (1994). The diary of Thomas Turner, 1754-1765 (D. Vaisey, Ed.). CTR Publishing.
[6] One of the food historians in question is Alan Davidson, in The Oxford Companion to Food. Oxford University Press (1999).
[7] Glasse, H. (1747). The Art of Cookery Made Plain and Easy. Prospect Books.
[8] Beeton, I. (1861). The Book of Household Management. Lightning Source.
[9] Hutchins, S. (1967). English Recipes, and others from Scotland, Wales and Ireland as they appeared in eighteenth and nineteenth century cookery books and now devised for modern use. Cookery Book Club.