This blog post complements the recent episode of The British Food History Podcast called Turkey with Tom Copas.
If you feel inspired to order a Copas turkey, you need to get your order in by 16 December to avoid disappointment.
In the episode, we discussed the best way to roast turkey and we concluded that as long as you baste the bird and calculate the cooking time properly, it will be delicious. Tom even says that there’s no need to cover the turkey with bacon. While I agree with him, I do like the crispy bacon and the delicious, perfectly seasoned juices that come from the roasting turkey. My way of roasting turkey is very similar to how I cook a chicken.

What we didn’t discuss is the giblets! Please don’t waste them, they can be turned into lovely rich gravy when combined with the roasting juices. It’s important to get the giblet stock on about 45 minutes before the turkey goes in the oven (or you could prepare it in advance).
If you want to stuff the turkey, I suggest you stuff the neck only because an empty cavity means quicker cooking and a more succulent turkey.
Right, let’s get to it.
If you like the blogs and podcast I produce and would to start a £3 monthly subscription, or would like to treat me to virtual coffee or pint: follow this link for more information. Thank you.


To Roast a Turkey
You don’t have to use bacon if you don’t want to, but butter is essential. It adds richness, helps the bird keep moist and gives the skin a lovely deep brown colour.
1 free-range turkey
250 g salted butter, softened
Freshly ground black pepper
Around 14 rashers of dry-cured streaky bacon (optional)
Stuffing (optional)
Halved or quartered carrots and parsnips (optional; see recipe)
As soon as you get up on Christmas morning, take the turkey out of the fridge, untruss it, and when it’s time to cook the turkey, preheat your oven to 190°C.
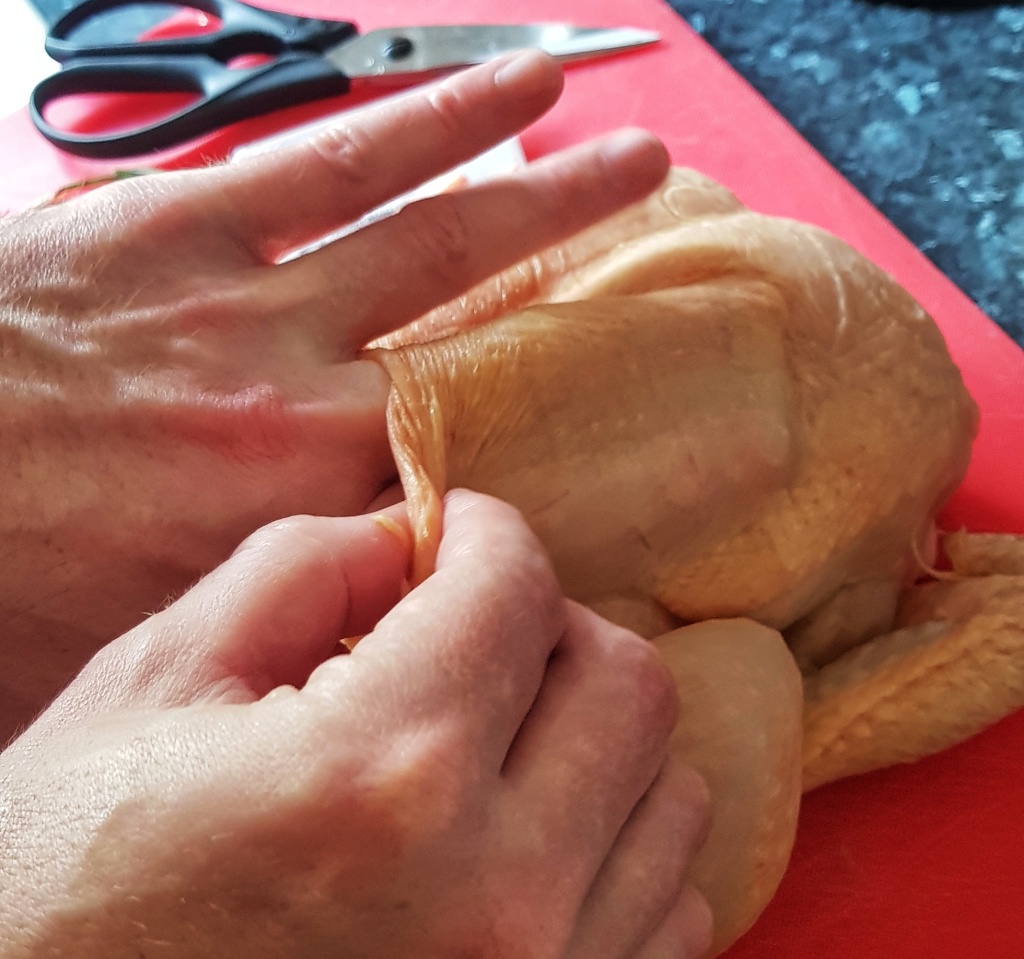
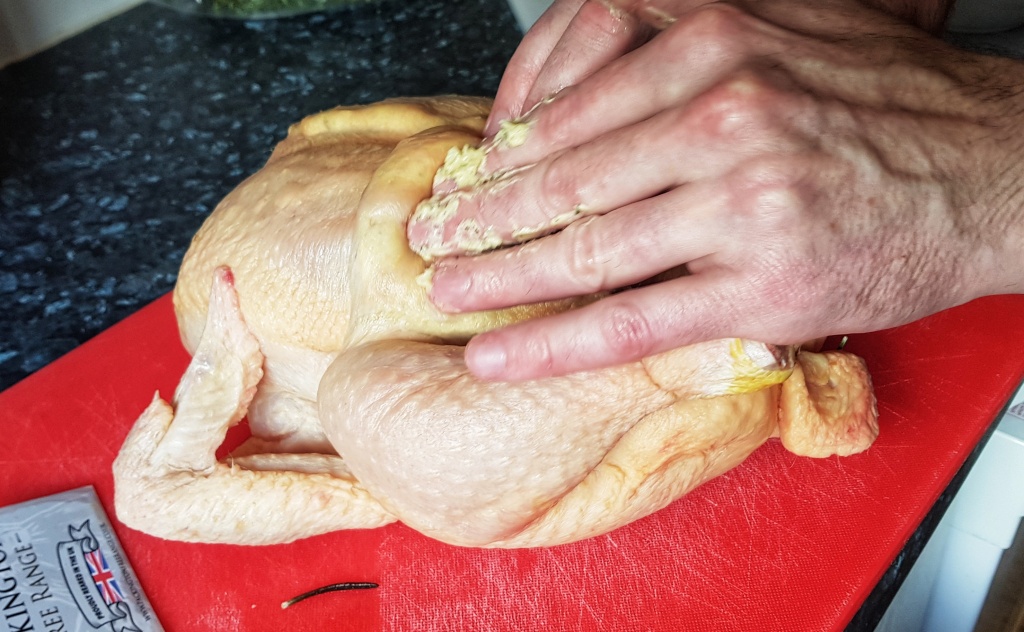
Sit the turkey on a board, legs facing towards you, then make a tear in the skin where the breast starts and lift the skin away from the breast. Don’t rush – you don’t want to tear the skin. Put half the butter between the skin and breast and massage it as far back as possible. If you are using stuffing, add this under the skin too and tuck the flap of neck skin underneath. If there’s not much neck skin, don’t worry, it can be secured with a skewer.


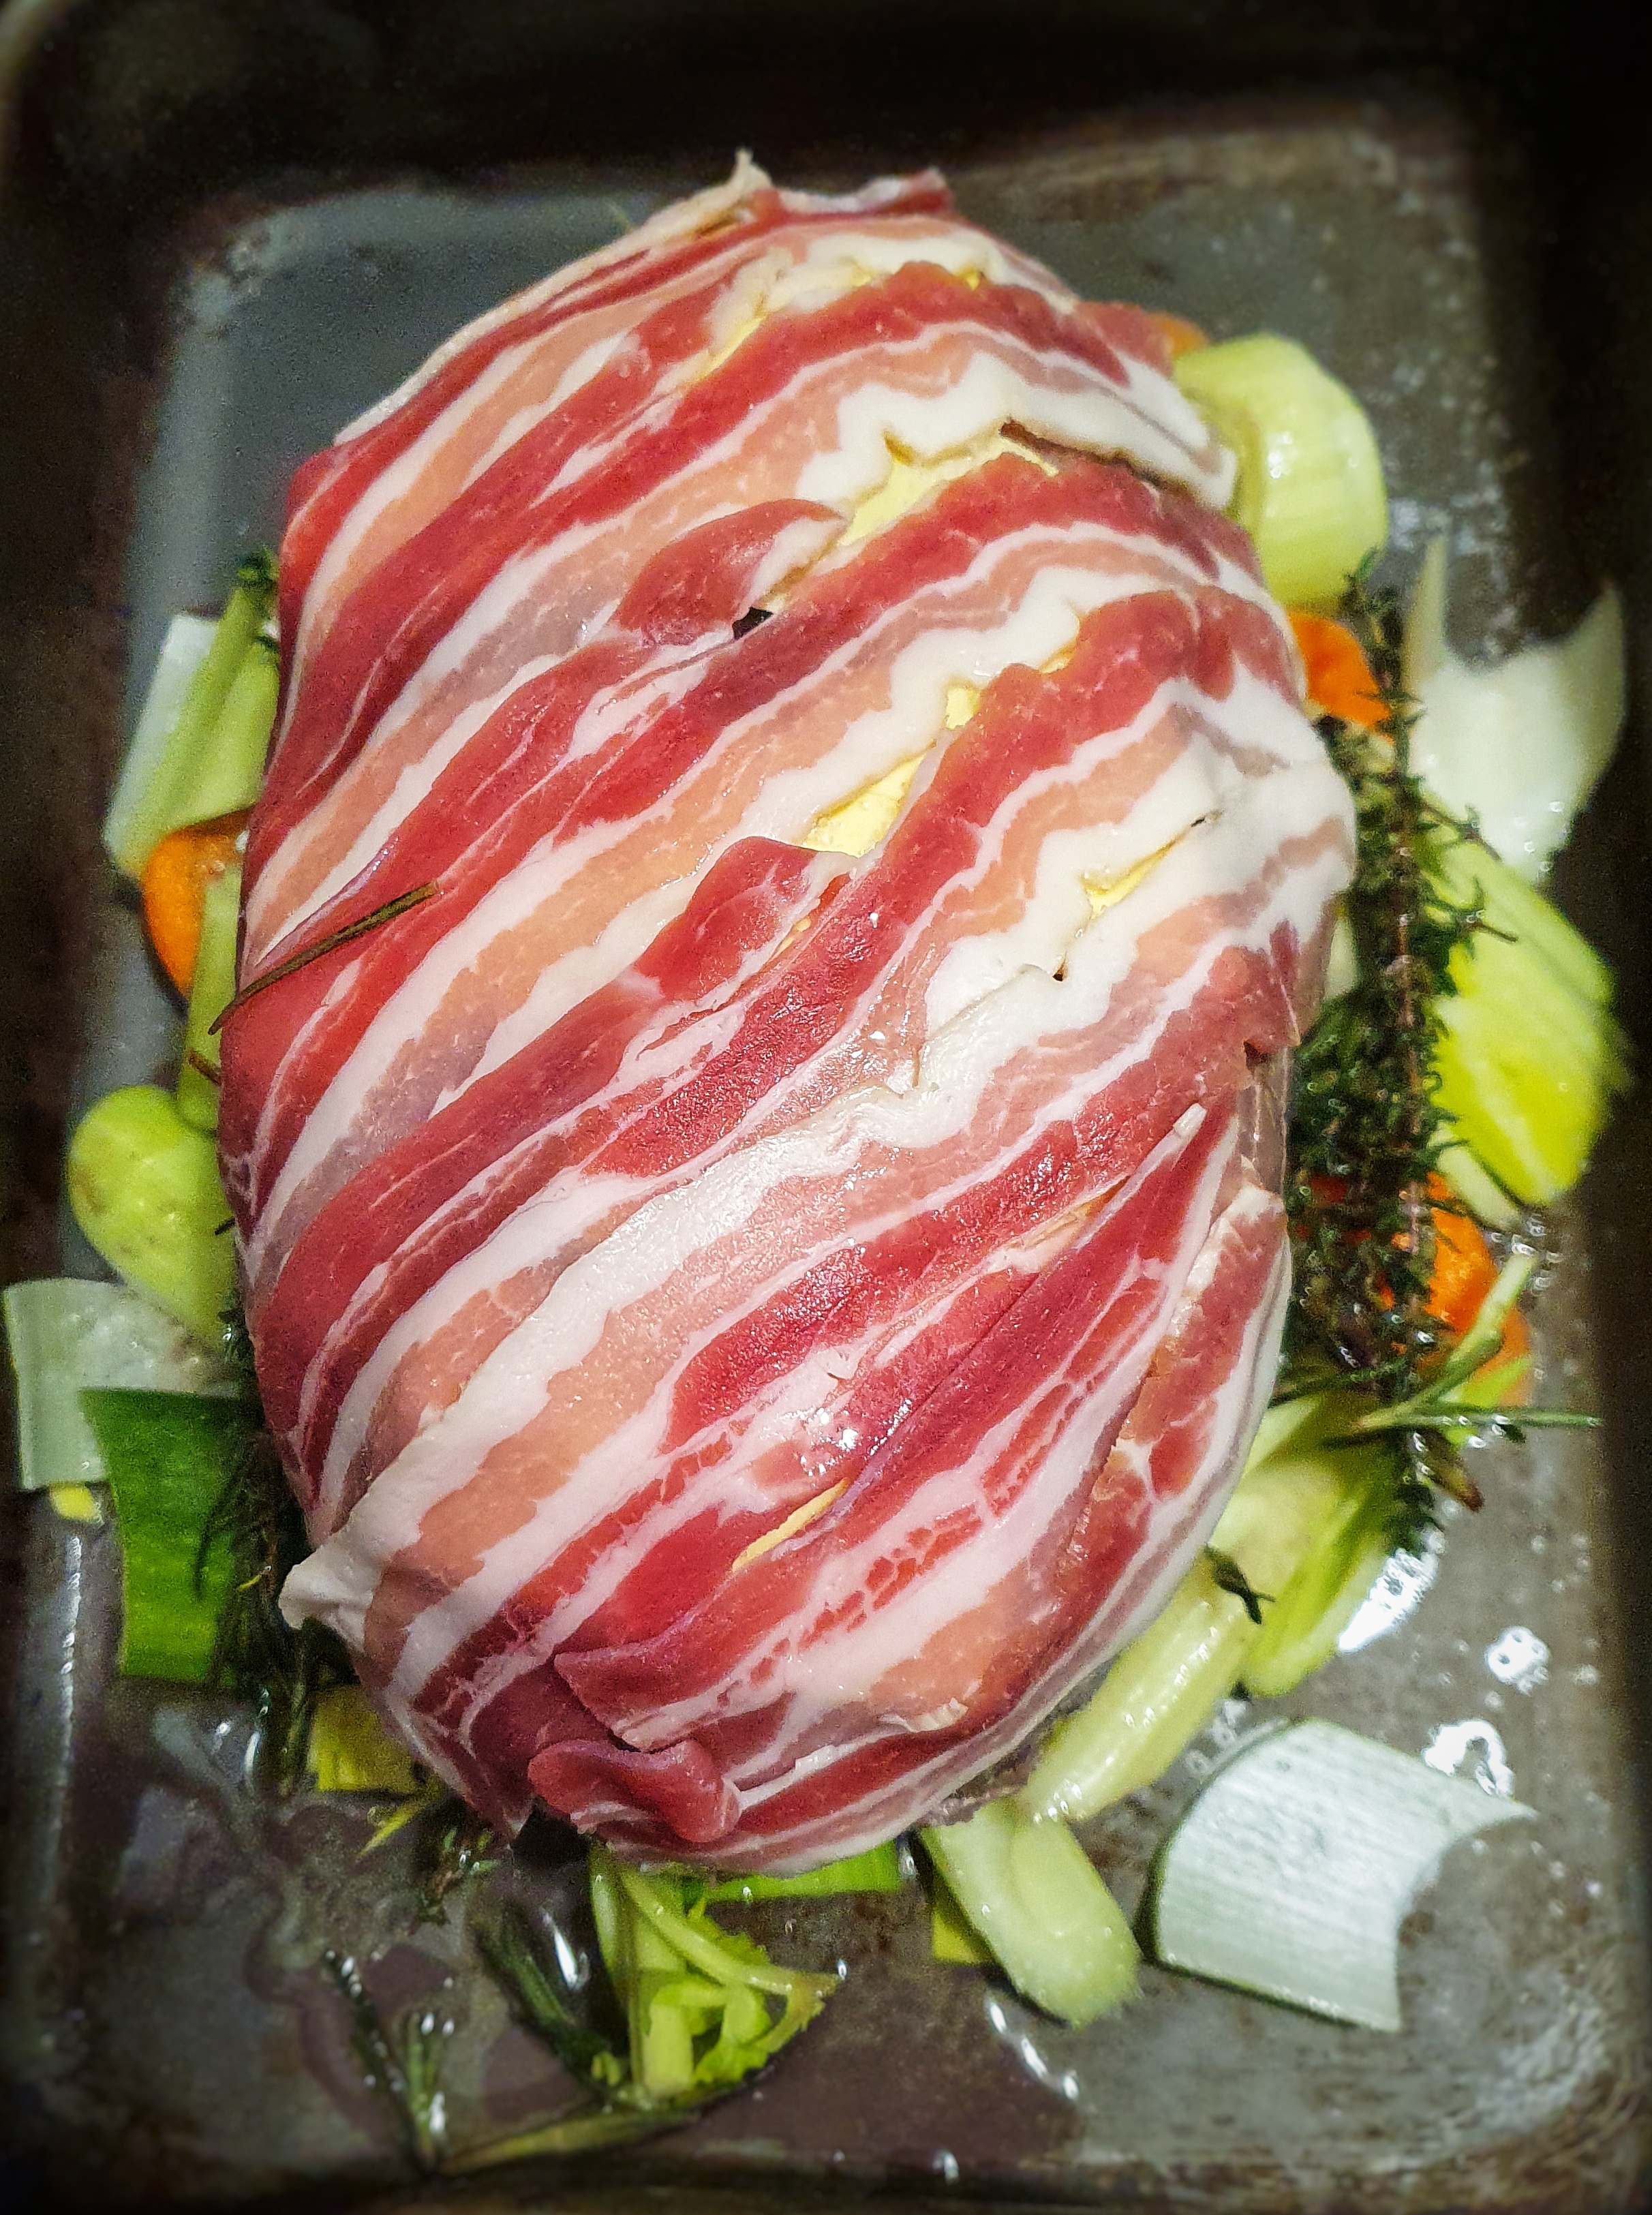
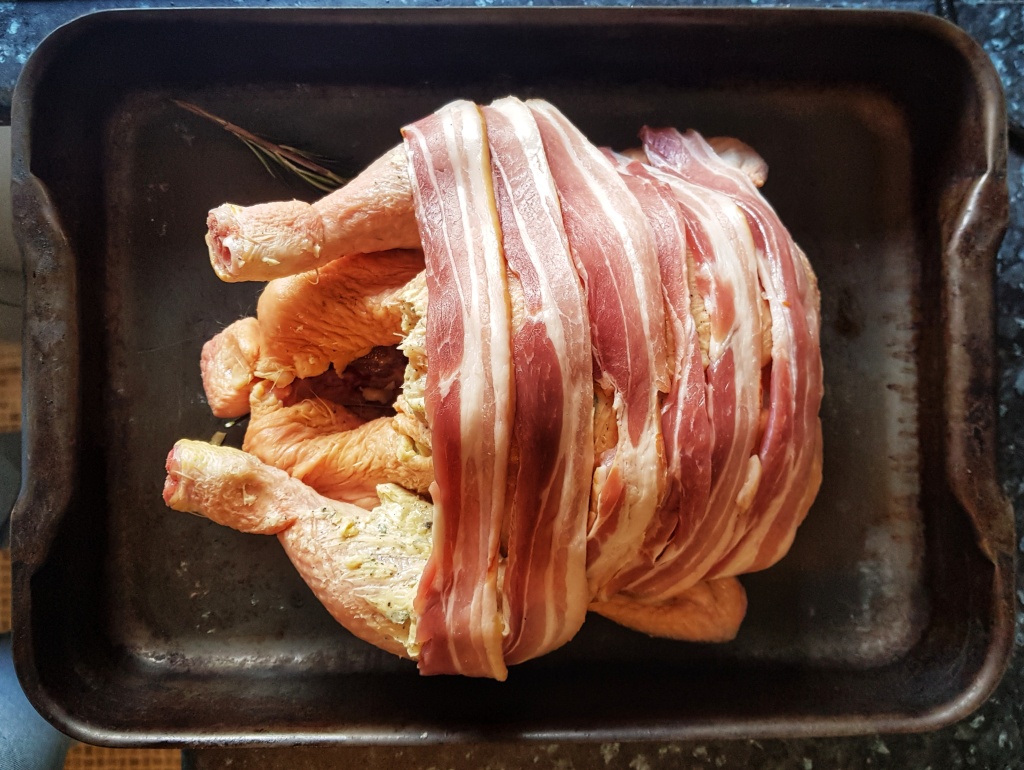
Smear the rest of the butter over the outside of the turkey and season with plenty of black pepper, then lay the bacon over, overlapping each rasher only slightly.


Weigh the prepared turkey and calculate the cooking time: 30 minutes per kilo. A 4.5 kilo turkey will take 2 ½ hours. If cooking for more than 3 hours, cover the legs with foil.
Sit the turkey in its roasting tin, place it in the oven, and leave it for a good 45 minutes before doing anything at all. At the 45-minute mark baste the turkey with any juices; make sure to tip any juices in the cavity into the roasting tin.
Baste every 20 minutes or so. When the bacon is very crispy, remove it and set aside.
If you like you can add some carrots and parsnips, peeled and halved or quartered to braise in the juices. It’s best to do this when there are 90 minutes to go – don’t forget to turn the veg over each time you braise.

When the time is up, you can test with a digital probe: 68°C is the temperature you are looking for. Take the turkey, place it on a carving board and cover with foil. It will happily rest for one to two hours.
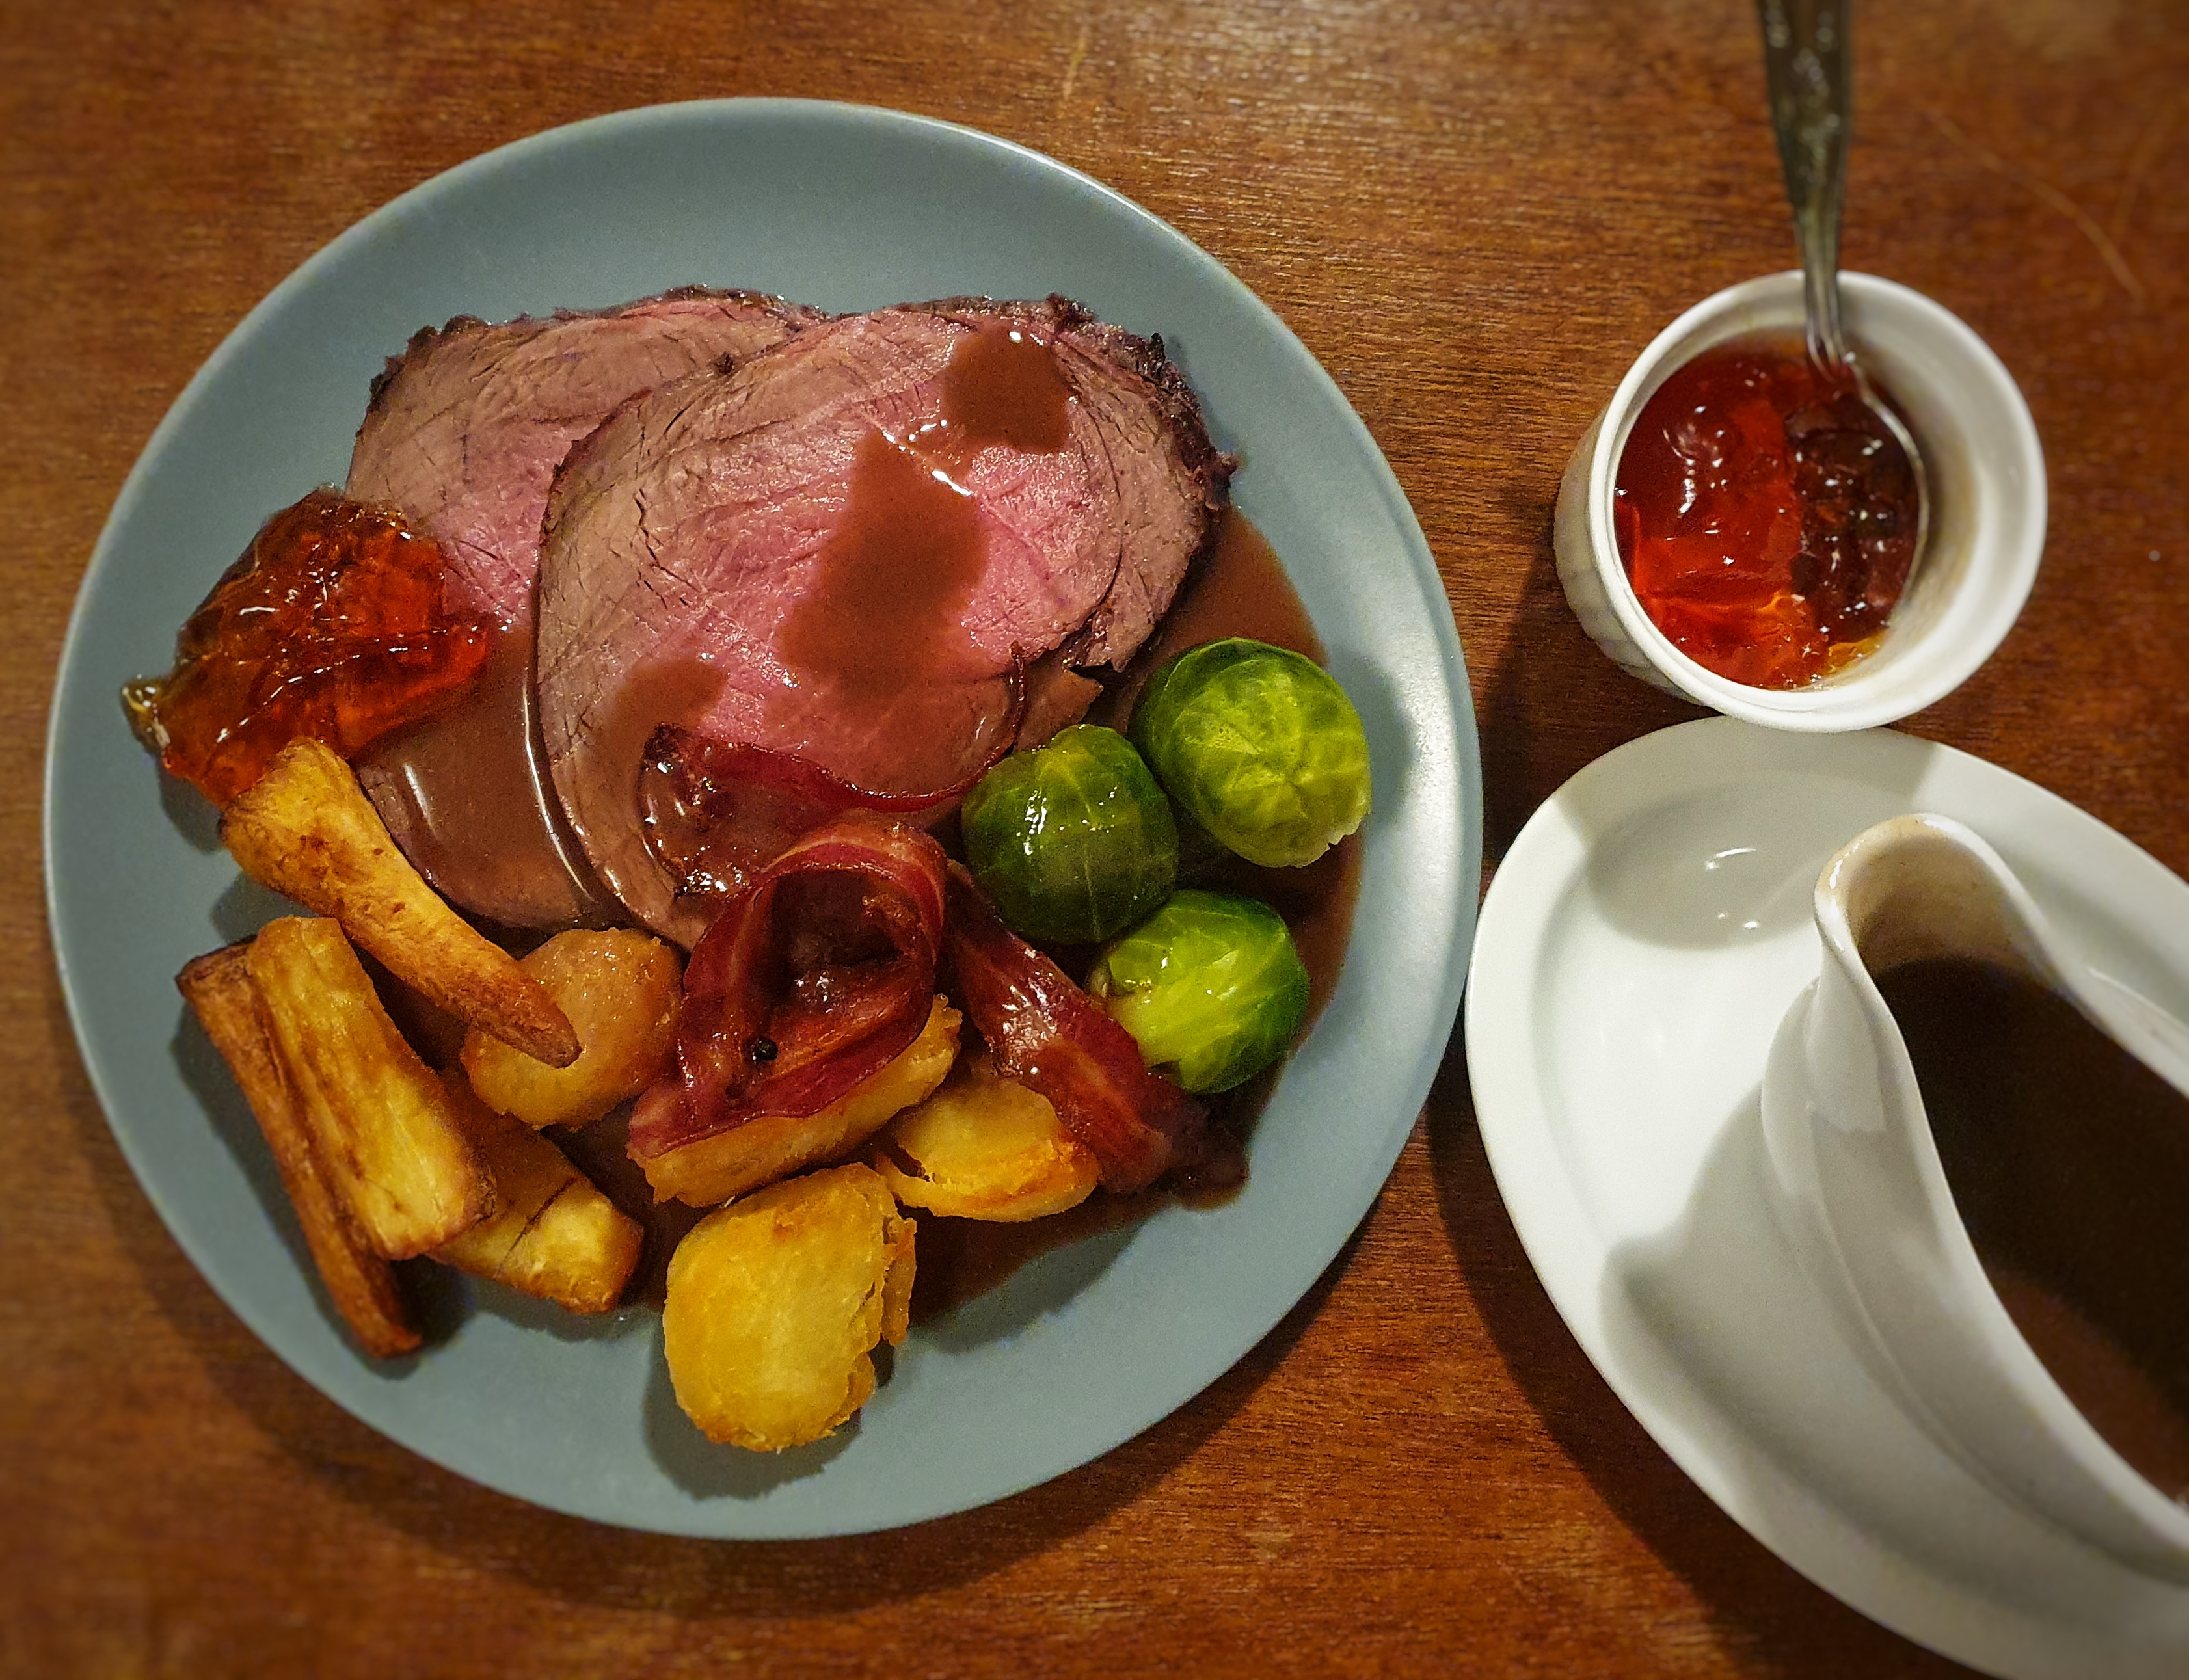
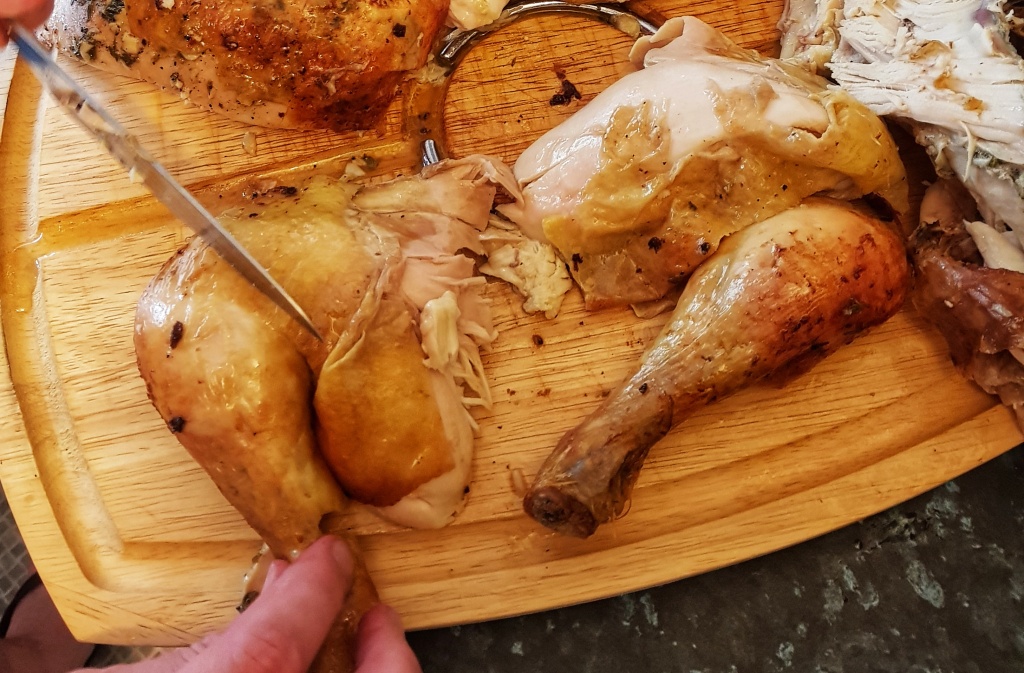
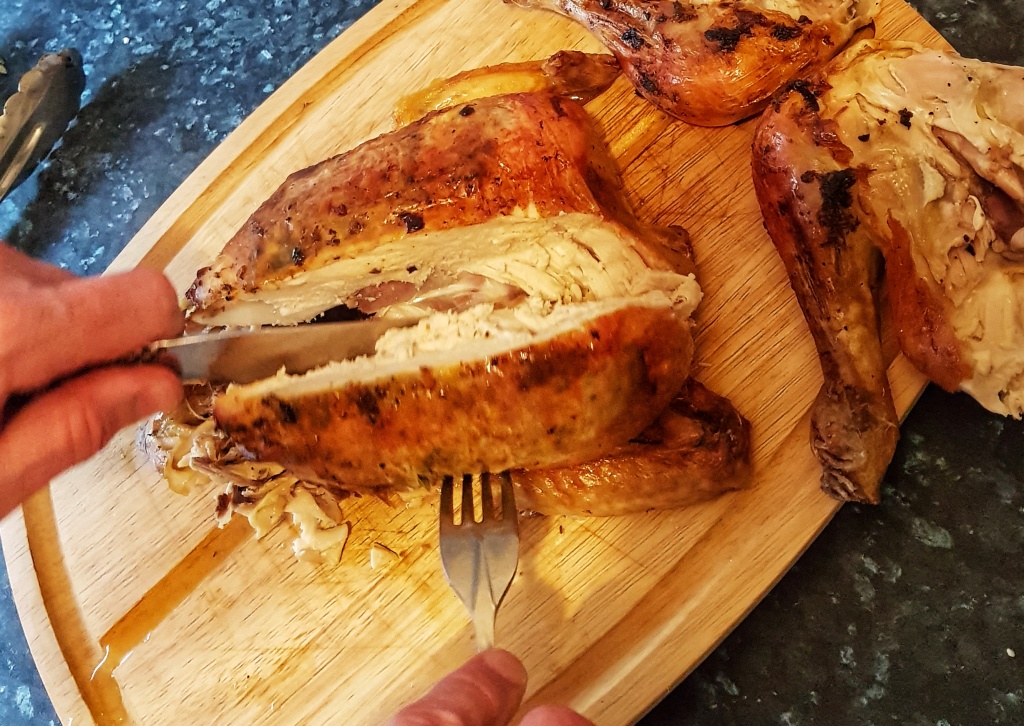
When it’s time to carve, remove the legs and separate them into thighs and drumsticks. For the breast, I find the easiest way is to remove one side completely and then slice it thickly. These can be arranged on a warm serving plate, surrounded by the crisp bacon. Only cut into the second breast if the first one goes (it keeps better that way for leftover feasts).

To Make Giblet Gravy
Don’t waste or fear the giblets! The giblets are the heart, neck, gizzard and liver.[1] Use your vegetable trimmings from the veg to make the stock: though avoid brassicas like sprouts.
For the stock:
Heart, gizzard and neck
A knob of butter
Leek greens, carrot peelings, and some celery trimmings, or 2 outer stems of celery
2 cloves of garlic, lightly crushed
Herbs: bay leaves, parsley stalks, rosemary or thyme sprig tied with string
175 ml white wine
Cold water
For the gravy
Giblet stock
Pan of turkey juices
1 tbs cornflour
To make the stock, first cut up the giblets into quarters.
In a saucepan, heat the butter until foaming, add the giblets and fry over a medium-high heat until brown – about 5 minutes. Now add the vegetable trimmings, garlic and herbs and wilt them. Cook until they have picked up a tinge of brown, then add the wine. Stir and scrape any nice burnt bits from the bottom. Add water to just cover the contents, put a lid on and bring to a simmer and cook for around 3 hours, then strain through a sieve into a clean pan (or into a tub if you’re making it in advance).


When it’s time to make the gravy, get the stock nice and hot. When the turkey is cooked and is resting on its board, pour the hot stock into the roasting tin and scrape off all the nice treacly burnt bits, then tip the whole thing back into your saucepan. Skim away most of the buttery juices.[2] Bring to a simmer and then add the cornflour which has been first slaked in a little cold water. Stir and simmer unlidded for 10 minutes.
Check the seasoning, though usually I find that the bacon and the salted butter from roasting the turkey have done it for me. Pour the gravy into a jug. You can pass it through a sieve, but I never do. Easy!
[1] Use the liver for the stuffing, or fry it and eat it on toast. You could devil it – recipe for devilling livers can be found here.
[2] But don’t throw the fat away, it can be used for frying vegetables for sauces or soup.