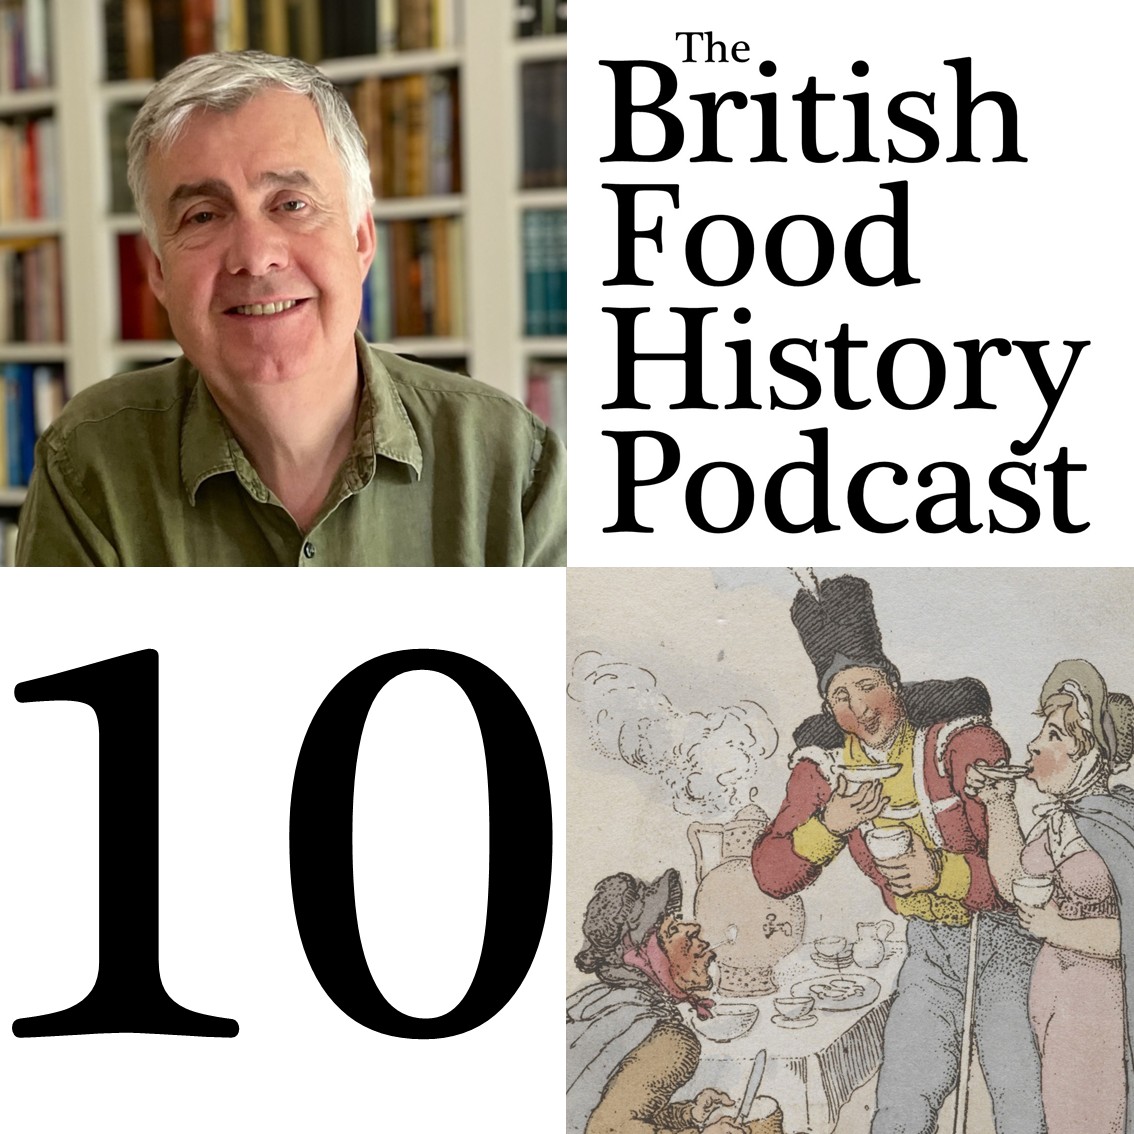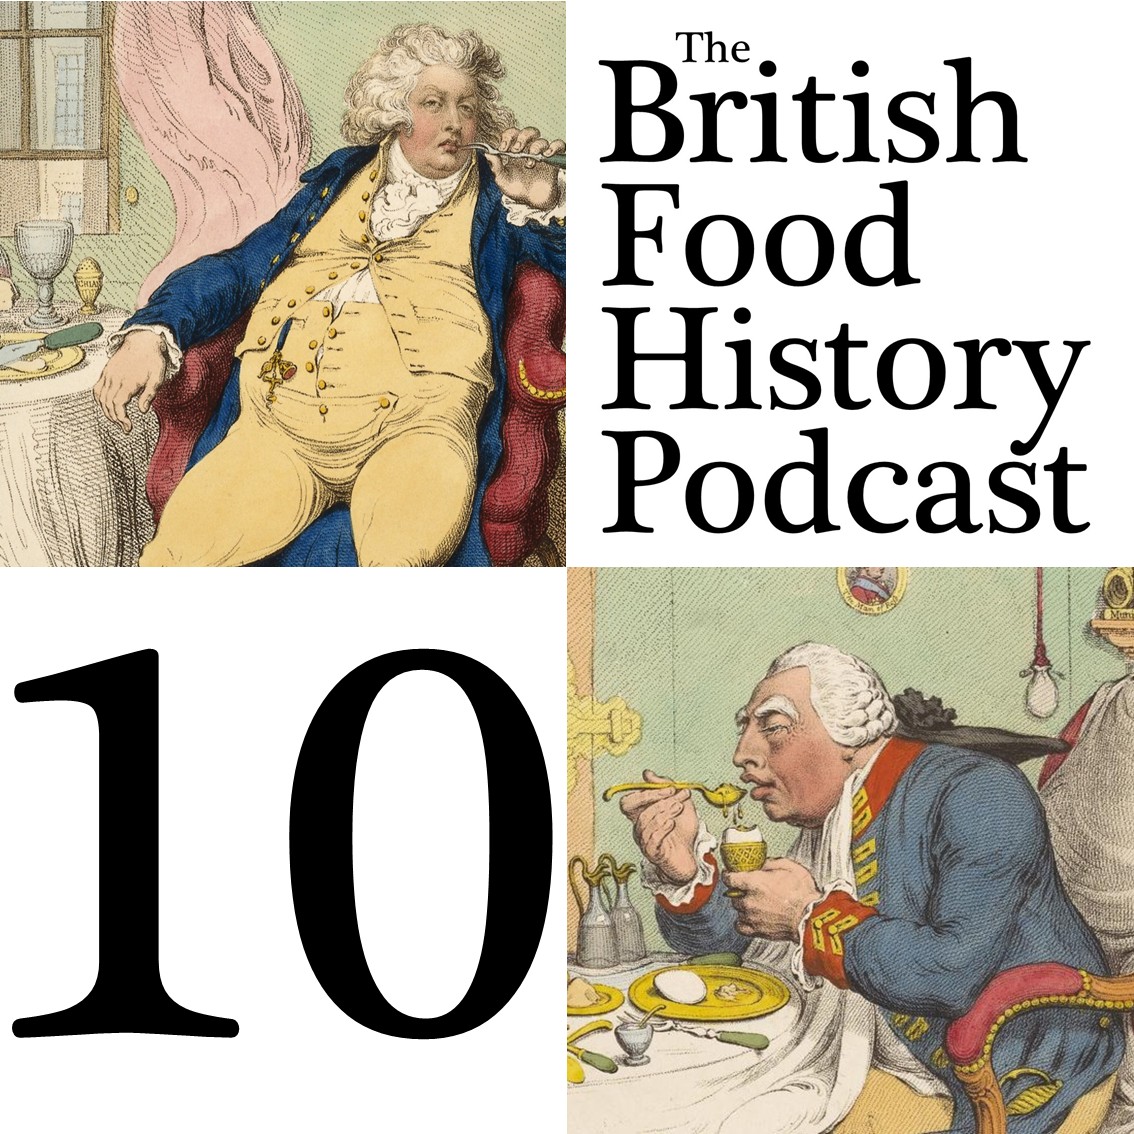
In this week’s episode I am speaking with Adam Crymble and Rachel Rich about a really exciting piece of research looking at the complexities of feeding the households of King George III and his eldest son George who was Prince Regent whilst George III suffered from his “madness”, and eventually succeeded him as George IV. The focus of the research is the ledgers that still exist, listing the ingredients ordered, foods that were prepared and the people who ate them. Over 40,000 dishes were counted.
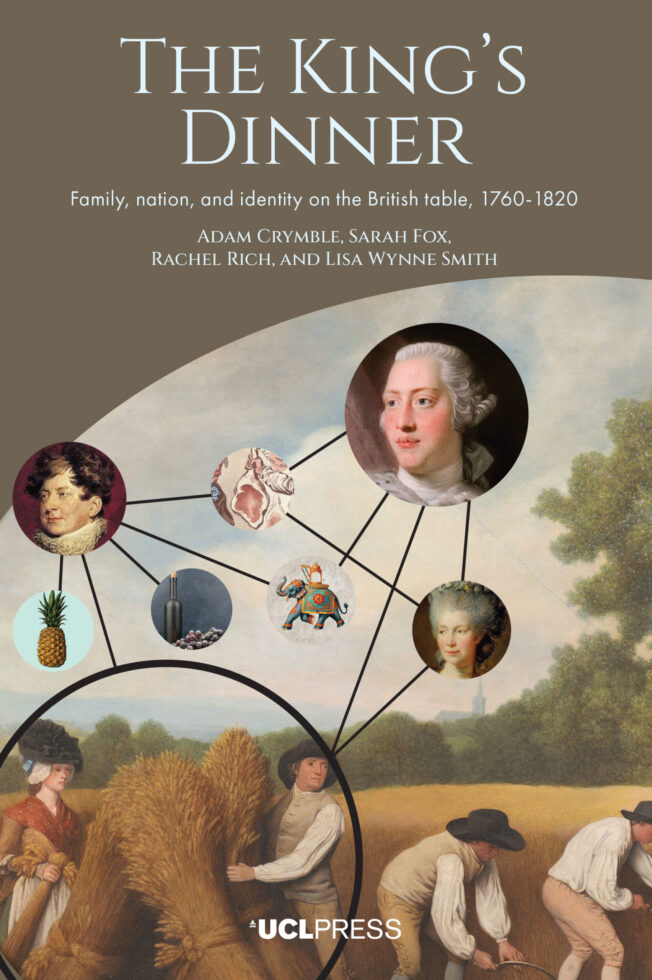
They have analysed the ledgers from two royal palaces – George III’s Kew Palace and the Prince Regent’s Carlton House – with two other food historians Sarah Fox and Lisa Smith, and assimilated them to produce a book called The King’s Dinner: Family, nation, and identity on the British table, 1760-1820, which was published by UCL Press on 11 June 2026. The book is available from wherever you buy your books, but it is also available open access as a free PDF. So is the data they used in their analysis.
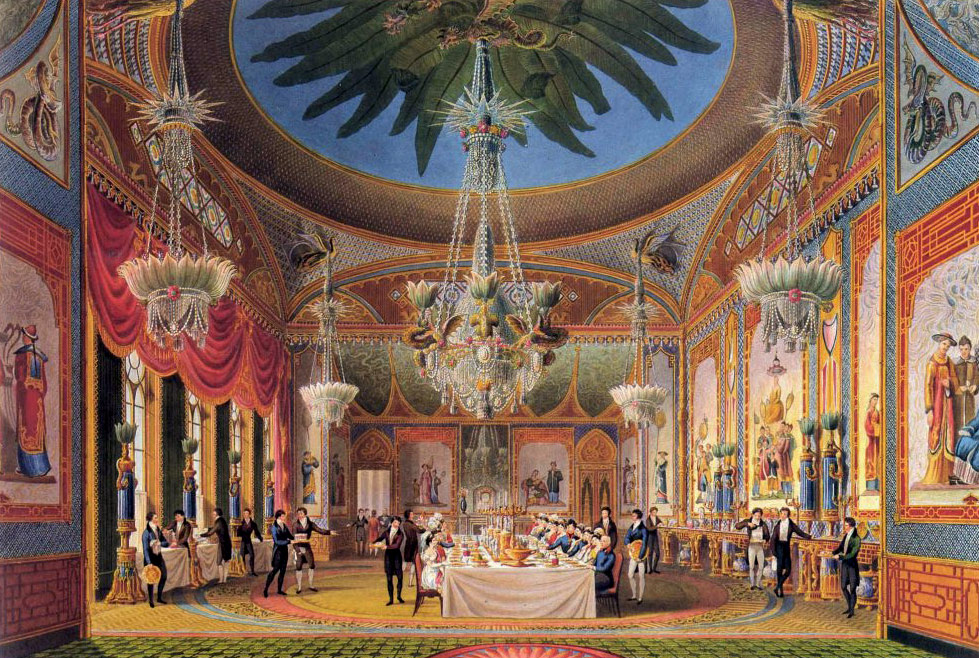
We talk about the differing characters of the two Georges and how these were expressed in the foods they ate, Georgian food identity, the concept of oeconomy, the exotic food cultures NOT appearing on royal dinner tables, French cuisine and famous French chef Careme’s tenure in the Prince Regent’s kitchens, as well as their fruit and veg suppliers, one of whom was called Savage Bear, amongst many other things
Those listening to the secret podcast get some bonus material where we discuss the upper servant’s fancy foods, the huge amounts of meat consumed, and the politics of wine.
The British Food History Podcast is available on all podcast apps, but you can also listen to it via this Spotify embed:
The King’s Dinner: Family, nation, and identity on the British table, 1760-1820 (open access)
3000 dishes on a Georgian table
Follow Adam on social media: @adamcrymble.bsky.social (Bluesky); @dradamcrymble (Insta)
Rachel’s bio on Leeds Beckett University website
Follow Rachel Rich on social media: @drrachelrich (Insta)
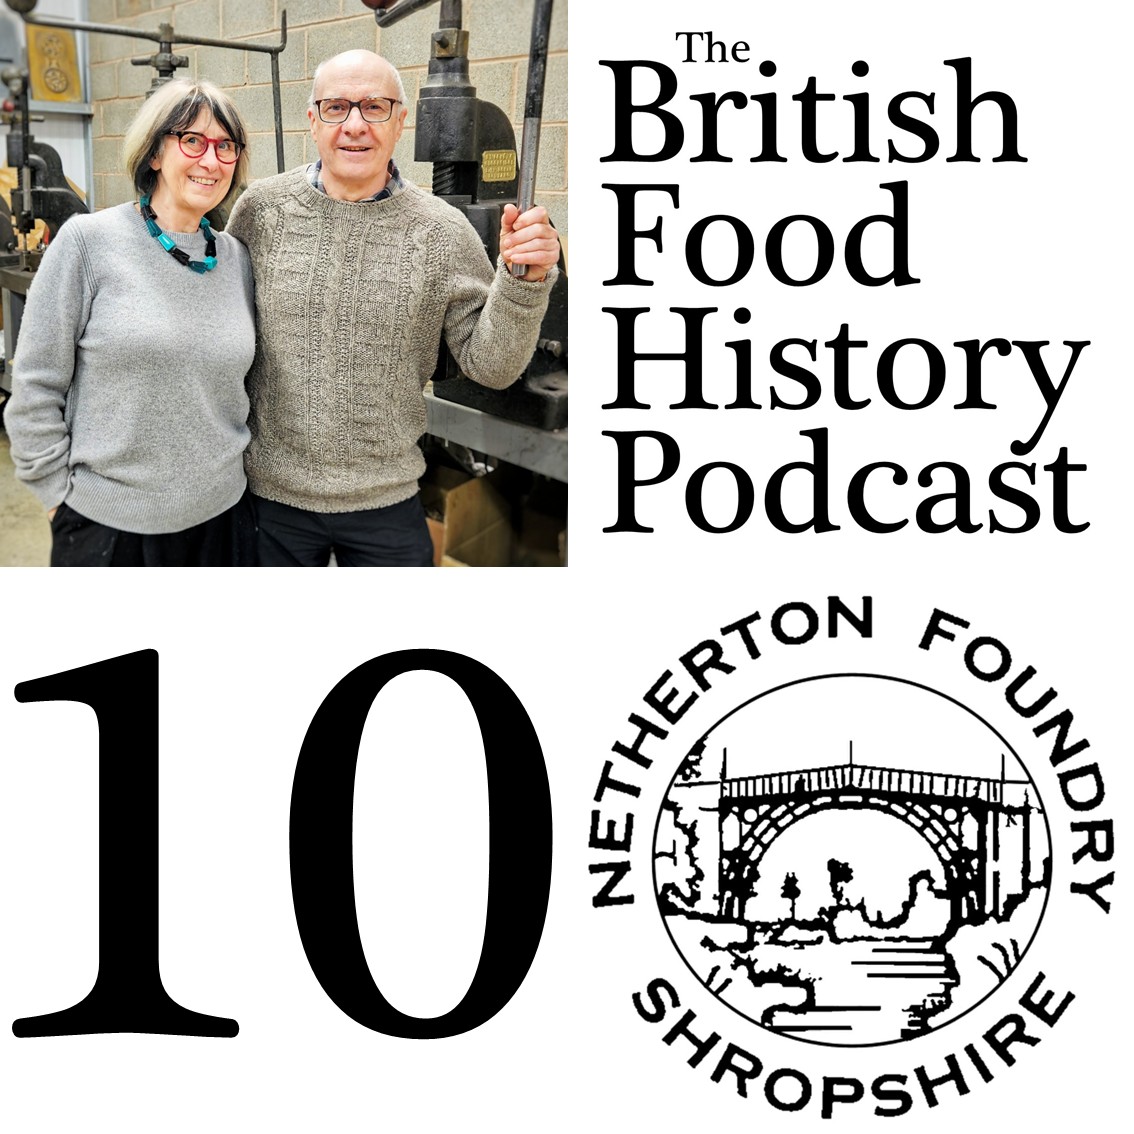
Season 10 of the podcast is sponsored by Netherton Foundry, makers of high-quality kitchen and outdoor cookware. Netherton Foundry ships to several countries outside of the UK, including the USA and Canada. Visit www.netherton-foundry.co.uk to find out more about their wonderful products – approved not just by me but by folk such as Tom Parker-Bowles, Diana Henry and Nigella Lawson.
The mixing and sound engineering were done by Thomas Ntinas of The Delicious Legacy podcast
If you can, support the podcast and blogs by becoming a £3 monthly subscriber, and unlock lots of premium content, including bonus blog posts and recipes, access to the easter eggs and the secret podcast, or treat me to a one-off virtual pint or coffee: click here.
Things mentioned in today’s episode
Rachel’s articles on The Recipes Project
Hugh Laurie playing the Prince Regent on Blackadder the Third
Previous pertinent podcast episodes
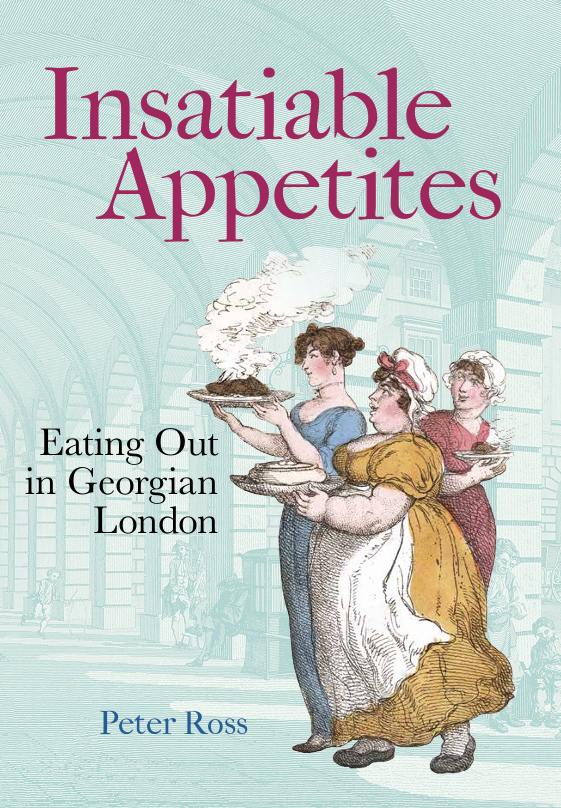
Eating Out in Georgian London with Peter Ross
18th Century Tavern Cookery with Marc Meltonville
18th Century Dining with Ivan Day
The Philosophy of Curry with Sejal Sukhadwala
Don’t forget, there will be postbag episodes in the future, so if you have any questions or queries about today’s episode, or indeed any episode, or have a question about the history of British food please email me at neil@britishfoodhistory.com, or leave a comment.