Tag Archives: traditional techniques

Edward Kidder’s Early 18th Century Mince Pies


This post complements the 2023 Christmas special of The British Food History Podcast called ‘Mince Pies’:


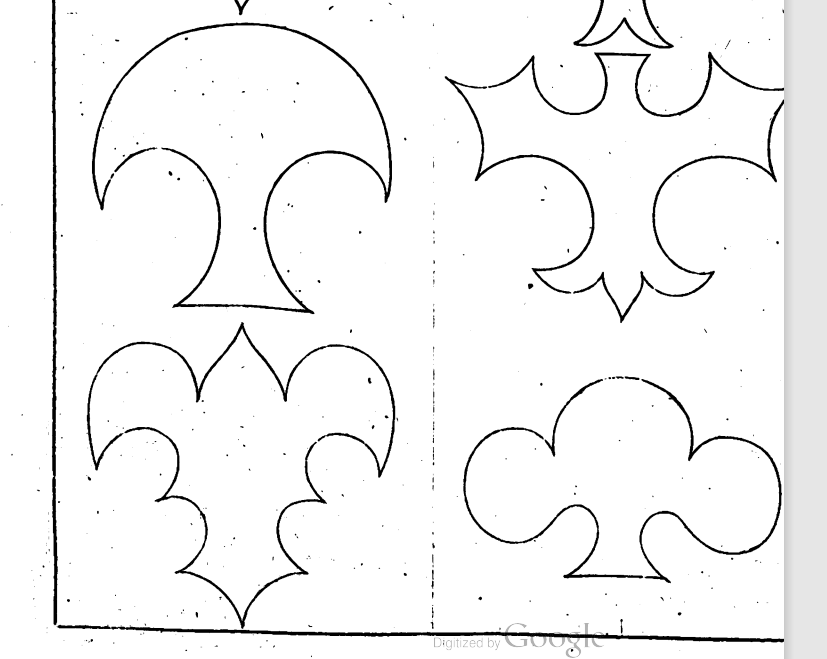
As promised on this year’s Christmas episode of the podcast, all about mince pies, here is my pastry recipe and method for making the shaped-mince pies in E. Kidder’s Receipts of Pastry and Cookery. It was originally published in 1721, but I used the 1740 edition of the book (here’s a link to the document). If you go to the end of the book, you will see lots of different minced pie templates, just like the ones below. The idea was that you rolled out your pastry and cut a shape out, then made pastry walls, filled them with mincemeat, placed on lid on top and baked it. Really beautiful, but fiddly-looking shapes, I’m sure you’ll agree.

I felt a little nervous making them, so let me at this point, say a massive thank you to Ivan Day for the advice he gave me on shaping these pies. Ivan has an excellent blog with a fascinating article about mince pies (click this link to read it).

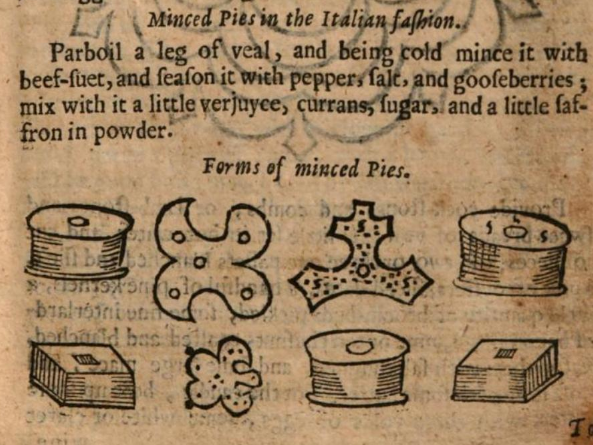
In the Christmas episode, I considered making some of the pie designs in Robert May’s The Accomplisht Cook (first published in 1660), but I found Edward’s designs much easier to extrapolate into three-dimensional pies! However, here are a few from May’s book to give you an idea of the sorts of minced pies he was making:

The Materials

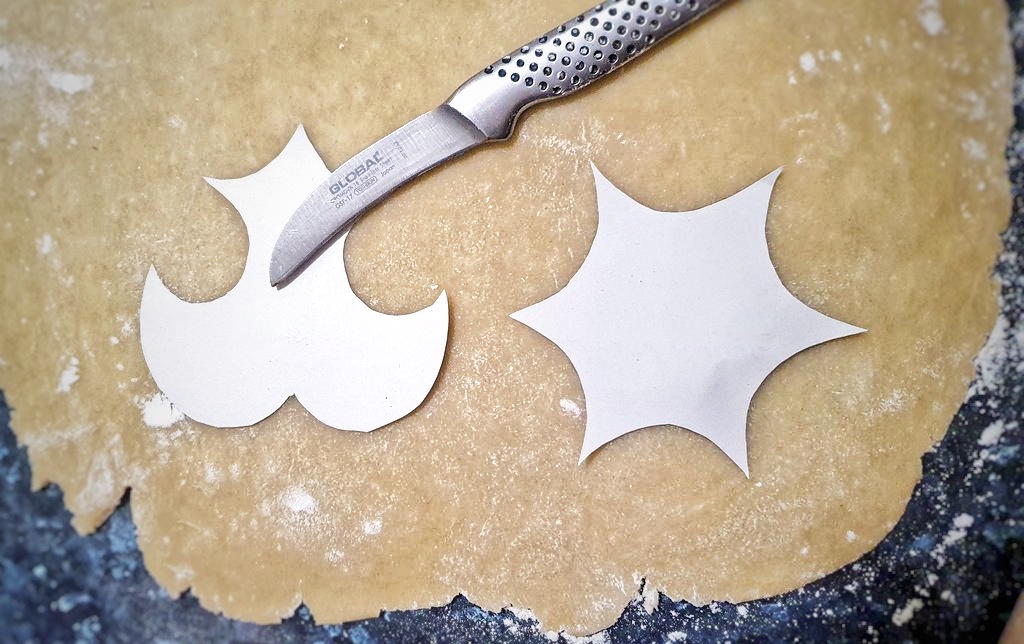
The first thing you need to do is get organised with your templates. I simply took screenshots of the book, printed them out and cut them out. You can make them any size you like. My shapes were around 10cm wide, and I went for the ones that looked the easiest!

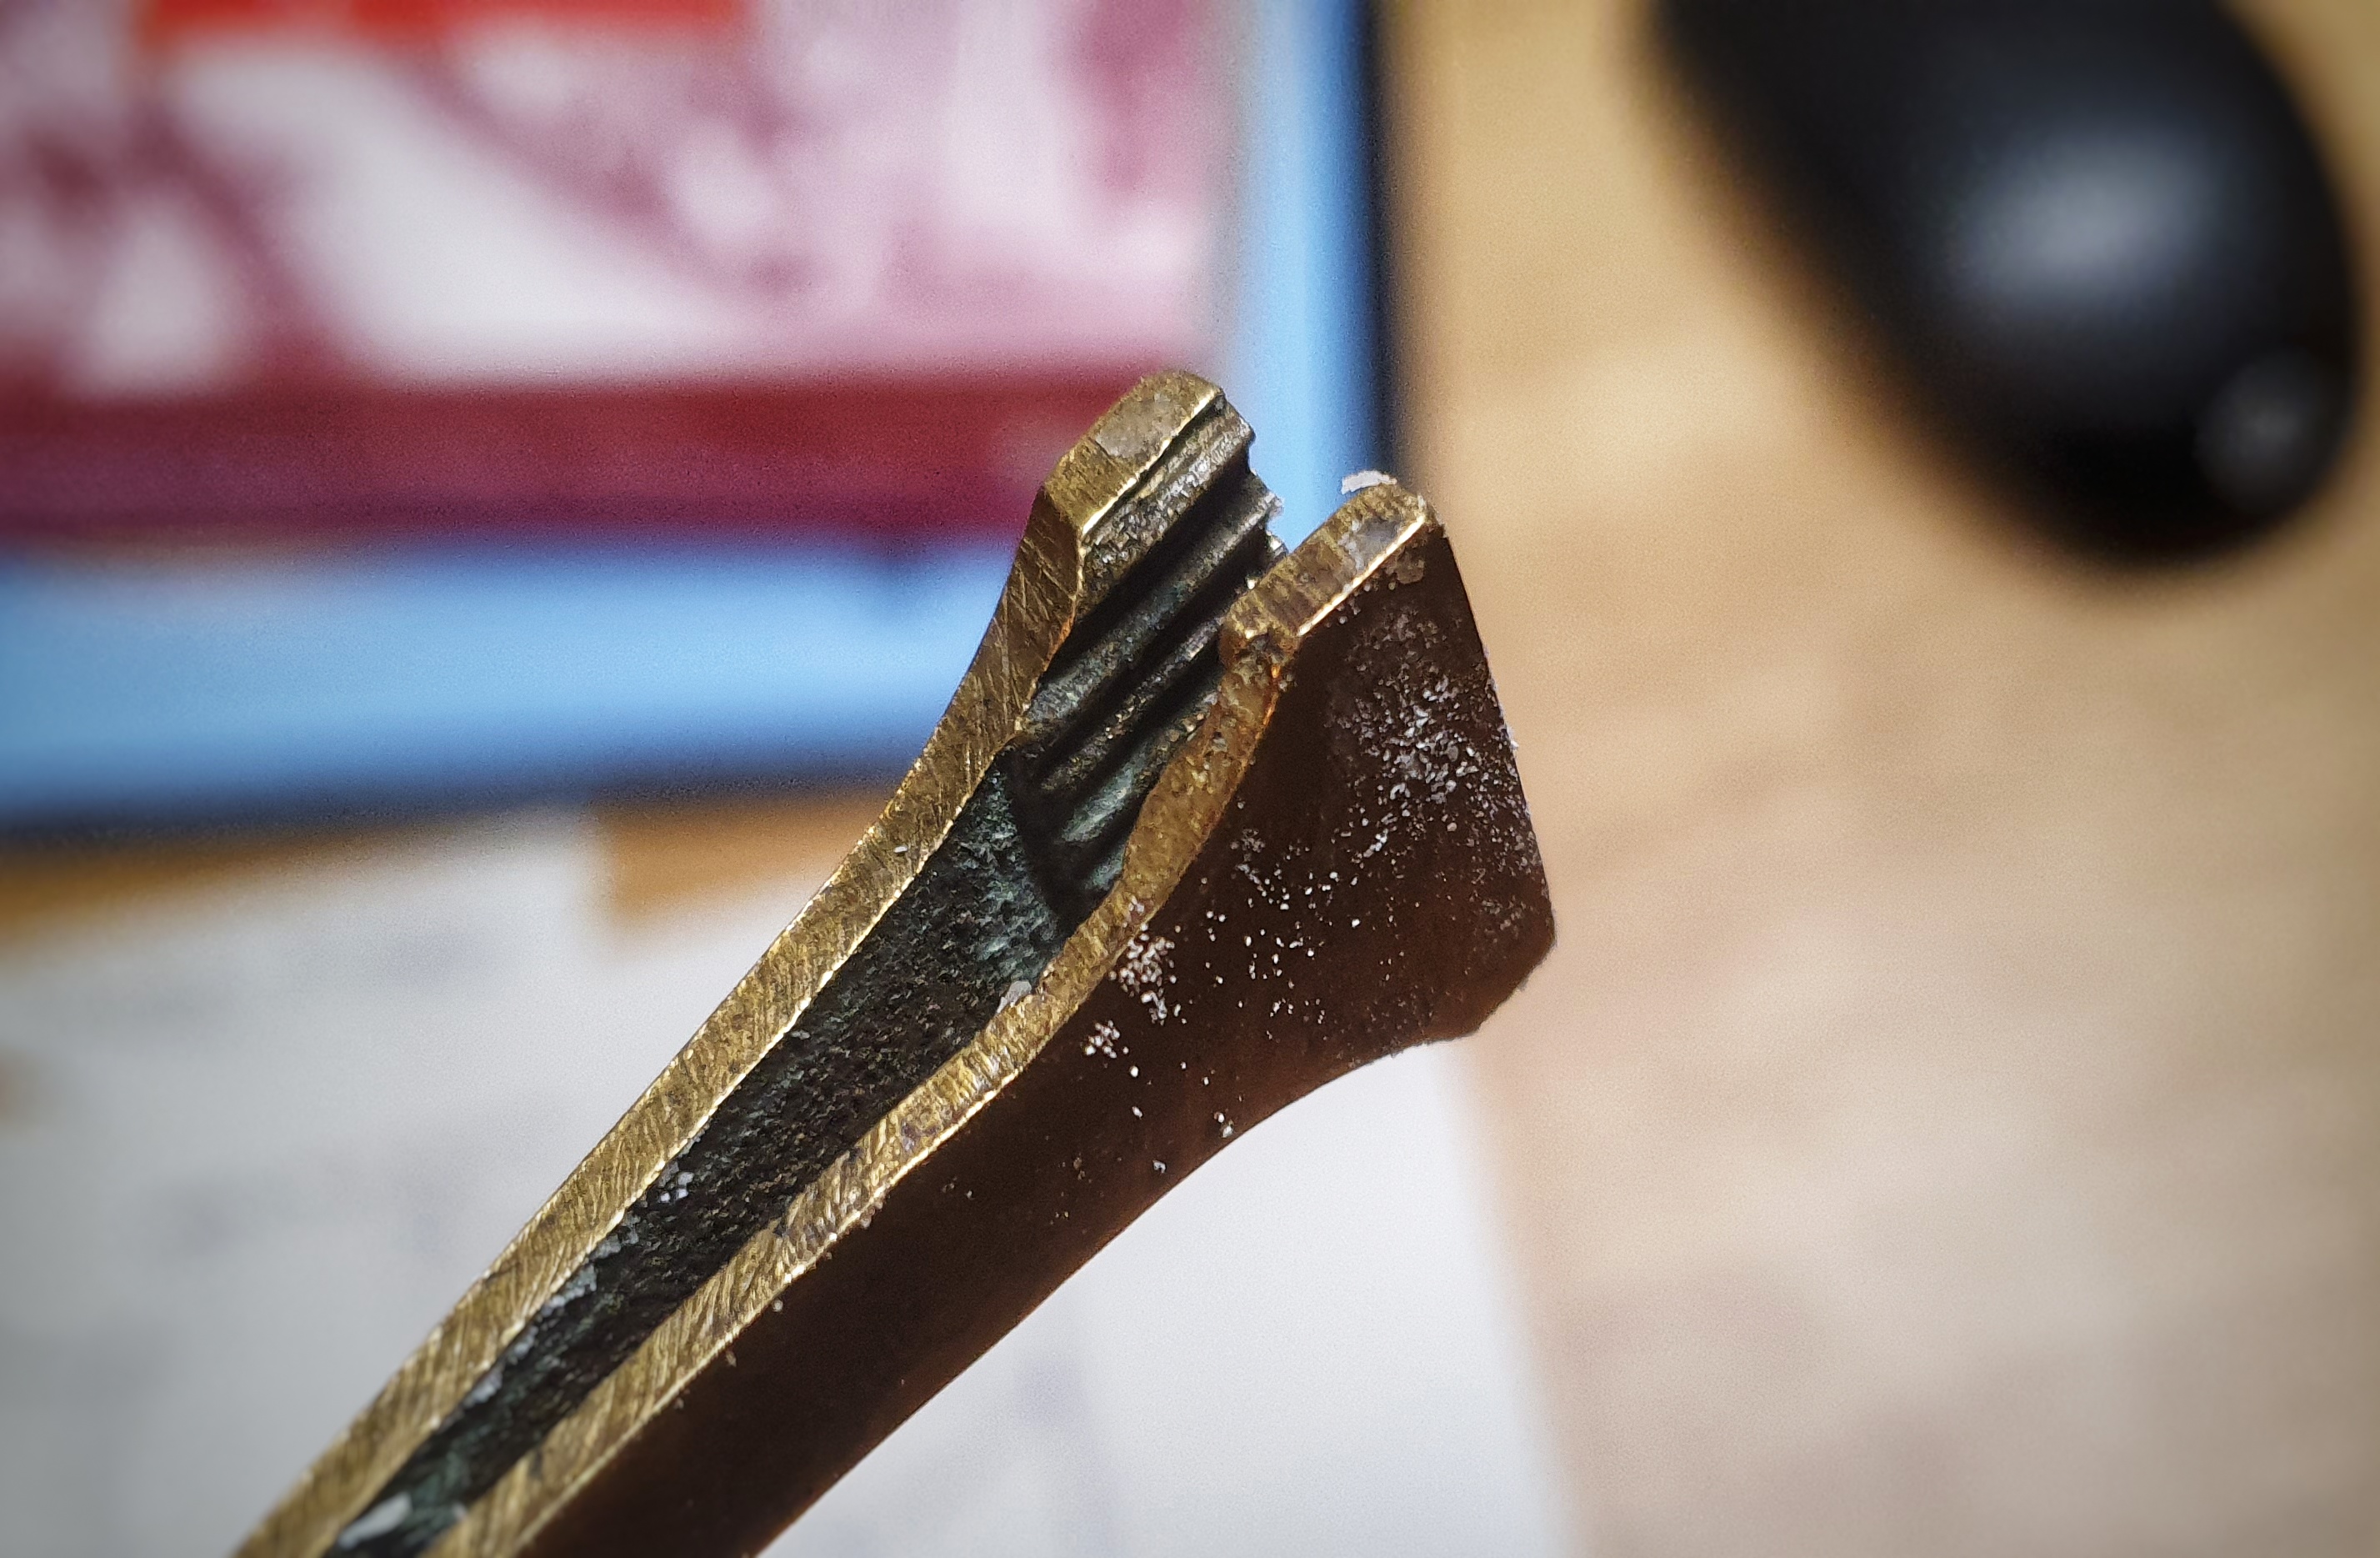
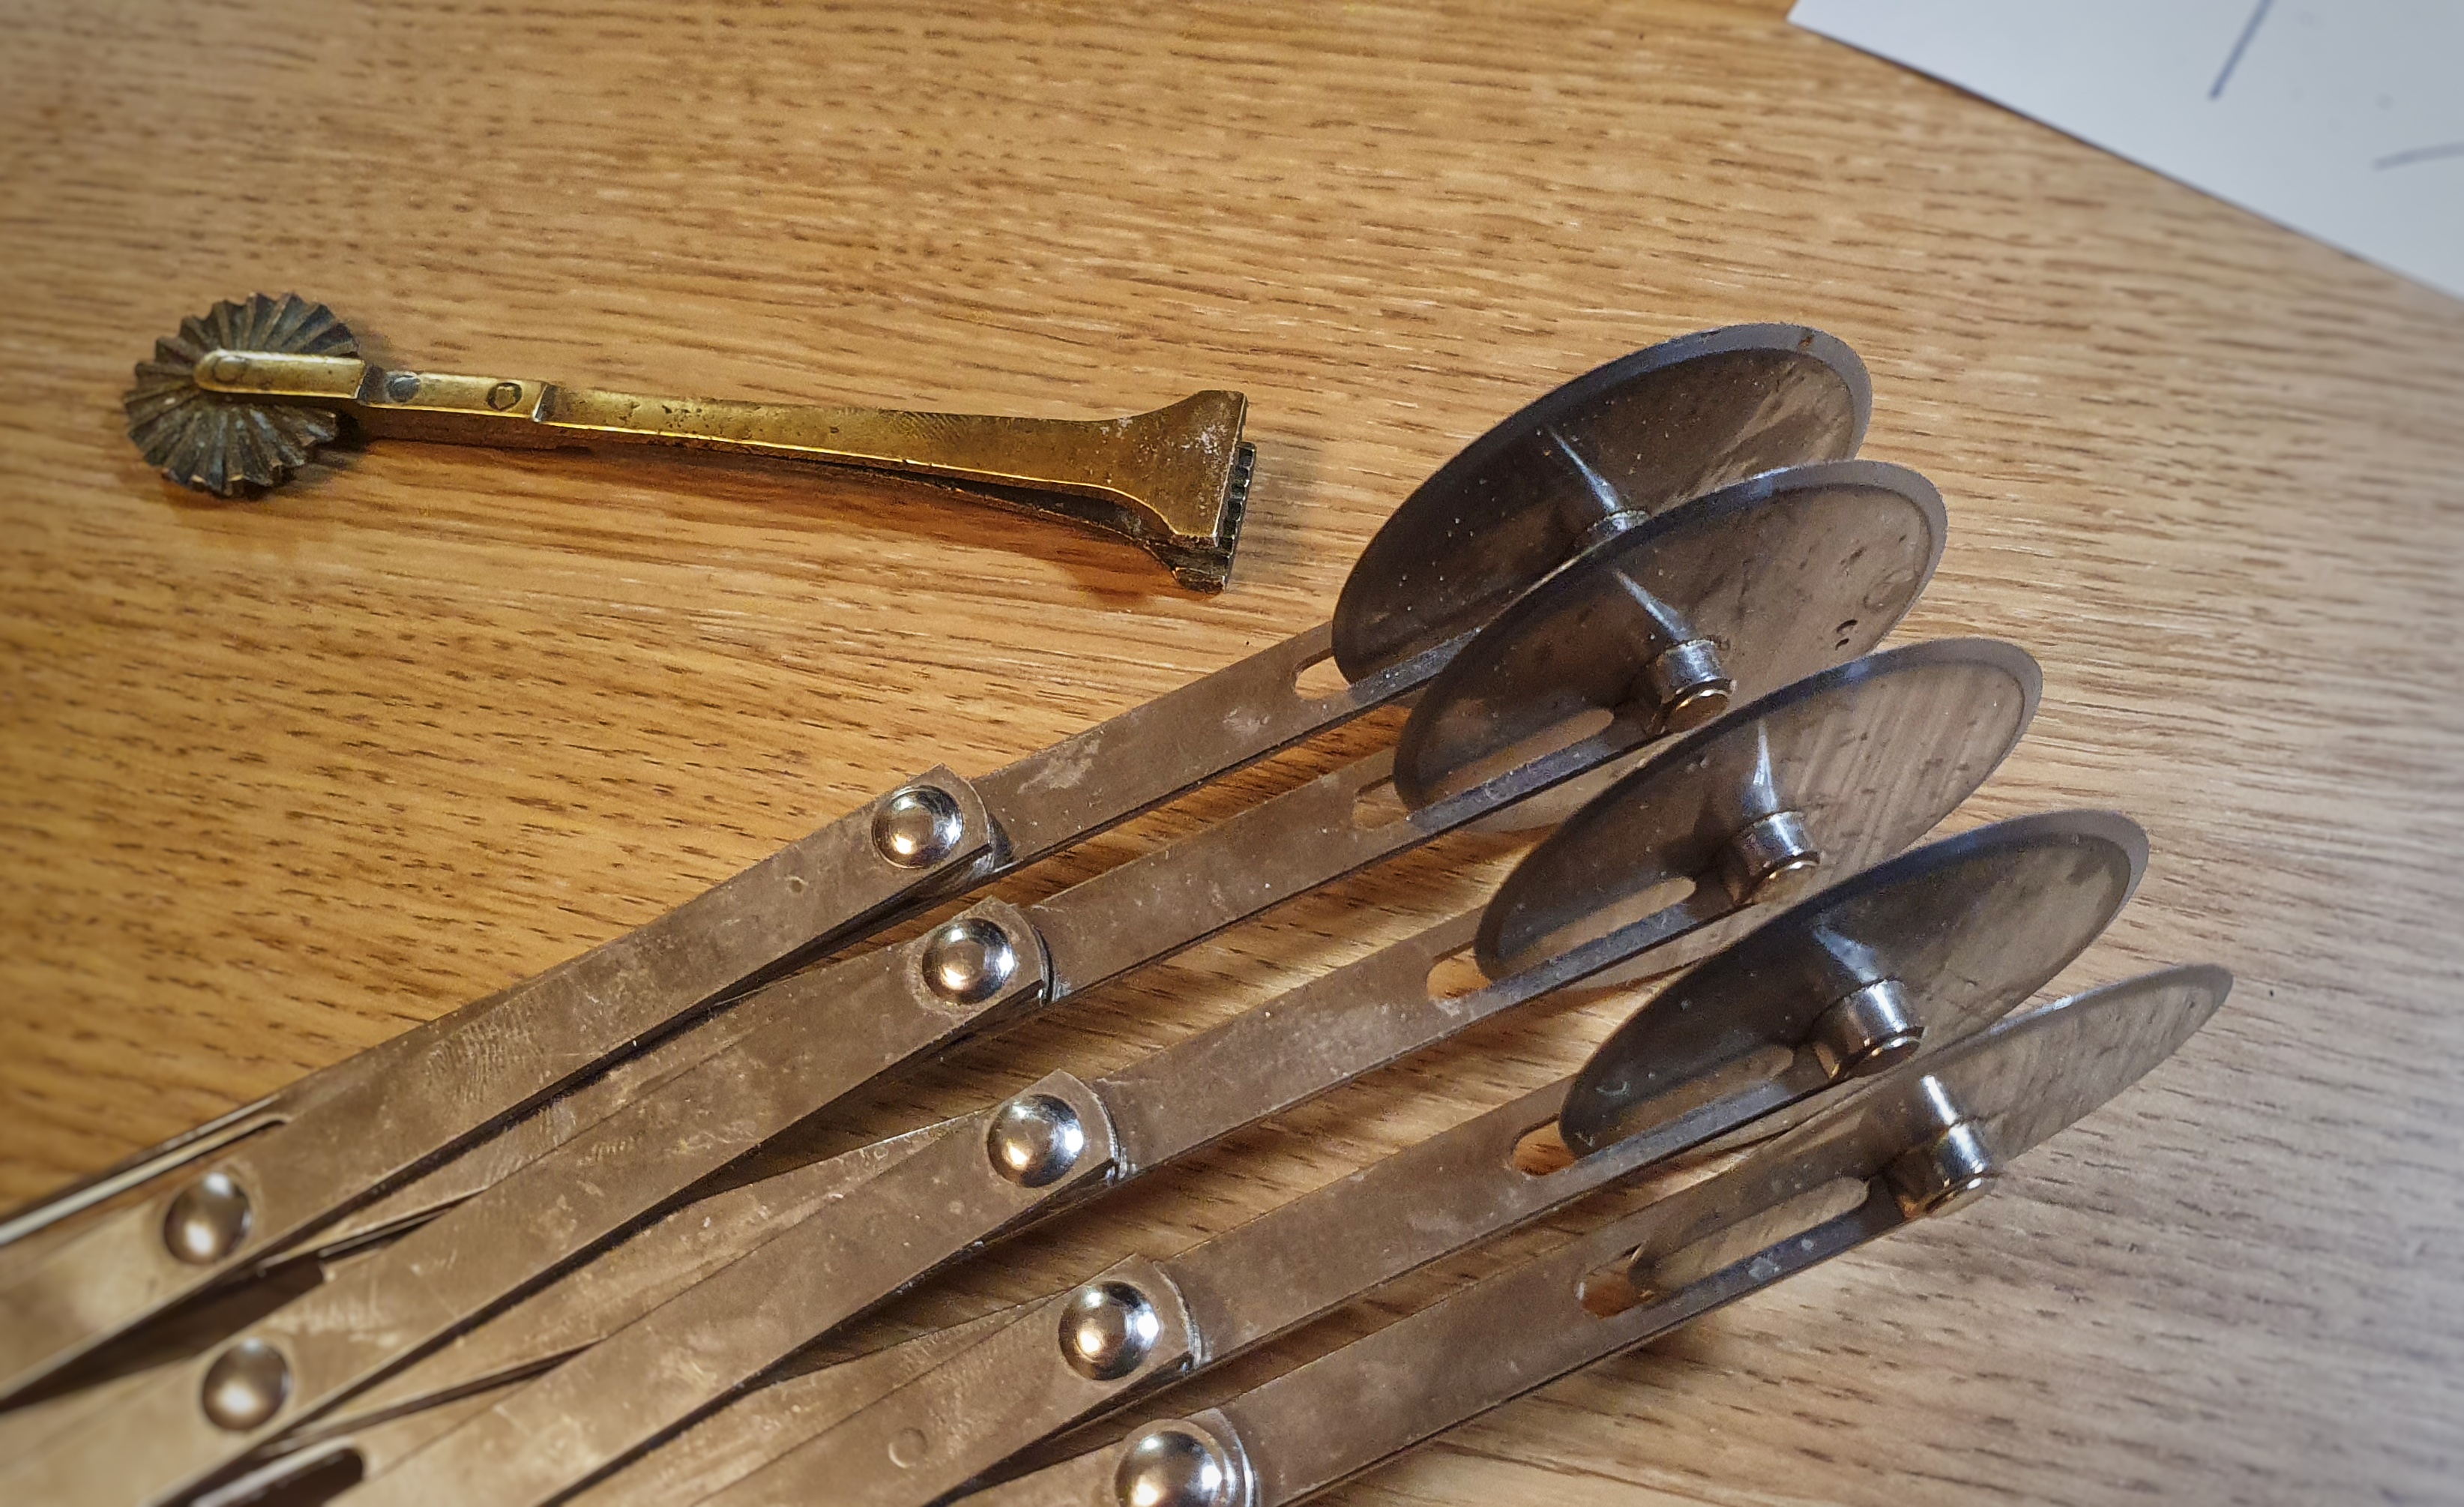
Then you need the correct tools for the job. I have collected over the years various pastry tools, both antique and modern. The wheels are called jiggers, which are used for cutting pastry. The antique ones usually come with a crimping tool attached, and these are used to fuse two pieces of pastry. The one I own with what looks like a flat pair of tweezers was particularly helpful for the pies I made here. I used a paring knife to cut out the shapes – the jiggers weren’t appropriate for these smaller pies.

Jiggers do come in handy for cutting out the pastry walls – essentially strips of pastry – I have a tool that’s made up of 5 jiggers on one expandable frame so you can cut several strips of the same thickness in one go.

That’s the tools of the trade, but now let’s look at our ingredients: we need mincemeat (I used the lamb mincemeat, recipe here) but you can use any you like.[1] Then we need some pastry that is mouldable (we don’t want the walls collapsing in the oven!) yet edible.


If you like the blogs and podcast I produce and would to start a £3 monthly subscription, or would like to treat me to virtual coffee or pint: follow this link for more information. Thank you.


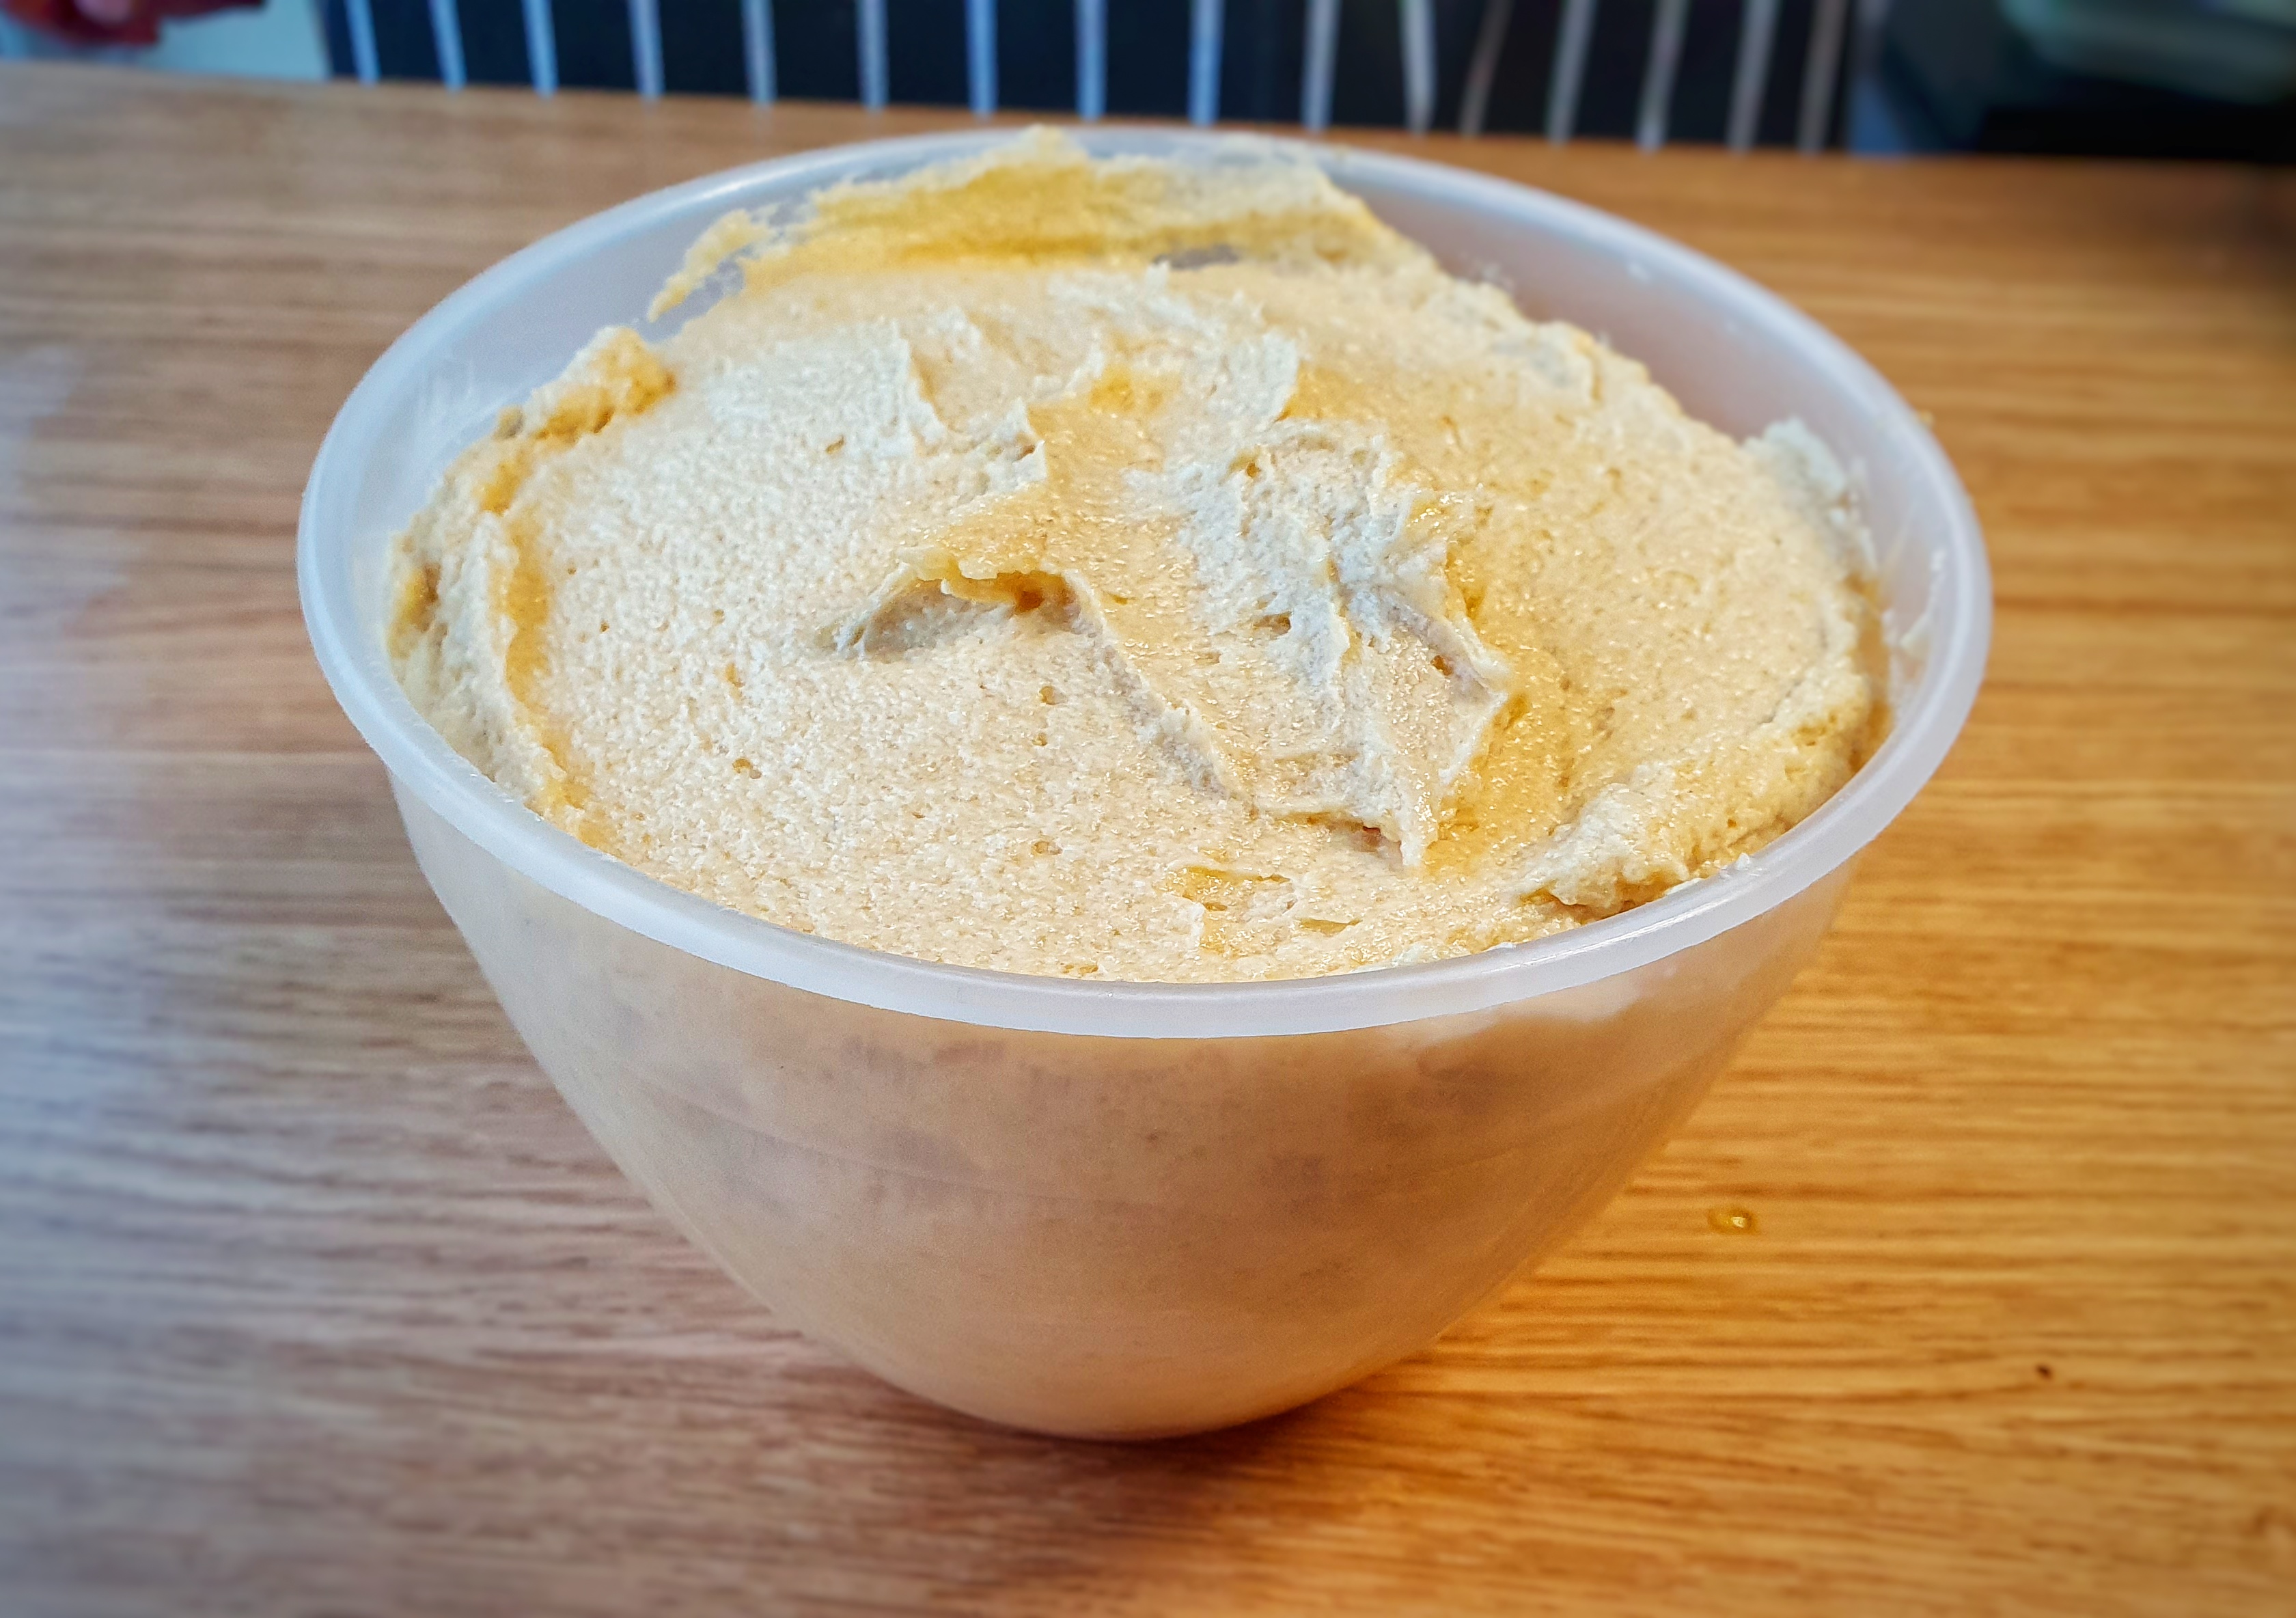
Mouldable Hot Water Pastry

I came up with the following recipe, based on one given by Jane Grigson in English Food.[2] It’s very good for moulding, but not particularly delicious, I made a few changes and I think it’s pretty good. It is simple to make, and this was enough for 8 to 10 pies, depending upon how large your templates are (you could, of course, make one large one!)

500 g plain flour

125 g salted butter, diced

125 g lard, diced

75 ml hot water

2 tbs icing sugar

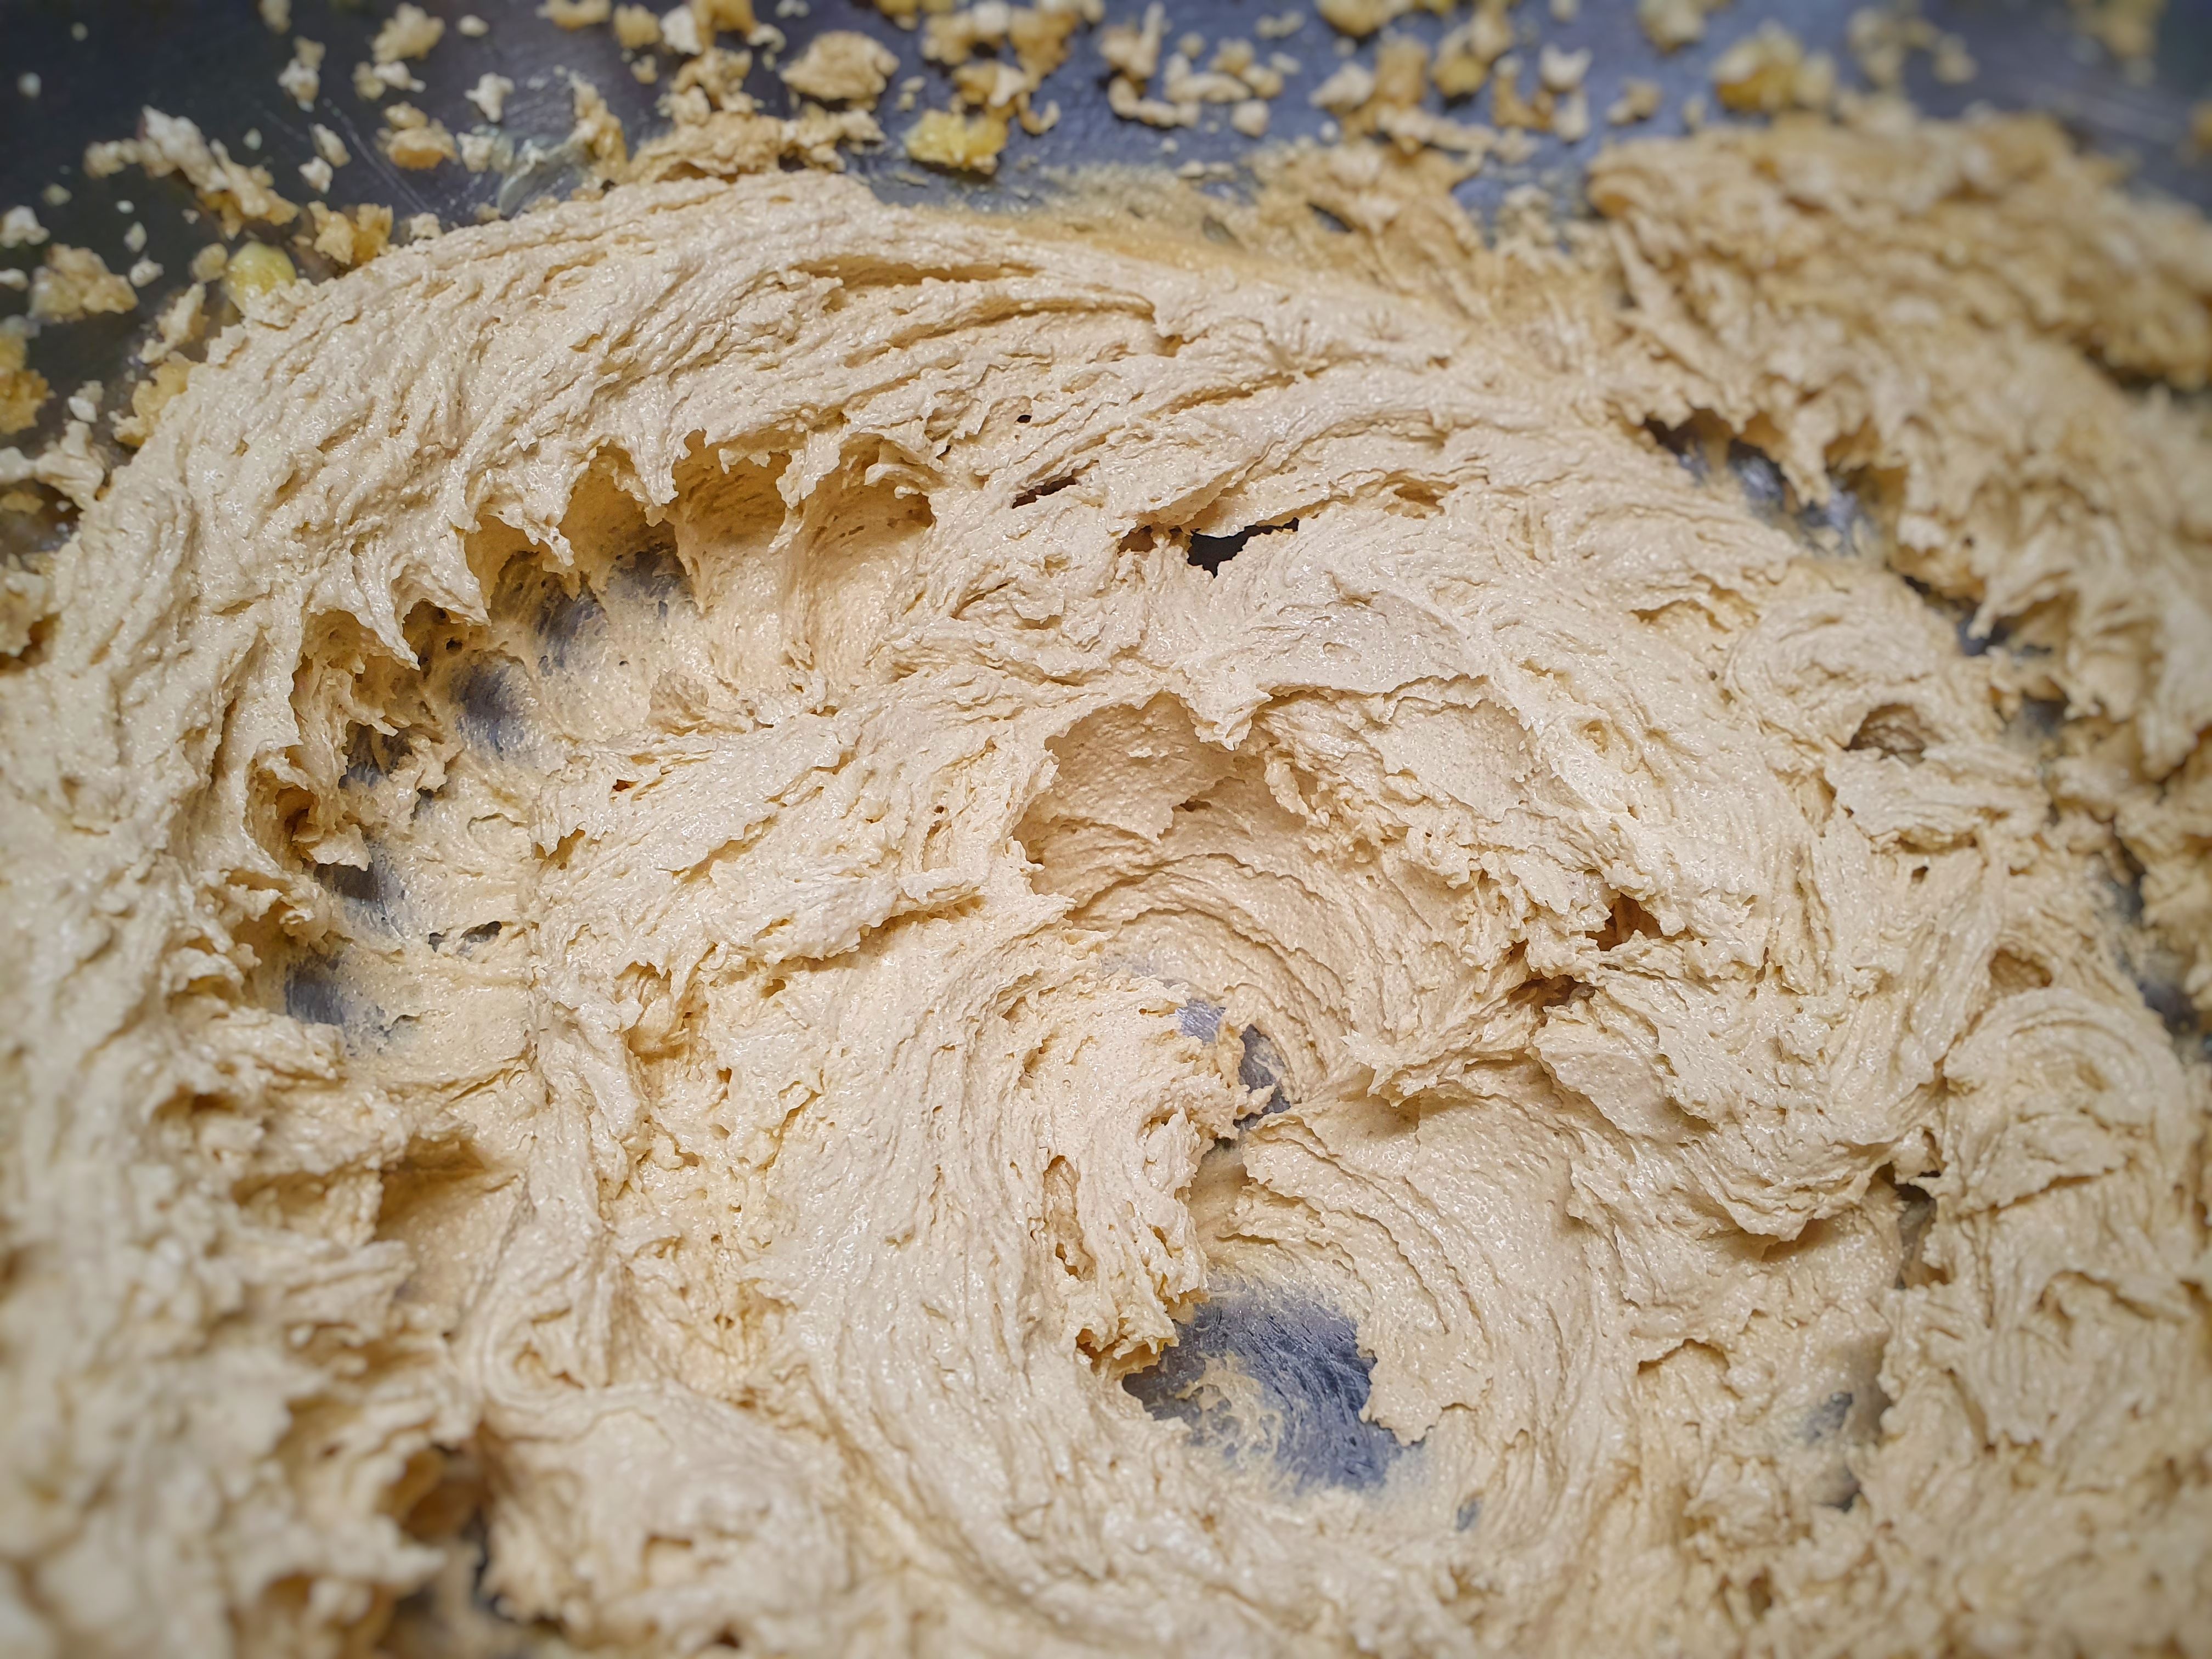
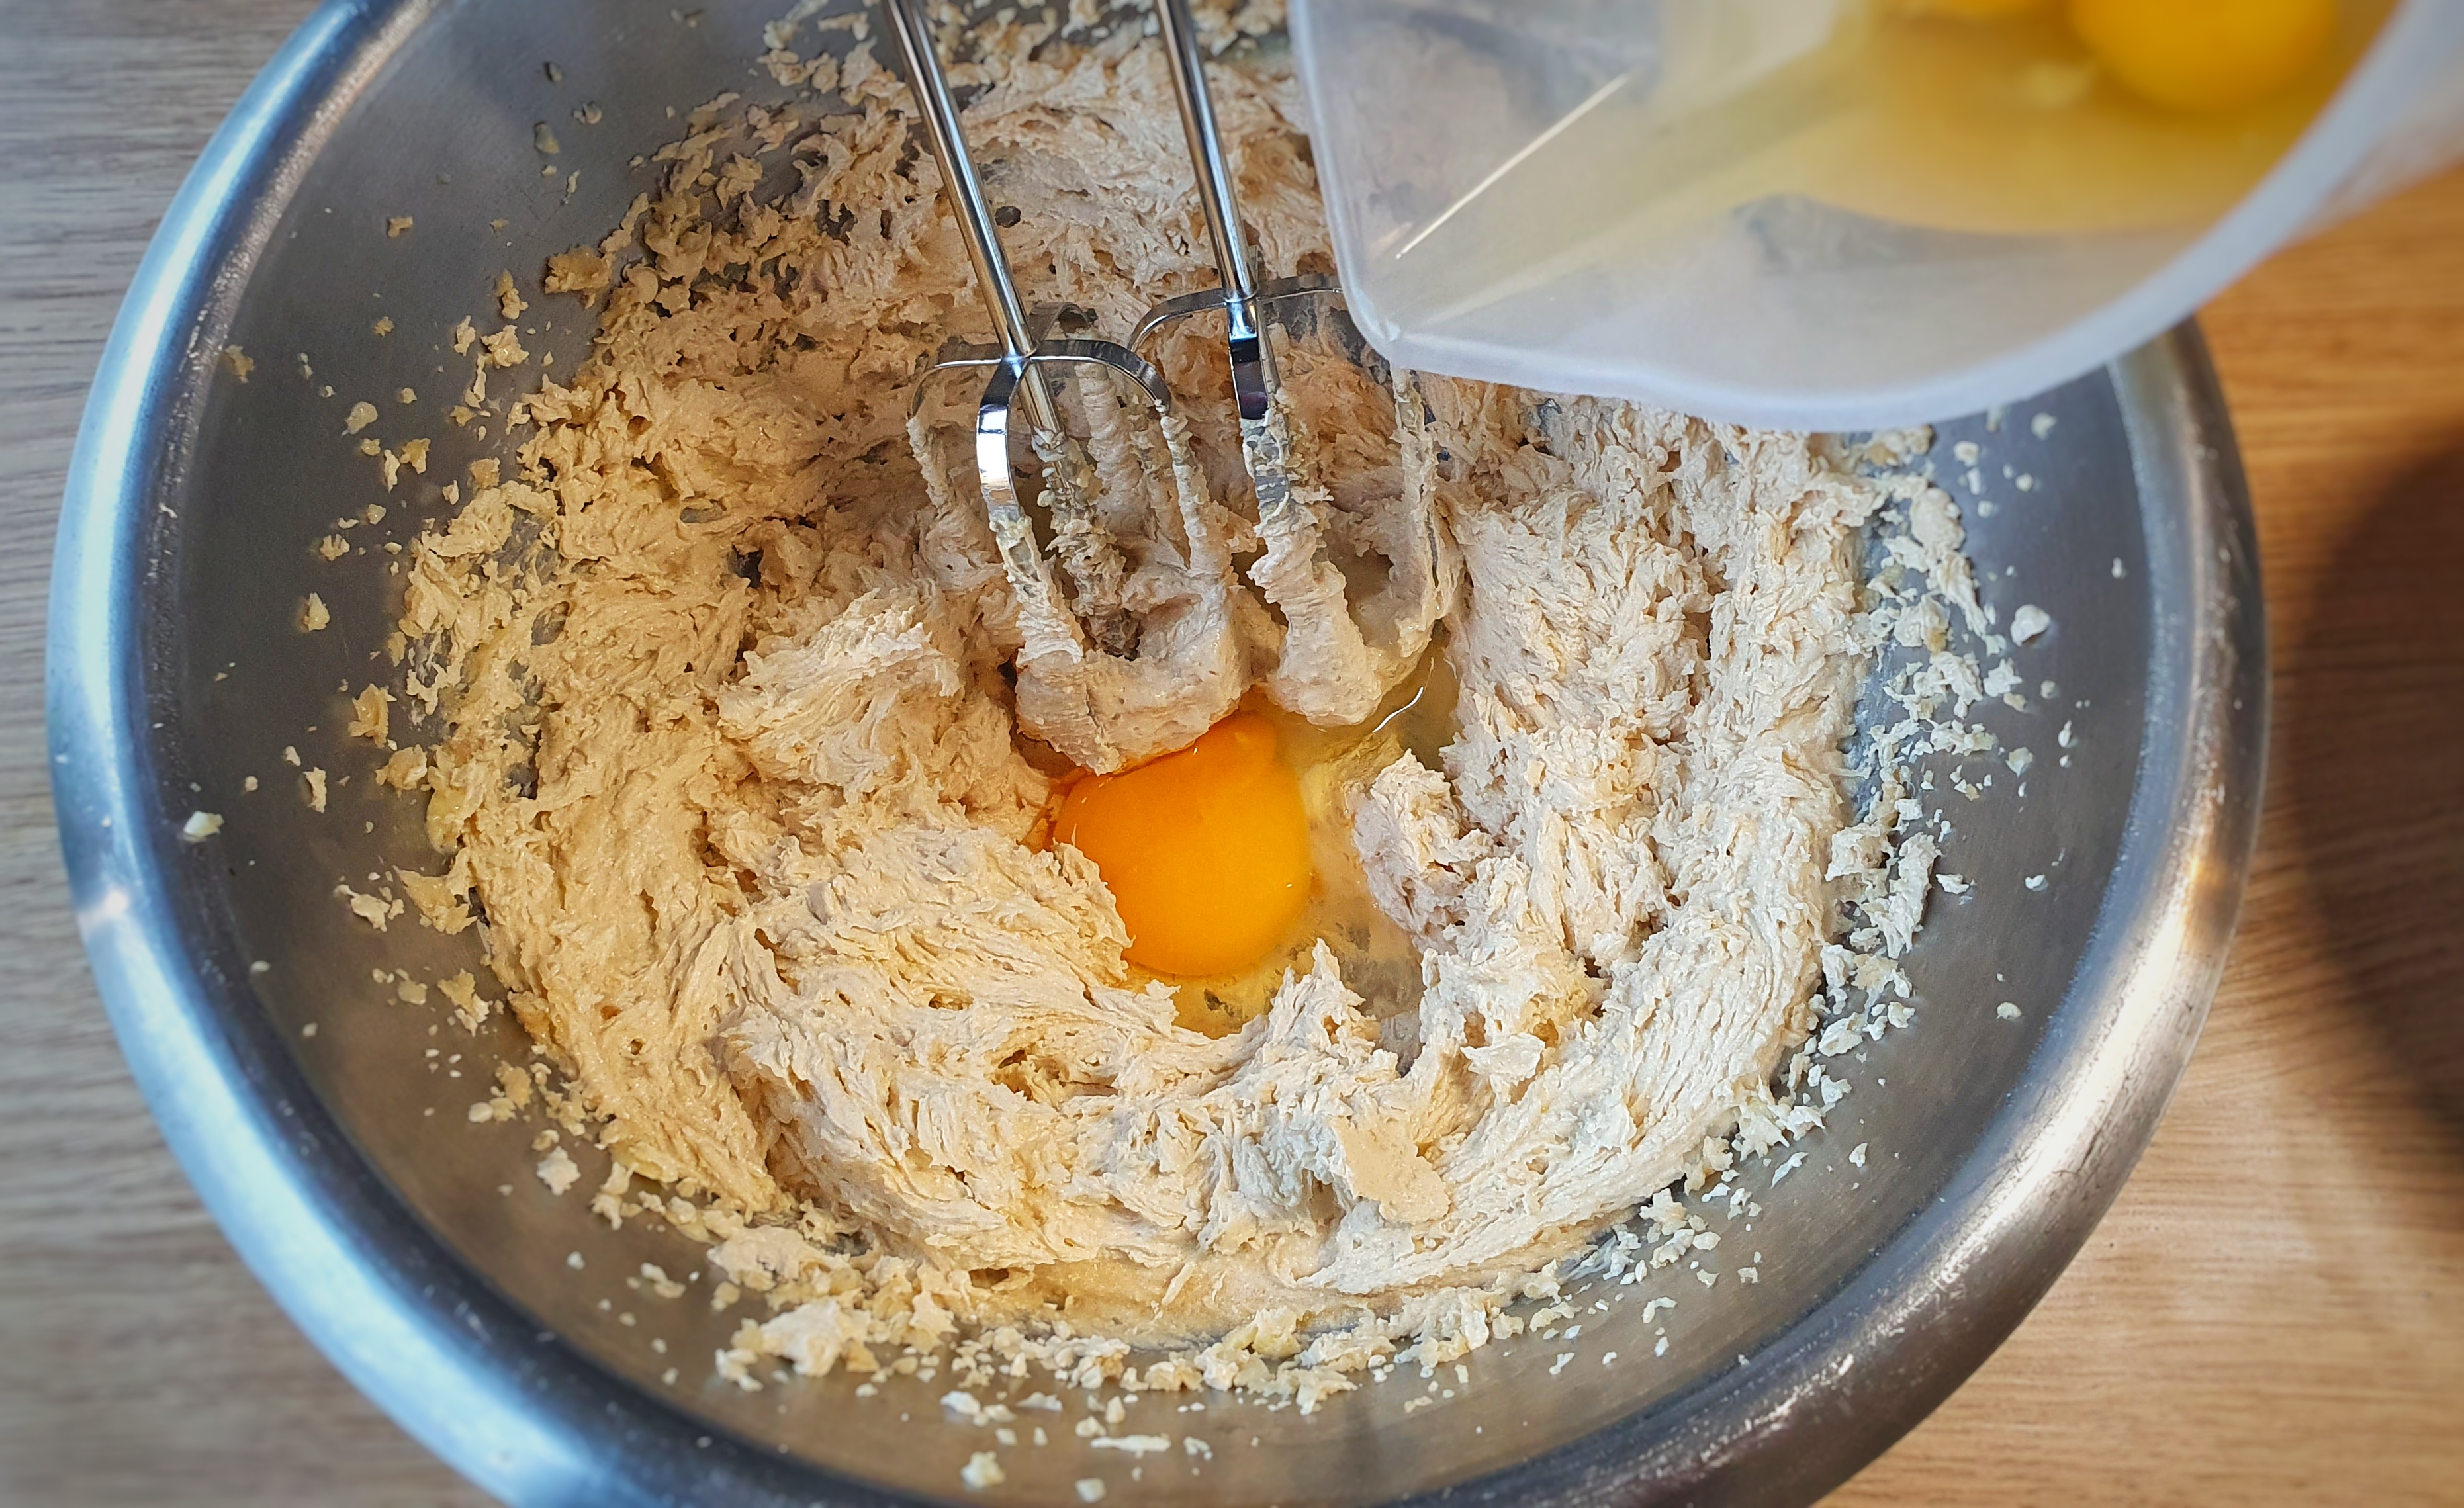
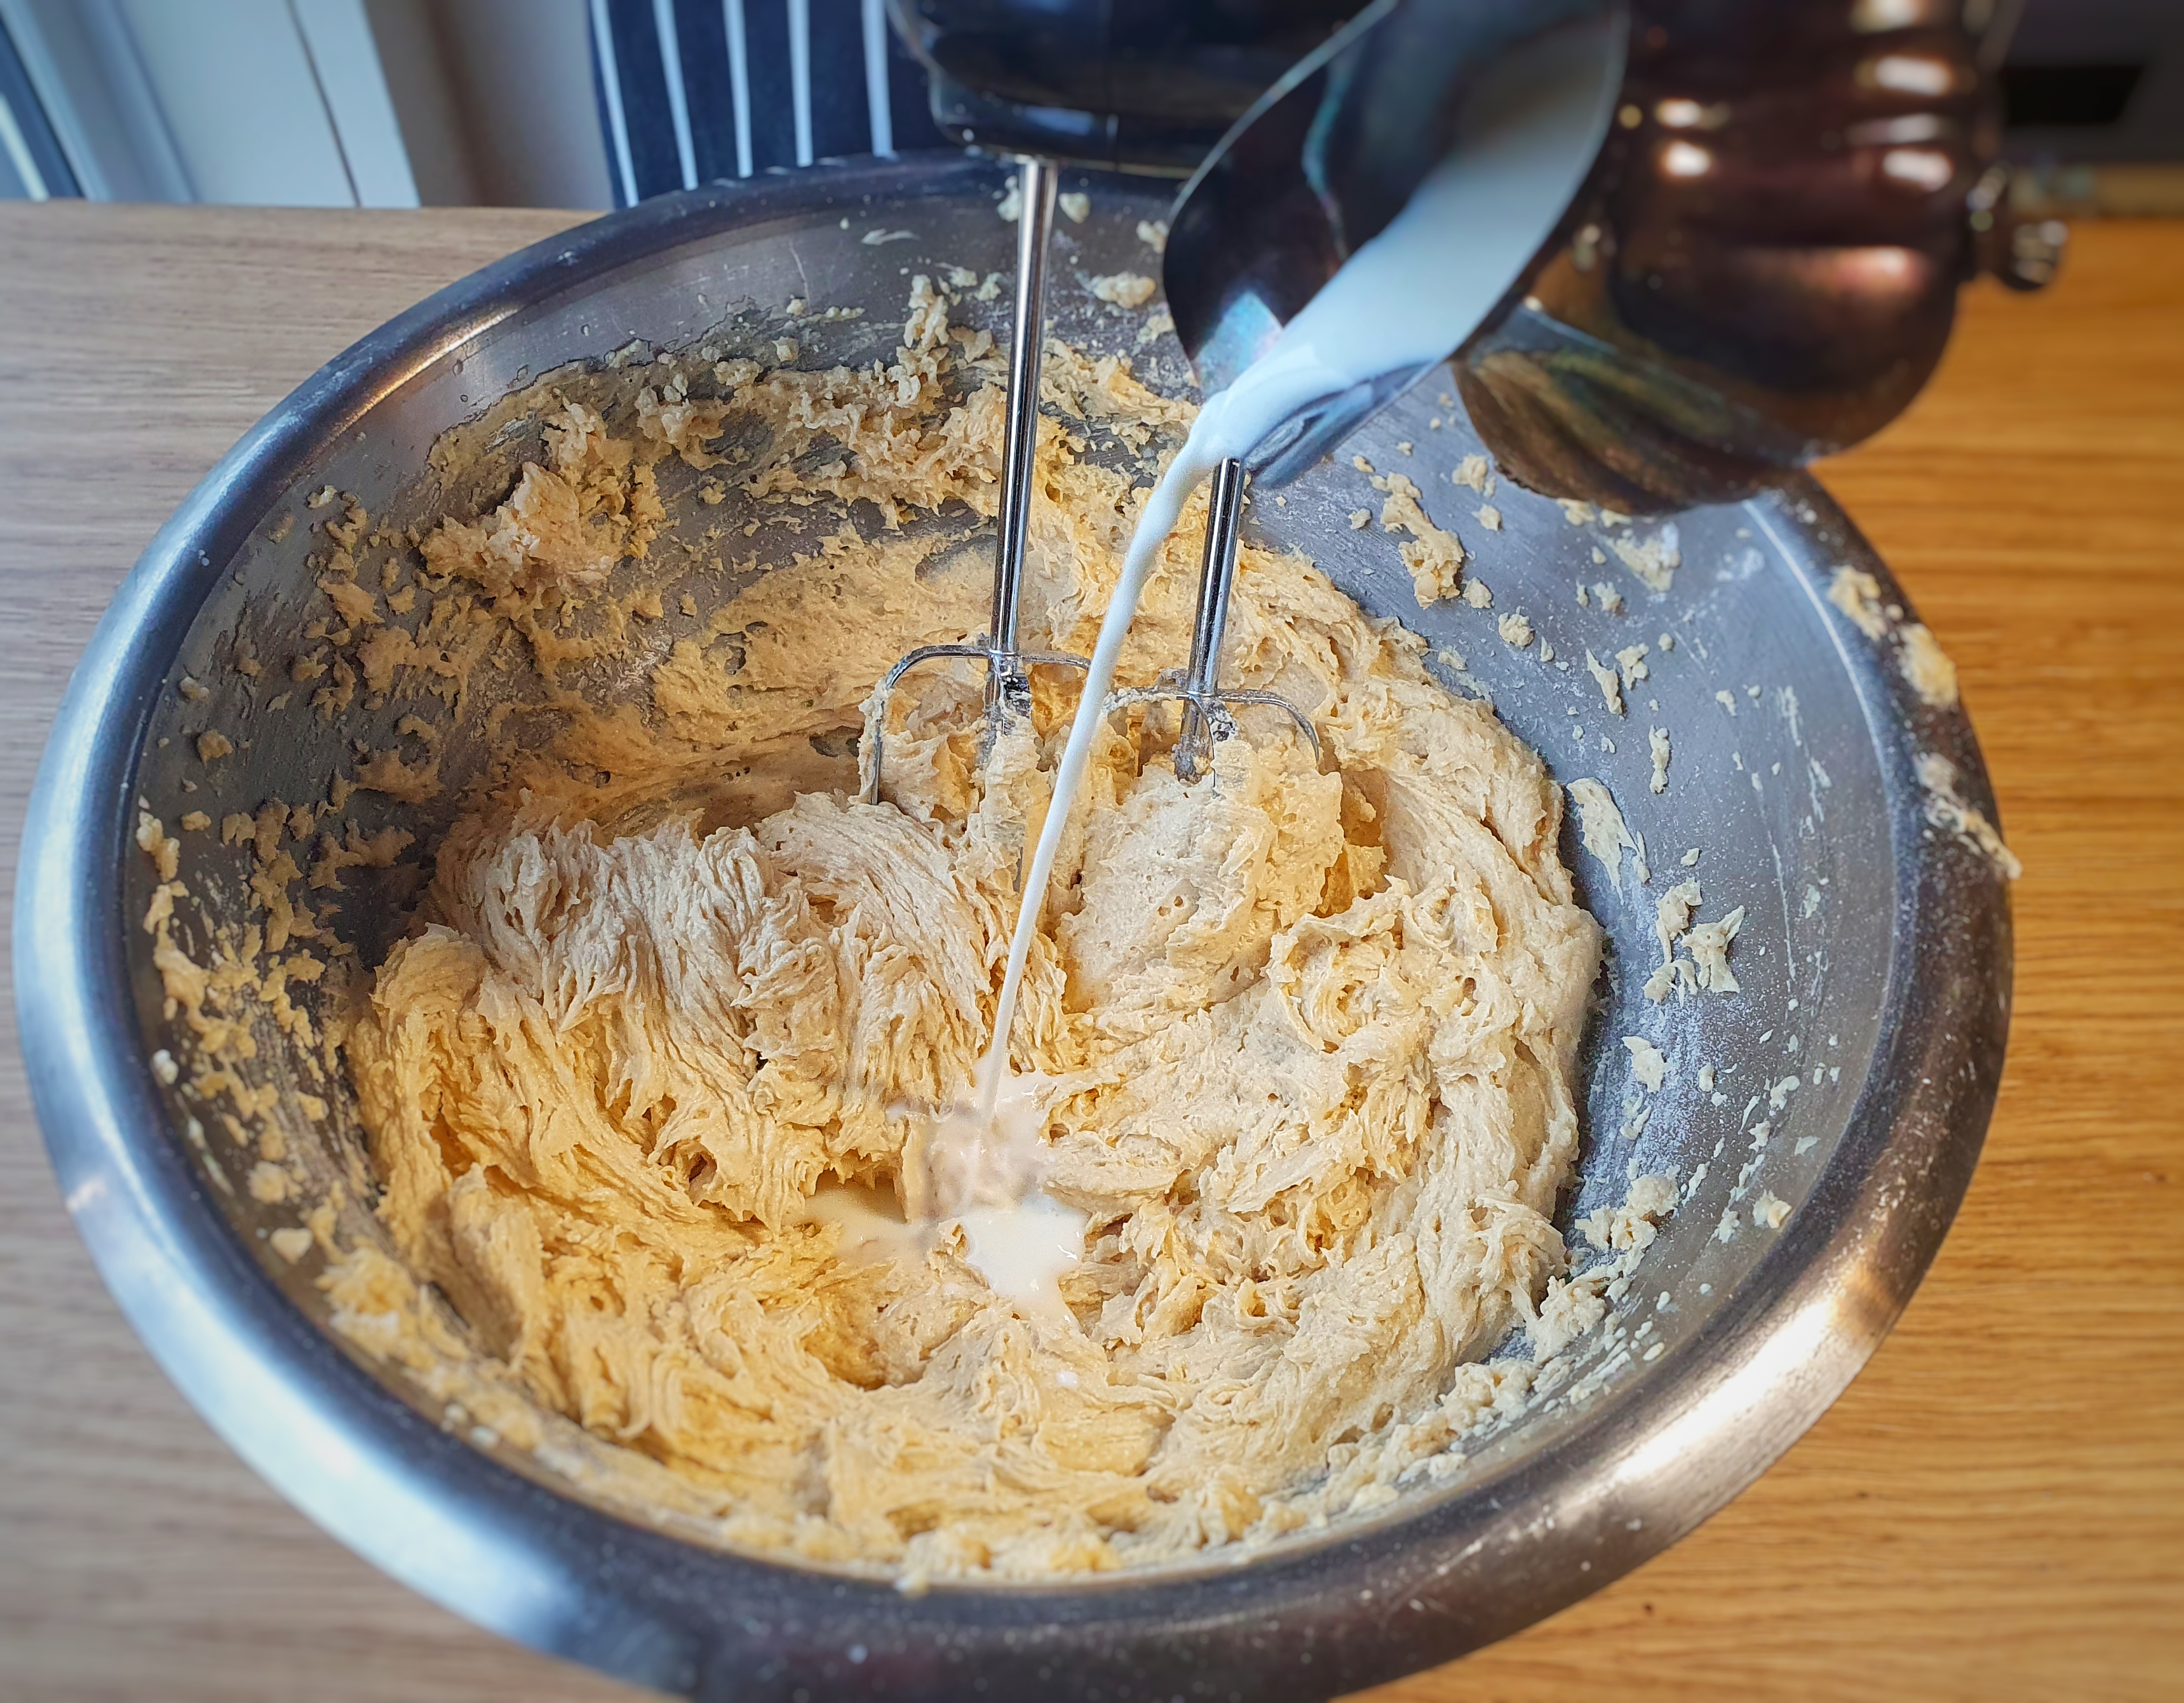
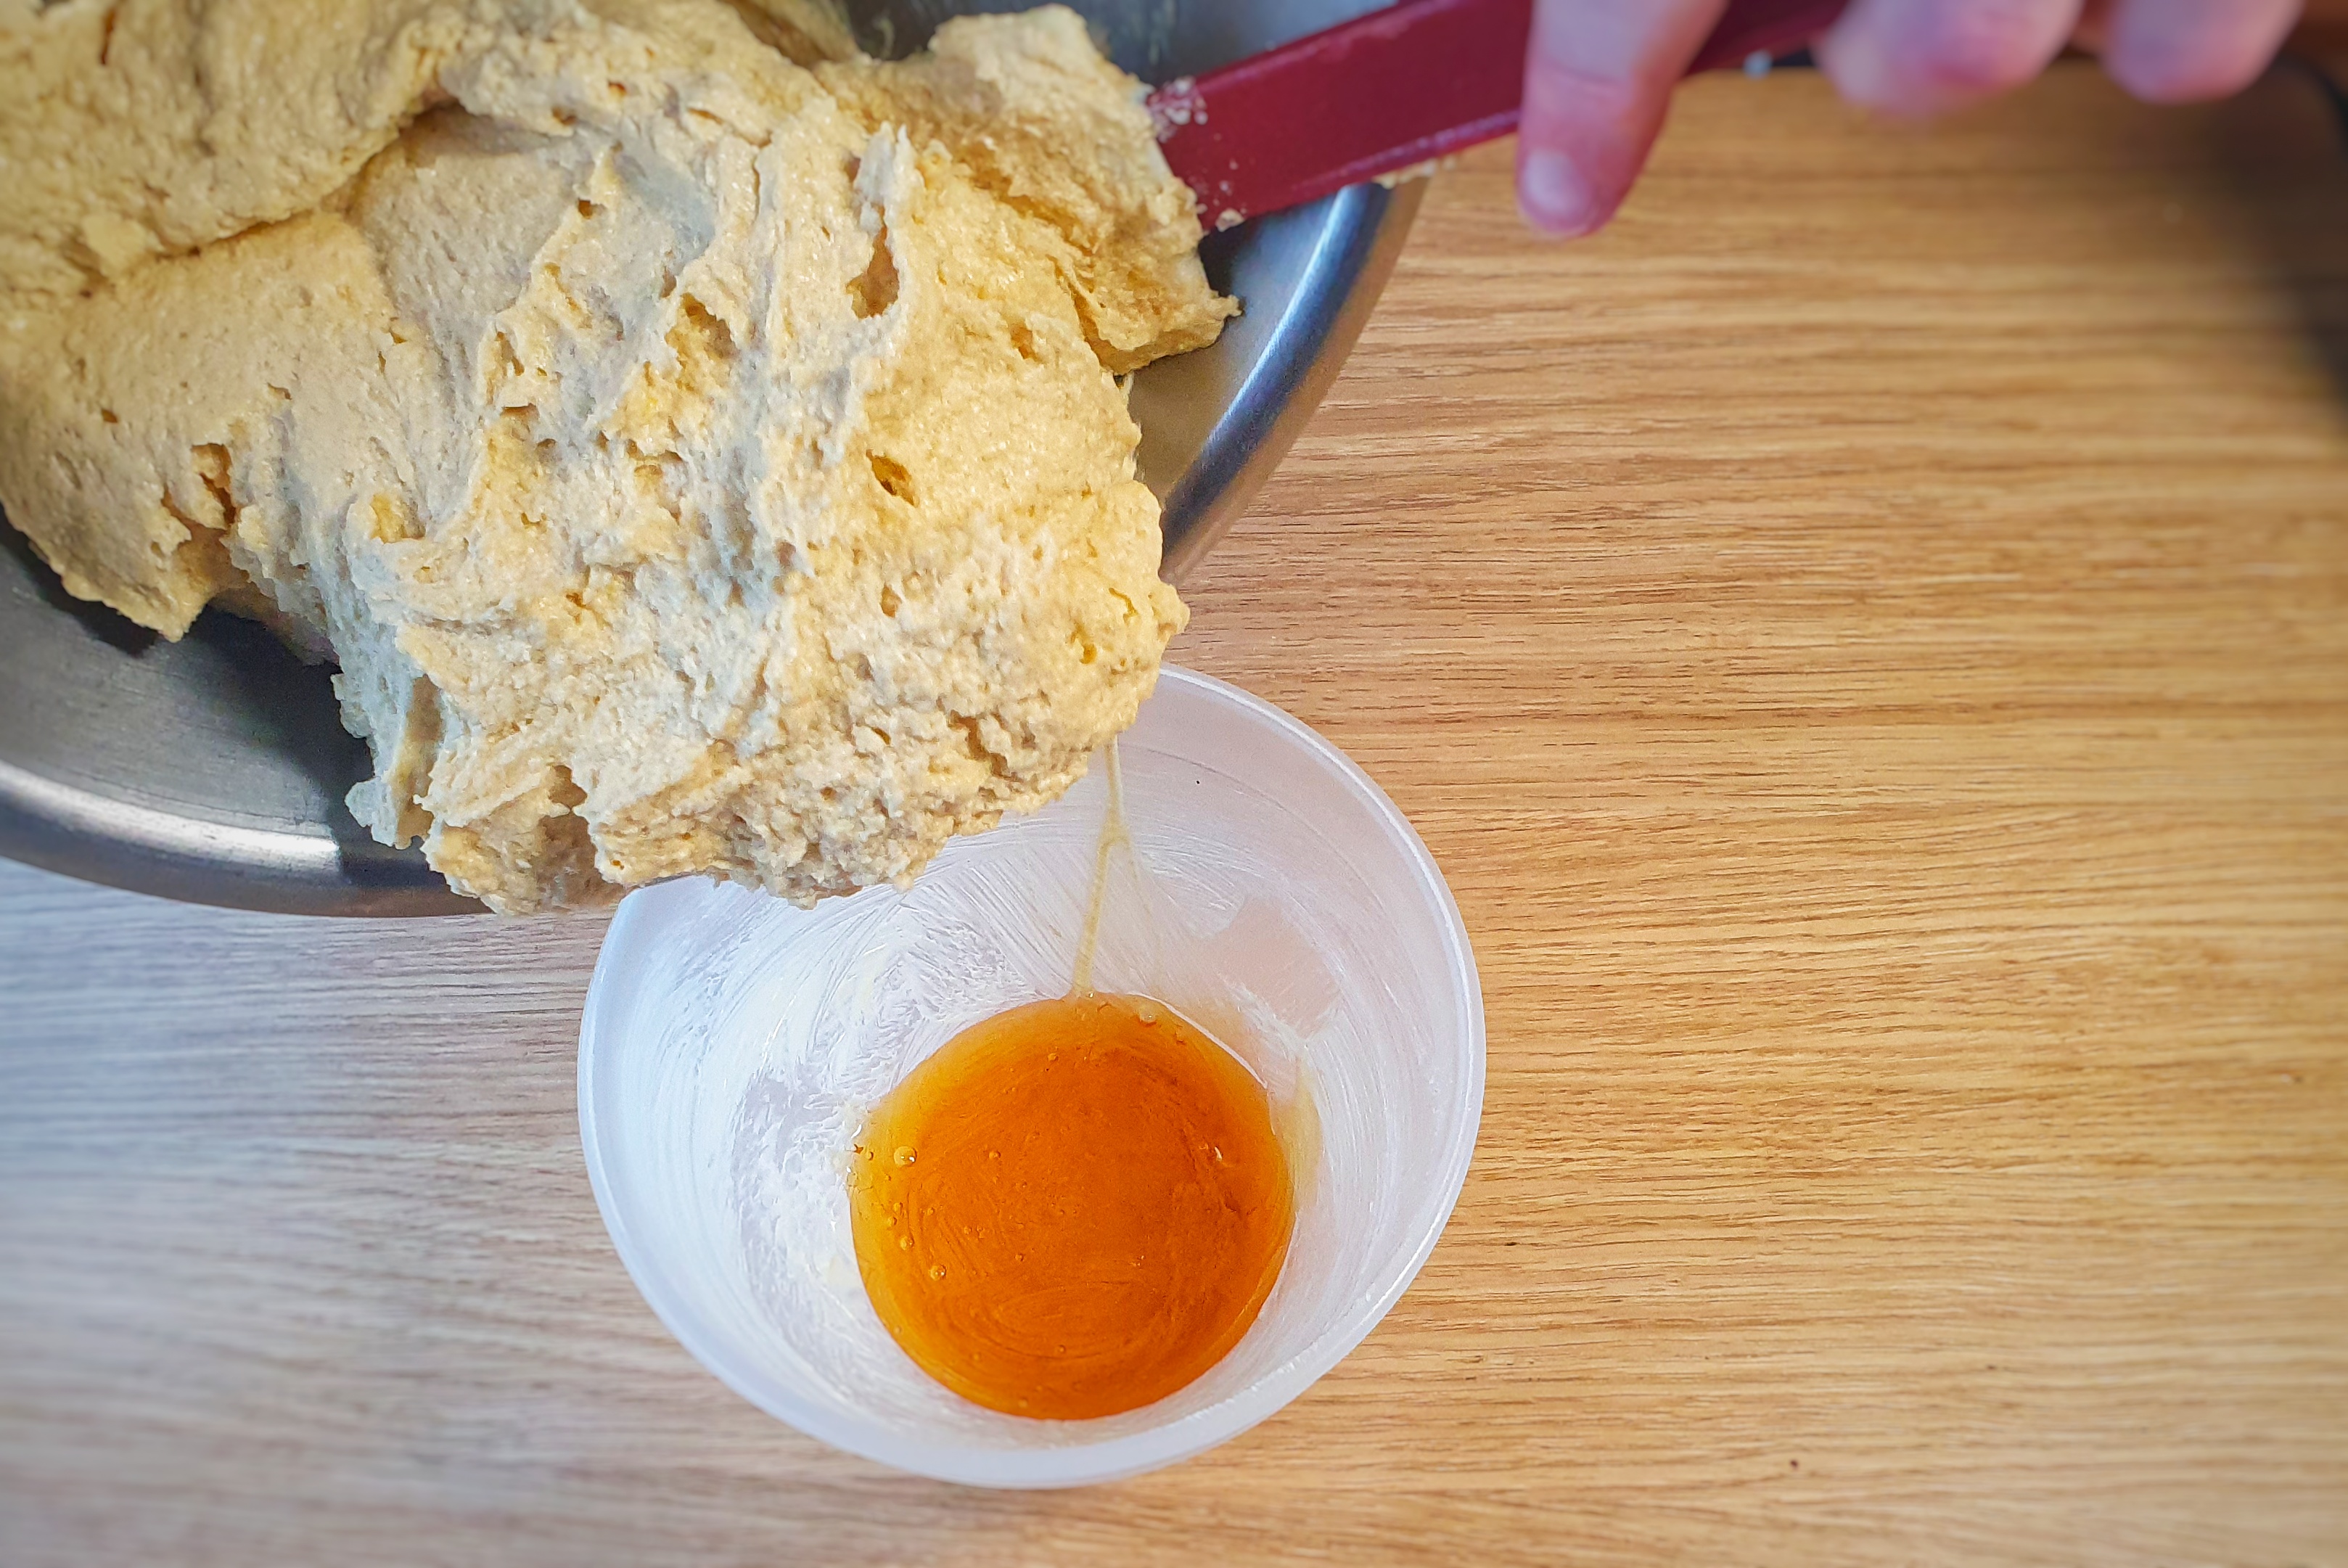
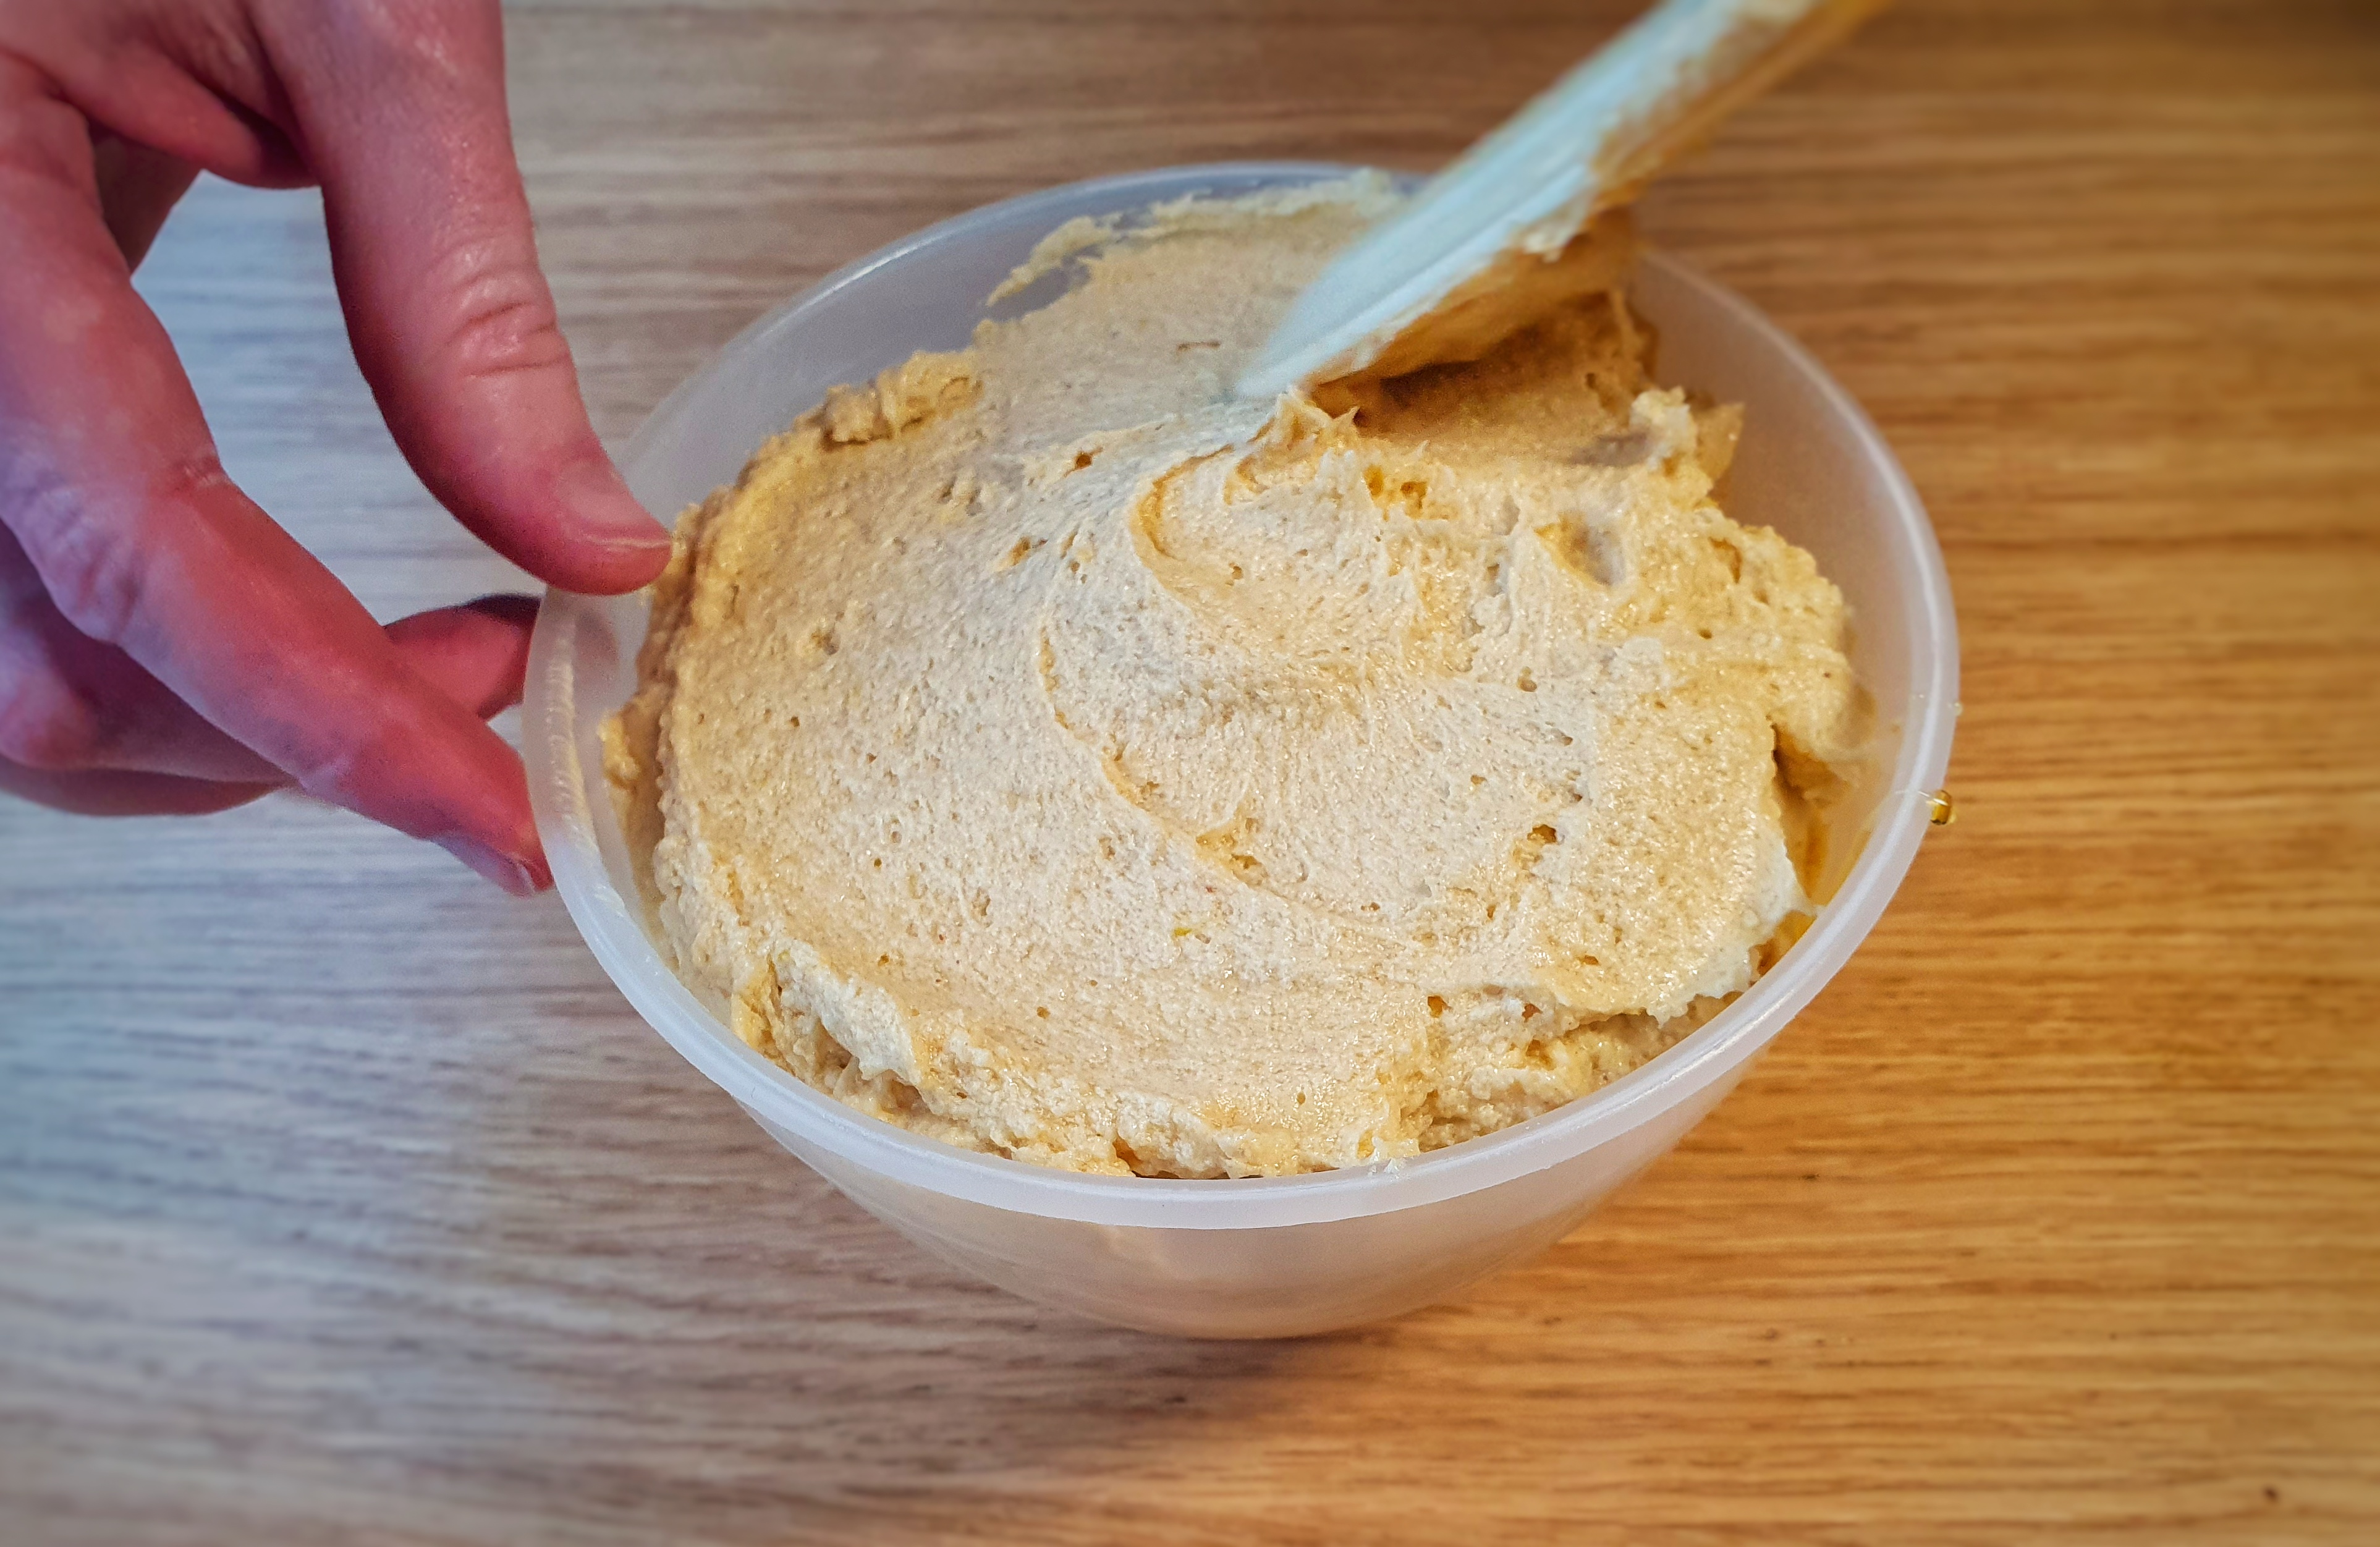
First, rub the butter into the flour until it resembles breadcrumbs. Put the lard in a saucepan and pour the hot water over it. Heat gently, but be careful – you don’t want it to boil and splutter. Stir in the icing sugar and when it is dissolved, make a well in the centre of the flour-butter mixture and pour into it three-quarters of the hot liquid. Cut the liquid in with a knife, then pour the remaining hot liquid to pour over any dry patches that remain. Once all of the water has been added, give the pastry a knead (leave it to cool a little if you need to). It should be smooth, pliable and waxy. Cover with cling film and allow to cool completely, but do not refrigerate.

Constructing the Pies

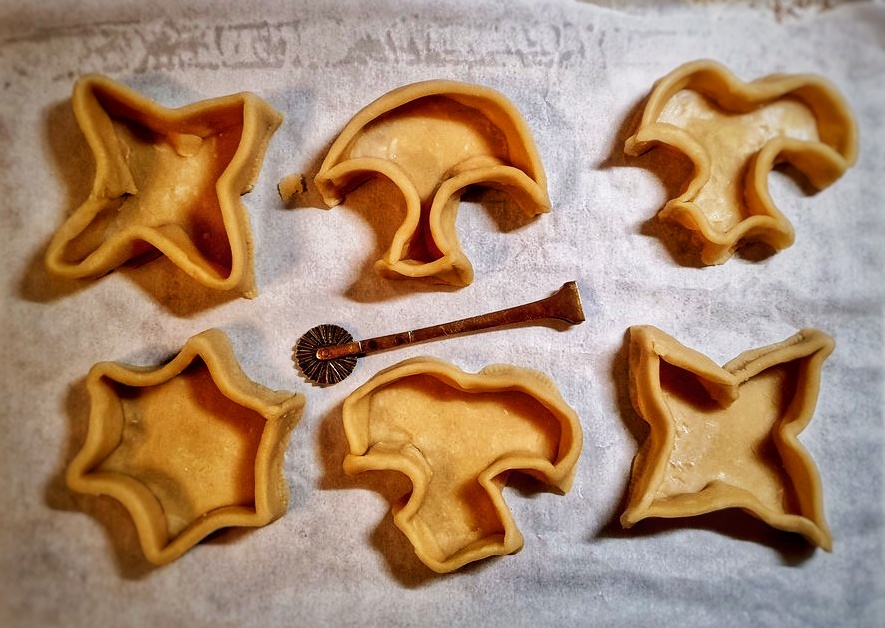
Now you can roll out a third of the pastry thinly – aim for the thickness of a pound coin, 2 to 3 millimetres – and cut out your bases. Now roll out another third into a long strip, long enough to go around the perimeter of your shapes. To do this, use a piece of string to trace around the shape. When the appropriate length, use a ruler to cut your strips at your desired thickness. I went for 2 cm, but I could have gone thicker than that, I think.

Now the fiddly bit: brush the edges of the bases with plain water and glue the sides on. Use your finger and thumb to pinch them together, and then crimp them with a crimper tool if you have one. Repeat with all of your shapes and place in the fridge for a few hours to firm up. When firm, roll out the final third of the pastry and cut out your lids.

Fill your pies with your chosen mincemeat, brush the rims of your pies with water and fix on the lids in the same way as you did the bases. Make a steam hole and place back in the fridge for 30 minutes to firm up again. Meanwhile, preheat your oven to 200°C.

If you like, brush your pies with an egg wash before you bake them for 25 minutes, or until a good golden-brown colour. If you are making large pies, turn the heat down to 175°C and cook longer: you should see or hear the filling bubbling, telling you it is ready!


Notes:

[1] Though it is best to use a low-sugar recipe, not a gloopy one from the supermarket shelves. I recommend Jane Grigson’s orange mincemeat or Mrs Beeton’s traditional mincemeat.

[2] See Oldbury Gooseberry Tarts on the other blog.

Leave a comment

Filed under baking, Britain, cooking, Eighteenth Century, food, General, history, Recipes, Teatime, Uncategorized

How to Make a Steamed Sponge Pudding: a Step-by-Step Guide

Last year I threatened to write some instructional posts that focus on technique rather than history. First up, a step-by-step guide to making a steamed sponge pudding, complete with instructions on how to cook one if you don’t have a steamer.

This recipe is for a basic sponge to fit a 2 pint / 1 litre mould or basin. It will serve 6 to 8 people; you can multiply up or down the amounts and cooking times very easily, though if you are making a really big one (1 ½ litres or more) you’ll need to add a teaspoon of baking powder. Any mould can be used, but a basin is best for sponges.

There are an infinite number of variations, and I have included some examples for you after the basic recipe.

225g softened butter, plus extra for buttering the mould

175g caster sugar

4 eggs

225g self-raising flour, or gluten-free flour mix[1]

Pinch salt (if using unsalted butter)

30ml liquid: e.g. milk, lemon juice

Start by buttering your mould well; if you are using a basin with a lid, butter that too.

Now beat the butter and caster sugar with an electric mixer, or a wooden spoon, until light and fluffy. Beat in the eggs one at a time into the butter and sugar – use a high speed if using an electric mixer. When fully incorporated, add the next egg. If the mixture refuses to mix properly and curdles, add a tablespoon of flour and beat well.

When all four eggs have been added, tip in the flour (and salt if using) and mix on a low speed until just incorporated. Add the liquid and mix again. The mixture should now be of ‘dropping consistency’, i.e. if you take a large spoonful, the batter drops from it when you turn the spoon on its side. If it doesn’t, add a little more – just a couple of teaspoons may be all you need. If you’re not sure, err on the side of caution and don’t add more liquid.

A mixture with the correct ‘dropping’ consistency

Now it is time to fill the basin. If you like, place a circle of greaseproof paper in the bottom of the basin to prevent the pudding, or any topping, from sticking. This is more important if you are using a metal, porcelain or glass basin, plastic ones are typically see-through and can be massaged to help the pudding to release itself.

This is also the time to add any toppings, should there be any: see suggestions below. Once added, scrape the mixture into the basin and smooth the top.

Put the lid on the basin, if it has one, or place a pleated double layer of greaseproof paper and kitchen foil – the pleat allows for any expansion – then secure it in place with string.

How to make a pleat in a piece of paper or foil

You may want to make a simple handle with the string too if you suspect the pudding will be tricky to remove from its steamer.

Now prepare the steamer. If you have one that fits the pudding basin, simply add boiling water straight from the kettle to the base to a depth of a few inches/ 10 cm deep, then place the basin in the steamer, sit it on the base and put on the lid. Turn the heat high and allow it to come to a rolling boil

If you don’t have a steamer you can make one: Take a pan large enough to comfortably fit your basin. Before you add any water, place an upturned saucer on the base of the pan (add some scrunched material under the saucer to prevent clattering). Place the basin inside your pan and pour boiling water straight from the kettle into the basin to come around a third of the way up the basin. Cover and turn the heat to high to achieve a rolling boil.

Whichever way you have made your steamer, once a rolling boil has been reached keep the pudding boiling well for 20 minutes, then turn the heat to medium-low. The total cooking time for this size of pudding is 90 minutes.

Don’t be tempted to remove the lid as it drops the temperature. That said, it is also important that the pan or steamer doesn’t boil dry so do check after 45 mins or an hour if you think it may do. If so, top up with water straight from the kettle.

Turning the pudding out: one of the most satisfying kitchen tasks

When it is done, remove the basin from the steamer and leave for 10 minutes before turning it out onto a serving plate or dish, slide a knife around the inside edge to loosen it if you suspect it may be stubborn.

Serve the pudding with proper custard.


If you like the blogs and podcast I produce and would to start a £3 monthly subscription, or would like to treat me to virtual coffee or pint: follow this link for more information. Thank you.


Variations

You can add flavour by using different sugars or swapping 60g sugar for a syrup, by adding citrus zest, or by adding ½ tsp flavouring or extract.

Toppings can be used with aplomb: they need to be 1 or 2 cm in depth, about 100g, and added before the sponge mixture.

Treacle sponge: add 100g golden syrup (or a mixture of golden syrup and black treacle) to the base, use soft dark brown sugar for the sponge and add the zest of a lemon.

Jam or marmalade sponge: add 100g of your favourite jam or marmalade, add orange or lemon zest to the sponge mixture if liked.

Lemon: add a layer of lemon curd to the base, flavour the sponge with the zest of a lemon. Use lemon juice to thin the sponge mixture.

Bakewell: add 100g of morello cherry or raspberry jam to the base. For the sponge, add ½ tsp almond extract and swap 60g flour for ground almonds.

Rum and raisin: soak 100g raisins in 2 tbs spiced rum overnight, add to the mixture after the flour has been incorporated, thin the mixture with more rum.

Chocolate: substitute 60g of the flour for cocoa. Serve a chocolate sauce or chocolate custard separately.

Fruit: add 100g of any sweetened stewed fruit or fruit in syrup. Soft fruits like gooseberries, blackcurrants, etc., can be mixed with sugar and added raw.


Notes:

[1] I regularly make these puddings gluten free and the flour mixture I use is the following: 60g ground almonds, 175g gluten-free bread flour mix (I use Dove Farm), 1 level tablespoon gluten-free baking powder and 1 level teaspoon ground psyllium husk.

5 Comments

Filed under baking, Britain, cooking, food, General, Puddings, Recipes, Uncategorized