Monthly Archives: January 2018

Two Easy Pickle Recipes

My previous post on pickling went on a bit, so I’ve added these two simple recipes as a separate one. The methods are not particularly comprehensive, so if you haven’t pickled before read the previous post for hints and tips.
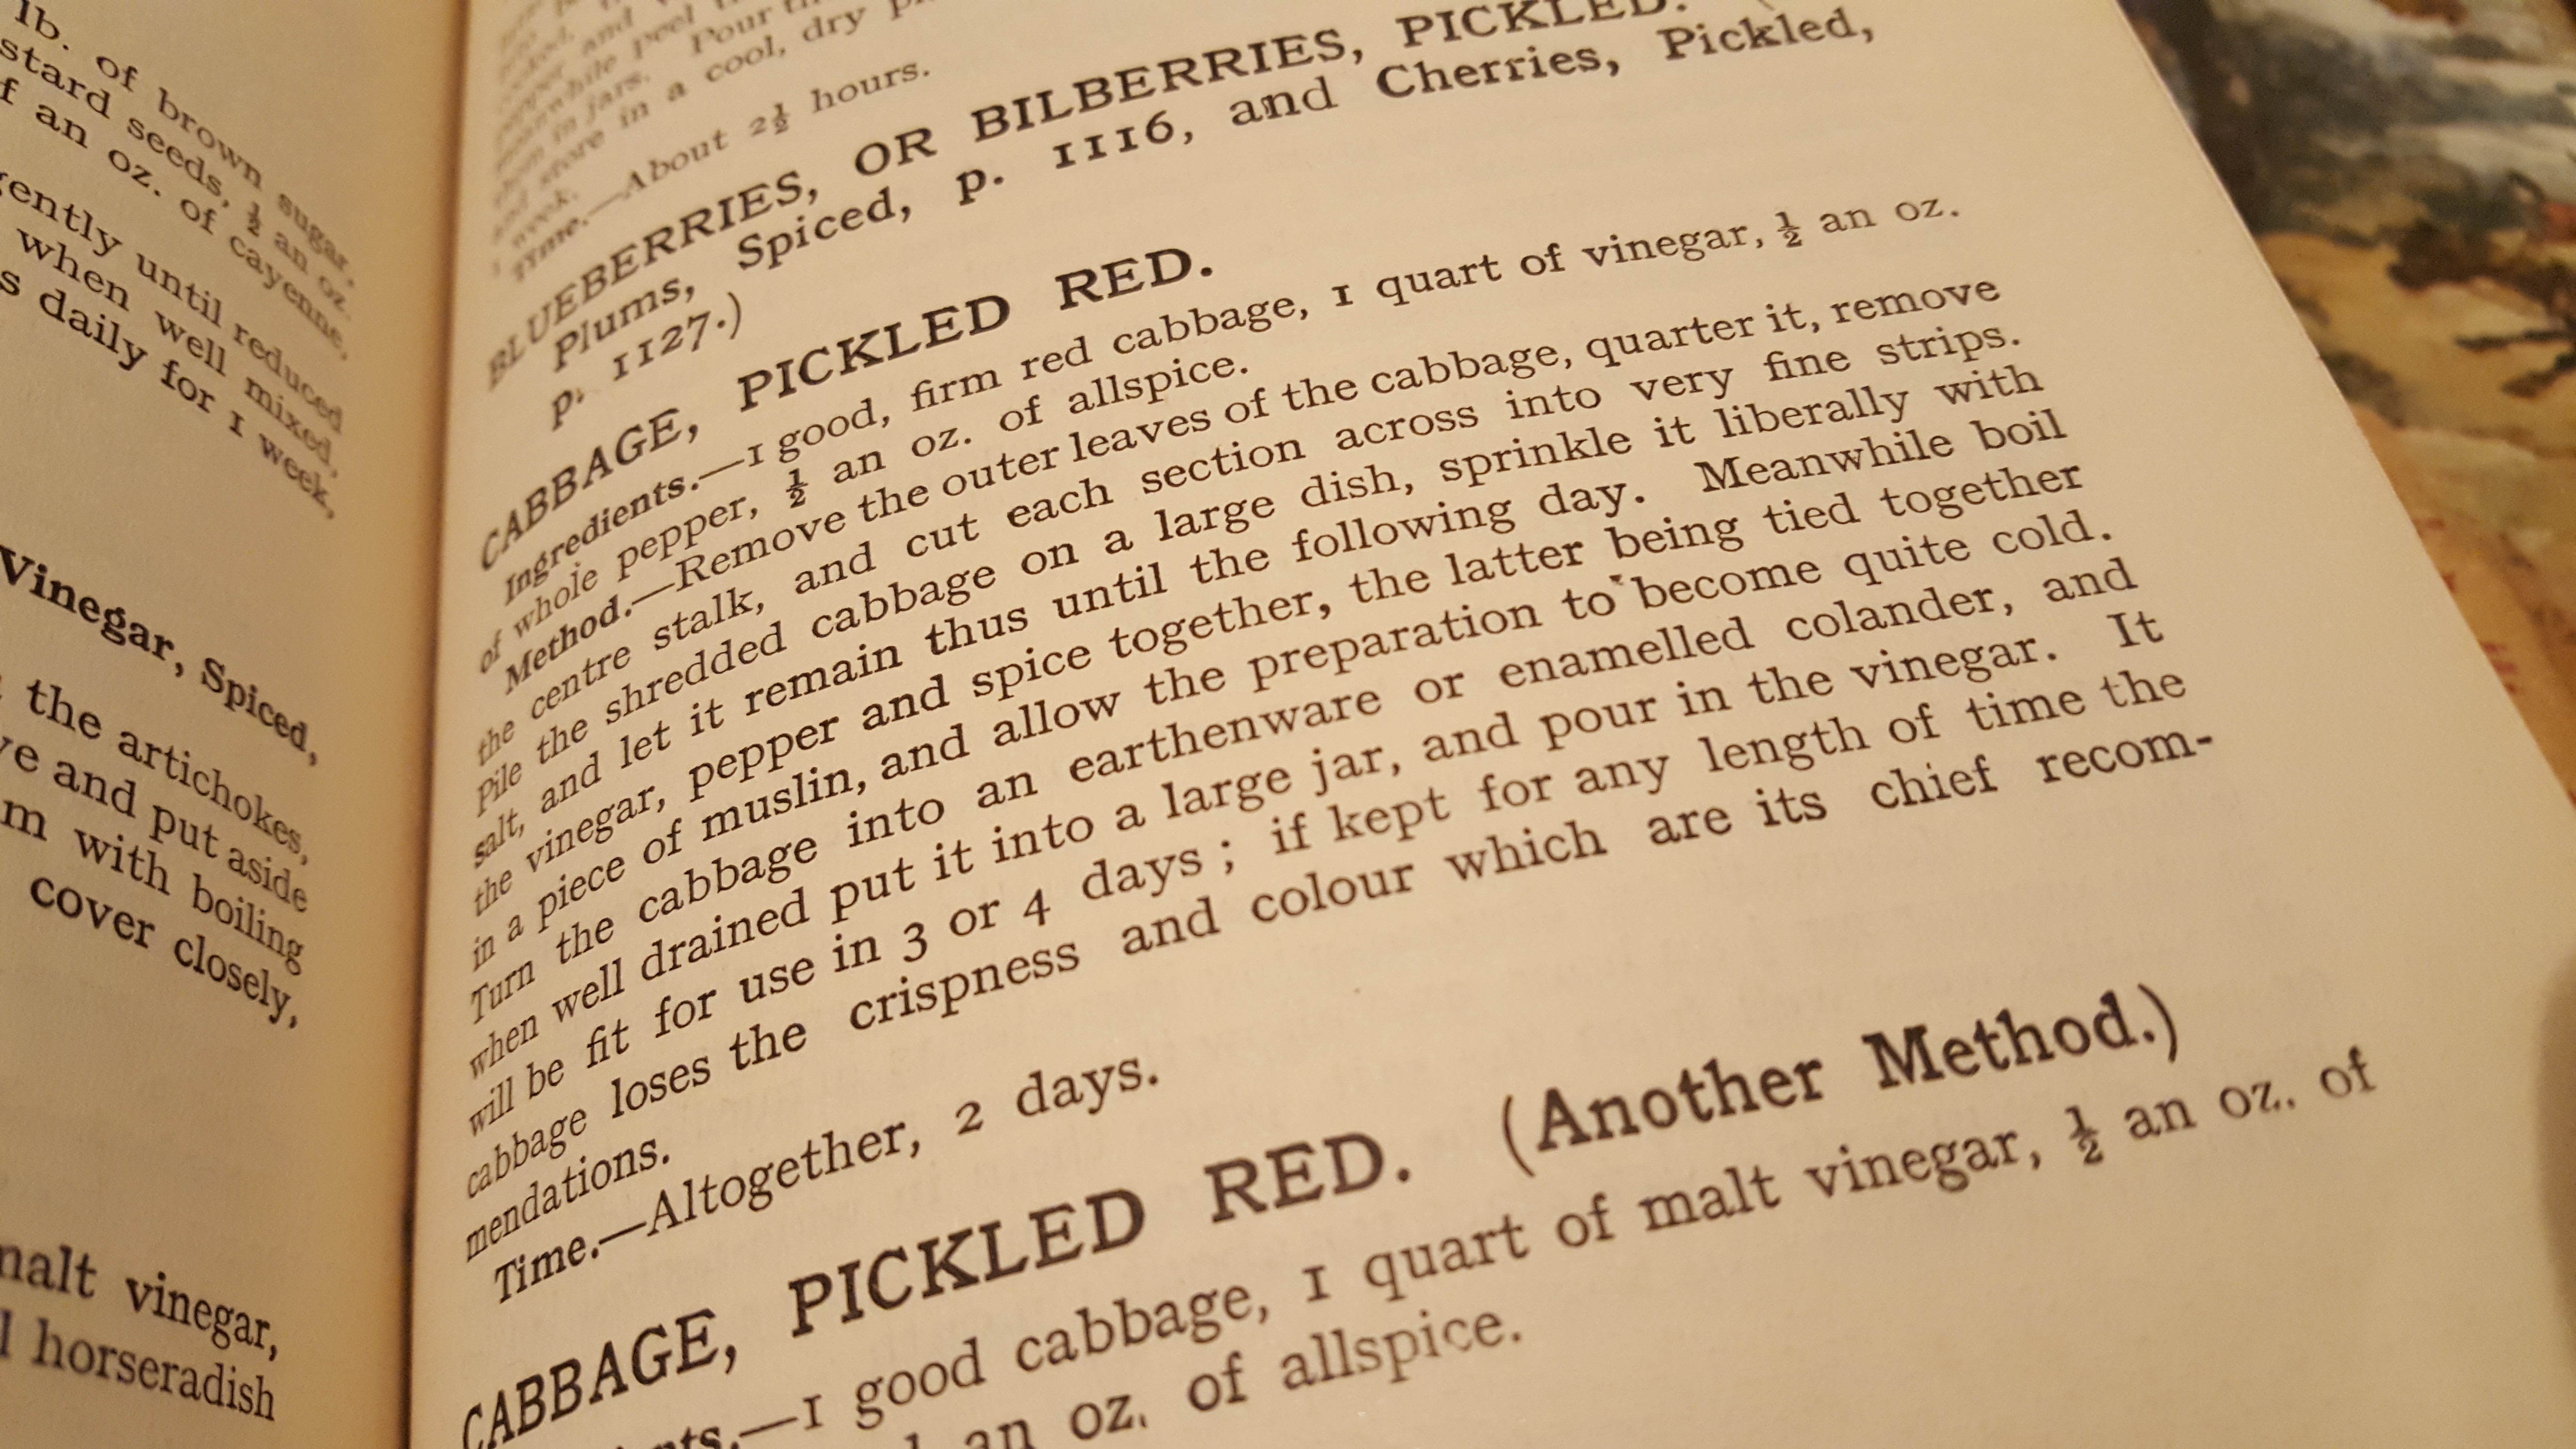
Pickled Red Cabbage

As with many recipes for preserving, it’s difficult to come up with precise amounts. It all depends upon how much produce you have and the size and shape of your jars . A certain amount of guesswork is required. If you don’t make enough pickling liquor, you can quickly make more, and if you make too much, keep it in a sterilised jar; you can always use it pickle something else, or use it in salad dressings.

It is a good example of a system rather than of a recipe, but I reckon a good-sized red cabbage will need a litre of liquor. Oh and it’s a two-day affair, so don’t start this the day before a fortnight’s holiday or something:

Day 1:

1 red cabbage, sliced thinly, centre removed

Sea or rock salt

Scatter your sliced cabbage into a colander placed on a deep plate or large bowl and strew with plenty of salt. Cover with a tea towel and leave overnight for the water to drain.

Day 2:

1 litre of cider, wine or distilled vinegar

1 tsp peppercorns

1 chilli

1 tsp Allspice berries

50 g sugar

1 star anise

1 tsp Mustard seeds

Boil the vinegar with the spices and sugar, simmering for 5 minutes. Rinse the salt from the cabbage and pack into sterilised jars. Strain the hot vinegar and fill the jars with the piping hot liquor. Pop the chilli and star anise into the jars and a few of the seeds and berries (for prettiness). Put on lids and leave to mature for four weeks.

  1. Cover cabbage with salt for 24 hours.
  2. Next day, rinse away the salt and pack into sterilised jars.
  3. Boil up the remaining ingredients. Simmer 5 minutes and pour over the cabbage.

If you like the blogs and podcast I produce, please consider treating me to a virtual coffee or pint, or even a £3 monthly subscription: follow this link for more information.


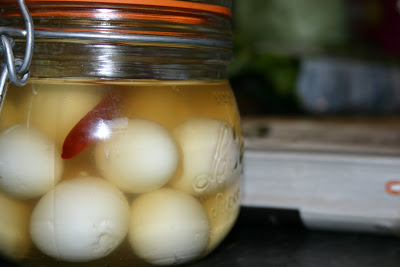
Delia Smith’s Quick Pickled Onions

from her Complete Cookery Course, 1982

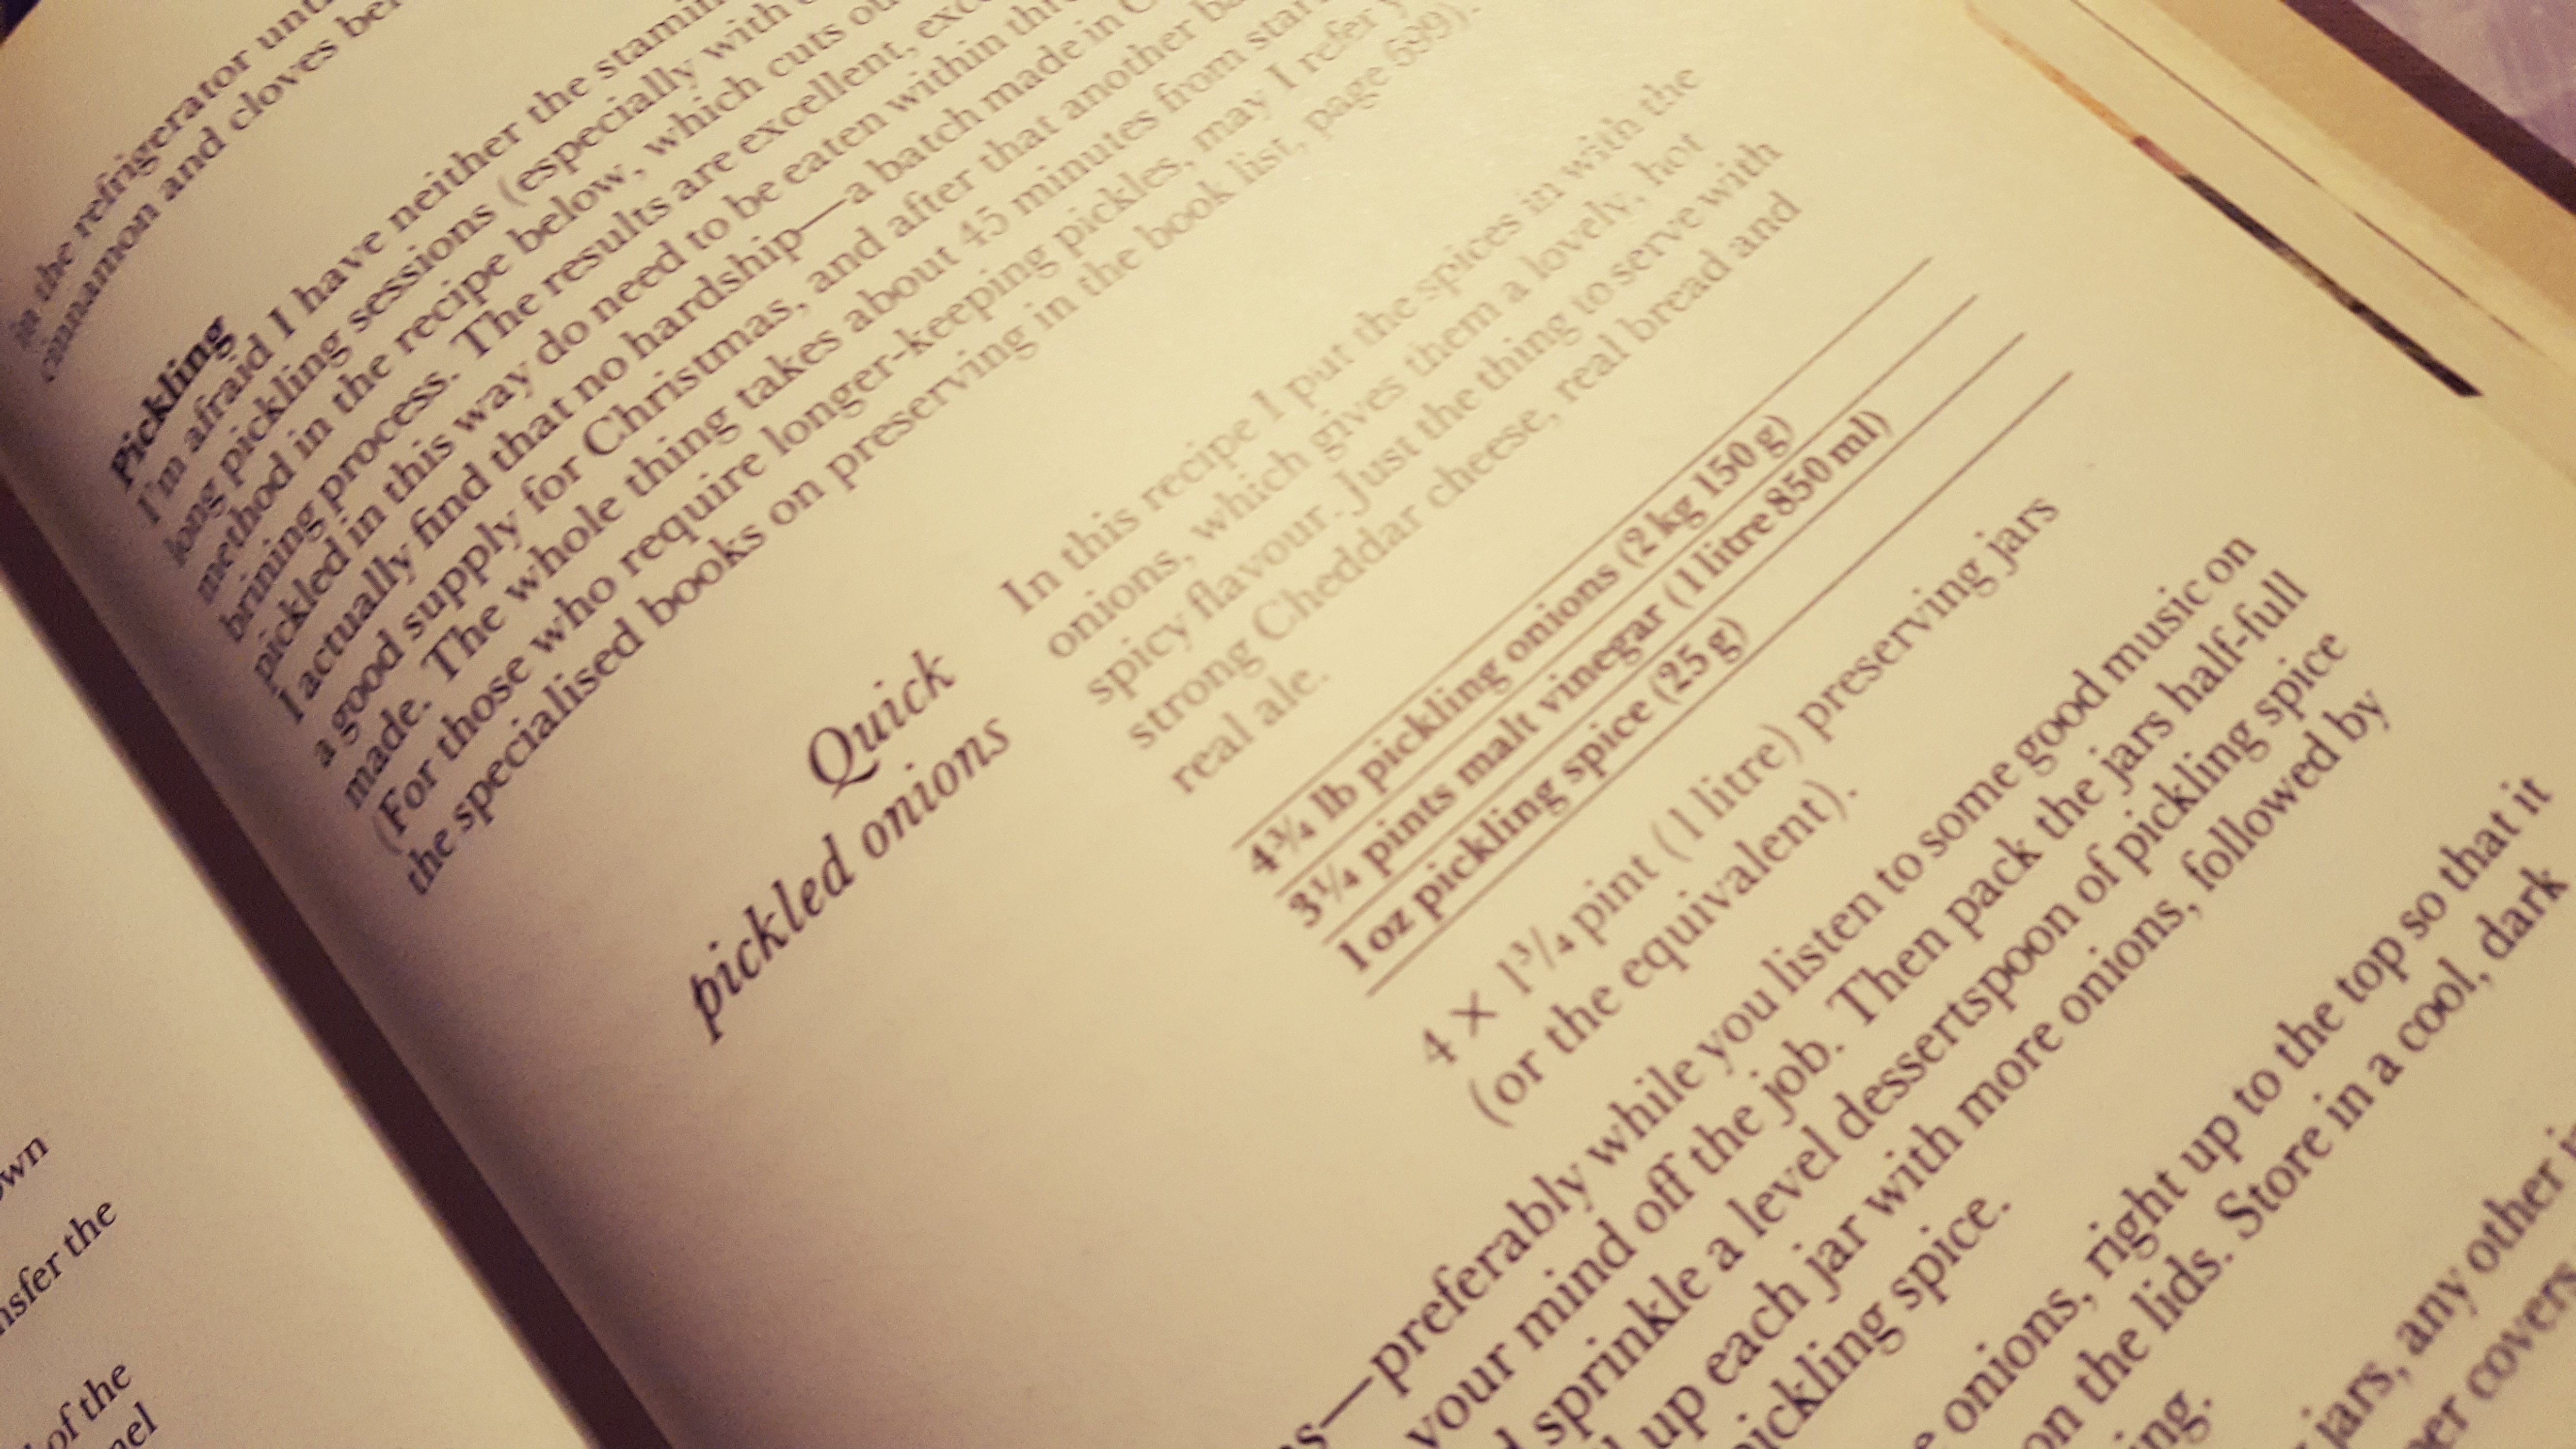
“I’m afraid I have neither the strength nor the patience of endure long pickling sessions…so I always use the method below” says Delia.

No faffing about with this one: onions usually need brining or dry-salting. Delia skips this stage, but be warned: they don’t keep as long as regular pickled onions as the excess water isn’t drawn out by the salting process. They’ll keep 4 months maximum.

In her recipe, Delia asks for pickling spice, which you can buy already blended, but have a go at making your own; a keen cook will probably have most of the spices needed anyway! See the previous post for an example.

2 kg pickling onions [or shallots]

1.75 l of malt vinegar (Sarson’s is best)

25 g pickling spice

The first task is to peel the onions. Put them in a bowl and cover with boiling water straight from the kettle, drain and get peeling. The skins should now be relatively loose from their hot water treatment.

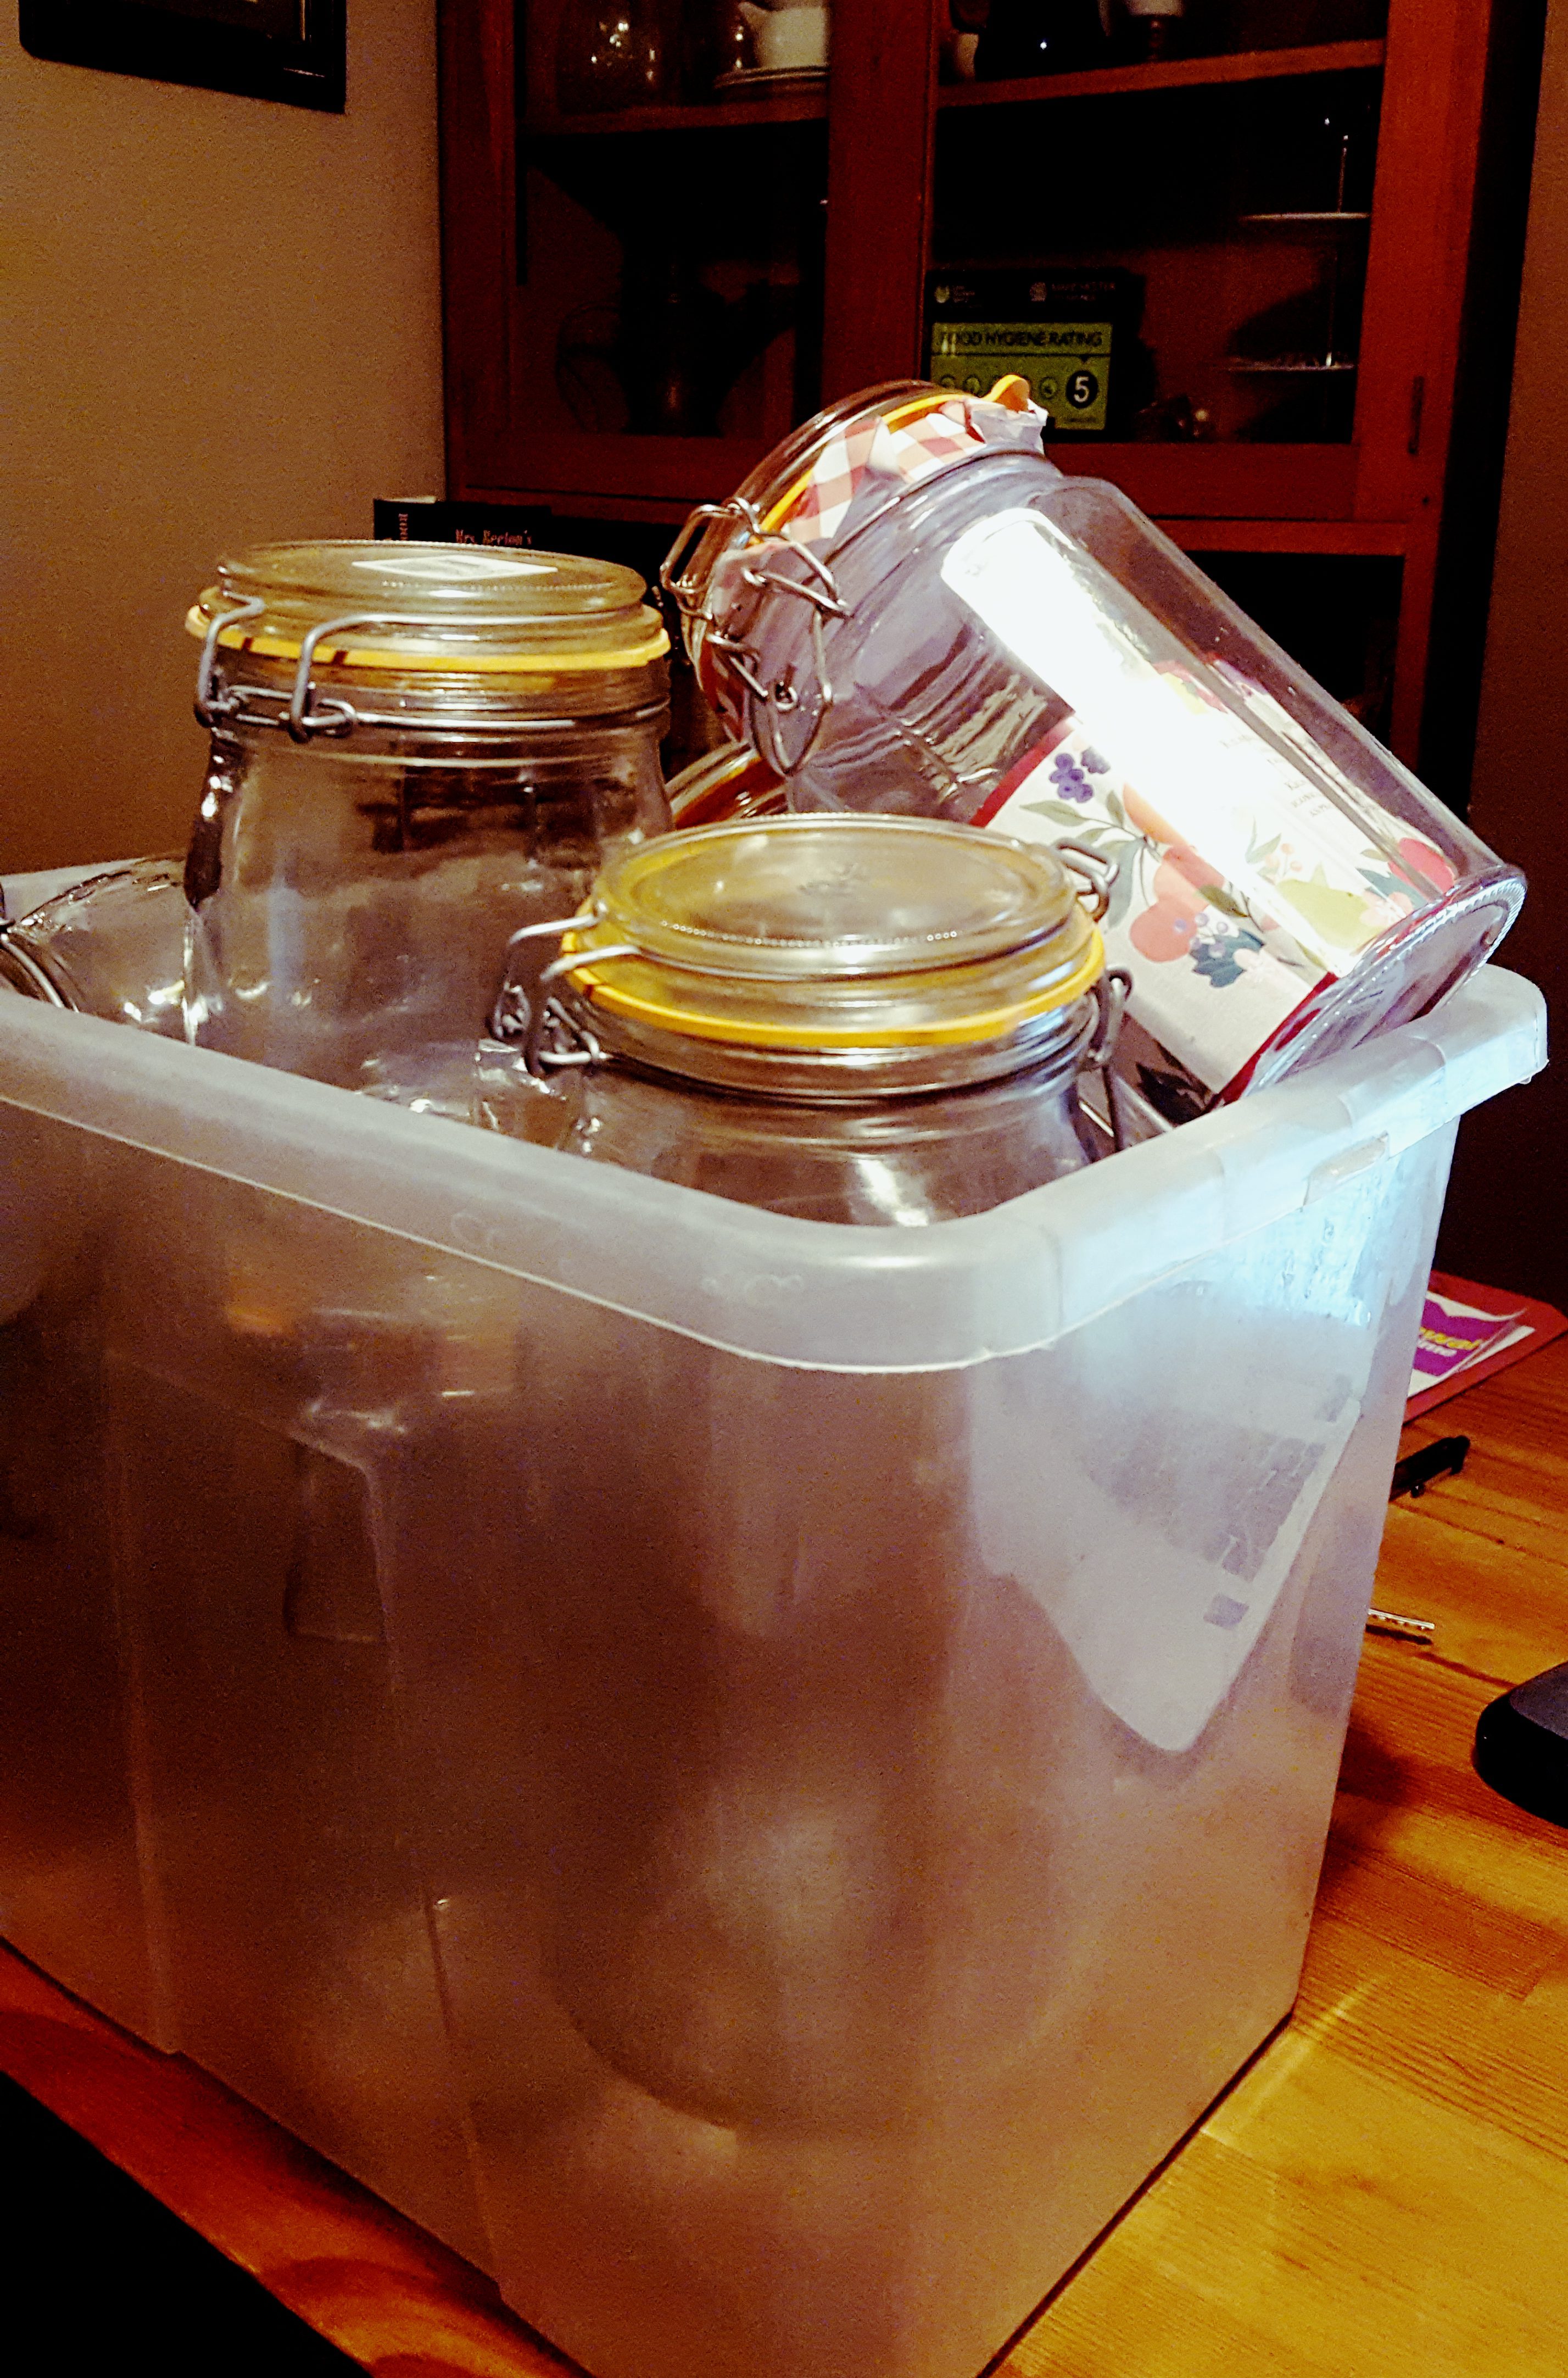
Half-fill your jars with onions – 4 1-litre jars will be enough – and share out half of the pickling spices between them, scattering nicely. Top up with the remainder of the onions, and then the rest of the spices. Pour the vinegar in (no need to heat it) and screw the lids on tightly. Leave the onions 8 weeks before eating them.

Advertisement

6 Comments

Filed under Blogs, food, General, Preserving, Uncategorized

Pickling at Home

Pickling is a form of food preservation that uses either vinegar or brine to keep food from spoiling. Good cooks in all households, rich or poor, throughout history had to know what they were doing if they were to get maximum yield and minimum waste from their home-grown produce, whether a tiny veg patch or a large kitchen garden. Therefore, if we’re to cook historical recipes, we too need to know what we’re doing.

Pickling in brine is essentially curing with salt and I’ll tackle that subject in a different post (this is not be confused with the brining some veg goes through before being pickled in vinegar (see below).

I thought that I’d go through how to make your own pickles at home as I got some good feedback on my previous preserving post: fruit jelly preserves. Pickling is easy and doesn’t require any expensive specialist equipment, so if you have never tried your hand at home-preserving, give it a go. A similar method is used to make flavoured vinegars, so I’ll write a little post on those too.


If you like the blogs and podcast I produce, please consider treating me to a virtual coffee or pint, or even a £3 monthly subscription: follow this link for more information.


The ingredients

Vinegars: any vinegar can be used, however for long-term preservation a vinegar that is 5% acetic (ethanoic) acid is required. When it comes to choosing the correct, go for your personal preference. Malt vinegar packs the strongest punch and goes best with onions and shallots in my humble opinion. The cider and wine vinegars have a fresher, subtler flavour and are pretty much universal. Distilled or spirit vinegar is vinegar in its purest form, essentially just acid and water and can be used to pickle anything. It can be a little harsh so requires flavouring with aromatic herbs and spices.

Balsamic, Champagne and sherry vinegars can do the job of pickling perfectly well but are far too expensive for your glut of allotment red cabbage, though a touch of balsamic vinegar added to another does work well.

Pickled quails’ eggs

Herbs & Spices: Though not strictly essential, herbs and spices do give your pickles an extra aromatic dimension and take the edge off that often harsh vinegar astringency. Most herbs can be used with great effect: thyme, rosemary, bay, savory, oregano, dill and fennel all work very well.

Pretty much any whole spice can be used successfully here: fresh ginger, peppercorns, mustard seeds, allspice berries, cinnamon sticks, fennel seeds, dried or fresh chillies and dill seeds are the usual suspects. Use whatever you like, but a general rule for spice mixes is to add up to 25g of spice to each litre of vinegar. A good general spice mix:

1 tbs allspice berries

1 tbs mustard seeds

1 cinnamon stick

2 tsp black or white peppercorns

1 tsp fennel seeds

1 or 2 dried chillies

I’m going a little mediaeval and including sugar as a spice: the deliciousness of a pickle can be heightened immensely with a seasoning of sugar. This is especially important when pickling fruit such as pears or strawberries.

Salt: Many vegetables need to be salted in some way before pickling. The salting process draws water from the veg both firming it up and taking away water that would otherwise leach out and dilute the vinegar. Use either rock or sea salt for this, never table salt; it is far too harsh and inevitably some salt ends up in the final pickle, so a nice complex salt is best.

There are two types of salting: dry salting is where salt is sprinkled over vegetables and left overnight to drain. The other way is by brining, where the veg is immersed in a strong salt solution for 12 to 24 hours. A typical brine contains 85g of salt per litre of water.

The produce: these are the fruit, vegetables or eggs you want to pickle! They need to be a good size, unbruised and not overripe. Some vegetables need to be salted or cooked, some neither! When preparing your produce, make sure the pieces are a good size for when you come to eat them, and that they of a good size and shape to be packed well into jar. It’s important to remember that the produce needs to be completely covered and that there needs to be a decent space, around one centimetre, between the vinegar and the jar rim.

The Equipment

Aside from your regular kitchen pots, pans and jugs, there is little specialist equipment required.

Muslin & string: used to tie herbs and spices to infuse into the vinegar. Not essential though, as you always pass the vinegar through a sieve.

Jars & lids: obviously this is a must-have. I tend to use stocky hardwearing Kilner jars where I can, but I also hang on to any decent-sized jars that come my way. Make sure the metal lids of jars have a layer of white plastic under them; this makes them vinegar-proof.

Just part of my jar collection!

How to Pickle

This is a four-stage process:

Preparing the produce: Sometimes there is no prep, sometimes there’s cooking or salting. Check the recipe before you embark on your preserving as some veg needs a full 24 hours salting!

Preparing the pickle: The vinegar is simmered with its herbs and spices for 5-10 minutes, depending on the pungency required. This can be strained if a muslin bag wasn’t used. The pickling liquor is used hot or cold depending upon the recipe.

Potting: sterilised jars need to be packed quite tightly with your produce before the vinegar is poured in. Make sure everything is covered and pop the lid on tightly. Give the jar a jiggle to remove air bubbles. See this post if you don’t know how to sterilise jars.

Maturing: Leave your pickles for a month before eating them so that the vinegar can penetrate the veg. Waiting also matures the flavour making it more rounded and less harsh. Patience, dear readers, is a virtue.

Alright, that’s the basics…I’ll post recipes soon. If you can’t wait for me to post, see this previous pickled egg and this pickled beetroot recipe.

Pickled white beetroot

6 Comments

Filed under cooking, food, General, Preserving

Vinegar in the Home

Vinegar is, of course, delicious on your fish and chips and a great preserver, but it has been put on a bit of a pedestal by many because of its seemingly myriad uses in the kitchen and home.

Here’s a culinary tip I spotted in a book called Domestic Cookery from 1840 which is useful to anyone who has just caught themselves a hare; when hanging it in your larder, place a bowl beneath the beast to collect the blood. Add a teaspoon of vinegar to the bowl to stop the blood from coagulating. The blood can then be used to thicken the sauce when making the classic dish, jugged hare. Vinegar is used in the same way when making black puddings from fresh blood.

A brown hare (photo: Damien Waters)

Vinegar diluted in water can clean and polish so many things: floors, windows, stainless steel, chrome, carpets and cruets (no one wants a dirty sauce cruet!). Mixed with pinhead oatmeal or sand it works as an abrasive, cleaning oily hands efficiently, and mixed with bicarbonate of soda it can unblock your sink. Vinegar is a deodoriser, so add a few drops of an essential oil to a weak vinegar solution to make your own air freshener. Used neat it will remove ink stains from clothes and sanitise wooden chopping boards.

It has medical uses too. Hippocrates apparently used vinegar to treat sores and other infections, and the Victorians used to make a vinegar, sage and honey tea to treat sore throats. Modern medical research is looking into the application of vinegar to treat several diseases, including cancer.

Hannibal

By far my most favourite use of vinegar in history comes courtesy of Hannibal, that great Carthaginian general, who famously crossed the Alps on elephant. It is said that he used vinegar to dissolve any boulders blocking his mountainous path! He must have been either a very patient man, or had somehow produced acid as strong as hydrochloric.

For more – somewhat more modern – tips on using vinegar in the home take a look at the Sarson’s website.


If you like the blogs and podcast I produce, please consider treating me to a virtual coffee or pint, or even a £3 monthly subscription: follow this link for more information.


3 Comments

Filed under Britain, food, General, history, Uncategorized