Tag Archives: fruit

Fruit Curds Revisited

2013-12-02 22.14.04

By recent request, I have written another post on fruit curds. I have come up with several more recipes since I wrote the original post and they all originate from a common source; a single recipe that pops up in River Cottage Handbook No.2: Preserves by Pam ‘the Jam’ Corbin. This is a truly excellent book (as are all the RC Handbooks), that deserves a post of its own as part of my rather irregular Favourite Cookbooks series.

Anyway, this recipe is the best I’ve come across, it is for lemon and Bramley apple curd – and it is ripe for modification. Apple purée is used, giving a great texture, making a light nicely-set curd that needs less sugar than your typical lemon curd. Below is the original recipe that I have only very slightly tweaked, and then there is a few more: blood orange, spiced orange and pink grapefruit.

Lemon and Bramley Apple Curd

This recipe makes around 1200ml of curd.

2013-12-01 18.09.14

500g Bramley apple curd, peeled, cored and chopped

150ml water

Zest and juice of 2 lemons

125g butter, cubed

350-400g granulated sugar

5 medium eggs

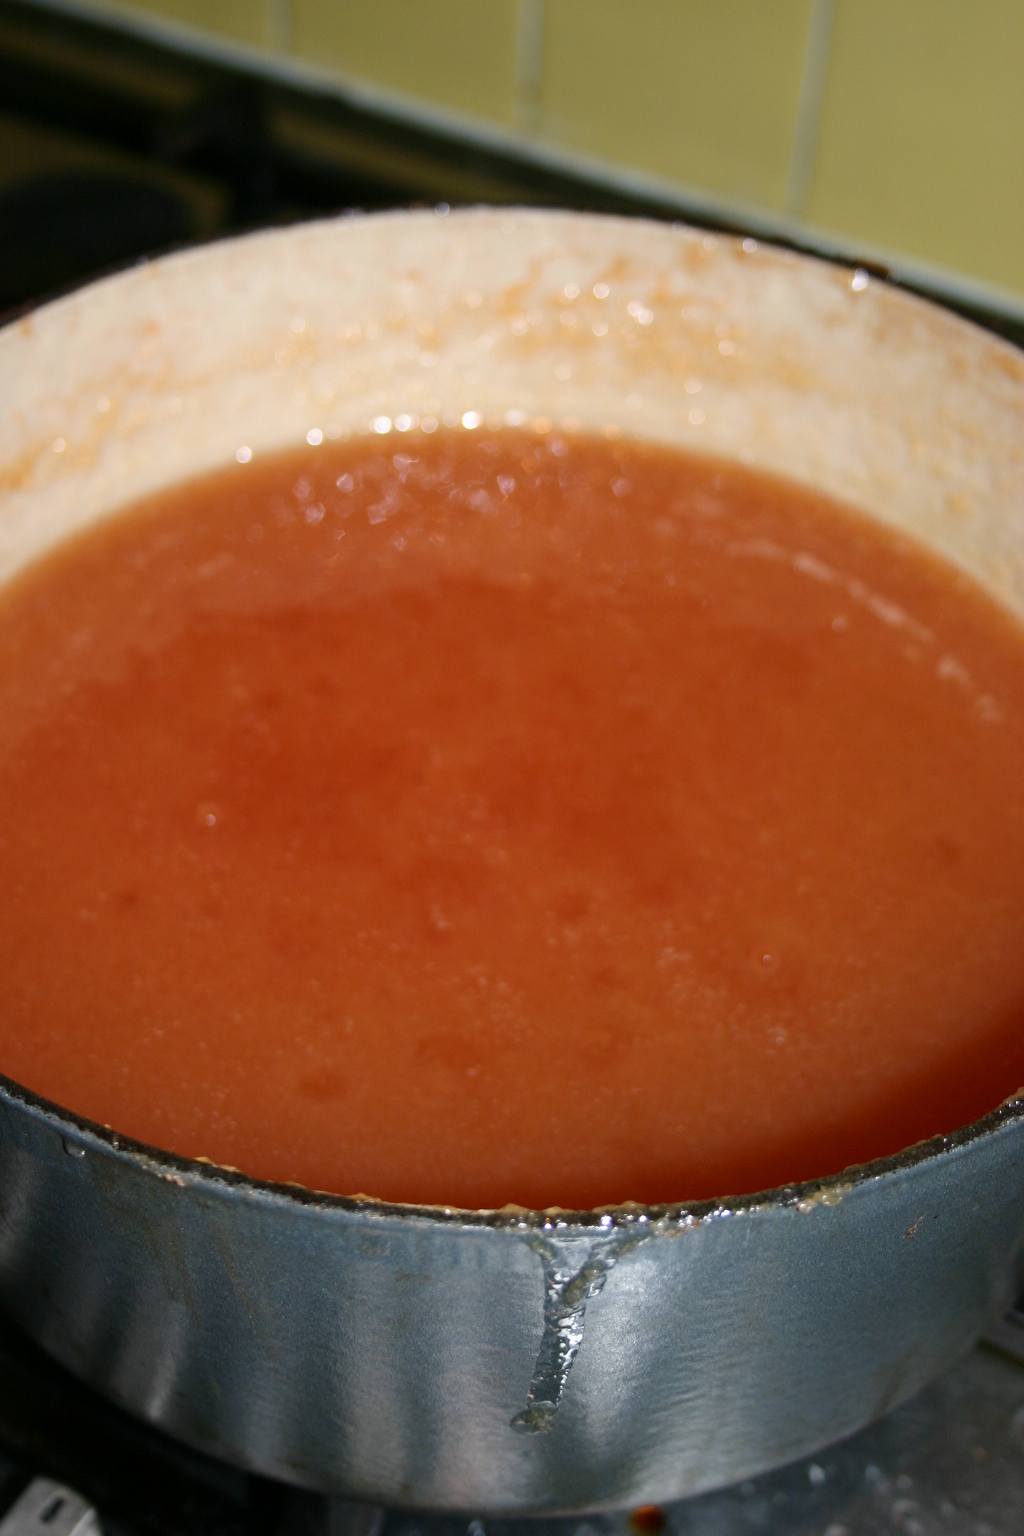
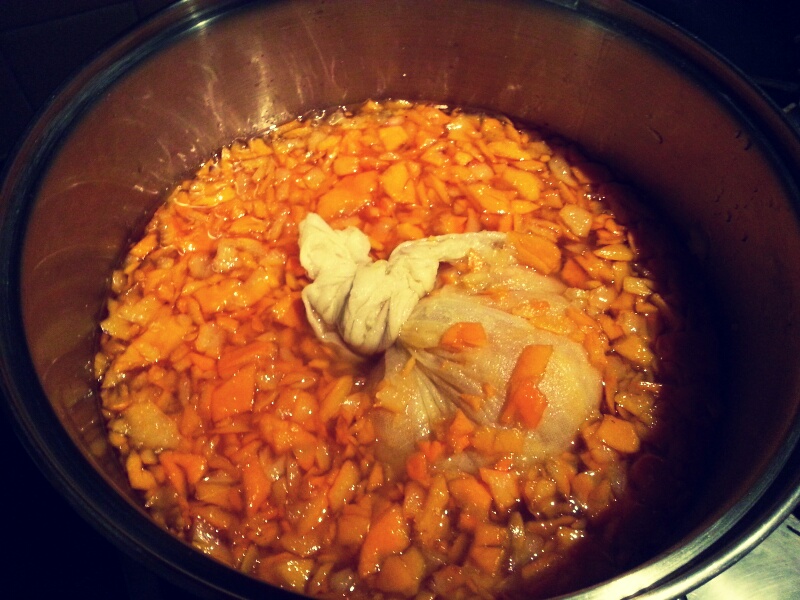
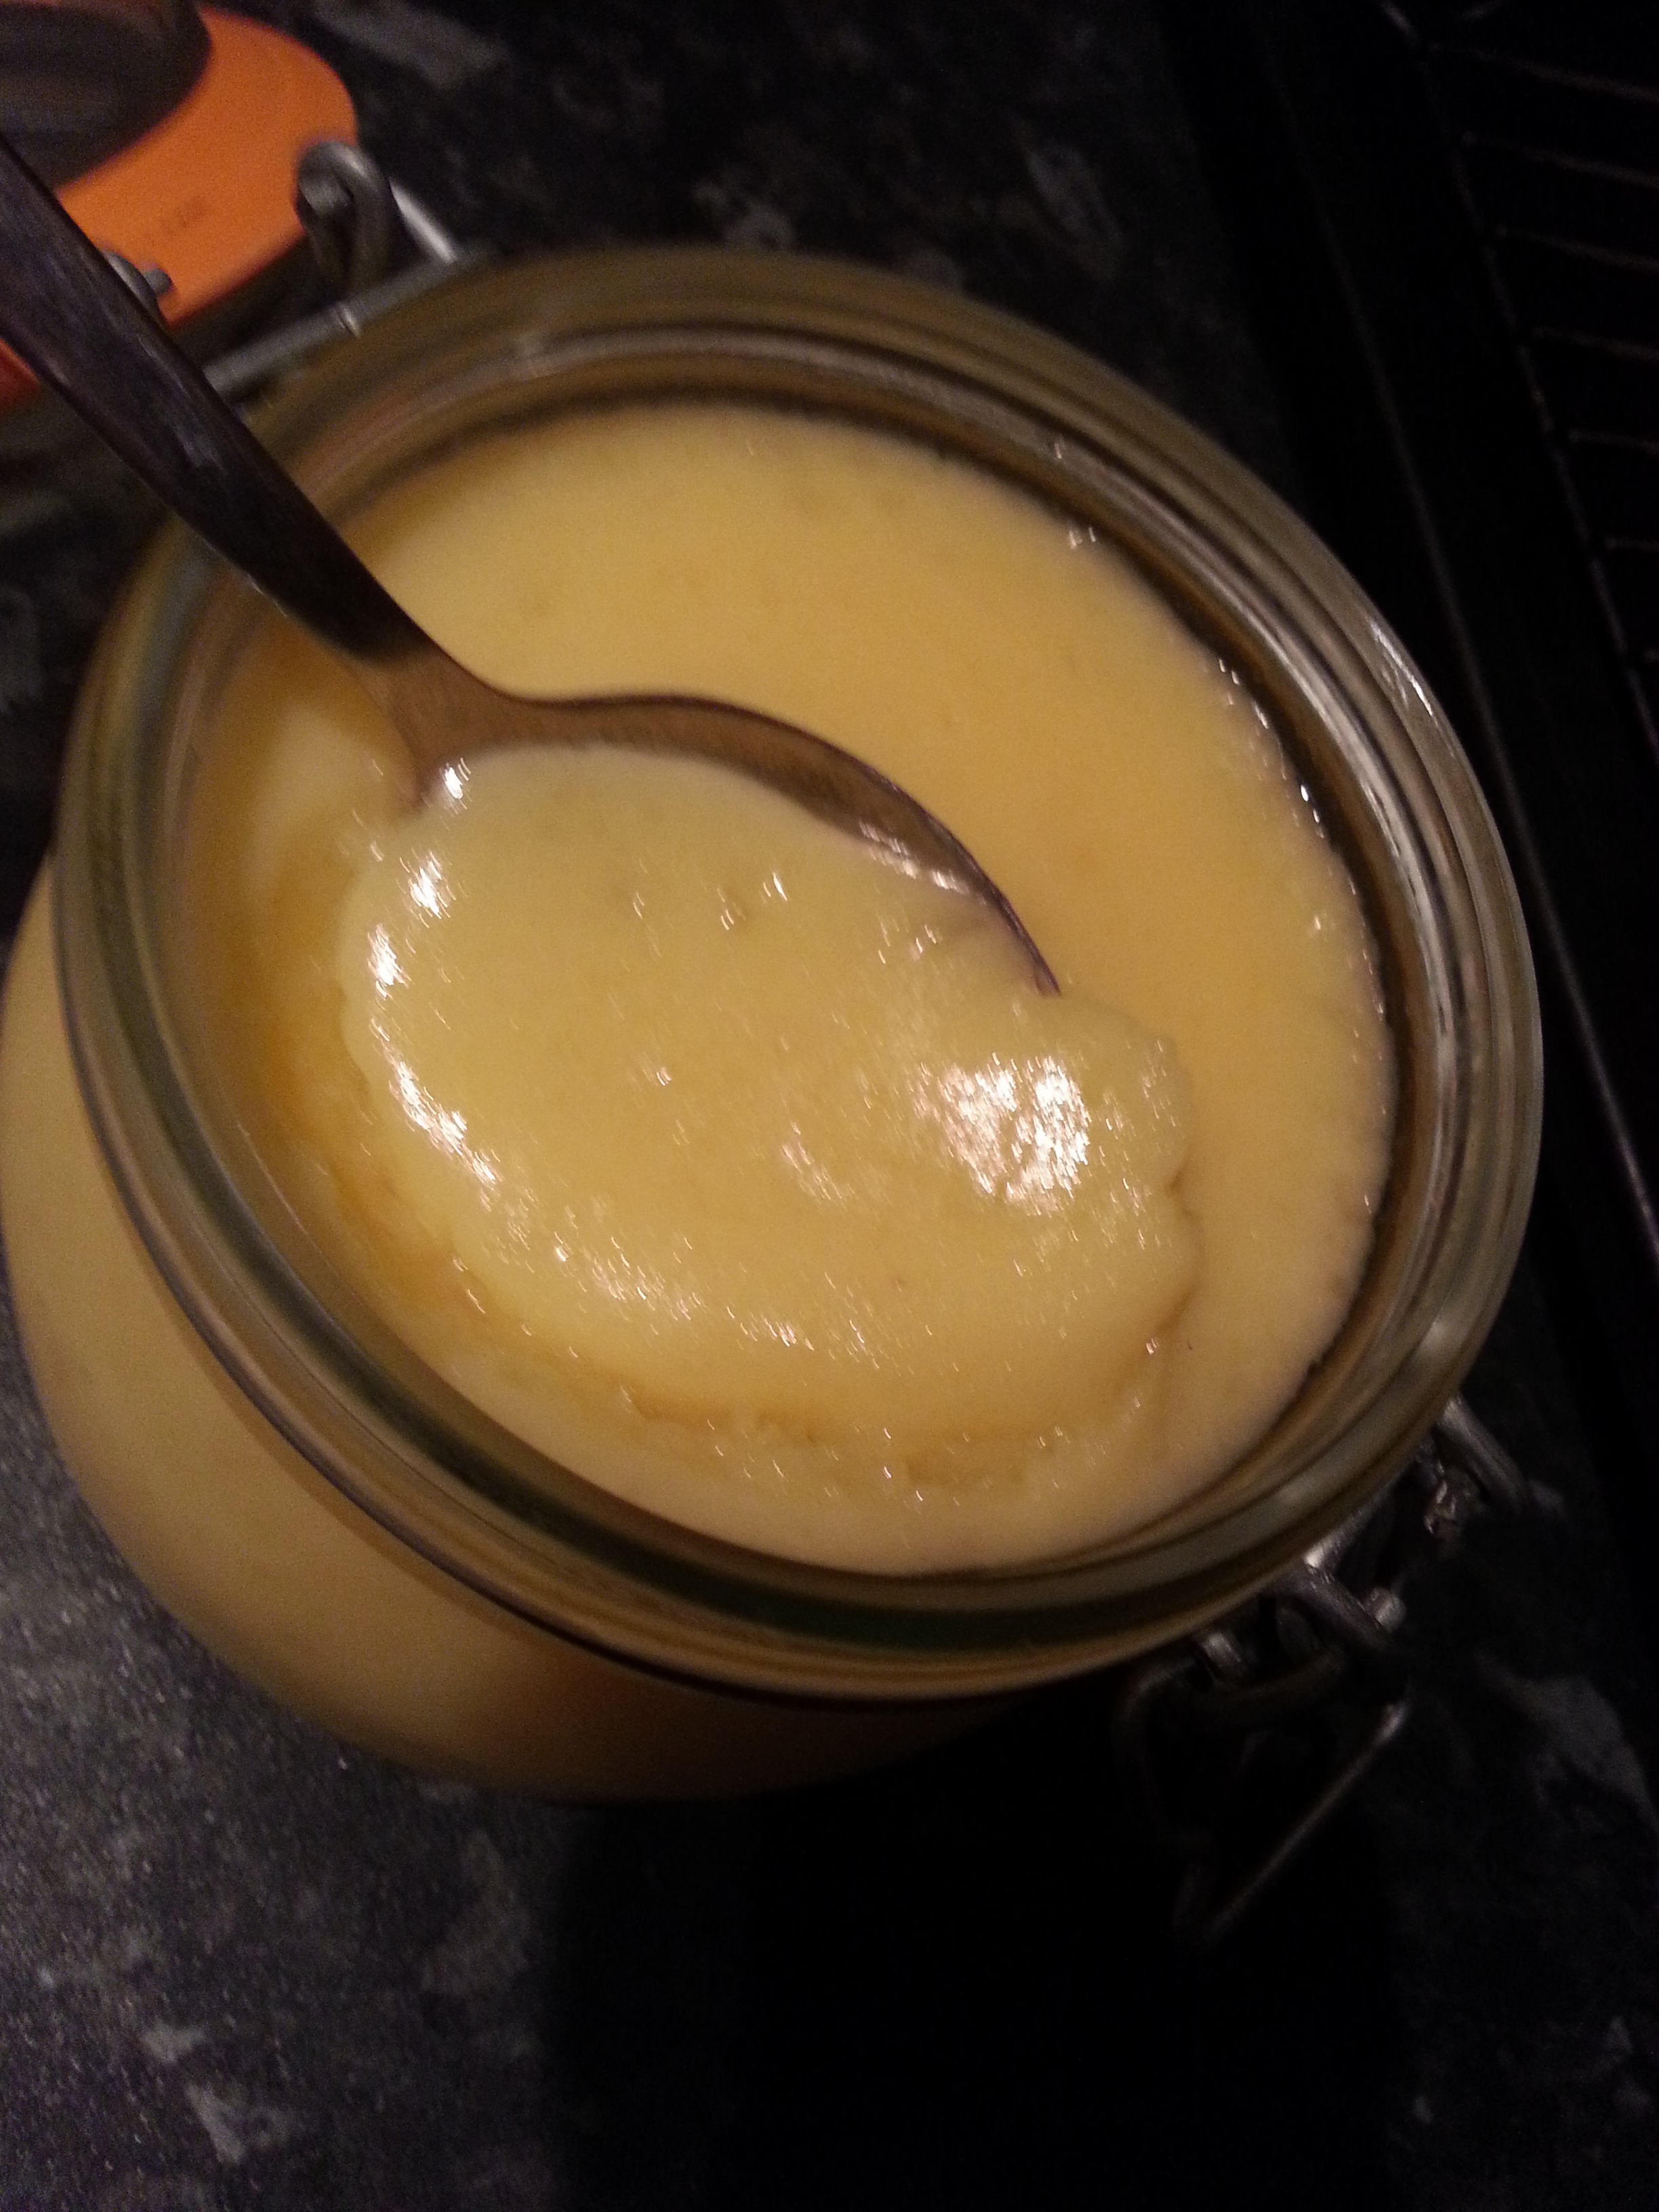
Put the apples and water in a small saucepan, cover and simmer until the apples break down into a purée. When cooked, put them into a large glass mixing bowl with all of the remaining ingredients except the eggs. Mix together – the heat of apples will dissolve the sugar and begin to melt the butter – and place the bowl atop a pan of briskly simmering water, making sure the water doesn’t touch the base of the bowl.

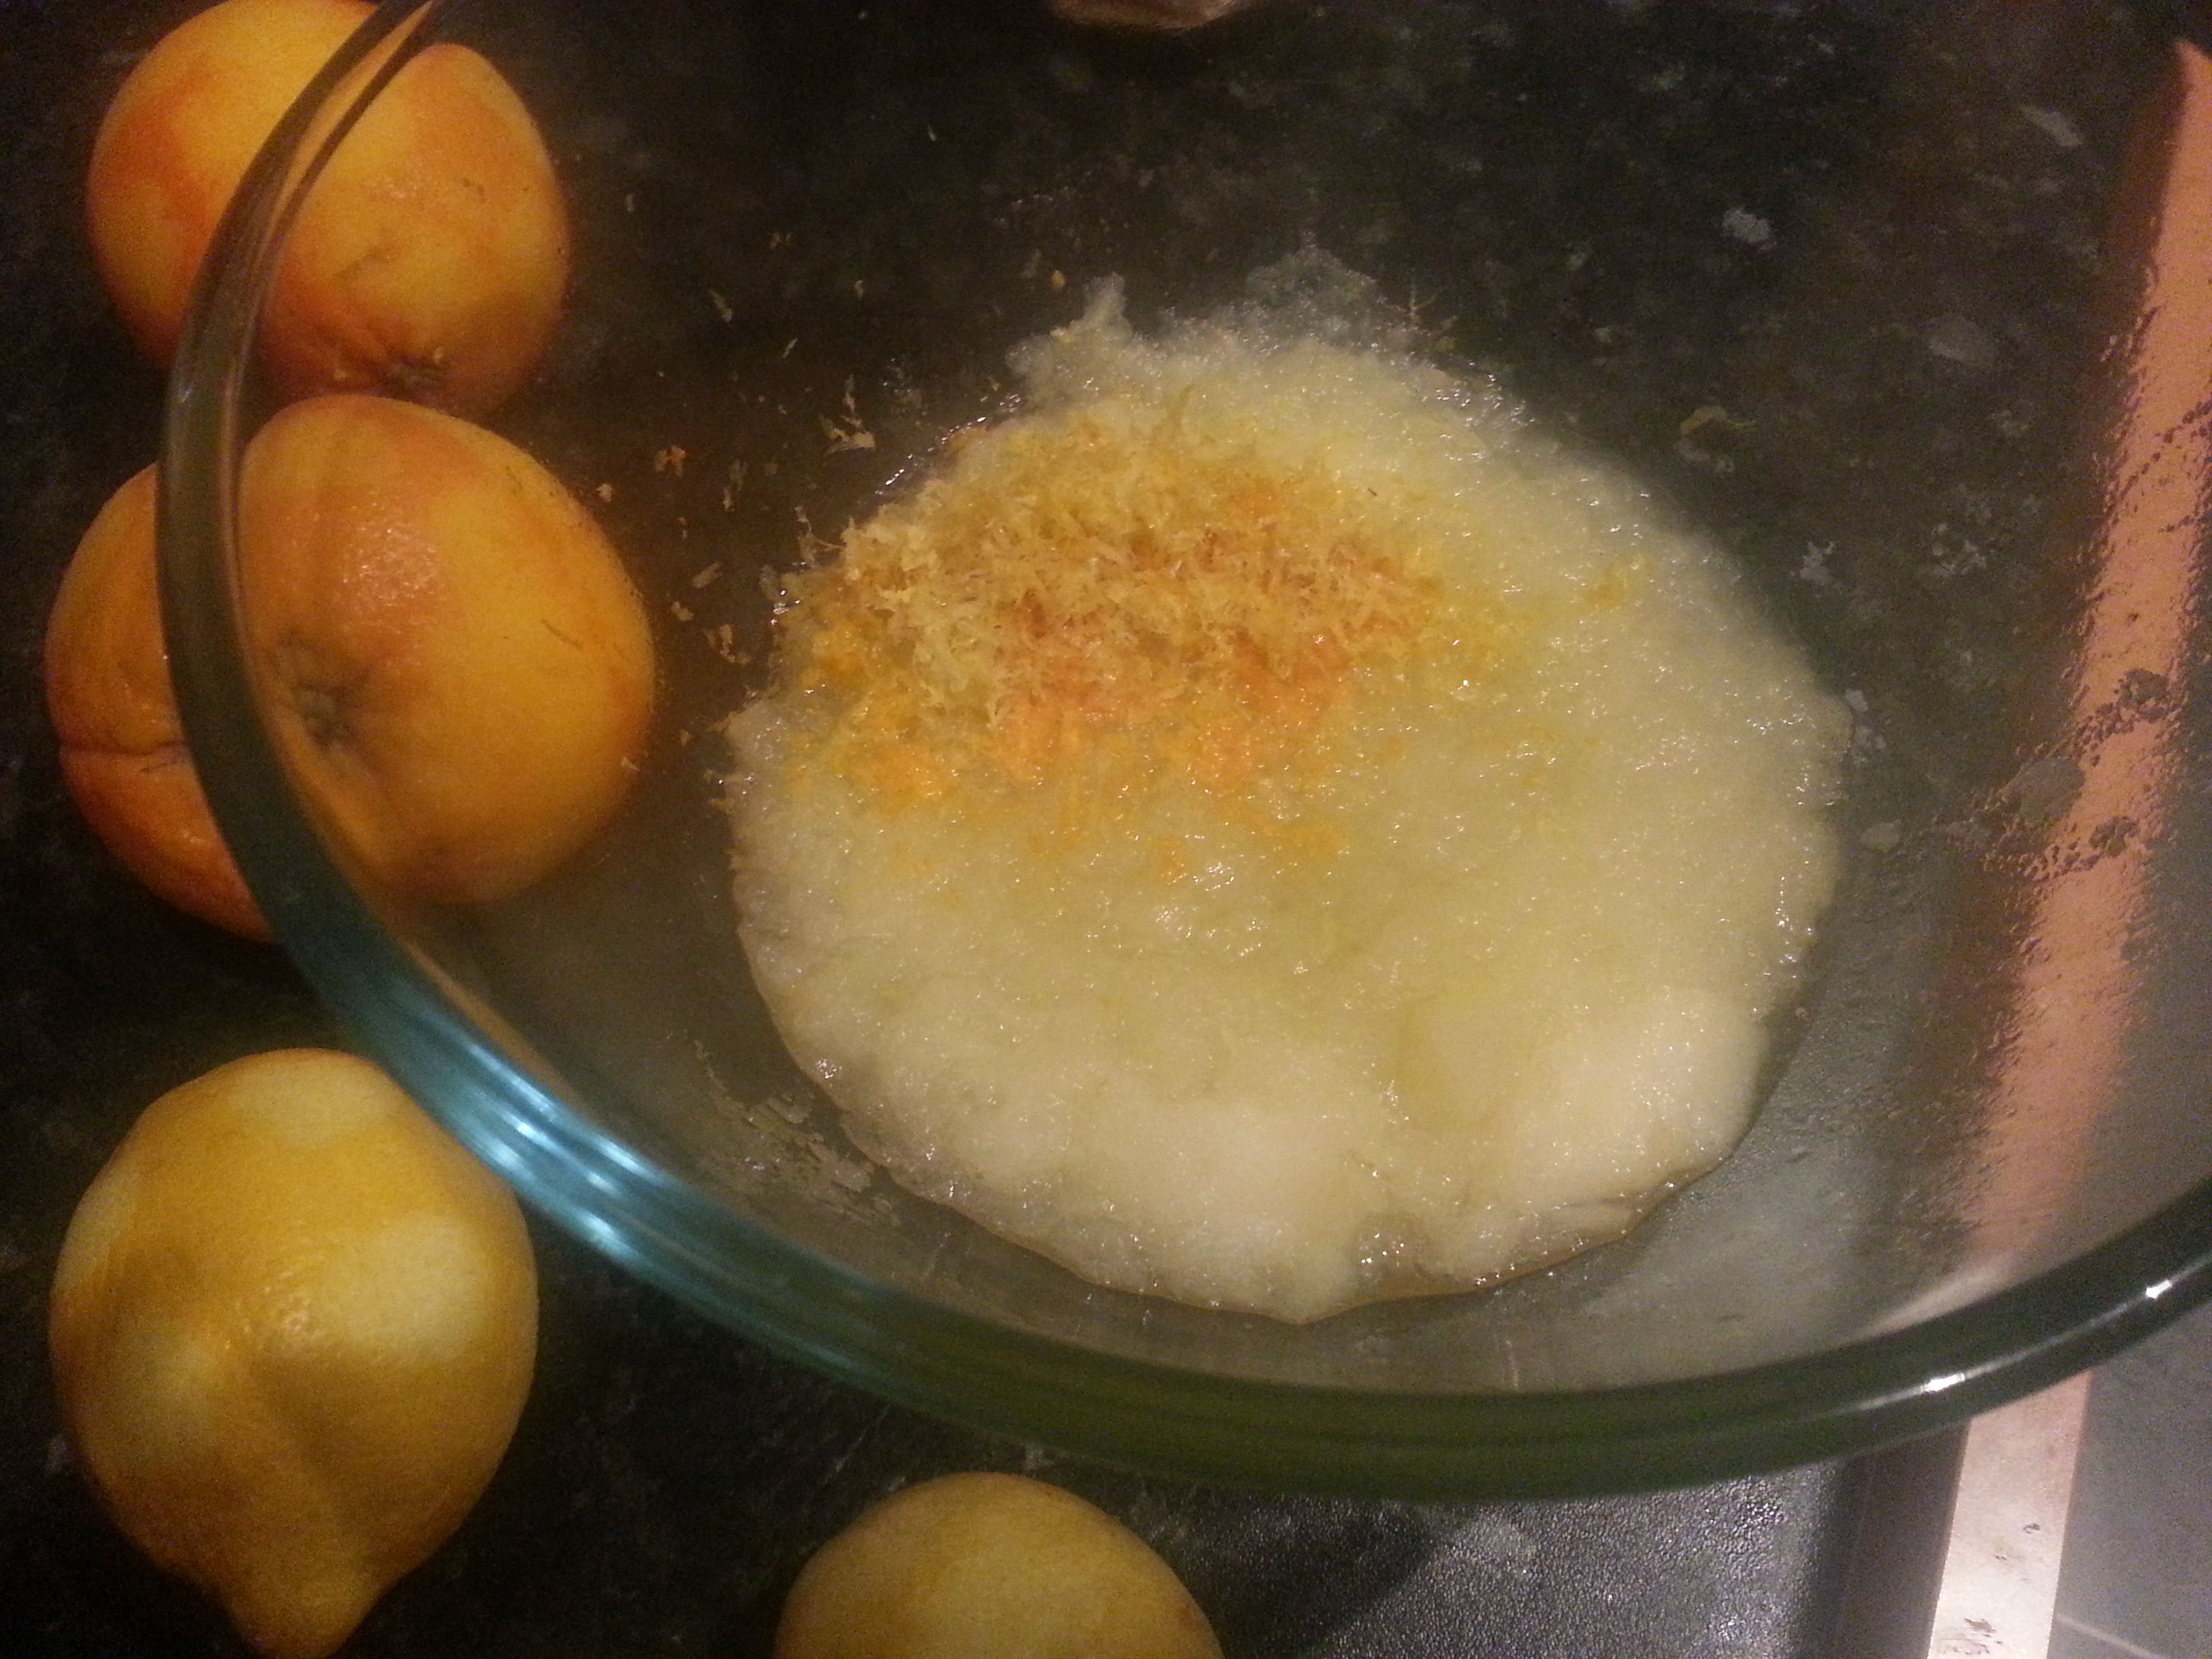
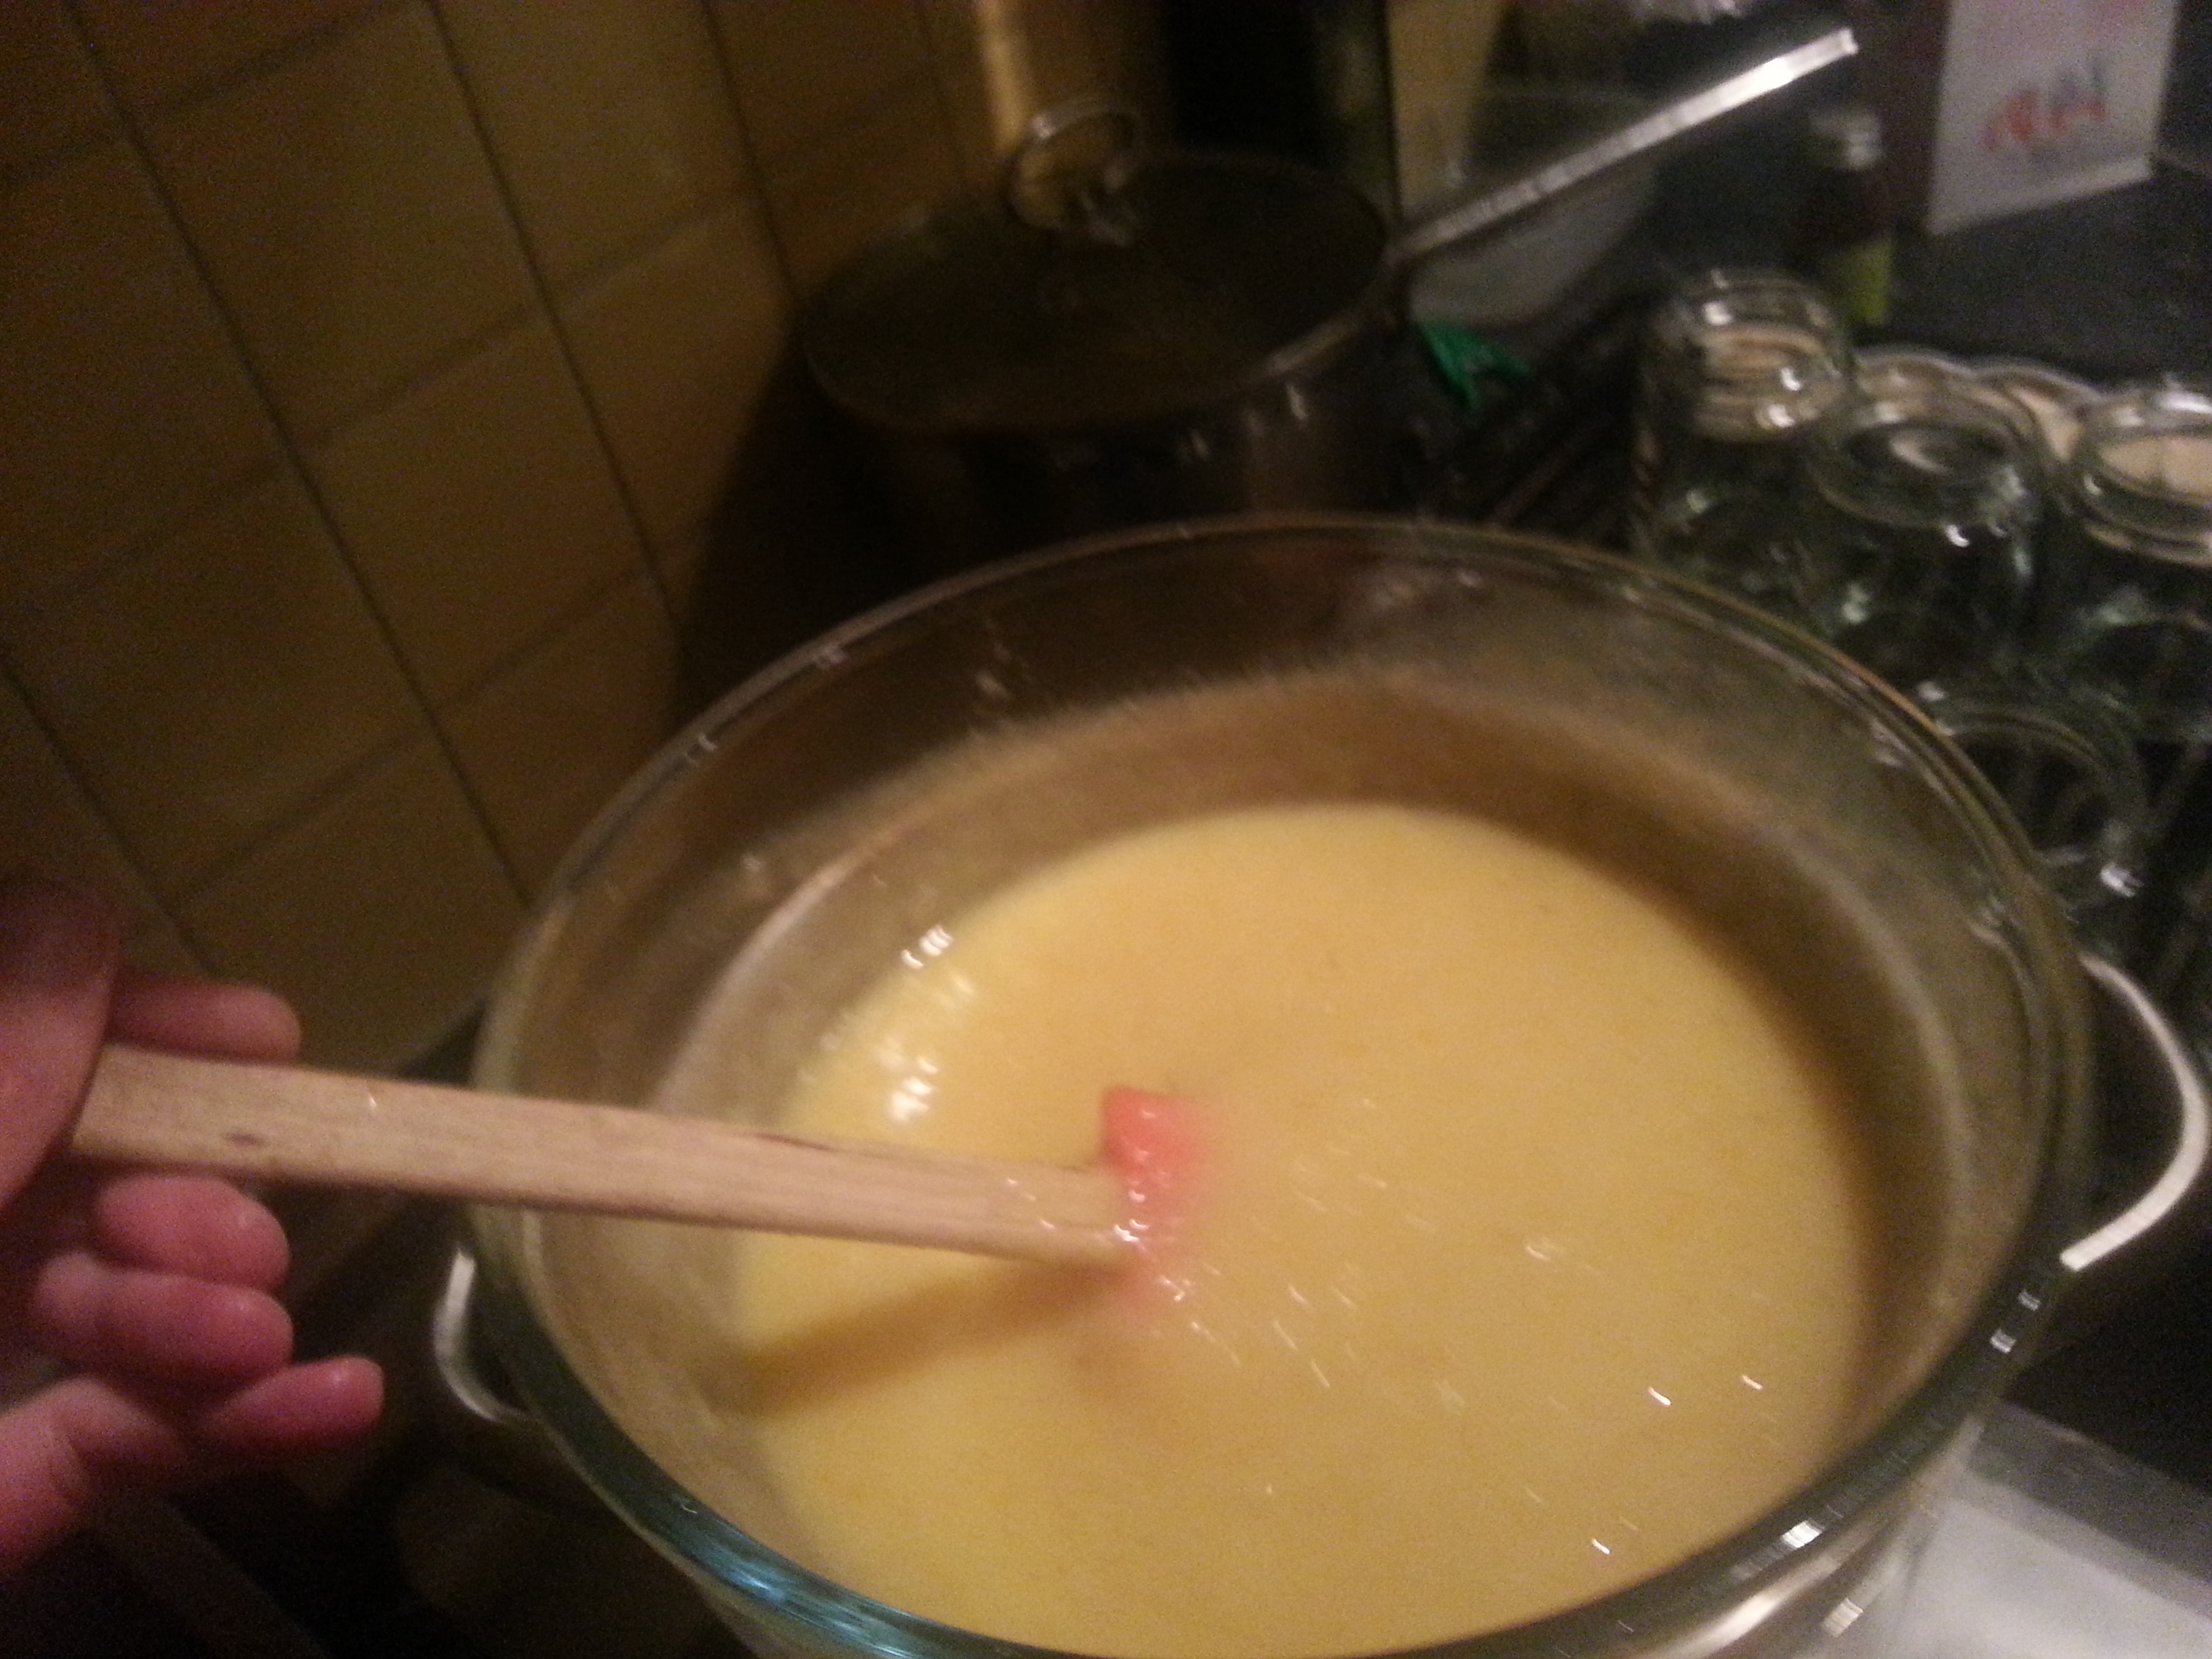
Whisk the eggs well and pass them through a sieve straight into the mixture, stirring them in well. Keep an eye on things and stir the curd frequently until it thickens; it doesn’t require constant stirring, but don’t be going off and dusting the sills. If you want to be scientific about it, eggs thicken at around 80⁰C, but temperatures of 75⁰C and above will thicken the curd sufficiently. Taste and add more sugar if liked – remembering that cold curd will taste much less sweet than hot curd.

2013-12-01 18.35.17

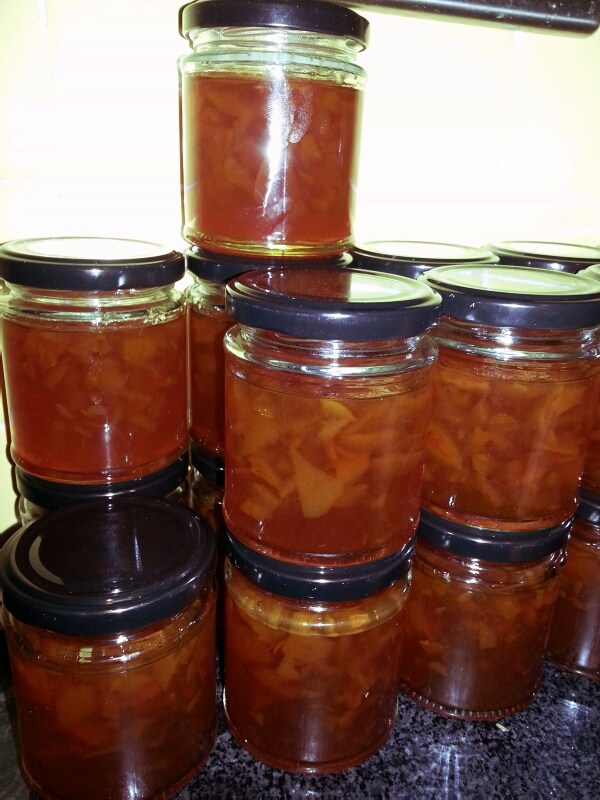
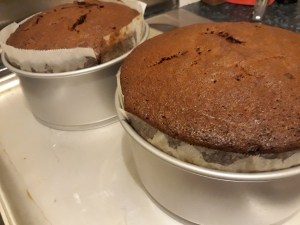
Pot in sterilised jars (25 minutes in a 125⁰C oven does the trick), cool and refrigerate. The curd will keep for 5 weeks.

Some variations

You can pretty much use any fruit juice you like, but you always need a little bit of lemon to add bite as well as to take advantage of its flavour enhancing properties.

Blood orange curd: as above but use the juice and zest of one lemon and two blood oranges.

Spiced orange curd: use the juice and zest of two lemons and two oranges, along with half a teaspoon of mixed spice. When the curd has thickened, add two teaspoons of orange flower water.

Pink grapefruit curd: use the juice and zest one lemon and two pink grapefruits.


If you like the blogs and podcast I produce, please consider treating me to a virtual coffee or pint, or even a £3 monthly subscription: follow this link for more information.


Advertisement

12 Comments

Filed under baking, cooking, food, Fruit, General, Recipes, Uncategorized

Pompion (Pumpkin) Bread

I was recently bequeathed a lovely home-grown organic pumpkin from my good friends Simon and Rachel Wallace – they are slowly but surely building up a small-holding on a farm in the Derbyshire country. They are living the dream, and I am more than a little jealous. Anyway, I wanted to do the lovely pumpkin justice and make some nice meals. I remembered a recipe for pumpkin bread that appears in English Bread and Yeast Cookery by Elizabeth David. She takes it straight from the original manuscript, an 18th century periodical called The Family Magazine. Back then pumpkins were more commonly called pompions, and it is more like some advice rather than a recipe:

Slice a pompion, and boil it in fair water, till the water grows clammy, or somewhat thick; then strain it through a fine cloth, or sieve, and with this make your Bread, well kneading the dough; and it will not only increase the quantity of it, but make it keep moist and sweet a month longer than Bread made with fair water only.

The Family Magazine, 1741

It funny that the British have always had a thing for bread that stays ‘fresh’ for as long as possible; the French, for example, expect the opposite and buy there’s once or twice daily . It goes back to the days when the old brick bread ovens were lit but once a week so the bread – and other goodies – had to last. This love for bread with a long shelf-life is also often blamed for our love of the moist mass-produced packaged breads that go mouldy before they go stale, but I digress.


If you like the blogs and podcast I produce, please consider treating me to a virtual coffee or pint, or even a £3 monthly subscription: follow this link for more information.


I thought I would give this pompion bread a go, but I felt that boiling the poor thing to death was a bit wasteful, and I wanted the bread to have some pumpkin flavour so I roasted it, mashed it up and added it to a basic bread dough along with a little sugar and some mixed spice. It turned out to be delicious so I thought I’d give you the recipe to try. I don’t think it resembles the original recipe, but it certainly inspired me to make it. By the way, it doesn’t stay fresh for a month, but it is very much moist and edible five days later. It goes great with soup and stews or with jam or just butter spread on it.

This recipe makes 2 good-sized loaves.

What you need:

600g piece of pumpkin or other squash, deseeded weight

500g (1 lb 2 oz) strong white flour

50g (2 oz) fine oatmeal

1 ½ tsp mixed spice

25g (1 oz) fresh yeast, or 1 tsp dried instant yeast

2 tsp salt

50g (2 oz) sugar

25g (1 oz) softened butter or olive oil

225g (8 oz) warm water

olive oil

extra flour

extra oatmeal


What you do:

Begin by roasting the pumpkin in a little olive oil until soft – around 30 minutes at 180⁰C (350⁰F). When cooked, remove from the oven, cool, remove skin and mash to a pulp.

FxCam_1360684693650

Mix the flour, oatmeal, mixed spice and sugar in a bowl, then crumble the fresh yeast on one side of the bowl, and spoon the salt one the opposite side. Make a well in the centre and pour in the water along with the olive oil. Notice that I have given the weights of liquids here – I’ve taken to doing this with all my baking recently; you can be much more accurate that way. (For most water-based liquids one millilitre weighs one gram. You can thank Elizabeth David for that one.) Lastly, add the cool pumpkin.

Using you hand, mix everything to a sticky dough – it will be very sticky but don’t worry.

FxCam_1360685406730

Rub a teaspoon or two of olive oil on your work surface and turn out your dough onto it; the oil makes it easier to knead without it all becoming a hideous sticky mess. Keep kneading and adding more oil if need be. If all this seems like too much effort and mess, use the dough hook on a food mixer instead.

When the dough is smooth, do a final kneading on a little flour, then pop into a clean bowl that has been lightly coated with oil to prevent sticking. Cover with Clingfilm (other plastic wraps are available) and allow to ferment away until it has at least doubled in size.

Knock back the dough and shape into two loaves – you can do round cobs on a greased baking sheet or in greased tins, whichever you prefer. i used two cake tins so that my cobs would keep some shape.

FxCam_1360697841988

Cover and allow to prove. Make appropriate cuts and dustings of flour or oatmeal. When doubled in size put into a cold oven. Set the temperature to 220⁰C (425⁰F) and leave for 15 minutes. Turn the heat down to 180⁰C (350⁰F) and bake for a further 15 minutes. Allow to cool on a rack completely before breaking into it.

FxCam_1360707421659

6 Comments

Filed under baking, bread, Britain, cooking, Eighteenth Century, food, history, Recipes, Vegetables

The Original (Quince) Marmalade

As I mentioned in my previous post about Seville oranges that the original marmalade was in fact made from quinces and not oranges, I thought I would give you a recipe that I have recently used for the stall. It’s a recipe that appears in Eliza Acton’s 1845 book Modern Cookery. It’s an easy recipe that would be a good one to start with if you have never made a sweet preserve as you don’t need to mess about with sugar thermometers and setting points. One of the great things about making preserves with quinces is the glorious colour they go. A relatively brief boil transforms them from a pale apple-yellow to a vibrant orange-coral.

The tricky thing is getting your hands on some quinces they are available from October, but I have recently seen some organic ones in the Manchester organic grocers Unicorn. If your local greengrocer doesn’t have them on their shelves, it is worth asking if they can get them. My grocer was very happy to get me a full tray for just a tenner, so I was very pleased with that.

I have recently found another slightly more complicated version of this recipe but I have not tried it – we’ll have to wait for next autumn for that one!


If you like the blogs and podcast I produce, please consider treating me to a virtual coffee or pint, or even a £3 monthly subscription: follow this link for more information.


Eliza Acton’s Quince Marmalade

2kg (4 1/2 lbs) quinces

water

granulated sugar

Wash and scrub any fluff of the quinces, then peel and core them. Place them in a large pan and pour over enough water to almost cover. Turn up the heat and when it begins to boil, turn heat down to a simmer and stew 35-45 minutes until the fruit is soft. Strain and pass fruit through a mouli-legumes.

2012-11-19 23.49.01

Put the pulp back in the pan with the strained juice and add 280g sugar for every 500ml juice or, 1 ½ lbs sugar for every pint of juice). Stir and dissolve under low heat then, simmer until it resembles ‘thick porridge’ and begins to leave the side of the pan when you stir it.

2012-11-20 00.37.10

Pour the marmalade into sterilised pots. It is very good as a jam on toast, with cheese or as an accompaniment to hot or cold meats.

2012-11-20 00.52.23

26 Comments

Filed under Britain, cooking, food, Fruit, General, history, Nineteenth Century, Preserving, Recipes, Uncategorized

Seville Oranges and Seville Orange Marmalade

The weather outside may be miserable and the evenings still long, but luckily there is a little fleeting  sunny surprise popping up in grocers around the country that can perk us up no end; at least if you know where to find them. It is Seville orange season and a small window of just a few weeks is all we have to cook with this delicious fruit.

FxCam_1357492834789

The Seville orange is very bitter and is only really grown in Spain for us British to make our Oxford marmalade. What a treat home-made marmalade is; oranges, water and sugar that is all that are needed to produce such a delightful, very British preserve. If you have never made your own, have a go before they are all disappear again.

Like all citrus fruits, the Seville orange comes originally from China. It was imported on trade routes via Italy, to the Mediterranean countries of Europe. All of these original orange trees were bitter in flavour like the Seville. In the first half of the 17th century, sweet orange trees were delivered to the Portuguese coast by ship. These sweet oranges quickly superseded the bitter ones, that is for that small area of Spain that still grows them.

The flowers of Seville oranges are also used to make orange flower water, another of my favourite ingredients.

Seville and game painting

Rabbit with Red Legged Partridge and Seville Orange by Jean-Baptiste Chardin 1728-29

Below is a recipe for  Seville orange marmalade, but it is useful to know that the zest and juice of these oranges go very well with game and some shellfish such as scallops as the above painting shows.


If you like the blogs and podcast I produce, please consider treating me to a virtual coffee or pint, or even a £3 monthly subscription: follow this link for more information.


Seville Orange Marmalade

Oddly enough, marmalade was not made from Seville or any other orange at first, but quince (a knobbly cousin of apples and pears). It did come from Spain though, in fact the Spanish word for quince is marmalada. Every day’s a school day.

This recipe is Jane Grigson’s and it is a good strong bittersweet ‘Oxford’ style marmalade.

Ingredients

3 ¼ litres water

1 ½ (3 lb) Seville Oranges

3 kg (6 lb) granulated sugar

Give your oranges a good scrub and place them in a preserving pan or large stockpot with the water. Bring to a boil and simmer for about 1 ½ hours until the oranges are tender.

FxCam_1357499871481

Take them out with a slotted spoon. They will probably collapse in on themselves, but don’t worry about that. Let them cool a little, then halve them and scoop out their innards. Tie up the scooped-out pulp in a piece of muslin. If you want a soft set, just put the bag of pulp straight into the pan, if you want it well set, give it a good squeeze to get as much pectin out of the pith and into the liquor as possible (I’m a soft set man).

FxCam_1357502382790

Next, shred the peel, you can be as careful as you want, and you can cut them as thick as you want. You can do this by hand or in the food processor by blitzing them using the pulse setting – be careful though, you don’t want a load of slurry. I’m usually dead against using food processors for this sort of thing, but I quite like the irregular pieces you get with this method. Tip them into the pan along with the sugar. Over a medium heat, stir until the sugar dissolves.

FxCam_1357505465756

Now you need to be brave and bring it to a full rolling boil for at least 15 minutes , you need it very hot so that the marmalade can set. You have several options to test for a set, but I use a combination of a sugar thermometer and the wrinkle test. Pectin – a chemical that essentially glues plant cell walls together – will set to a gel at 105⁰C (221⁰F), so a thermometer is crucial if you want to know if you are getting close. It can take a while because water needs to evaporate to get five degrees above boiling point. Keep a close eye on it and when it gets close do the wrinkle test. For this test put a side plate in your freezer a little while before you want to make your marmalade, and when you’ve achieved 105⁰C (221⁰F), turn off the heat and spoon out a little of it onto your cold plate. Return it to the freezer for a couple of minutes. Push the jelly; if it wrinkles up, your pectin is set. If not, boil up again and retest after 10 minutes.

FxCam_1357586951956

When ready, turn off the heat and allow it to cool for 15 minutes – this important step will stop your peel from floating to the top in a single layer – then pot into sterilized jars (bake them and their lids for 25 minutes at 125⁰C or 250⁰F).

IMG_2702

31 Comments

Filed under cooking, food, Fruit, General, history, Preserving, Recipes, Uncategorized

The Edible Hedgerow

I went a little foraging escapade last week to see what wild food I could find in Chorlton Meadows, one of my favourite places in Manchester. The hunter-gatherer is not quite dead. Today’s aim was to find some fruit for some nice hedgerow jelly; something you don’t find in the shops, no siree. I wonder how many people do this anymore? It’s shocking that there are tiny punnets of blackberries in the supermarket selling for 3 or 4 pounds when you can get them free from the brambles!

The first thing you need to find if you want to make a good hedgerow jelly is some crab apples. There’s an area of the meadows called Hardy’s Farm and I knew that there was plenty of apple trees around there so I headed straight for it. The poor summer we’ve had – very wet and warm – has been the perfect environment for moulds and other fungi, they had managed to infect every tree I came across except for one! Some trees didn’t even have fruit or flowers on them. A sad, sad state of affairs. It is a little early for apples though, so perhaps they’ll get their act together.

Some of the few crab apples that weren’t diseased

Crab apples, or any windfall apples really, make up 50 percent of the jelly because apples provide the pectin that sets jelly once it is cooked.

The great thing about these jellies is that you can use berries that are normally far too sour and astringent in their unsweetened form. I found several species though many of them were not quite ripe.

The rowans were laden with berries

Two of the best examples of this were the two most bountiful species: hawthorn and rowan. These are very common trees found in hedgerows, forests, scrubland and gardens.

The brilliant red berries seemed to glow against the rather miserable grey backdrop of the rain and clouds – especially the rowanberries. If you look closely at them, you can see that they are just tiny apples themselves.

Rowanberries are simply tiny apples!

(to be botanically correct: apples are just large berries)

There was also a few ripe rosehips, so I grabbed some of those too. The other species I found were no way near ripe enough or in high enough numbers: sloes (the wild ancestor to damsons), blackberries, elderberries and some wild plums.

Some rather unripe blackberries and hips


If you like the blogs and podcast I produce, please consider treating me to a virtual coffee or pint, or even a £3 monthly subscription: follow this link for more information.


Hedgerow Jelly

Once you have collected your fruit you can now get making your jelly – and don’t worry if crab apples are the only thing you found because they make a delicious pink-tinged tart jelly themselves. (Notice that I have suddenly gone metric, there’s a reason for this, but that’ll have to wait for another post. I shall endeavour to add Imperial measures though.)

1 kg (2 lbs) crab apples

1 kg (2 lbs) wild berries

1.2 litres (2 pints) water

granulated sugar

Wash your fruit – you don’t want hedgerow and earwig jelly. Roughly chop your apples; don’t core or peel them, it is the core and peel that contain the most of the precious pectin.

As for the berries, I give them a quick blitz in the food processor. Place the fruit in a large heavy-based stock pot. Bring to a boil, cover and simmer until the fruit is mushy.

In order to achieve a nice clear jelly, you need to strain the juice through cloth – I use muslin and a proper jelly stand for this, but it’s perfectly fine to use a large sheet of muslin, cheesecloth or even an old pillowcase. Scald your material in boiling water to sterilise it. Put the jelly bag on its frame with a bowl beneath it to catch the drips. Pour in the mushy fruit and juice and allow it to drip through in its own time overnight. If you don’t have a jelly bag, you can tie a bundle of cloth to the handle of a cupboard above a bowl.

The next day, measure how much juice you have – it should be between 1 and 1.2 litres – and pour it into your stockpot or preserving pan (I am saving up for one of those). For every 600 ml (1 UK pint) of juice you have, you’ll need 450 g (1 pound) of sugar. Add this to the pan and turn on the heat to medium, stir with a wooden spoon until the sugar is completely dissolved, then turn the heat to maximum. Boil the fruity syrup until setting point is reached: this is easy to judge if you have a thermometer, because pectin sets at 104.5⁰C.This should take about 10 or 15 minutes. If you don’t have one then, turn the heat off and place a drop of the jelly on a freezing-cold plate. Let it set, then push it with your nail. If it wrinkles, then it is ready. If it doesn’t, put the heat on again for 10 minutes and try again.

Once setting point is reached, skim away the skum and pour into sterilised jars. The way I do this is I put the jars and lids on a clean baking tray in the oven for 30 minutes at 120⁰C.

Variation: Mulled cider jelly. Use 2 kg of crab apples, and add a 500 ml bottle of dry or sweet cider along with 700 ml of water, along with a cinnamon stick, some cloves, a star anise and a piece of nutmeg. When it comes to the point where you add the sugar, use 100 g less as the cider lends a lot of sweetness itself.

Mulled cider jelly

9 Comments

Filed under Britain, cooking, food, Recipes

Fruit curd

I love fruit curds, they might be my favourite of all the preserves, sweet or savoury. In fact I’m not even sure if a curd is a true preserve or not; it isn’t chock-full of sugar like a fruit jam, plus there are eggs and butter in there too; the eggs technically make it a kind of custard. These ingredients mean that fruit curd doesn’t keep for very long, maybe two months in all. That said, they rarely last that long.

Looking in the recipe books, the earliest mention of the term lemon curd I have found goes back to 1844 in The Lady’s Own Cookery Book by the splendidly named Lady Charlotte Campbell Bury. The recipe is rather different though because the lemon curd is literally that; lemon acidulating cream to form curds which could then be separated from the whey through some cheesecloth.

You can go further back to find recipes for lemon curd, though it is called lemon cheese, and it seemed to generally be used for lemon cheese cakes which are what I would call nowadays lemon curd tarts. When you look in the books, the old recipes give the instruction to rasp the lemons’ skins “well with sugar” to extract the zest and aromatic oils. This seems rather a curious thing to do; perhaps the zester or fine-grater hadn’t been invented, or maybe it was terribly difficult to lay one’s hands upon such a thing. It all makes perfect sense in the end though because the sugar in the larder wasn’t granulated in a bag like we get it now, but was a solid, long, tapering palisade – a sugar loaf. You could simply crack a piece off and rub it against your lemons to get all the flavour out of that pesky zest. I have found these instructions for recipes as recent as 1974 (Jane Grigson, English Food), if you to attempt it buy those posh sugar lumps that are all irregularly shaped, normal ones will just crumble.

 A 19th century sugar loaf and tongs

Curds can be used for so many things: cakes, tarts, pies, steamed puddings, American muffins, as a pancake topping or filling, or at its best on hot toast. Though I have always thought lemon curd ripple ice cream would be good.

Curds don’t just come in lemon yellow of course, you can make one from any fruit that the juice can be easily squeezed from: orange, grapefruit, passion fruit and pineapple are all ones I have spotted at one time or another.

Here’s my recipe for lime curd. Have a go at making it; it’s very easy to make because it’s difficult to curdle the eggs as they are stabilised somewhat by the acid and egg whites. It is wonderfully tart and not too sweet. Honestly, you’ll never go back to the bought stuff.


If you like the blogs and podcast I produce, please consider treating me to a virtual coffee or pint, or even a £3 monthly subscription: follow this link for more information.


Lime Curd

This recipe makes around 1 UK pint (that’s 20 fl oz for any non-Brits). If you think things might be too sharp, add an extra egg and a couple of ounces of butter.

Ingredients

the zest and juice of 5 limes

5 oz salted butter

8 oz sugar cut into small cubes

4 large eggs

Set a mixing bowl over a simmering saucepan of water and add the lime zest and juice, butter and sugar.

Let it warm up, the sugar dissolve and the butter melt. Beat the eggs in a separate bowl and strain through sieve into the juice. Stir with a wooden spoon until the eggs have amalgamated and  thicken – this will take at least five minutes. When very thick, take off the heat but keep stirring for a minute or two as the eggs may carry on cooking if left in contact with the still hot bowl’s inner surface.

Pot into sterilised jars and allow to cool. Unless you have a nice cool larder, I would store them in the fridge, especially once opened.

Also see this other post with more curd recipes…

48 Comments

Filed under baking, food, Fruit, General, history, Preserving, Recipes, Uncategorized

Possets

I expected this post to be a simple recipe with a short history of the creamy dessert. However, as is so often in writing posts for this blog, it ends up being rather more complicated.

When I think of a posset, I think of a simple affair of sweetened cream thickened with an acidic fruit. However, this is very much a modern posset (by modern I mean twentieth century).

King Charles I

Originally the posset was a dessert or drink made from curdled milk enriched with sugar, alcohol (the most popular being sack, a sweet ale similar to sherry). It was often used as a curative for colds or fevers; it is mentioned in the Journals of the House of Lords in the year 1620 that King Charles I was given a posset drink from his physician. These drinks were kept warm and made in a special cup rather like a teapot so that the liquid could be drunk from beneath the foam that develops on the surface. Shakespeare mentions possets several times in his writings, in Hamlet, Act 1 Scene 5, he mentions the posset’s medicinal properties and that it is made from curds:

And with sudden vigour it doth posset,

And curd, like aigre [sour] droppings into milk,

The thin and wholesome blood.

Possets were eaten for pleasure too though:

Yet be cheerful knight: thou shalt eat a posset to-night at my house;

Where I will desire thee to laugh at my wife.

The Merry Wives of Windsor, Act 5, Scene 5

William Shakespeare

Kings and lords had their cream and curd possets, whereas we normal folk had to use bread to thicken ours.By the time we reach the mid-18th century, possets have changed; they are made from milk, but now are thickened with biscuits, bread, egg yolks or almonds, or a combination. Sack seems to still be the most popular and lemon possets make an appearance. Sack possets were drunk at weddings when it came to toasting the bride and groom around this time, though I don’t know where this originated from.

Possets 1769

Grate two Naples biscuits into a pint of thin cream, put in a stick of cinnamon and set it over a slow fire. Boil it till it is of a proper thickness, then add half a pint of sack, a slice of the end of a lemon, with sugar to your taste. Stir it gently over the fire, but don’t let it boil lest it curdle. Serve it up with dry toast.

Elizabeth Raffald, The Experienced English Housekeeper 1769

 Mrs Raffald also highlights the fact that you don’t want your posset to curdle: ‘always mix a little of the hot cream or milk with your wine, it will keep the wine from curdling the rest’. In the 19th century, Richard Cox in his Oxford Night Caps (1835) mentions those made from curds and those thickened with cream and egg yolks, so technically a custard, I suppose. Sometimes they were thick, and sometimes drinkable like egg nog. He mentions a black pepper flavoured posset that will ‘promote perspiration’ in order to sweat out a fever.

Here’s a strange thing though; if you rewind time back to Shakespearean days and look for a recipe for a trifle, what you seem to get is a recipe for a modern-day posset:

Take a pint of thick cream, and season it with sugar and ginger, and rose water. So stir it as you would then have it make it luke warm in a dish on a chafing dish and coals. And after put it into a silver piece or a bowl, and so serve it to the board.

Thomas Dawson, The Good Housewife’s Jewel 1596

You can see why a matter of no concern is called a mere trifle – they used to be so simple, but now they are complex and as the trifle changed over time so did the posset and it seems to have filled the niche left behind by the trifle. Possets, however, are no longer that popular. They are easy to make when cream is the sole thickener.


If you like the blogs and podcast I produce, please consider treating me to a virtual coffee or pint, or even a £3 monthly subscription: follow this link for more information.


Orange Posset 2012

Here’s the recipe I devised for an orange posset, which I think works very well. You can make a lemon one from two lemons and perhaps an ounce or two more of sugar. I have kept to its historical roots with the addition of a little orange flower water. This makes six helpings.

Ingredients

1 pint (20 fl oz) of double (heavy) cream

4 oz caster sugar

the juice of two oranges and the zest of one

juice of half a lemon

1 to 2 teaspoons of orange flower water (optional)

Bring the cream and sugar slowly to a boil and let it simmer very gently for 5 minutes. Allow to cool before adding the juices and zest whisking well; the acid thickens the cream noticeably. Add the first teaspoon of orange flower and taste, adding more if you like. Pour into six serving dishes and chill for several hours, or overnight. Eat with a crunchy crumbly almond biscuit or some shortbread.

26 Comments

Filed under food, history, Puddings, Recipes

The Rhubarb Triangle

It is just about the end of the short British forced rhubarb season, and it is always a treat to see it nestled, glowing pink in a crate at the marketstalls, and it is always sad to see it disappear, as I think it is one of the most wonderful vegetables.

In Britain, the long thin bright pink stalks are grown in an area called the Rhubarb Triangle, also known as the Wakefield triangle, a nine mile square area of land contained by Leeds, Morley and Wakefield in the West Riding of Yorkshire. Here, the rhubarb is grown in large, heated, low-ceilinged sheds in complete darkness. Because the plants want sunlight, they are forced stretch and grow long and thin in the vain hope of catching some of the Sun’s rays. Hence it is called forced rhubarb. It is also called Champagne rhubarb by some. The rhubarb never gets to attain the green colour like normal field or garden rhubarb has; I think the biological term is chlorosed. It also never gets the chance to develop the very astringent sourness too, but it does still has the wonderful rhubarb flavour. The plants grow so quickly in their desperation to find light that you can actually hear them pop and crack as they stretch and grow. I imagine that it is pretty scary in those dark, dank sheds harvesting the rhubarb by candlelight.

So what is special about West Yorkshire when it comes to growing rhubarb? Apparently, it is the unique mix of soil and climate. I know that that might sound rather trite, but I think in this case it might actually be true; Wakefield is the only place in the UK where one can successfully grow liquorice and the reason for that is because of its soil. Yorkshire-produced Forced Rhubarb has been given Protected Designation of Origin (PDO) status by the European Commission’s Protected Food Name scheme, just like Stilton Cheese, and famously not like Cornish pasties. That said the forced rhubarb I got was from Mexico.

It wasn’t until the discovery that rhubarb could be forced in the 1840s that the vegetable caught on as a ‘fruit’ in crumbles, pies &c. (it isn’t a true fruit as there are no seeds). Before then, like many plants, it was grown for medicinal purposes. It was such a revered drug for treating gut, lung and liver disorders that it was worth thrice the price of opium! It was first introduced into Europe by Marco Polo from Asia during the thirteenth century, and was first grown in Britain in the mid-seventeenth century.

Okay, that’s enough waffle, it is recipe time. Rhubarb is great for desserts and jams, and it is also great with fish, particularly oily fish. There are many recipes that I could add to the post, but the best has to be…


If you like the blogs and podcast I produce, please consider treating me to a virtual coffee or pint, or even a £3 monthly subscription: follow this link for more information.


Rhubarb Crumble

This is my favourite way of eating rhubarb: tart fruit, sweet crunchy topping and loads of proper custard (link here for a recipe for that). I like to include some ginger in my crumble, they are a classic combination. Here I use it twice, ground ginger in the topping, and preserved ginger in with the gently stewed fruit. Orange zest and juice also work well as an alternative.

Ingredients

10 sticks of rhubarb, forced if possible

2 knobs of preserved ginger, chopped, plus one tbs of the syrup

4 tbs caster sugar

4 oz butter

4 oz Demerara sugar, or half caster sugar and half soft dark brown sugar

6 oz plain flour

2 oz oats

1 tsp ground ginger

Slice the rhubarb sticks into one inch lengths. If buying forced rhubarb, there should be no need for peeling, but older, field grown sticks might need it. Place the rhubarb and caster sugar in a saucepan with the ginger and syrup, plus a couple of tablespoons of water. Cover, and simmer gently until the rhubarb is tender, about 10 minutes. Try not to stir the rhubarb too much, as it easily breaks up. If there is a lot of liquid, take the lid off and let it simmer away a little. Add more sugar if necessary; field-grown rhubarb may need more. Cool.

Meanwhile, make the crumble topping by rubbing the butter into the flour, using fingers, mixer or processor. Stir in the flour, oats and ginger.

Pour the rhubarb into a pie dish, or baking dish and pile on the crumble topping. I like loads of topping, but if there is too much for you, freeze the remainder for future crumbles.

Bake at 160⁰C for 45 minutes. Serve with custard, cream or vanilla (or even better, ginger) ice cream.

14 Comments

Filed under baking, food, Fruit, history, Puddings, Recipes, Uncategorized

Christmas Cake

Christmas cake, Christmas pudding, mince pies – if you don’t like dried fruit you are in trouble at Christmastime!

The Christmas cake as we know it comes from two Christian feast days: Twelfth Night and Easter.

When families in the sixteenth century made their Christmas puddings for the big day, they would often use some of the mixture, with the addition of flour and eggs, to bake and eat for Eastertime. These were obviously rather rich families. It was liked so much that the rich fruitcake was made for Christmas too. We also dropped it from the Easter menu for some reason.

The addition of the marzipan and royal icing (see here for recipes) came much later when a cake was banned from Christmas. The last day of Christmas is Twelfth Night (the 5th of January) and it used to be traditional to make a Twelfth Night cake that contained almonds and was covered in marzipan. Oliver Crowell, the Lord Protector of England, and the other Puritans banned the feasting on that special day in the 1640s (he also banned mince pies as well) complaining that there was too much excess. Christmas Day remained a public holiday and some feasting was allowed, so people simply made their Christmas cake and covered that in marzipan instead, and so the Christmas cake was born.

Britain’s biggest ever party-pooper: Oliver Cromwell

You don’t have to cover it with the marzipan and royal icing though, in Yorkshire (my home county) it is popular to eat the Christmas cake with some nice cheese such as Wensleydale or Cheddar instead.

I love Christmas cake, so I thought I would give you the recipe I always use – it is adapted from Jane Grigson’s English Food (click here to see my other pet project) – and it has never failed on me. As I said a couple of posts ago, if you want to eat top-quality food at Christmas, you need to make your own, or spend a fortune at Harrod’s. Plus the cake is made well in advance – I usually make mine 6 weeks before Christmas so it can mature. Once you’ve cooked it, you only have to feed it with a little brandy to make it nice and moist.

This recipe is of course for an English-style Christmas cake; the Scottish, Welsh and Irish have their own versions, all in a similar vein, but with a few differences. I’ll blog about them at some point.

It makes one hefty 8 inch/20 cm cake, for a smaller cake, half the amounts and bake in a 6 inch / 15 cm tin for 2 1/2 hours.

Ingredients:

900 g mixed dried fruit (currants, raisins and sultanas)

125 g of whole roasted almonds (or hazelnuts or walnuts, or a mixture)

125 g chopped candied citrus peel

125 g rinsed glacé cherries quartered or left whole

300 g plain flour

1 1/2 tsp mixed spice

the grated rind of a lemon

250 g salted butter, softened

250 g soft dark brown sugar

1 tsp vanilla extract

1 tbs black treacle (or molasses)

4 eggs

1/2 tsp bicarbonate of soda

1 tbs warmed milk

brandy

Preheat your oven to 140⁰C (275⁰F).

Begin by mixing all the dried fruit, almonds, candied peel and cherries in a large bowl. Next, sift in the flour, turning in and coating the fruit, then mix in the spices and fresh lemon rind.

Now cream the butter sugar in a separate bowl, then mix in the vanilla and black treacle. Beat in four eggs one by one until incorporated, and the mix in the fruit and the flour. For the final stage, dissolve the bicarbonate of soda in the warmed milk, stir it in, and then add enough brandy to slacken the mixture slightly, so that it achieves a dropping consistency – you don’t want a dry cake, now do you?

Line an eight inch cake tin with greaseproof paper and pour the mixture in, hollowing the top a little to compensate for it rising in the oven.

Cover with a layer of brown paper to prevent scorching and bake for 3 to 3 ½ hours. Test it after 3 hours with a skewer. When done, leave to cool in its tin overnight. Wrap in greaseproof paper or foil and keep in an airtight container.

Ideally, the cake should sit for at least a month to mature, but 2 or 3 weeks is also fine. Whilst it sits, you need to feed it with a sprinkle of 2 or 3 tablespoons of brandy, turning the cake each time it is fed.

The cake is ready to eat when sufficiently fed and matured, however, you might want to add a layer of marzipan and royal icing.


If you like the blogs and podcast I produce, please consider treating me to a virtual coffee or pint, or even a £3 monthly subscription: follow this link for more information.


29 Comments

Filed under baking, cake, Christmas, food, history, Puddings, Recipes, Seventeenth Century, Teatime, Uncategorized