In my last post I launched the ninth season of The British Food History Podcast with an episode about Black and White Pudding with Matthew Cockin and Grant Harper (aka Fruit Pig). Not only are they the only remaining craft producer of fresh blood black puddings in Britain, but they are very kindly sponsoring this season of the podcast. Their puddings are exceptional, and Matthew and Grant are very kindly giving readers of the blog and listeners of the podcast 10% off at their online shop (www.fruitpig.co.uk) with the offer code Foodhis, so if you can please support them – if we don’t use producers like Fruit Pig, we will lose them, and that would be a terrible shame. It’s also worth checking with your local butcher – my nearest traditional butcher, Littlewood’s in Heaton Moor, Stockport, the very place where I bought the meat for today’s recipe, stock them – so perhaps yours does too (or you could suggest they do if they don’t!). Have a listen to the episode, if you haven’t already:
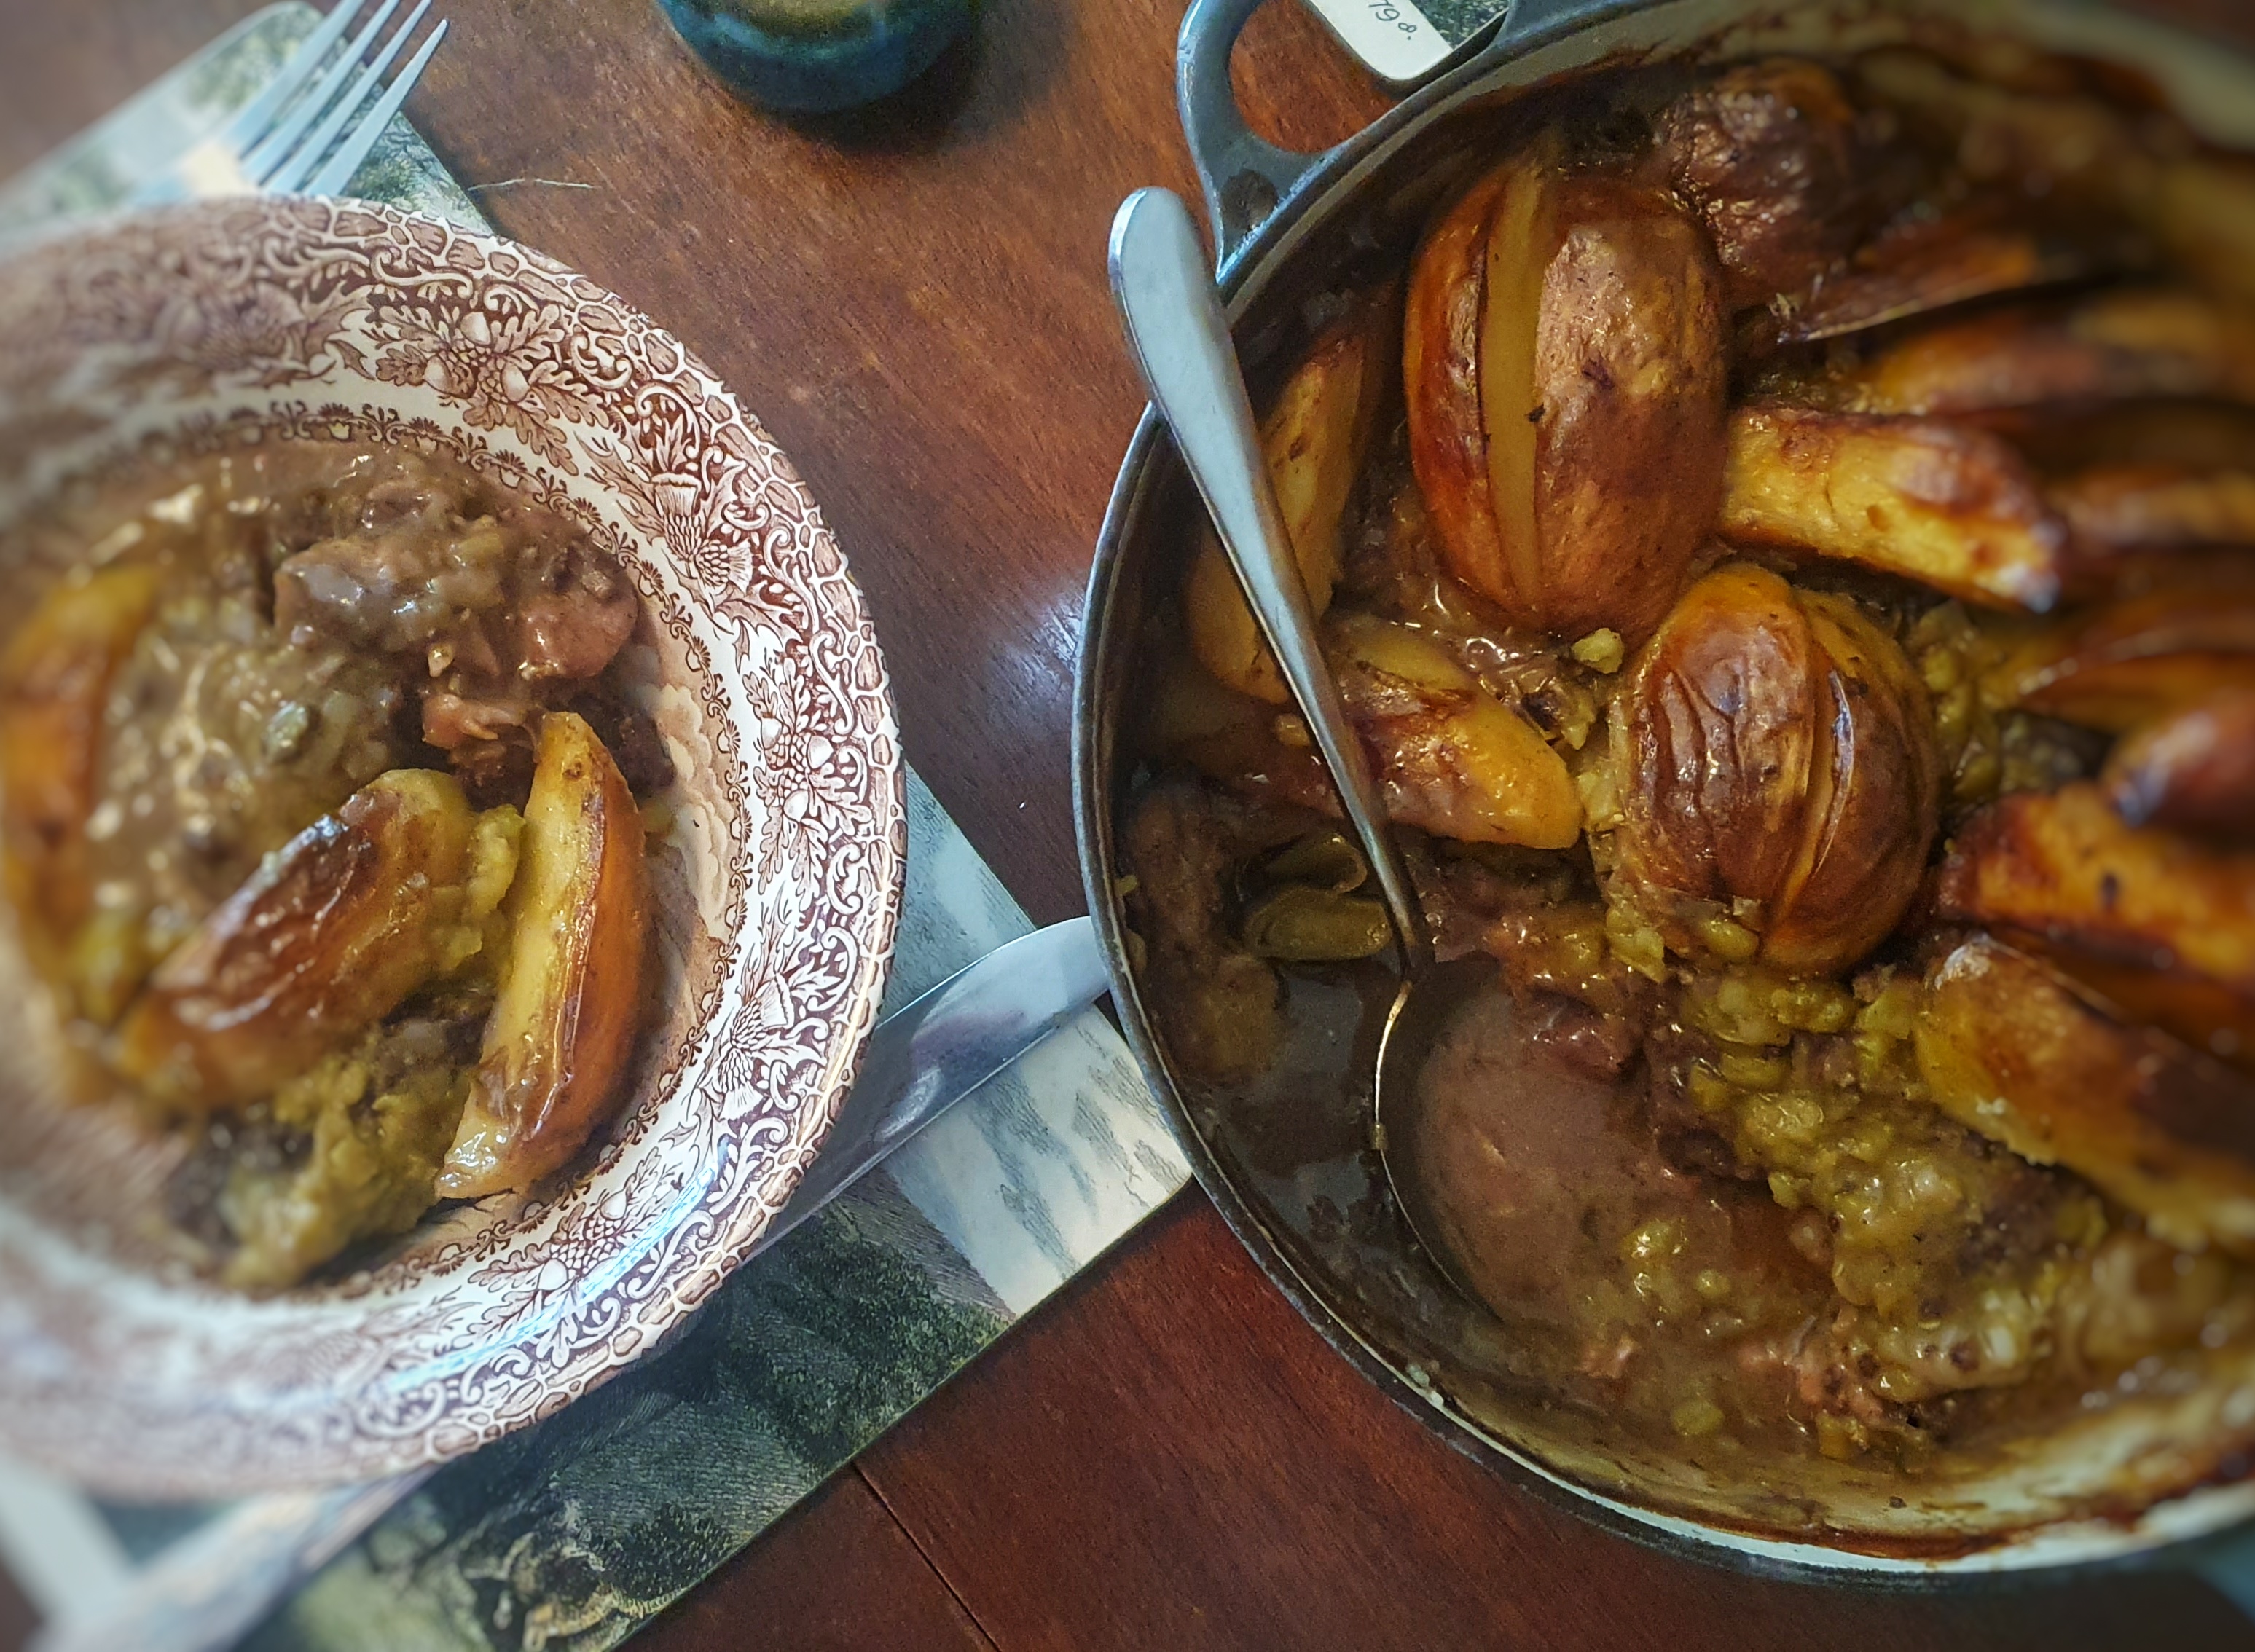
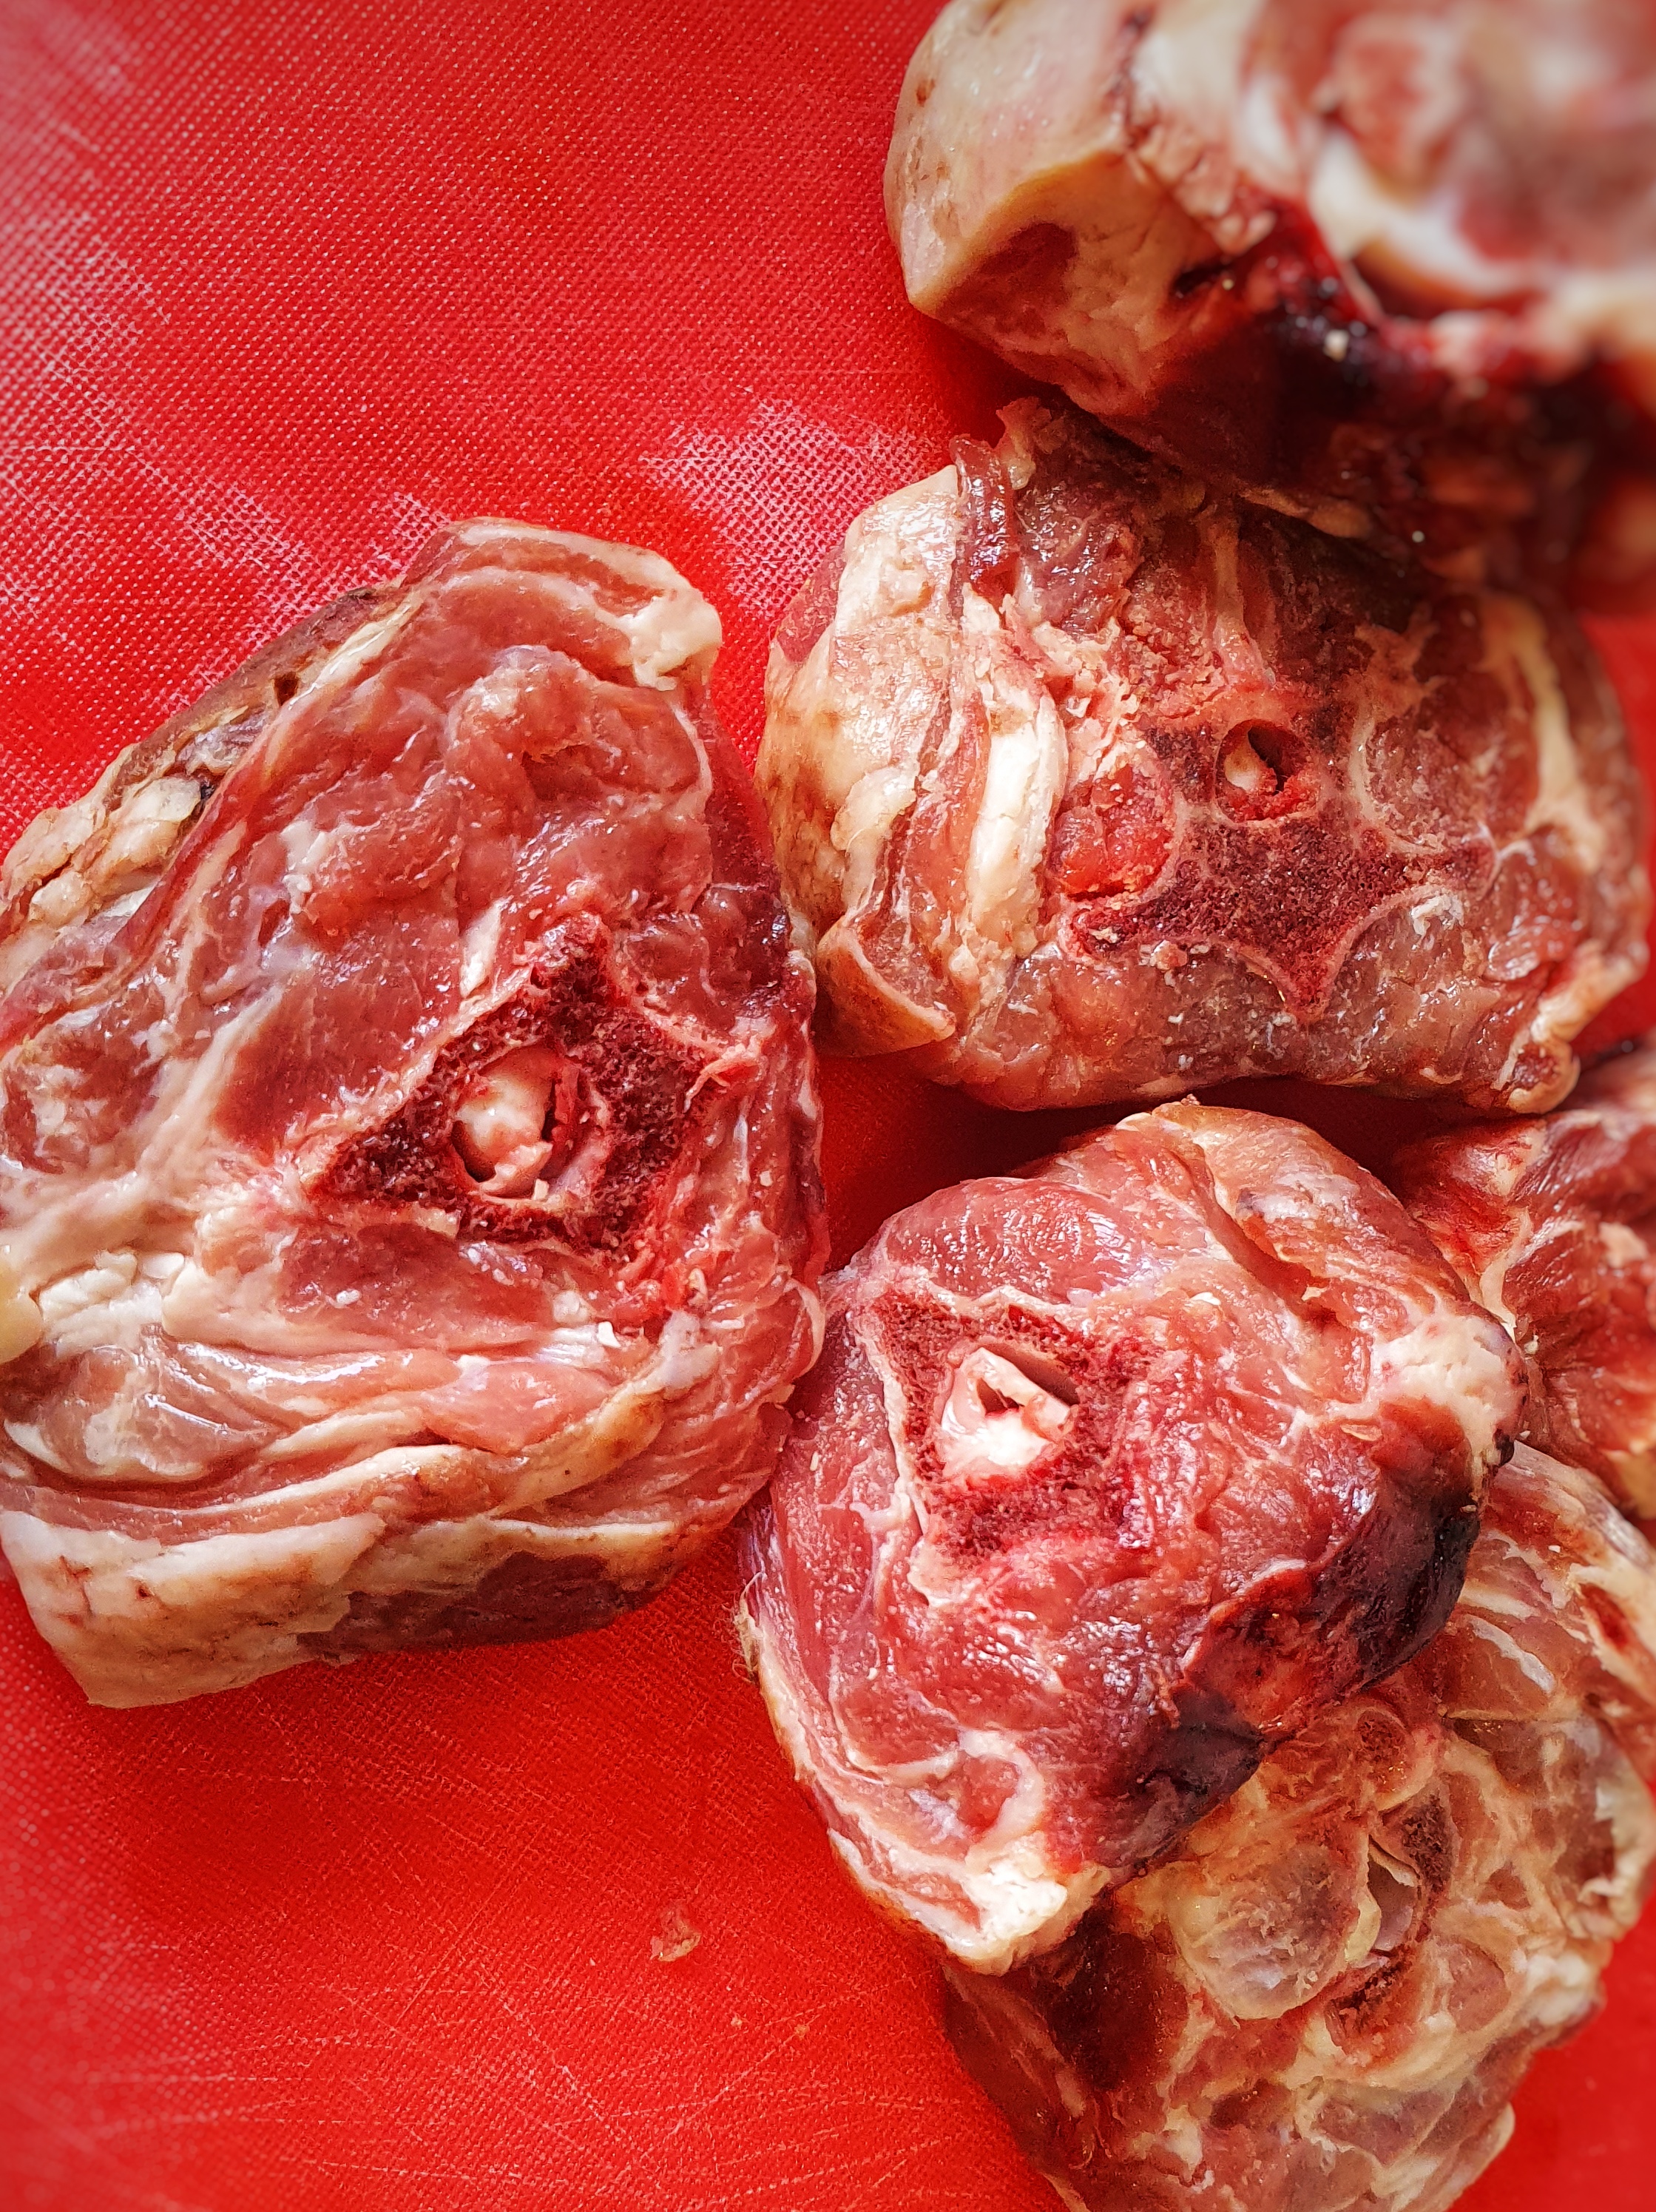
Now, I reckon the vast majority of black pudding eaters enjoy theirs as part of a fried breakfast, but I think we need to remember that black puddings can be eaten for any meal, and in the last post I detailed the old traditional way of eating them with mashed potato and apple sauce. Today I am going one better with this delicious and warming Cumbrian Tatie Pot, a hotpot made of lamb, beef and black pudding, pulses and onions, topped not with nice, neat round slices of potato like a Lancashire hotpot, but quartered floury potatoes.[1] It is important that the cheaper, tougher cuts of beef shin and lamb neck are used, and that the hotpot should be cooked long and slow.
The result is a rich and unctuous hotpot that sticks to your ribs and serves plenty of people; it was on the menu at The Buttery in the first year it was open, and it was very popular.[2] Well-flavoured meat cuts like shin and neck require a similarly good-flavoured black pudding like those made by Fruit Pig.
I first heard about this rather decadent one-pot dish from Jane Grigson in her book English Food.[3] I can find only a few other references to it – a regional dish that seems to be rarely cooked today, yet should, in my opinion, be much more popular than it is.
Jane was given the recipe from a Mrs Burrows, and in English Food, she tells us that ‘Mrs Burrows said that what interested her was that the tatie pot is one of our few dishes in which different meats are combined, something which is common in mainland Europe.’ Indeed, and assuming your black pudding contains pigs’ blood, then we have three species of mammal altogether; very rare indeed!
Jane Grigson points out that some recipes say that the beef is optional, ‘which it most definitely is not’, she writes, ‘[i]t makes the character of the dish.’ Looking at similar Lakeland recipes available on the Foods of England Project website, there are recipes that contain beef but not lamb (Westmorland tatie pot), and lamb but not beef (Cumberland hotpot). Neither contain pulses, and both have sliced potatoes nicely arranged on top like a Lancashire hotpot.[4] I’m not saying that Jane’s is right and others wrong; it is just interesting to me that everyone has their own correct version of a dish, possibly with slight geographical differences, and usually it’s the one you grew up with, the one that is most familiar to you, that is the ‘right’ one.
If you can, support the podcast and blogs by becoming a £3 monthly subscriber, and unlock lots of premium content, including bonus blog posts and recipes, access to the easter eggs and the secret podcast, or treat me to a one-off virtual pint or coffee: click here.

Recipe
The long cook time on this hotpot means that you need to keep the liquid levels topped up. You can use stock or water for this – there is nothing wrong with the latter when cooking with these robust cuts of meat.
Serves 8
4 tbs dried split peas or mixed pulses
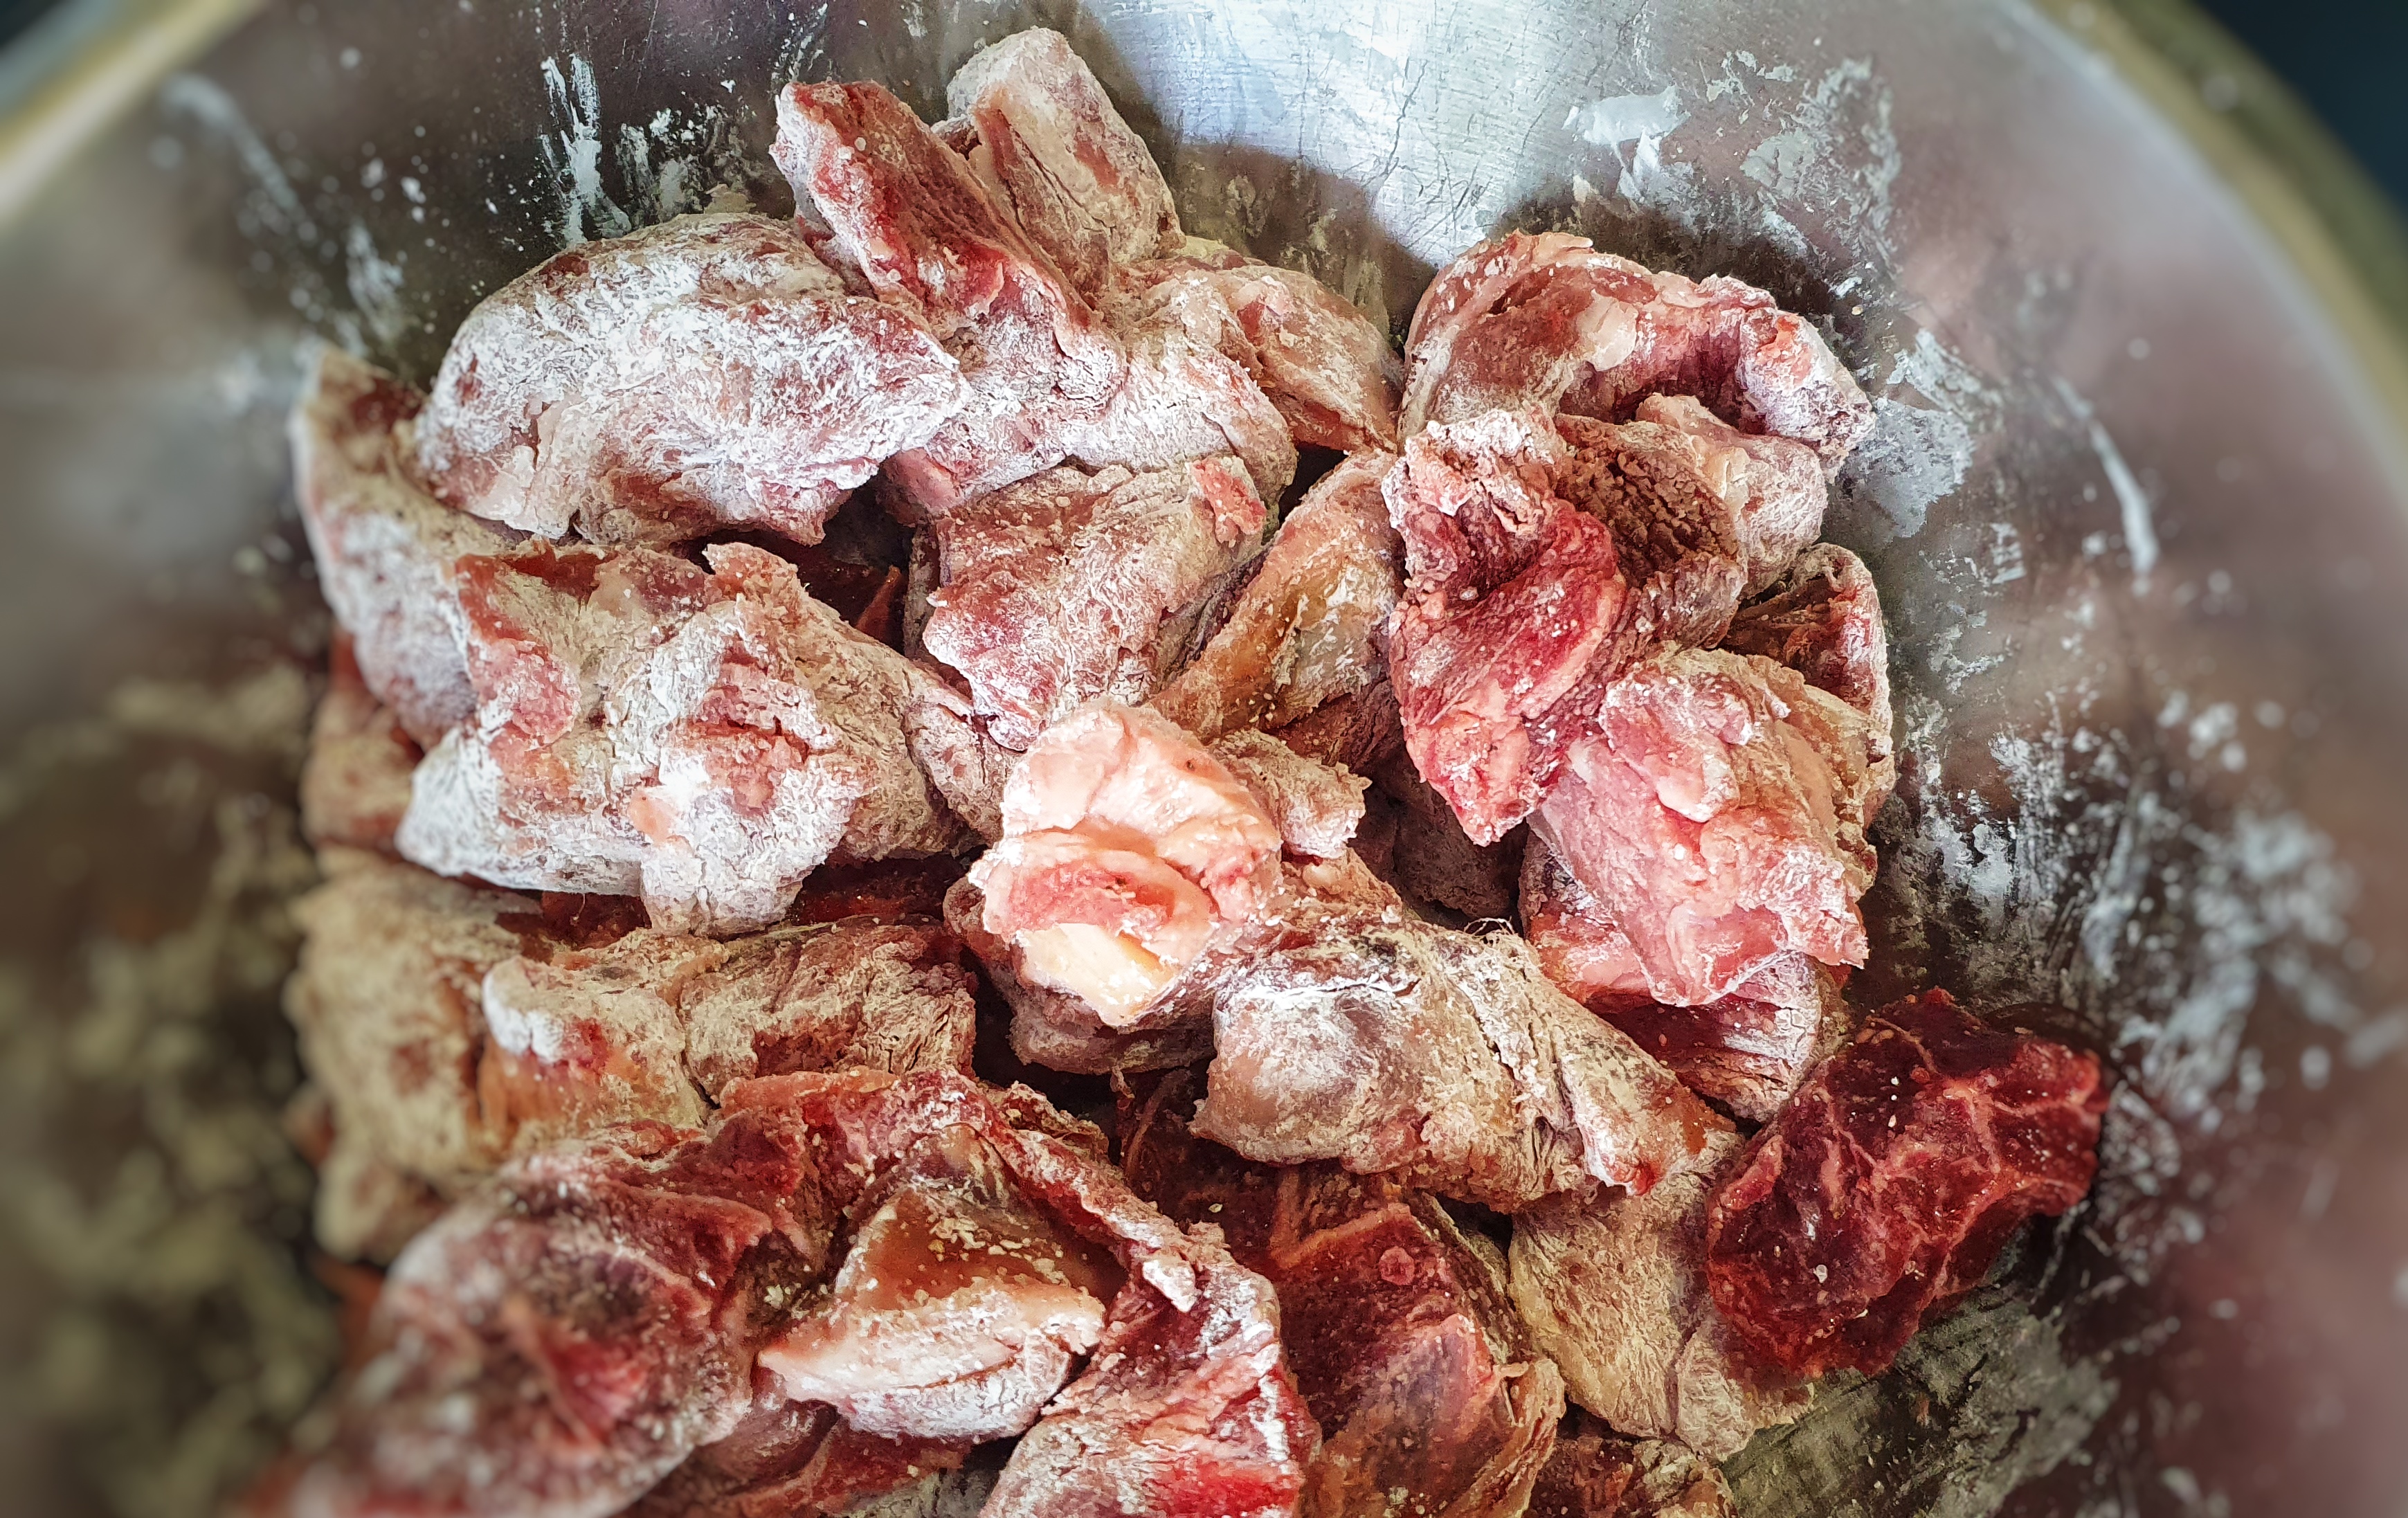
750 g shin of beef
750 g lamb neck (‘scrag end’ of neck)
1 level tablespoon of cornflour
Salt and pepper
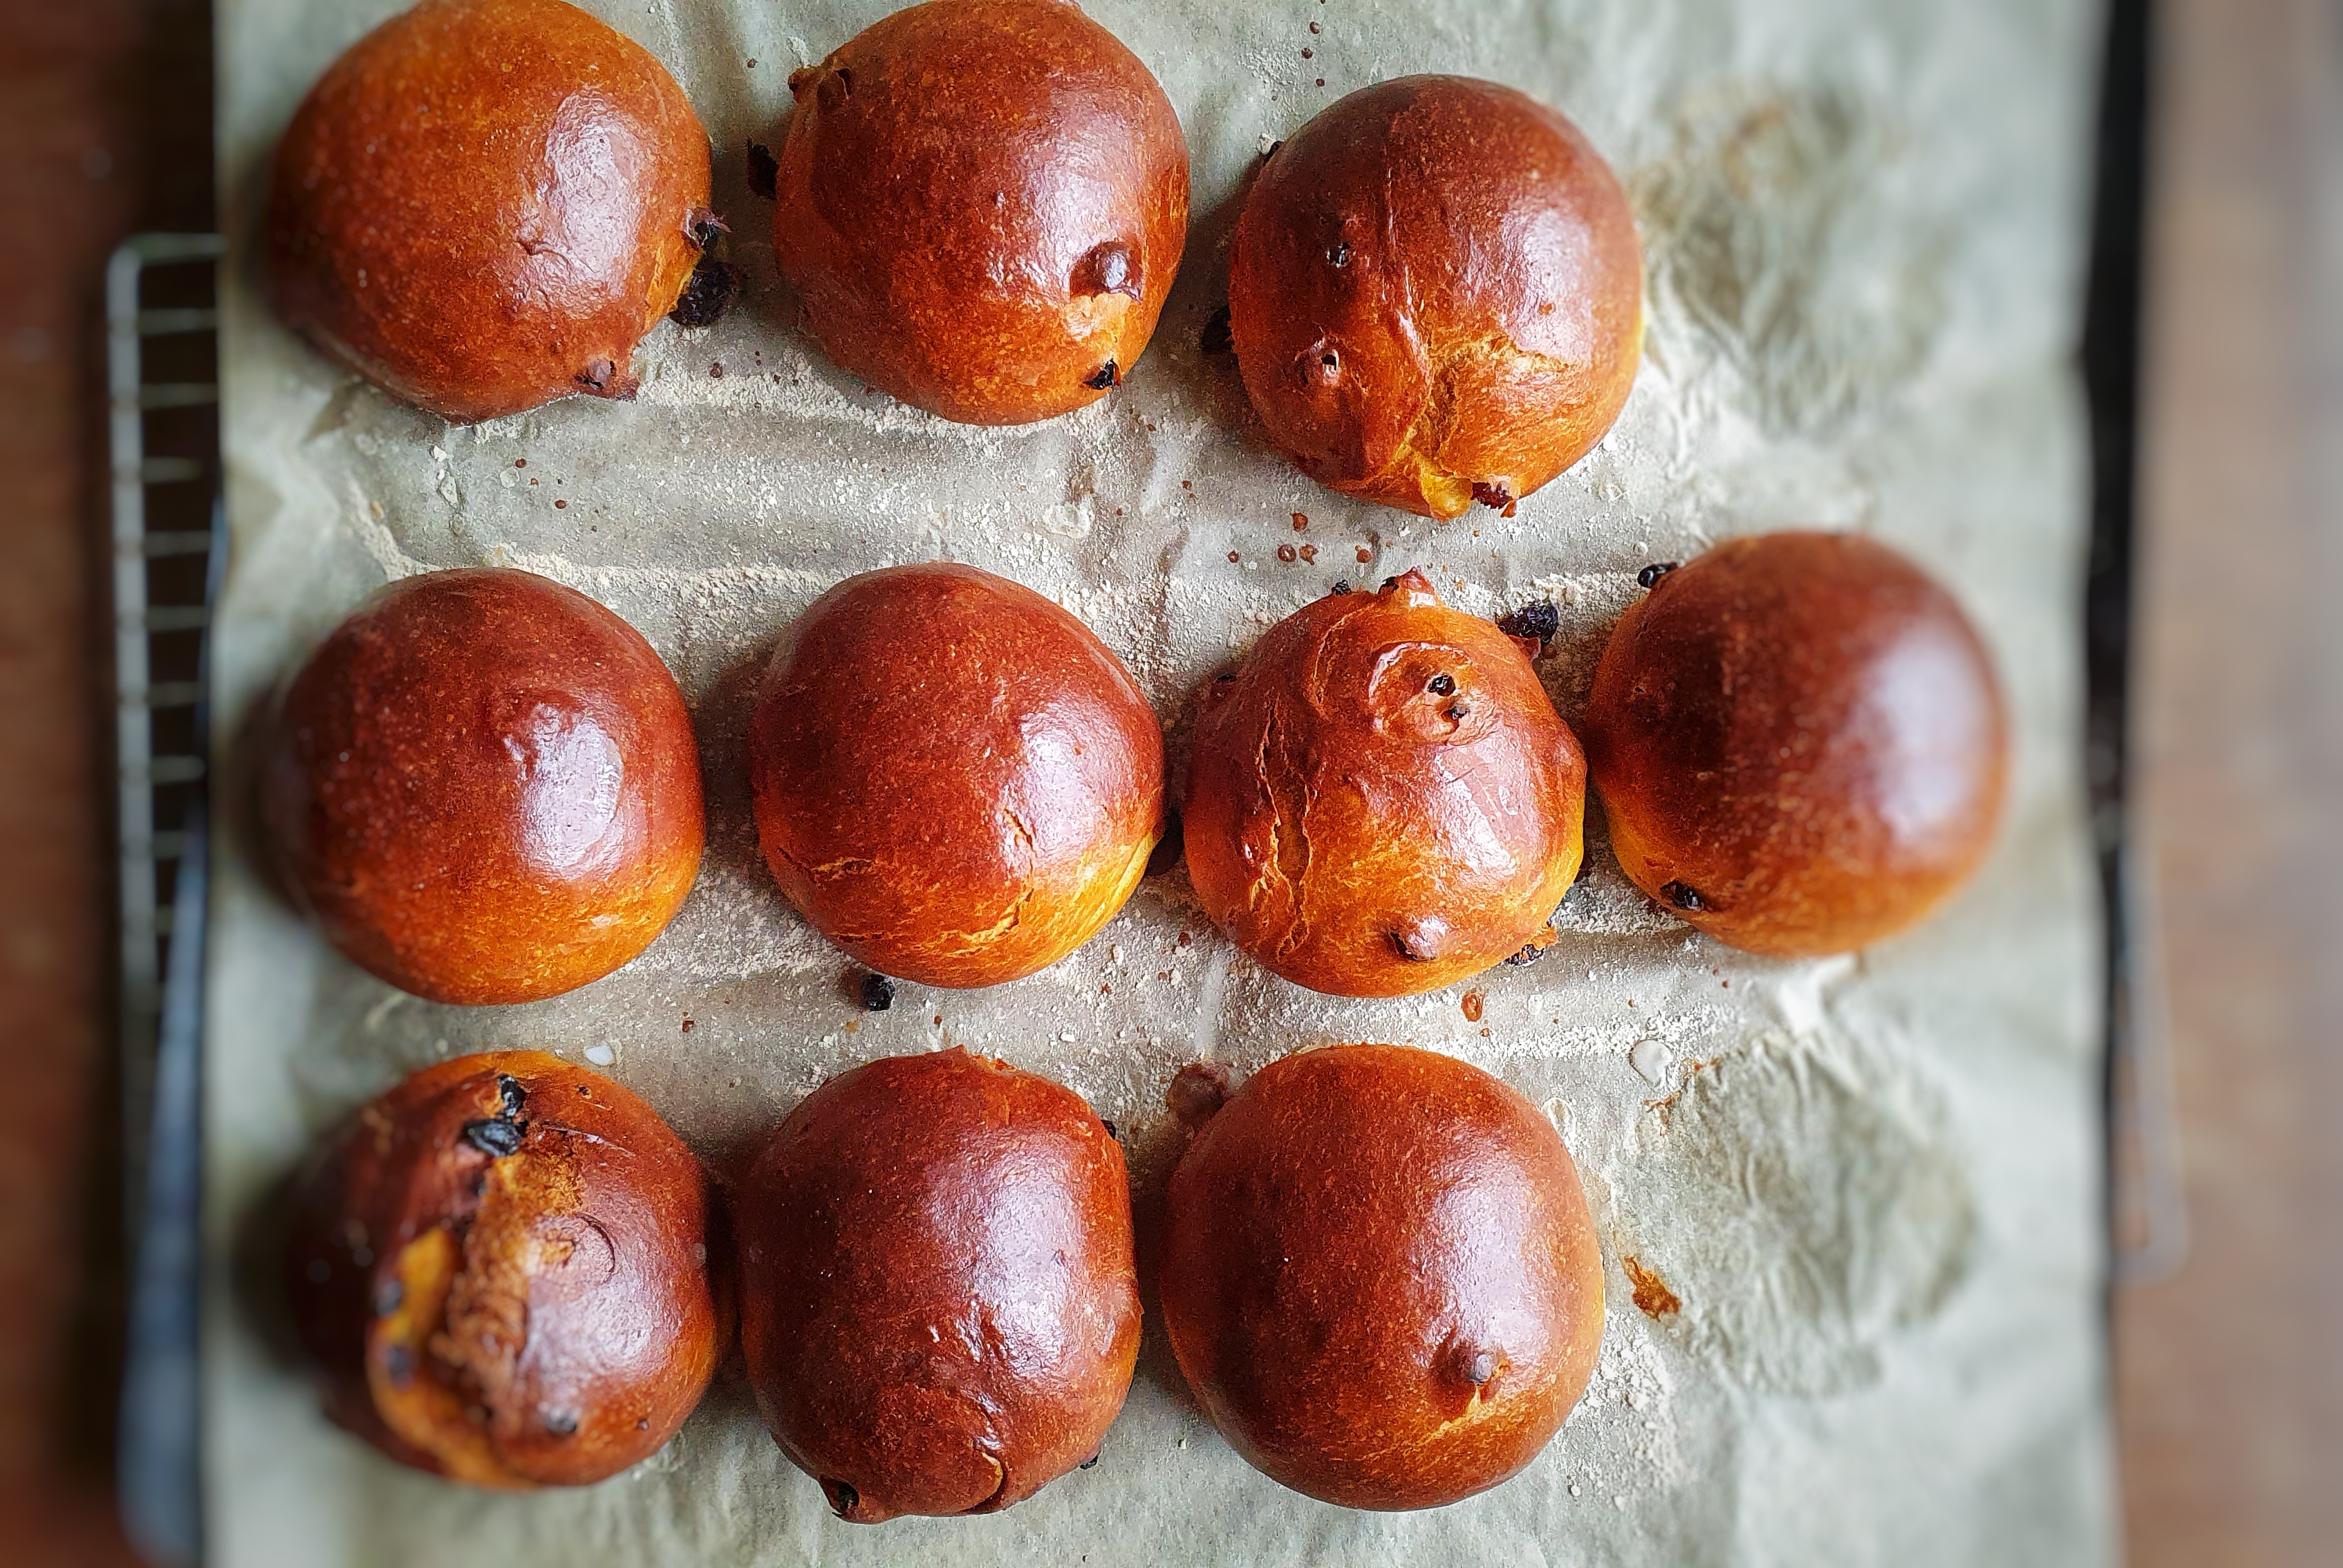
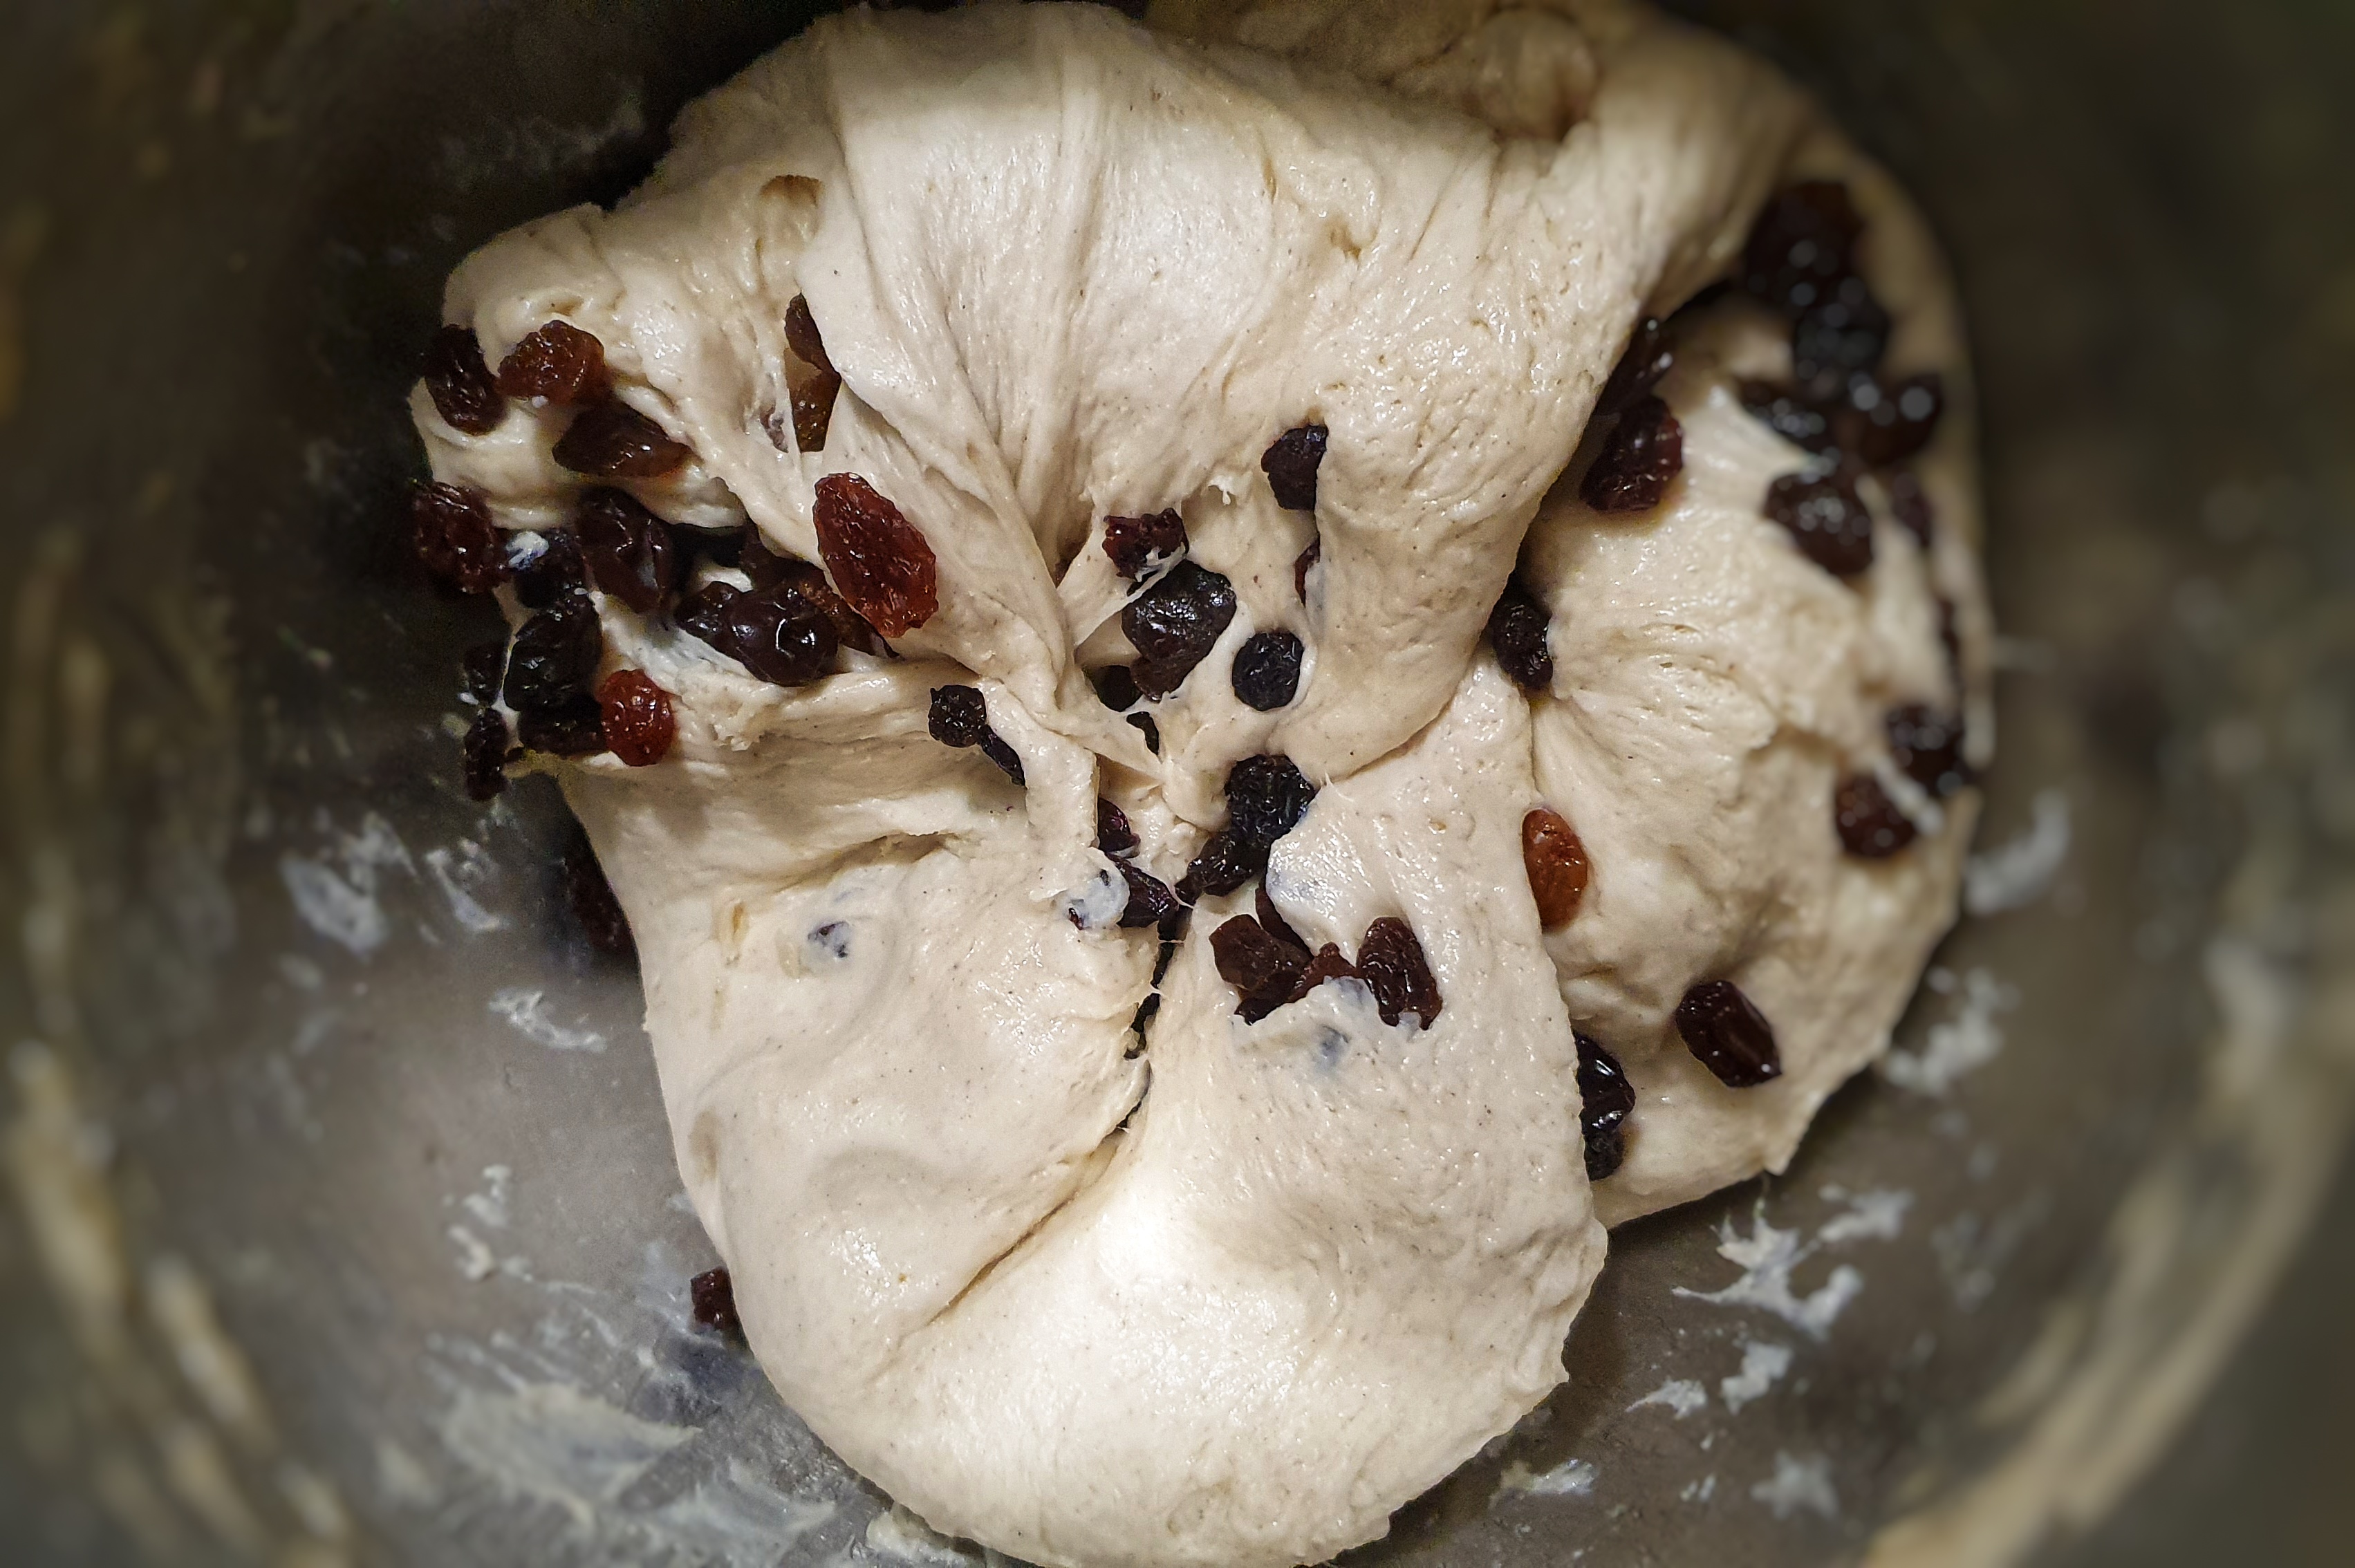
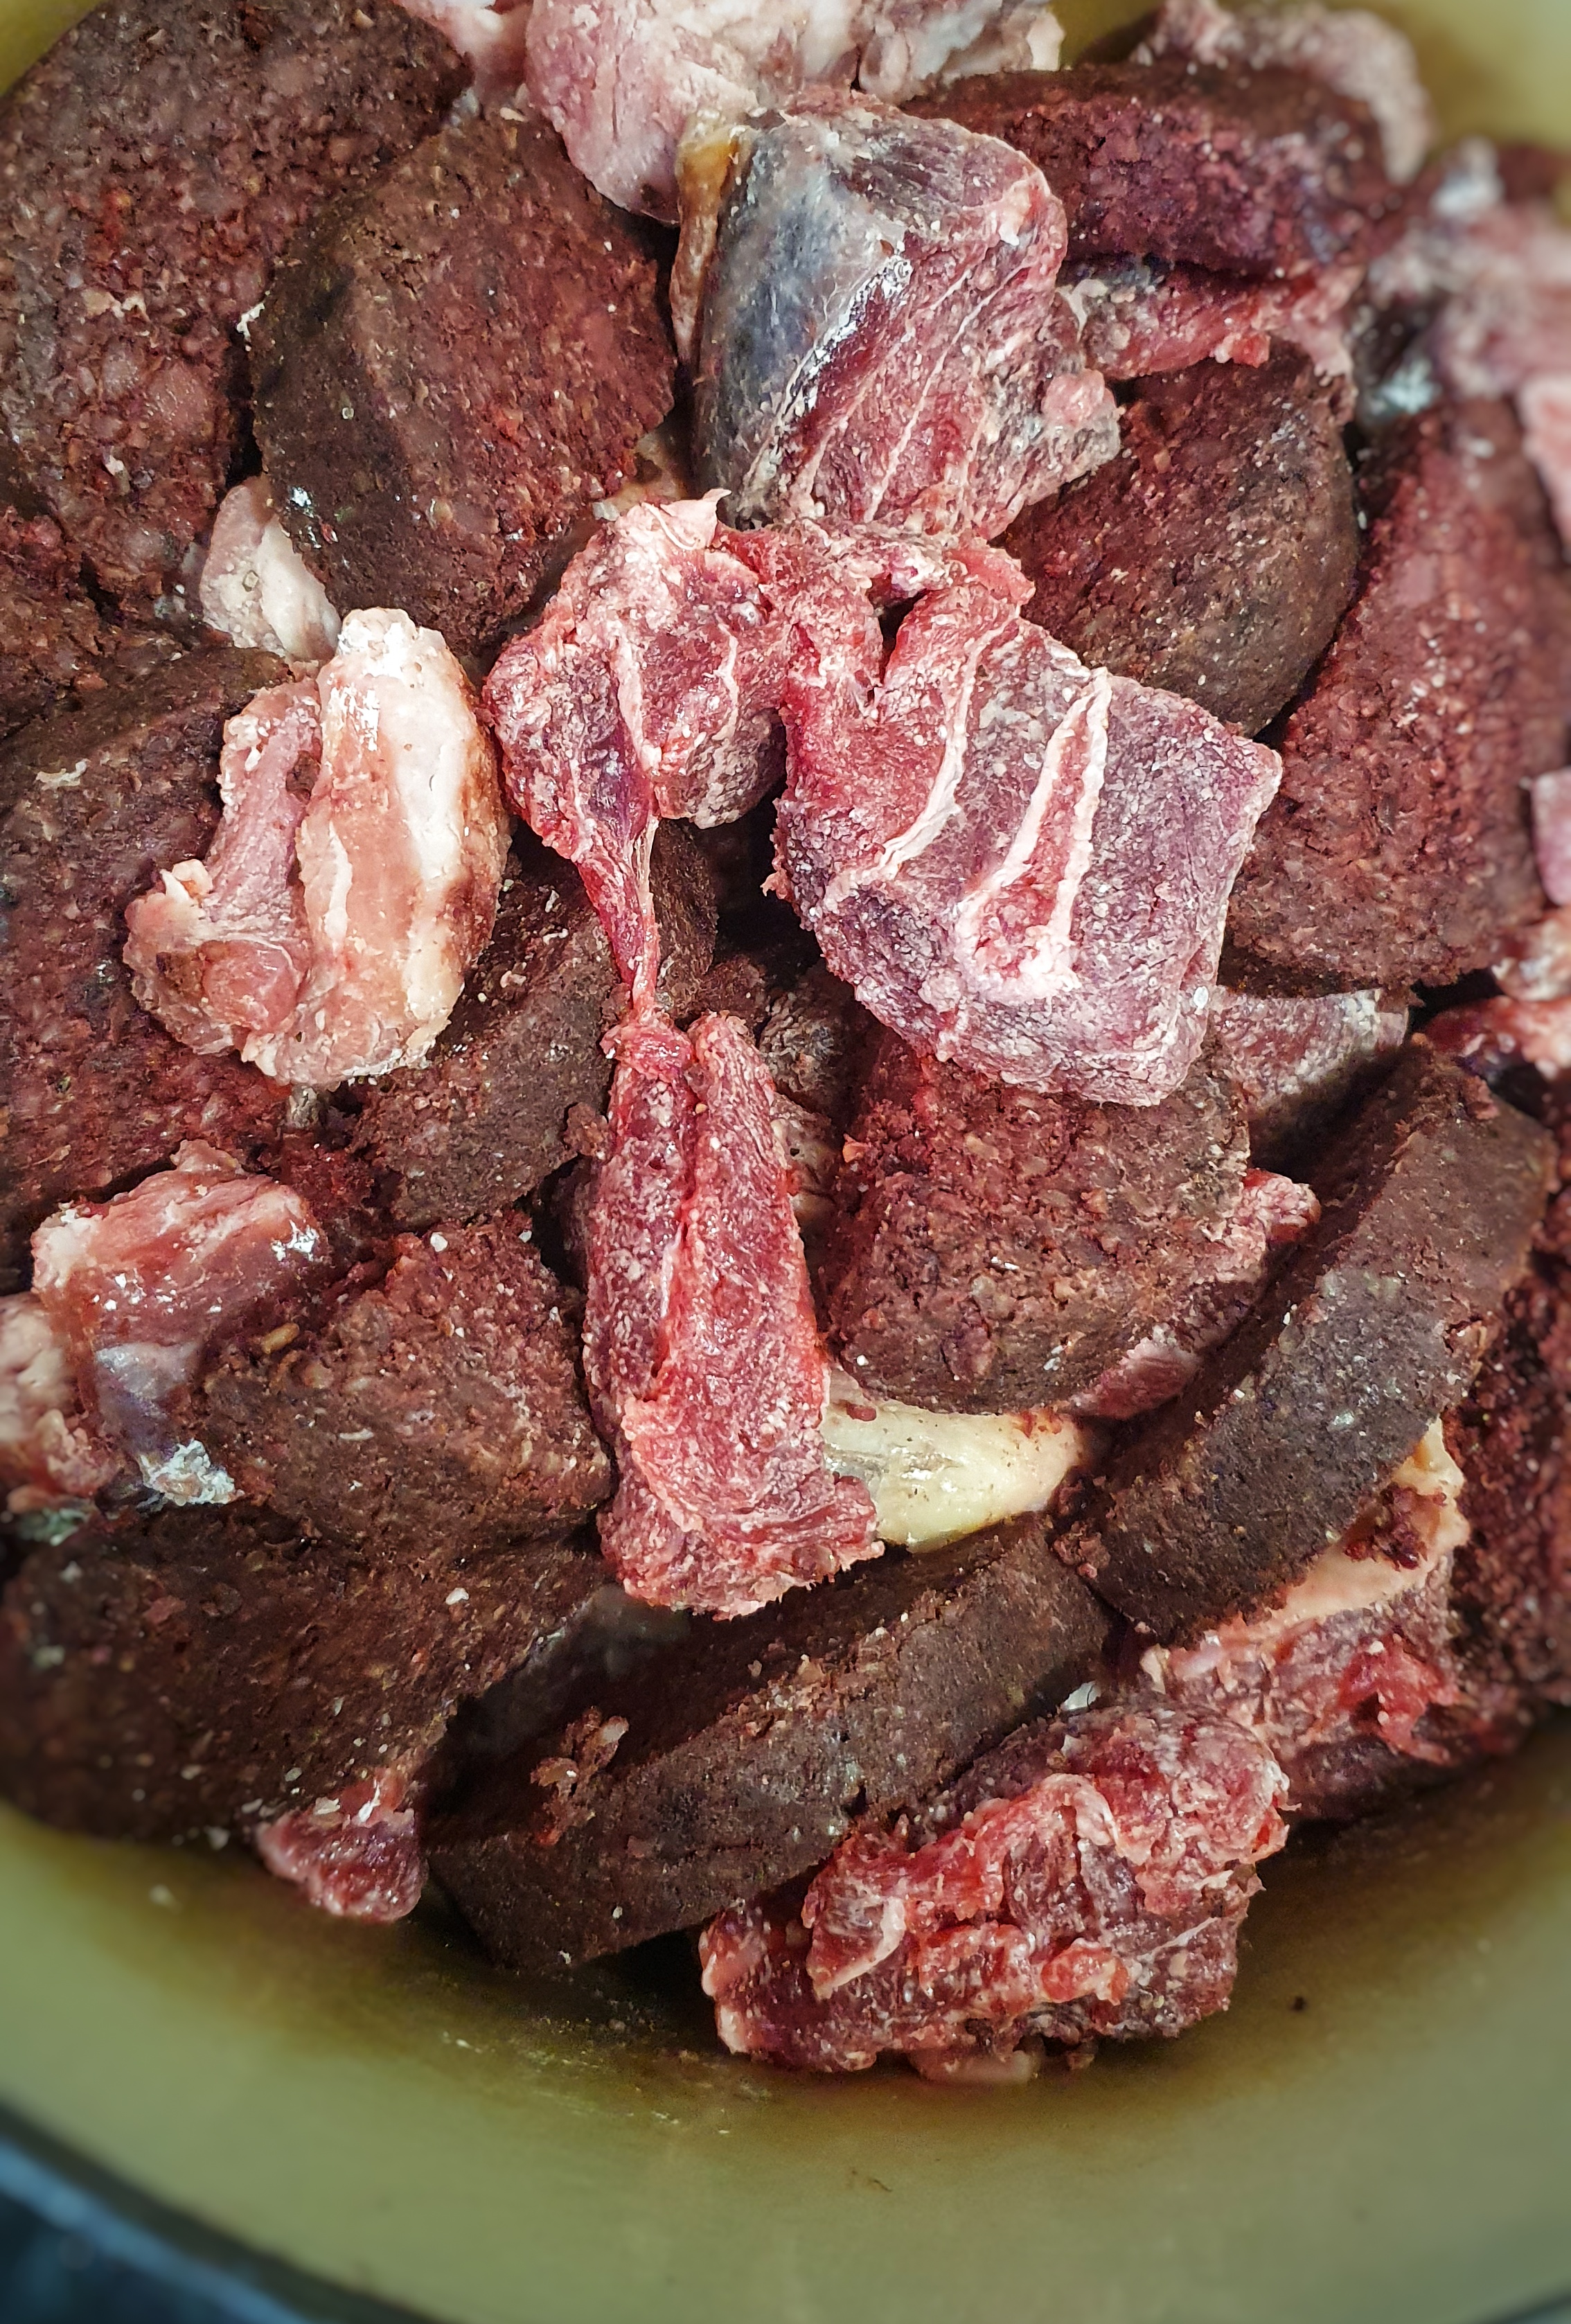
One 350 g Fruit Pig black pudding
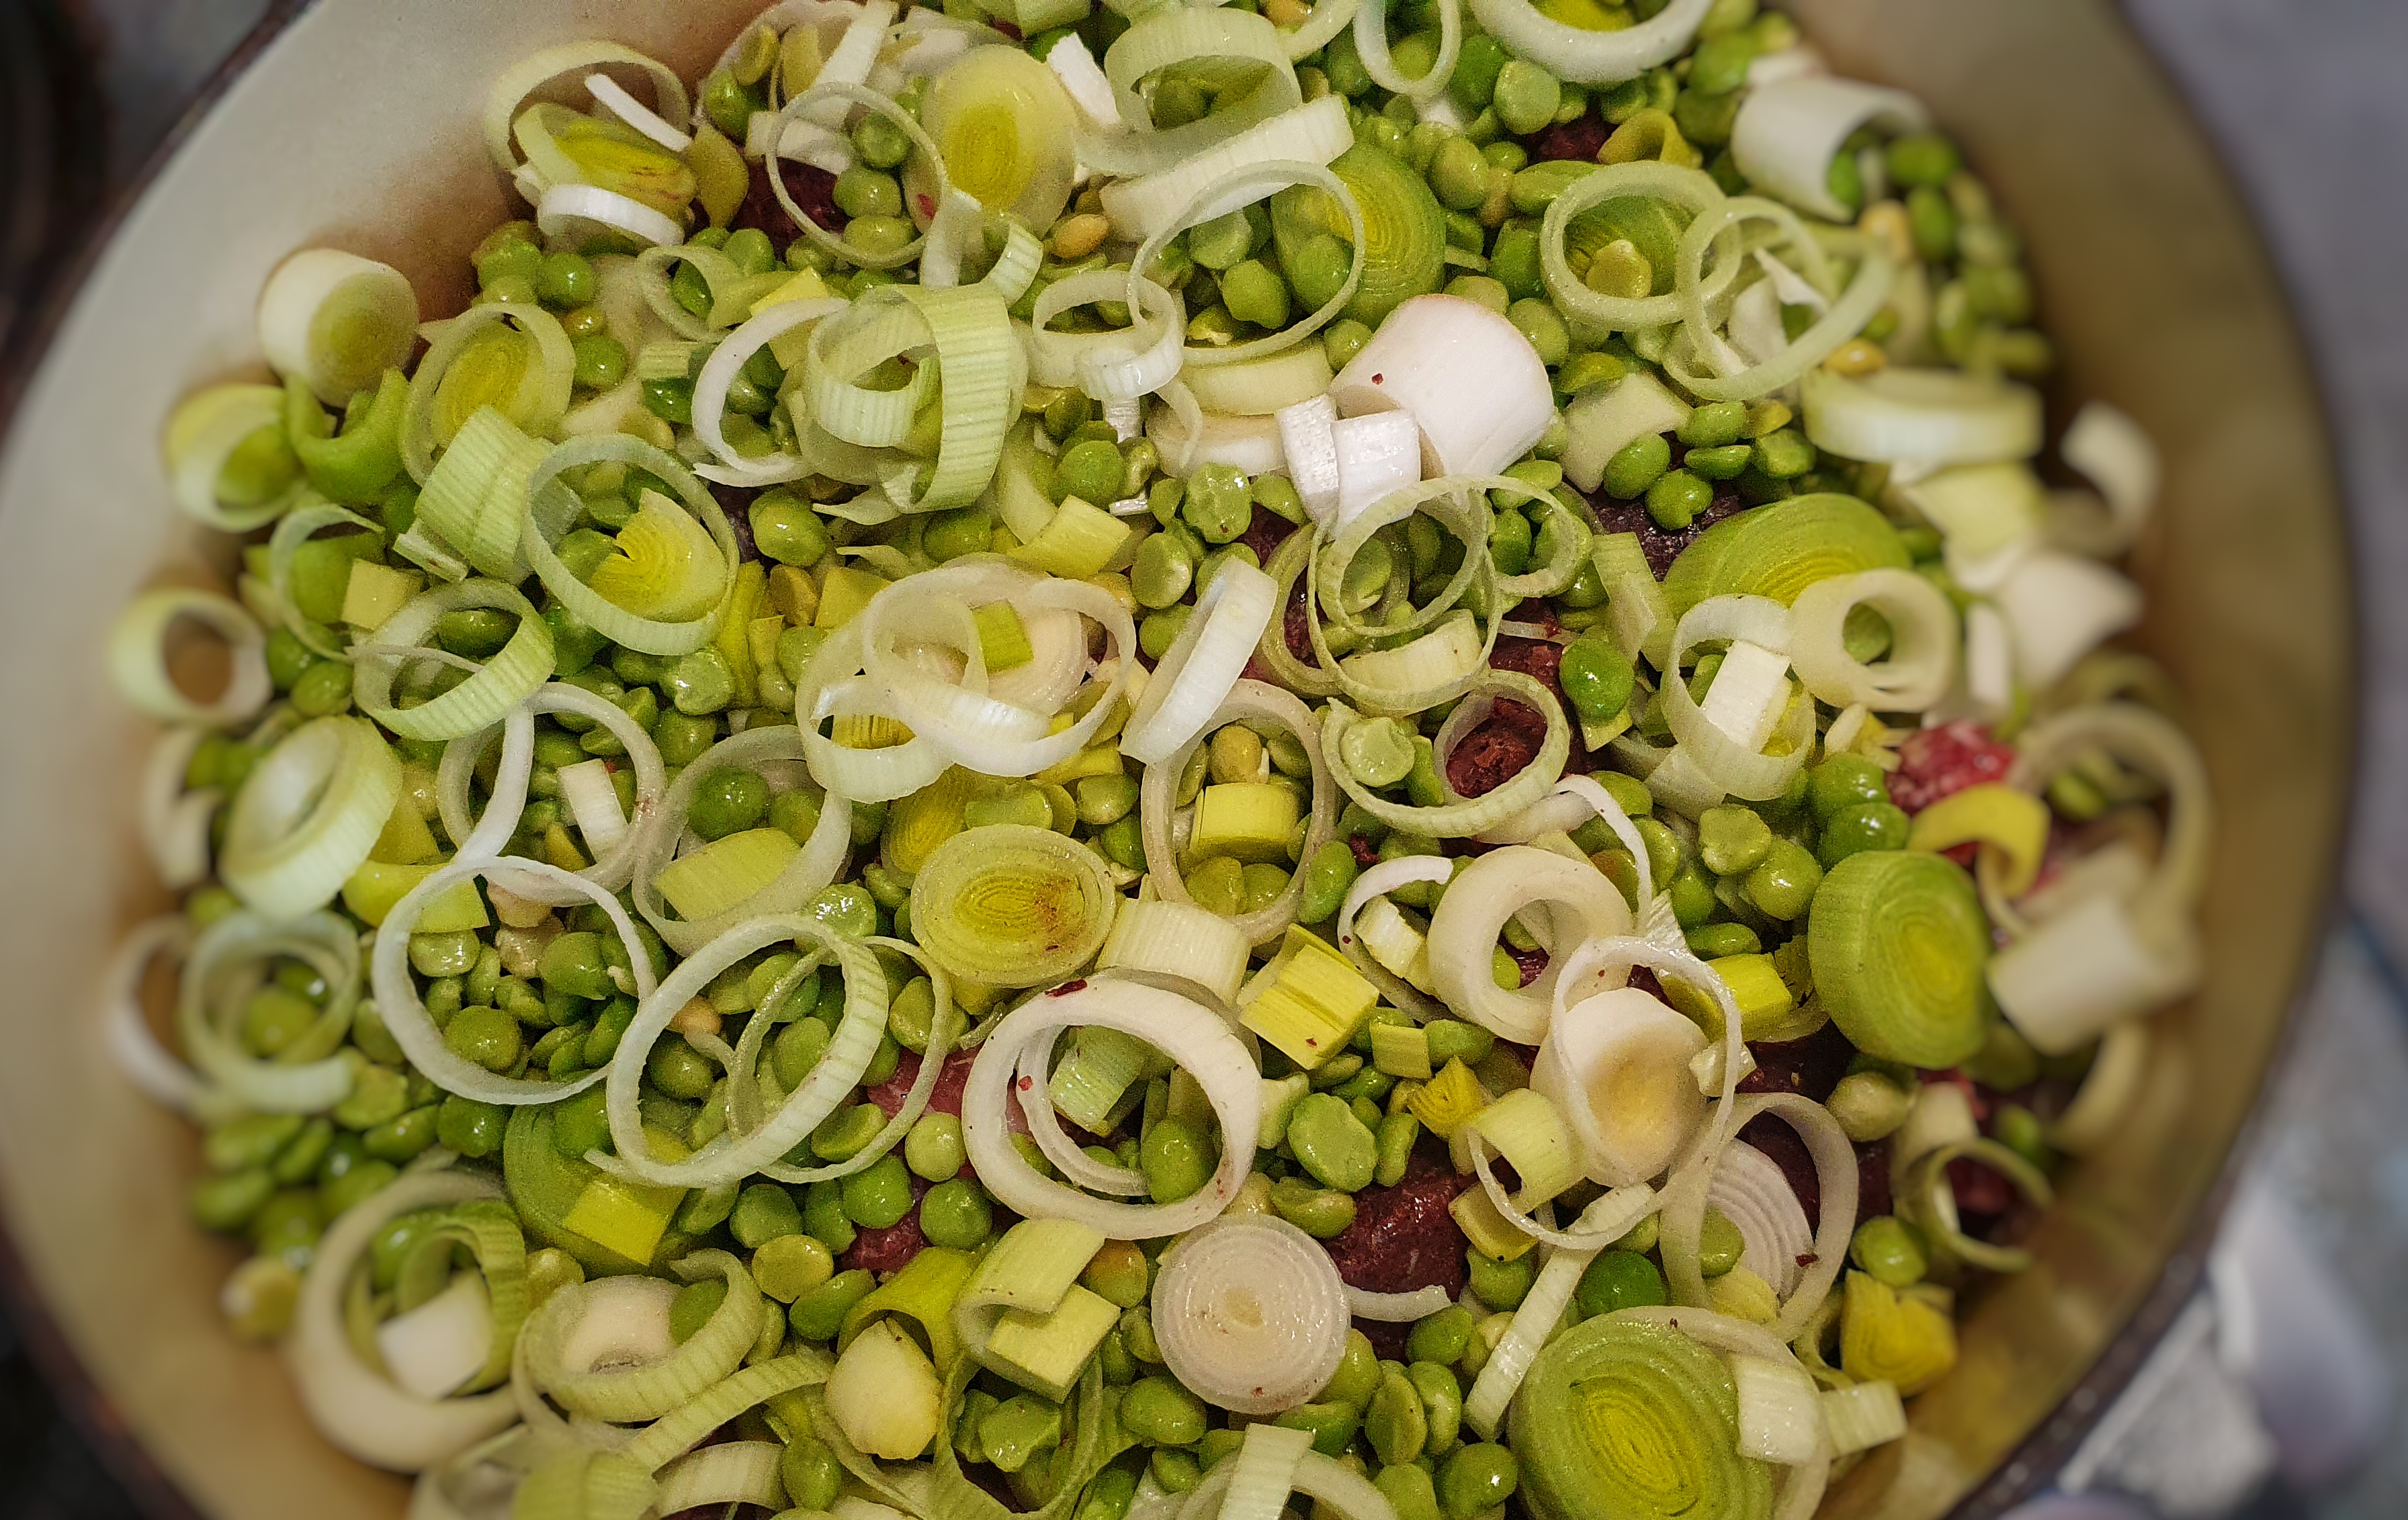
2 onions, peeled and sliced, or 2 leeks, trimmed, rinsed and thinly sliced
Around 1.2 kg floury potatoes
Around 800 ml hot light beef, lamb, or chicken stock, or water
Soak the pulses in water overnight (or, if you are badly organised, soak in warm water for 4 or 5 hours).
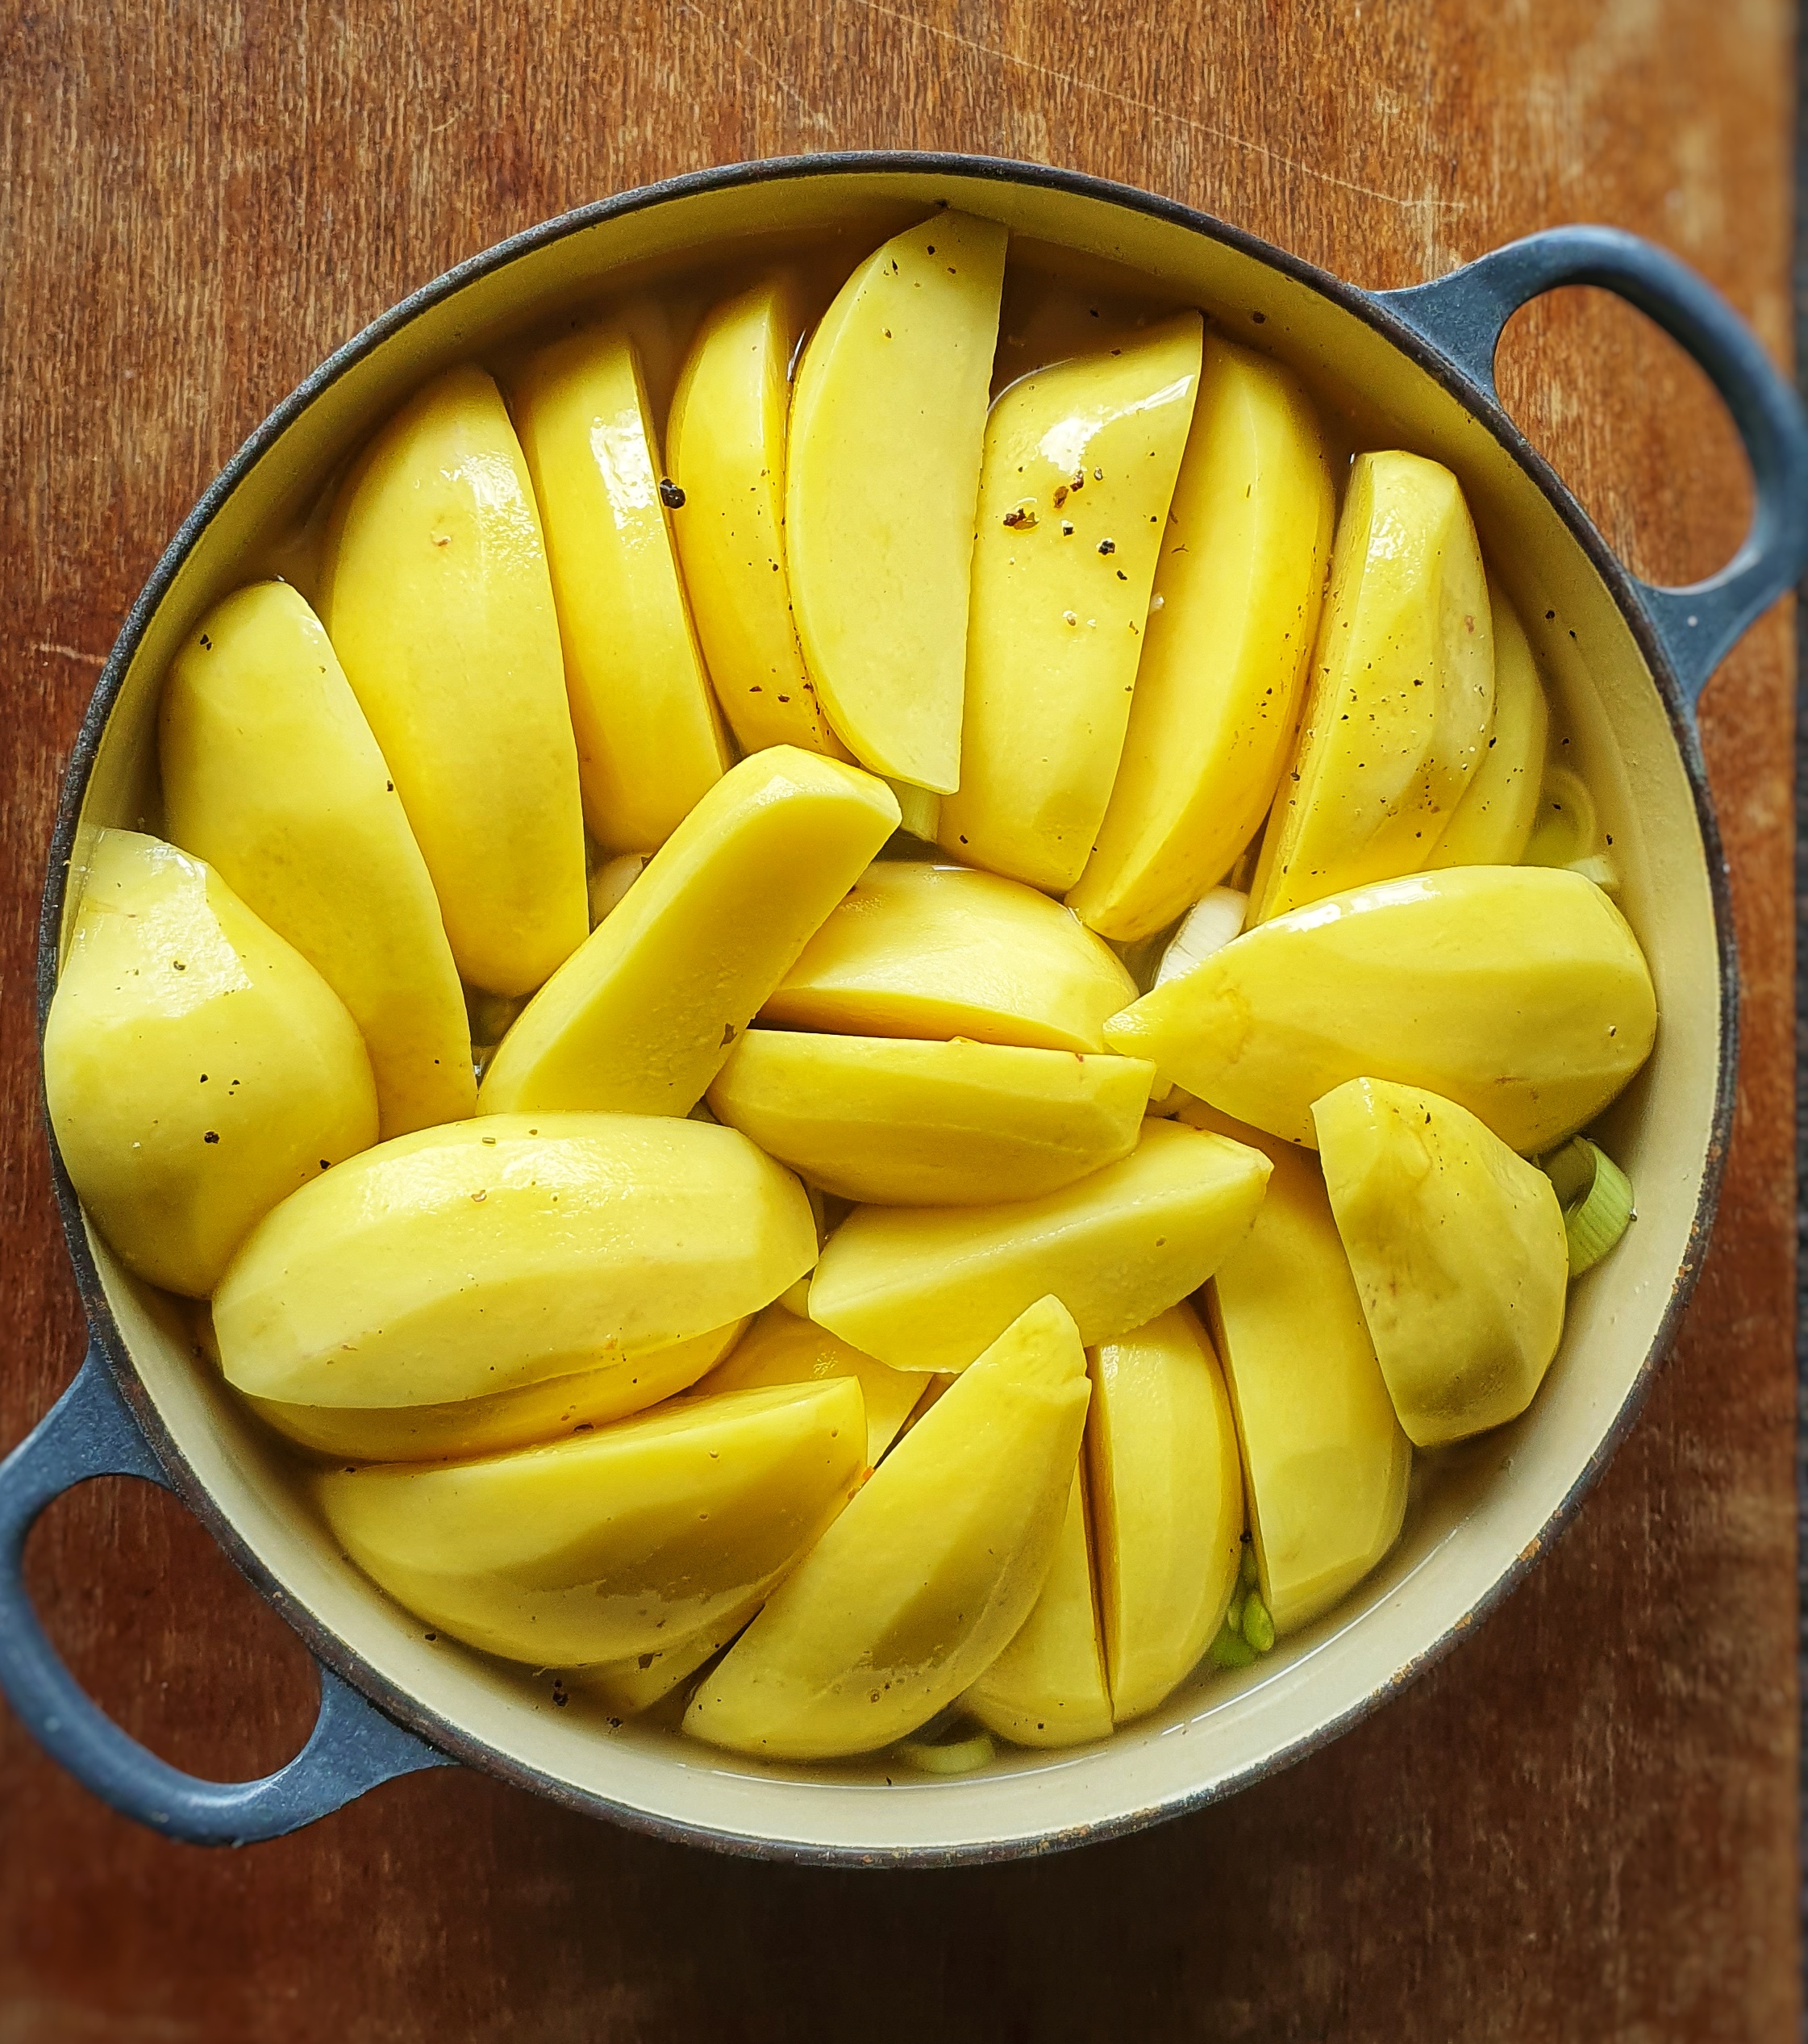
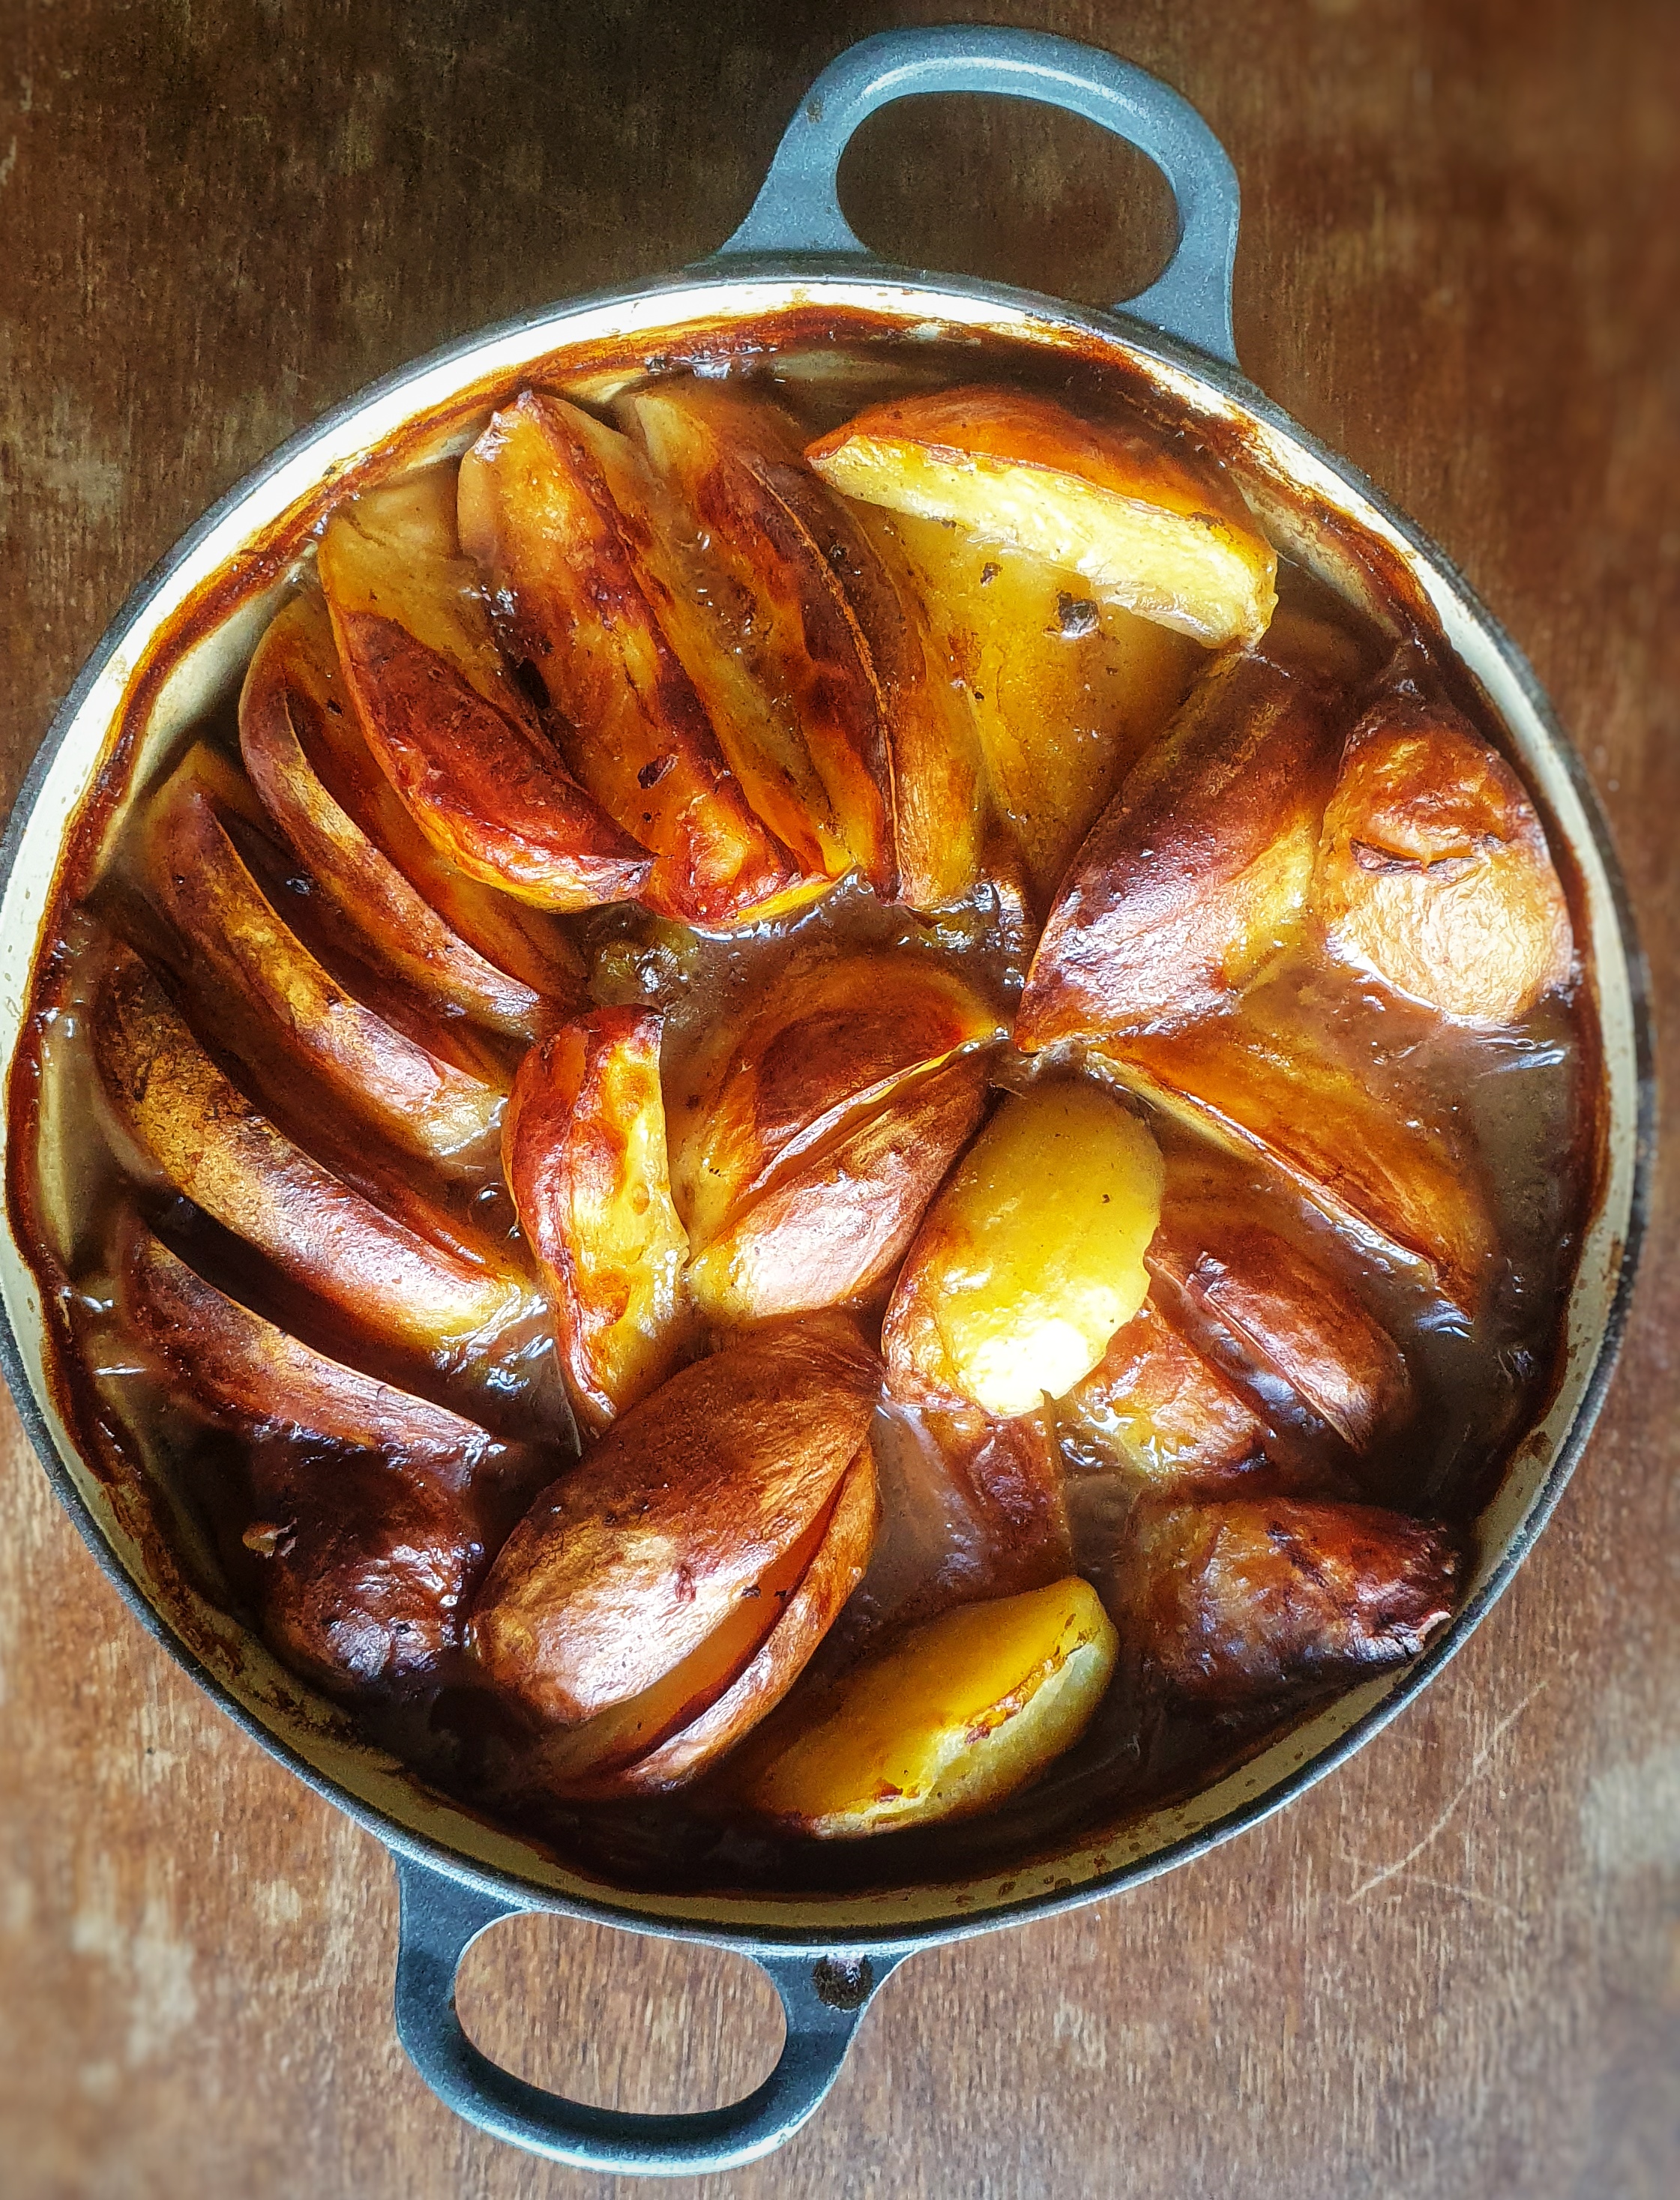
Preheat your oven to 160°C. Shake the meat, cut into neat chunks, with the cornflour, and scatter the pieces over the base of a large casserole, season with salt and pepper, then tuck in slices of the black pudding. Sprinkle with the onions or leeks and the drained pulses. Peel the potatoes and slice them into quarters lengthways. Arrange the quarters on top; I find it is impossible to do this neatly. Pour over enough stock to go halfway up the potatoes and season them with more salt and pepper.
Bake for 4 hours, topping up with more stock or water every hour or so.
Serve with steamed green vegetables or braised red cabbage.
Notes:
[1] Grigson, J. (1992). English Food (Third Edit). Penguin.
[2] The Buttery was my bricks-and-mortar restaurant in Levenshulme, Manchester, open between 2016 and 2017, though it did exist as a pop up restaurant and artisan market stall before that.
[3] For those not in the know, I got into this traditional cookery and food history malarky because I cooked every recipe (well, almost every recipe) in Jane’s wonderful book. This was my first blog Neil Cooks Grigson. Hear about it in this podcast episode from season 8:
[4] Hughes, G. Tatie Pot. The Foods of England Project; https://foodsofengland.info/tatiepotorcumberlandhotpot.html.