To me, life without veal stock…is a life not worth living
Anthony Bourdain
A while ago, I started up a series of posts on stock-making, and thought I should continue it.
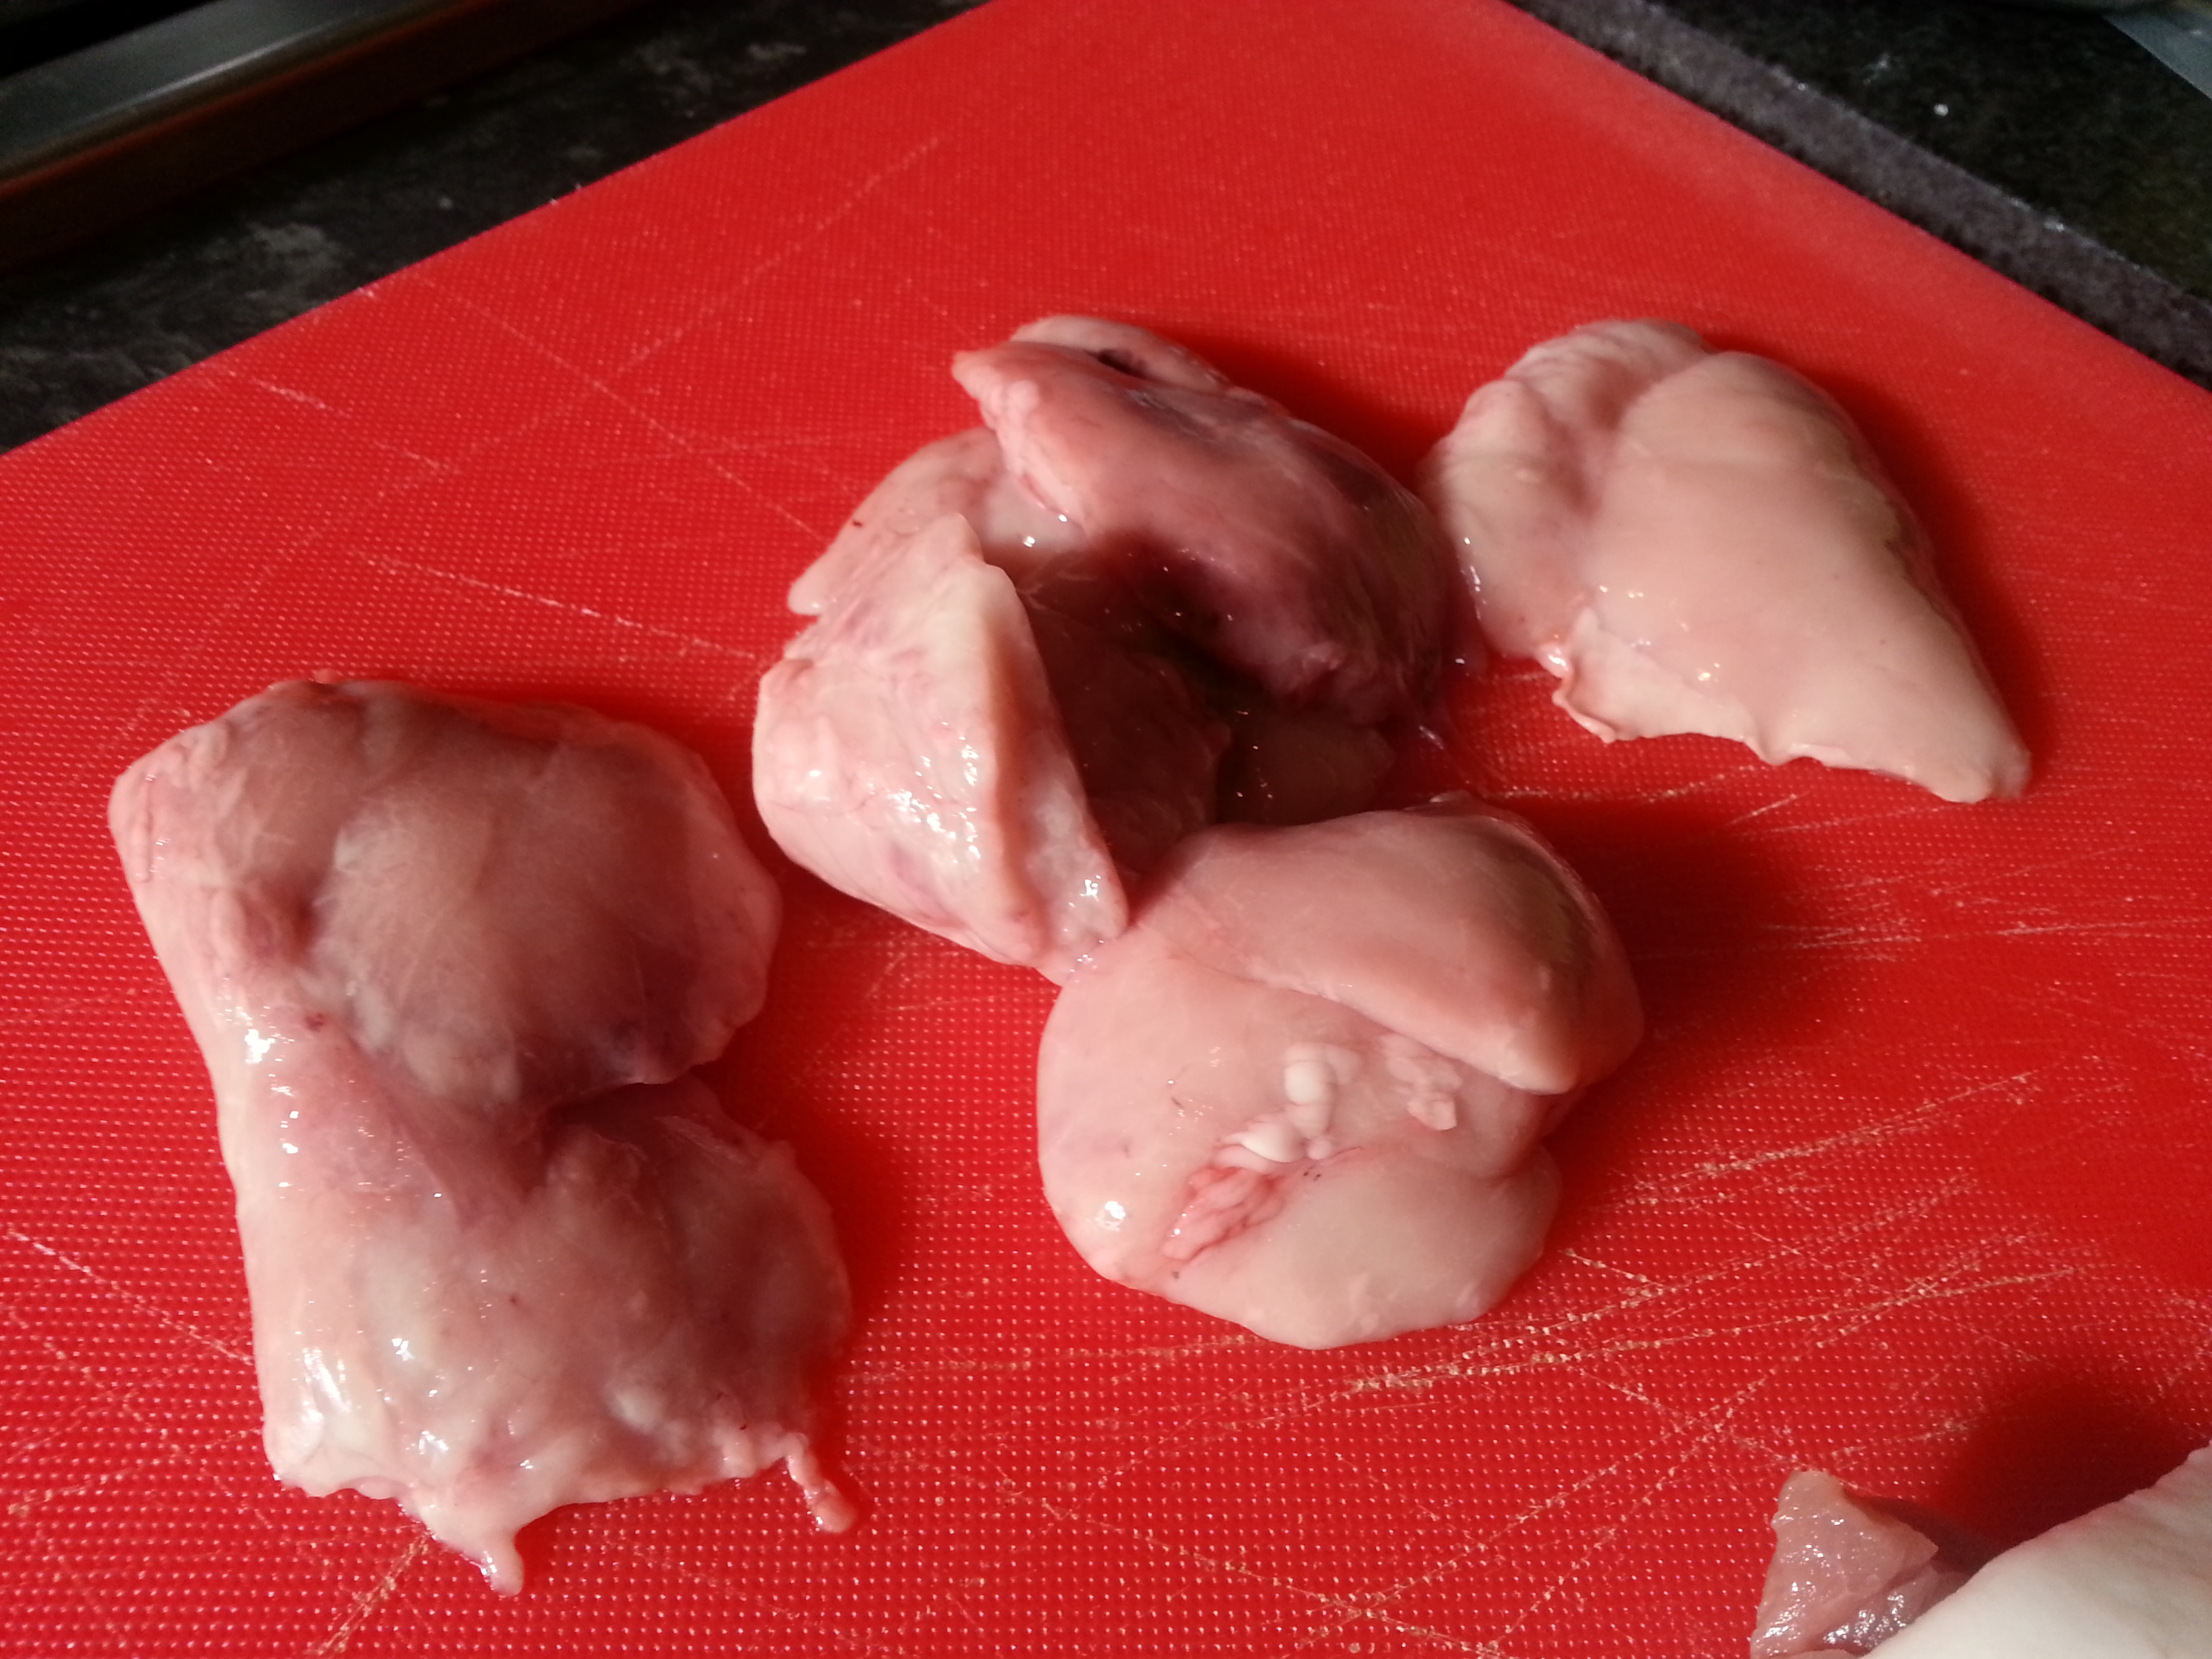
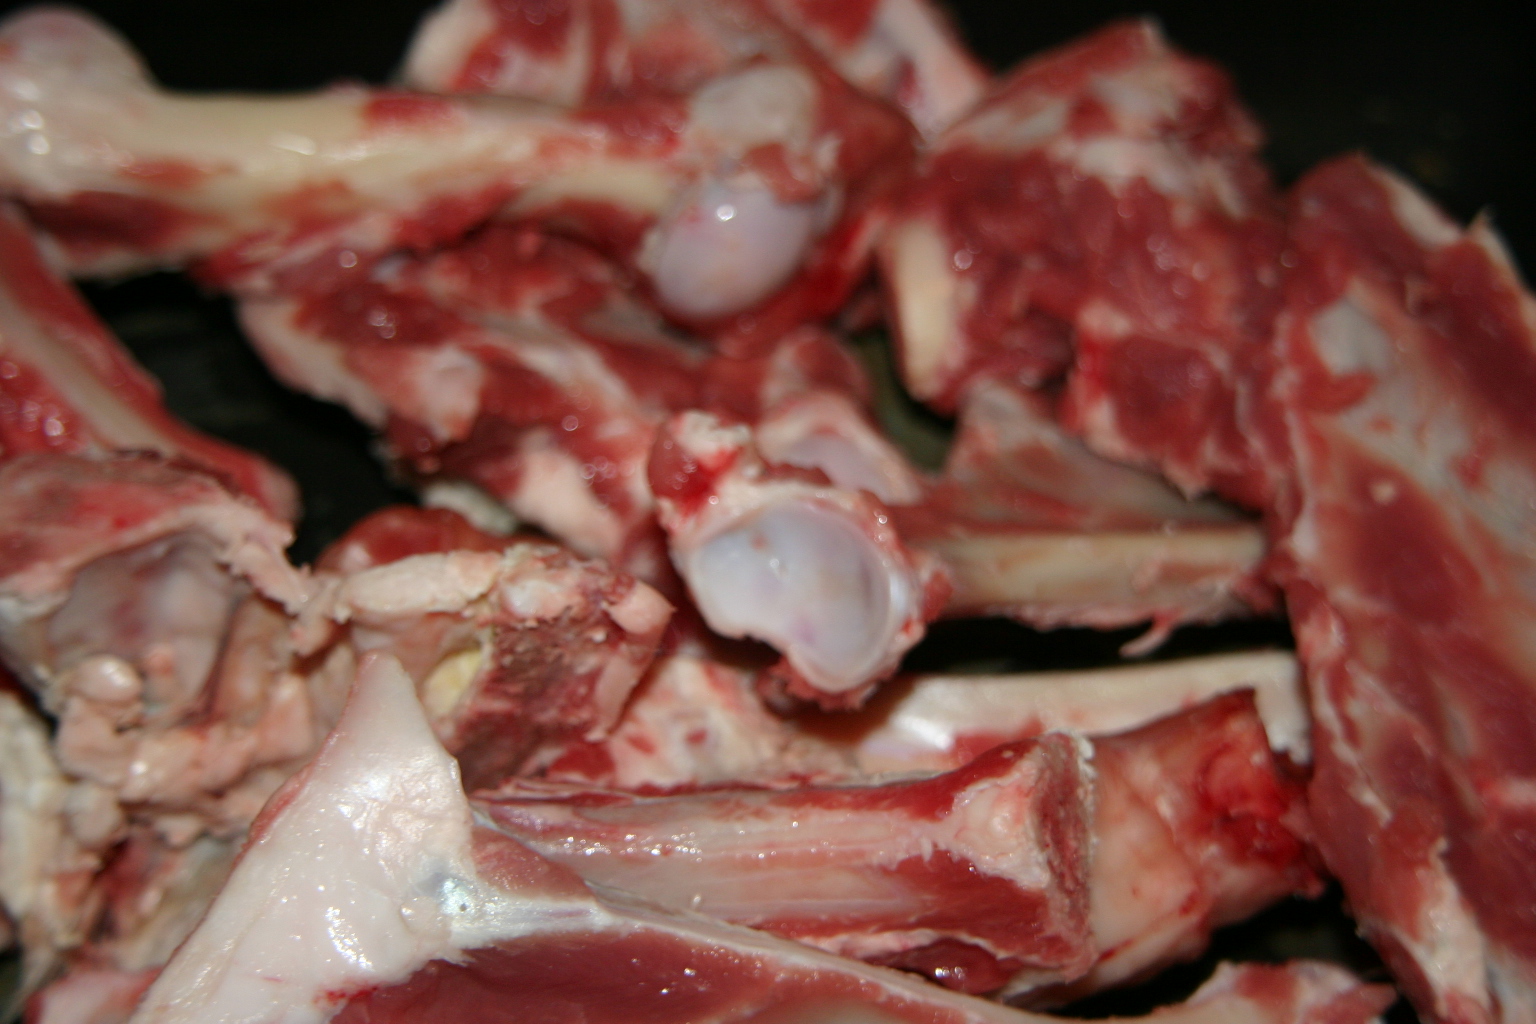
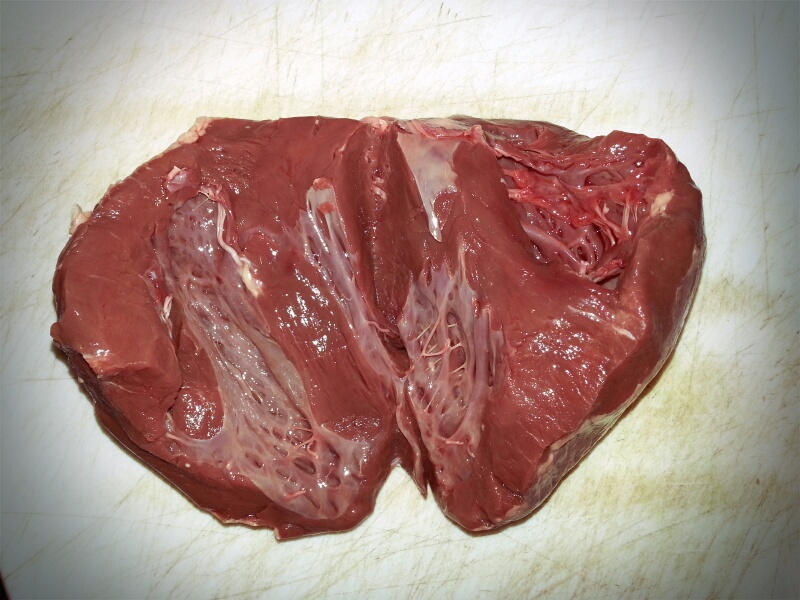
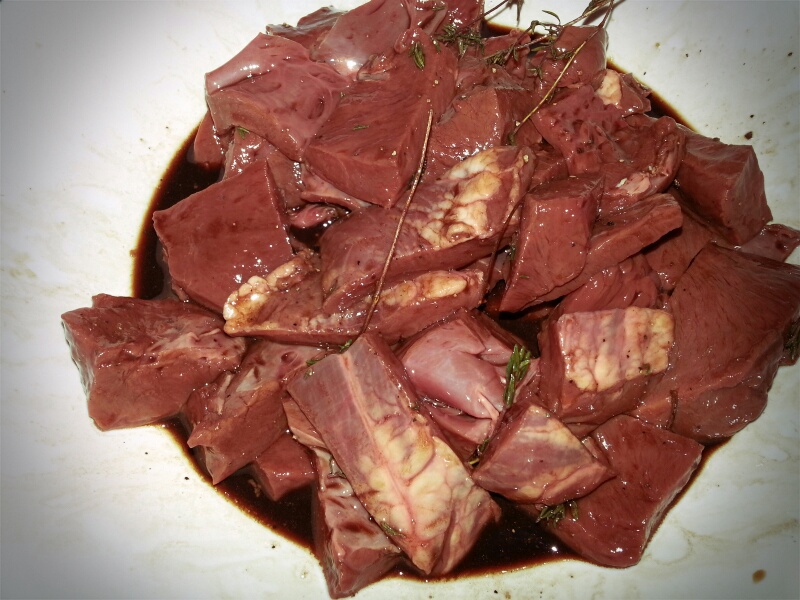
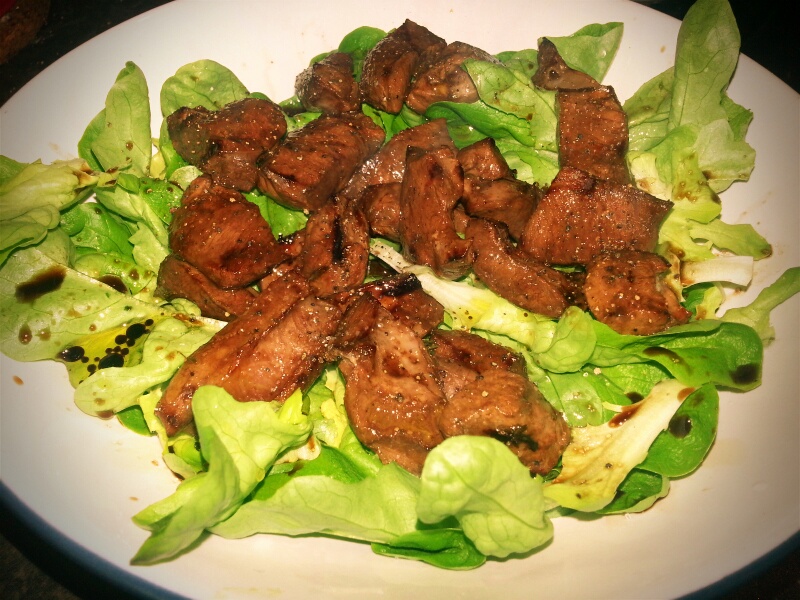
When it comes to stock-making the home cook needs to keep out an eagle-eye for off cuts of meat and bones to sequester in the freezer ready to whip out for a stock. This I always do at Levenshulme Market (of which I am a Director), where the excellent Wintertarn has a stall selling organic cheese and –being good, sustainable dairy farmers – their organic rose veal too. I always have a nosey for any odd bits and I’ve managed to stockpile a few calves’ tails and a calf’s heart, amongst other things.

These sorts of bits are great for making meat stocks – muscle for meaty flavour and bones for gelatinous body.
I thought I would give you my recipe to make a basic veal stock ready for classic soups, stews and sauces. It is the stock favoured in posh restaurants with kitchen run by French chefs, but it is easy to make, and cheap too, if you know where to look. It’s always a good idea to make friends with your local butcher, for this very reason. The reason it is liked so much is that it as there is no dominating flavour as there can be with beef stocks, yet there is plenty of body.
I have written a post already on general stock making, so it might be a good idea to have a look at that if you haven’t made stock very often.
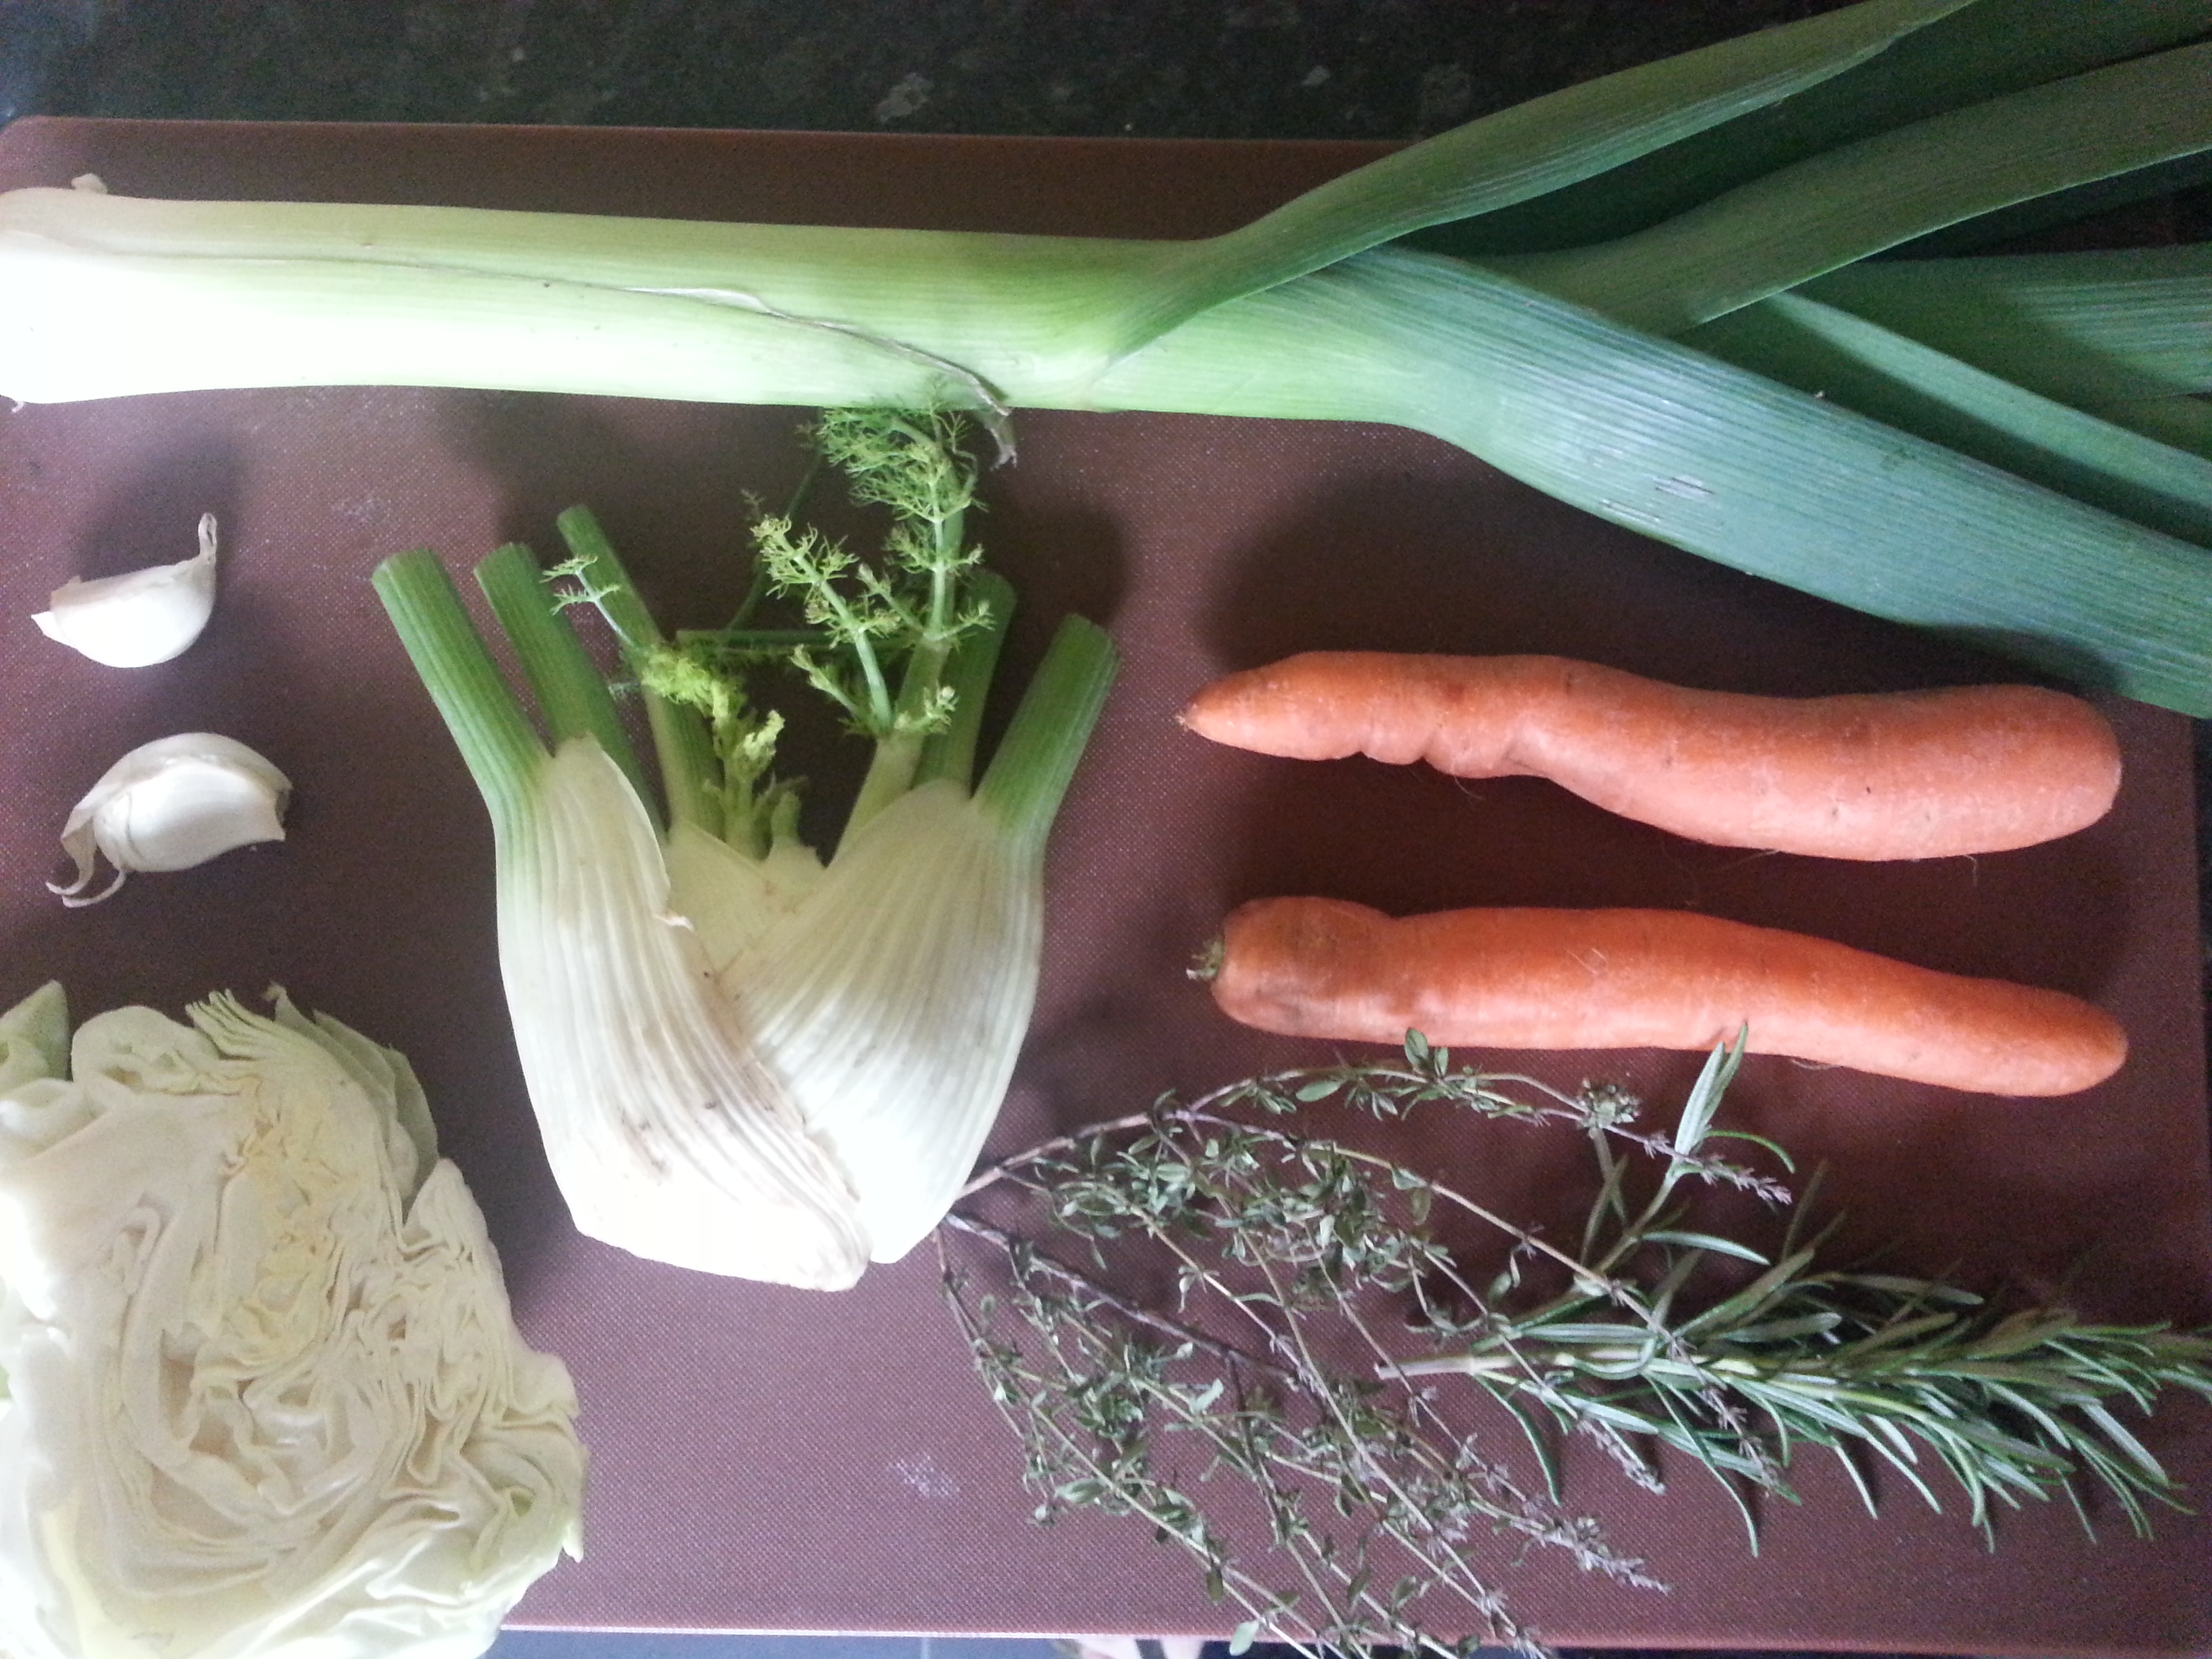
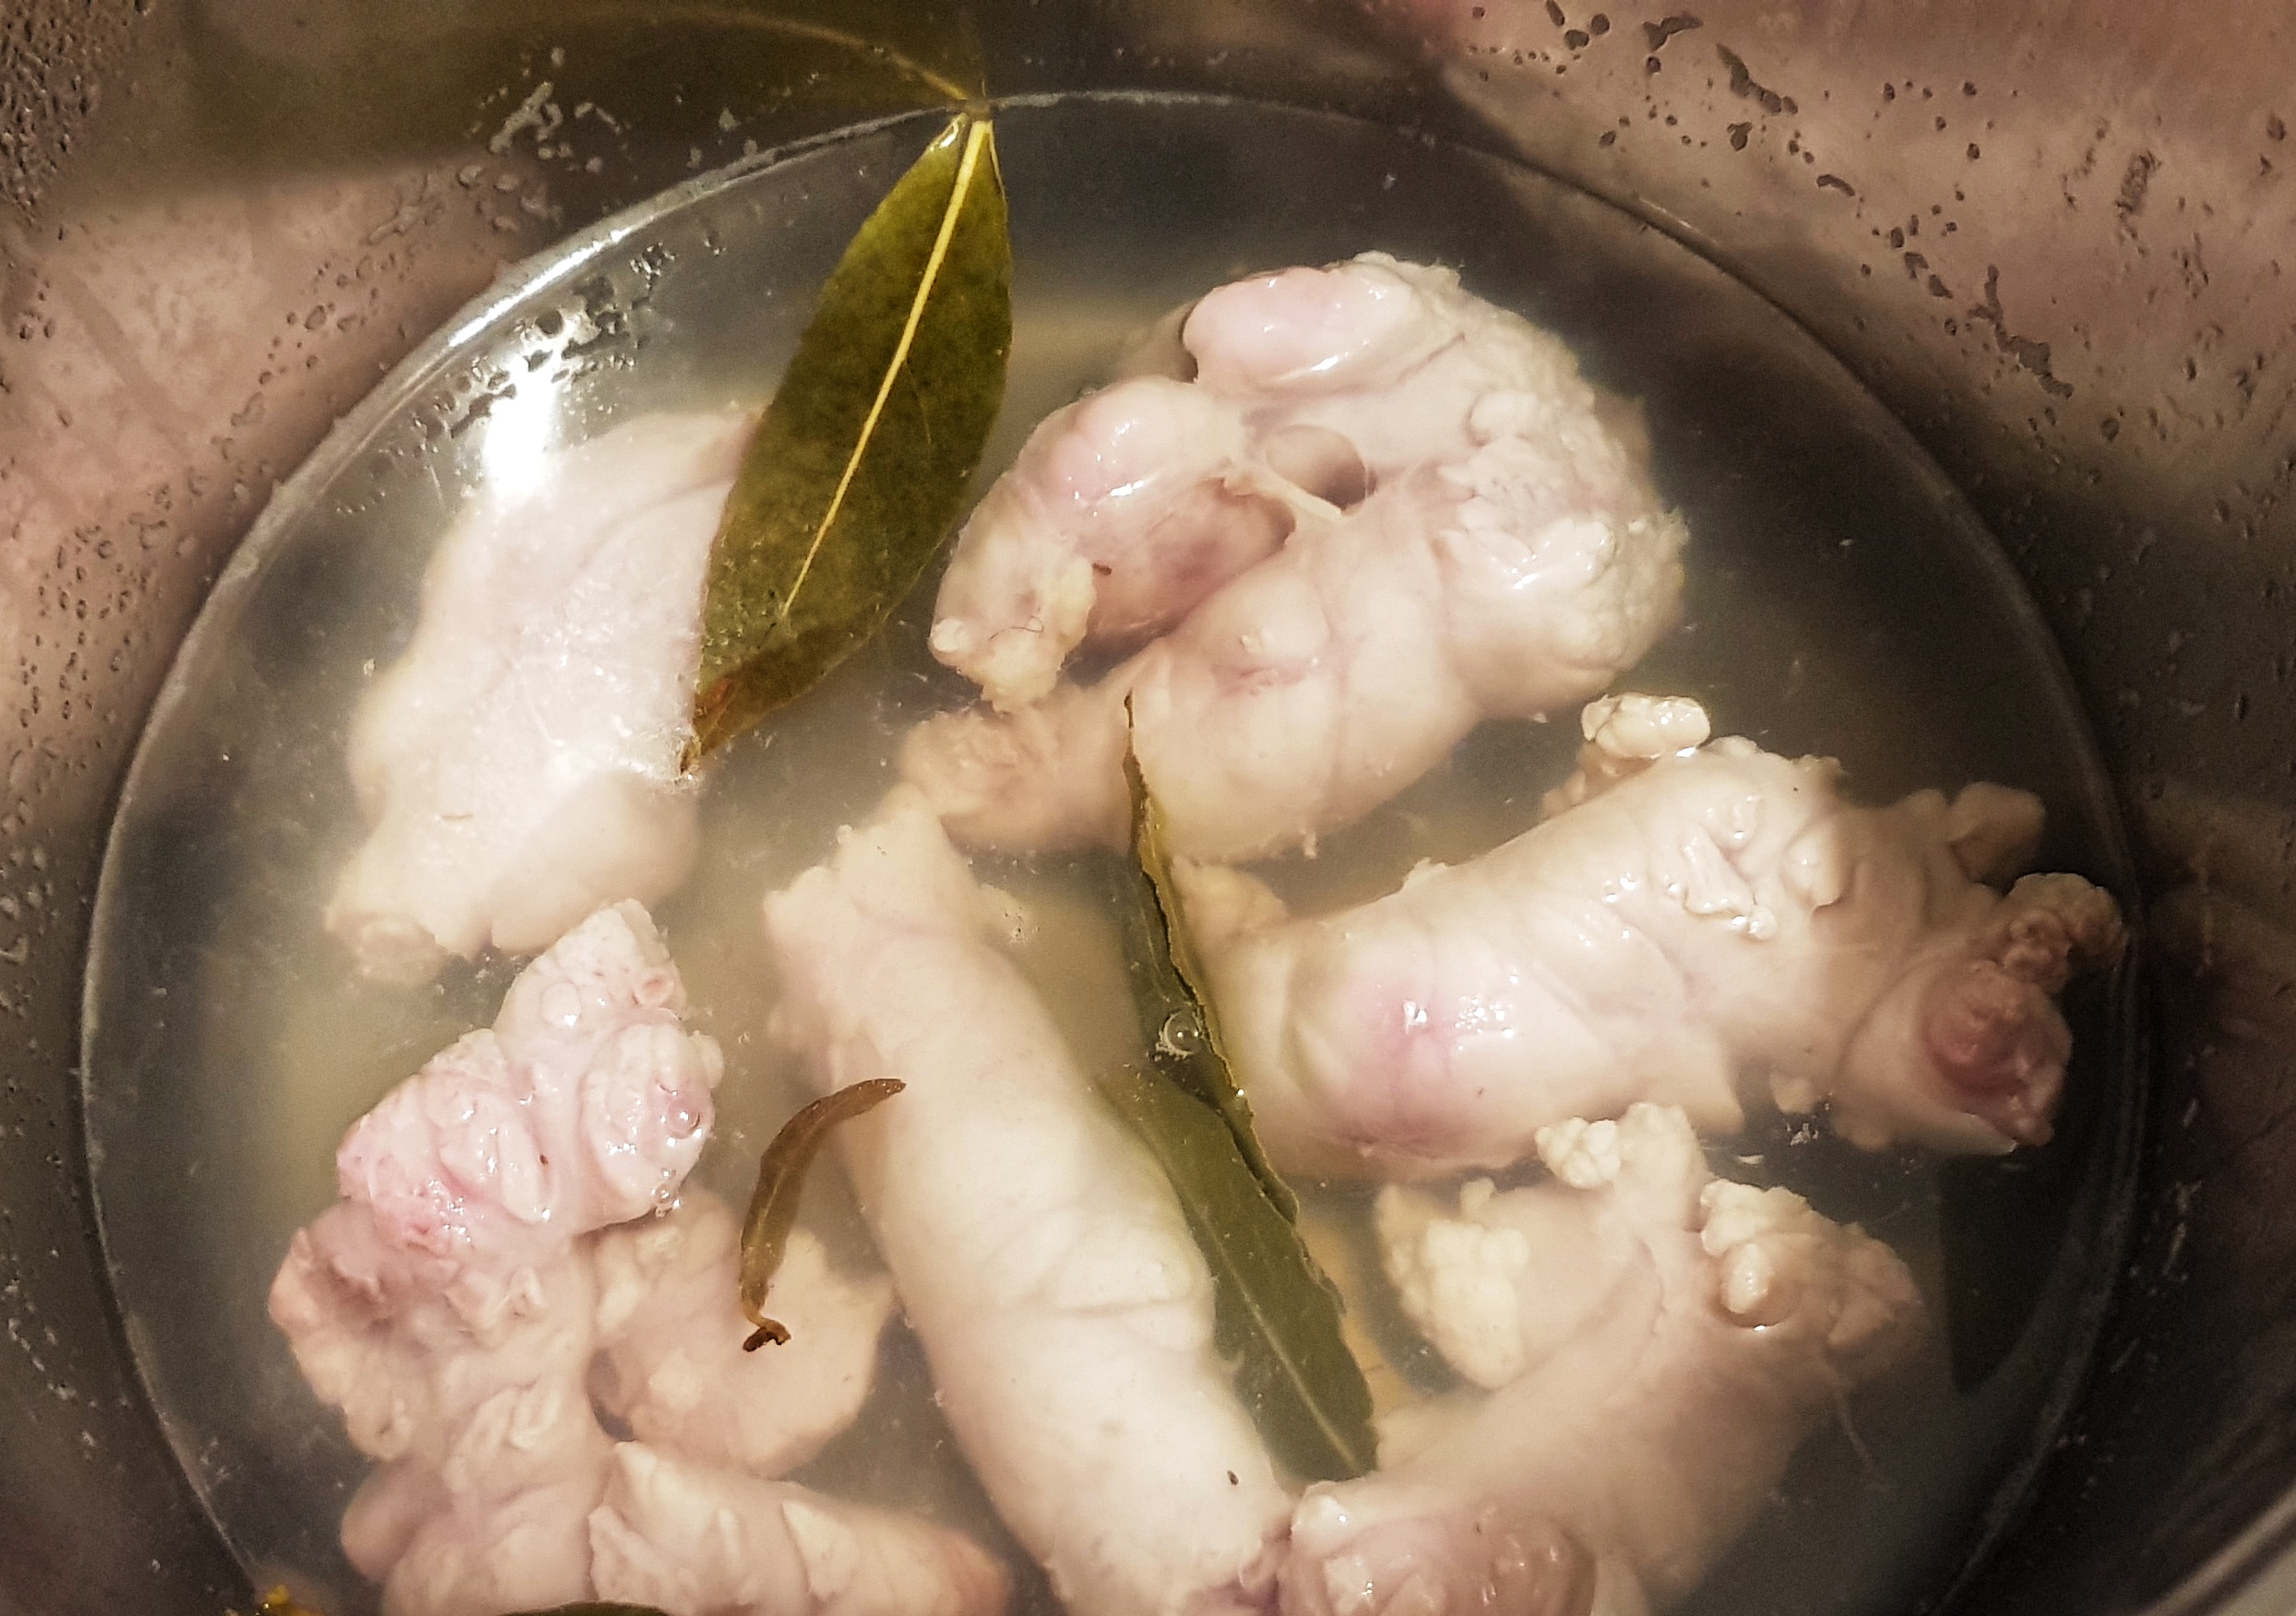
This recipe is guidance really, most quote veal knuckle (the veal equivalent to a pig’s trotter) and veal shin, but you can use any cheap/free bone and muscle combination. You only need to the basic aromatics too – this is a simple, yet elegant stock, of course you can add other vegetables too. Notice there are no peppercorns; if you want a clear stock they need to be avoided as they can make the stock cloudy. If you don’t care, add half a dozen.
1 kg of veal knuckle, split, or tail, or other bones, chopped up
750g shank, or other well-used muscle cut into pieces (heart, tongue, skirt, osso bucco etc.)
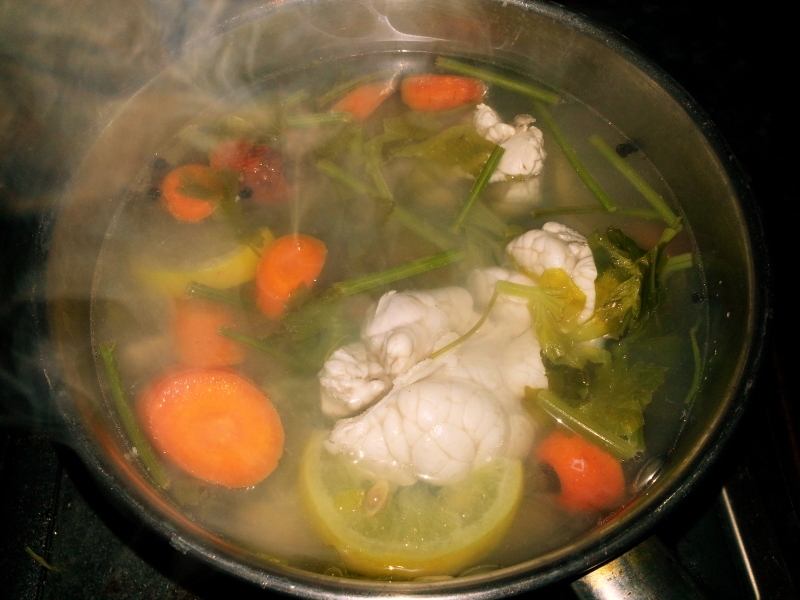
2 carrots, peeled and halved lengthways
2 onions, peeled, halved and studded with 2 cloves each
2 sticks of celery, roughly chopped
2 whole garlic cloves
a bouquet garni made up of thyme, parsley stalks, 2 bay leaves
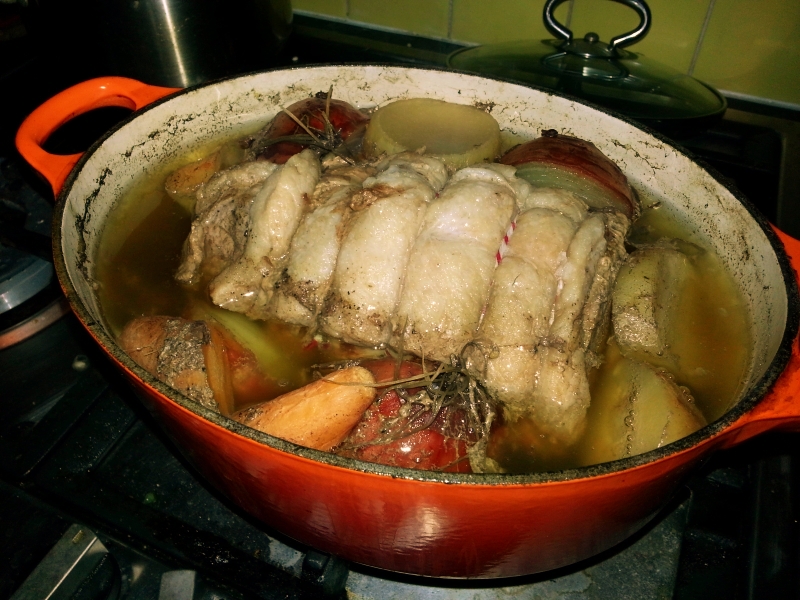
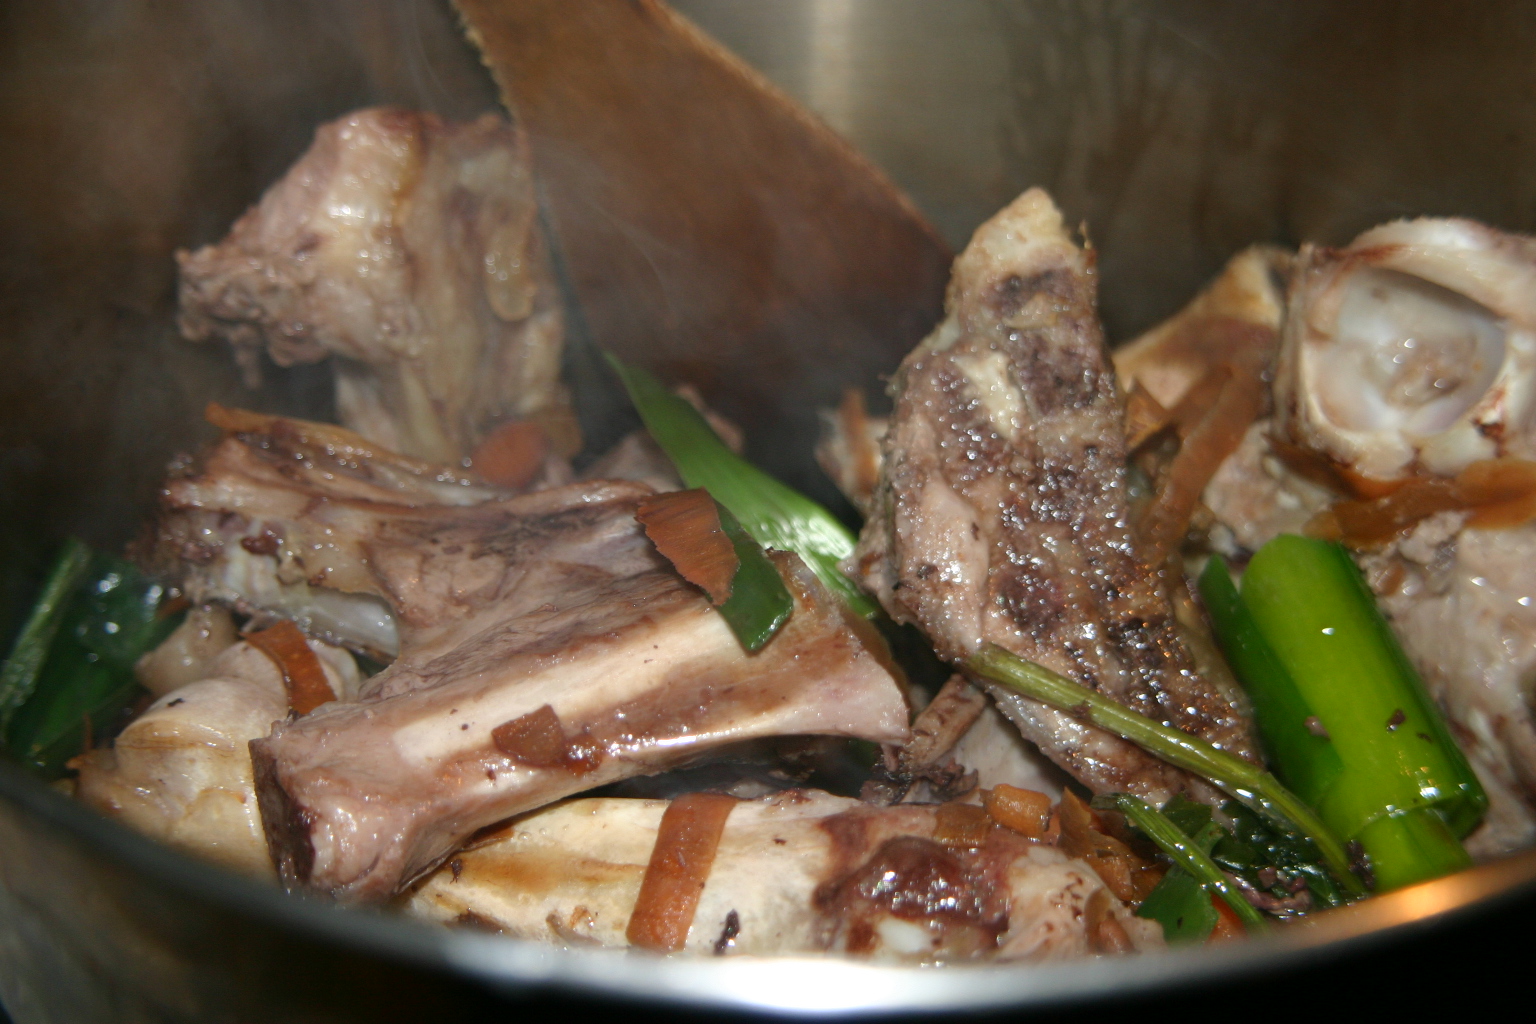
First, get a large pot of water on the boil, and blanche the meat for 5 minutes. This gets rid of the scum, that otherwise would rise to the surface and require skimming. Drain the meat and give it a quick rinse. Place in your stock pot with the vegetables, packing everything in tightly. Pour cold water to just cover, around 2 litres.
Bring to a simmer very slowly, it should take at least 20 minutes. If you do this correctly, you won’t get any more scum rising to the surface.

Once the water is barely gurgling, move the pot onto the smallest hob on your cooker, set at its lowest heat. Keep the pot covered and let it tick over for 5 hours. It may seem like a long time, but it really needs this long slow bathe. It’s not like you have to stand over it. Tip your nets, grout the bathroom or take the dog out or something in the meantime.
If you like the blogs and podcast I produce, please consider treating me to a virtual coffee or pint, or even a £3 monthly subscription: follow this link for more information.
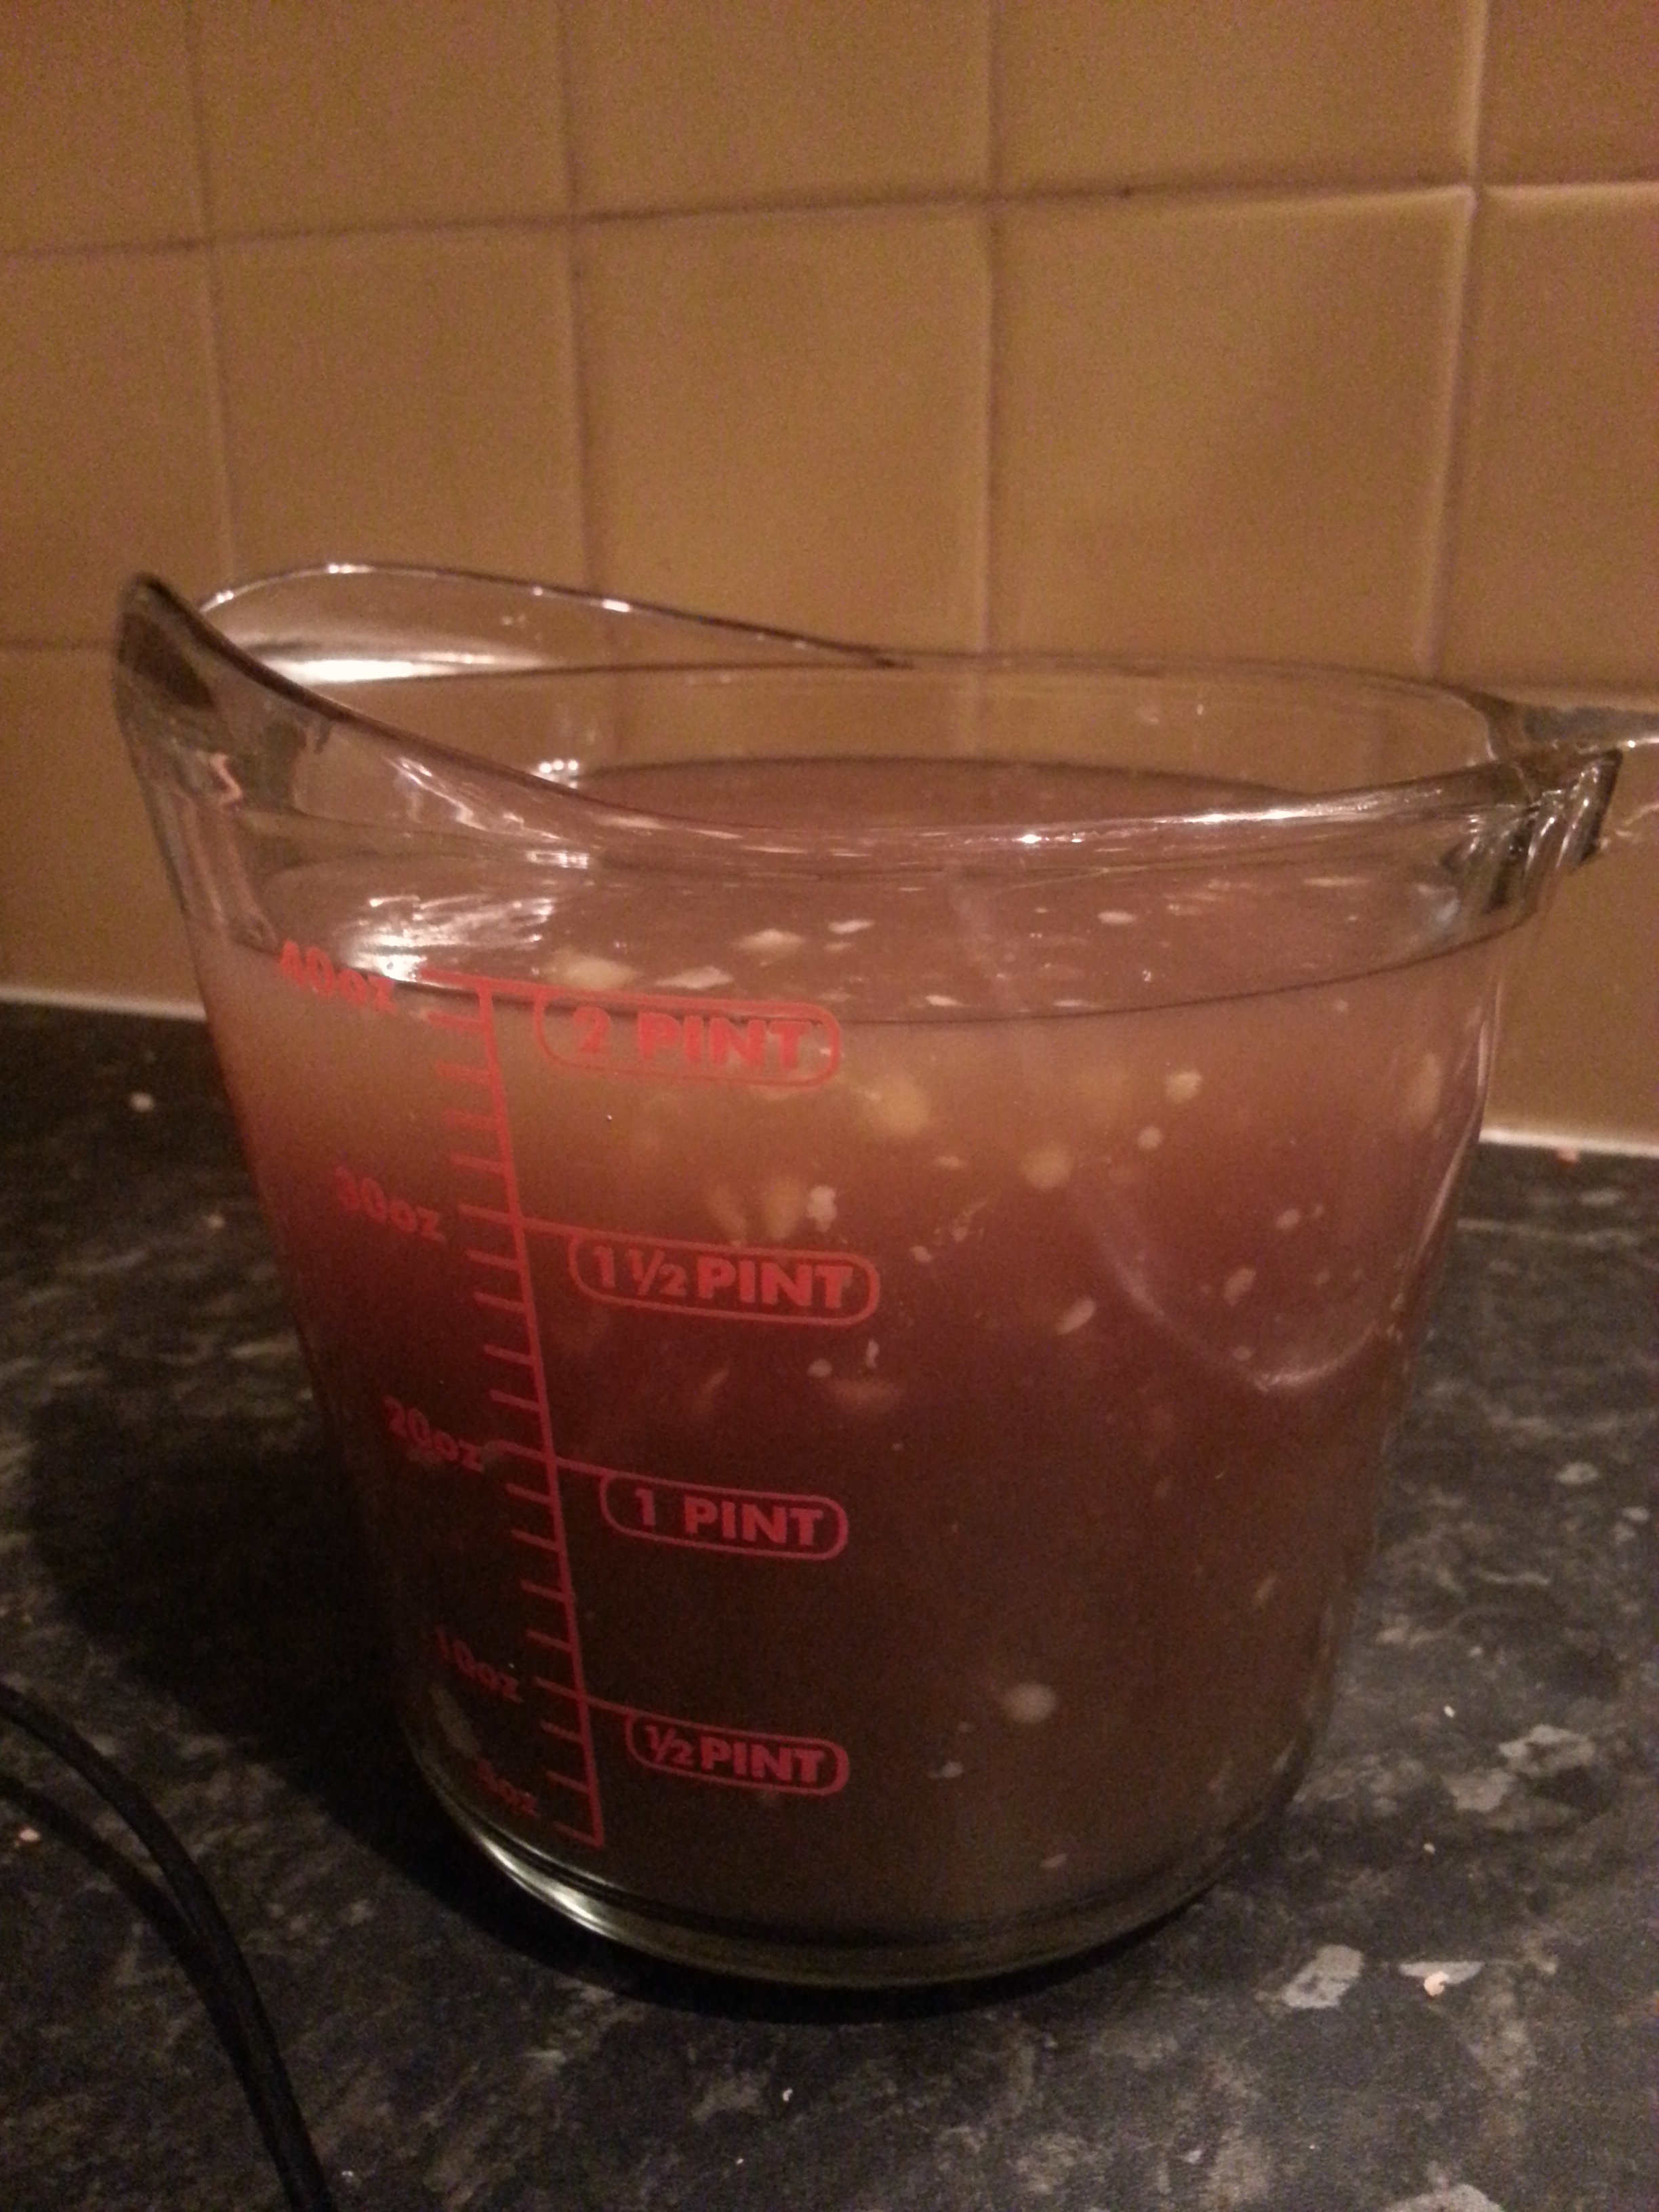
Strain the stock through a sieve into a clean pan, bring to boil and reduce by a third. Cool overnight and take away any fat that has solidified on the stock’s surface. You should have a pale coloured jellied stock that can be seasoned and used as required.
If you want a richer brown stock, the bones and vegetables can be browned in the oven first.
In the next post I’ll give you a recipe that needs a good, home-made stock like this.