This is the first part of a three-part post.
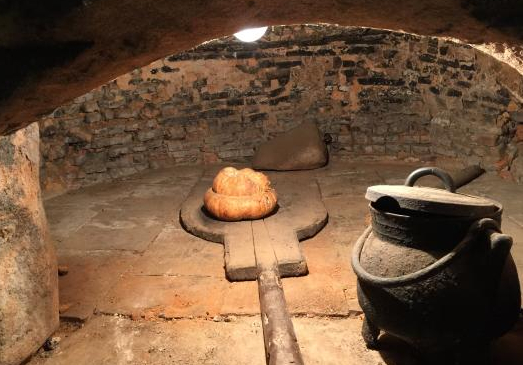
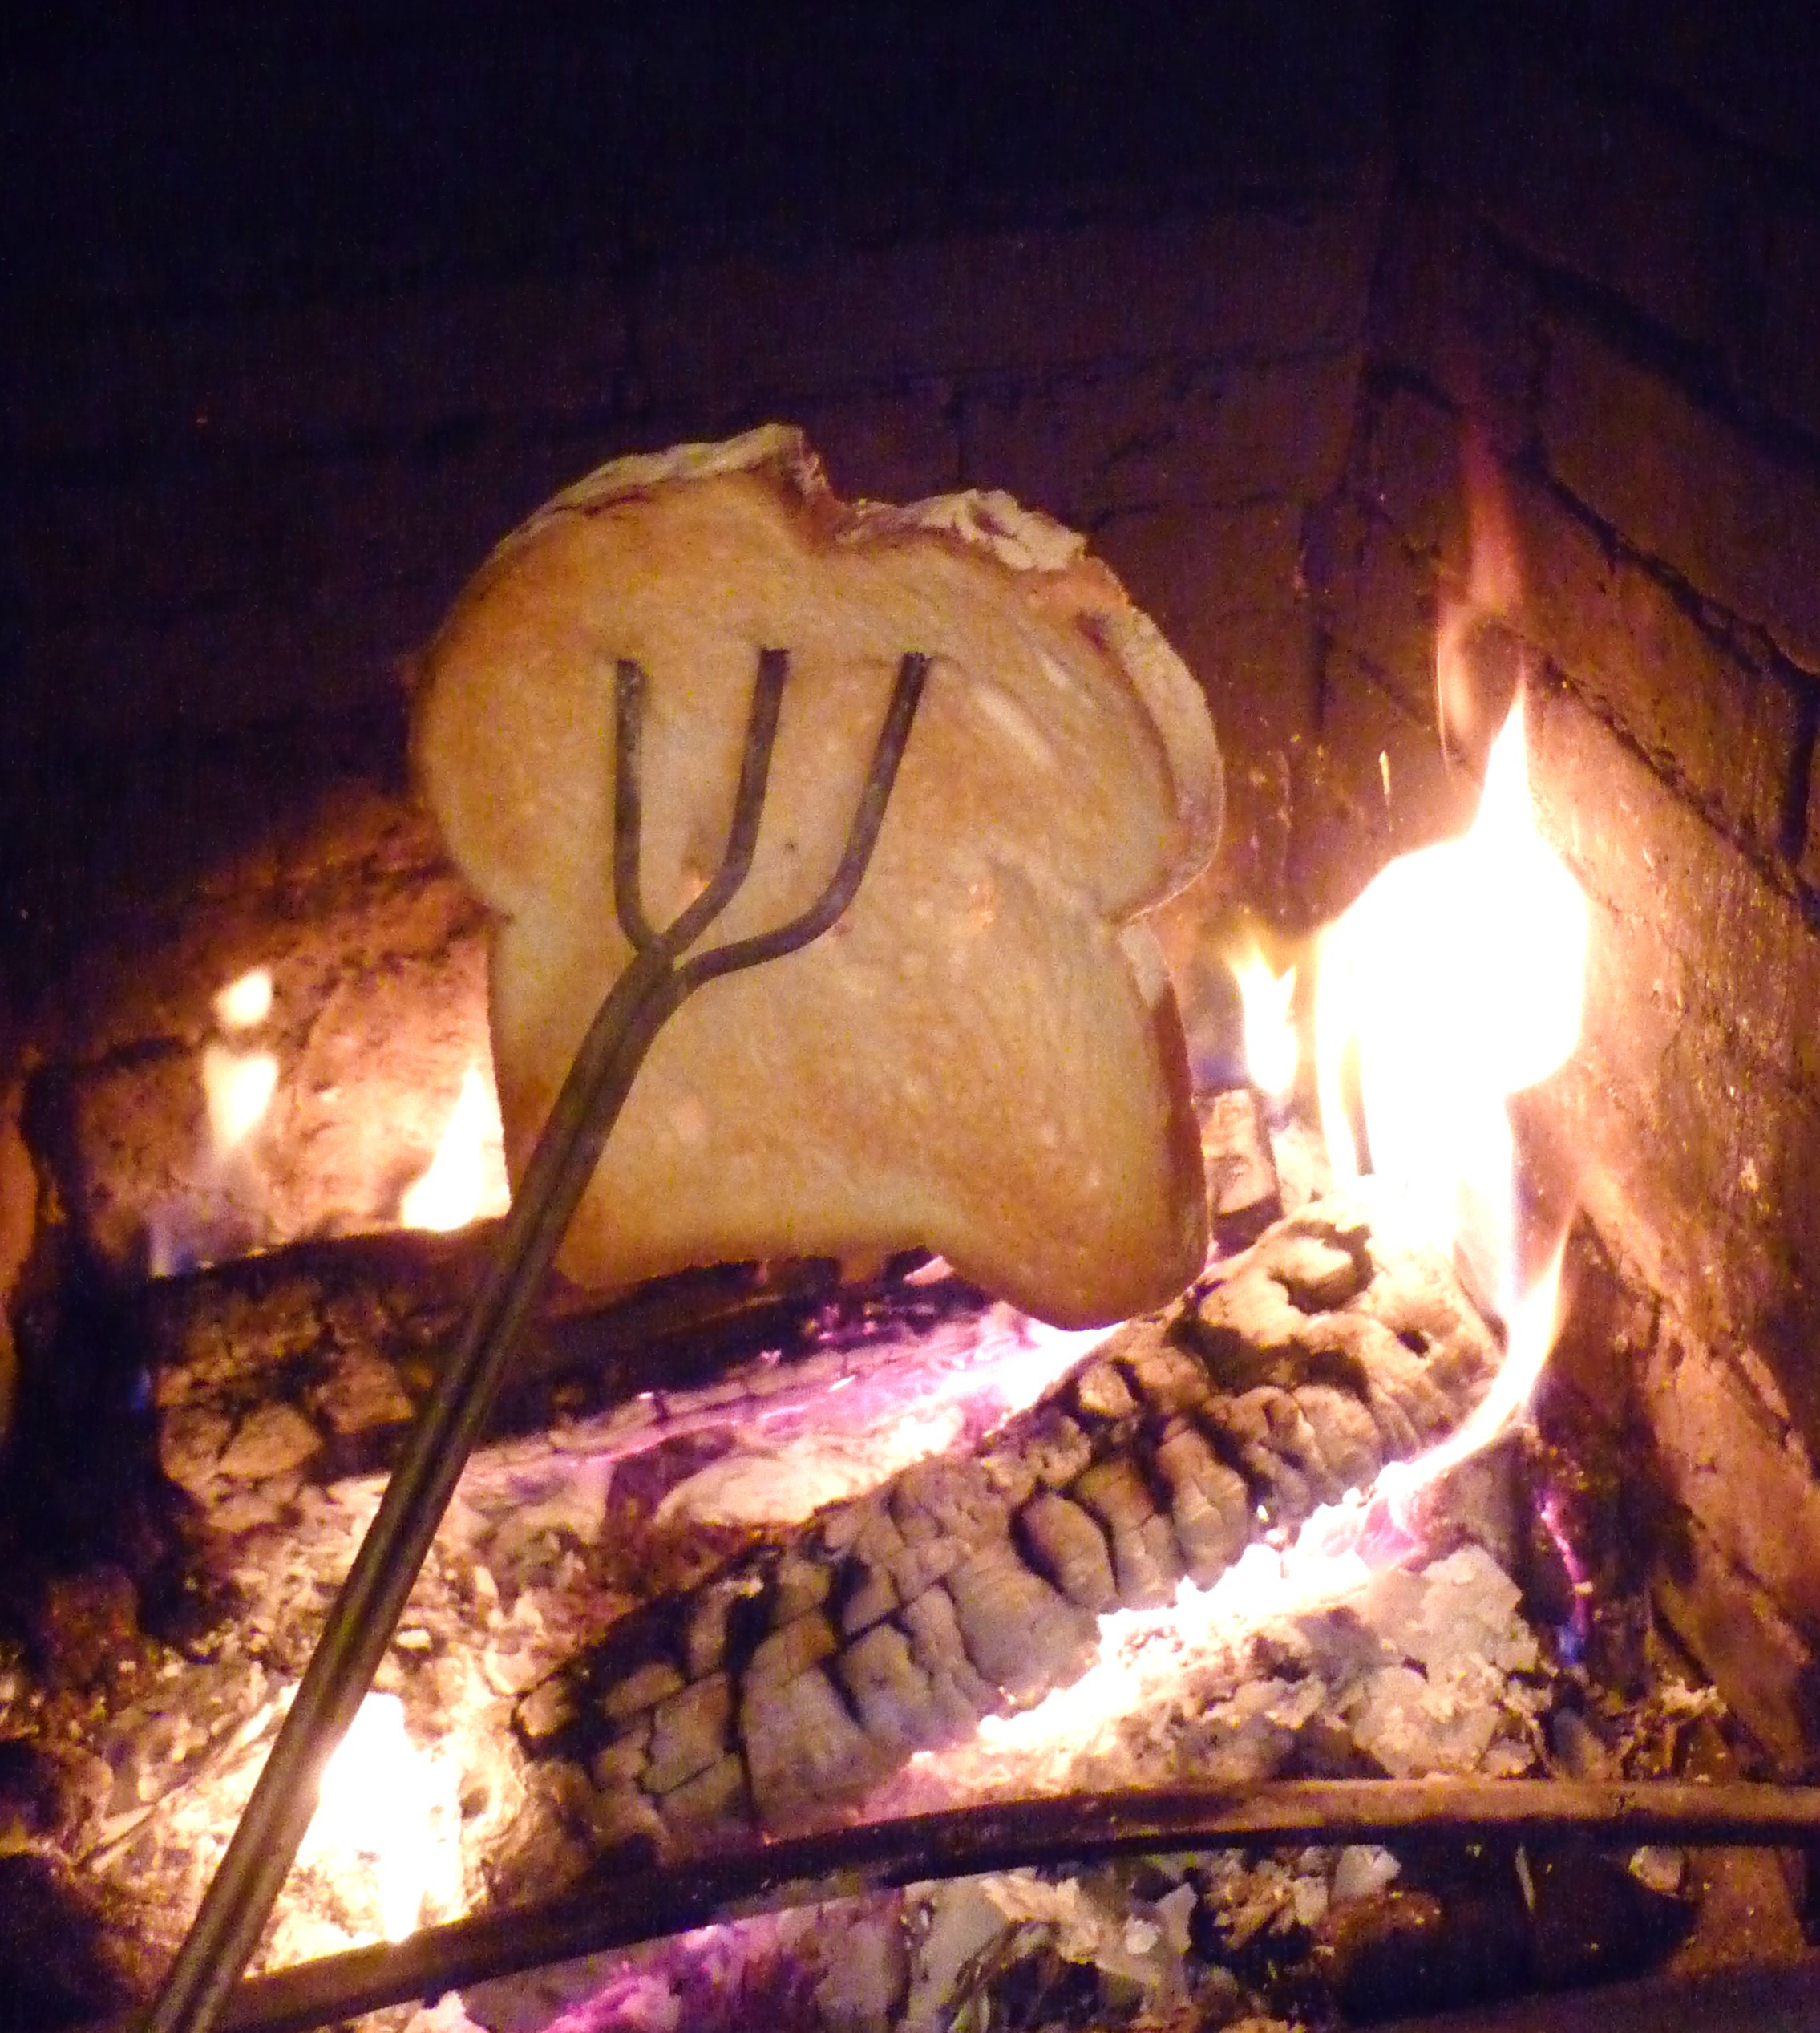
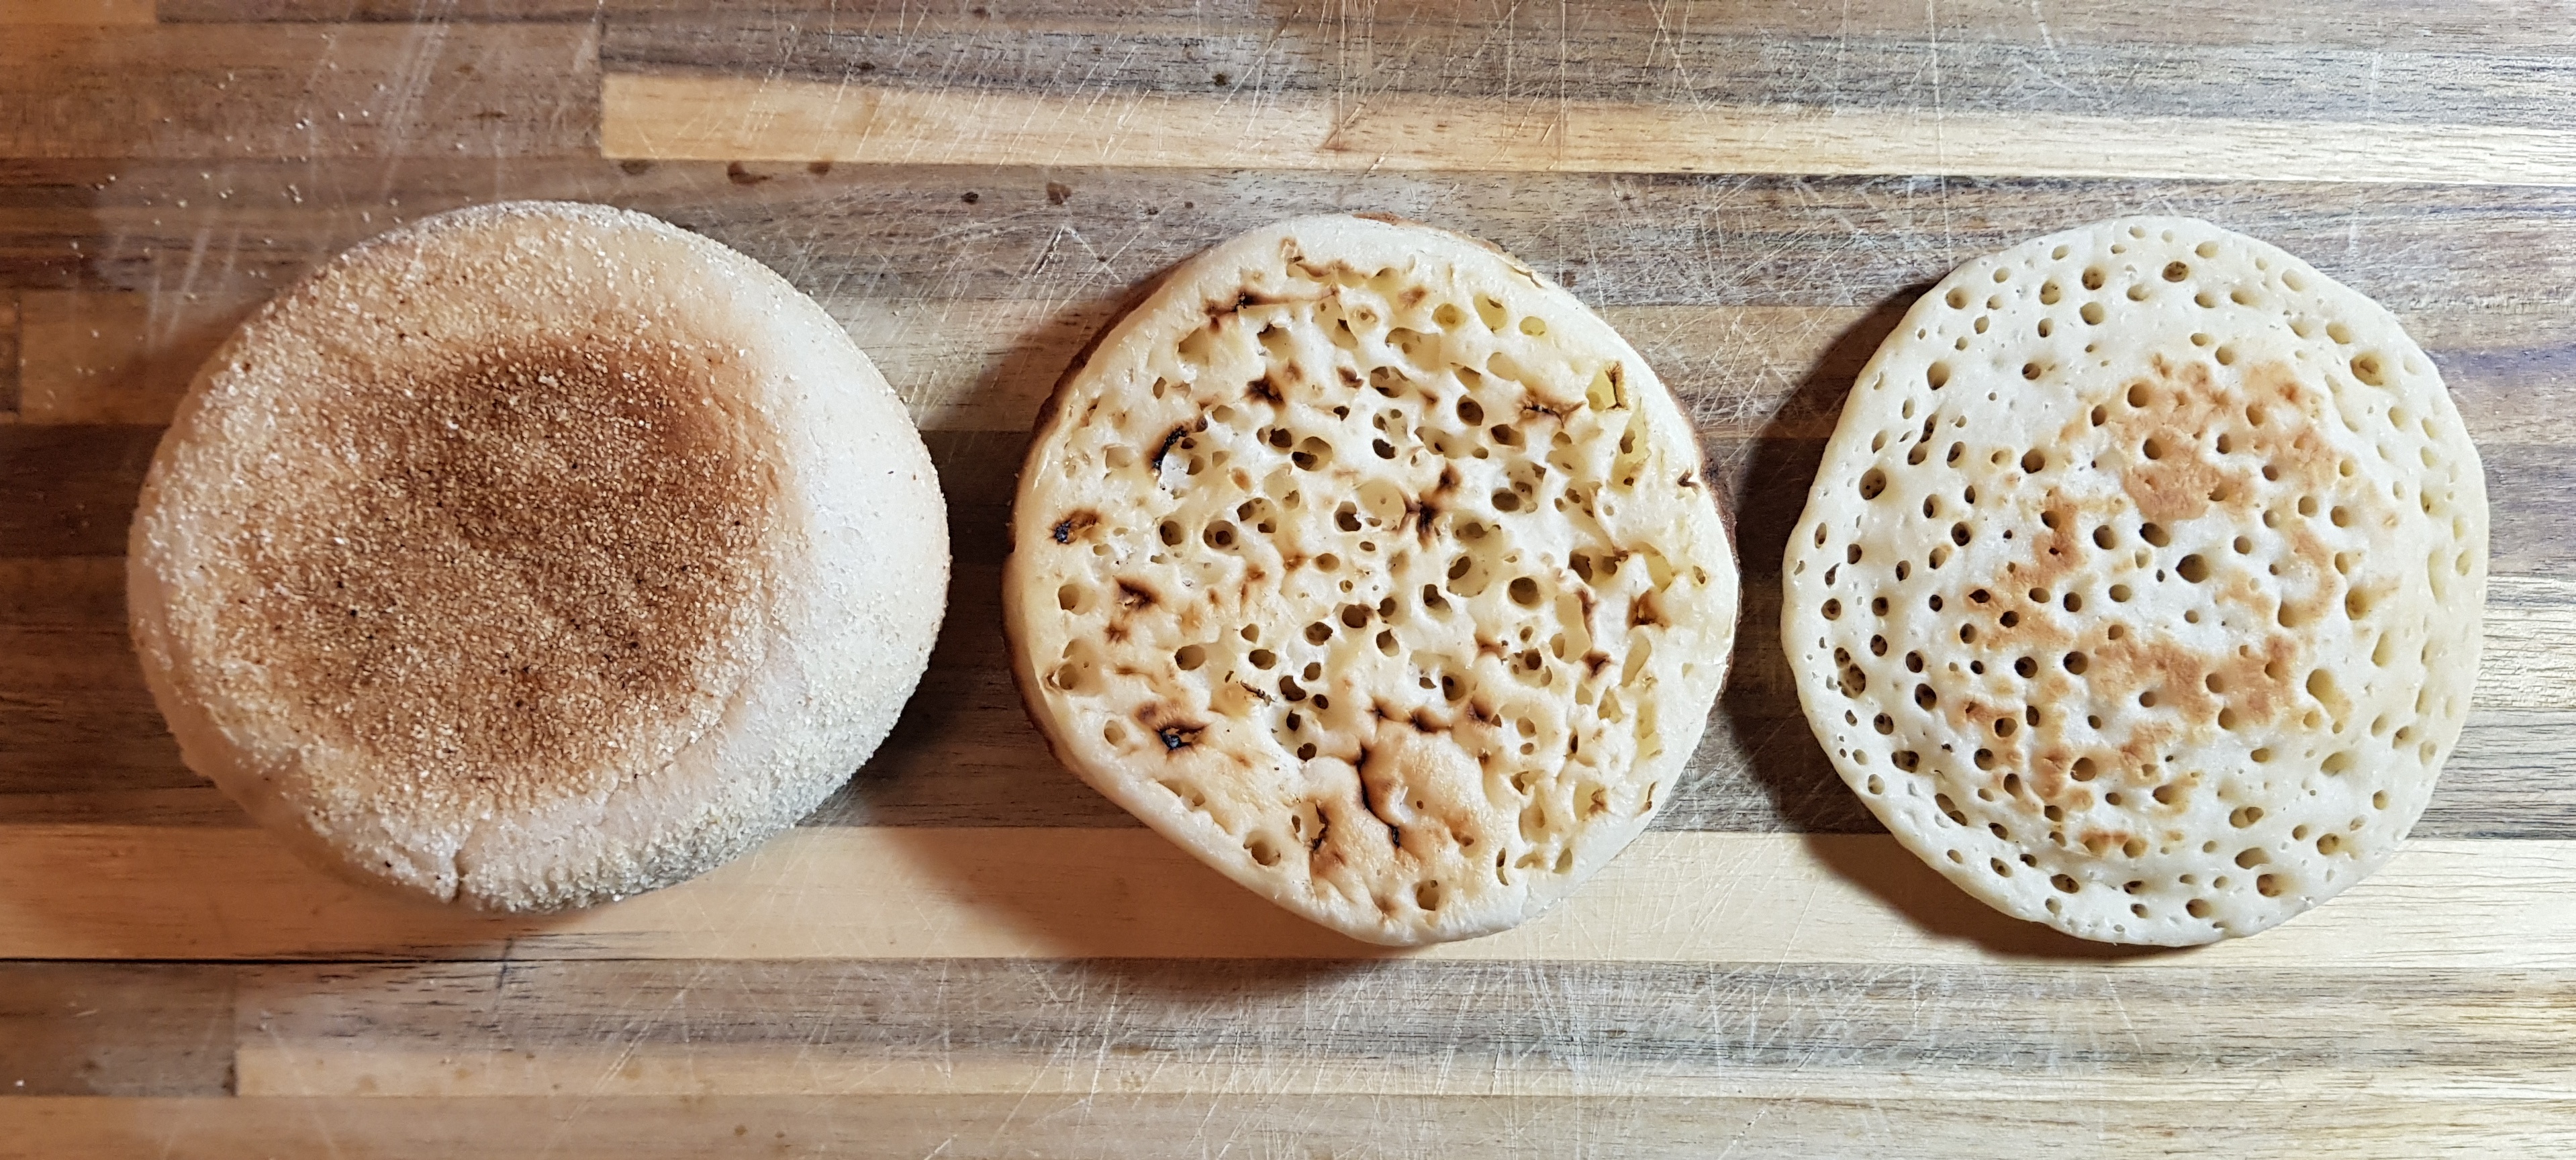
How I wish I had a roaring fire; if I did it would be a great big one equipped with all of the paraphernalia; poker, skuttle and, of course, toasting fork. Pierced upon the fork would be the king of all the toasty-bready things, the crumpet. No, the muffin! It’s an almost impossible choice, and if you go back in time just a little, the decision is made even more difficult because there wasn’t a fixed idea of what either were, and they changed in name and form all across the country. Today, in a world of mass-production, standardisation and consistency I think we would all agree wherever we live in the country which is which. But just in case we’re not agreed on which is which I’ll describe the two:
Muffins* are:
- Definitely fluffy and bread-like in the centre, their name originating from the Old French word moufflet, meaning soft.
- Cut out into circles or rolled into cakes
- Slowly cooked on a bakestone
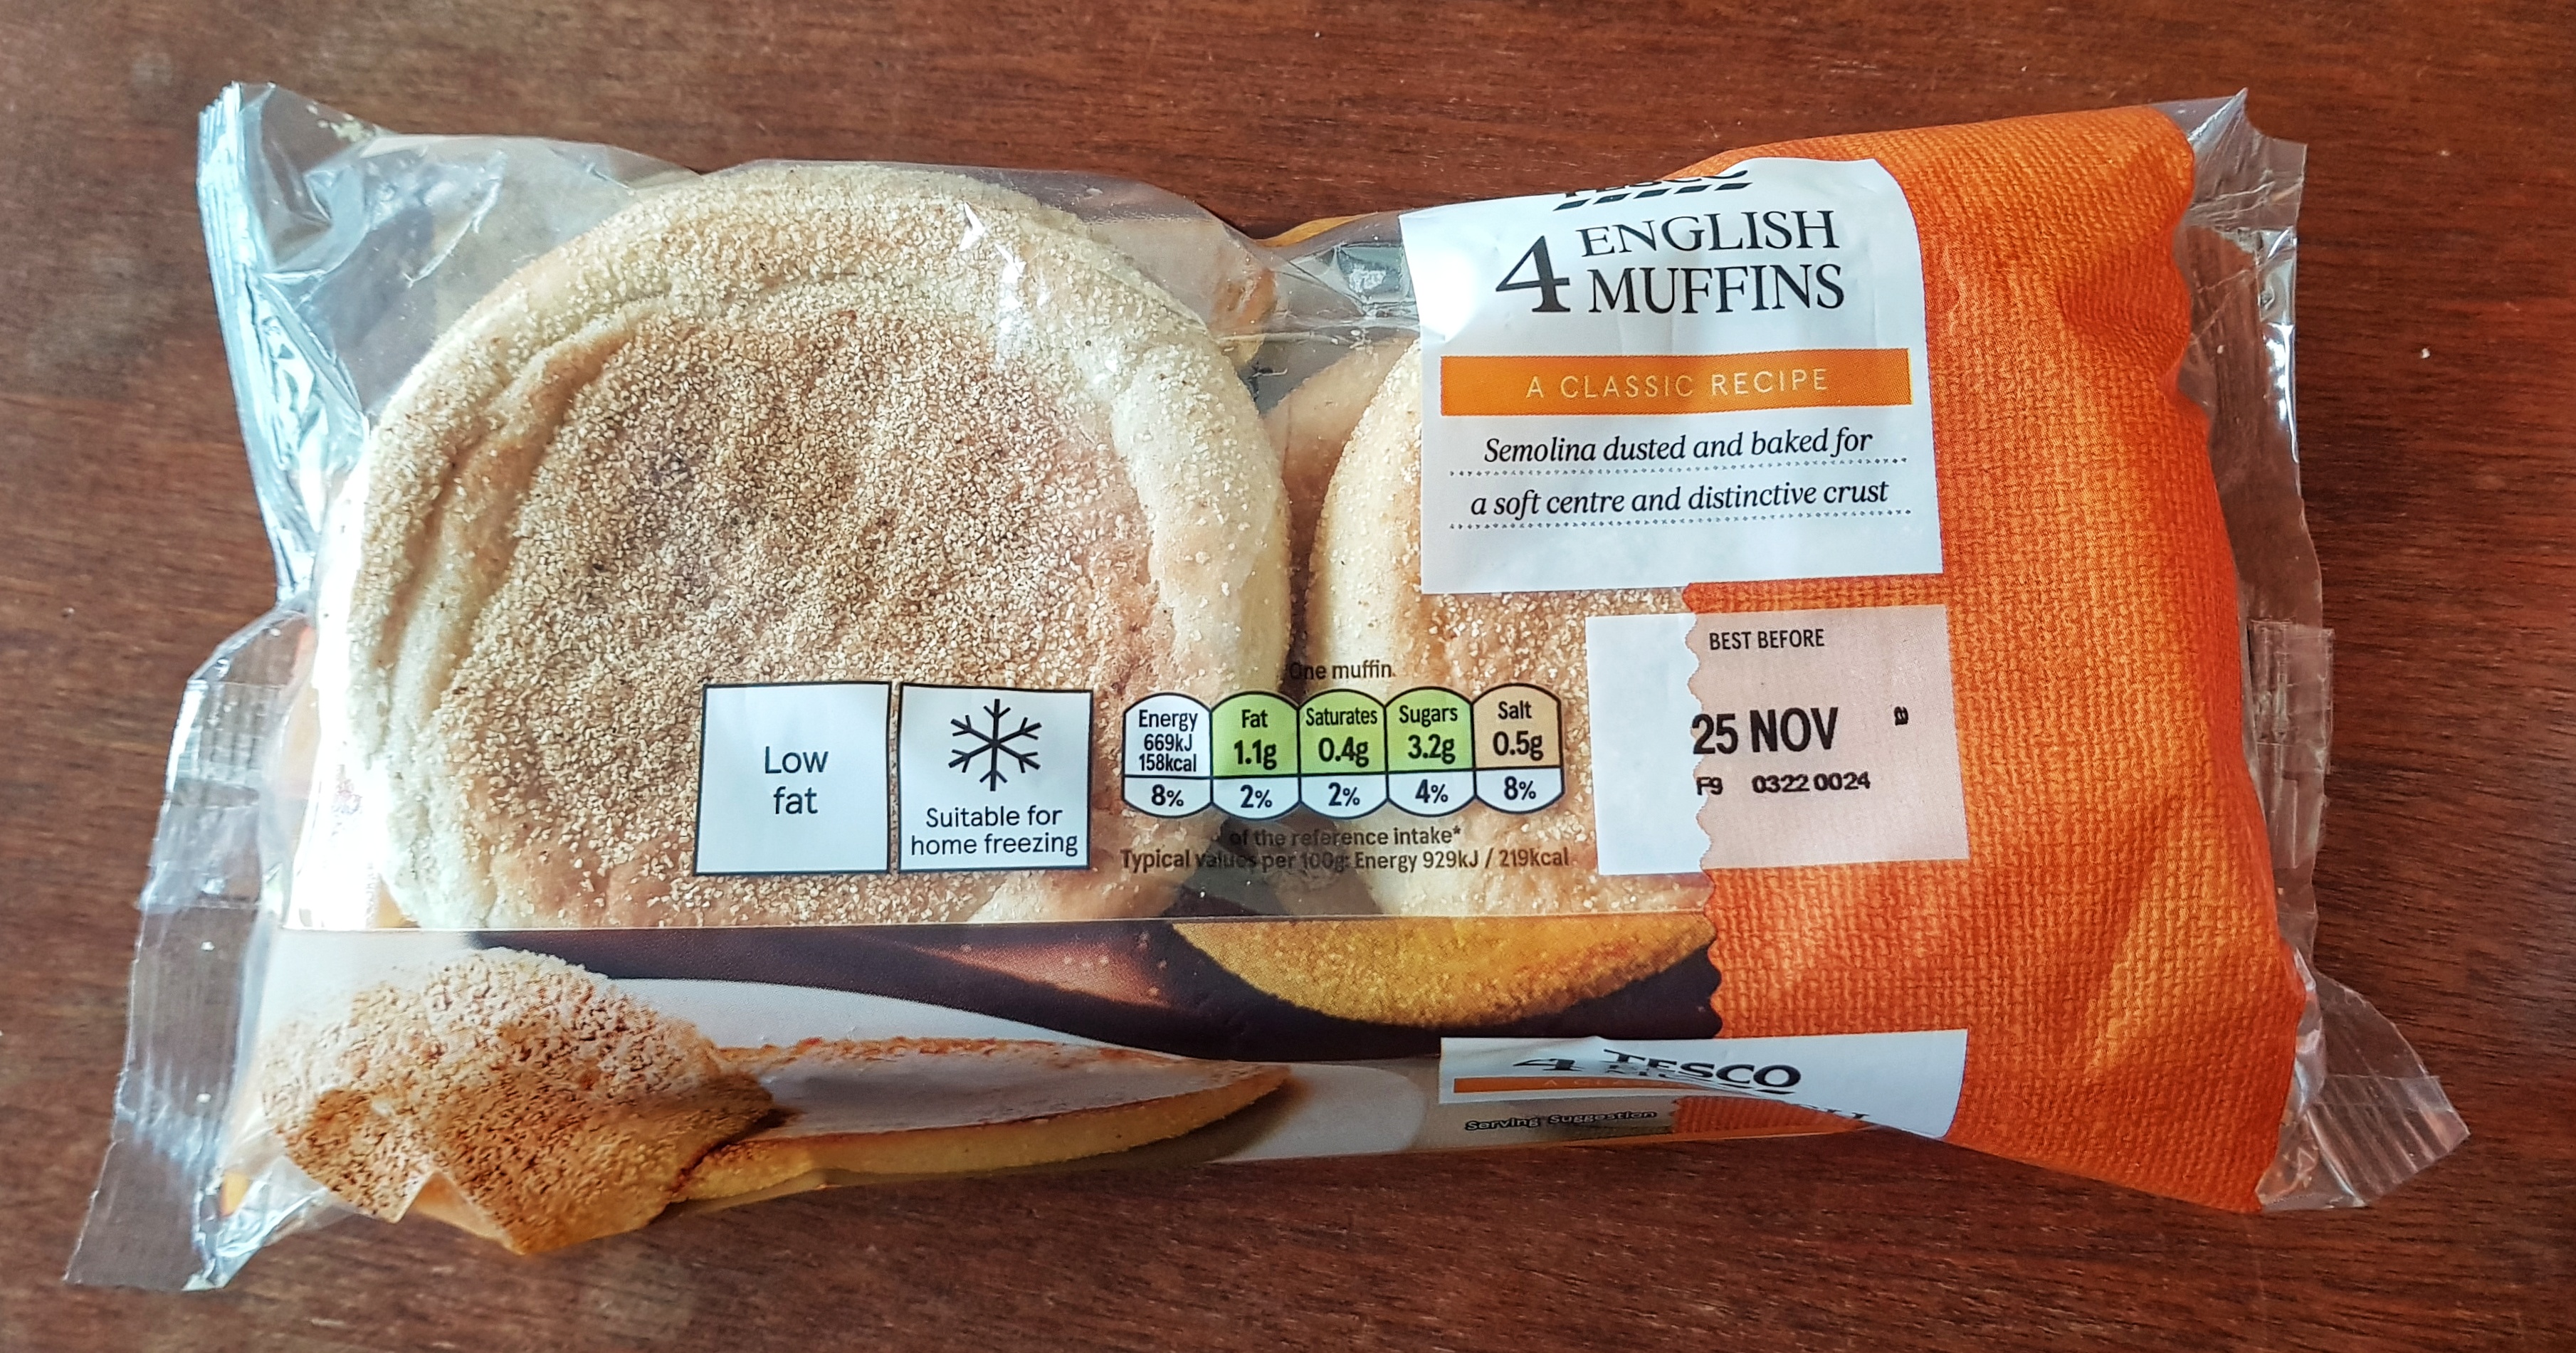
- Dusted in semolina
There may be a few from the North-West of England saying, “Hang on, what about oven bottom muffins?” Don’t worry, I’ll get to those late. Aside from that, pretty straight-forward I hope.
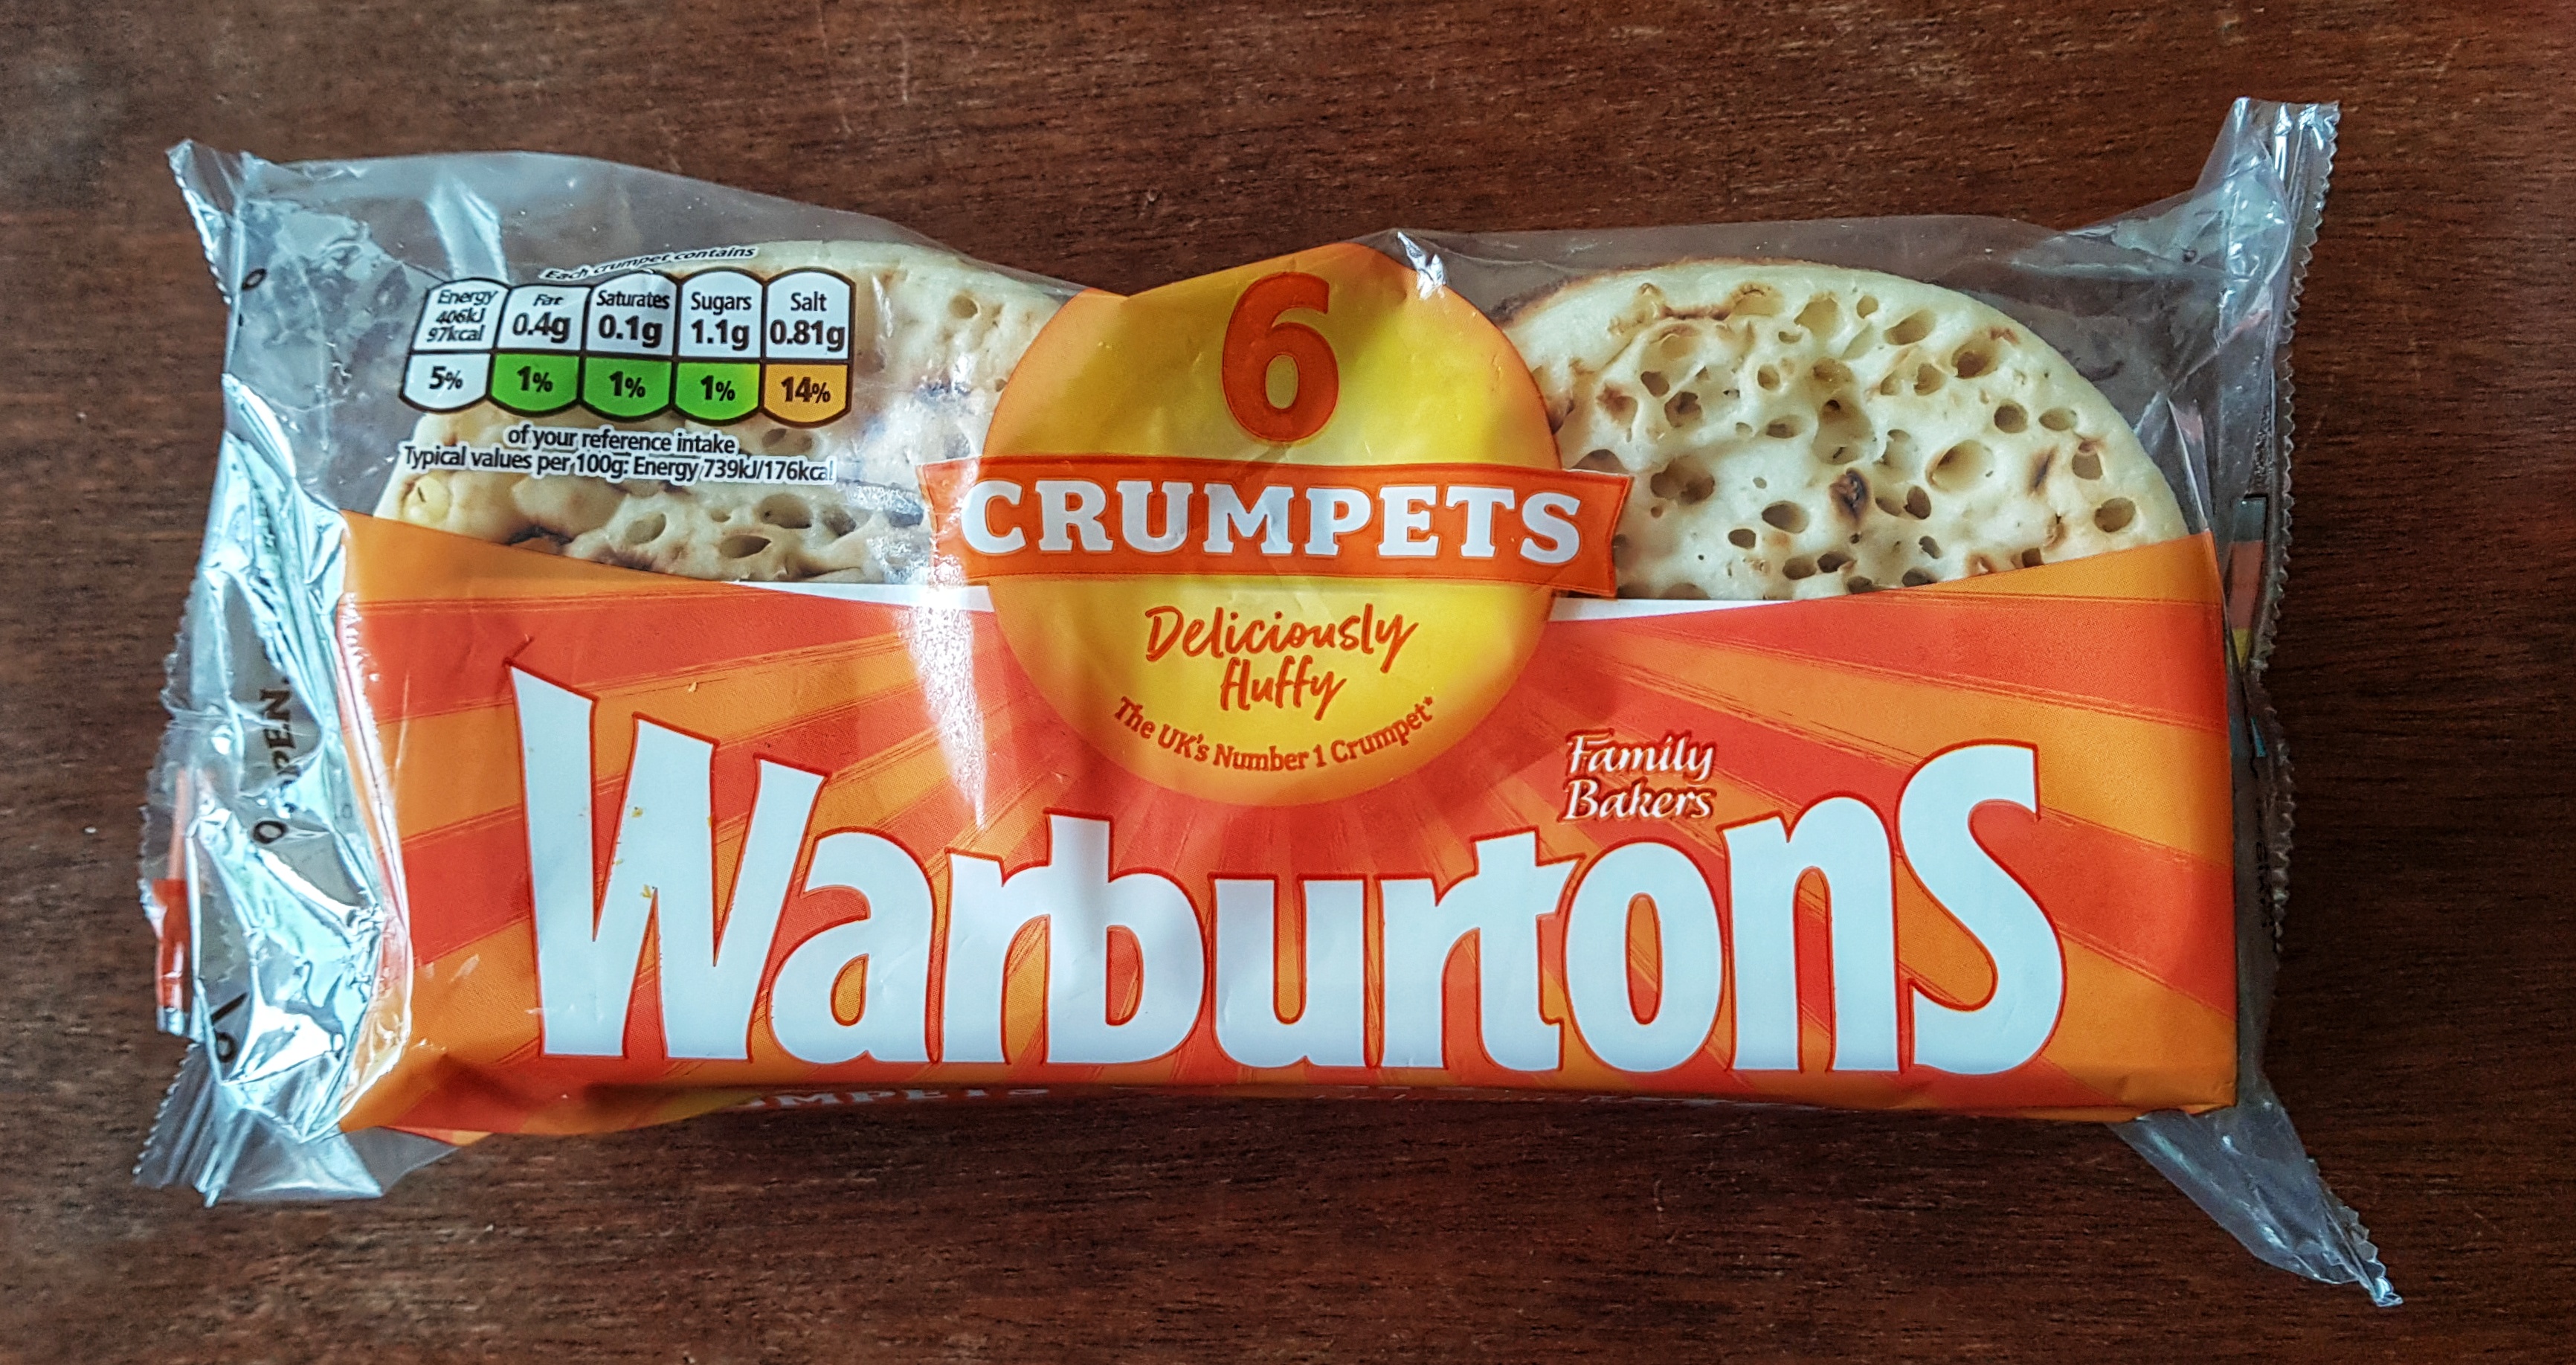
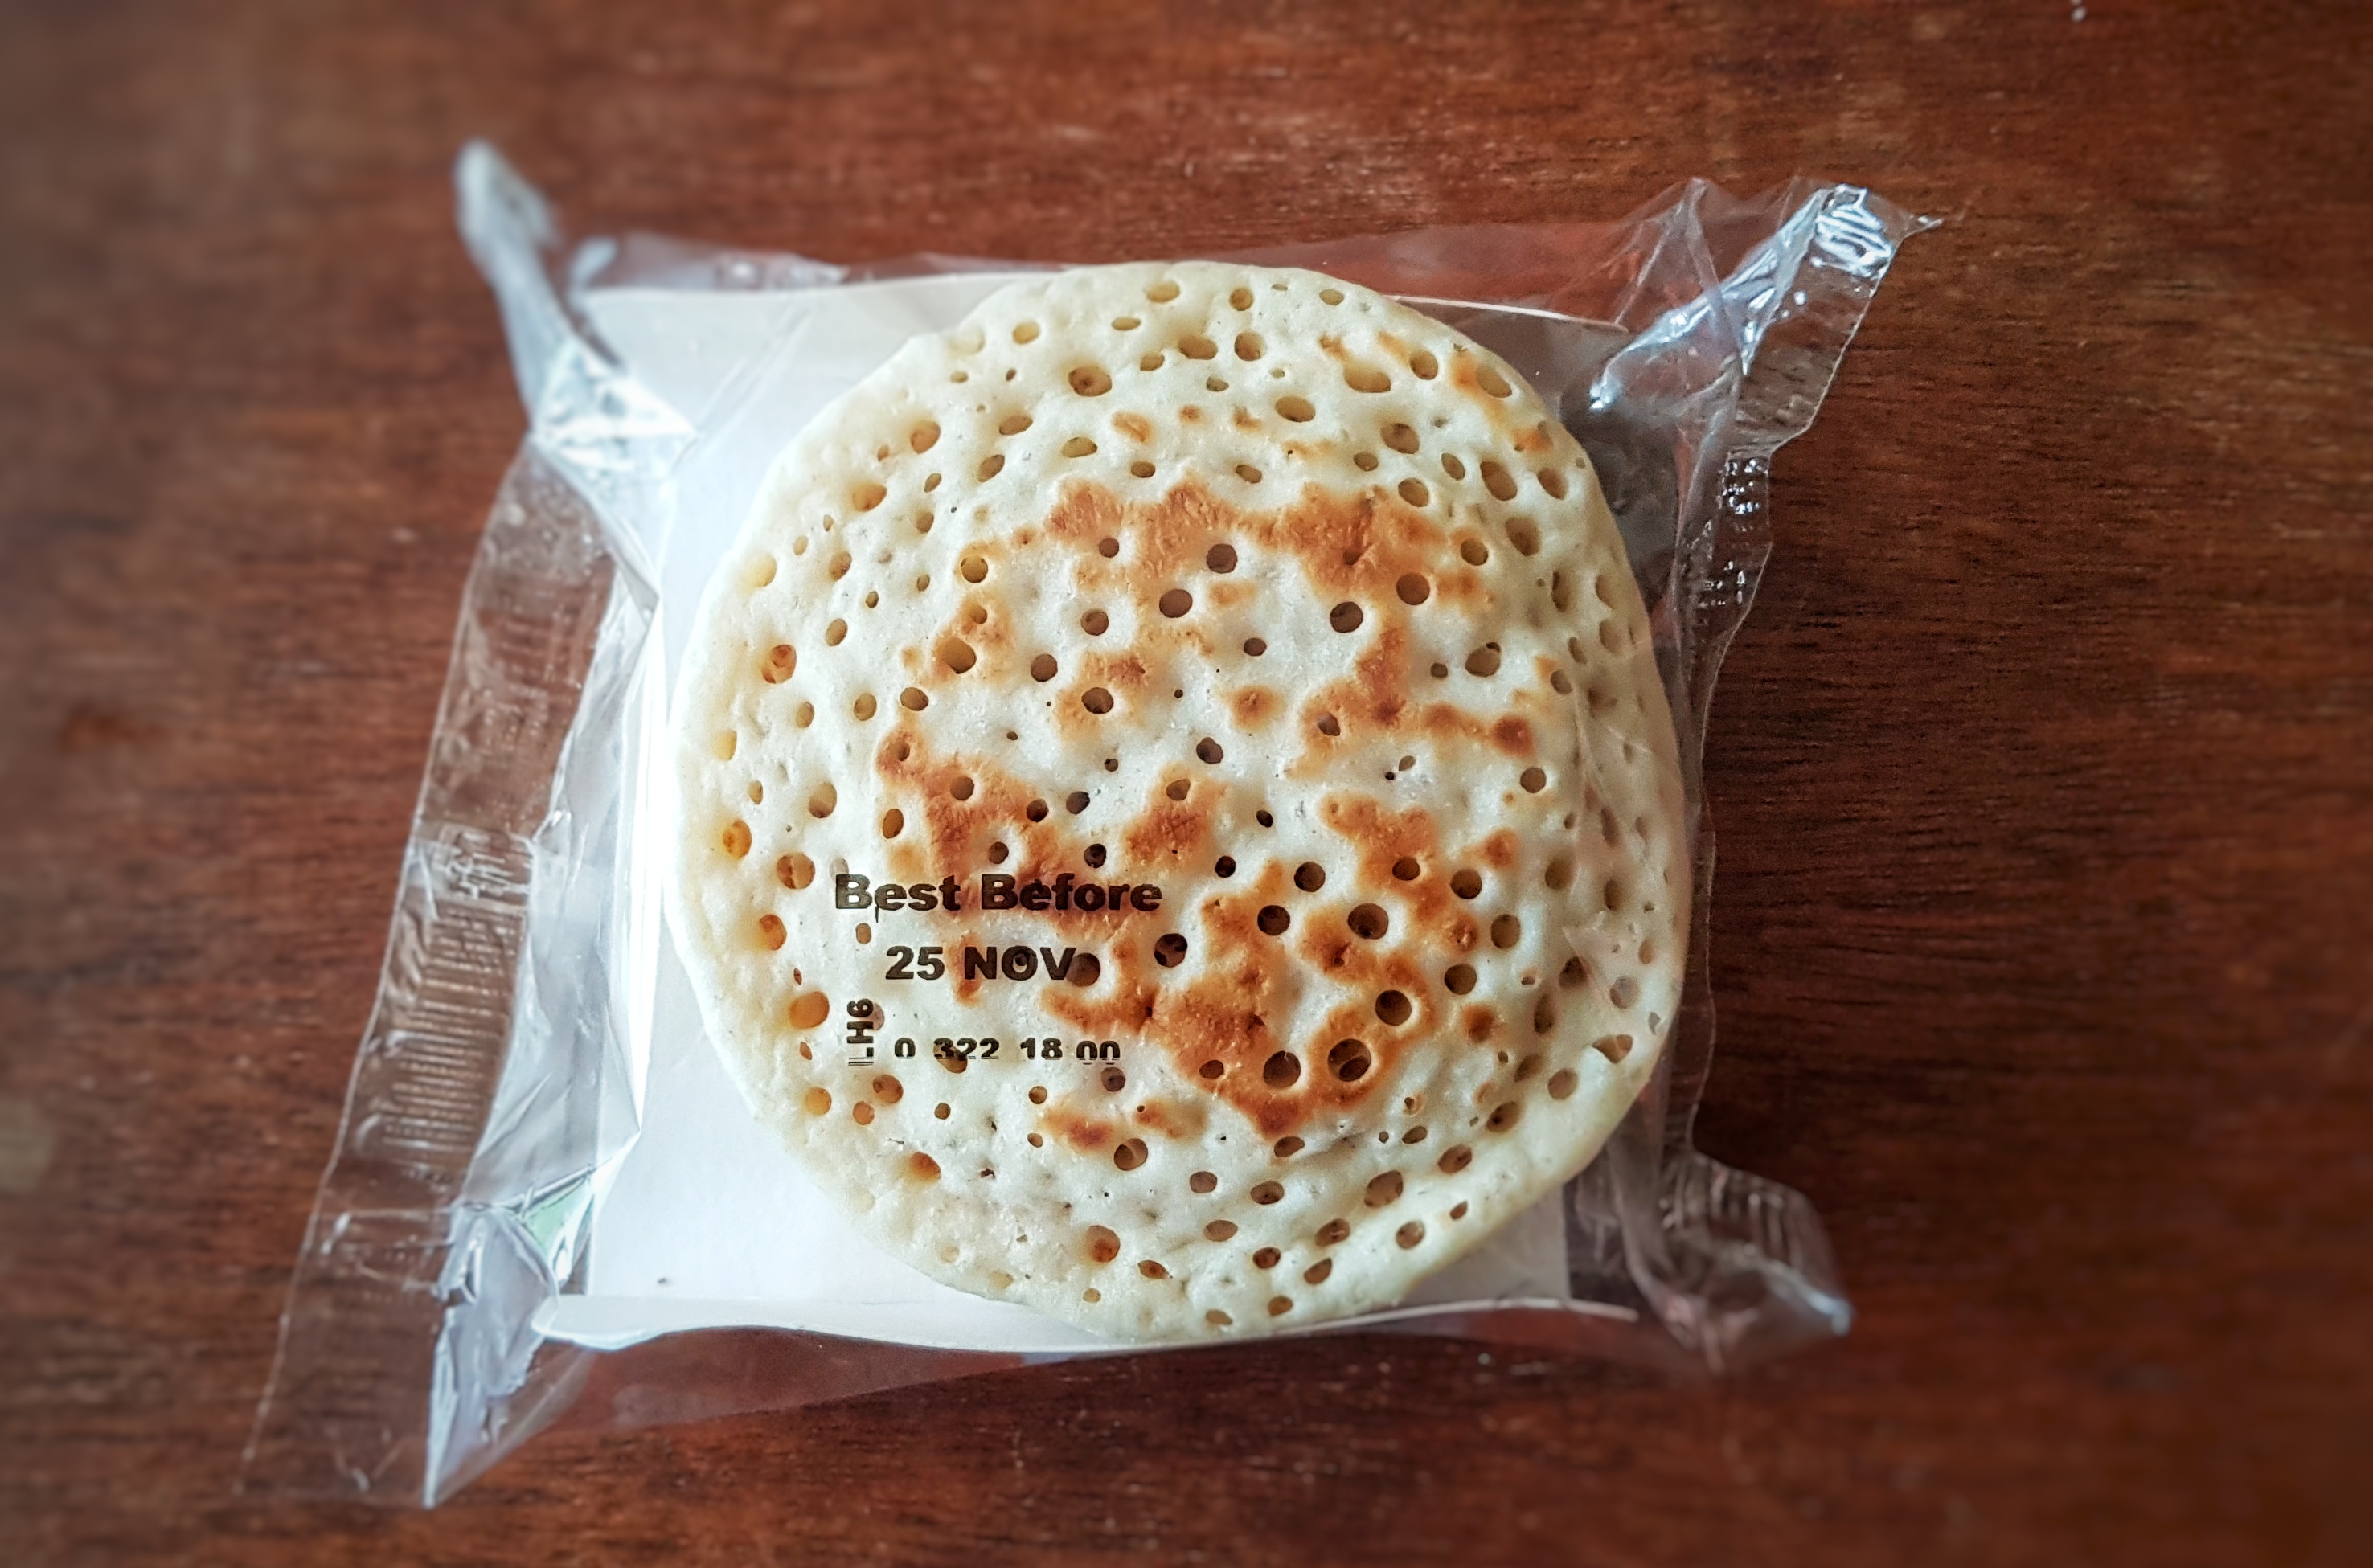
Crumpets are:
- Made from a pourable batter like a pancake. Indeed, the word (probably) comes from the Welsh word for pancake, crempog
- Poured into rings
- Slowly cooked on a bakestone
- Slightly rubbery in texture, especially prior to toasting
- Has characteristic bubble holes on one side
It’s very obvious by etymology and their look that the two things are very different to each other. Now I’m going to muddy the waters slightly with a variant upon the crumpet, the pikelet – it’s important for later. Pikelets are simply crumpets cooked without a ring, producing a large, flat holey pancake.
Are we all on board with this? It does seem pretty cut-and-dry to me. Trouble is we are very used to factory-made products and are perhaps unaware of what either was like. This is what Elizabeth David wrote of the two in the 1970s in her classic book English Bread and Yeast Cookery: “crumpets, or at least travesties of them, can still be bought in England” and, “Sainsbury’s sell packets of a thing they call a muffin.” It seems that we are not being fed delicious traditional bakes, but pale – possibly cynical – imitations of them. But then she poses the following questions:
What is the difference between them? Which have holes, which are baked in rings? Which are made from a pouring batter, which from a soft dough…? Is a pikelet the equivalent of a muffin or of a crumpet? Should muffins and/or crumpets made from identical ingredients? If so, what are they? Flour, yeast, water and salt? Or flour and yeast plus milk, fat and eggs? Or flour, fat and eggs with a chemical raising agent?
She then goes on to say “anyone who knows the answers to more than two or three of these queries is wiser than I.” Today the answers to her questions are fairly straight-forward, but then you look at the old recipes. Take this one from 1914 for both muffins and crumpets.
To make crumpets: “Heat a girdle, and grease it with butter; drop on to it of the above [pancake] mixture, and brown first on one side and then on the other.”
That, I’m sure you’ll agree, IS NOT A CRUMPET, IT IS A PIKELET!
To make muffins:
“Grease some rings, and place them on a hot greased girdle; half fill them [with the same pancake] mixture, cook and brown them on the other side.”
THAT IS A CRUMPET, NOT A FLIPPING MUFFIN!
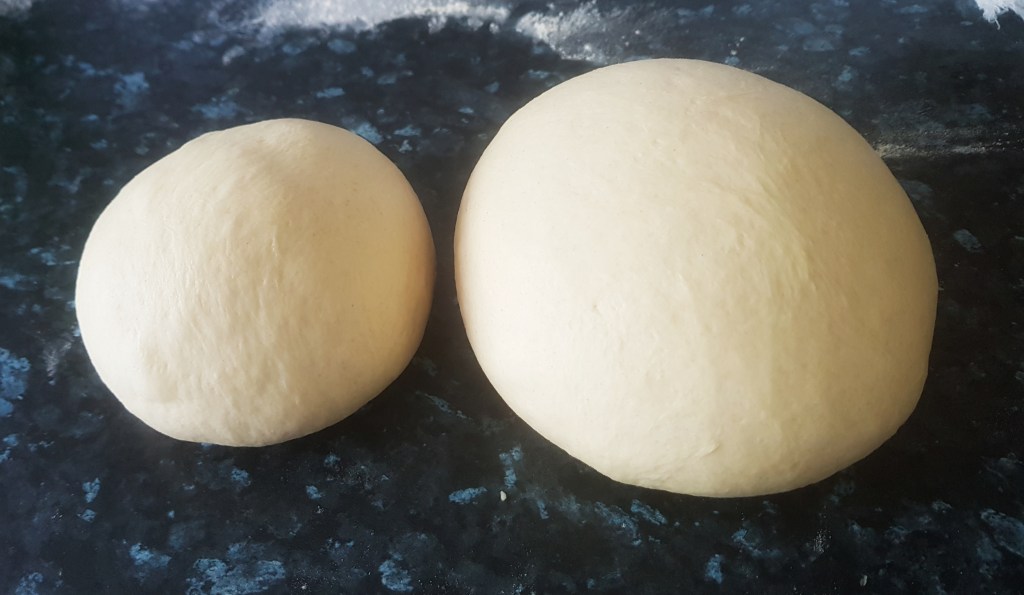
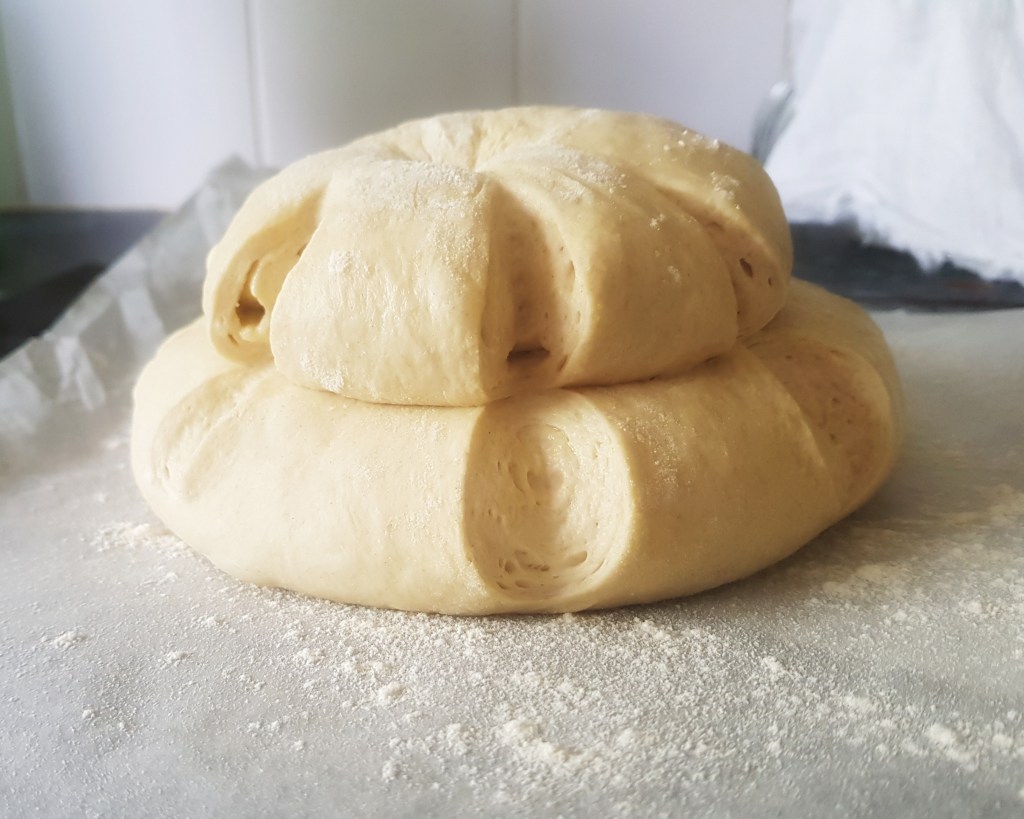
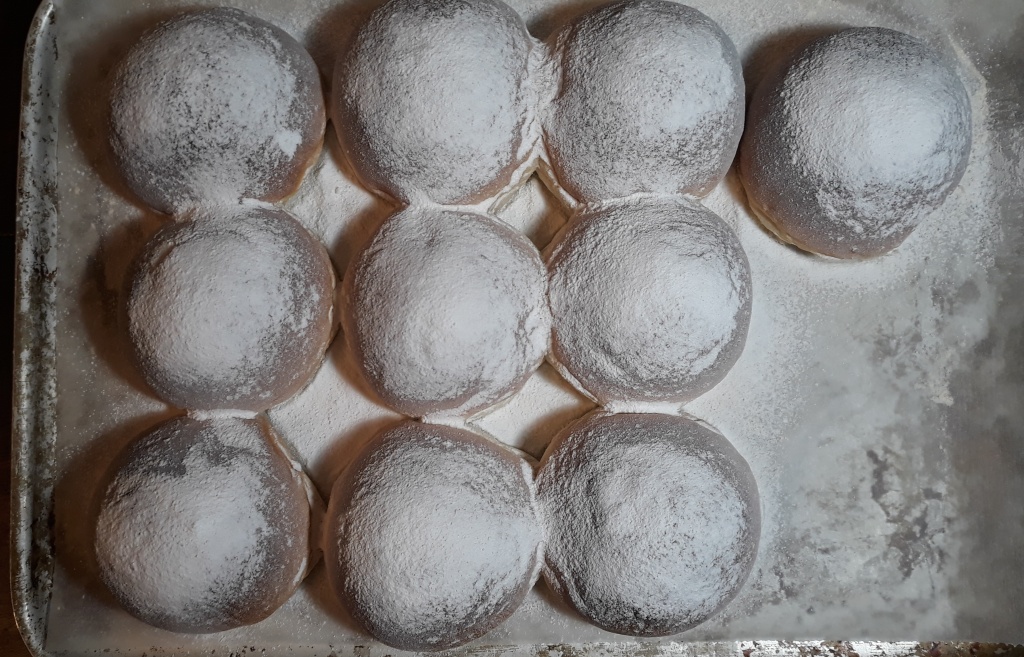
Oh lordy, I’ve opened up a can of worms here. Going through my old books, as well as the one provided by Ms David, it seems that muffins do not match the modern form at all. Some of them are at least made from dough, but one so soft it is verging on batter producing dough balls so delicate they had to be proved on layer of flour. They are so fiendishly tricky to make that they could only be made by hand, and a well-trained one at that, but in an age of machine production they have gone by the wayside, their mixture thickened into a dough that can be rolled and stamped out on a production line. Here are some instructions from Law’s Grocer’s Manuel, 1895:
“get ready a tray, spread it with flour about 2 ½ [inches] in depth, make impressions in the flour with a small breakfast cup, take portions of the light dough out with a large spoon and put them into the flour impressions to rise; make the muffin stone hot, let them cook on it a few minutes, pass the palette knife under, turn them over…and bake likewise, keeping them of a light colour.”
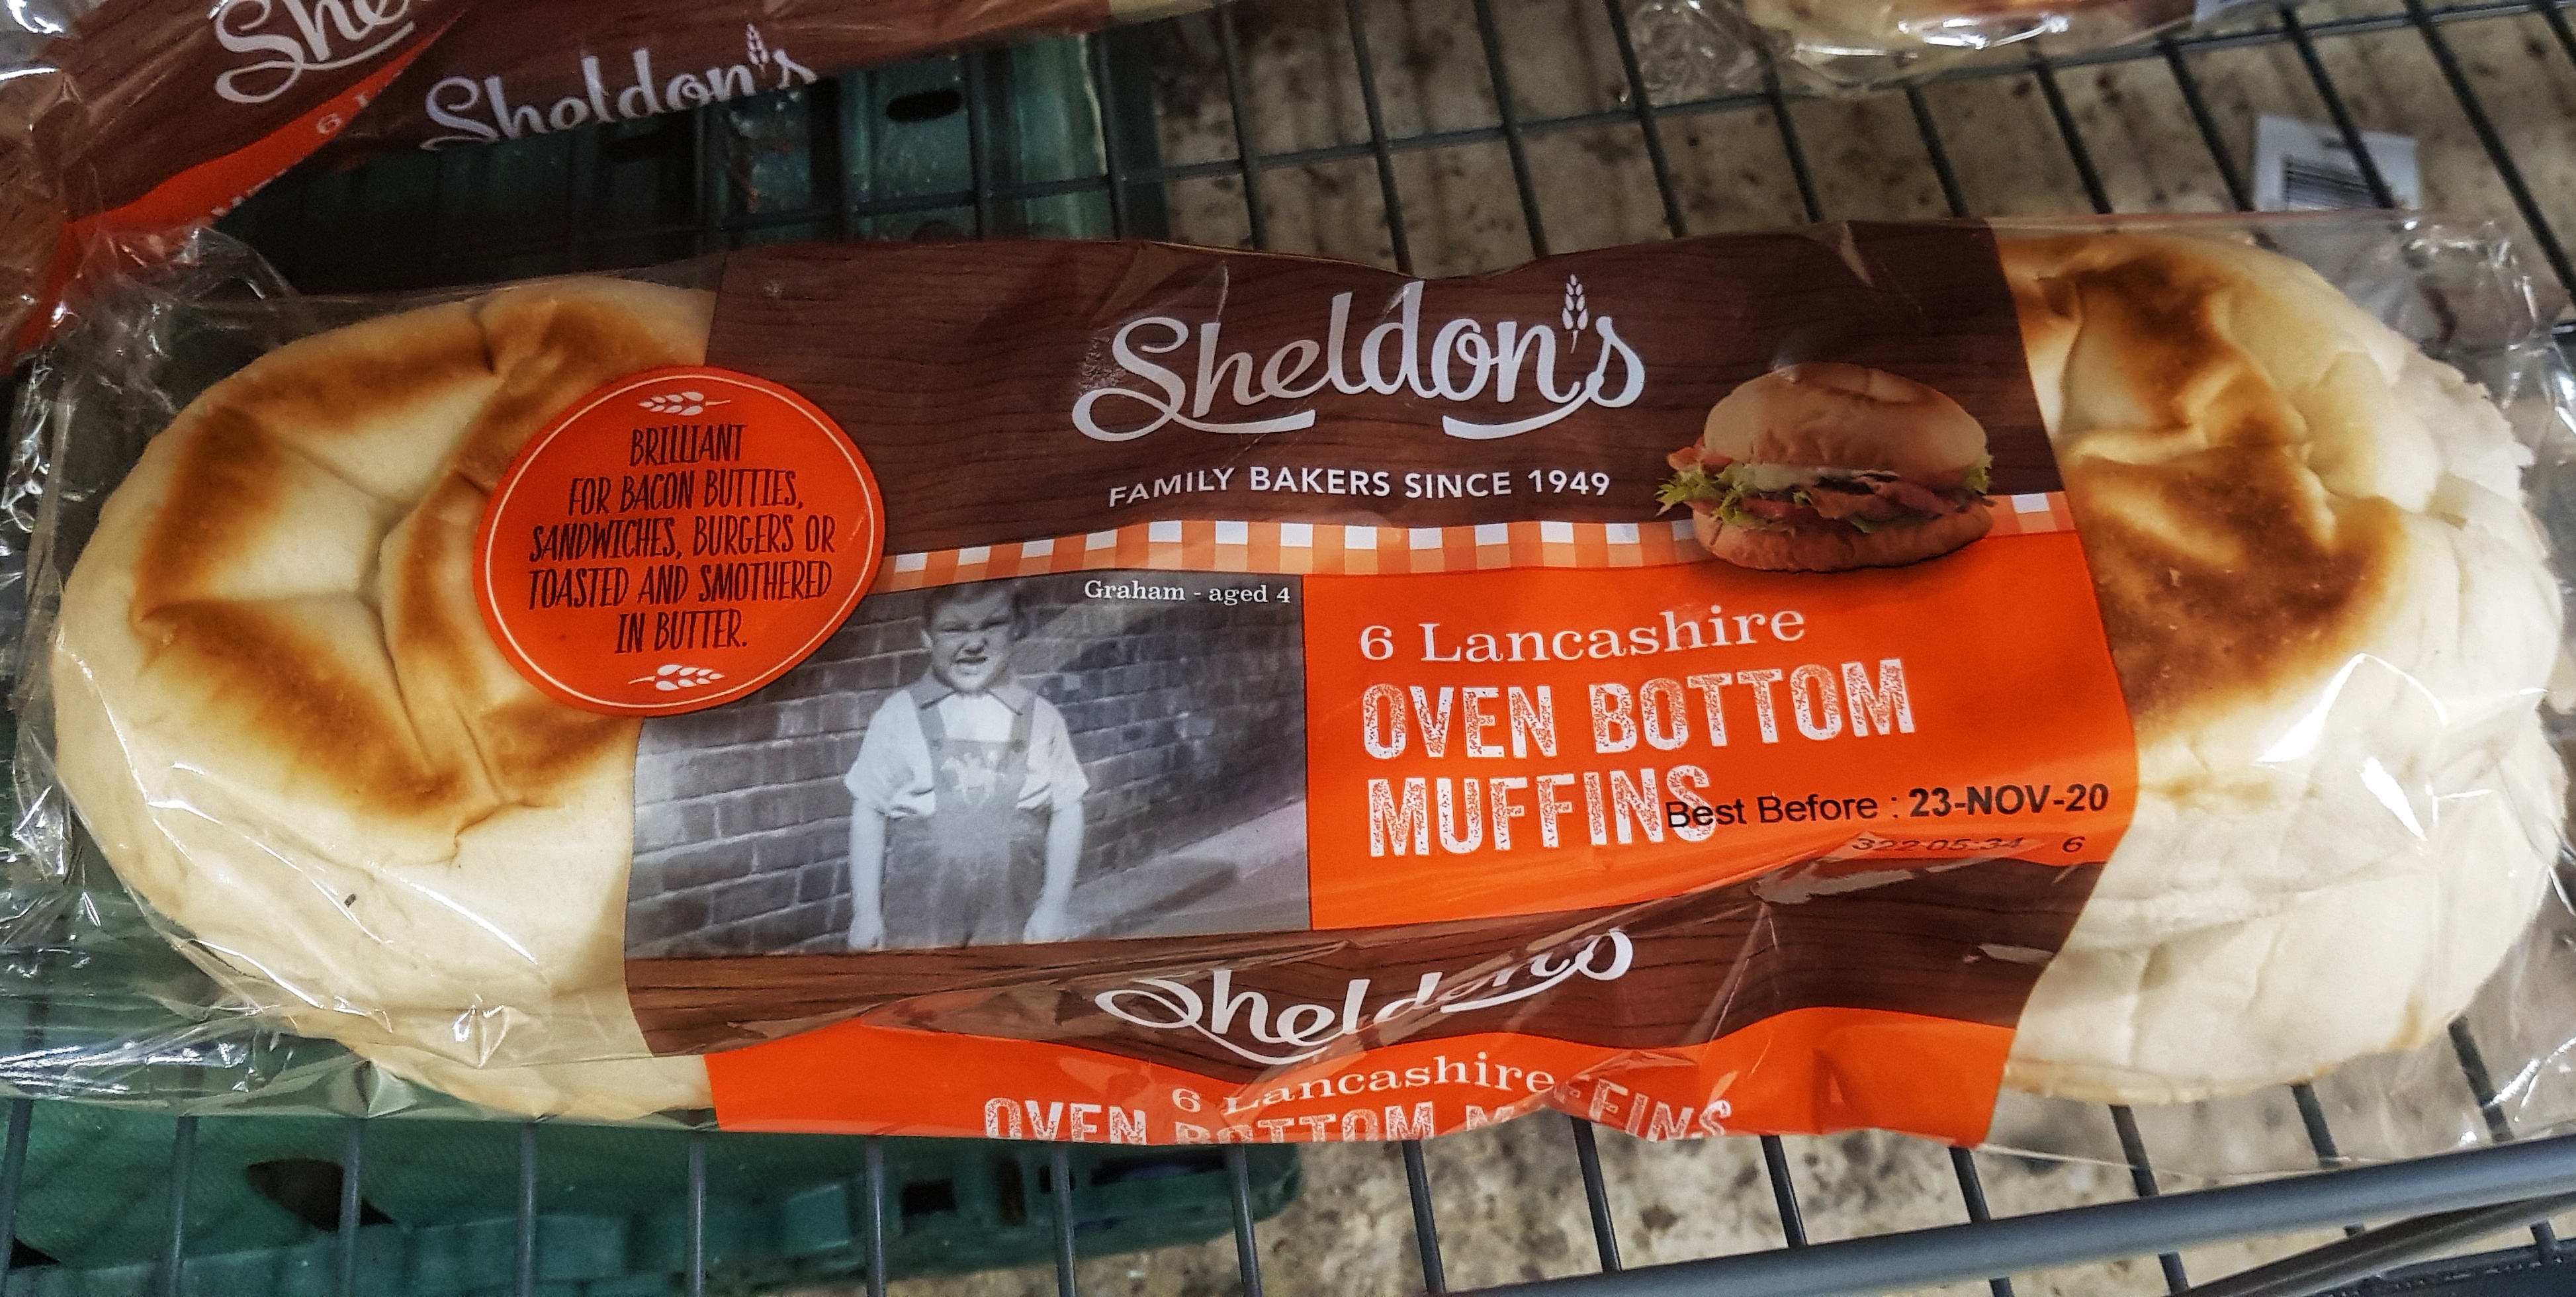
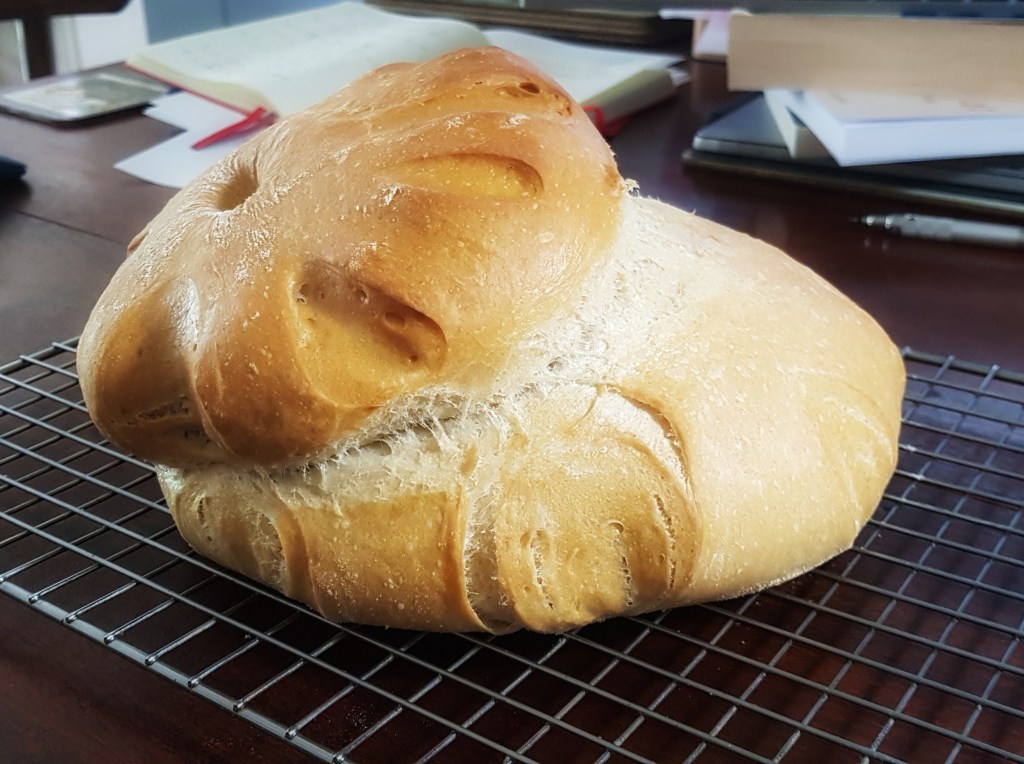
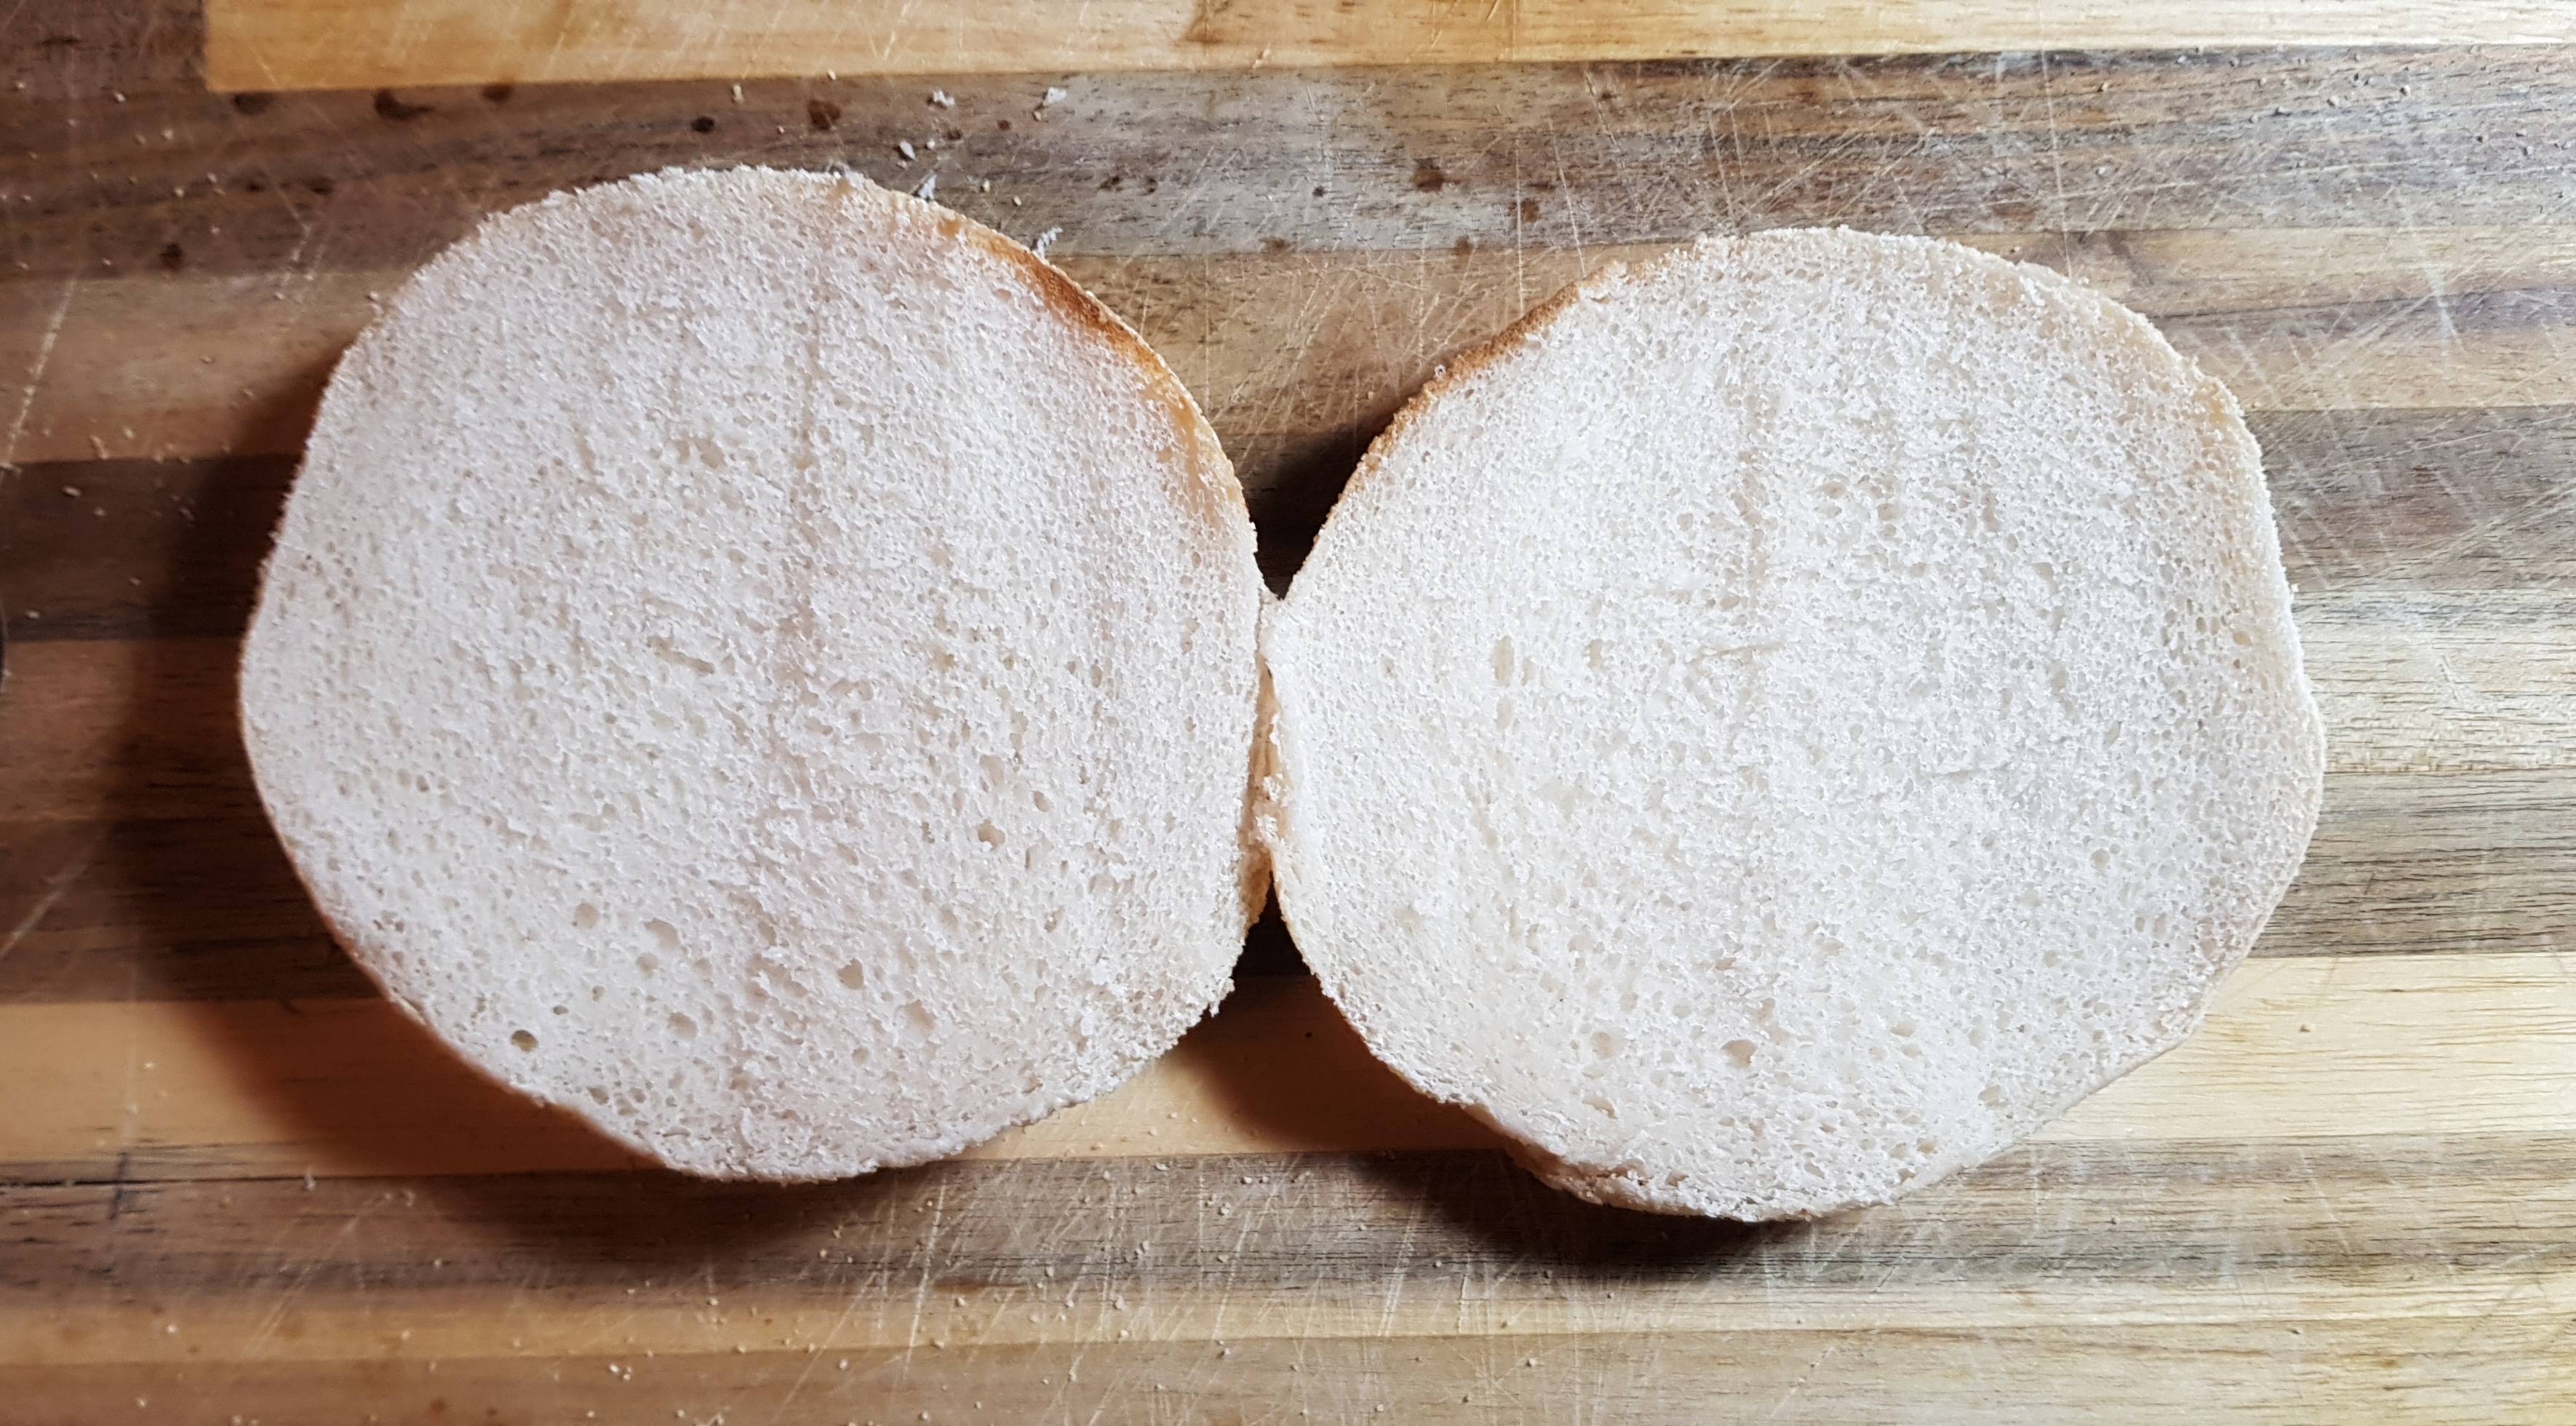
They exist today in the form of ‘Oven-Bottom Muffins’ still popular in Lancashire and Greater Manchester, but these too are pale imitations, essentially regular bread cakes** baked very pale. So really a muffin was almost a crumpet but not quite a bread, a spoonable dough hovering between two states producing a muffin filled with a honeycomb of holes, invisible until cut into. I now see why Ms David was rather terse about the supermarket variety.
In my copy of Delia Smith’s Complete Cookery Course from 1982, published just five years after Elizabeth’s book, we have a recipe for a modern muffin. Does anyone know of an earlier one?
For the next post or two, I shall continue the theme with some recipes for muffins and crumpets plus a look at some of the bakes that simply don’t know which side their bread is buttered on, as it were.
If you like the blogs and podcast I produce, please consider treating me to a virtual coffee or pint, or even a £3 monthly subscription: follow this link for more information.
References
English Bread and Yeast Cookery (1977) by Elizabeth David
Delia Smith’s Complete Cookery Course (1983) by Delia Smith
*These are known as English muffins in the United States. Annoyingly, we don’t call American muffins American muffins, just muffins. These are cakes, and not to be confused.
**aka bread rolls, bread buns, stotties or barmcakes, but let’s not get started on that one.