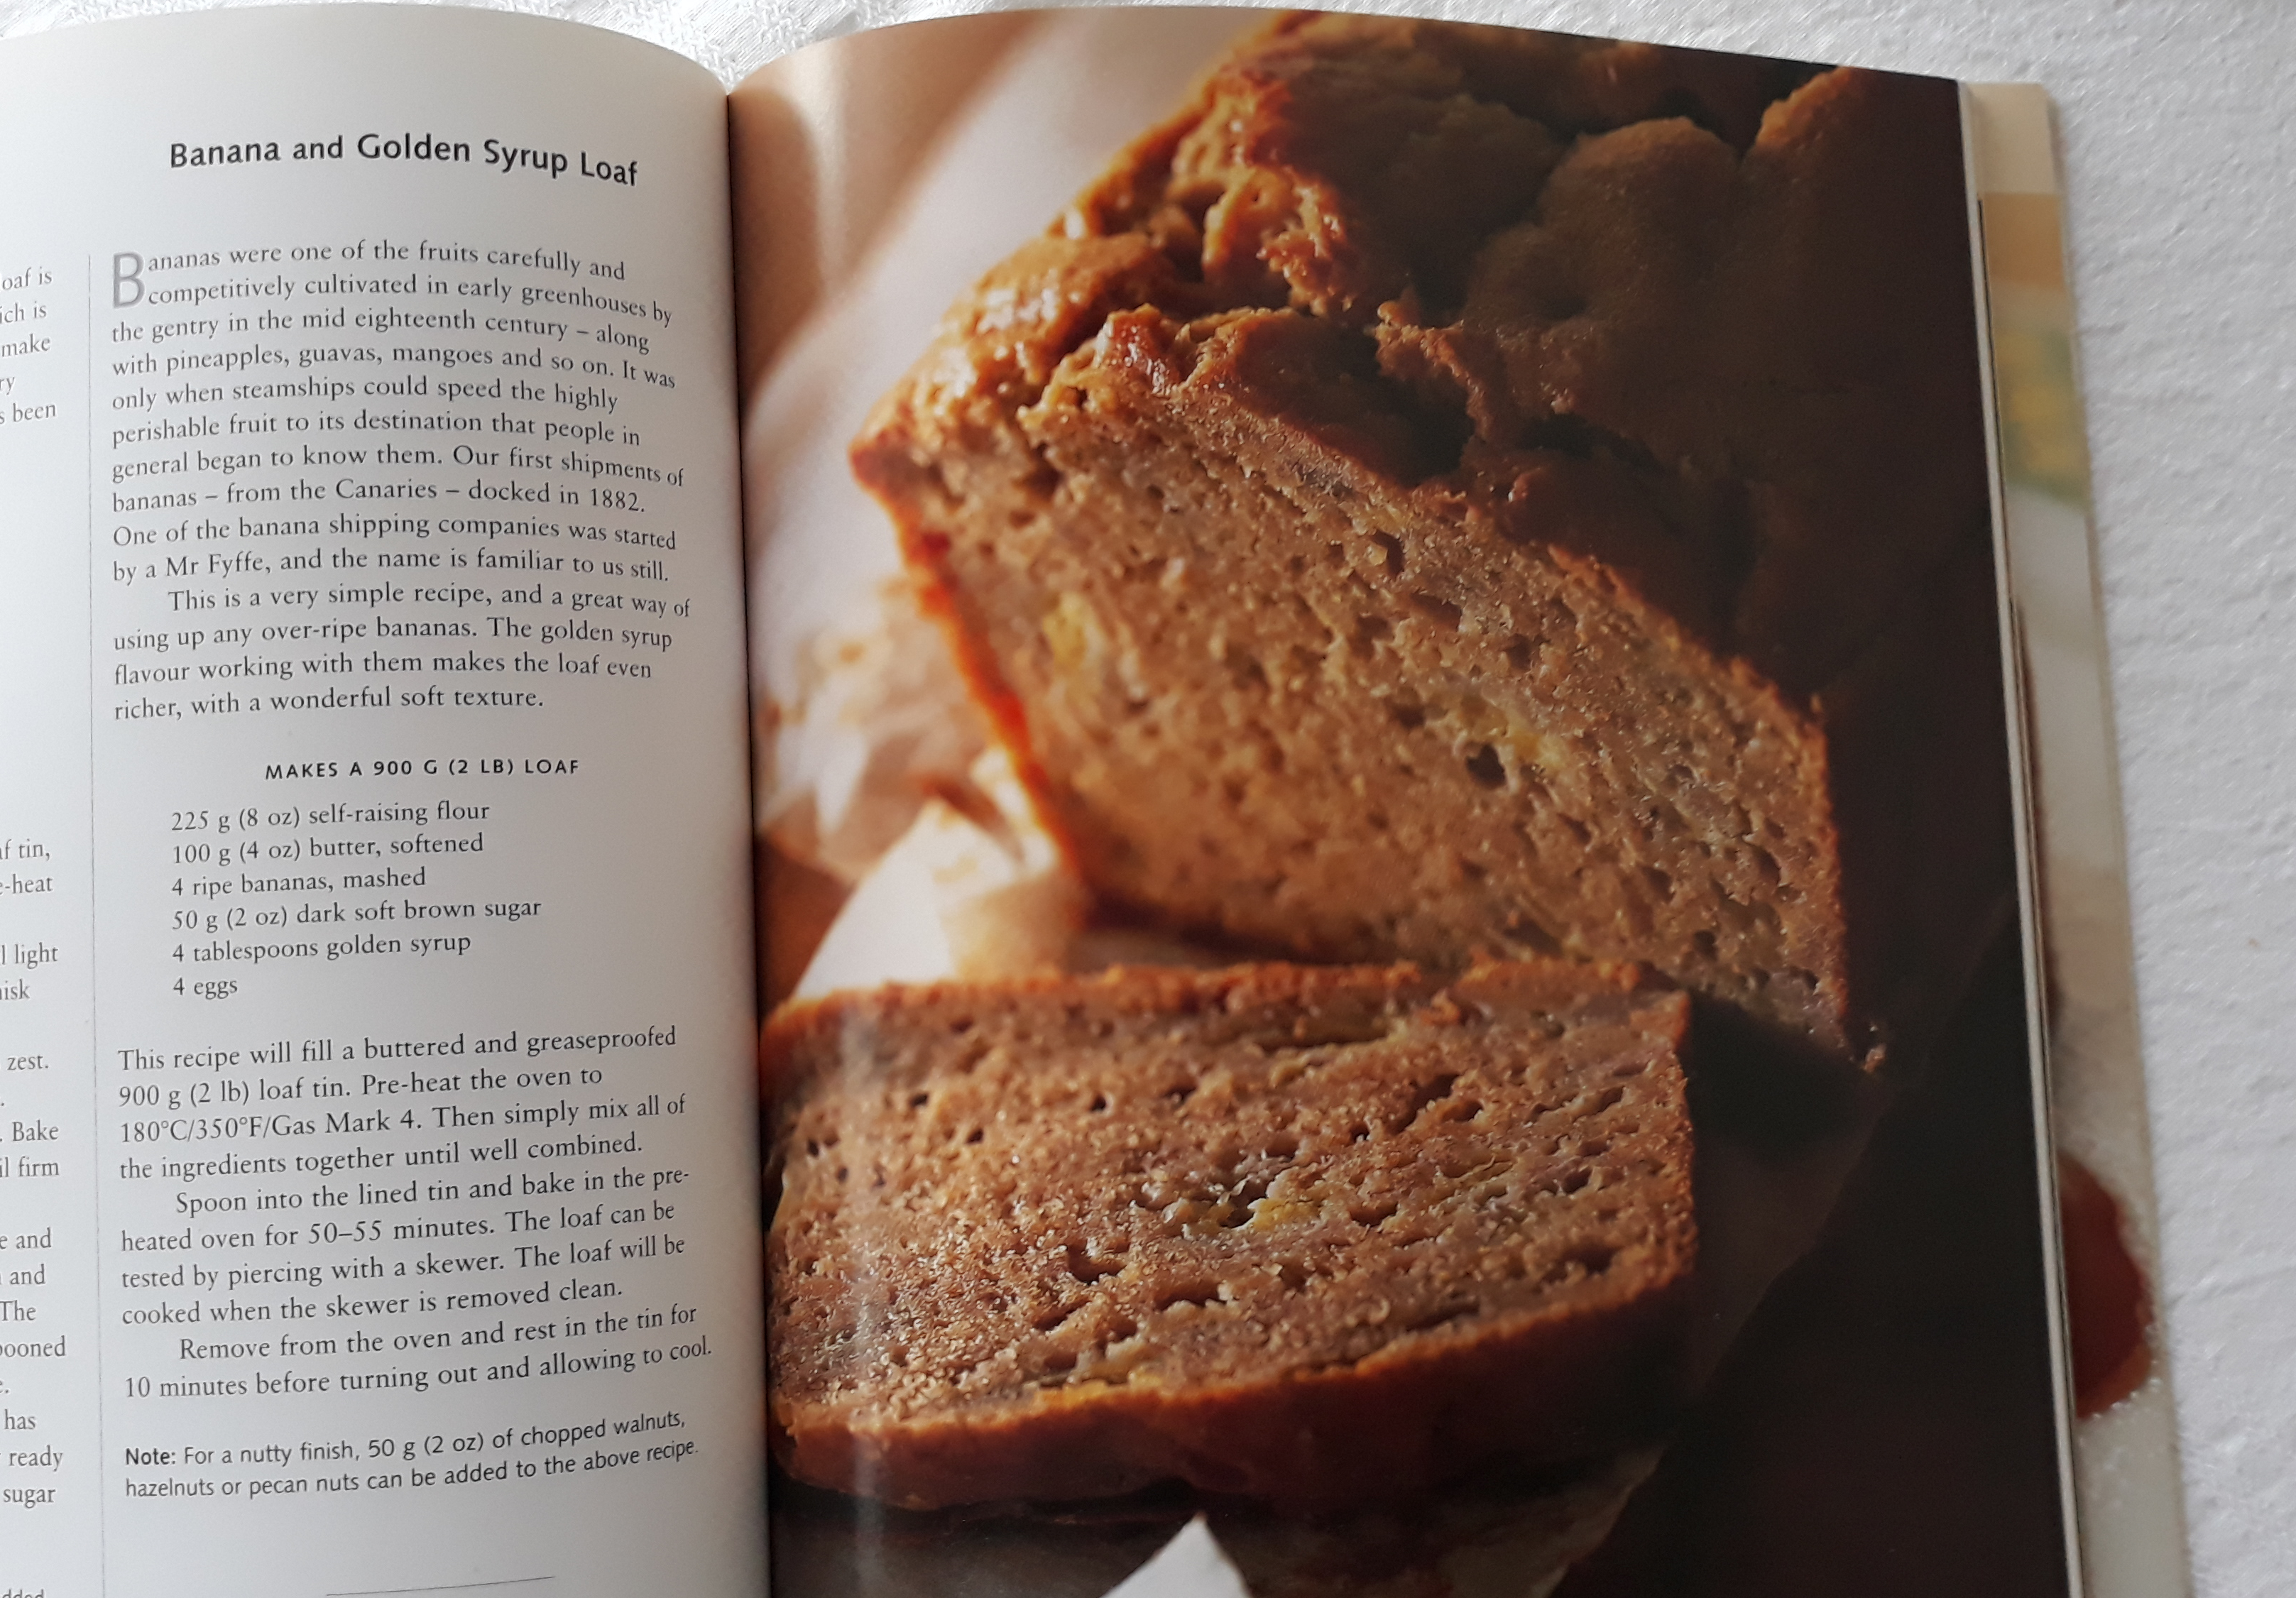
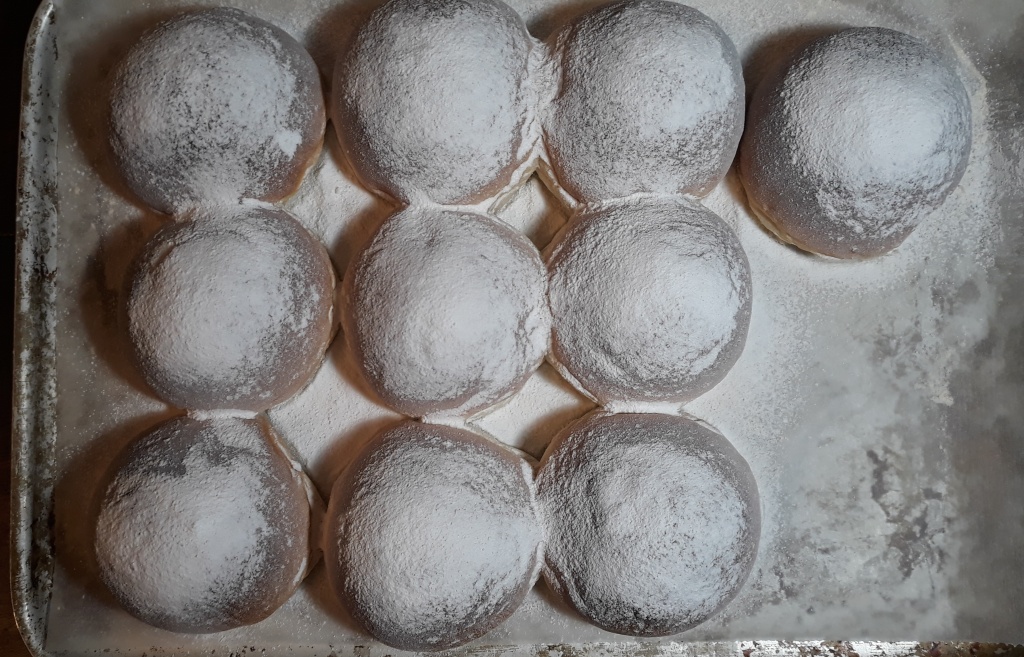
As I write this, we are still in the midst of the Covid-19 lockdown. Everyone is baking bread and I must say it is lovely to see people making time to bake during these strange times. Many home bakers have resorted to making sourdough because one of the most difficult items to get hold of at the moment is bakers’ yeast. This is infuriating to regular bakers, as is the lack of string bread flour, but there is more than one way to skin a cat. Delicious Irish soda bread requires neither bread flour nor yeast, instead regular plain flour and a chemical raising agent. it’s perfect if the thought faffing about with sourdough starters is too much to bear. There are no proving stages and it is made in a trice, baking in just a little over half an hour.
Irish soda breads originated in eighteenth century America when settlers discovered that potash made an excellent instant chemical leavening agent. Forever ingenious, the early Americans worked out a way to refine the process easily and instead used bicarbonate of soda (baking soda). It caught on big time, especially because it meant travelling folk could made bread quickly and easily without the need to for long fermentations. It wasn’t before long that news of this magic raising agent got to Britain and Ireland.
Up until that point, the Irish and Scottish were used to dealing with very low gluten flours such as oat and barley, because they grow well in northern latitudes. Even flour made from wheat grown in Southern England had a low gluten content (our modern plain flour) and although great for pastry, it was never going to make the pillowy fluffy loaves that we think of as standard today; for that, high gluten flours imported from Canada were required. This lack of stretch from their doughs and batters prevented the slow-release bubbles produced by yeast from growing and remaining stable; it made much more sense to make unleavened breads and griddle cakes. These new baking soda leavened breads however, suited their low-gluten flours very well, and they were infinitely adaptable.
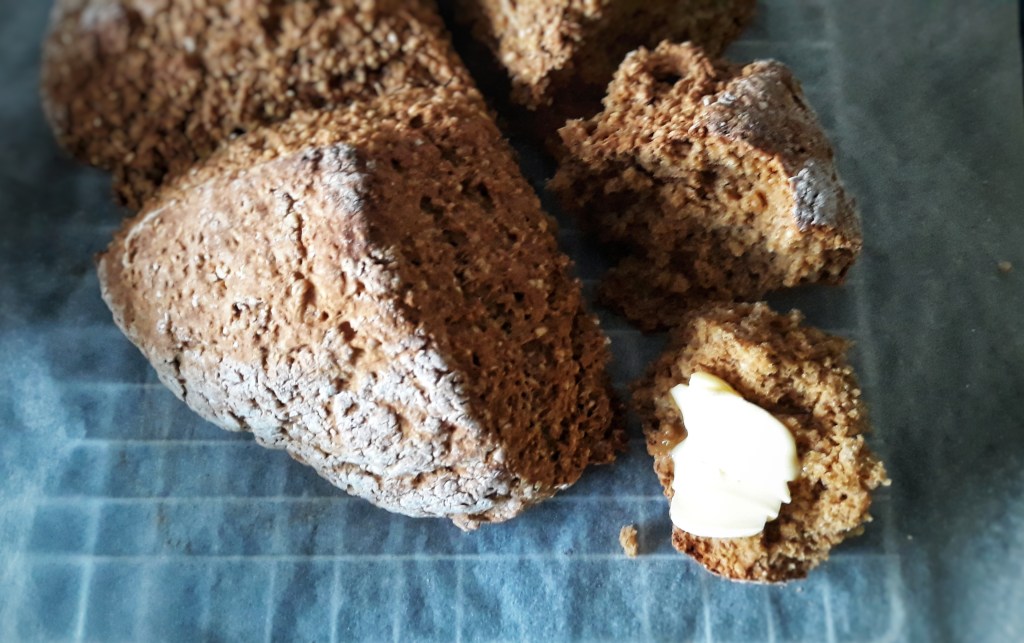
Soda breads are different to regular breads, they very crumbly, so a sandwich would be disaster, but they are great with soup, especially when still a little warm.
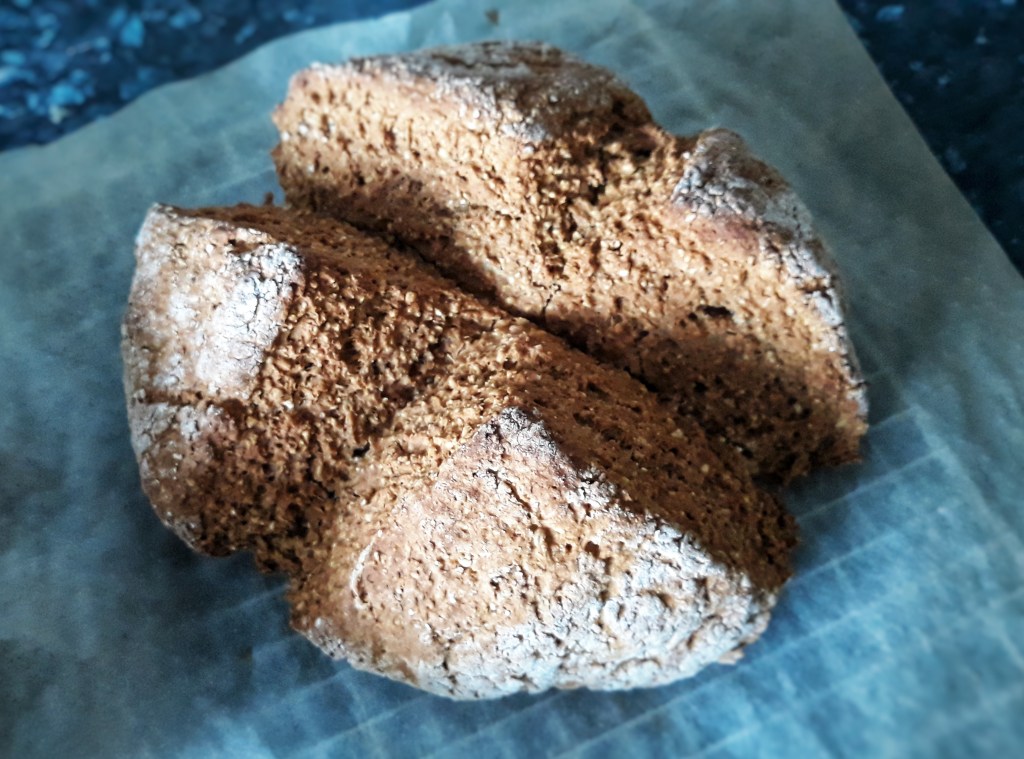
A cousin to soda bread is treacle bread which I think this is much superior so I thought I would share with you my recipe for it because I think it’s the best of all soda breads, and I have been making it a lot over the last couple of months.
With this treacle bread, you get a mild bitter sweetness and a lovely brown colour from the treacle, and a good nutty chew from the oats. It’s like a giant delicious cakey digestive biscuit and it goes excellently with a good farmhouse Cheddar or Stilton cheese.
It is easy to make, and it is easy to make substitutions too: buttermilk is tricky to get hold of in the United Kingdom at the best of times, so go for a mixture of milk and yogurt, or just milk. If you can’t find plain flour, use self-raising and add just one teaspoon of bicarbonate of soda to the mix. Medium-ground oatmeal can also be substituted for porridge oats.
Makes one large round
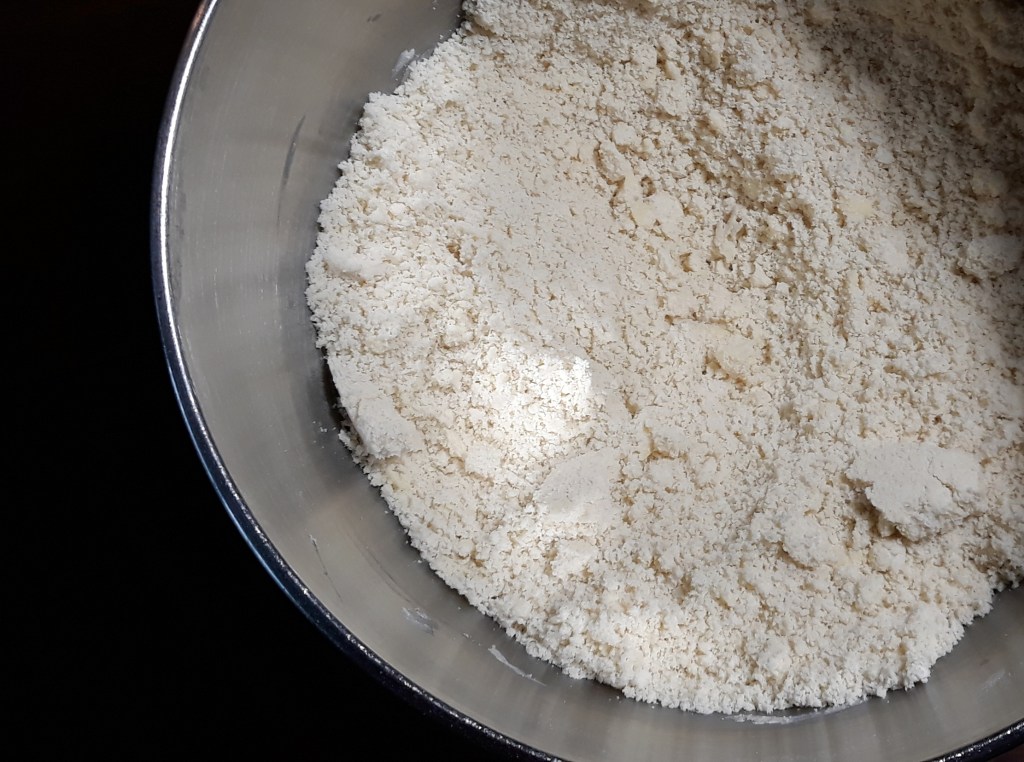
250 g plain flour
250 g medium oatmeal
1 tsp salt
2 tsp bicarbonate of soda
2 tbs black treacle
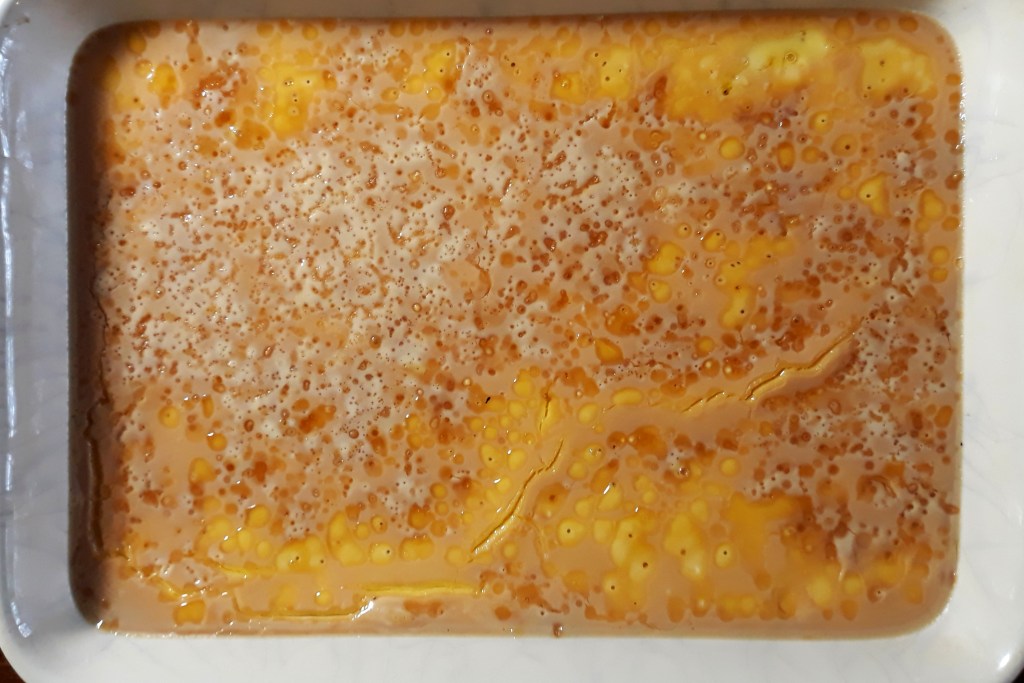
250 ml buttermilk, or 200 ml milk and 50 ml yoghurt
Preheat your oven to 200°C and line a baking tray with a sheet of greaseproof paper
This could not be simpler: mix the flour, oats, salt and bicarbonate of soda in a mixing bowl, make a well and add the treacle then the liquid(s). Mix with a wooden spoon and when you have brought it together, tip onto a floured surface and knead just once or twice.
Make into a round, place on the baking tray and cut a deep cross in the dough going from edge to edge. Quickly slide into the oven on the centre shelf and bake until golden brown, around 30 to 40 minutes. Give it a little rap on the base with your knuckle – if it sounds hollow, it is done.
Cool on a rack.
If you like the blogs and podcast I produce, please consider treating me to a virtual coffee or pint, or even a £3 monthly subscription: follow this post for more information.