This pudding has been on my ‘to post’ list for absolutely ages. It has become of my favourites, though as you will discover as you read the post, not everyone agrees with me. I’ve called it a forgotten food, but it is still well-known in Ireland. It was popular in many parts of England too, but it doesn’t seem to get made anymore. Carrageen pudding is a set dessert akin to jellies, blancmanges and flummeries, but it is made from the gelatinous seaweed carrageen, also known as Irish moss. It used to be gathered in Yorkshire and South-West England, going by the name ‘Dorset Moss’.1
I first made it in 2015 as part of one of my semi-regular Pud Clubs; I always liked to make one risky pud, and carrageen pudding was it. I flavoured it the traditional way with sugar, lemon and brandy. I didn’t particularly like the taste: there was something of a Lemsip about it. If I remember rightly, it was voted worst pudding of the day. However it wasn’t the flavour that put people off; it is more gummy than a gelatine set dessert, and doesn’t dissolve cleanly in the mouth. As John Wright puts it: it doesn’t have an acquired taste – it barely has any – ‘more of an acquired texture.’2 That particular Pud Club was the closest I’ve seen anyone get to vomiting at one of my paid food events.
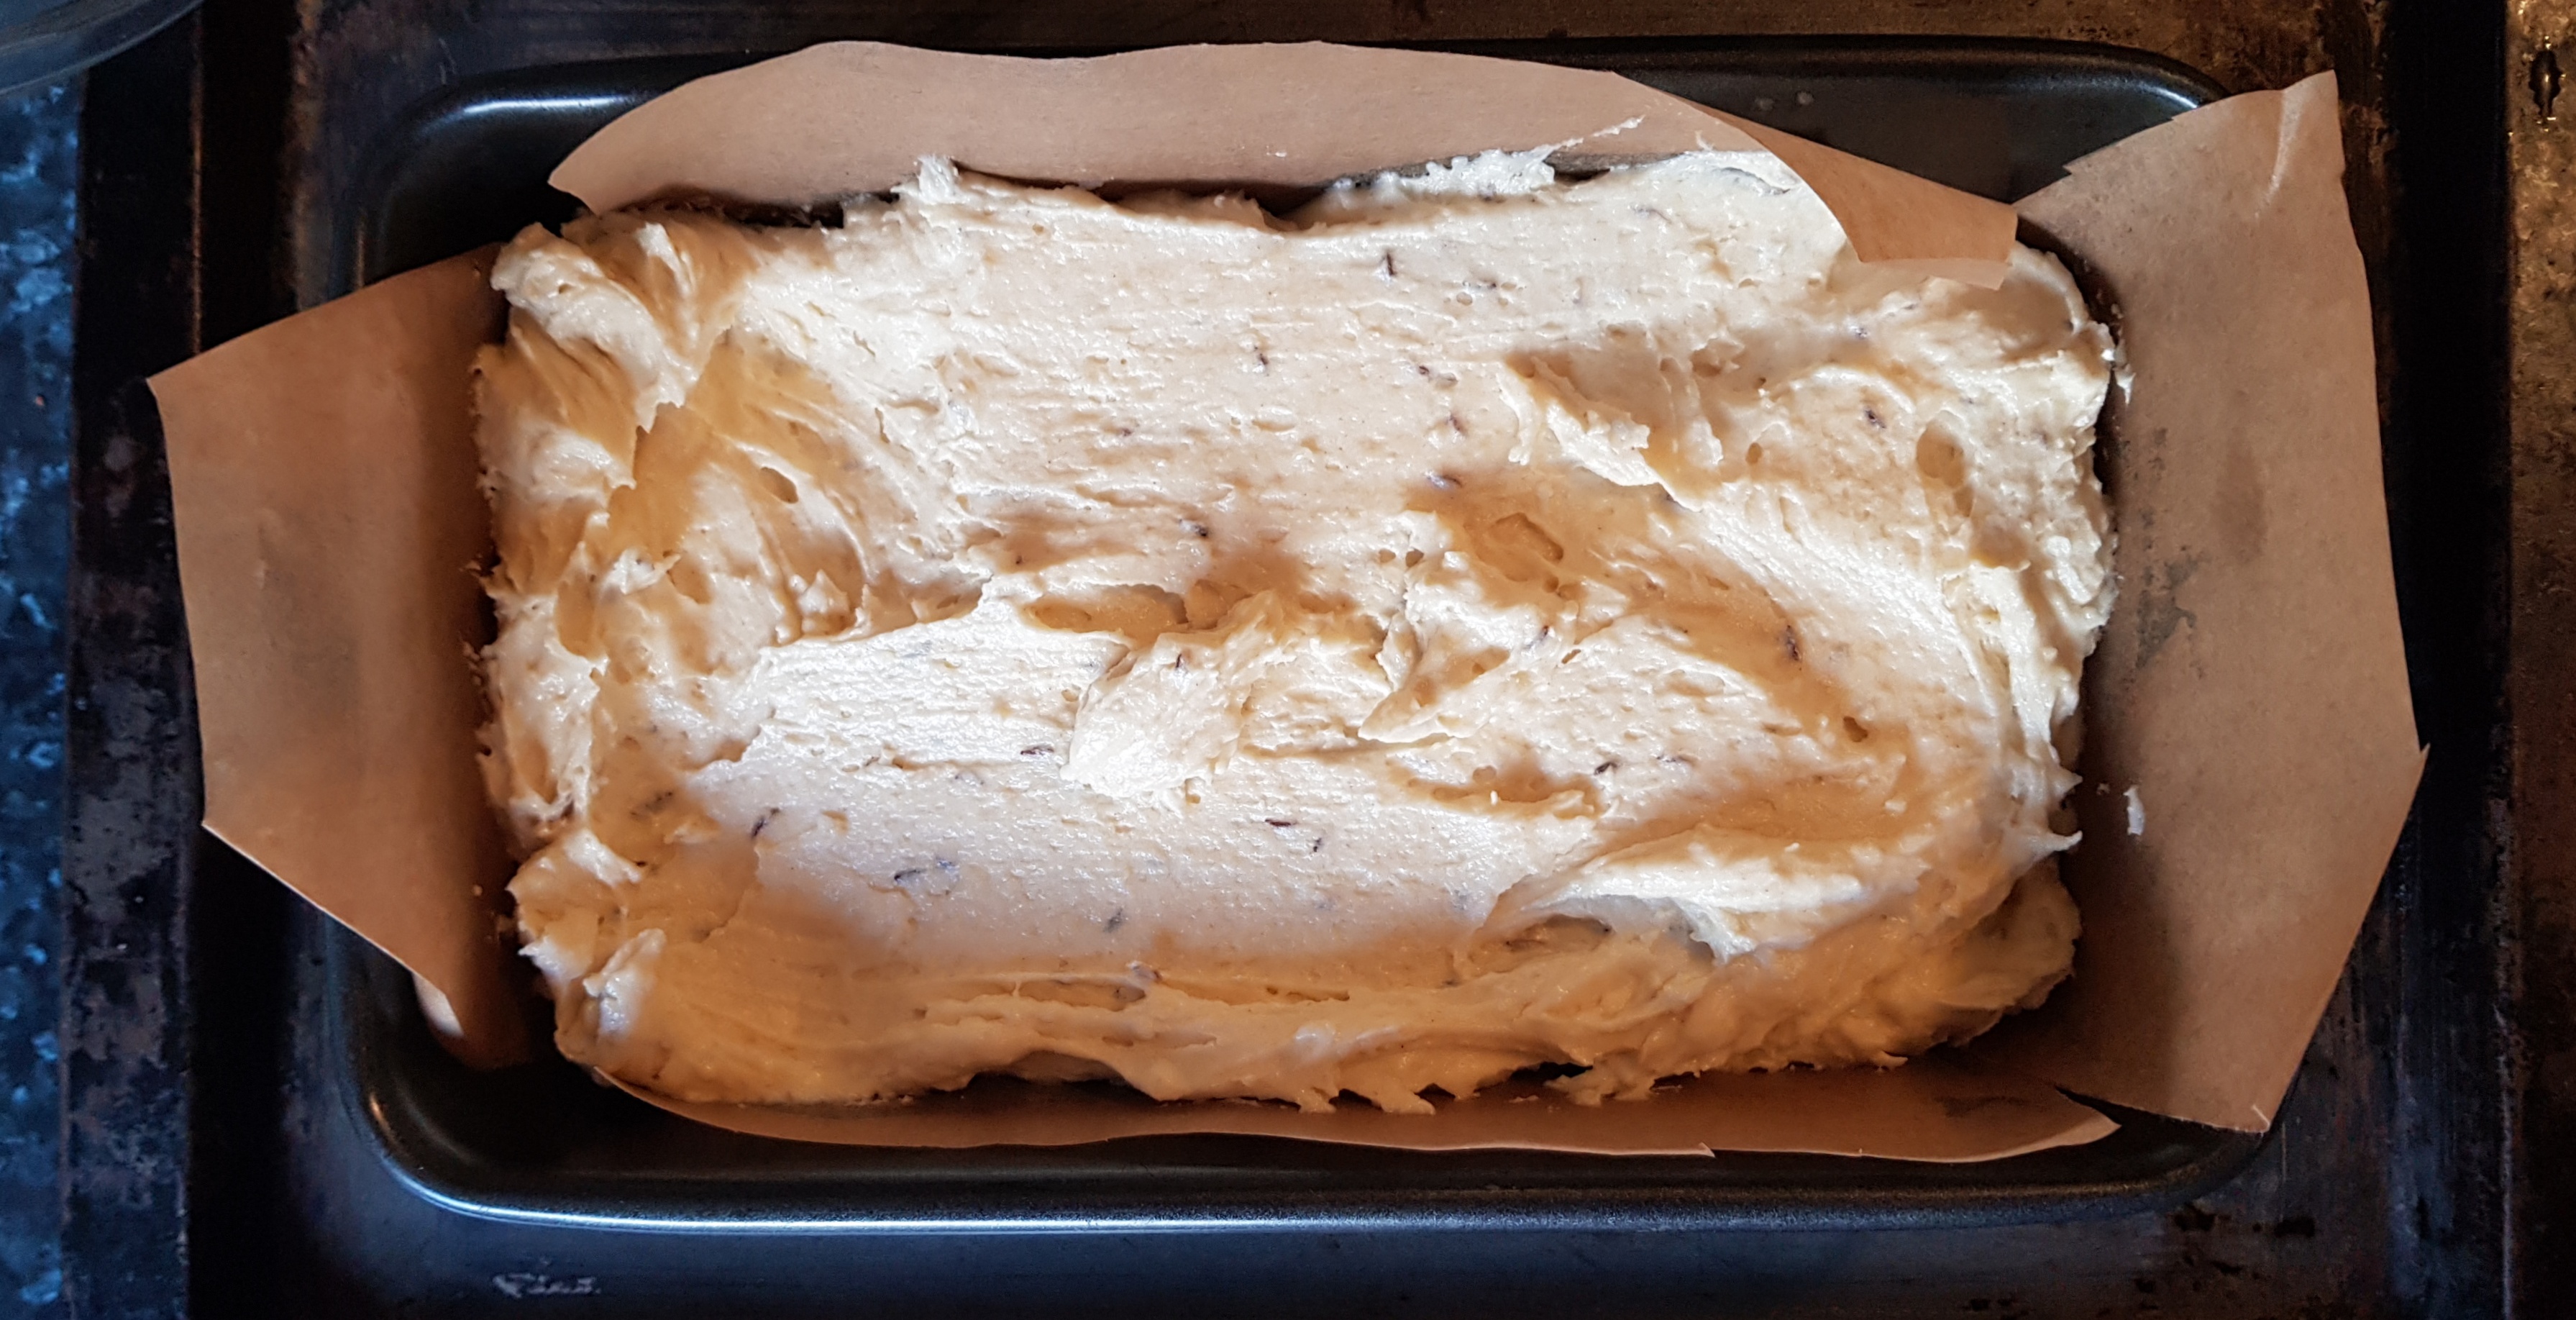
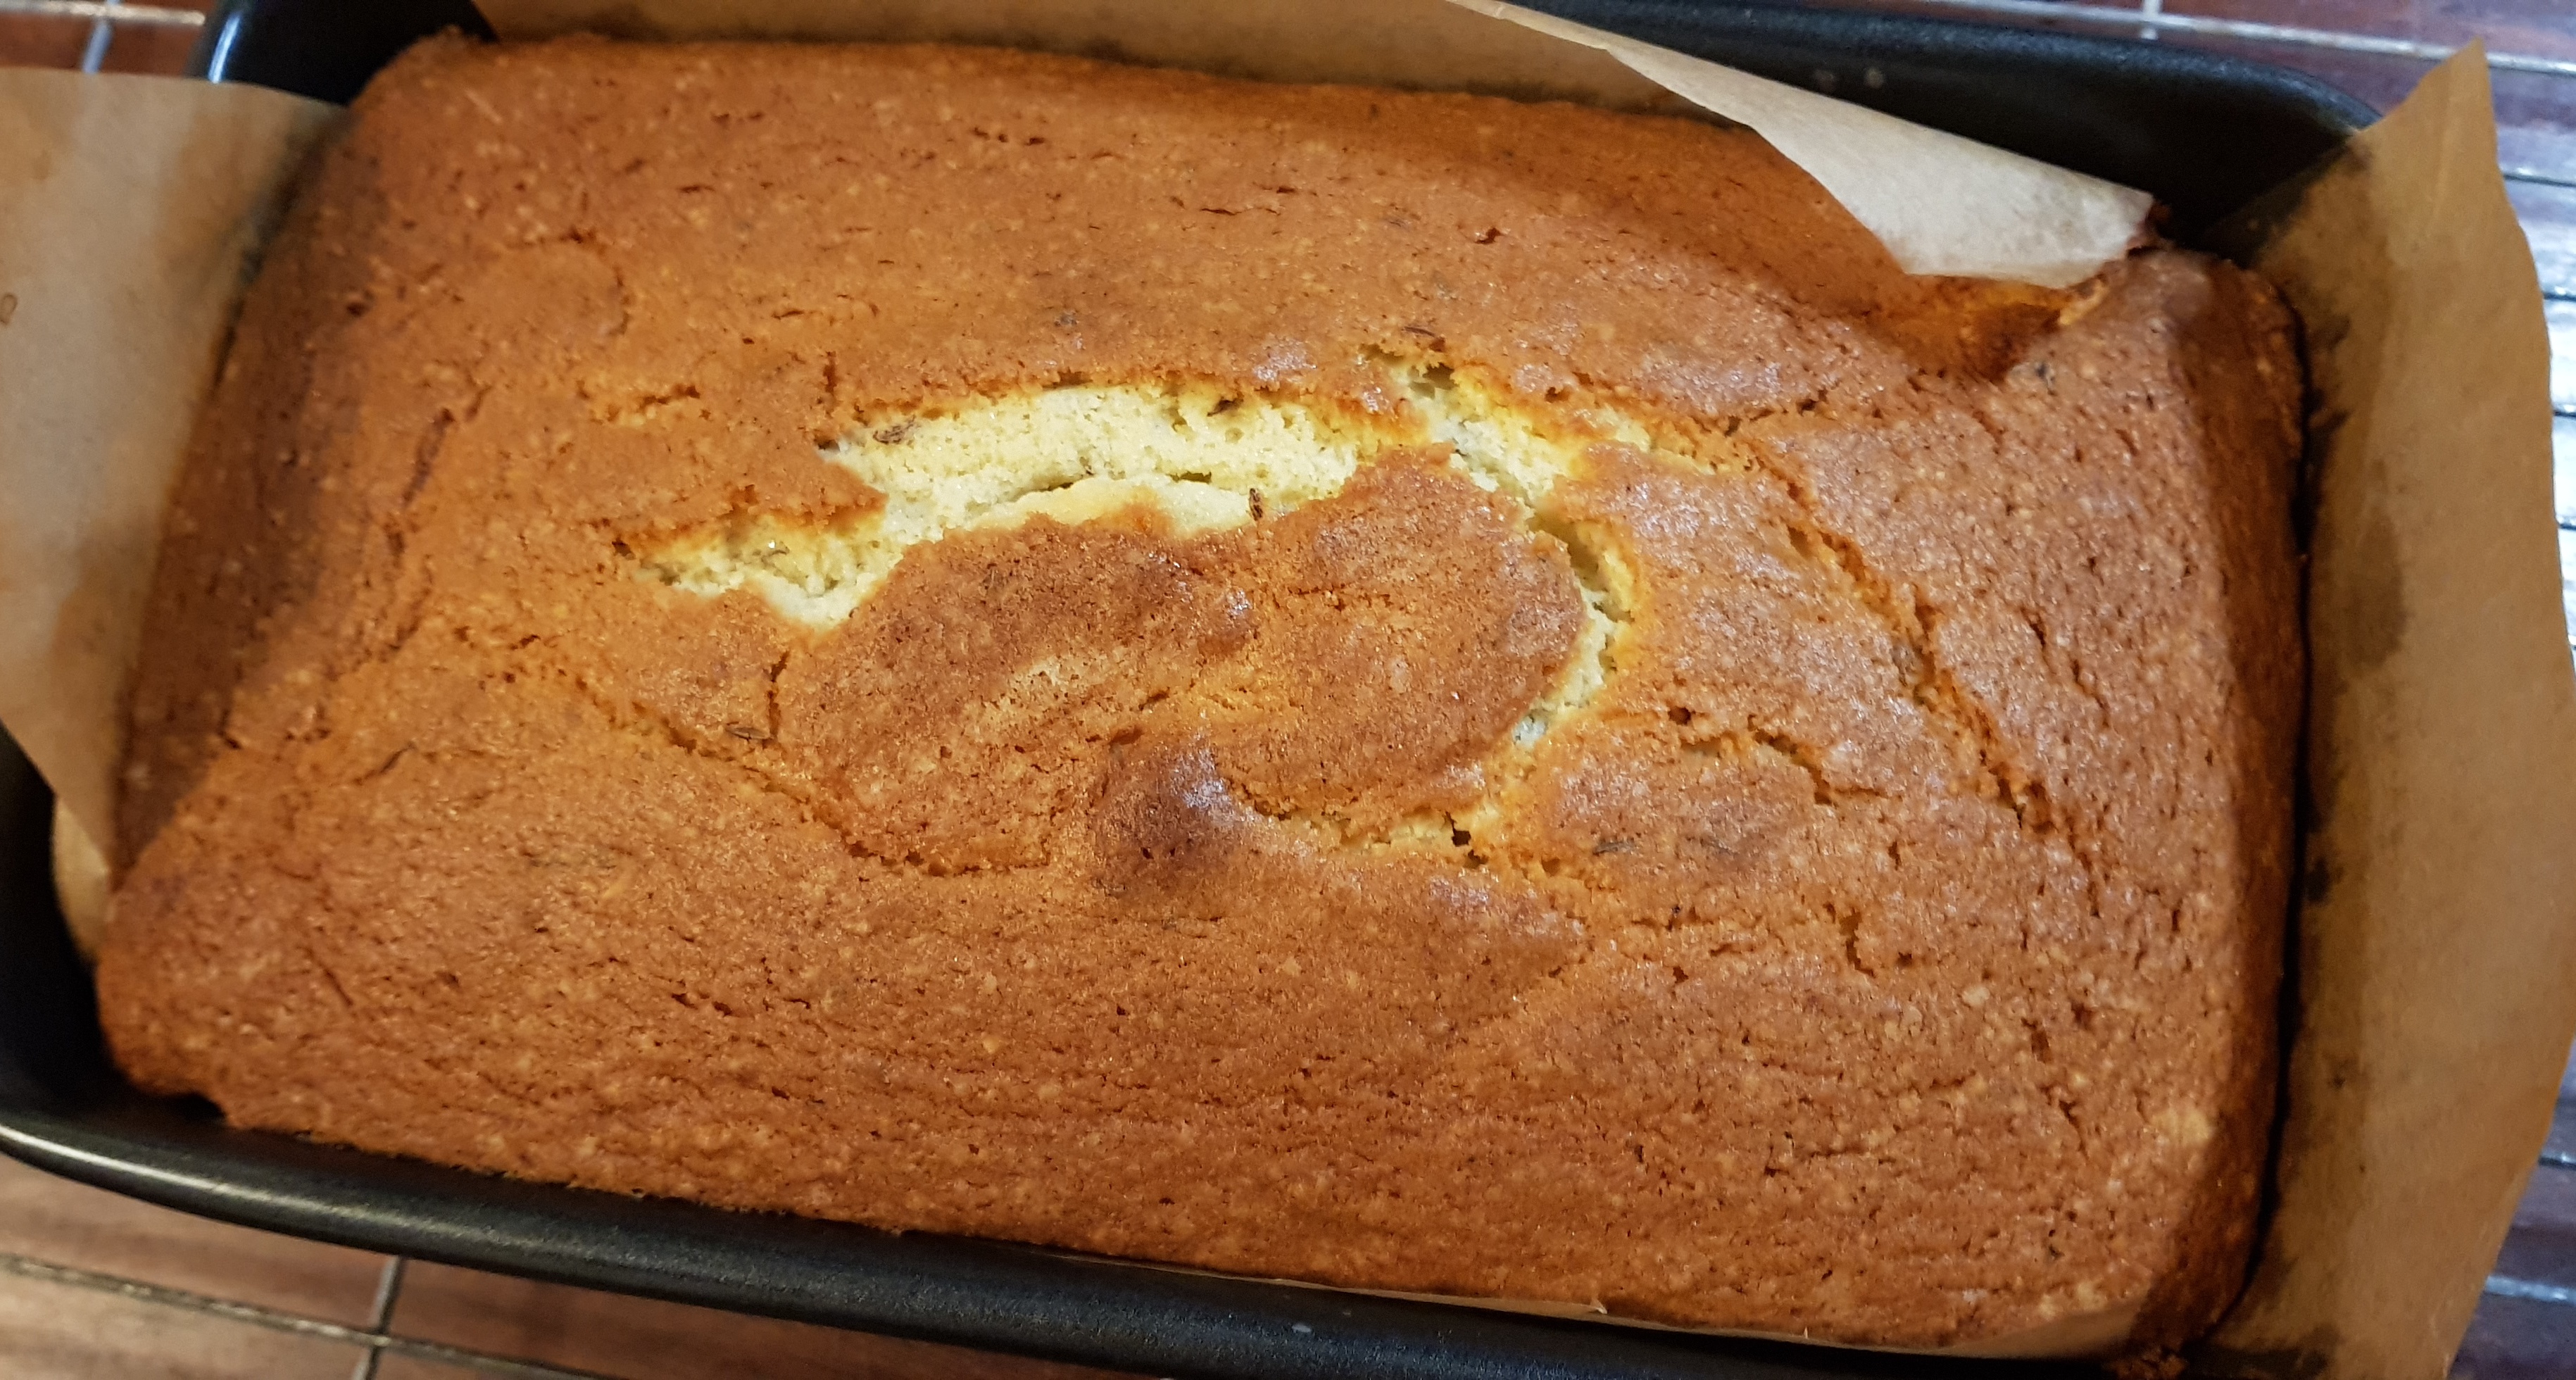
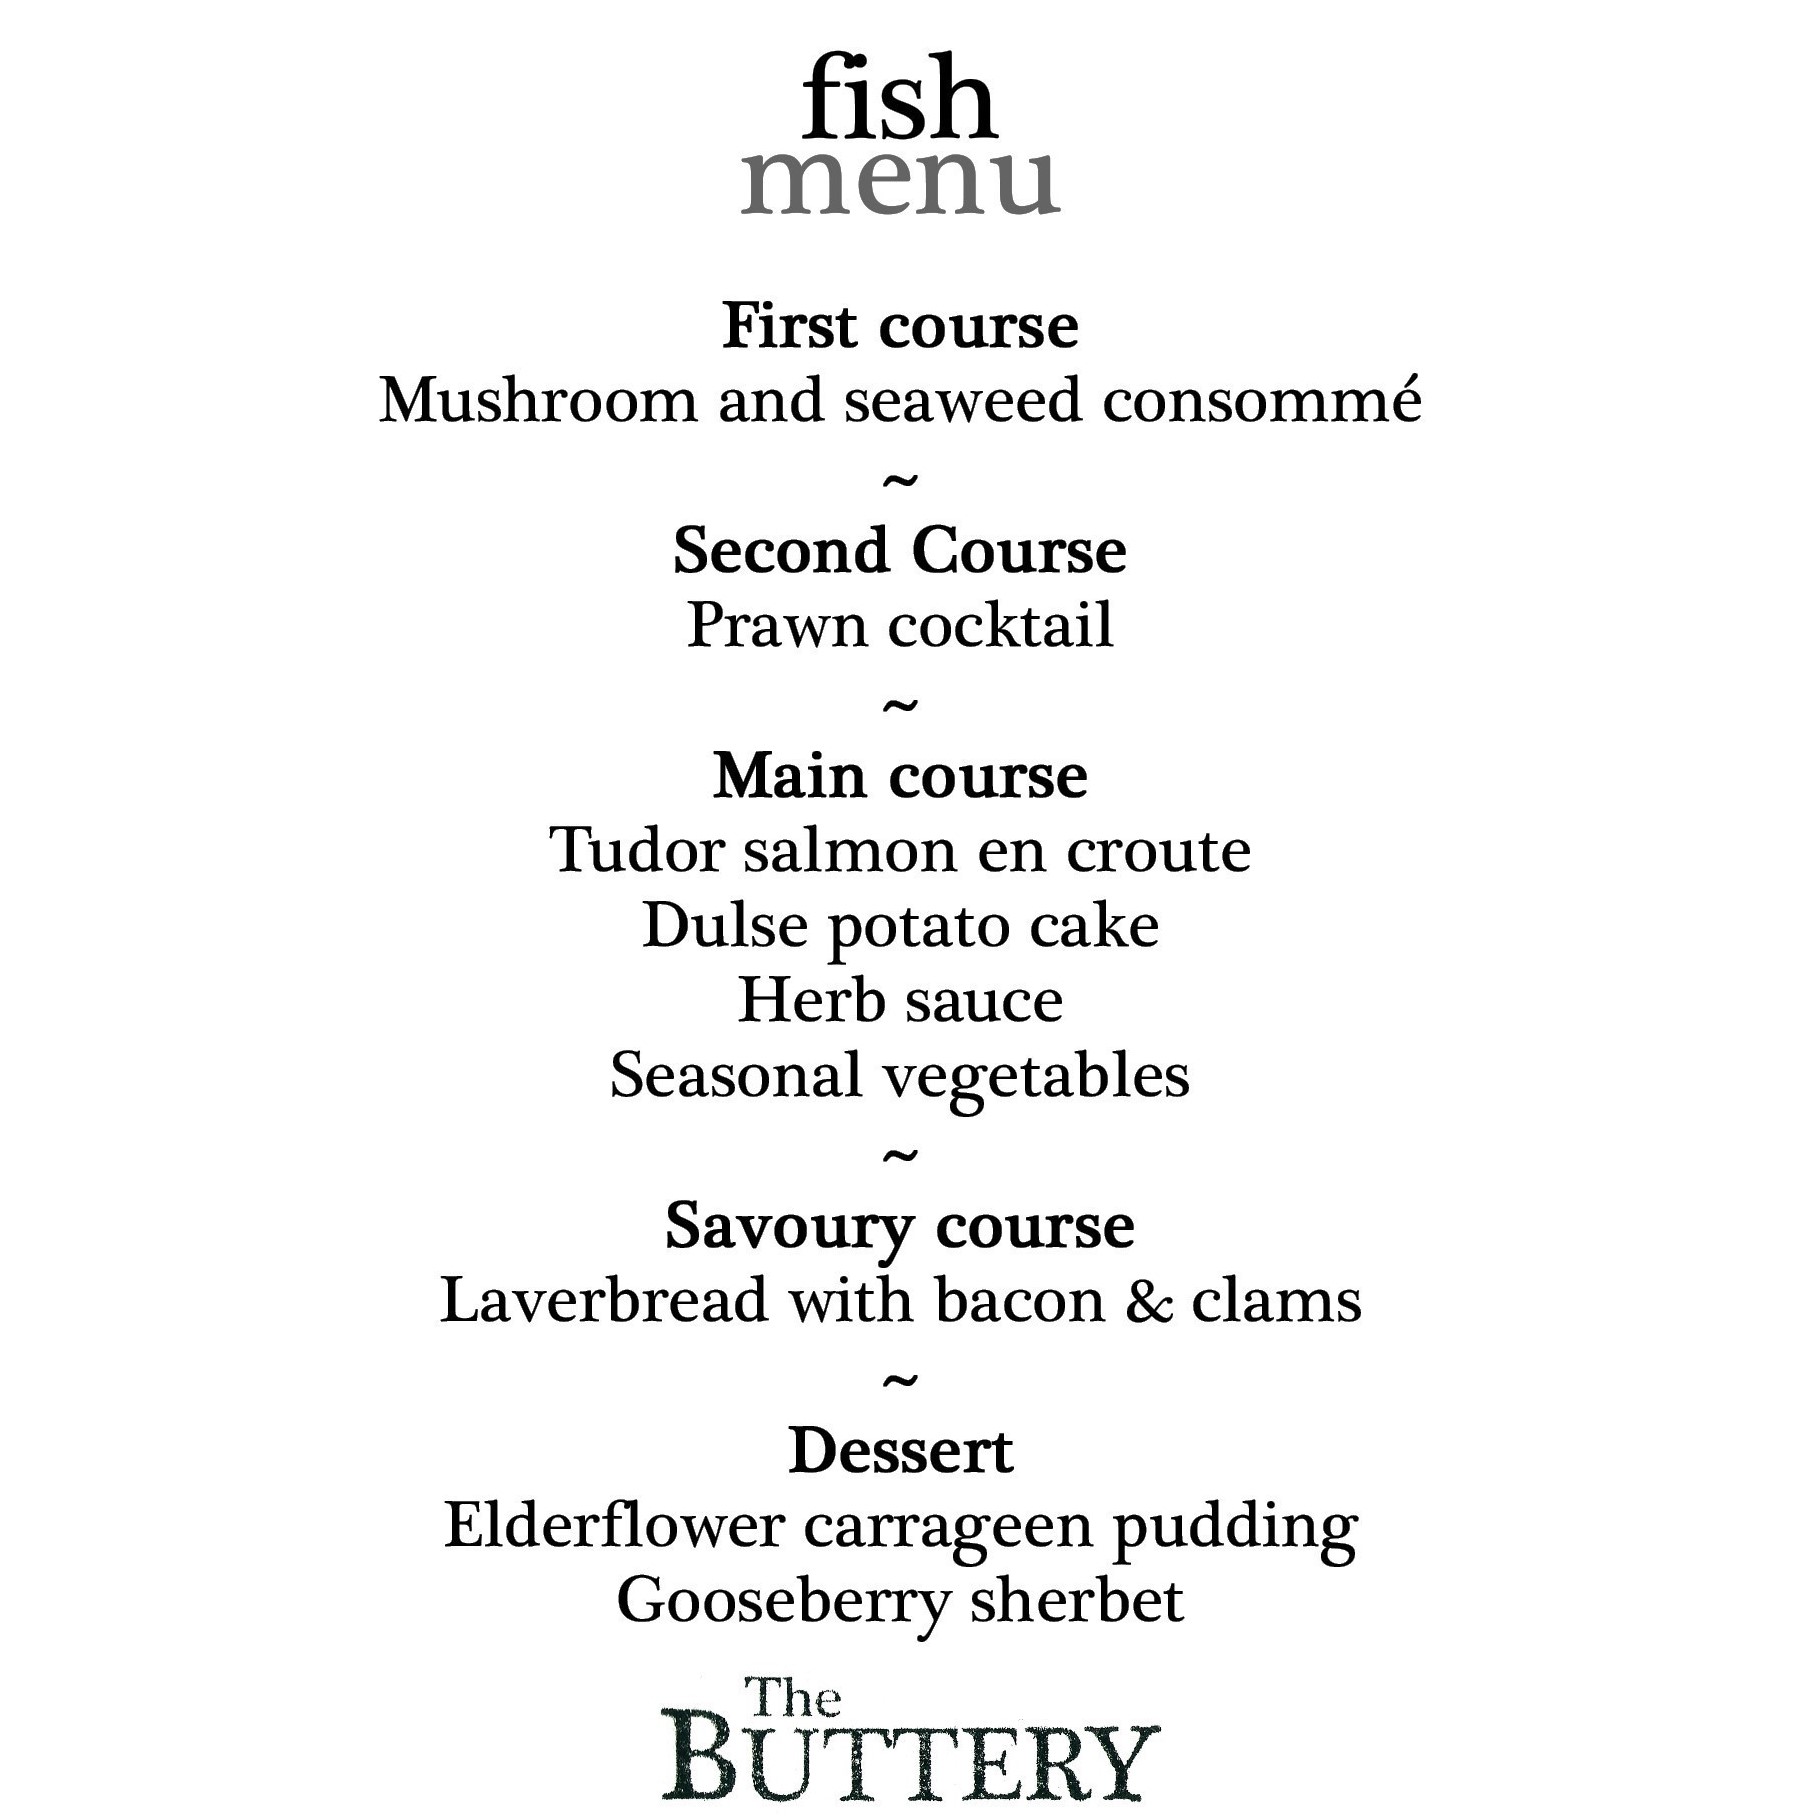
I returned to it later in the year after I’d had the idea for a seaside-themed popup restaurant, and though I could use it in the dessert course. I refined the recipe, adding some whipped cream to give it a mousse-like texture and flavoured it with elderflowers. I combined it with a gooseberry sherbet, and I was pretty pleased with it.
What is carrageen?
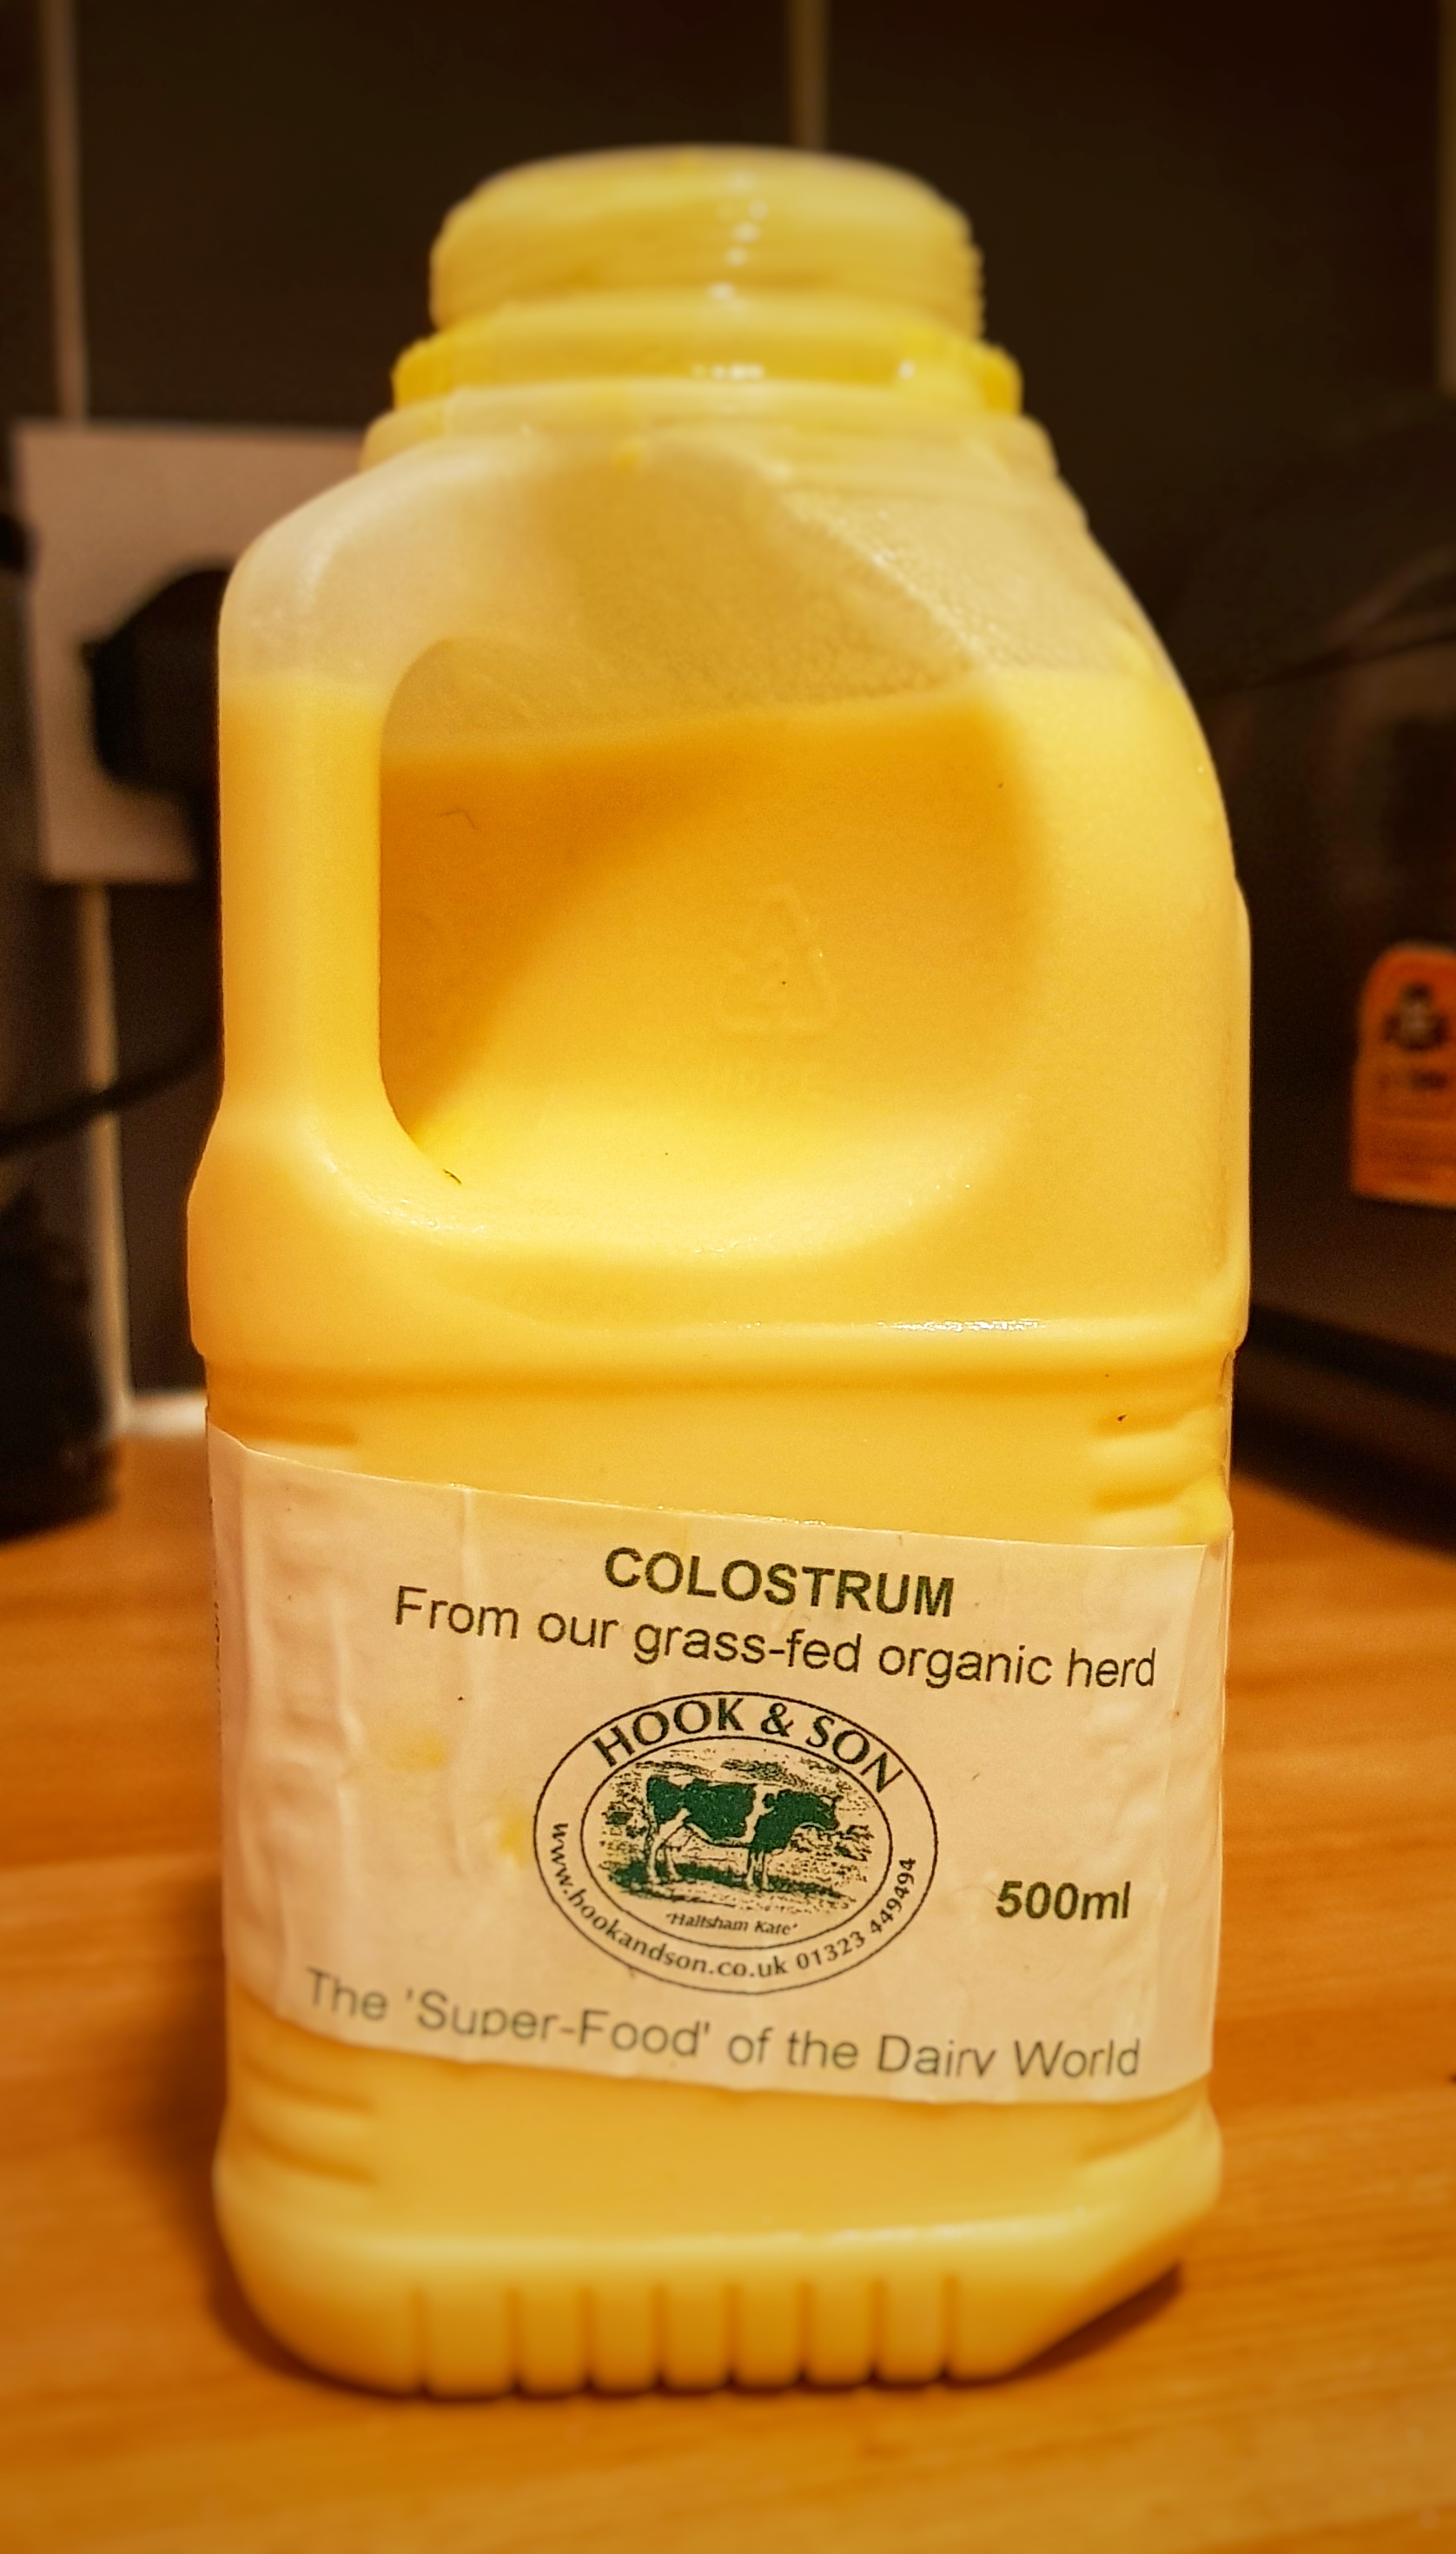
Carrageen is a common seaweed found throughout the coasts British Isles, except for parts of Lincolnshire and East Anglia.2 It is found in rockpools, is branched and a dark red colour. The wonderful food writer Theodora Fitzgibbon describes it as ‘a branching mucilaginous seaweed found on all rocks in Ireland’, which does not sound appetising, I realise. She goes on the comfort the reader, telling us that ‘it does not taste at all marine when properly prepared.’3 It is picked and dried in the sun, typically in April and May, and during the process it lightens from a dark red-brown to a creamy brownish beige, tinged with a pink-red hue.
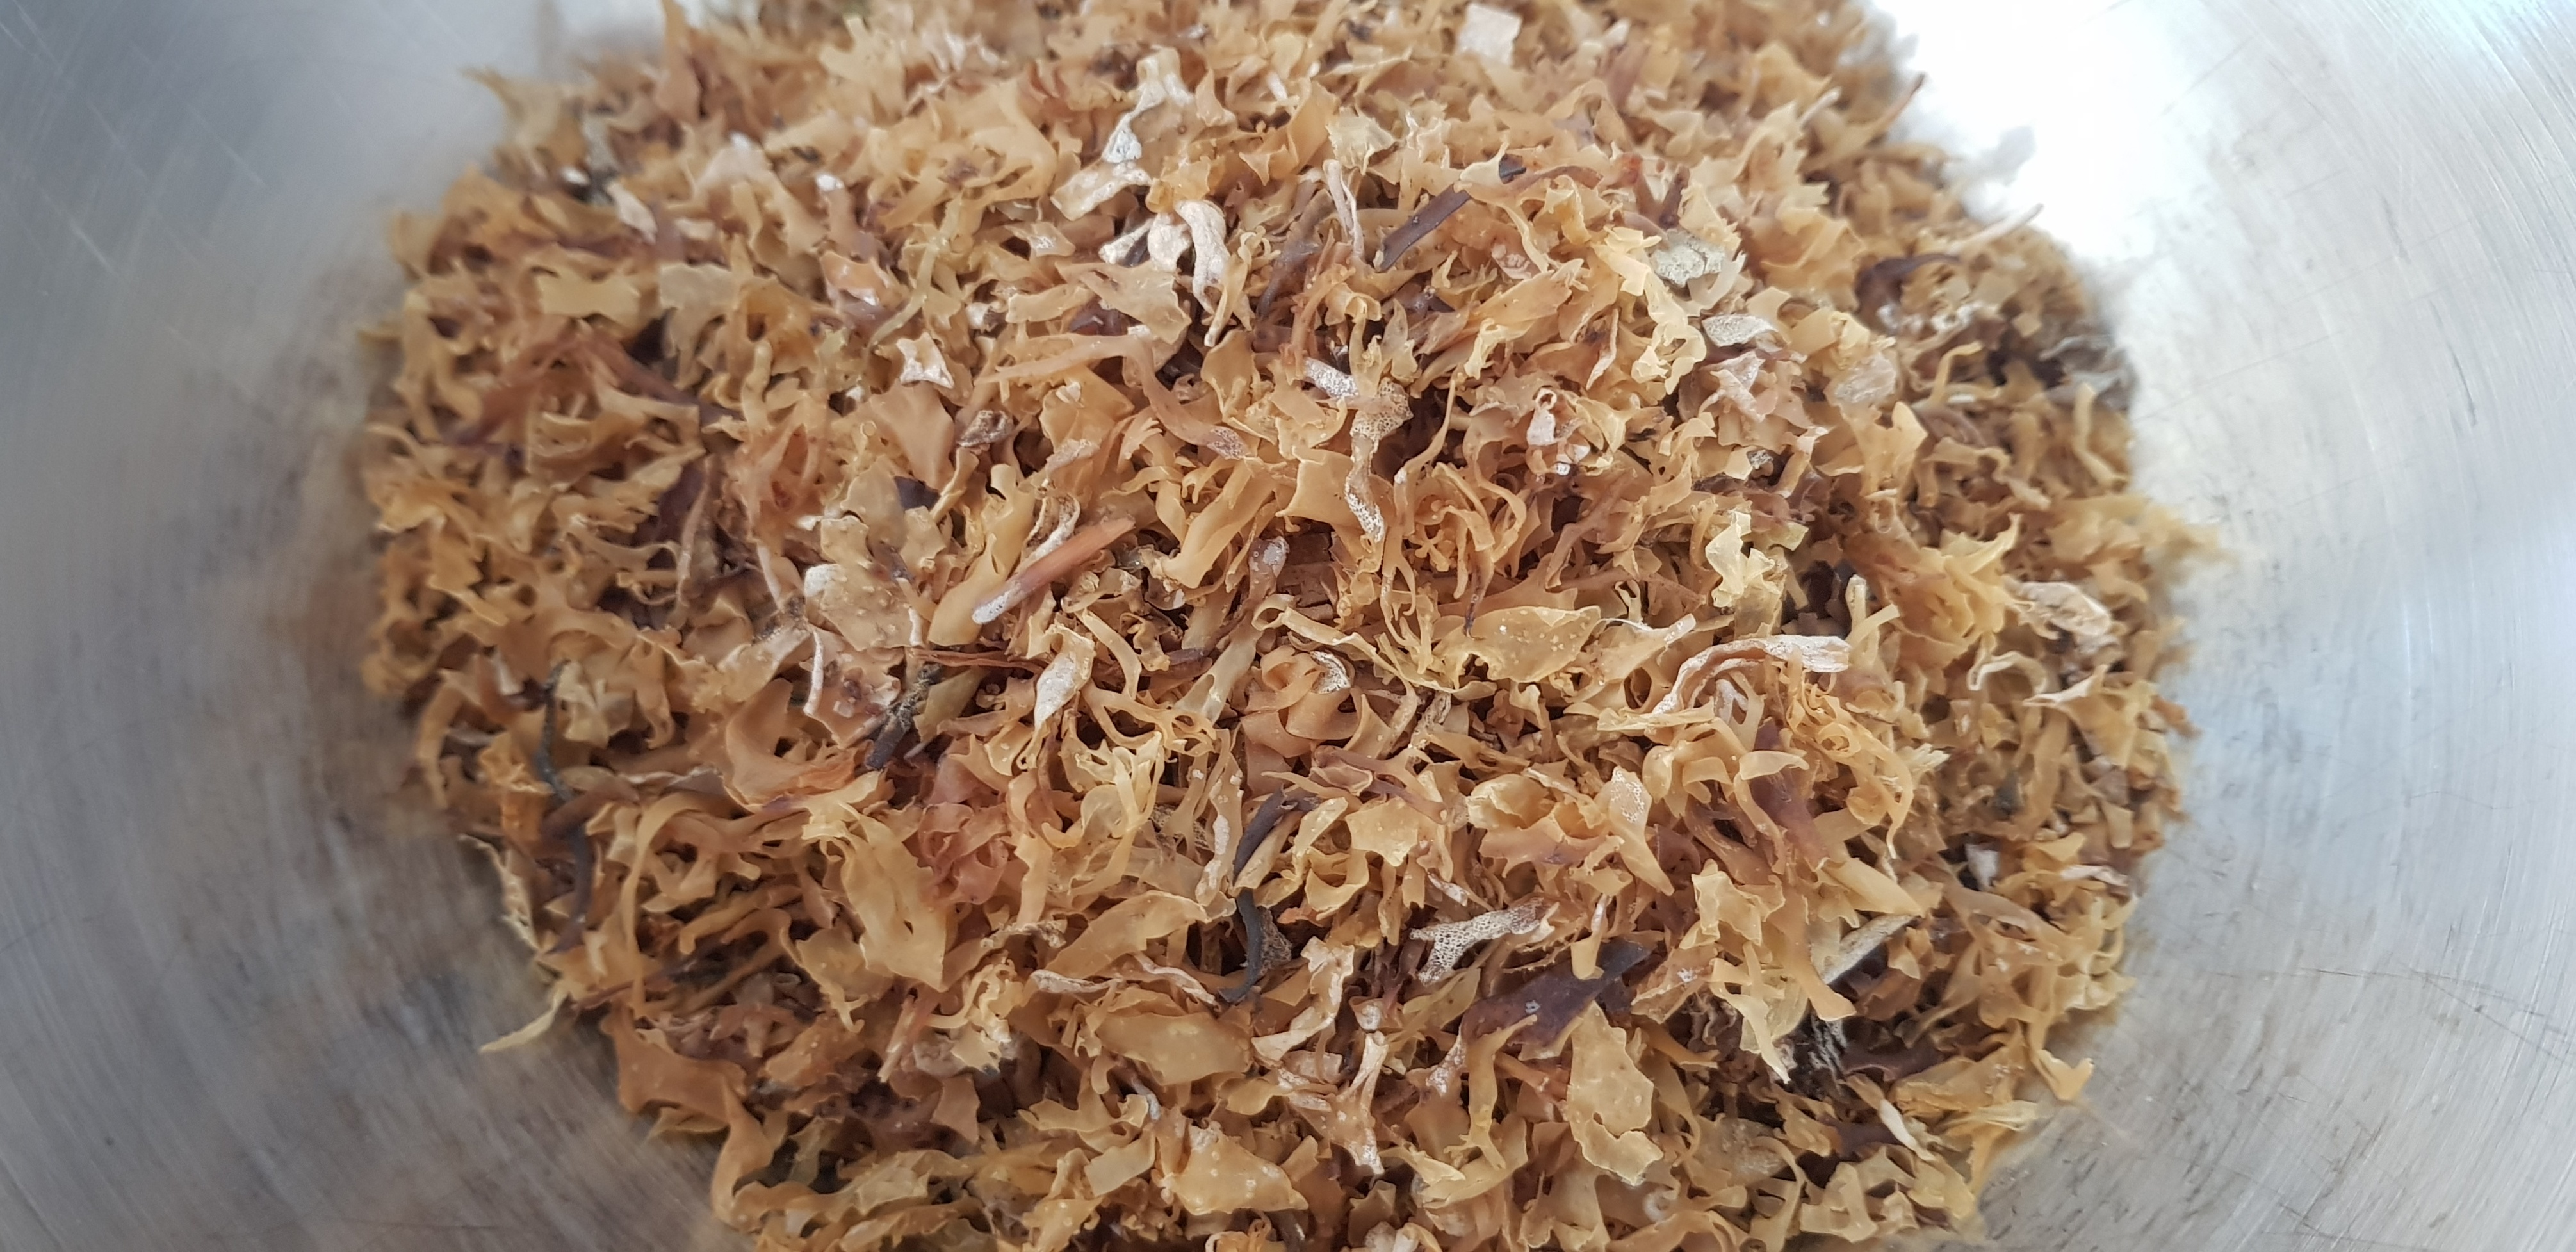
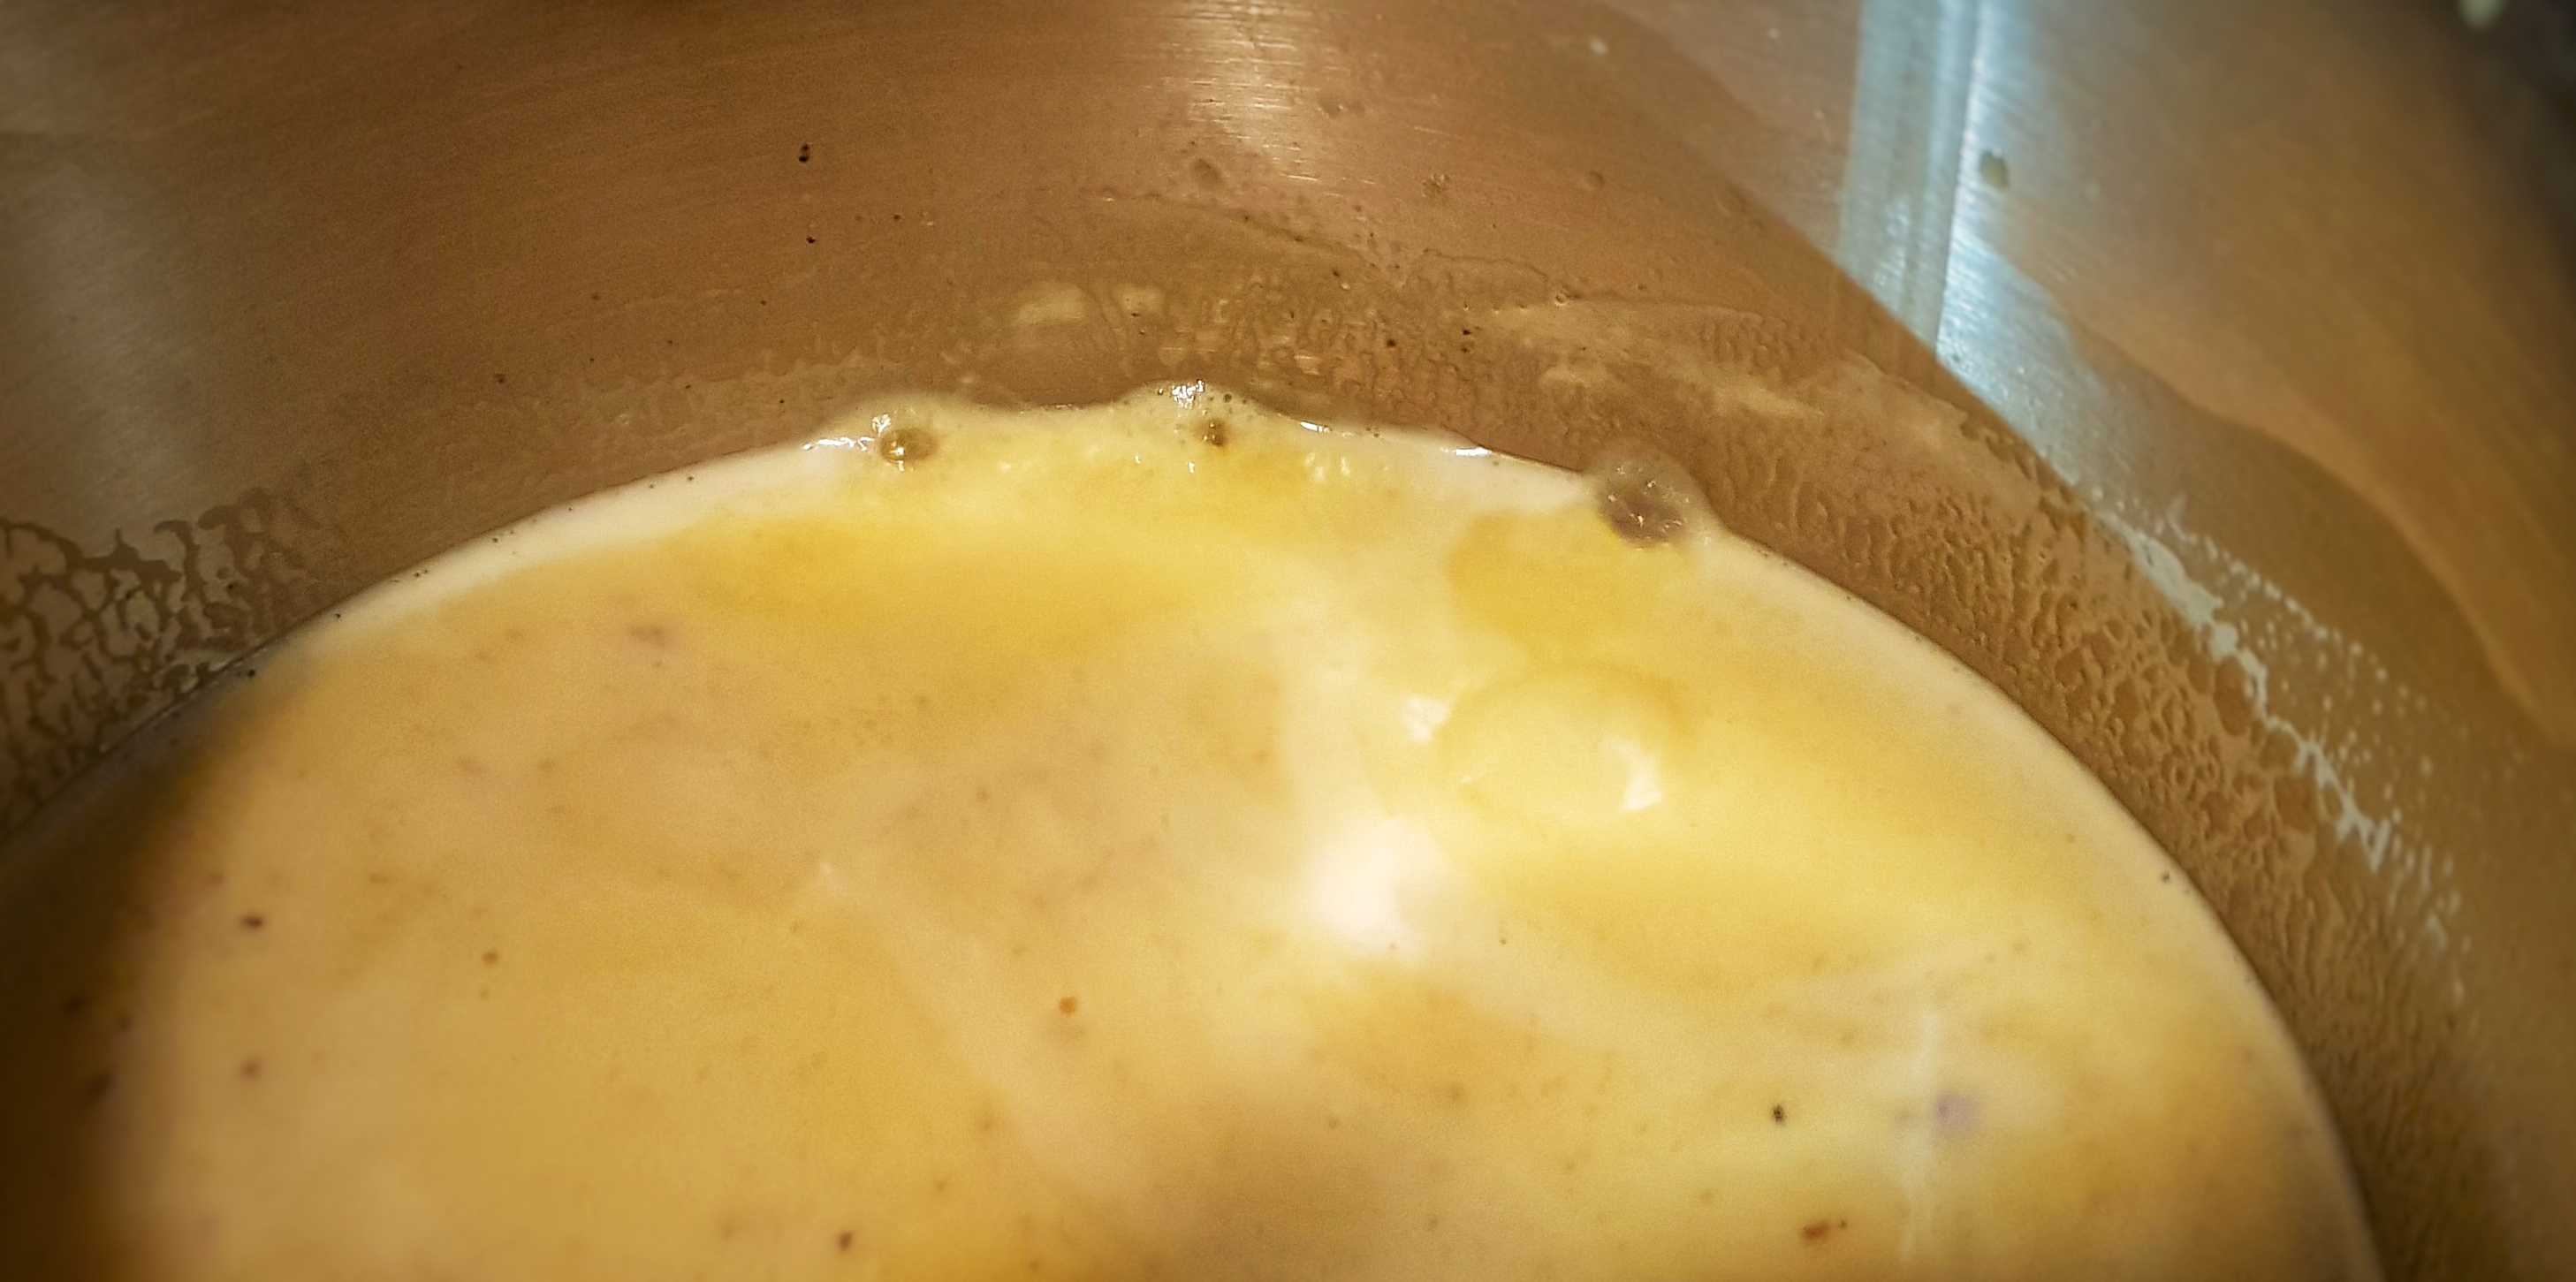
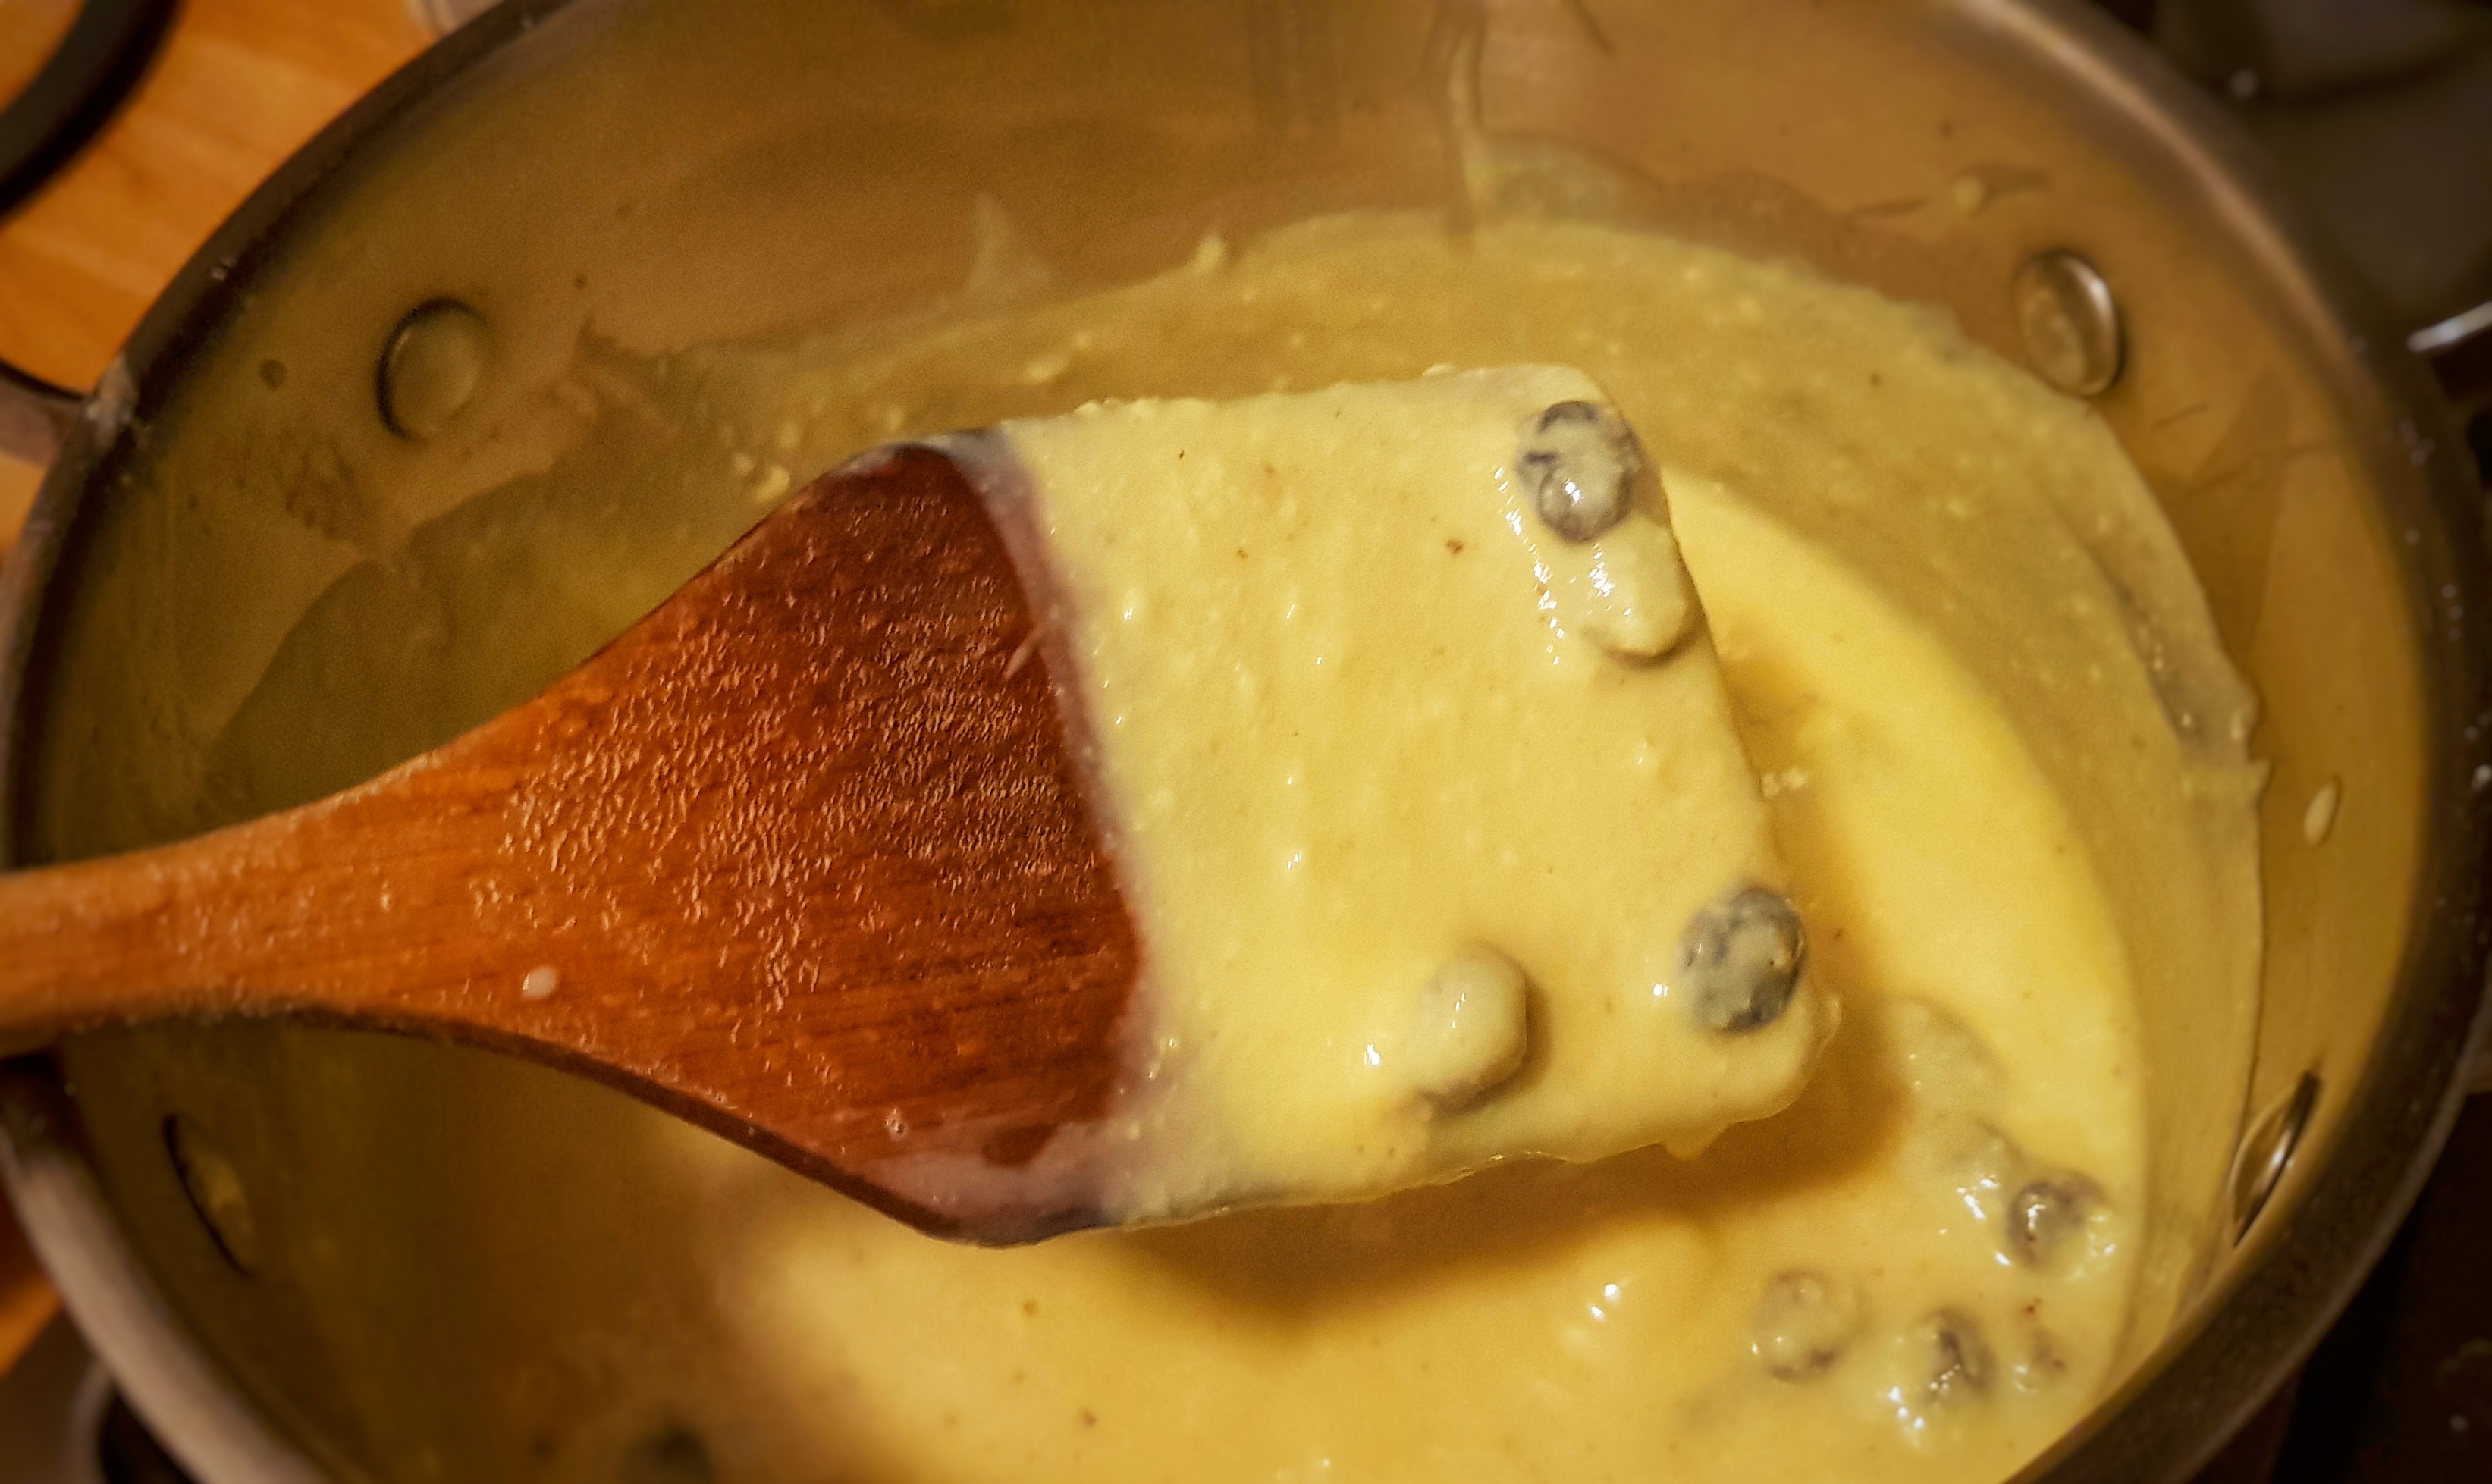
To prepare carrageen, it is reconstituted in cold water, drained and then simmered in fresh water. It quickly turns viscous, bubbling away like the contents of a witch’s cauldron. The gloopiness is caused by the release of a trio of closely-related carbohydrates together called carrageenan.2 To extract it properly, the whole lot has to be squeezed through some muslin (cheesecloth). These carbohydrates are not digested by the body, and are therefore an excellent source of soluble fibre. Indeed, carrageen has been used as a treatment for a range of stomach and digestive complains and it ‘is considered extremely salutary for persons of delicate constitutions’.4 Its viscosity also made it a common treatment for sore throats and chest complaints. It also ‘fills plaster pores, makes wallpaper dressings…and fixes false teeth.’1
Today carrageenan is commonly found in factory foods. For example, fat-free yoghurts no longer able to set properly are thickened with carrageenan. It is perfectly safe to eat, but foods that contain it should be avoided, because its inclusion is a dead giveaway that the food has been highly processed. Eat your yoghurt lipid intacta.
Don’t let my previous description put you off making this dessert; I really think I have the recipe right. The texture is good and is certainly better than using cornflour to set desserts.
My recipe for carrageen pudding
Subscribe to get access
Read more of this content when you subscribe today.
A subscription gives you access to premium content and costs £3/month. You’ll find extra recipes and posts, as well as access to my Easter Eggs page on the blog containing deleted scenes from podcast episodes as well as a whole extra mini-season. Follow this link for more information.
References
- Hartley, D. Food in England. (Little, Brown & Company, 1954).
- Wright, J. River Cottage Handbook No.5: Edible Seashore. (Bloomsbury, 2009).
- FitzGibbon, T. Irish Traditional Food. (St. Martin’s Press, 1983).
- Leslie, E. Miss Leslie’s Complete Cookery: Directions for Cookery, in Its Various Branches. (Summersdale Publishers Limited, 1851).