There is no hedgerow glory finer than the elderflower
John Wright
One benefit of lockdown life is my daily hour-long meander around the green areas of Levenshulme. And at this time of year there is a real treat for those who like to forage; all I needed to do was to wait for a few dry, sunny and hot days in a row – something not that common in Manchester – and I could get my paws on probably the best foraged food, the elderflower. Patience was a virtue and last week the planets aligned, and I filled my boots. Well, my tote bag.
I love the taste of them so much and I am always disappointed if I don’t get hold of some at least once per year. The smell is heady with that earthy Muscat fragrance, and is a potent addition to many foods, classically partnered with the gooseberry. Elderflower syrups and cordials stretch back to at least Tudor times, and classic elderflower champagne seems to have become popular in the late Victorian era, peaking in popularity in the 1920s. If you have never cooked with them then you are missing a treat, but don’t worry, there is a good few weeks left of the season if you want to get hold of some – all we need are some more sunny days.
The elder has been used for medicinal purposes for centuries and has a very interesting folklore; I plan to write a post on the Elder tree later in the year, so for now I’ll just talk about the flowers. Because the foliage and green stalks are mildly poisonous, elderflowers and leaves together have been used as a purgative since the days of Hippocrates. In Britain, it is traditionally used to sooth sore throats and reduce the intensity of flu symptoms. I don’t know if there is truth in any of that, but what I do know is that it has a positive effect on my mental health, so delicious is the uplifting aroma when introduced to all sorts of foods; and in these strange times we all need a mental health boost I’m sure you’ll agree.
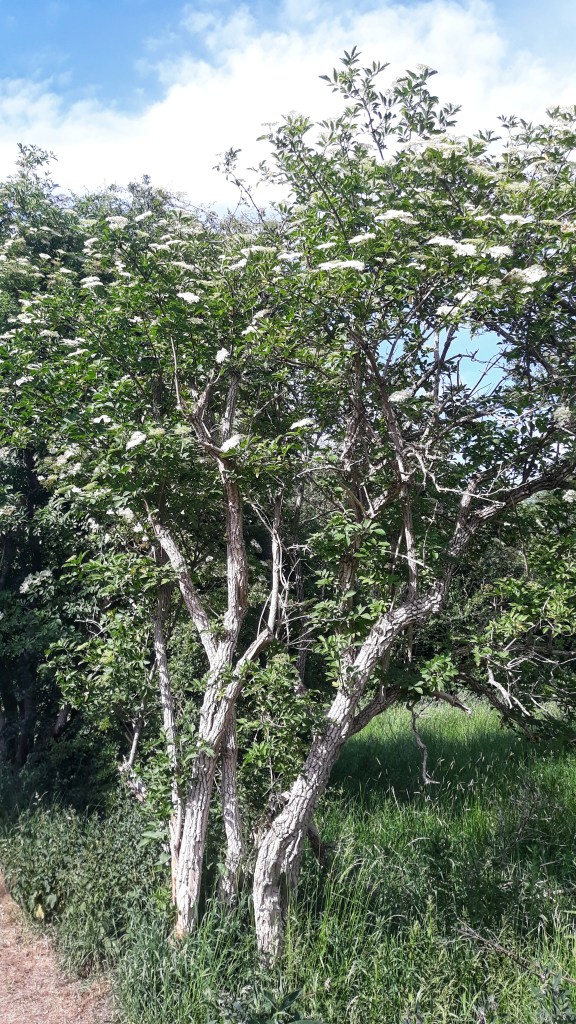
The elder is one of Europe’s most common trees and is an almost ubiquitous member of hedgerows and scrubland throughout Britain, only thinning out sparsely in the north of Scotland. It flowers between the months of late May and early July, the precise dates changing with latitude: the north being a good two weeks behind the south. At this time there are few trees you could confuse it with: the bark is pale, gnarly and often spindly and looks old beyond its years. At this time of year though, you smell it before you see it.
If you like the blogs and podcast I produce, please consider treating me to a virtual coffee or pint, or even a £3 monthly subscription: follow this link for more information.
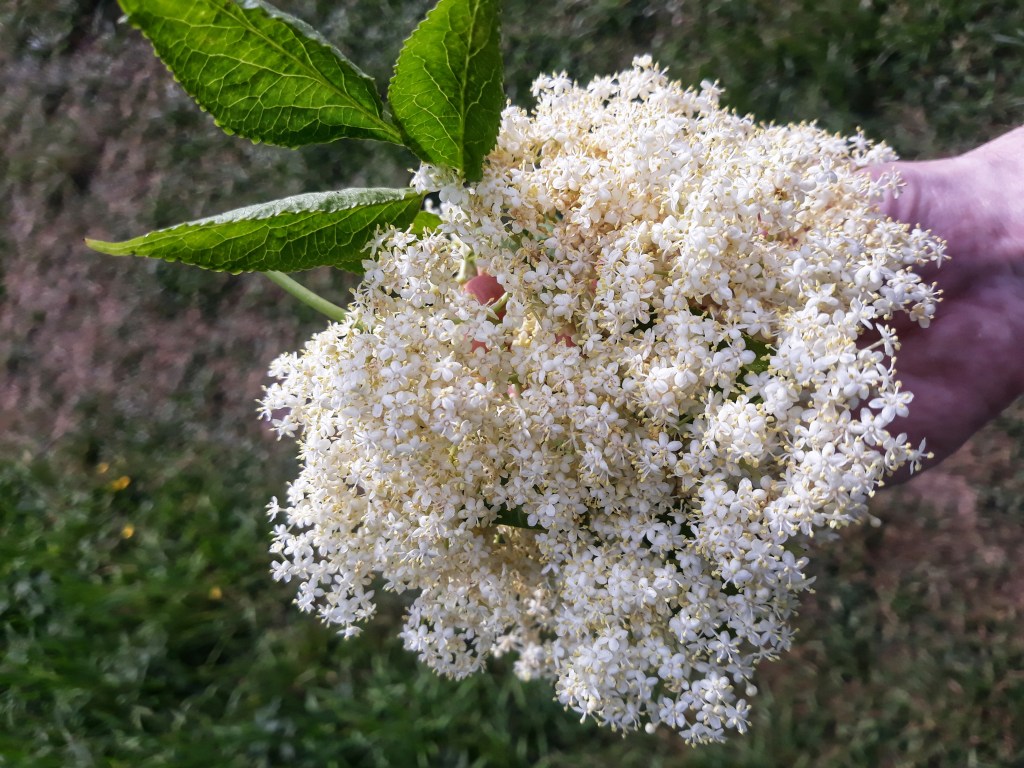
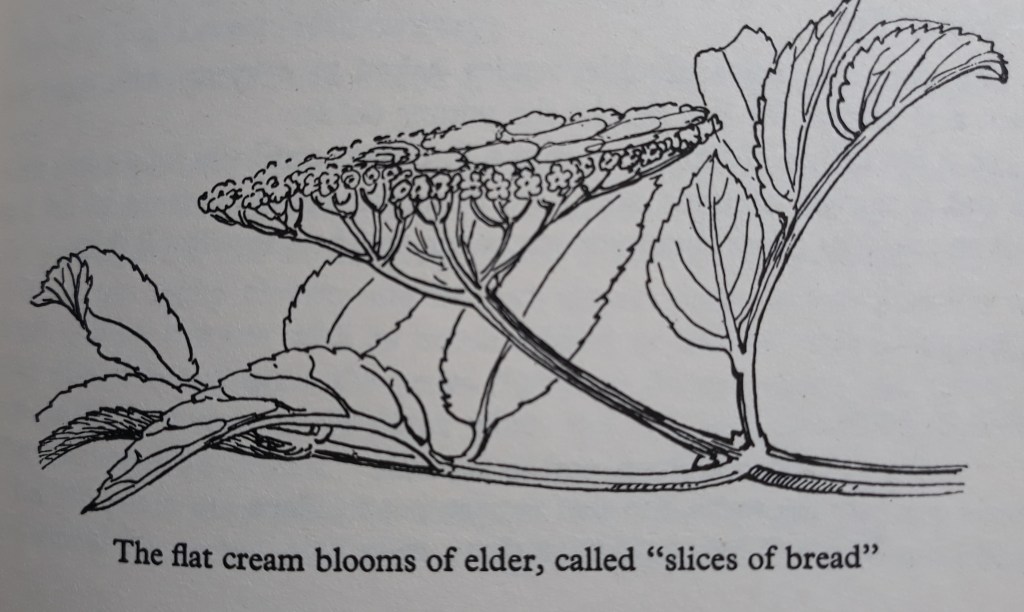
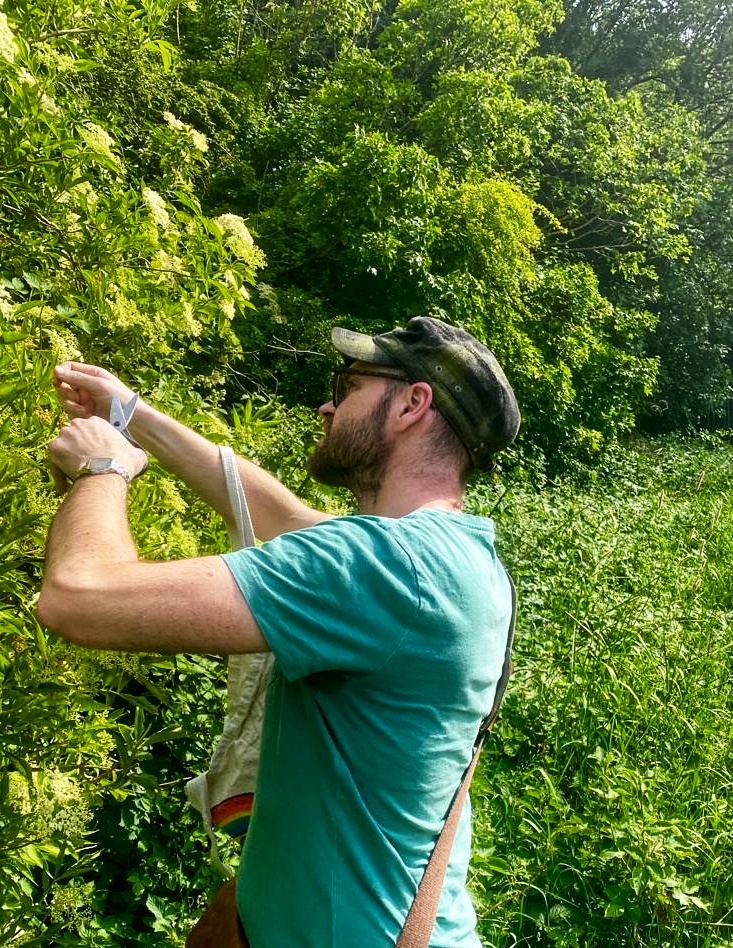
The flat arrangement of tiny cream coloured flowerheads are called ‘plates’ that also go under the name of curds, hands or (my favourite) slices of bread depending on where you are in the country. Pick them in the late afternoon after two or three days of dry sunny weather and give the flowers a good sniff to check they are full of fragrance. Snip the heads off with some scissors – aim to get between twelve and eighteen hands. Once collected, head on home and use them before their fragrance begins to dissipate.
What you do with your elderflowers once home depends upon what you want to make. If they are not going to be heated up or cooked in any way, it’s important to snip away as much green stalk as possible because as mentioned the foliage is slightly poisonous. Whatever you do, don’t wash them; you’ll wash away the scent. Just check over them and pick off any insects that may be residing in amongst the blooms.
Elderflowers are normally used to flavour foods, rather than as a food themselves, the only example I can think of where they are actually eaten is the elderflower fritter. When introducing them to hot liquids, snip away the stalks and tie the flowers up loosely in muslin and use it to flavour scalding hot cream or milk to make a delicious elderflower custard to pour over gooseberry pudding – or freeze it to make ice cream. I have made elderflower syllabub, blancmange and even Irish carrageen pudding, which once made it onto a seaside-themed pop-up restaurant back in the day. You can add it to cooking gooseberries if making a crumble, or pop some in toward the end of the cooking time when making gooseberry jam.

Elderflower Gin
The best thing you can make by a country mile is elderflower gin and it is the simplest and quickest of the cold infusions. Because it doesn’t require any cooking, the true taste of the springtime hedgerow is perfectly preserved.
Snip between 12 and 18 elderflower heads into a large jar with a two tablespoons of caster sugar and a litre of gin. Seal the jar and give it a good swirl twice a day to dissolve the sugar. After three days, strain through a muslin-lined sieve into bottles and you are done. You can then enjoy the best gin and tonic of your life.
Elderflower Tom Collins:
We have now reached the pinnacle of deliciousness. This was not my idea, but my ex-business husband Mr Brian Mulhearn’s and it is very delicious. For one drink, you will need:
Ice
2 shots of elderflower gin
1 shot fresh lemon juice
½ – 1 shot gomme (stock sugar syrup)
Soda water
Place some ice in a cocktail shaker with the gin, juice and gomme to taste. Shake well and strain into a glass generously filled with ice. Top up with soda water. Bliss.
Variations:
For a liqueur far superior to St Germaine, make as for the gin, but use vodka and add between 120 and 150 g of sugar, depending upon the sweetness of your tooth.
For elderflower vinegar, make as for gin, using 500 ml of cider vinegar. Leave in a sunny spot for a week, swirling regularly. For a great salad, dress some rocket leaves and a few halved or quartered strawberries with the vinegar plus salt and plenty of black pepper. It makes an excellent accompaniment for poached salmon.

References:
Collins Tree Guide (2004), Owen Johnson & David More
Elinor Fettiplace’s Receipt Book: Elizabeth Country Cooking at Home (1986), Hilary Spurling
Food in England (1954), Dorothy Hartley
River Cottage Handbook No.7: Hedgerow (2010), John Wright